
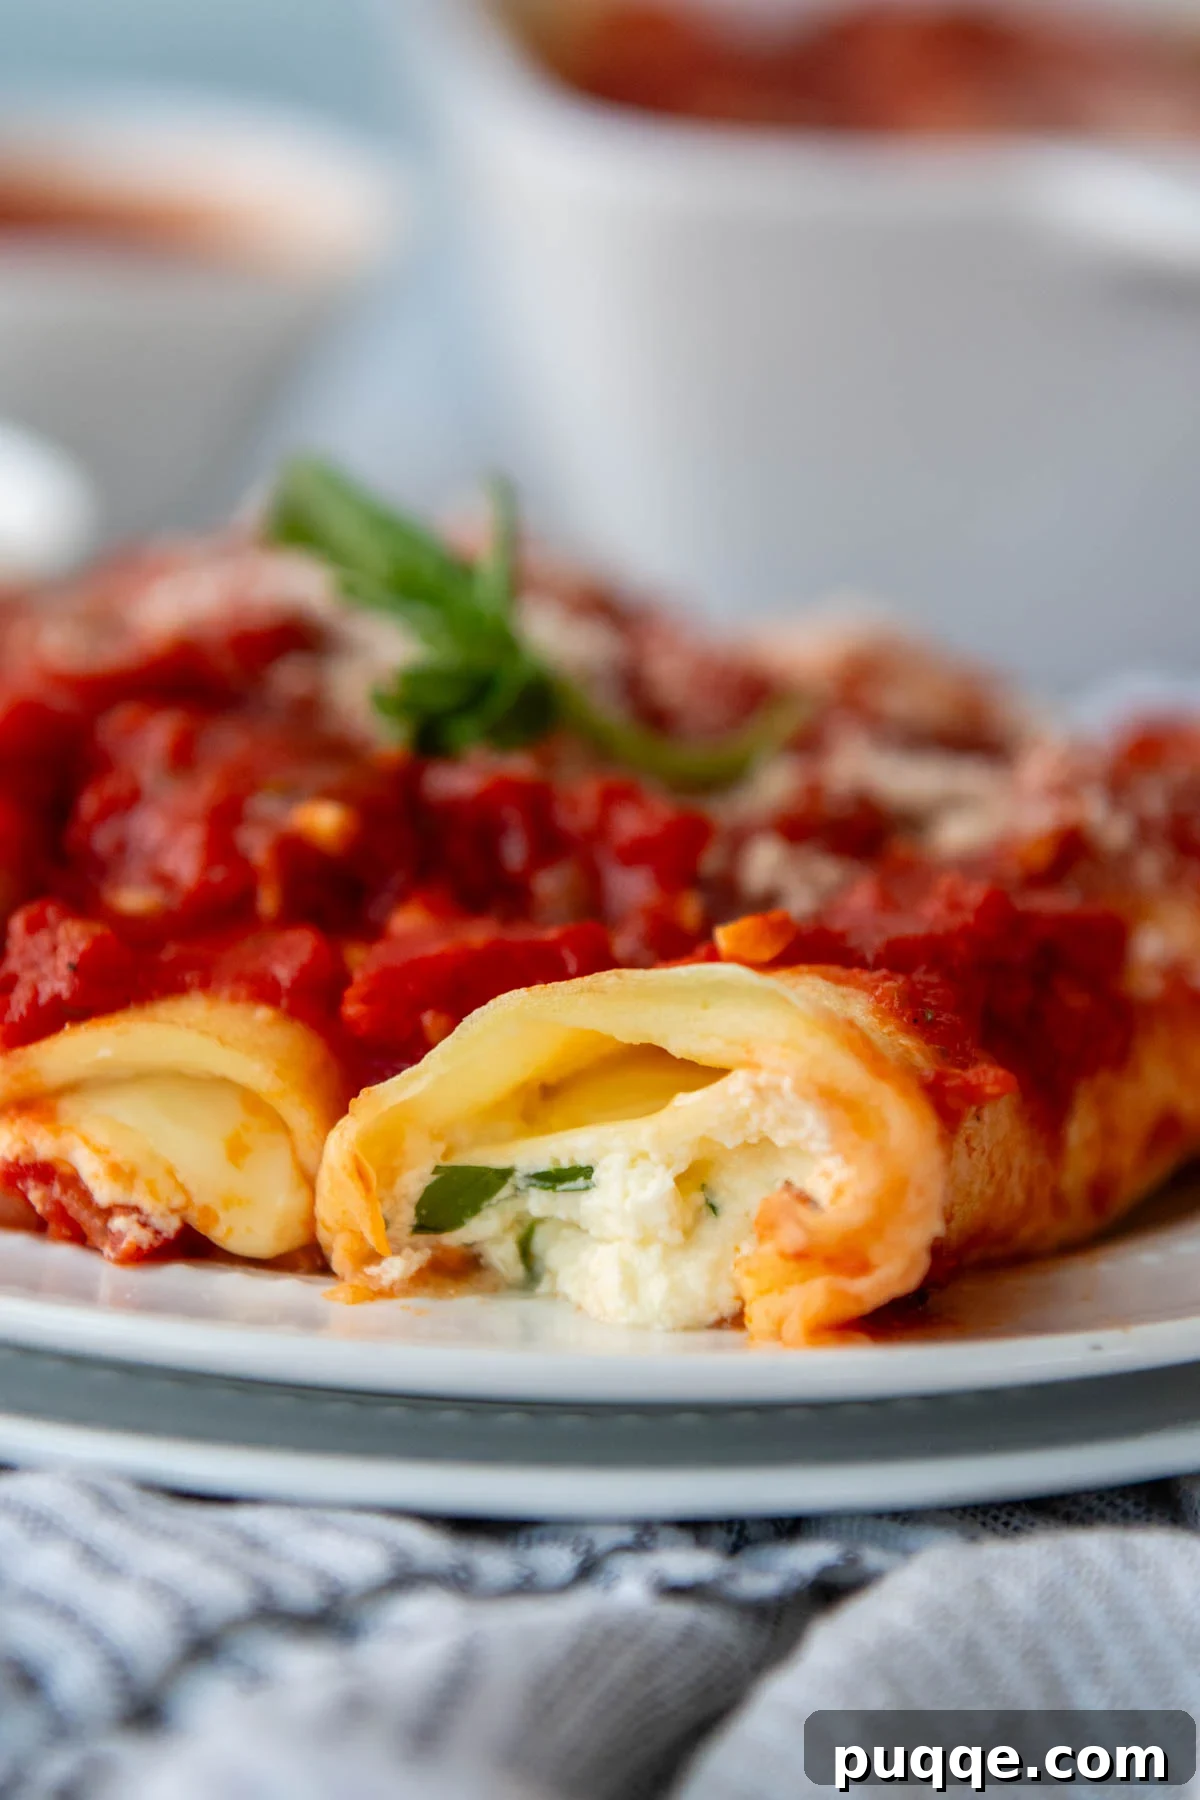
Baked gluten-free manicotti offers a delightful and accessible solution for those craving authentic Italian flavors without gluten. This cherished recipe features tender, homemade gluten-free crepe noodles, known as crespelle, generously filled with an ultra-creamy ricotta mixture and lovingly baked in a rich, flavorful tomato sauce. Passed down through generations, this from-scratch dish perfectly captures the essence of traditional Italian home cooking, just like the one my family was raised on. Beyond its incredible taste, this manicotti is also highly versatile, making it ideal for meal prepping, entertaining, or simply enjoying a comforting family dinner. Dive in to discover effortless make-ahead strategies, alternative gluten-free noodle options, and tips for customizing this culinary masterpiece to your liking.
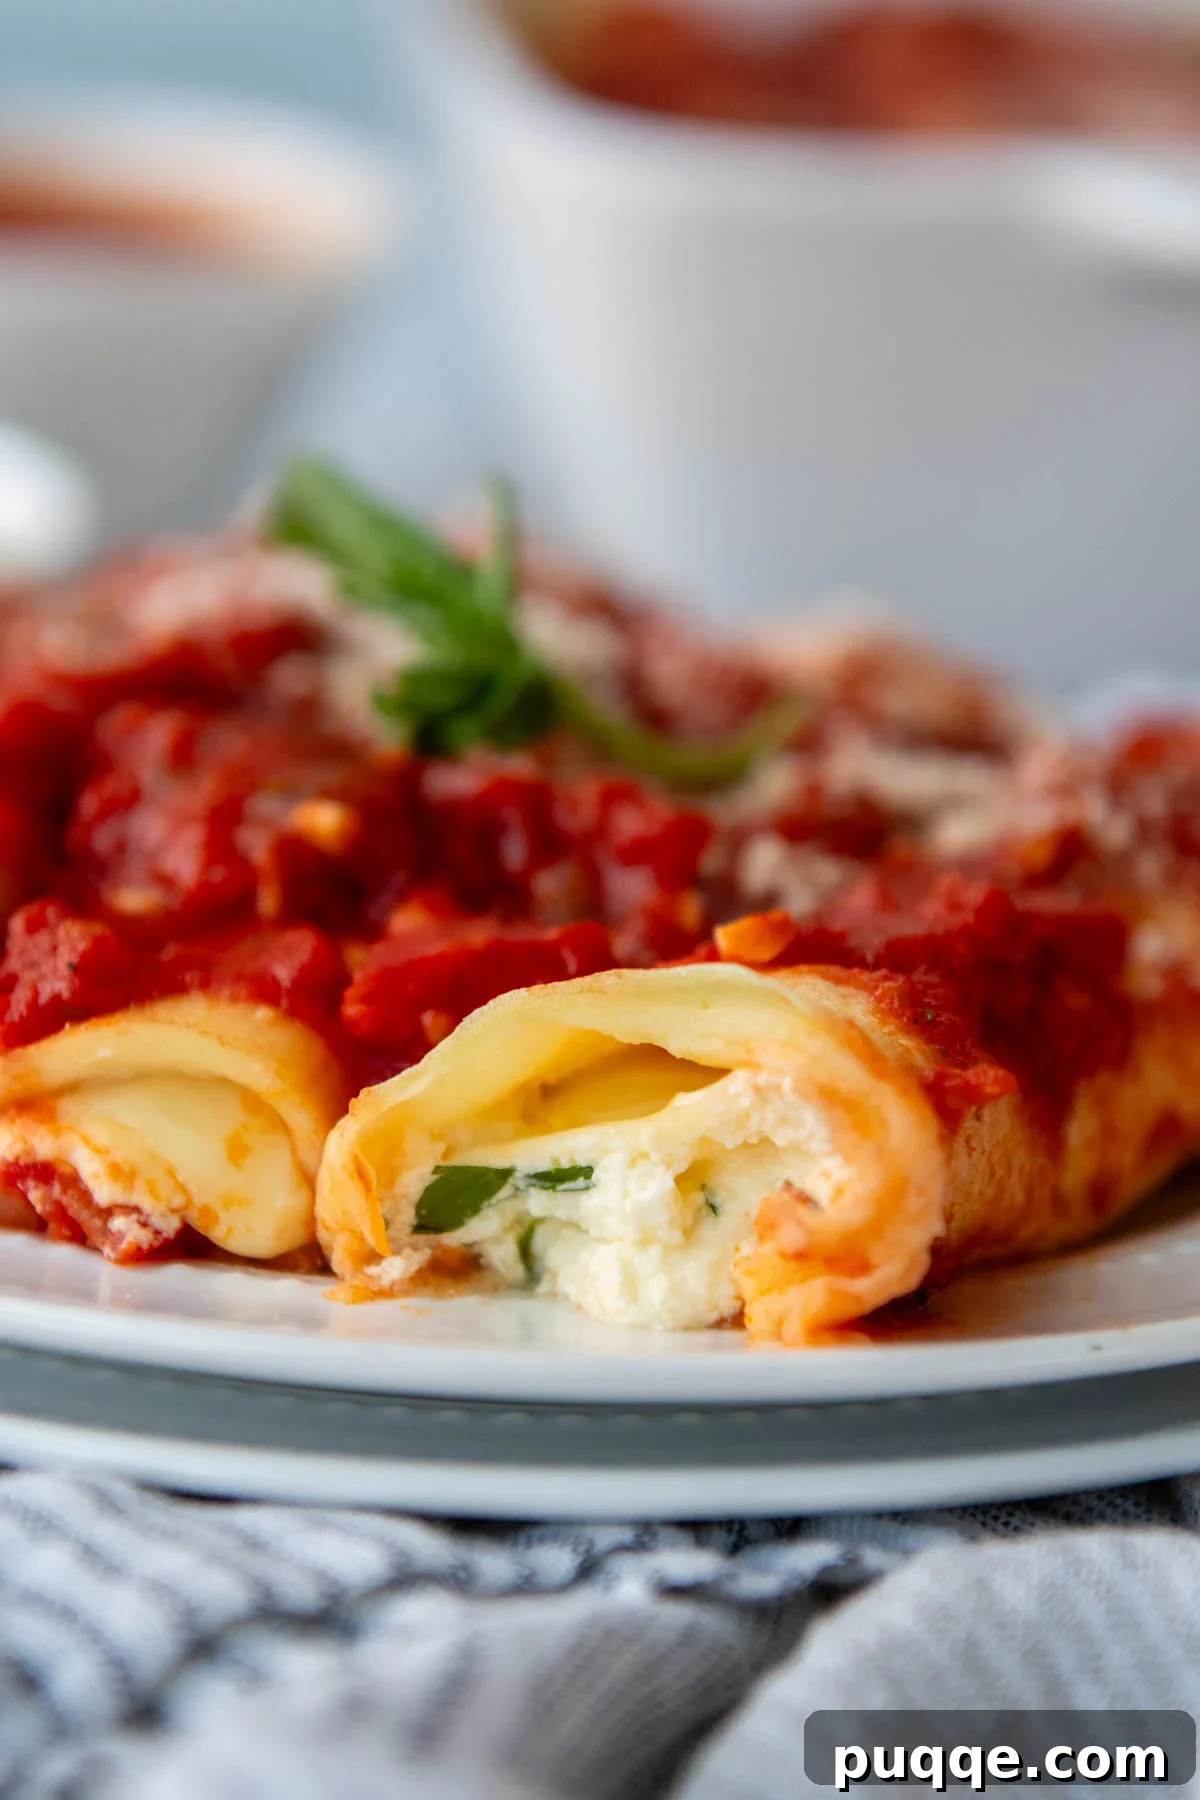
The Ultimate Gluten-Free Manicotti Recipe: A Taste of Italian Tradition
For me, growing up in an Italian household meant that homemade pasta was a staple at countless Sunday dinners and festive holidays. As the holiday season approaches each year, my mind drifts back to the warm memories of classic meals my Gramma meticulously prepared, and the comforting dishes my mom continues to make today. There’s a certain magic in preparing these recipes from scratch, a connection to heritage that store-bought alternatives simply can’t replicate.
Over the years, I’ve dedicated myself to adapting many of my beloved family recipes to be gluten-free, ensuring that everyone can partake in the joy of amazing homemade Italian food. Gluten-free manicotti, much like a hearty gluten-free lasagna made from scratch, shines brightly during the holidays. Its inherent benefits — being perfectly suited for make-ahead preparation, exceptionally freezer-friendly, and capable of serving a large gathering — make it an indispensable dish for entertaining or feeding a crowd.
What truly sets our family’s manicotti apart is the choice of noodles. Instead of conventional pasta tubes, we’ve always embraced the tradition of wrapping our manicotti in thin, delicate noodle crepes, affectionately known as crespelle. This method not only imparts a unique, melt-in-your-mouth texture but also makes crafting gluten-free manicotti shells surprisingly achievable, akin to the simplicity found in my recipe for easy gluten-free gnocchi. With just a few simple modifications, you can create these tender wrappers with ease.
Developing and testing this baked manicotti recipe was a joyful journey, and I’m thrilled to confirm that it requires no specialized or extra equipment, making it accessible to home cooks of all skill levels. While making the crespelle does involve a small investment of time, the process itself is straightforward and can be easily broken down into stages. This flexibility allows for seamless make-ahead meal planning, ensuring that even on busy days, a delicious, homemade Italian meal is within reach. You can prepare the components days in advance, assemble them when ready, and enjoy a stress-free cooking experience that yields truly spectacular results.
Continue reading to unlock the secrets to crafting exquisite homemade gluten-free manicotti shells, perfecting a rich marinara sauce, exploring convenient shortcut options, and discovering exciting modifications such as savory stuffed shells with meat sauce, hearty Italian sausage, or a vibrant spinach filling. Get ready to transform your kitchen into an Italian trattoria and impress your family and friends with this unforgettable dish!
Why Crespelle Are the Secret to Superior Gluten-Free Manicotti
When it comes to gluten-free pasta, achieving that perfect al dente bite and tender texture can sometimes be a challenge with store-bought options. This is where crespelle truly shine as a superior alternative for manicotti shells. Unlike traditional dried pasta tubes, which can sometimes become brittle or gummy when gluten-free, crespelle offer a light, delicate, and inherently flexible wrapper that beautifully encases the rich filling without compromise.
Crespelle, essentially Italian crepes, are made from a simple batter of gluten-free flour, eggs, and water. This allows for precise control over the texture, resulting in incredibly thin, pliable sheets that become exquisitely tender when baked. Their neutral flavor profile allows the robust tomato sauce and creamy ricotta filling to take center stage, creating a harmonious blend of tastes and textures in every bite. Moreover, making crespelle from scratch gives you the satisfaction of crafting a truly artisanal dish, elevating your gluten-free manicotti from a simple meal to a gourmet experience.
Ingredient Notes and Expert Tips for the Best Flavor
Authentic Italian cuisine, including dishes like manicotti and homemade baked ziti, proves that a simple list of ingredients can yield extraordinary flavor. The key lies in selecting high-quality components and understanding their role. Below, you’ll find recommendations for essential ingredients and valuable substitution advice to ensure your gluten-free manicotti is nothing short of spectacular.
- Gluten-Free Flour: I consistently use and highly recommend Cup4Cup gluten-free flour blend, as this recipe was meticulously developed and tested with it. It’s crucial to note that different GF flour blends contain varying ratios of starches and gums, which can significantly impact the consistency and workability of the crespelle batter. The cornstarch in the Cup4Cup blend contributes to a slightly thicker batter, which is ideal for spreading thinly in the pan to achieve tender, flexible noodles. If using a different blend, you might need to slightly adjust the amount of liquid to reach a similar consistency – aiming for a batter that coats the back of a spoon without being too thick or too watery.
- Ricotta Cheese: For an unparalleled creamy and luxurious filling, always opt for whole milk ricotta. Part-skim ricotta contains more water and can result in a thinner, less satisfying cheese mixture that might also release excess moisture during baking, potentially affecting the integrity of your crespelle. Draining your ricotta for at least 30 minutes, or even overnight, in a fine-mesh sieve lined with cheesecloth can further enhance its richness and prevent a watery filling.
- Tomatoes for Sauce: To craft a truly exceptional homemade marinara, prioritize using whole, peeled canned tomatoes. My top recommendation is San Marzano tomatoes from Italy, known for their balanced sweetness, low acidity, and rich flavor profile, which forms the perfect base for an authentic sauce. If time is a constraint, a high-quality store-bought marinara can be a convenient shortcut; you’ll typically need about two 24-ounce jars to yield approximately 5 cups of sauce.
- Fresh Herbs: The homemade sauce is brightened with fresh basil, stirred in at the very end to preserve its vibrant flavor. If fresh basil is unavailable, you can substitute with 1 teaspoon of dried basil, adding it along with the canned tomatoes to allow its flavors to meld during simmering. For the ricotta filling, chopped fresh parsley is essential for its peppery, herbaceous note. I strongly advise against using dried parsley here, as it lacks the fresh brightness needed for the filling; it’s best to use fresh or omit it entirely.
- Mozzarella Cheese: Our manicotti features the glorious stretch and melt of mozzarella. You will need two 8-ounce blocks of mozzarella cheese, carefully sliced into a total of 20 strips, ensuring each manicotti gets a generous portion. If you prefer the delicate texture and fresh milky flavor of fresh mozzarella, you can certainly use it. However, because fresh mozzarella contains more moisture, it’s wise to reduce the amount of eggs in your ricotta filling by one to maintain the desired consistency and prevent a watery result.
Let’s Create This Culinary Masterpiece!
While preparing homemade manicotti may require a bit of dedication, it is the quintessential make-ahead recipe, making it perfect for cherished Christmas gatherings, other holidays, or elegant entertaining. This recipe is designed to yield two impressive 9×13-inch casseroles, ensuring you have plenty to serve or to freeze for future delightful meals. If you don’t require the entire recipe for a single occasion, I’ve included comprehensive freezing guidelines later in this post to help you savor your efforts over time.
Crafting Your Gluten-Free Manicotti Crepe Shells
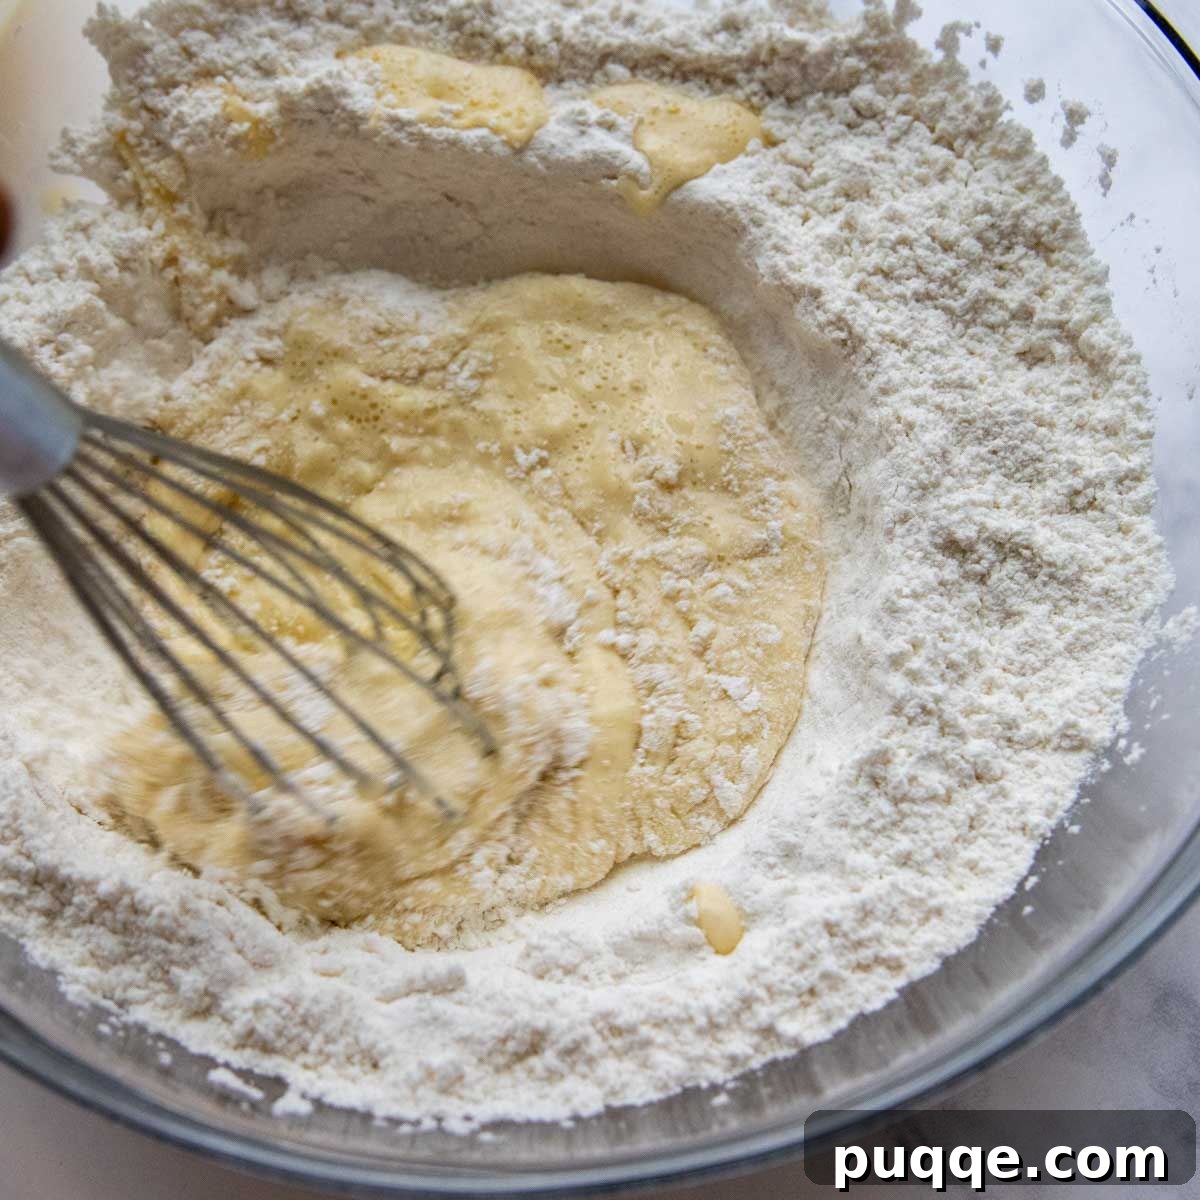
The journey to incredible manicotti begins with our delicate crespelle. In a spacious mixing bowl, combine the gluten-free flour and salt, whisking them thoroughly to ensure they are well integrated. In a separate bowl, begin by whisking the eggs until they are light and frothy, then gradually incorporate the water, continuing to whisk until the mixture is perfectly uniform. Create a shallow well in the center of your dry ingredients. Slowly pour the egg and water mixture into this well, whisking constantly to gradually draw in the dry ingredients from the sides. Continue whisking vigorously until you achieve a smooth batter, free of lumps. For an extra silky consistency, you can briefly use an immersion blender.
Perfecting and Storing Your Crespelle
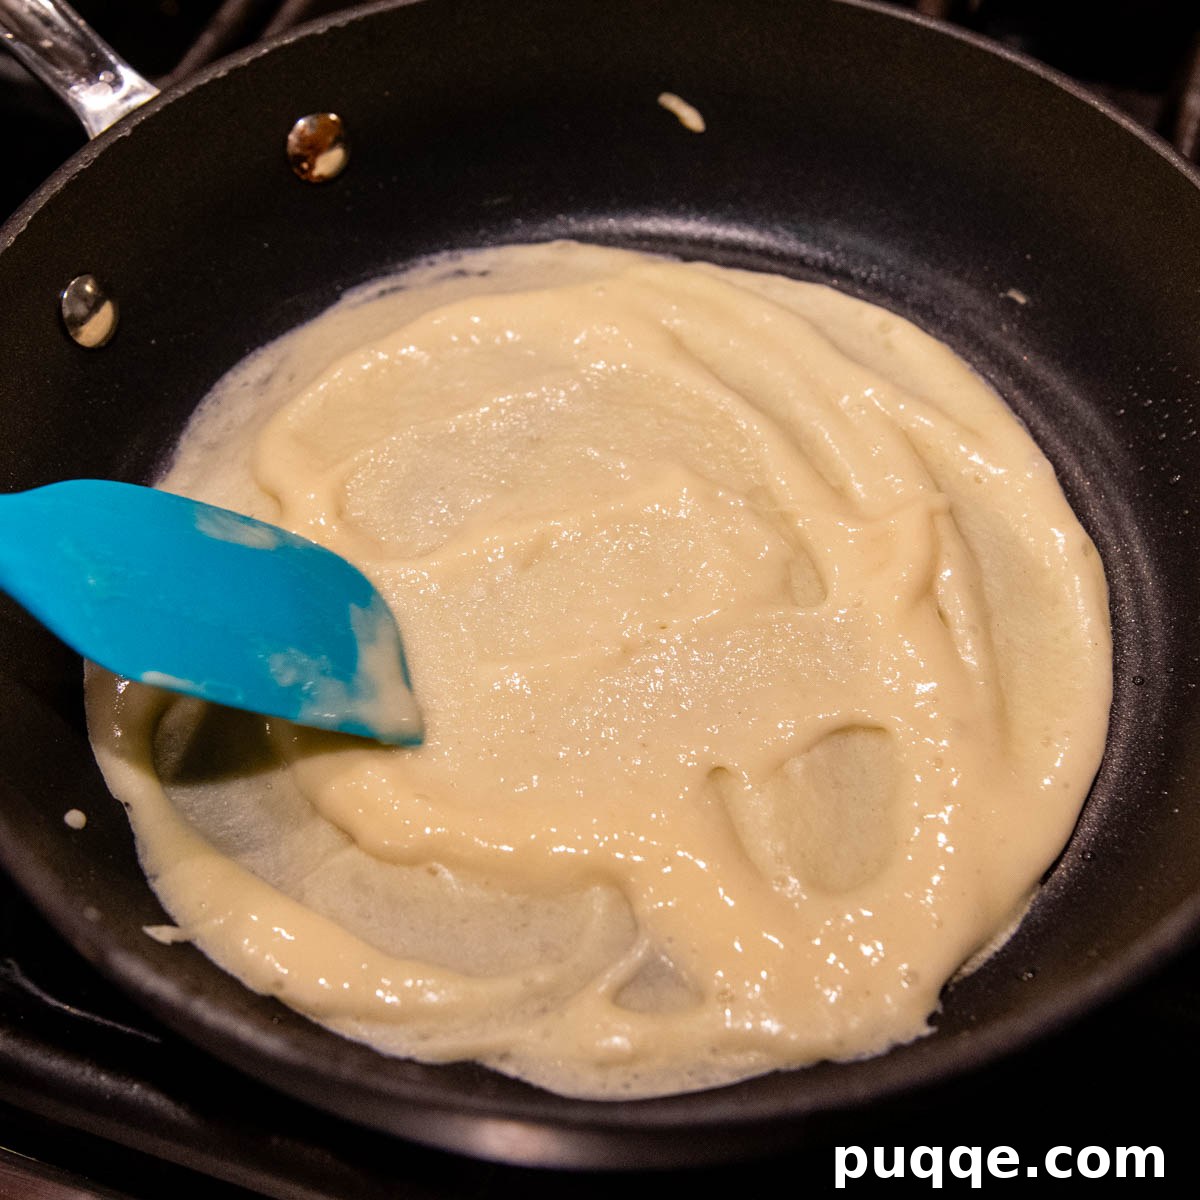
While a dedicated crepe pan is an excellent tool, a good quality 10-inch nonstick skillet works beautifully. First, ensure your pan is uniformly hot by heating it over medium-low for at least 5 minutes. Drizzle about ½ teaspoon of vegetable oil into the skillet, then use a paper towel to wipe it around, leaving behind a thin, even nonstick film. This prevents sticking and promotes even browning.
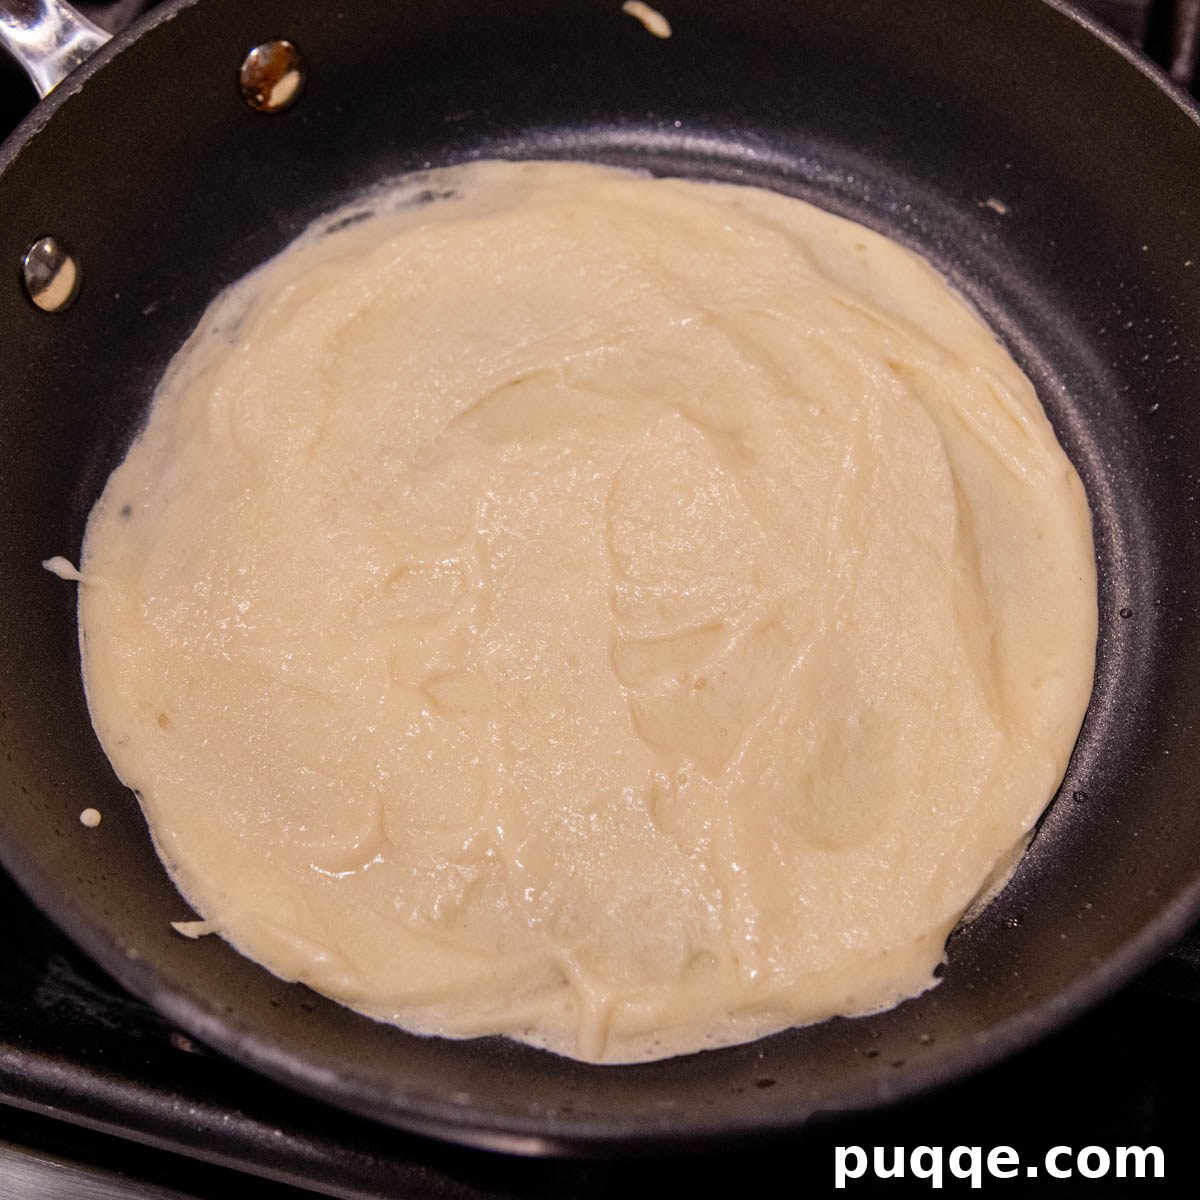
Pour ¼ cup of the prepared batter into the hot pan. Immediately use a rubber spatula or the back of a ladle to evenly spread the batter across the bottom of the pan. Don’t worry if it’s not perfectly smooth; any slight ridges will be hidden once filled. Cook undisturbed until the top surface appears opaque and mostly set, typically 20-30 seconds. Gently loosen the edges with a spatula, then flip the crepe and cook for an additional 20 seconds until lightly golden. Immediately transfer the cooked crepe onto a wire cooling rack.
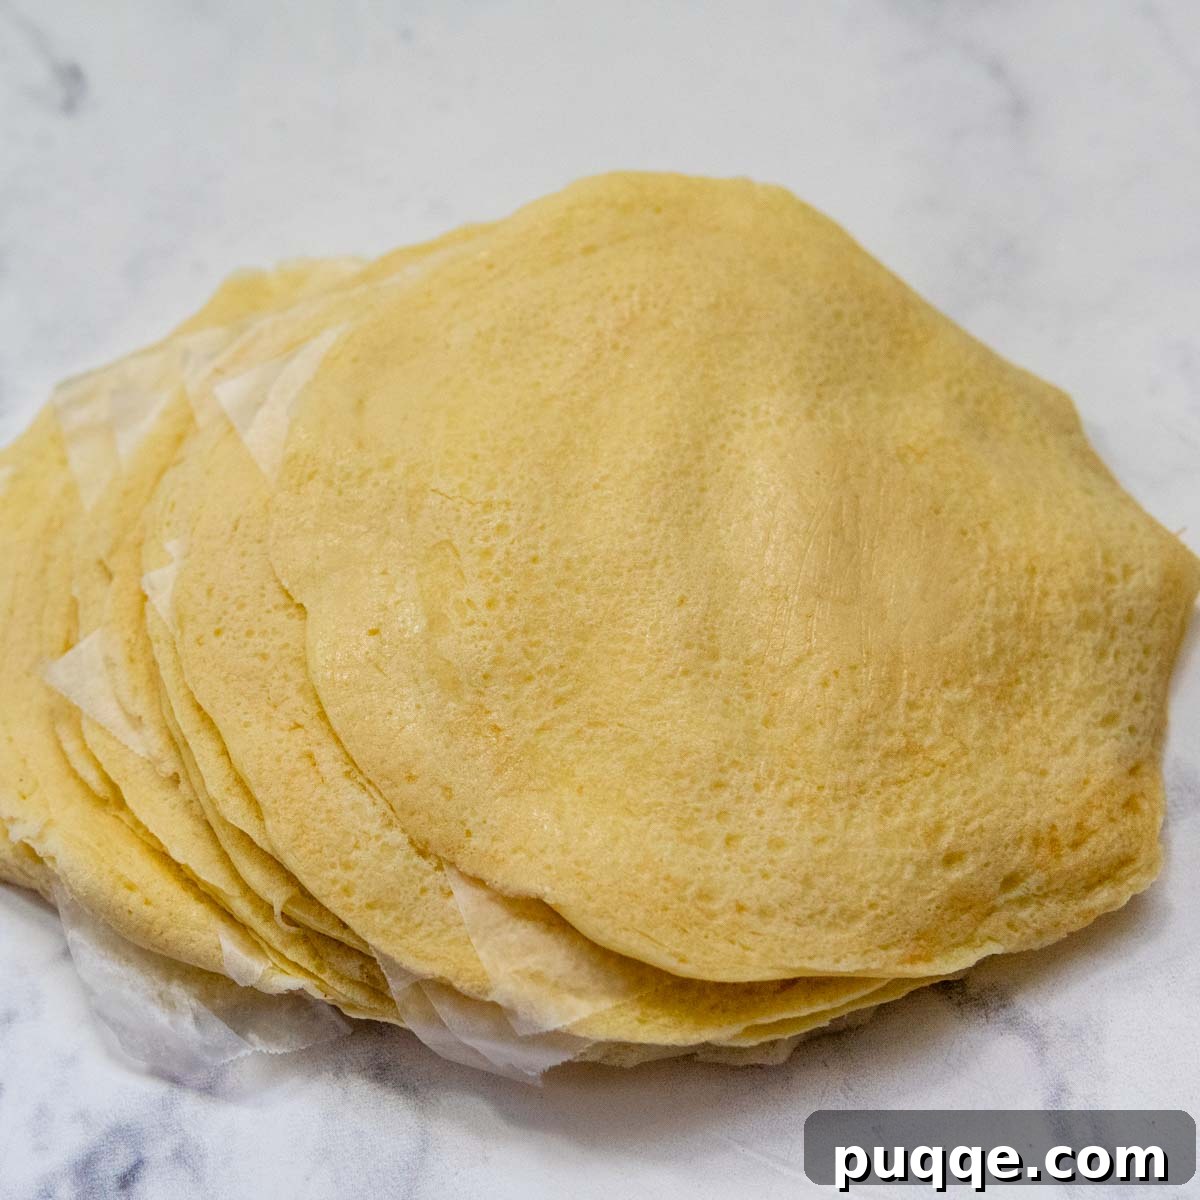
As the crepes cool, stack them with small strips of wax paper placed between each one. This prevents them from sticking together, especially if you plan to assemble and bake the manicotti immediately. If you’re preparing them in advance for freezing, allow them to cool completely on a wire rack before stacking with wax paper and wrapping securely for the freezer.
Preparing the Sauce and Assembling the Manicotti
While your freshly cooked crespelle are cooling and resting at room temperature, you can turn your attention to the rich homemade marinara sauce. This allows for efficient multitasking in the kitchen. As the sauce gently simmers, infusing your home with an irresistible aroma, combine all the ingredients for the creamy ricotta filling. Ensure everything is well mixed to create a smooth, luscious texture.
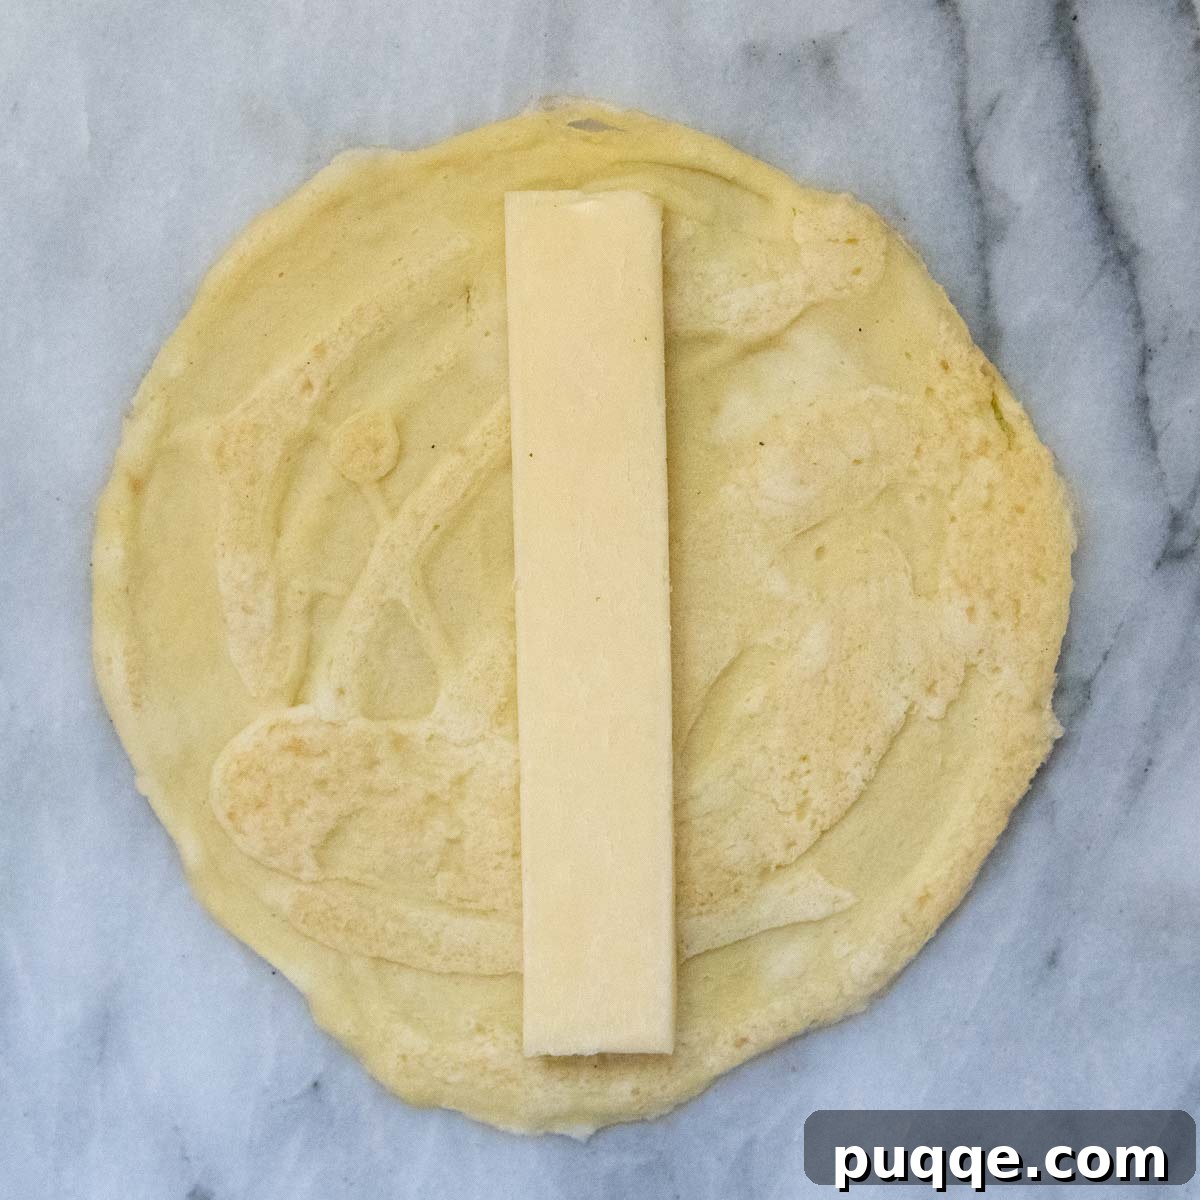
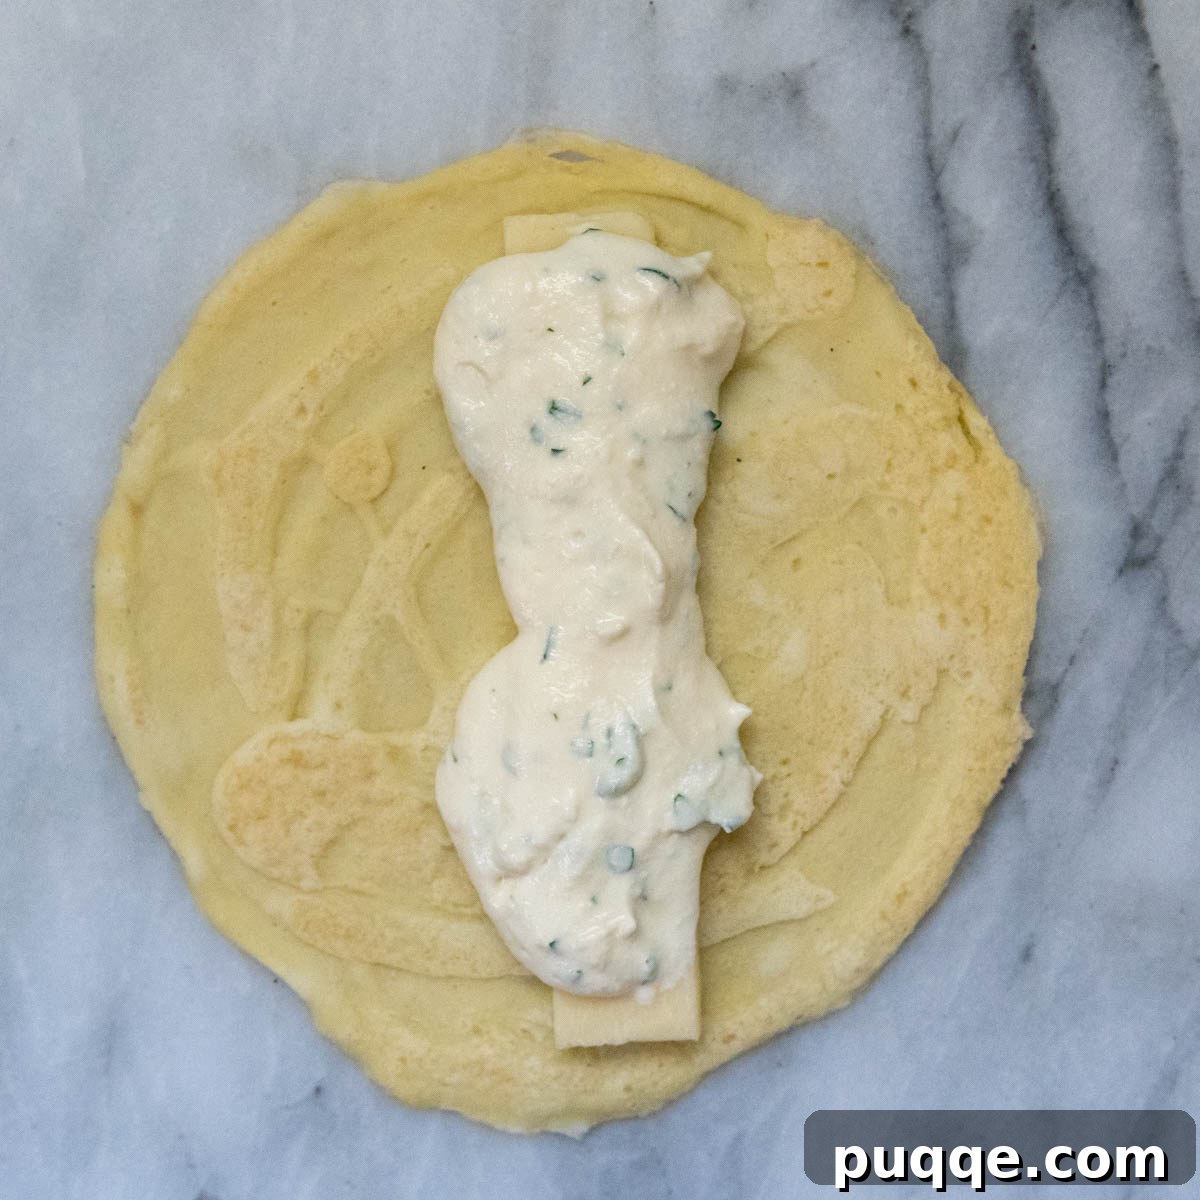
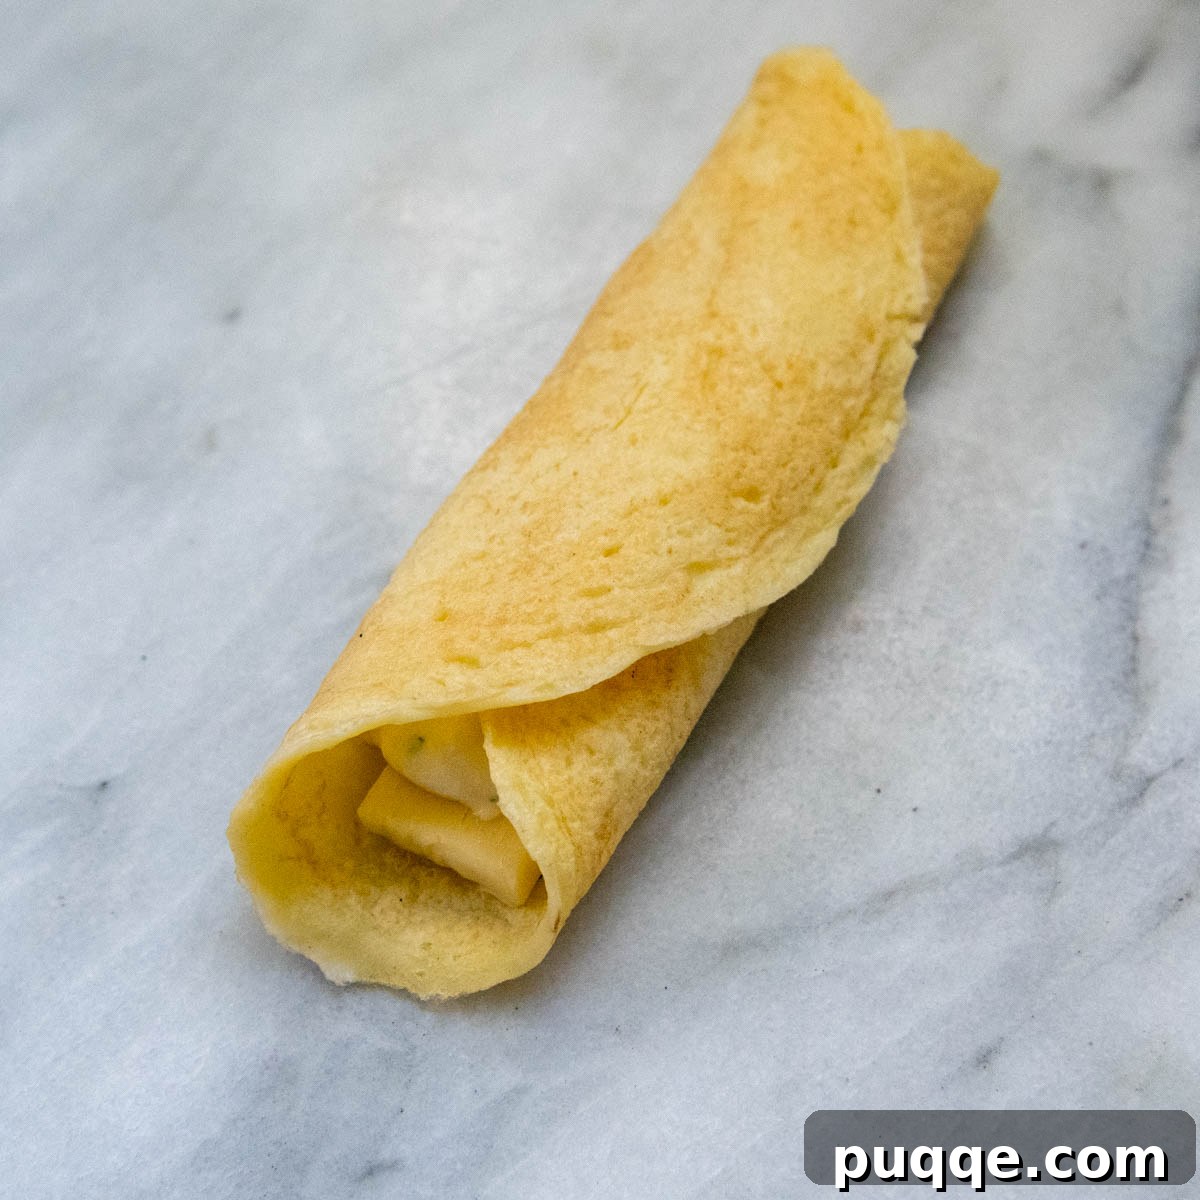
To begin assembly, preheat your oven to 350°F (175°C). Lay a crespelle flat on your work surface, with its slightly ridged side facing upwards. This side will better grip the filling. Place one strip of mozzarella cheese horizontally in the center of the crepe. Generously top the mozzarella with about 3 tablespoons of the ricotta filling. Carefully roll the crepe up, ensuring the filling and cheese are completely enclosed. Arrange the rolled manicotti, seam side down, in your prepared baking dish.
Arranging and Baking Your Manicotti to Perfection
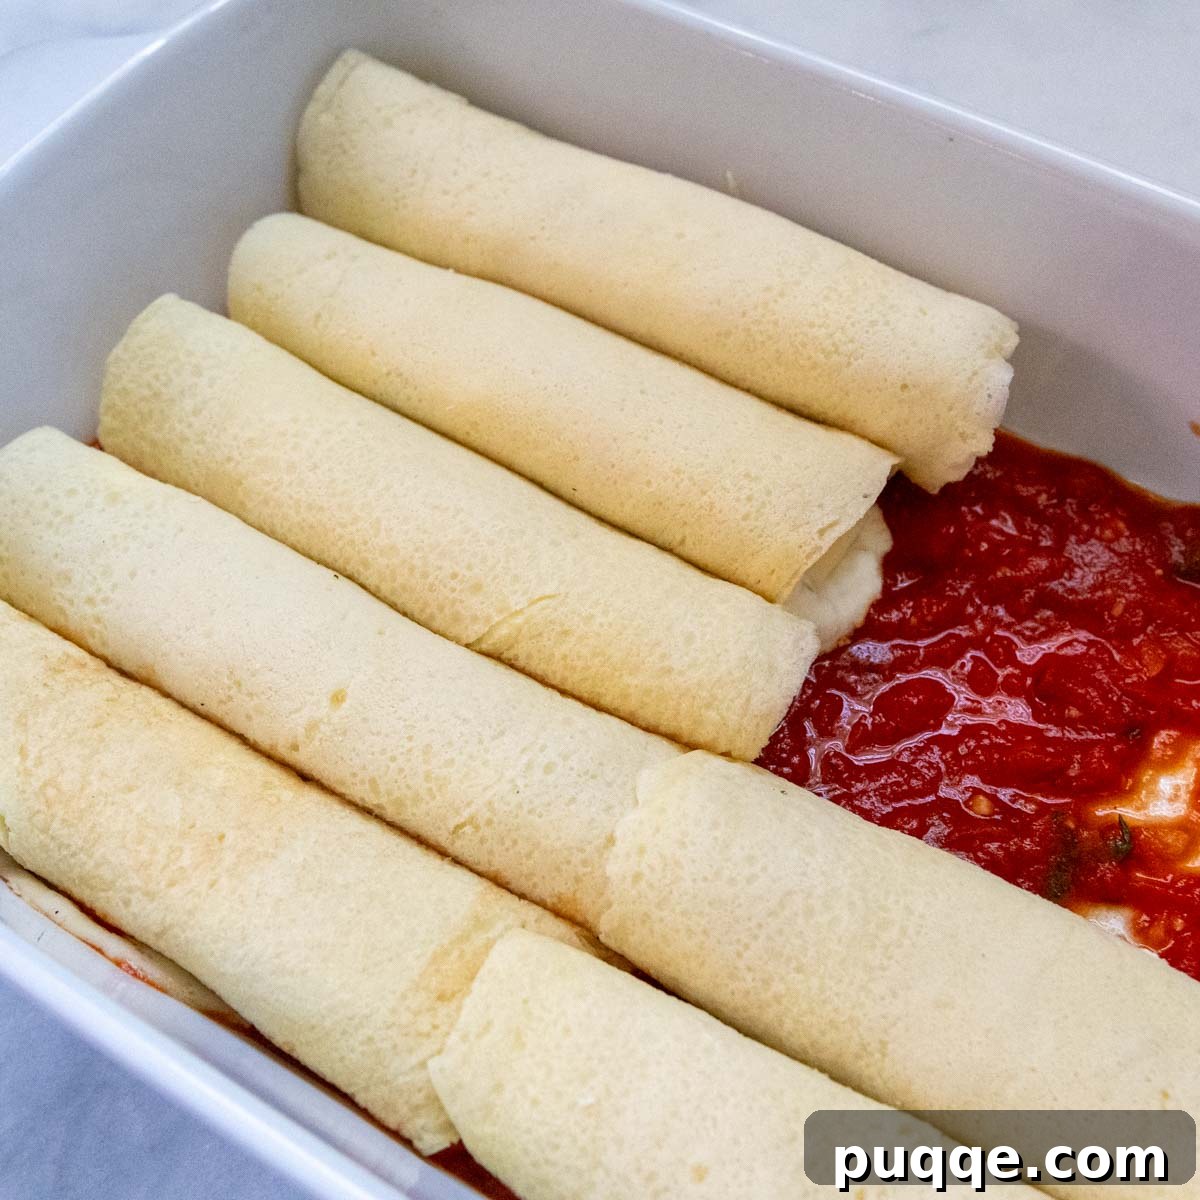
Begin by spreading 1 cup of your savory tomato sauce evenly across the bottom of each 9×13-inch casserole dish. This creates a flavorful bed for the manicotti and helps prevent sticking. Carefully place your rolled manicotti, seam side down, into the baking dish. Each pan will comfortably hold two neat rows of five shells, allowing them to bake evenly and beautifully. Repeat this process for the second pan until all manicotti are snugly arranged.
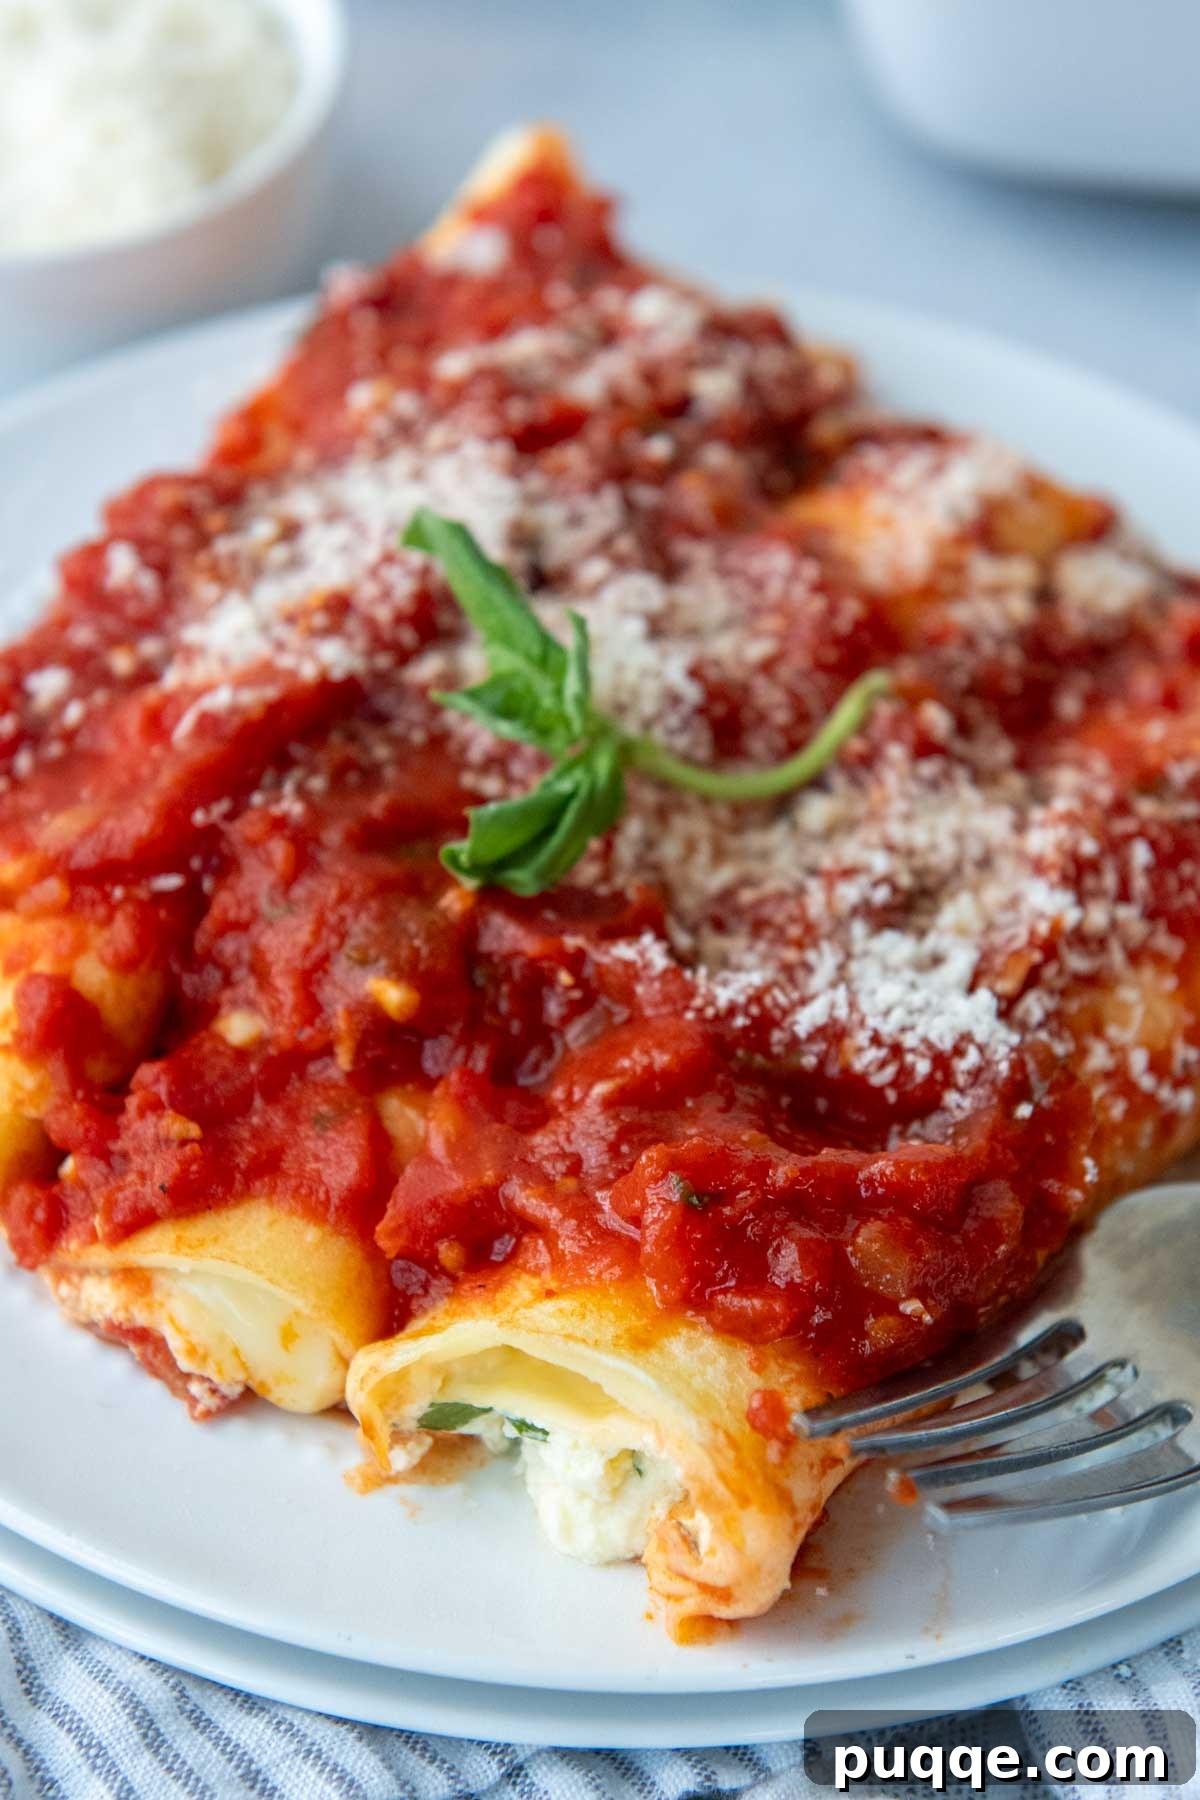
Once all the manicotti have been rolled and placed, lavishly spread an additional 1½ cups of sauce over the top of each pan, ensuring every piece is coated. For optimal moisture and to prevent the tops from drying out, cover the pans securely with aluminum foil. Bake for 35-45 minutes, or until the sauce is visibly bubbly, the cheese is melted and gooey, and the manicotti is heated through to perfection. Remove from the oven, let it rest for a few minutes to set, and get ready to experience a truly divine bite of Italian heaven!
Exploring Other Gluten-Free Substitutes for Manicotti Noodles
Finding store-bought gluten-free pasta shells or ready-made manicotti noodles can indeed be a daunting task! Many local grocery stores don’t stock them, and even online, they can be elusive. However, this often works in your favor, as homemade pasta, like our crespelle, almost always tastes superior. But if time or preference leads you away from making crespelle, don’t despair; there are viable gluten-free alternatives to ensure you can still enjoy a delicious manicotti.
One excellent option is Tinkyada Grand Shells. These can often be found on Amazon or potentially at well-stocked natural food stores in your area. For this recipe, you will typically need two boxes of these shells to yield enough for a full batch of manicotti. To prepare them, boil the shells in a large pot of lightly salted water with a drizzle of olive oil, which helps prevent them from sticking together. Cook them just enough to soften slightly – usually only 2-3 minutes – so they become pliable but not fully cooked through, as they will continue to cook in the oven. Once lightly softened, carefully fill them with the ricotta mixture as directed in the recipe, arrange them in your casserole dish, and bake, covered with foil, for approximately 40 minutes.
Another clever substitute involves using gluten-free lasagna sheets. Prepare them in a manner similar to the shells: boil them with a touch of oil just long enough for them to become flexible and easy to roll. Once cooled slightly, cut each lasagna sheet in half lengthwise to create two shorter, more manageable rectangles. It’s important not to use full-length sheets, as rolling too much gluten-free pasta onto itself can cause the noodles to fuse together and become dense during baking. Place the cheese filling in the center of each halved sheet, then gently wrap the ends around the filling to form a manicotti-like roll. Bake these as the recipe directs, ensuring they are covered for most of the baking time to maintain moisture.
Manicotti Modifications and Flavor Variations to Explore
This recipe provides a foundation for truly incredible gluten-free manicotti, but it’s also wonderfully adaptable. Feel free to customize it to suit your tastes or whatever ingredients you have on hand. The versatility of this dish allows for numerous delicious modifications.
Homemade vs. Store-Bought Sauce
Our recipe includes a quick and easy homemade marinara sauce that requires only a handful of simple ingredients and simmers gently while you prepare the other components. However, for ultimate convenience, you can certainly use your favorite store-bought marinara. You’ll need approximately 5 cups of sauce, which typically equates to two 24-ounce jars, leaving you with a little extra for serving or dipping crusty bread.
Hearty Manicotti with Meat Sauce
To create a more substantial and deeply savory manicotti with meat sauce, start by browning 2 pounds of ground beef, Italian sausage (mild or spicy, depending on preference), ground turkey, or a combination of any of these meats. Drain any excess fat, then stir the cooked meat directly into your homemade or store-bought tomato sauce. This enriches the sauce with robust flavor and adds satisfying protein to your manicotti.
Delicious Spinach Manicotti
For a vibrant and nutritious spinach manicotti, you will need two 10-ounce boxes of frozen chopped spinach. Thaw the spinach completely, then, and this is a crucial step, squeeze out as much water as possible. You can do this by pressing it against a sieve or wrapping it in a clean kitchen towel and wringing it out. This prevents the filling from becoming watery and ensures a firm, flavorful consistency. Once dried, mix the spinach into your ricotta filling. Since the spinach adds significant volume, you’ll want to increase the filling amount slightly, adding about ¼ cup to each manicotti shell.
Additional Flavor Enhancements
- Nutmeg: A pinch of freshly grated nutmeg (about ¼ teaspoon) can be added to the ricotta filling. This classic Italian touch subtly enhances the cheese flavor, adding warmth and complexity.
- Spice: For a touch of heat, add a pinch of red pepper flakes to your marinara sauce while it simmers, or to the ricotta filling.
- Cheese Blend: While mozzarella and Parmesan are staples, feel free to experiment with other Italian cheeses. A small amount of Pecorino Romano in the filling can add a sharper, saltier kick.
Save This Recipe to Your Pinterest Board!
Let’s be friends on Pinterest! I’m always sharing great recipes!
Did you make this recipe? I love hearing from you! Leave a star rating and comment below the recipe card. It helps others when searching for recipes, and I appreciate feedback from our community. You will always hear back from me! -Melissa
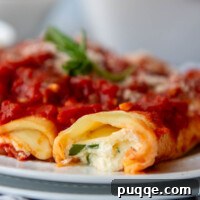
Homemade Gluten-Free Manicotti with Easy Crepe Shells

Melissa Erdelac
10
two 9X13 pans, 10 manicotti each pan
1 hr
45 mins
1 hr
45 mins
Pin Recipe
Ingredients
Gluten-Free Manicotti Crepe Noodles
Sauce (or substitute 5 cups marinara)
Filling
Equipment
Instructions
Gluten-Free Manicotti Crepe Shells
- In a large bowl, whisk together the gluten-free flour and salt until well combined. In a separate bowl, whisk the eggs thoroughly, then whisk in the water until perfectly blended.
- Create a well in the center of the dry ingredients. Slowly pour the egg/water mixture into the well, whisking constantly. Gradually incorporate more dry ingredients from the sides of the well until all liquid is absorbed.
- Whisk vigorously to eliminate any lumps in the batter. For an exceptionally smooth consistency, you can use an immersion blender at this stage.
- Allow the batter to rest while your crepe pan or 10-inch nonstick skillet preheats over medium-low heat for 5 minutes, ensuring uniform heat distribution.
- Drizzle about ½ teaspoon of vegetable oil into the skillet, then wipe it with a paper towel to leave a thin, nonstick film. Pour ¼ cup of batter into the pan. Using a rubber spatula, evenly cover the bottom of the pan with batter. Cook without moving until the top surface is opaque and mostly set, approximately 20-30 seconds.
- Gently release the edges of the crepe with a spatula and flip it to cook the other side until both sides are lightly golden, about 20 seconds longer. Slide the cooked crepe onto a wire cooling rack. Repeat this process for the remaining batter, re-greasing the pan as needed. This recipe yields approximately 20 manicotti crepes. (Minor ridges on one side are perfectly fine, as this side will hold the filling and won’t be visible.)
- As the crepes cool, stack them with small strips of wax paper between each layer to prevent sticking. Set aside if proceeding directly with assembly. Alternatively, wrap securely with plastic wrap and store at room temperature for several hours, refrigerate for up to 1 day, or freeze for up to 2 months for later use. Thaw at room temperature before using.
Sauce
- Heat a medium saucepan over medium heat. Add the olive oil and allow it to warm. Stir in the chopped onion and sauté for about 5 minutes, or until tender and translucent. Add the minced garlic and cook for an additional 30 seconds until fragrant.
- To quickly chop the canned tomatoes, place the tomatoes and their reserved juice into a food processor and pulse 3-4 times to create a chunky sauce. Alternatively, manually chop the tomatoes after squeezing excess juice back into the can. Add the chopped tomatoes and juice to the onion mixture in the saucepan.
- Stir in the tomato paste, light brown sugar, salt, and pepper with the tomatoes. Bring the mixture to a boil, uncovered. Reduce the heat to a gentle simmer and cook, uncovered, for 30 minutes, allowing the flavors to meld. Stir in the fresh basil just before removing from heat.
Filling
- While the sauce is simmering, prepare the ricotta filling. In a large bowl, whisk the eggs with the salt until lightly combined. Stir in the ricotta cheese, freshly grated Parmesan, and finely chopped parsley. Mix until all ingredients are evenly distributed. If not using immediately, cover and store the filling in the refrigerator.
Assembly and Baking
- Preheat your oven to 350℉ (175°C). Take two 9×13-inch baking pans. Spread 1 cup of the prepared tomato sauce evenly across the bottom of each pan. Set aside.
- Place a crespelle on your work surface with the ridged (or less perfect) side facing up. Lay a strip of mozzarella cheese in the middle, then top with approximately 3 tablespoons of the ricotta filling. Carefully roll the crepe to fully enclose the filling.
- Place the rolled manicotti, seam side down, into the prepared baking dish. Arrange them in two rows of 5 manicotti each per pan. (Refer to the image in the post for visual guidance.)
- Once all the manicotti have been rolled and arranged, spread an additional 1½ cups of sauce over the top of each pan, ensuring full coverage. Reserve any extra sauce for serving.
- Cover both pans securely with aluminum foil. Bake for 35-45 minutes, or until the sauce is bubbly and the manicotti are heated through. Serve immediately with extra sauce and a sprinkle of fresh Parmesan cheese.
Notes
Make-Ahead and Freezer Tips
If you don’t need the entire recipe for one meal, you can effectively freeze components or an entire casserole for future enjoyment.
- Crepes: Once prepared, cool them completely and stack them with small sheets of wax paper in between. Wrap the stacks securely with plastic wrap and store them in the refrigerator for up to 2 days. For longer storage, place the wrapped stacks in a freezer-safe ziplock bag and freeze for up to 2 months. Thaw at room temperature before using.
- Sauce: Prepare the sauce, allow it to cool completely, then transfer it to an airtight container. It can be refrigerated for up to 3 days or frozen for up to 2 months.
- Filling: Mix all the filling ingredients together, then cover and store in an airtight container in the refrigerator for up to 24 hours.
- Assembled Casserole: I’ve experimented with freezing the fully assembled manicotti casserole and found that the texture of the shells can sometimes deteriorate upon thawing and reheating due to moisture release from the filling. For the best results, I recommend assembling the manicotti fresh and baking it immediately. If you wish to make ahead, prepare the sauce and crepes in advance and freeze them separately. Prepare the ricotta filling up to 2 days ahead of time and keep it refrigerated. When ready to cook, thaw the frozen components, prepare the fresh filling, assemble the manicotti, and then bake according to the directions. This method ensures the freshest possible taste and texture.
Nutrition Information (per serving)
Calories: 550kcal, Carbohydrates: 35g, Protein: 32g, Fat: 33g, Saturated Fat: 16g, Polyunsaturated Fat: 2g, Monounsaturated Fat: 11g, Trans Fat: 0.02g, Cholesterol: 240mg, Sodium: 1350mg, Potassium: 564mg, Fiber: 5g, Sugar: 7g, Vitamin A: 1537IU, Vitamin C: 16mg, Calcium: 549mg, Iron: 4mg
Did you make this recipe?
Please leave a star rating and review below. It helps others when searching for recipes and I LOVE feedback!