
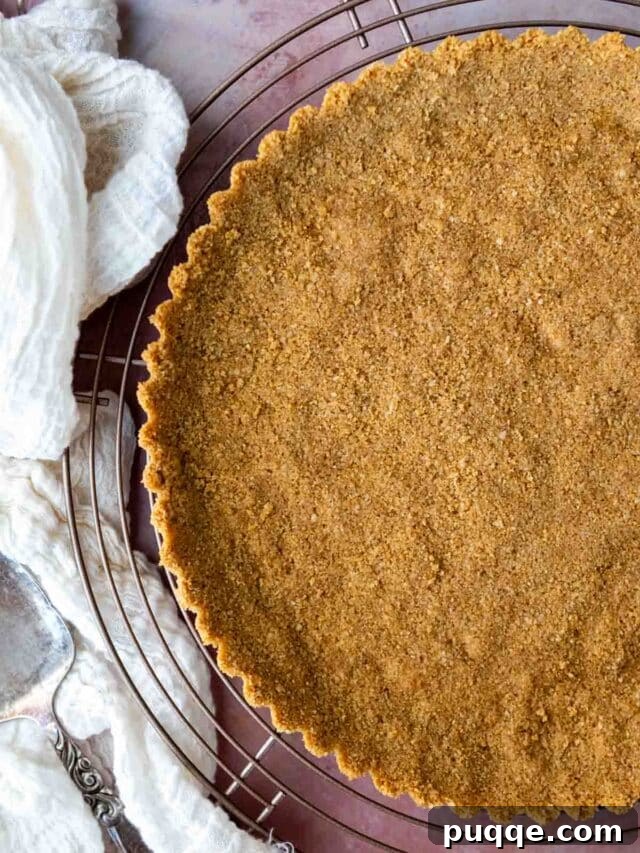
If you’ve ever embarked on the journey of gluten-free baking, you know the frustration of crumbly crusts that fall apart the moment you try to slice them. But what if I told you that the secret to an incredible, perfectly cohesive gluten-free graham cracker crust is within reach? You have indeed stumbled upon the ultimate guide to creating a pie or cheesecake crust that not only holds together beautifully and slices flawlessly but will also impress even your most discerning gluten-free critics. Prepare to unlock simple yet effective tricks and tips that will transform your baking experience, delivering a crust that’s both easy to make and utterly delicious!
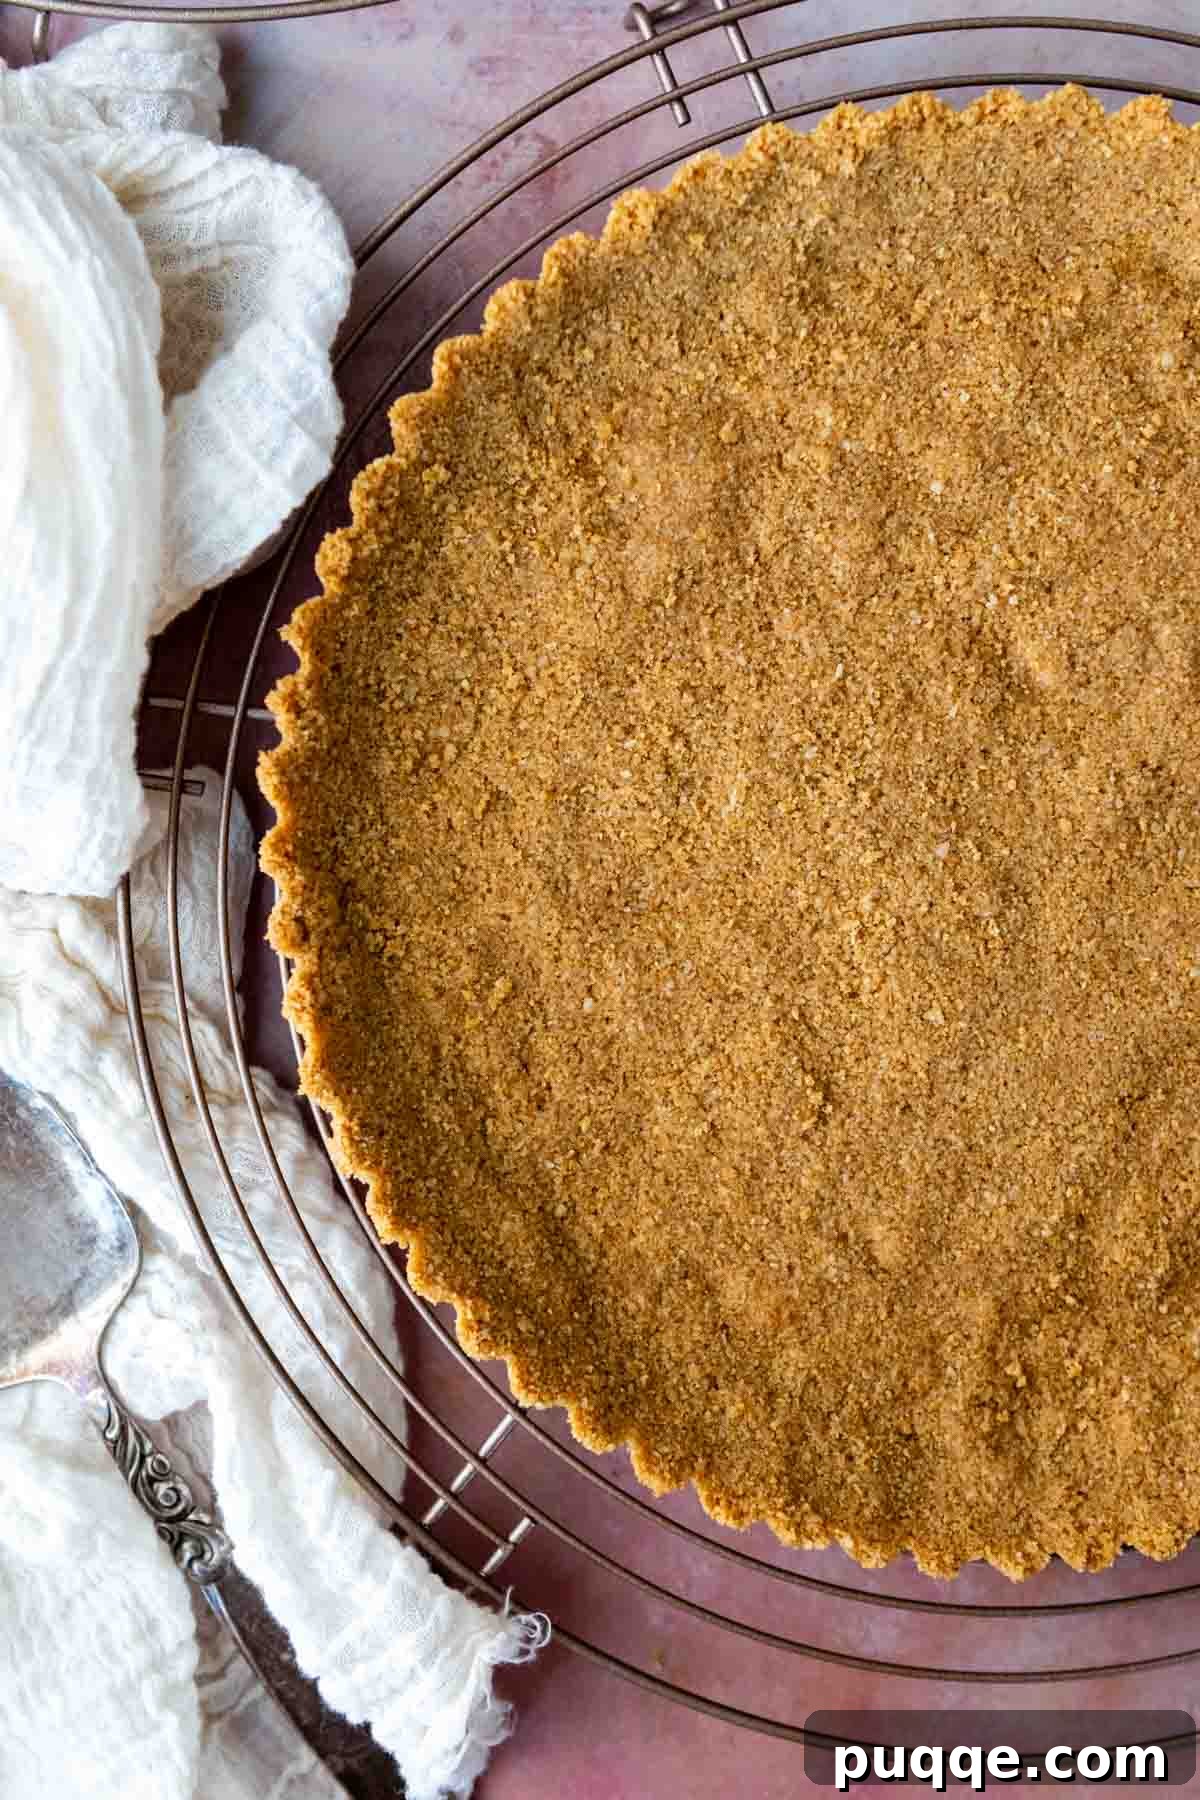
Mastering the Perfect Gluten-Free Graham Cracker Crust
The world of gluten-free baking often presents unique challenges, especially when it comes to replicating the textures and structures of traditional recipes. Many believe that simply swapping out a specialty GF ingredient for its conventional counterpart will yield similar results. However, when it comes to crumb crusts, this approach often leads to disappointing, gritty, and fragile outcomes. We all deserve better than a crust that resembles a bowl of loose sand!
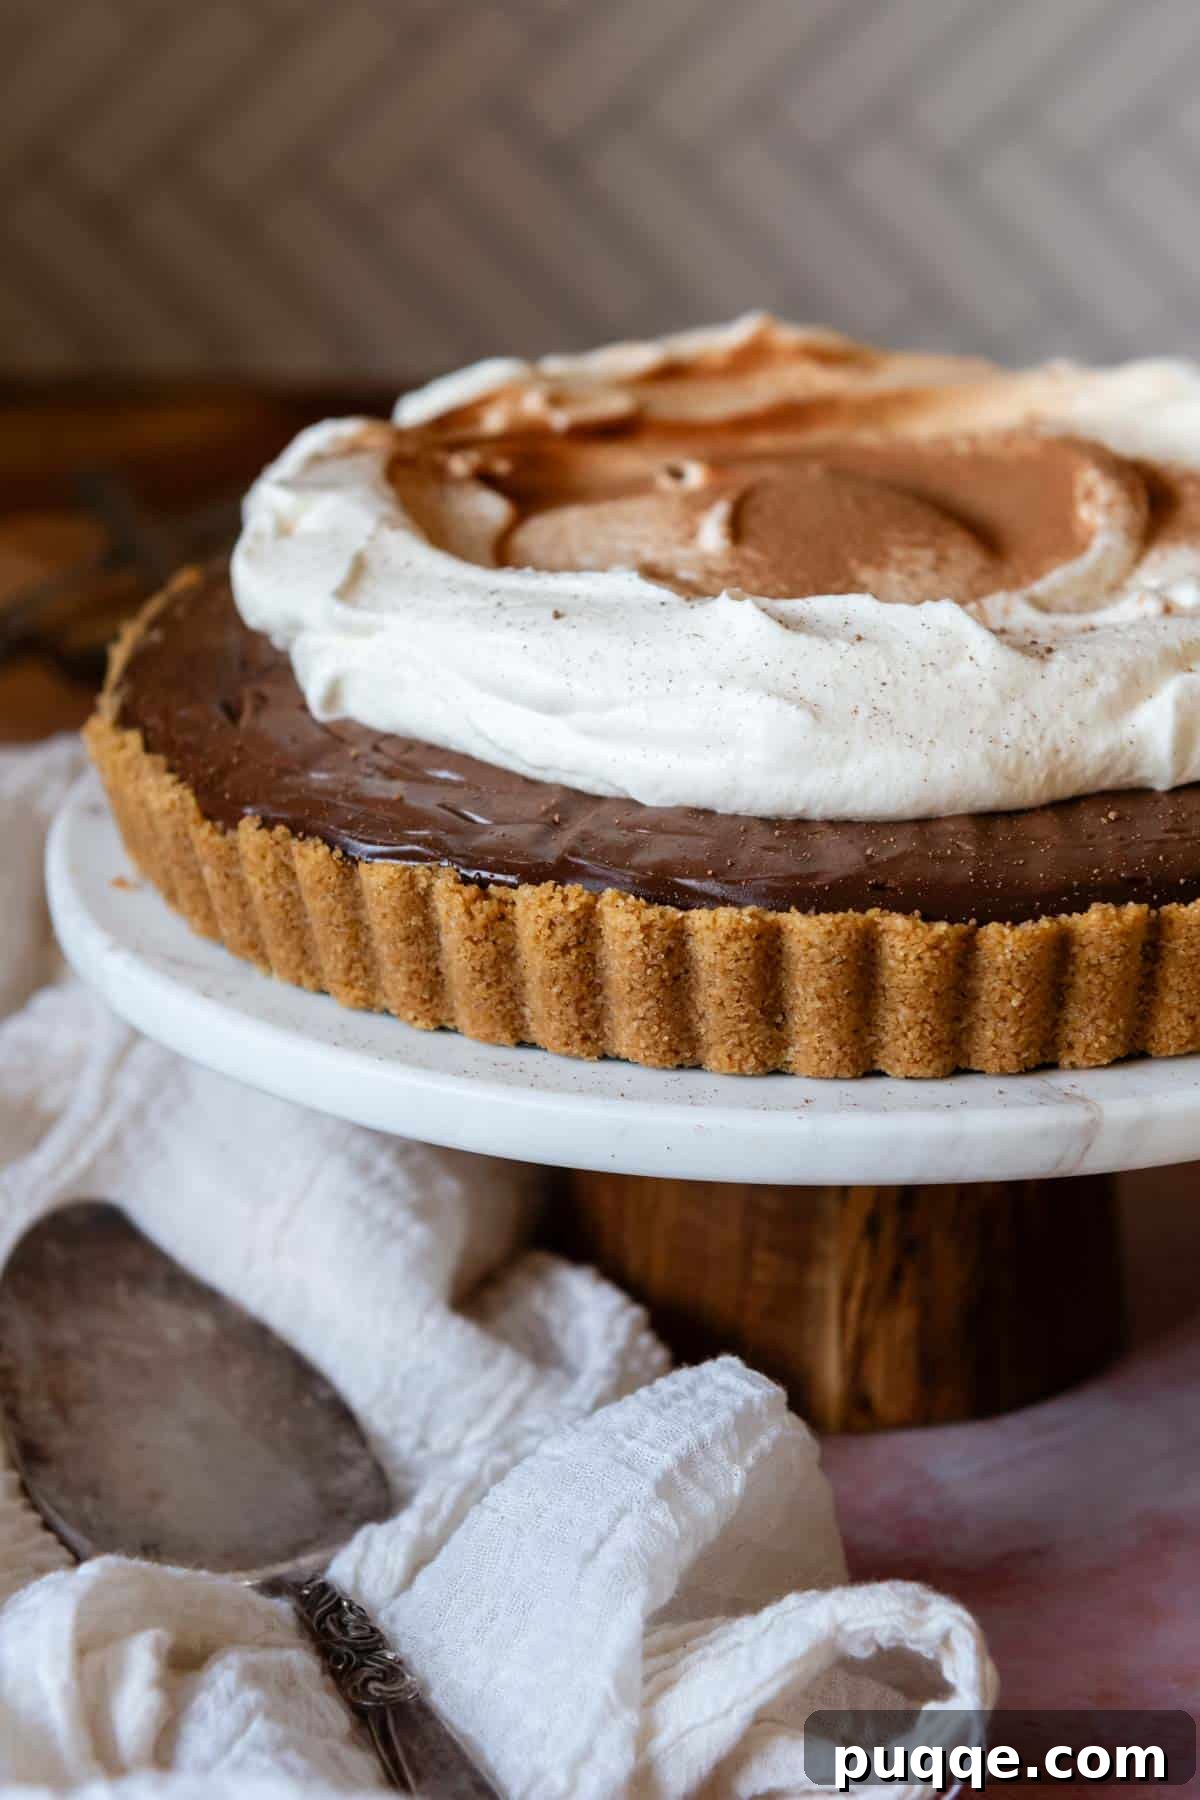
My own journey through countless disappointing pre-packaged gluten-free products and subpar crust recipes fueled my passion to create truly exceptional alternatives. While there are times you crave that perfectly flaky traditional pie crust, there are other moments when only a sturdy, sweet, and delightful graham cracker crust will do. Think luscious cheesecakes, vibrant key lime pies, or decadent chocolate tarts – each demanding a base that can stand up to rich fillings and elegant slicing.
The quest for the ideal gluten-free graham cracker crust began with a realization: not all GF graham crackers are created equal. My extensive taste-testing adventures (a hardship, I assure you, but someone had to do it!) revealed significant differences in flavor and texture among various brands. Beyond choosing the right cracker, the method of preparation and a special “magic ingredient” proved to be critical in achieving a crust that binds beautifully and holds its shape, rather than crumbling at the first touch of a fork.
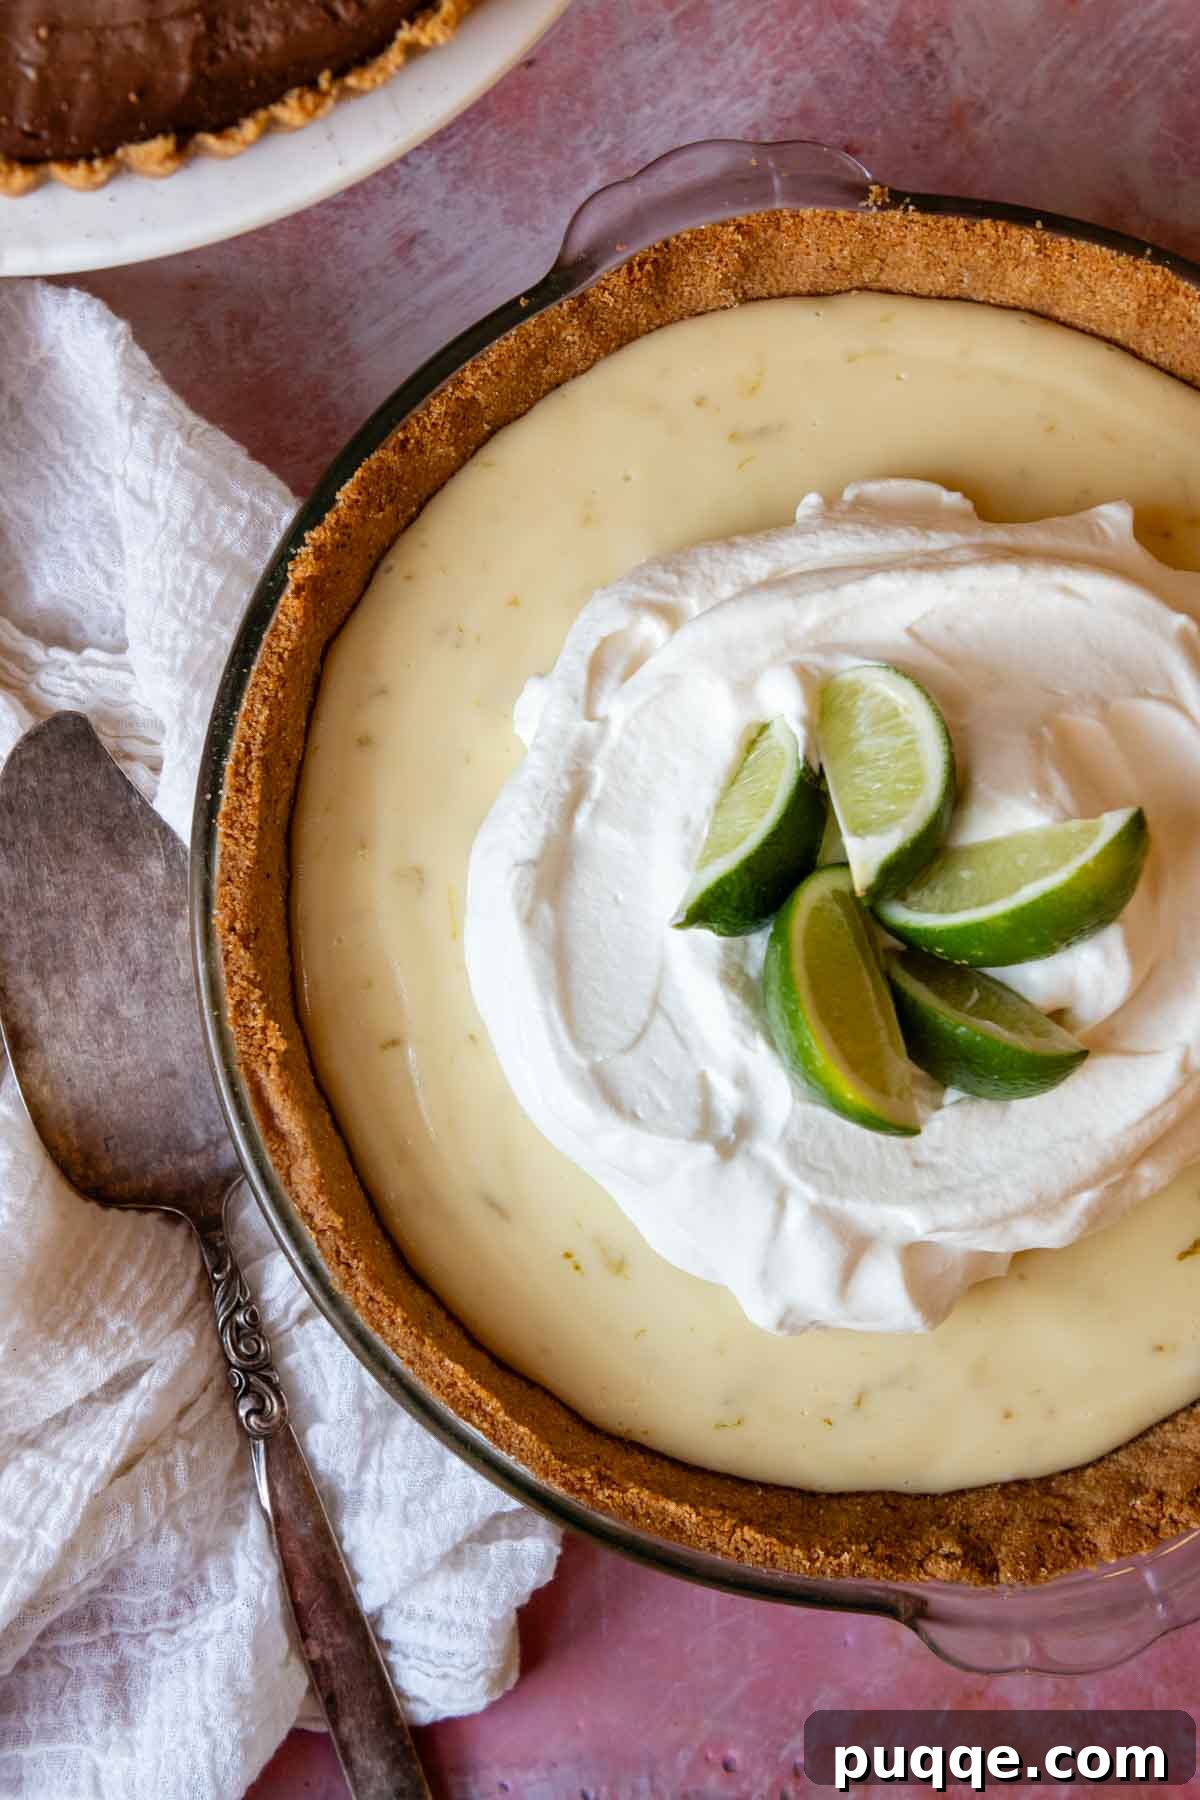
This recipe is designed to overcome the common pitfalls of gluten-free crusts: gritty texture and poor structural integrity. By selecting high-quality crackers and incorporating a clever binding agent, we can bring back all those delicious slices we’ve been missing. Personally, this crust is my go-to for my famously delicious gluten-free key lime pie and serves as an unbeatable foundation for various cheesecakes. What culinary creations will you bring to life with it? Share your ideas in the comments below – I’d love to hear them!
Why Gluten-Free Crusts Need a Special Touch
Understanding the fundamental difference between traditional and gluten-free baking is key to achieving success with this recipe. In conventional graham cracker crusts, the crumbs often contain gluten, which, when combined with butter and sugar, helps create a structural network that holds the crust together. Gluten provides elasticity and a binding quality that is inherently missing in gluten-free flours and crackers.
Without gluten, gluten-free crumbs lack this natural binder. This is why a simple 1:1 swap of crackers rarely works effectively, leading to that dreaded crumbly, sandy texture. To counteract this, our recipe introduces a “magic ingredient” – a small amount of gluten-free flour or starch – which acts as a crucial binding agent. When combined with butter and sugar and then baked, this binder helps to create a stable matrix that mimics the structural integrity of a traditional crust, ensuring your dessert holds its shape beautifully when sliced. This thoughtful approach transforms a potentially fragile crust into a reliable and delicious foundation for any pie or cheesecake.
Essential Ingredients for Your Flawless Crust
Crafting the perfect gluten-free graham cracker crust relies on a few key ingredients, each playing a vital role in achieving that desirable crisp, golden-brown, and sturdy texture. This section details the specifics, including how to select the best gluten-free graham crackers and why certain ingredient choices make all the difference.
- Gluten-Free Graham Crackers: This is arguably the most critical component. The quality, flavor, and texture of your chosen gluten-free crackers will directly impact the final crust. You’ll need 180 grams (approximately 1 ½ cups of finely crushed crumbs). My research involved trying numerous brands to find ones that aren’t “ricey” or gritty. See the list below for my top recommendations and those to avoid. Sometimes, you might need two boxes to get the exact amount, depending on the brand’s packaging.
- Butter: We use a slightly more generous amount of butter (5 full tablespoons) compared to some traditional recipes. This extra fat is crucial for binding the gluten-free crumbs and contributing to the crust’s rich flavor and firm texture. The melted butter coats the crumbs, helping them adhere to each other. For a dairy-free crust, feel free to substitute with an equal amount of melted coconut oil or your favorite vegan butter alternative.
- Granulated Sugar: While many recipes call for brown sugar, I prefer granulated white sugar for this crust. Granulated sugar, with its lower moisture content, helps achieve a crispier finish, which is highly desirable in a graham cracker crust. It also provides the perfect level of sweetness without overpowering your filling.
- Binder (The Magic Ingredient!): This is where the true innovation for a gluten-free crust comes in. Since gluten is absent, we need an alternative binding agent. I’ve successfully tested this recipe using 1 tablespoon of gluten-free all-purpose flour, cornstarch, or rice flour. All three options work wonderfully to provide the necessary structure, preventing the crust from becoming crumbly. Choose whichever you have on hand or prefer! This small addition makes a monumental difference in how well your crust holds together for beautiful slices.
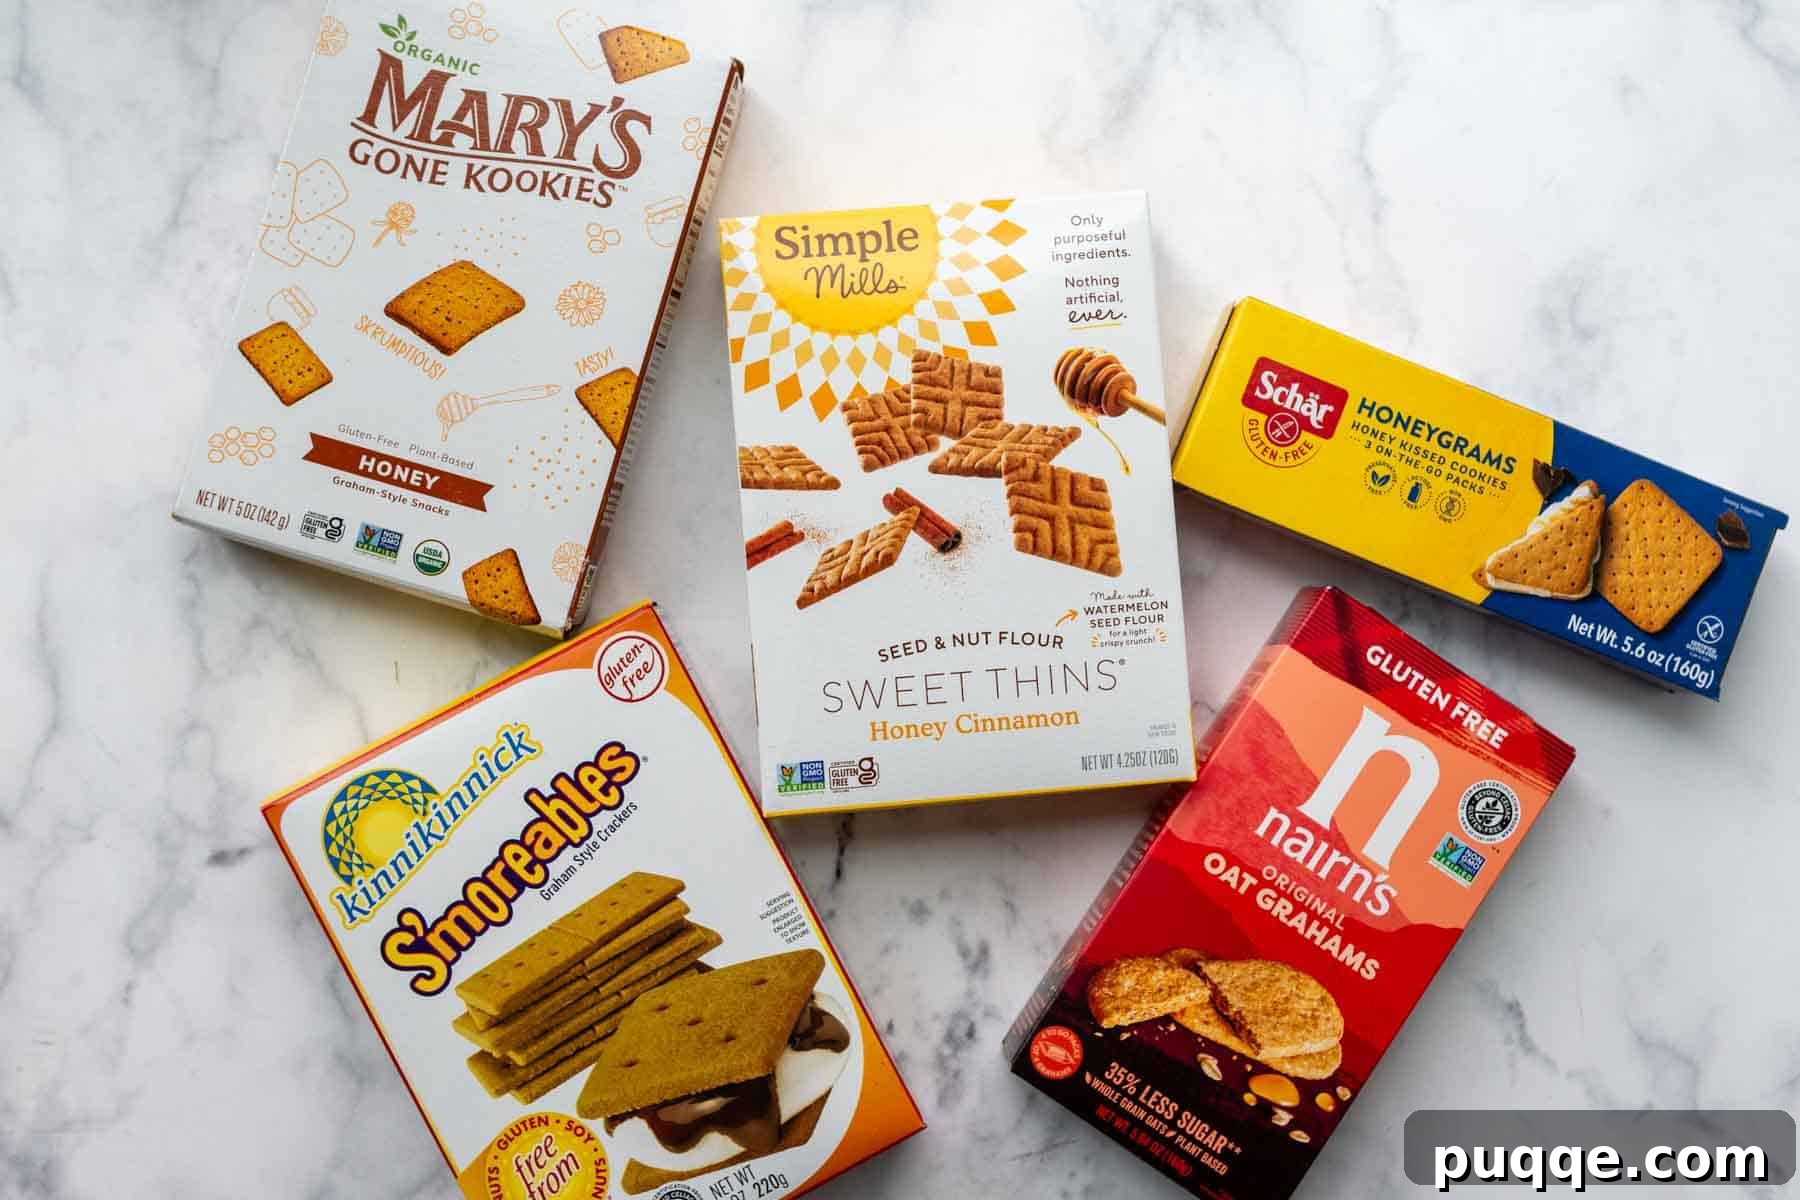
Choosing the Best GF Graham Crackers: A Brand Guide
The success of your gluten-free graham cracker crust starts with selecting the right crackers. After extensive testing, I’ve identified brands that truly shine and others that might leave you with a less-than-ideal crust. Here’s a breakdown to guide your choice:
- Nairn’s Oat Grahams – (Highly Recommended) These are fantastic! They boast a lightly sweetened, wholesome oat taste without any unpleasant grittiness or displeasing texture. They’re also delicious enough to enjoy on their own. While one box might be slightly under the 180 grams needed, you could technically make the recipe with just one and slightly less volume, or simply grab two boxes and snack on the extras. You won’t regret it!
- Schar Gluten-Free Honeygrams – (Recommended) Schar offers a lighter, more tender cracker that closely mimics the texture of traditional graham crackers. The taste is good, though you might notice a very slight grittiness, which is common in many GF products. One box should provide enough crackers for this recipe.
- Simple Mills Sweet Thins Honey Cinnamon – These taste really great on their own and have a smooth, non-gritty texture. However, they are made with watermelon seed flour, which might affect their binding properties in a crust compared to grain-based crackers. Additionally, one box contains only 120 grams, meaning you would need to purchase two boxes to get the required 180 grams for the recipe. They could work, but be mindful of the binding.
- Mary’s Gone Kookies Honey Grahams – These crackers are less sweet, almost leaning towards savory. If you choose this brand, I suggest adding an extra 1-2 tablespoons of granulated sugar to the crust mixture to achieve a balanced sweetness. Like Simple Mills, one box is only 142 grams, so you’ll need to buy two to have enough.
- Kinnikinnick Graham Crackers – (Not Recommended) Unfortunately, this brand fell short in my testing. These crackers have a very distinct ricey flavor and a noticeably gritty texture that doesn’t work well for a smooth, pleasant crust. They are also quite thick, making them less ideal even for things like s’mores. This brand also produces ready-to-use gluten-free graham cracker crumbs, but based on the crackers themselves, I would not recommend those either.
Ultimately, the goal is a cracker that provides a pleasant taste and texture when crushed, minimizing any “off” flavors or excessive grittiness. Using a food scale to measure 180 grams ensures accuracy, regardless of the brand’s box size, and guarantees the perfect crumb-to-binder ratio.
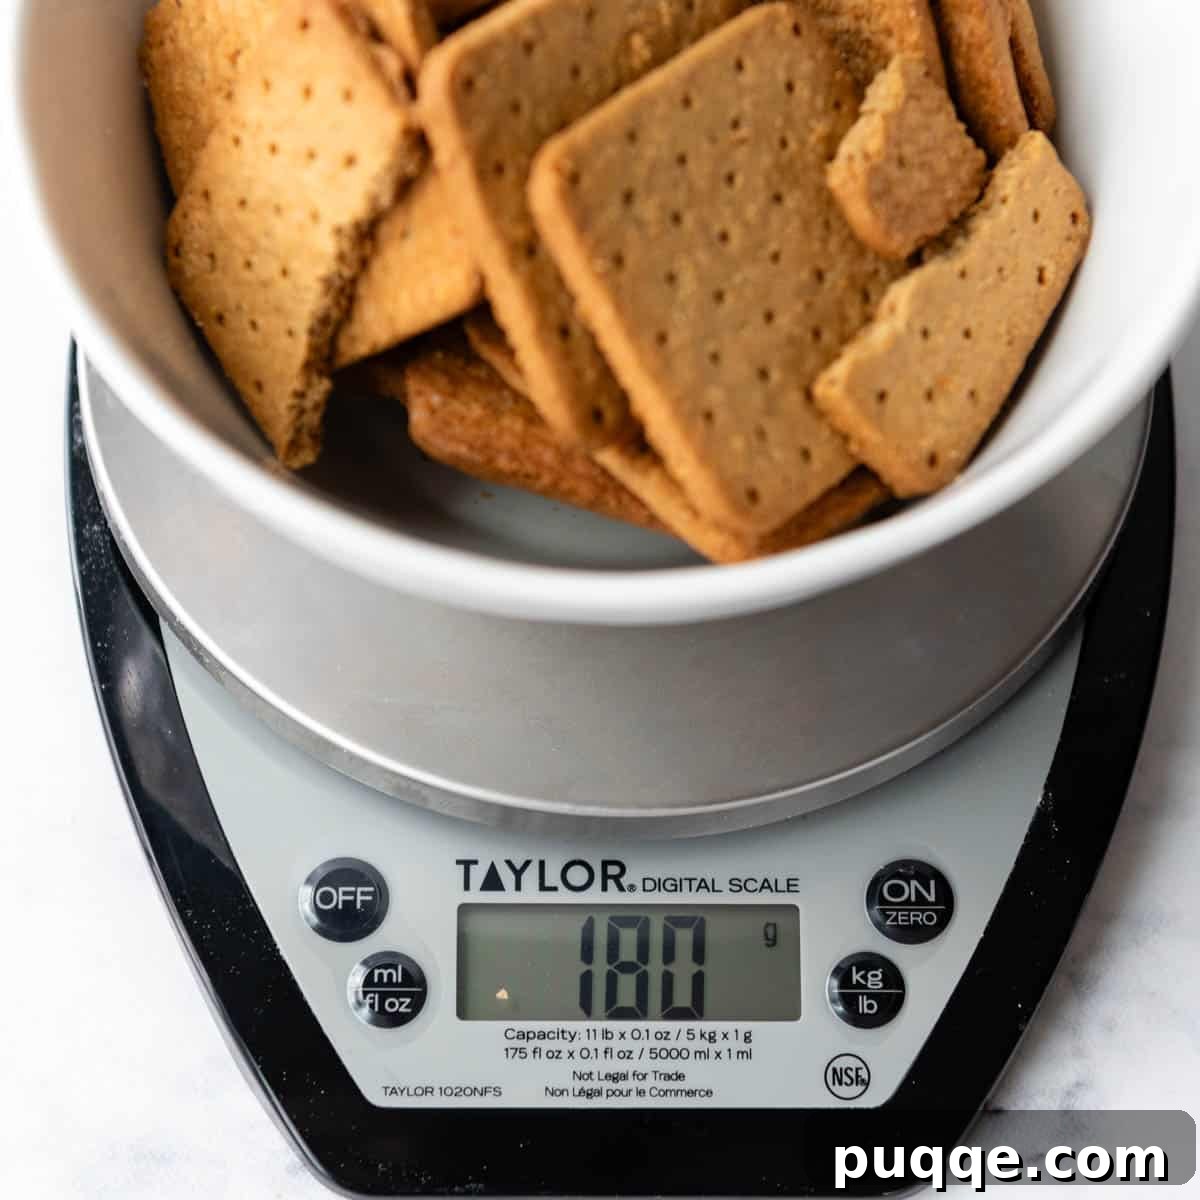
Your Step-by-Step Guide to a Perfect Crust
Creating this flawless gluten-free graham cracker crust is surprisingly simple and requires minimal effort. Follow these step-by-step instructions, complete with helpful tips and visual cues, to ensure your crust turns out perfectly every time. For the complete recipe, including exact ingredient amounts, please scroll down to the dedicated recipe card.
1. Achieve Fine Crumbs
The first step to a well-bound crust is uniformly fine crumbs. A food processor makes this incredibly easy, pulverizing the graham crackers in about a minute until they resemble coarse sand. If you don’t have a food processor, no problem! Simply place the gluten-free graham crackers in a sturdy ziplock bag, seal it, and use a rolling pin or the bottom of a heavy pan to crush them. The key is to crush them very finely, almost to a powder. Larger chunks will prevent the crust from binding properly and result in a crumbly texture.
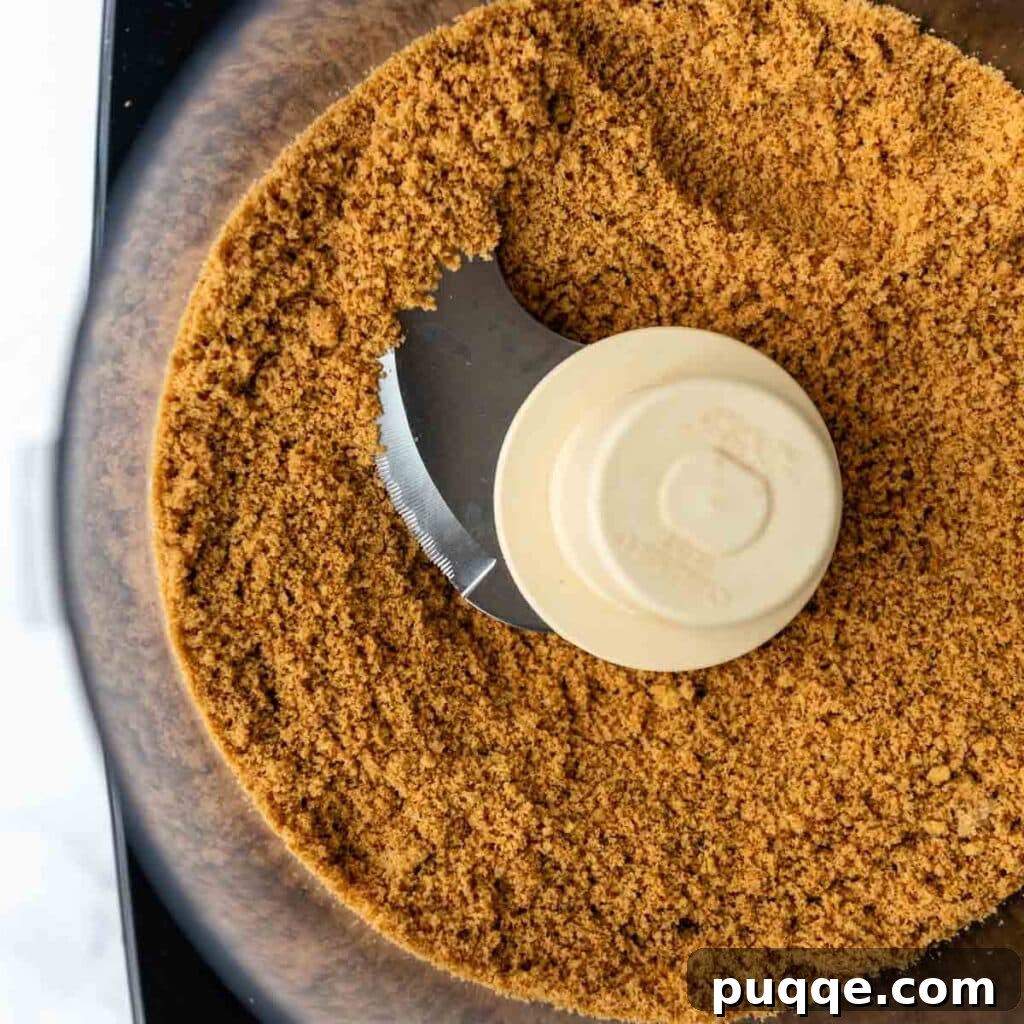
2. Combine with Binder and Butter
Once your crumbs are perfectly fine, it’s time for the magic to happen. Return the crumbs to the food processor (or a mixing bowl if doing by hand). Add the granulated sugar, your chosen gluten-free binder (gluten-free flour, cornstarch, or rice flour), and a touch of ground cinnamon for extra flavor. Finally, pour in the melted butter (or your dairy-free alternative). Process everything together until the mixture is thoroughly combined and uniformly moist, resembling wet sand. If mixing by hand, stir vigorously with a spoon until all the dry ingredients are fully coated and evenly distributed with the butter.
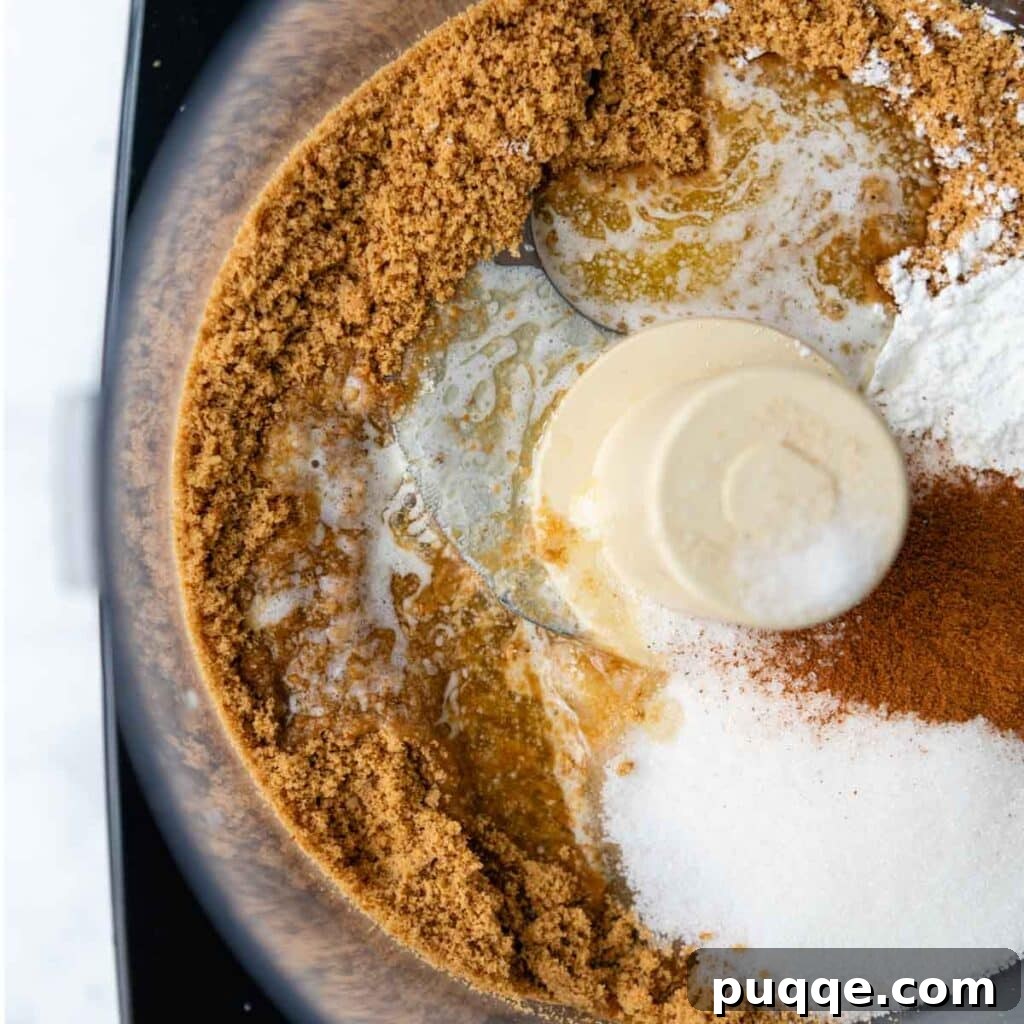
3. Press and Bake to Perfection
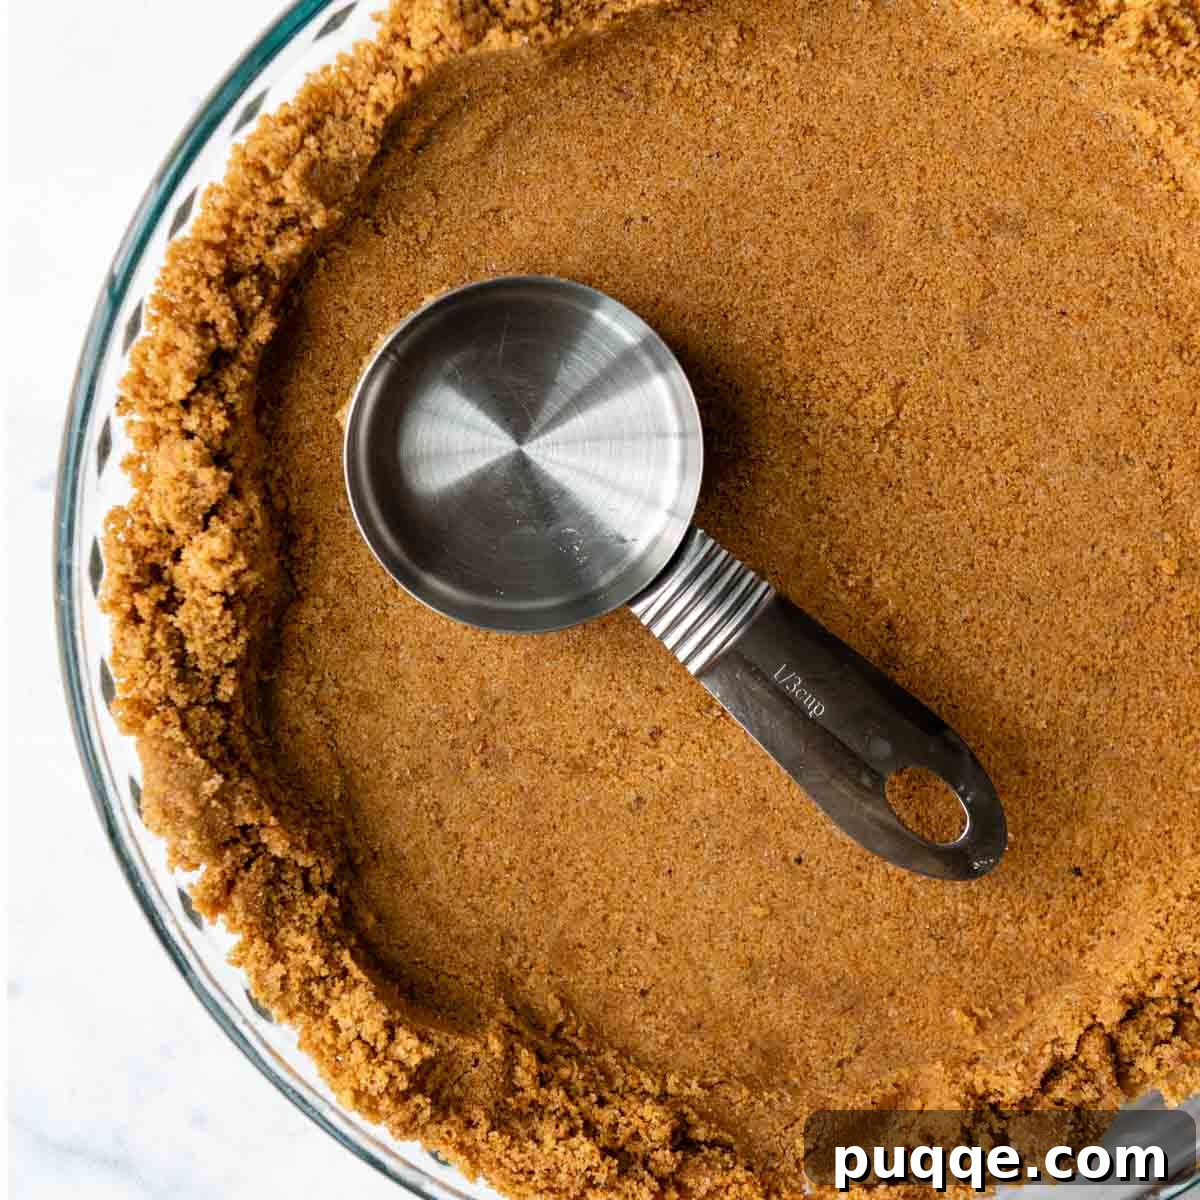
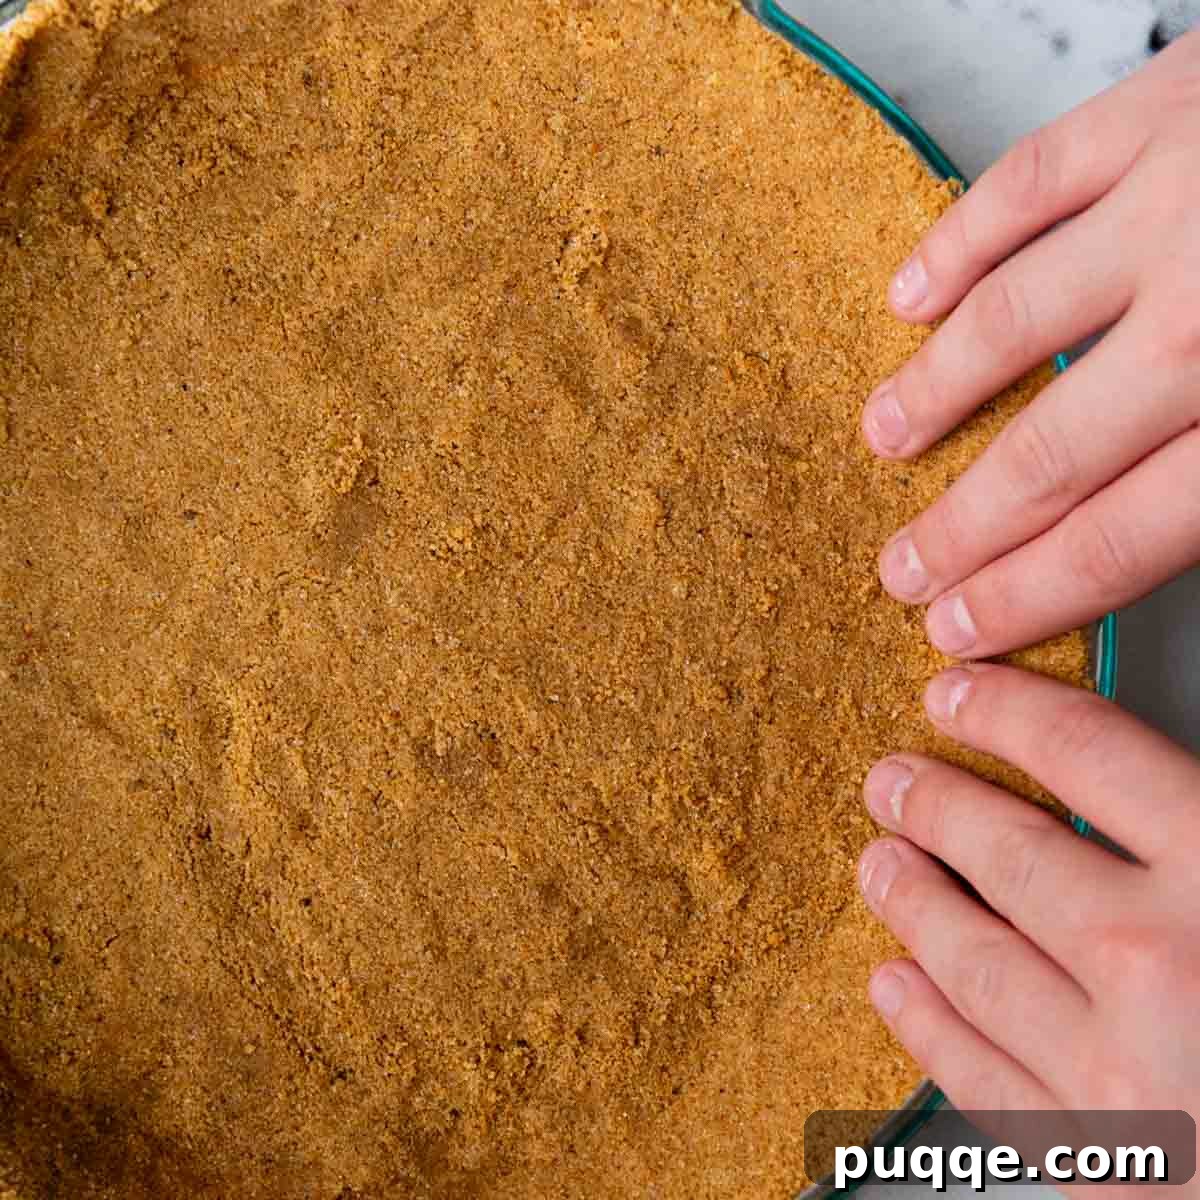
Now for the formation! Preheat your oven to 350ºF (175°C). Dump the moist crumb mixture into your chosen pie plate, tart pan, or the bottom of a springform pan. Begin by spreading the crumbs across the bottom of the pan. Then, using the flat bottom of a measuring cup or a small glass, press the crumbs down firmly and evenly across the base. As you press towards the edges, the remaining crumbs will naturally push up the sides. Use your fingers or the measuring cup to firmly press these crumbs along the edges to form a defined wall. This firm pressing is vital for a sturdy crust. Bake the crust for just 10 minutes. Once baked, remove it from the oven and allow it to cool completely on a wire rack before adding any filling. This cooling period is crucial for the crust to set properly and become wonderfully crisp.
Expert Tips for a Foolproof Gluten-Free Crust
Even with a great recipe, a few expert tips can elevate your gluten-free graham cracker crust from good to truly exceptional. Keep these pointers in mind for a consistently perfect result:
- Fine Crumbs are Key: This cannot be stressed enough. The finer your graham cracker crumbs, the better they will absorb the butter and binder, leading to a uniformly strong and sliceable crust. Any large chunks will create weak spots that lead to crumbling.
- The Right Amount of Butter: Don’t skimp on the butter! The 5 tablespoons specified in this recipe are essential for moistening and binding the gluten-free crumbs. Too little butter will result in a dry, fragile crust, while too much can make it greasy.
- Don’t Skip the Binder: The tablespoon of gluten-free flour, cornstarch, or rice flour is your secret weapon. It provides the necessary structure that gluten-free crackers naturally lack. It’s a small addition with a huge impact on the crust’s stability.
- Press Firmly and Evenly: When pressing the mixture into the pan, apply firm and consistent pressure. Use the bottom of a measuring cup or a flat-bottomed glass for the base and your fingers for the sides. A tightly packed crust is a sturdy crust.
- Baking is Non-Negotiable: Unlike some traditional graham cracker crusts, baking is crucial for a gluten-free version. The heat helps to “set” the butter and binder, creating a firm, crisp structure. This short 10-minute bake time makes all the difference.
- Cool Completely: Patience is a virtue when it comes to baked goods, especially this crust. Allowing the crust to cool completely, preferably on a wire rack, is vital for it to firm up properly. Filling a warm crust can lead to a soggy bottom and a less stable end product.
- Consider Your Pan: This recipe works well in a standard 9 or 10-inch pie plate, a tart pan, or even just the bottom of a springform pan for cheesecakes. The key is even distribution and firm pressing, regardless of the pan type.
Baking or No Baking: The Gluten-Free Dilemma
A common question arises when it comes to graham cracker crusts: should it be baked or left as a no-bake option? For gluten-free crusts, the answer is definitive: baking is absolutely essential. While some traditional graham cracker crusts can get away with being strictly no-bake, relying solely on chilling to set, gluten-free crackers behave differently.
As discussed, gluten-free crumbs lack the inherent elasticity and binding power of their gluten-containing counterparts. Without the structure provided by gluten, a mere combination of crumbs, sugar, and butter, even with our “magic binder,” won’t achieve the necessary stability through chilling alone. The brief 10-minute bake time in this recipe serves a critical purpose: it allows the butter and the added gluten-free flour (or starch) to melt, bind, and then set, creating a sturdy, cohesive crust that can withstand slicing and hold even the heaviest fillings.
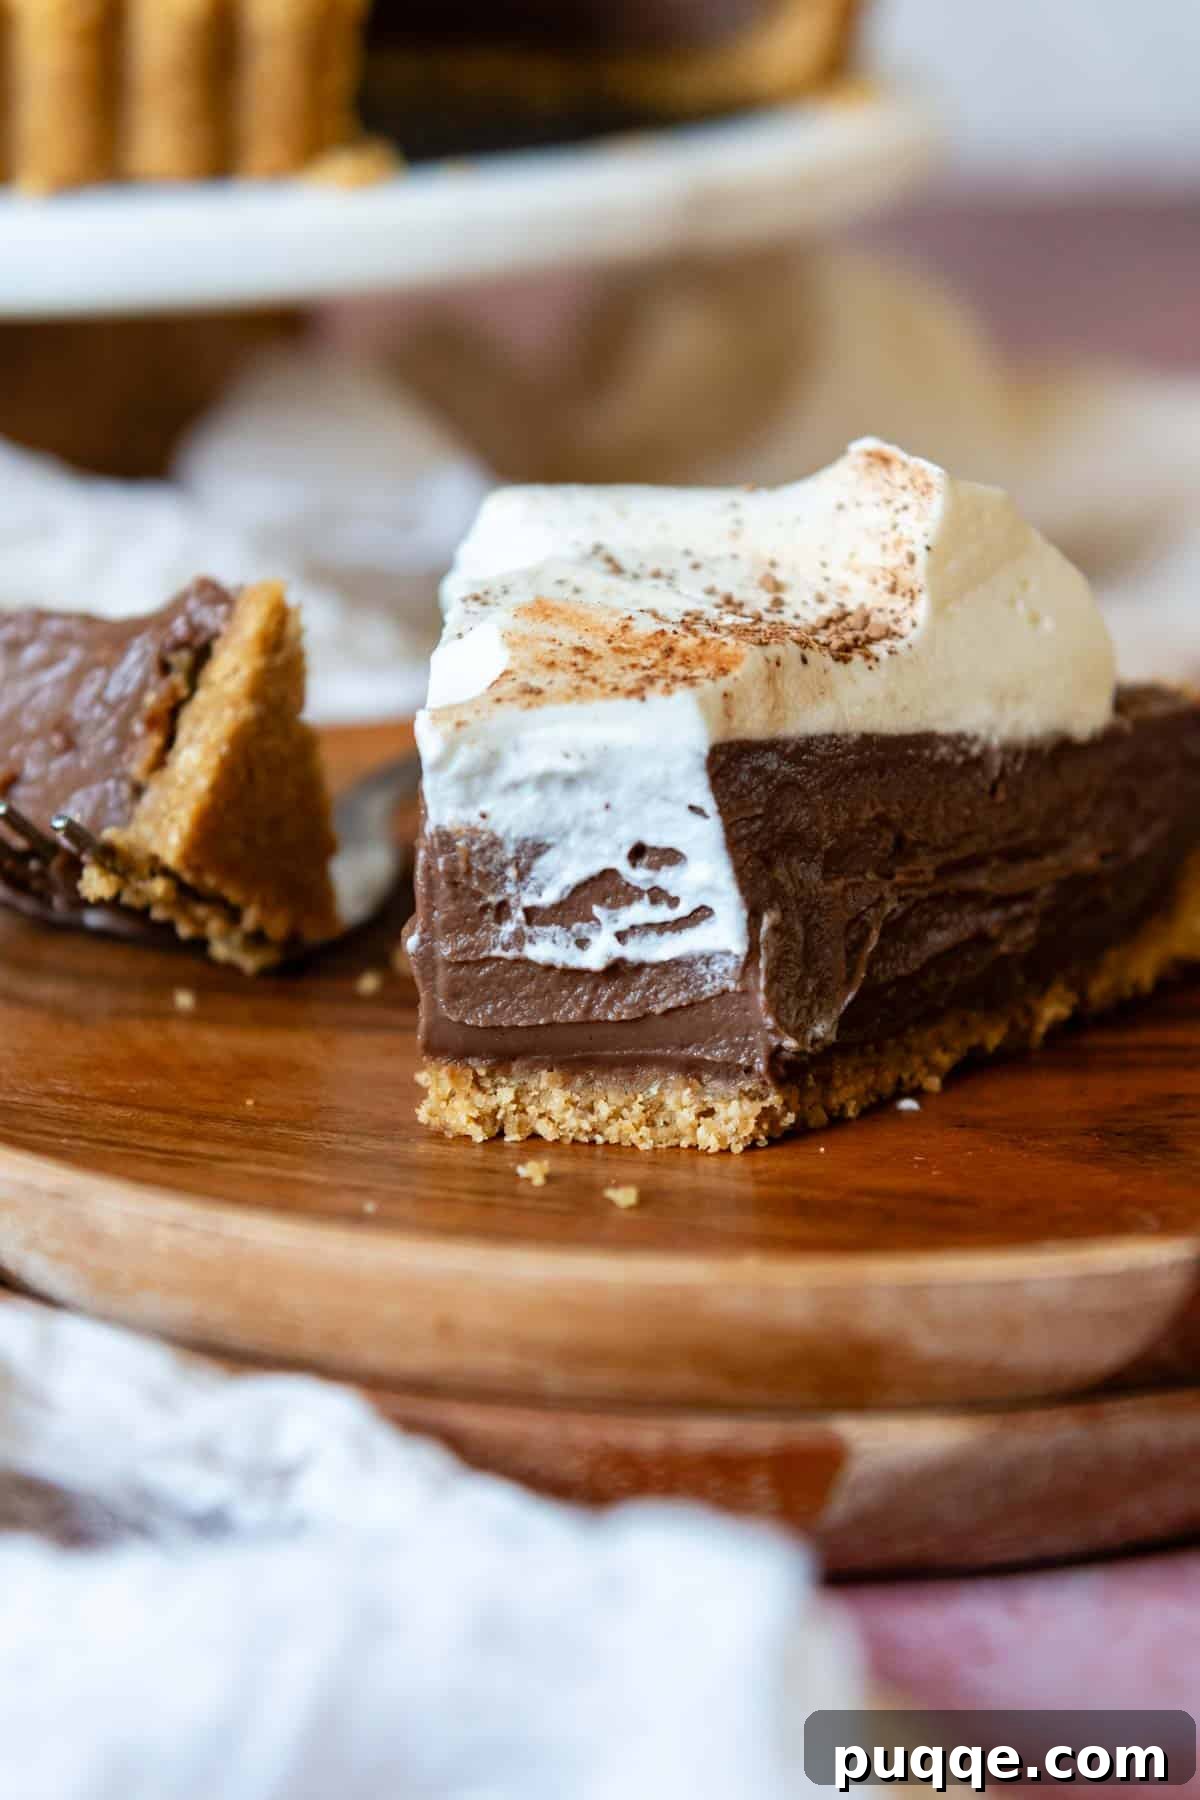
Even if your final dessert is a no-bake creation – such as a creamy no-bake cheesecake, a rich chocolate pudding pie, or a refreshing ice box pie – you should still bake this gluten-free graham cracker crust first. Simply bake it as directed, then let it cool completely on a wire rack before adding your chilled filling. This extra 10 minutes of baking time ensures a perfectly crisp, stable, and delicious foundation that won’t fall apart, guaranteeing a delightful dessert experience every time.
Versatile Fillings and Serving Suggestions
The beauty of a perfectly crafted gluten-free graham cracker crust lies in its versatility. It serves as an ideal canvas for a vast array of desserts, offering a subtly sweet and crunchy counterpoint to creamy, fruity, or rich fillings. Here are some inspiring ideas to get you started:
- Cheesecakes: This crust is a dream come true for both baked and no-bake cheesecakes. Its sturdy nature ensures your cheesecake slices are always picture-perfect. Try it with classic New York style, pumpkin cheesecake, or a tangy lemon variation.
- Key Lime Pie: As mentioned, it’s the foundation for my famous gluten-free key lime pie. The slightly sweet and crisp crust perfectly balances the tart and creamy filling.
- Chocolate Cream or Pudding Pies: For a decadent treat, fill the cooled crust with a rich chocolate cream or pudding. Top with freshly whipped cream and chocolate shavings for an impressive dessert.
- Icebox Pies: These easy, no-bake favorites are fantastic with a pre-baked GF graham cracker crust. Think peanut butter, banana, or coconut cream icebox pies.
- Fruit Tarts: A baked crust makes a wonderful base for fresh fruit tarts. Fill with pastry cream and arrange a colorful assortment of berries, kiwi, and peaches on top for a visually stunning dessert.
- Peanut Butter Pie: The classic combination of graham cracker and peanut butter is elevated with this reliable crust.
- Mini Desserts: For individual servings, press the crust mixture into muffin tins lined with paper cups, bake, cool, and fill with your favorite mini pie or cheesecake fillings.
No matter your chosen filling, this gluten-free graham cracker crust promises to deliver a satisfying crunch and a delicious flavor that enhances every bite.
Storage and Make-Ahead Tips
Planning ahead can make dessert preparation a breeze, and this gluten-free graham cracker crust is perfect for it. Here’s how to store it, whether baked or filled:
- Storing an Unfilled, Baked Crust: Once completely cooled, a baked crust can be stored at room temperature, loosely covered, for up to 2-3 days. For longer storage, wrap the cooled crust tightly in plastic wrap and then in aluminum foil. It can be kept in the refrigerator for up to a week or frozen for up to 1-2 months. When ready to use, thaw in the refrigerator if frozen, then fill as desired.
- Storing a Filled Pie or Cheesecake: Storage recommendations for filled desserts will vary based on the specific filling. Generally, most pies and cheesecakes made with this crust will need to be refrigerated. Cover the dessert loosely with plastic wrap or aluminum foil. Most cream-based or fruit-based fillings will last 3-5 days in the refrigerator.
- Freezing Filled Desserts: Many cheesecakes and some pies can be frozen once filled. Ensure the dessert is well-chilled, then wrap it tightly in several layers of plastic wrap and then aluminum foil. Label with the date. Most can be frozen for 1-2 months. Thaw in the refrigerator overnight before serving.
Having a pre-made crust ready to go means you’re just minutes away from assembling a delicious gluten-free dessert, making entertaining or meal prep much simpler.
Frequently Asked Questions (FAQs)
To help you perfect your gluten-free graham cracker crust, here are answers to some common questions:
- Can I make this crust dairy-free? Yes, absolutely! Simply swap the melted butter for an equal amount of melted coconut oil or your favorite brand of vegan butter. The results will be equally delicious and sturdy.
- What if I don’t have a food processor? No problem at all! You can crush the graham crackers by hand. Place them in a sturdy ziplock bag and use a rolling pin, the bottom of a heavy glass, or even your hands to crush them into very fine crumbs. It might take a bit more effort, but the fine consistency is key.
- Why is my gluten-free crust still crumbly after baking? The most common reasons for a crumbly crust are crumbs that aren’t fine enough, not enough butter, or not pressing the crust firmly enough into the pan. Ensure you process the crackers to a very fine, sand-like texture, use the full 5 tablespoons of butter, and apply significant pressure when pressing the crust into the pan.
- Can I use a different type of gluten-free cracker? While this recipe is optimized for gluten-free graham crackers, you could experiment with other types of plain, sweet gluten-free crackers. Just be mindful of their sweetness level and texture. You might need to adjust the amount of sugar or butter. Avoid savory crackers for dessert crusts.
- Can I freeze this crust? Yes! A baked and cooled crust can be wrapped tightly in plastic wrap and aluminum foil and frozen for up to 1-2 months. Thaw it in the refrigerator before filling.
- Do I need to grease the pie plate? For most pie plates, greasing is not strictly necessary, especially with the amount of butter in this recipe, which naturally prevents sticking. However, if you are particularly worried about sticking or using a pan known for it, a light spray of cooking oil won’t hurt.
Save This Recipe for Later!
Let’s be friends on Pinterest! I’m always sharing great recipes!
Did you make this recipe? I love hearing from you! Leave a star rating and comment below the recipe card. It helps others when searching for recipes and I appreciate feedback from our community. You will always hear back from me! -Melissa
15-Minute Baked Gluten-Free Graham Cracker Crust

Melissa Erdelac
8
5 mins
10 mins
15 mins
Pin Recipe
Rate This Recipe
Ingredients
- 180 grams gluten-free graham crackers (or 1 ½ cups crumbs), Schar or Nairn’s Oat Crackers recommended
- 5 tablespoons melted butter, or dairy-free butter or melted coconut oil
- ¼ cup granulated sugar
- 1 tablespoon gluten-free all purpose flour, or cornstarch
- ½ teaspoon ground cinnamon
Equipment
-
Food Processor
-
Food Scale
-
Pie Plate
Instructions
-
Preheat your oven to 350℉ (175°C). In a food processor, add the gluten-free graham crackers and process until they are very finely ground. This should take about 1 minute. The finer the crumbs, the better the crust will bind. If you don’t have a food processor, place the crackers in a sturdy ziplock bag and crush them thoroughly with a rolling pin or the bottom of a heavy pan until they reach a sand-like consistency.180 grams gluten-free graham crackers (or 1 ½ cups crumbs)
-
Add the melted butter (or dairy-free alternative), granulated sugar, gluten-free all-purpose flour (or cornstarch/rice flour), and ground cinnamon to the finely crushed graham cracker crumbs in the food processor. Process again until all ingredients are very well and uniformly mixed. The mixture should resemble wet sand. If you are mixing by hand, transfer the crumbs to a mixing bowl and stir all the ingredients together thoroughly until evenly combined.5 tablespoons melted butter, ¼ cup granulated sugar, 1 tablespoon gluten-free all purpose flour, ½ teaspoon ground cinnamon
-
Pour the crumb mixture into a 9-inch or 10-inch pie pan, tart pan, or just the bottom of a springform pan. Use the flat bottom of a measuring cup or a glass to press the crumbs down firmly and evenly across the bottom of the pan. As you work your way to the edges, the excess crumbs will naturally push up the sides. Use your hands or the measuring cup to firmly press the crumbs around the edges, forming a sturdy crust. (Refer to the how-to images in the article for visual guidance.) Bake for 10 minutes. Once baked, remove from the oven and allow to cool completely on a wire rack before adding your desired filling. This ensures a crisp and well-set crust.
Did you make this recipe?
Please leave a star rating and review below. It helps others when searching for recipes and I LOVE feedback!