
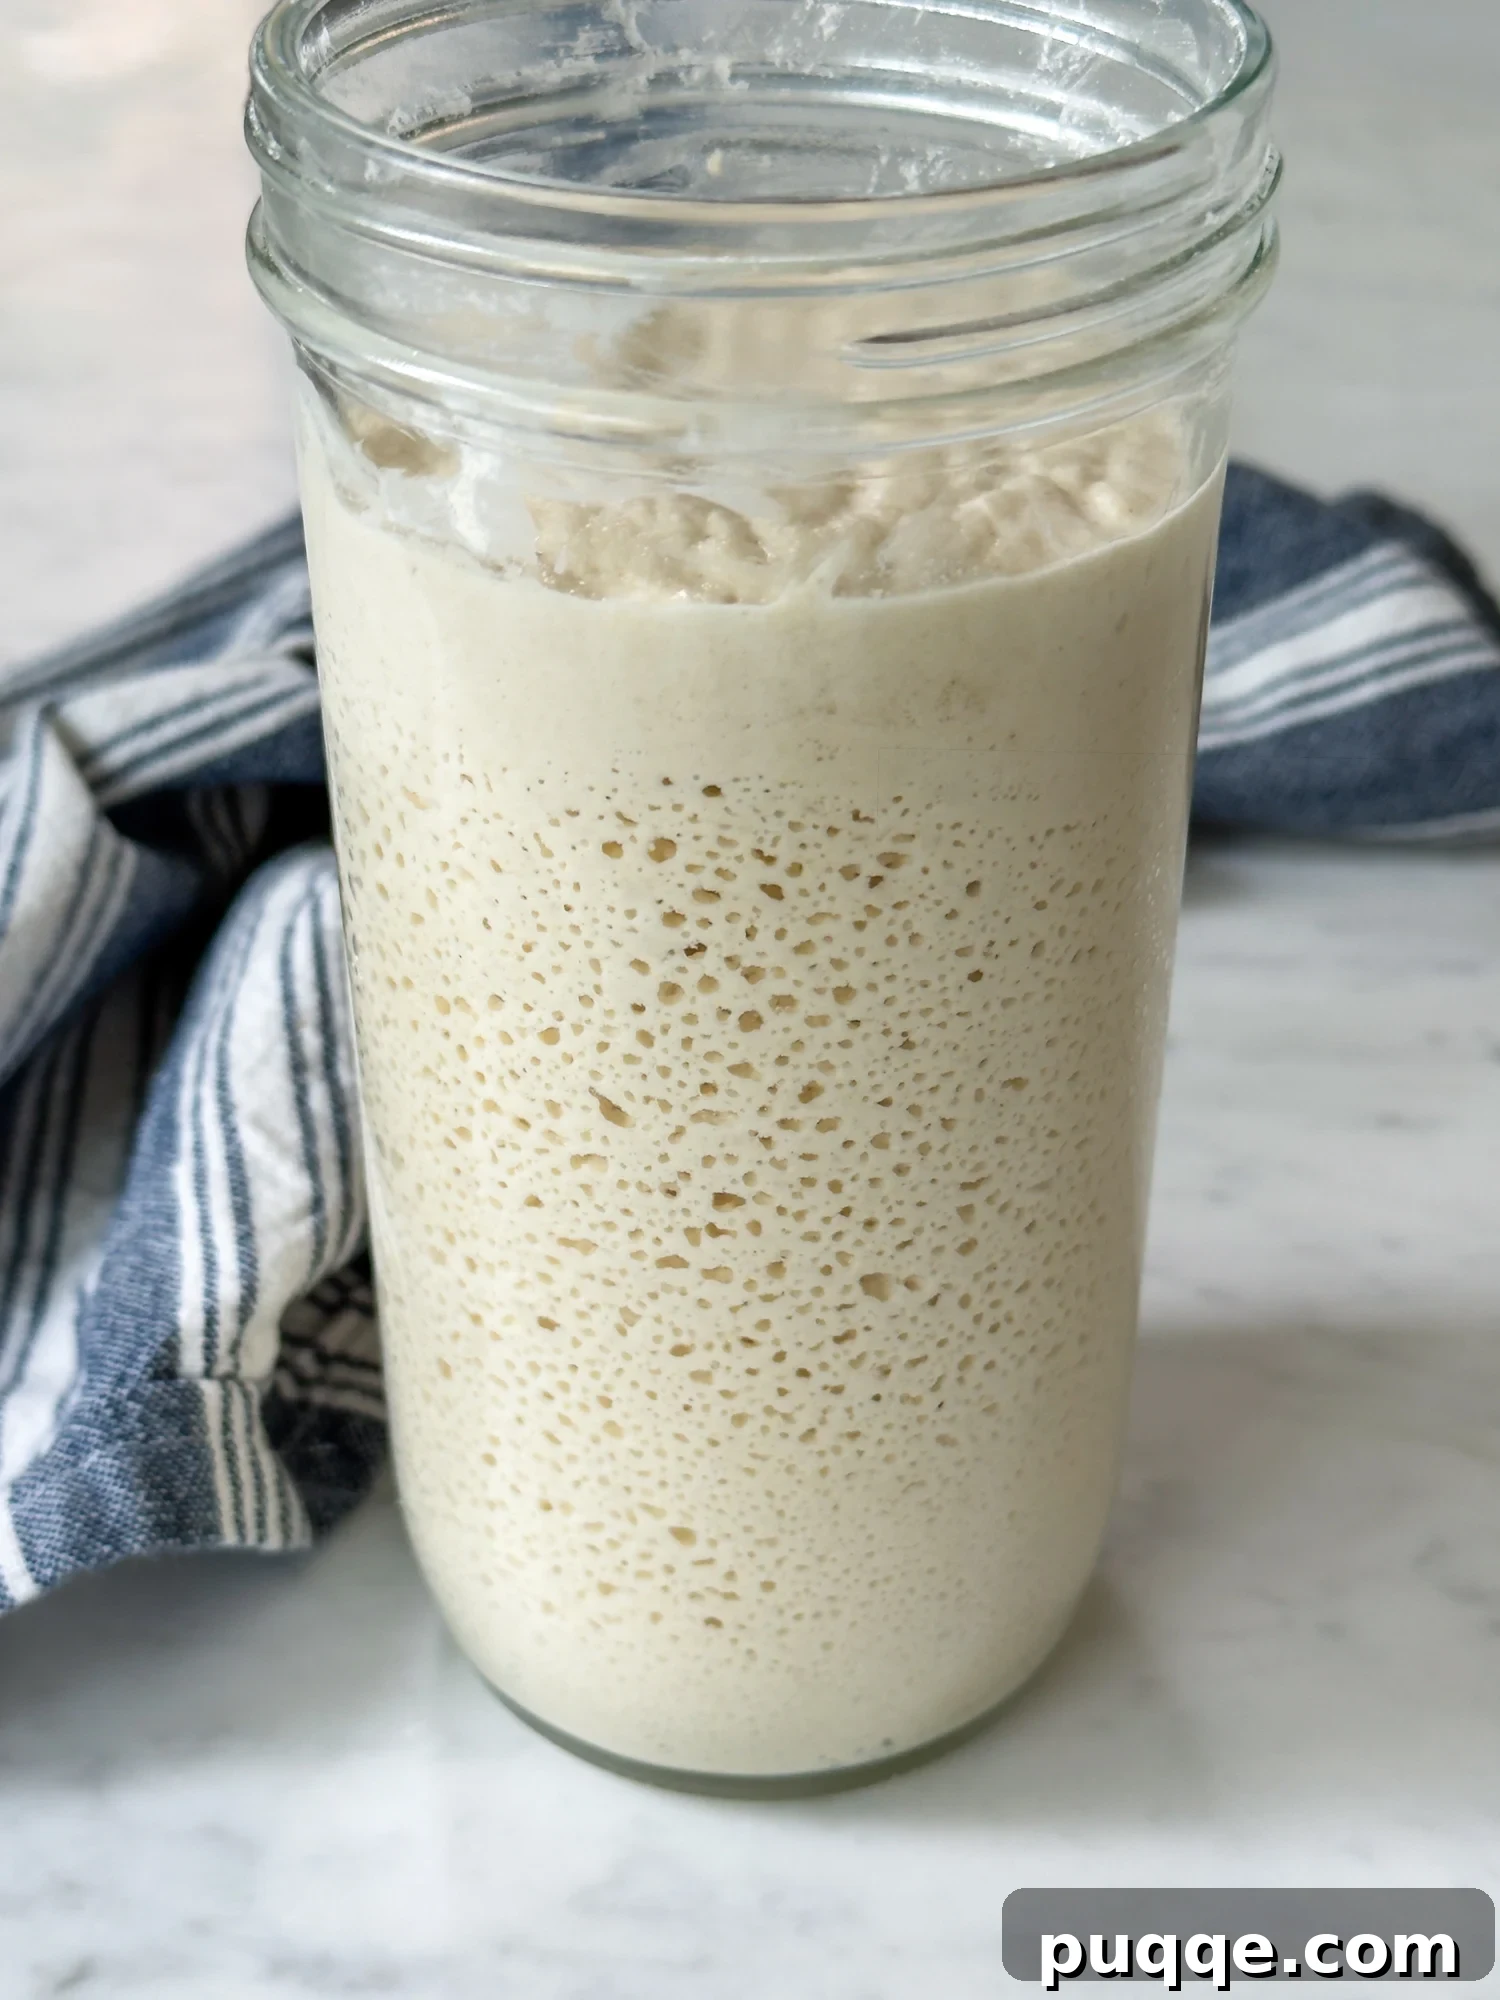
Dreaming of a classic artisanal sourdough with wild, yeasty aromas and deep flavor? It all begins with a reliable gluten-free sourdough starter. This beginner-friendly guide explains how to make an easy GF starter that gets active, bubbly, and ready to bake with. If you’ve been intimidated, don’t worry—your homemade sourdough loaf is closer than you think.
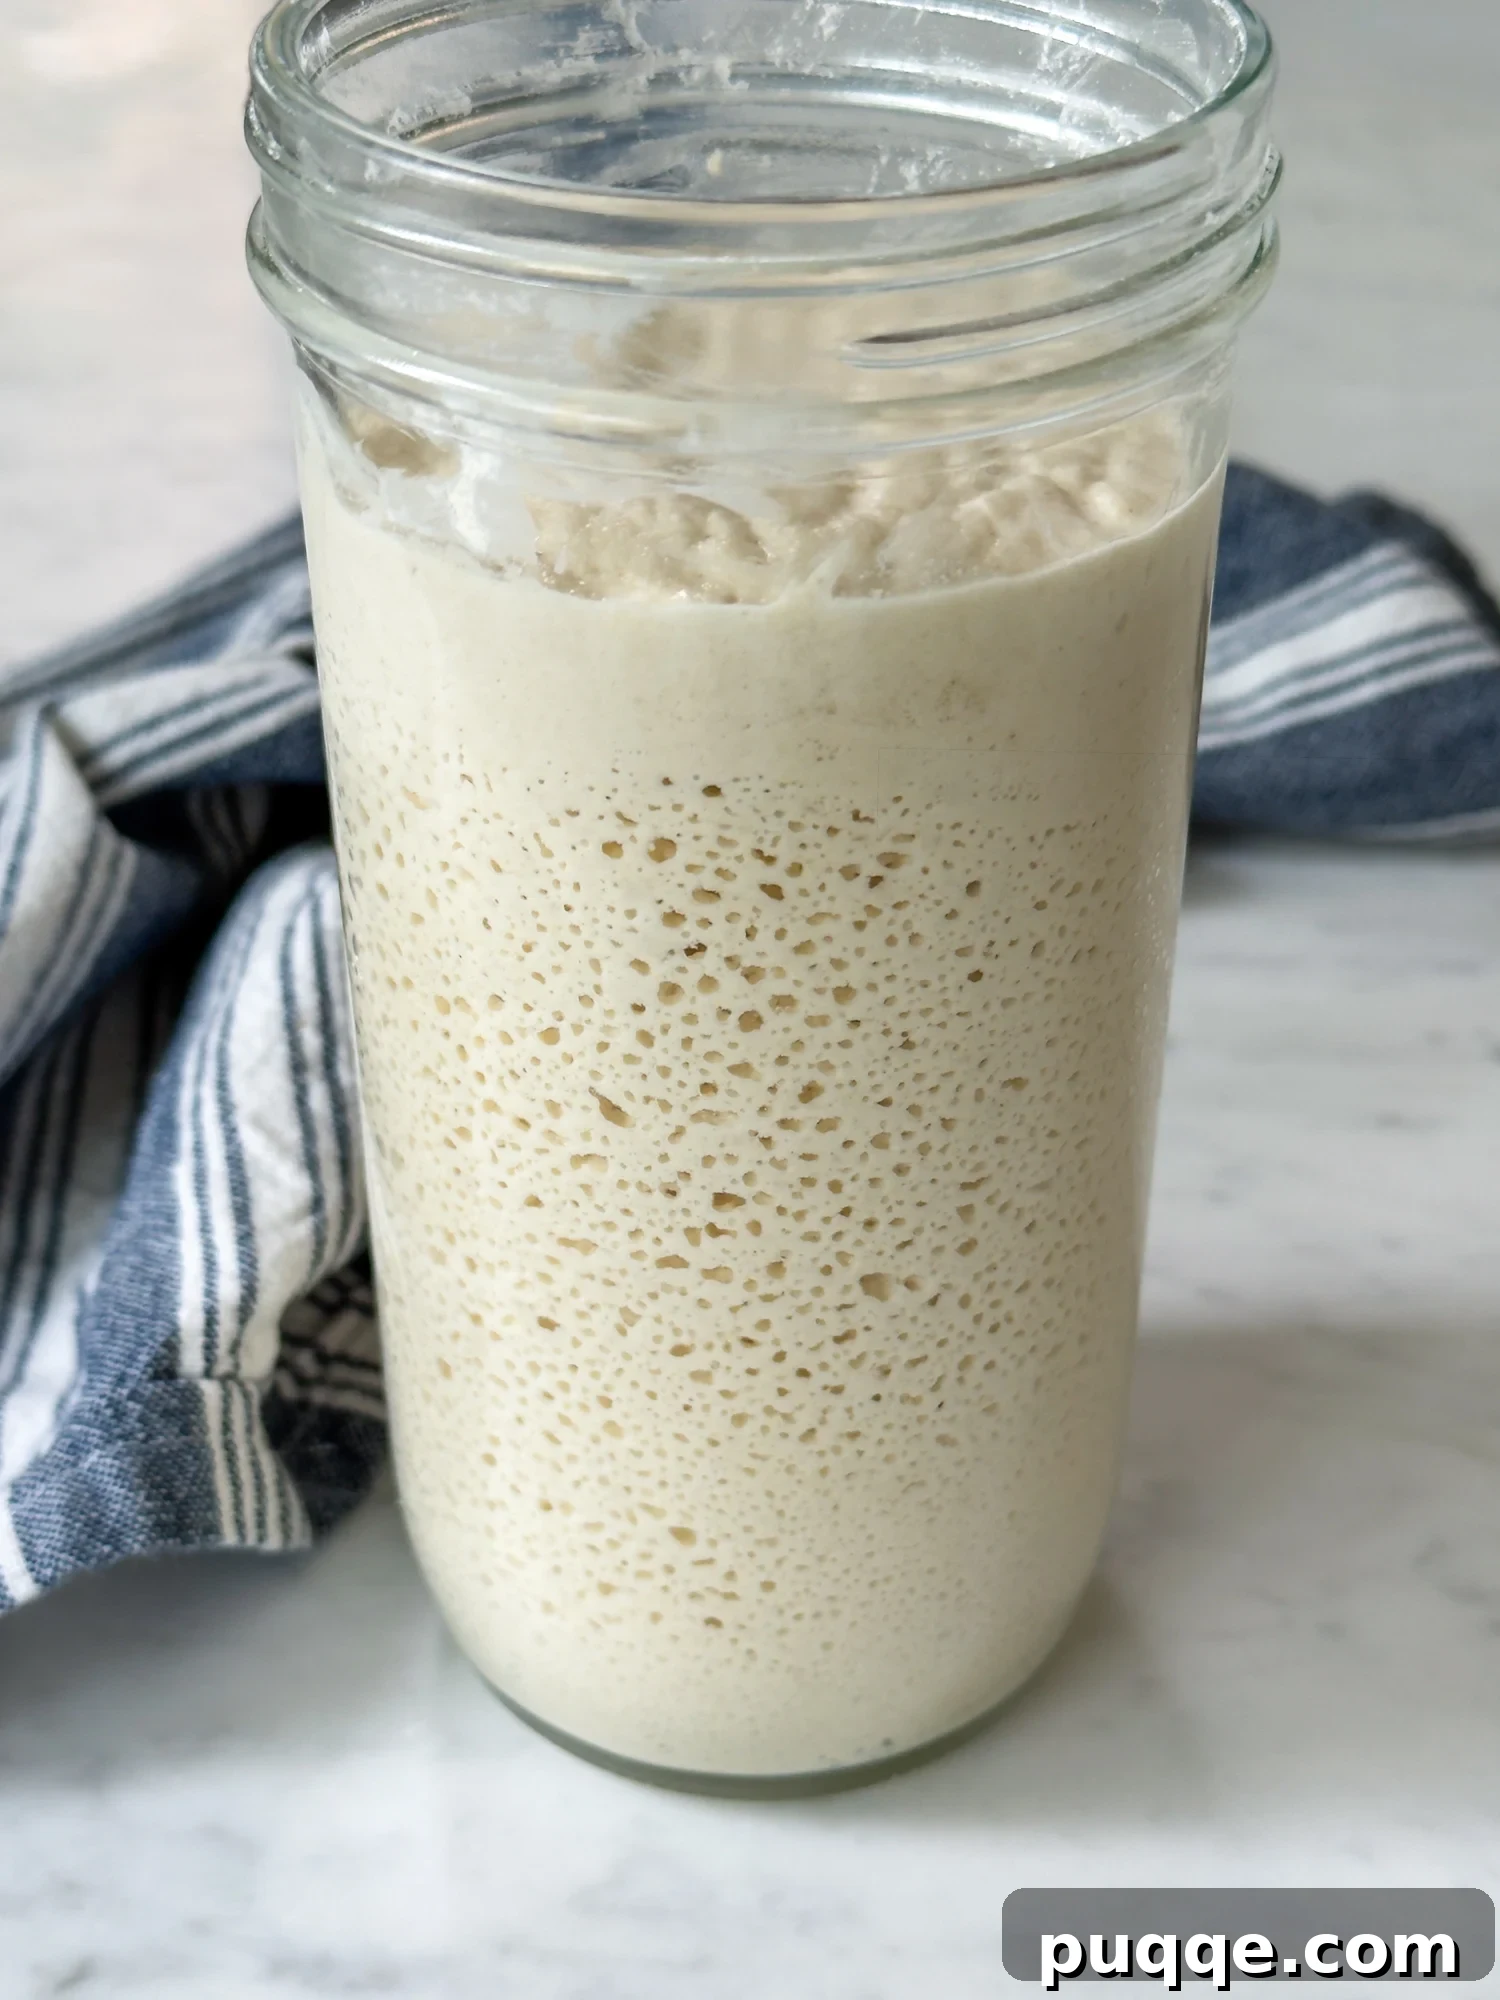
How To Make A Gluten-Free Sourdough Starter (Even As a Total Beginner)
Making a world-class gluten-free sourdough loaf begins with establishing a healthy starter. If terms like feeding, discard, hooch, and hydration sound confusing, you’re not alone. This guide keeps things straightforward: a simple feeding routine, basic equipment, and reliable flour choices. I tested multiple methods and share what worked best so you can form a dependable, active starter without getting lost in jargon.
My approach focuses on practical, hands-on steps rather than excessive science. Follow the schedule and tips below, and you’ll likely end up with a lively starter that shows consistent bubbles, rises, and a pleasant yeasty aroma.
Quick Glossary For Newbies
- Feeding – Adding fresh flour and water to the starter to give the wild yeast new food. Regular feedings strengthen the culture.
- Discard – Removing part of the starter before feeding to avoid having too much and to keep the balance of yeast and bacteria healthy.
- Hydration – The ratio of water to flour. A 100% hydration starter uses equal weights of water and flour and is a good consistency for GF starters.
- Hooch – A thin liquid that can form on top of the starter when it’s hungry. Stir it back in or pour it off before feeding.
Making a GF Sourdough Starter: Which Method Works Best?
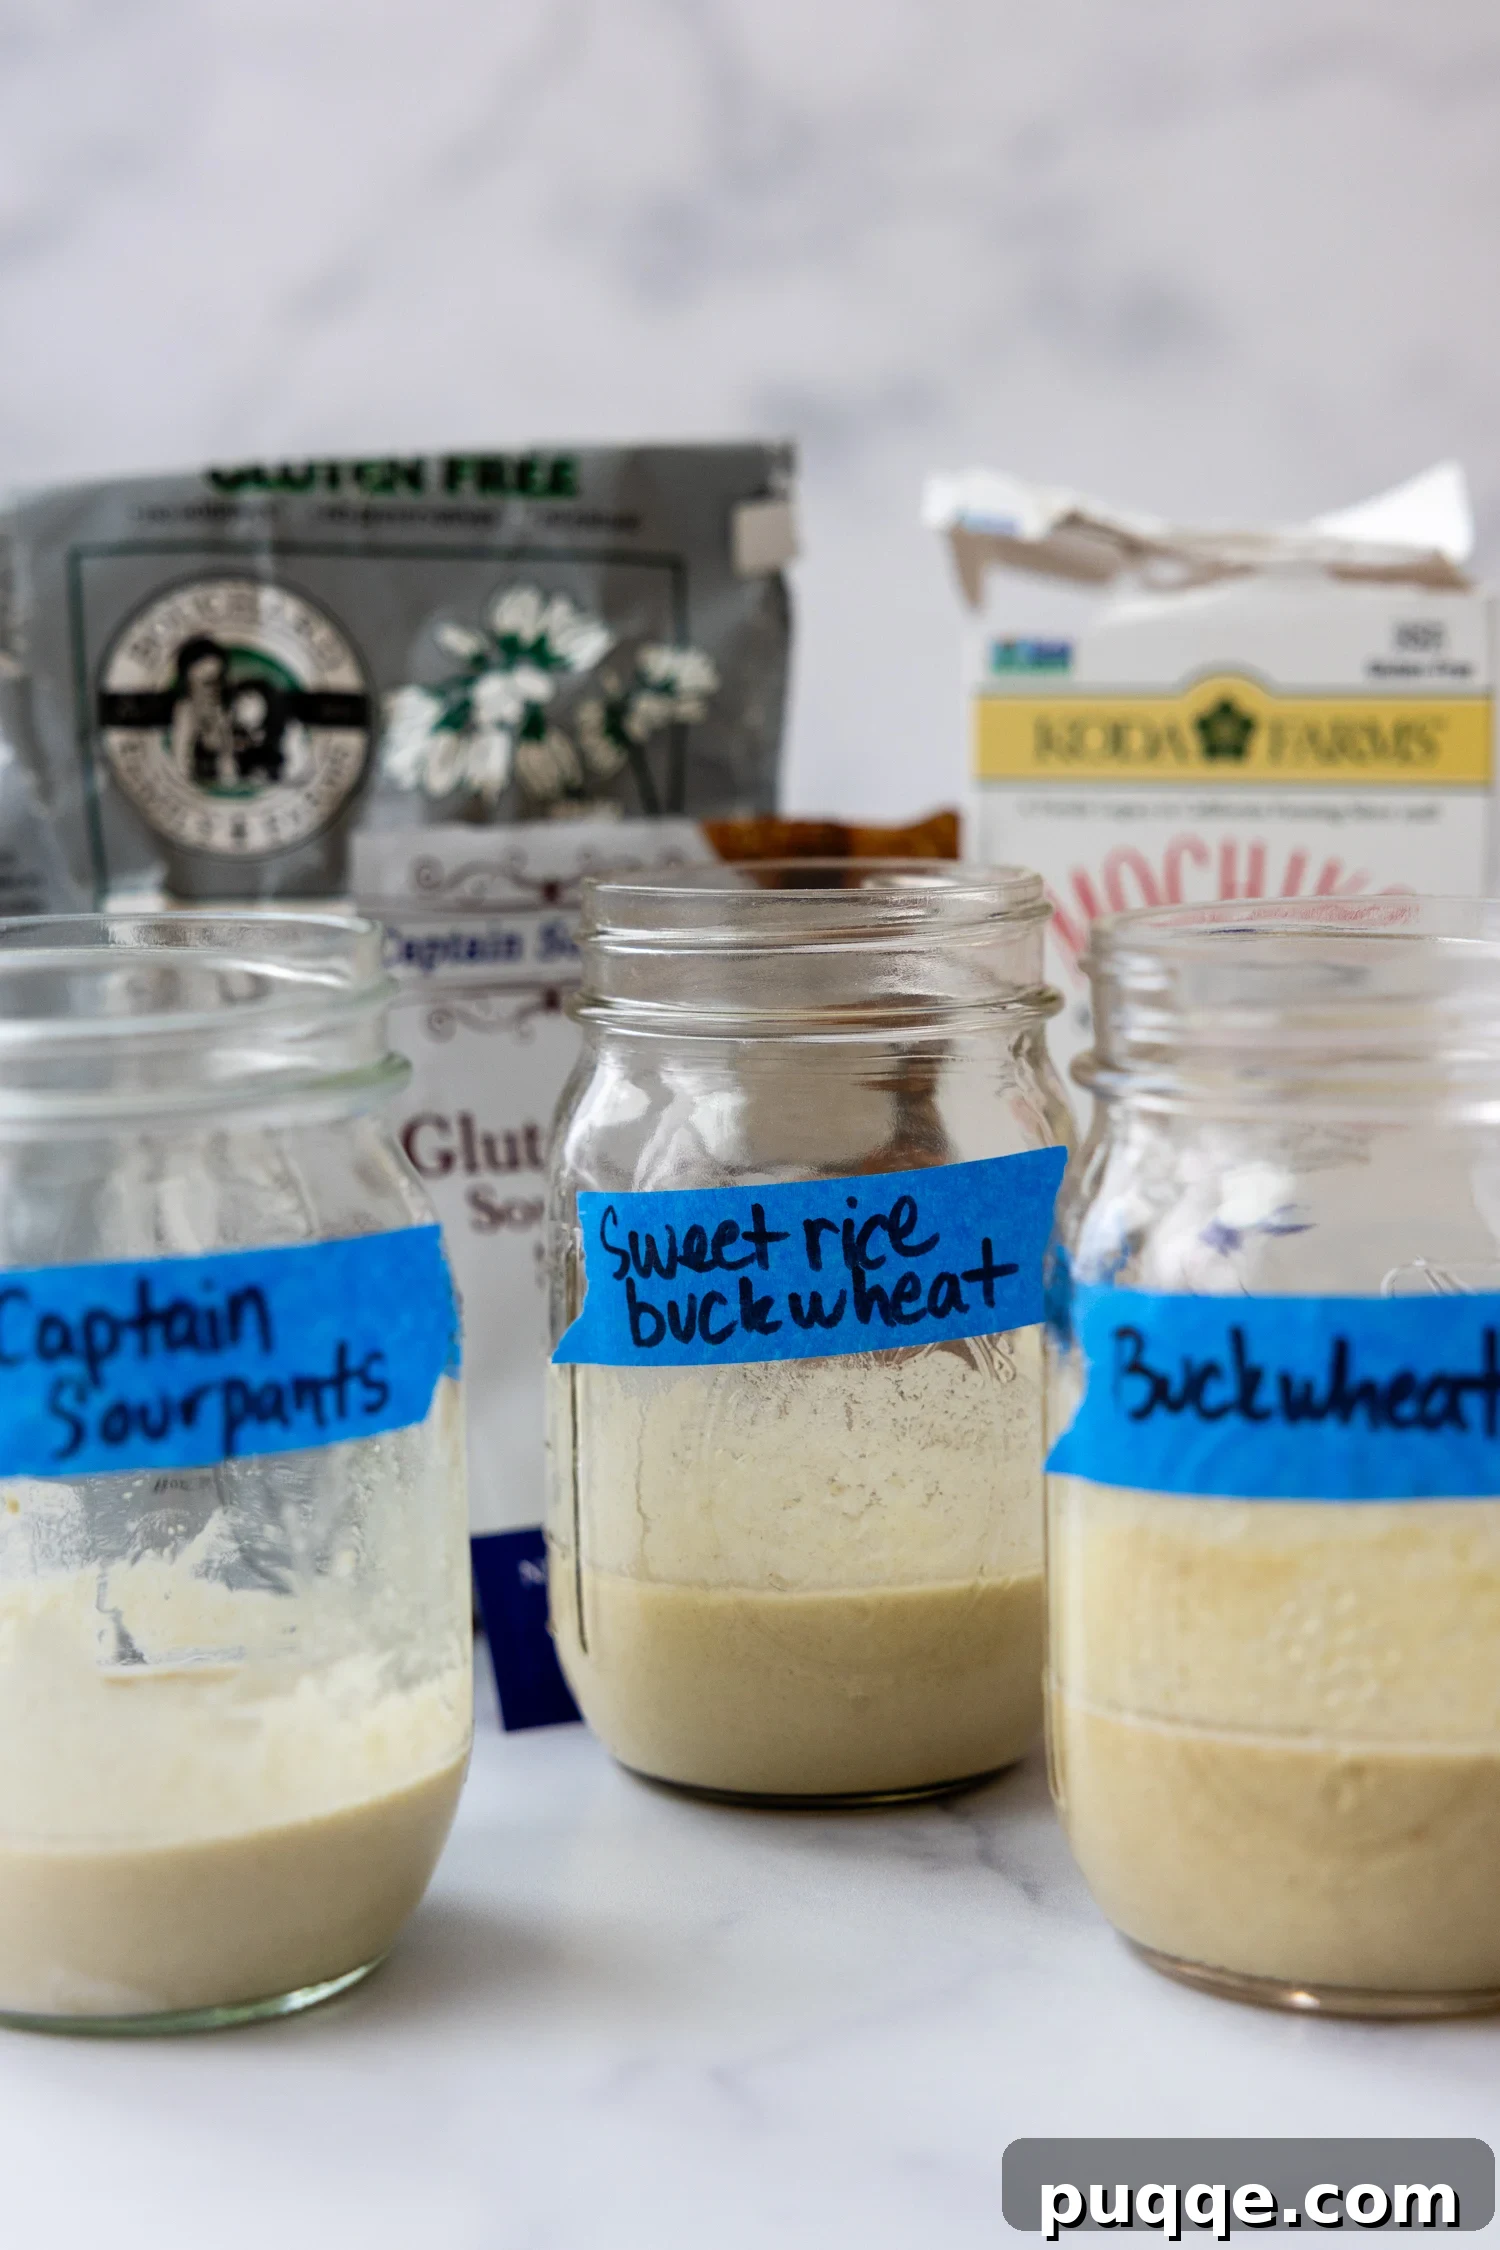
I tested three common approaches so you can pick the one that fits your skill level and timeline.
Dehydrated starter (rehydrated) – A dried active starter arrives as a small packet of active yeast and bacteria. Mix it with GF flour and water, then feed daily for about 7–10 days to build strength.
Result – This became bubbly the fastest and developed strong yeasty aromas and flavor. It’s beginner-friendly and the quickest route to an active starter.
Combo of GF flours – I used a mix of sweet rice and buckwheat initially, then rotated feedings with buckwheat, brown rice, or other flours.
Result – This method was a few days slower than the dehydrated starter but matured into a solid, flavorful culture over time.
Single flour starters (buckwheat or teff only) – Some bakers prefer a single grain approach using buckwheat or teff.
Result – In my trials neither single-grain starter became active within 12 days. Others have success with these grains, but I found blends or a rehydrated starter more reliable.
Recommended starting flours: brown rice, buckwheat, sorghum, and teff. Avoid all-purpose gluten-free blends that contain gums—these inhibit starter activity. White rice or sweet rice can be used in combination, but rely mainly on brown flours for the best results.
Schedule Overview
(Photos below illustrate the stages. For full ingredient amounts and a printable recipe, see the recipe card at the end.)
Day One
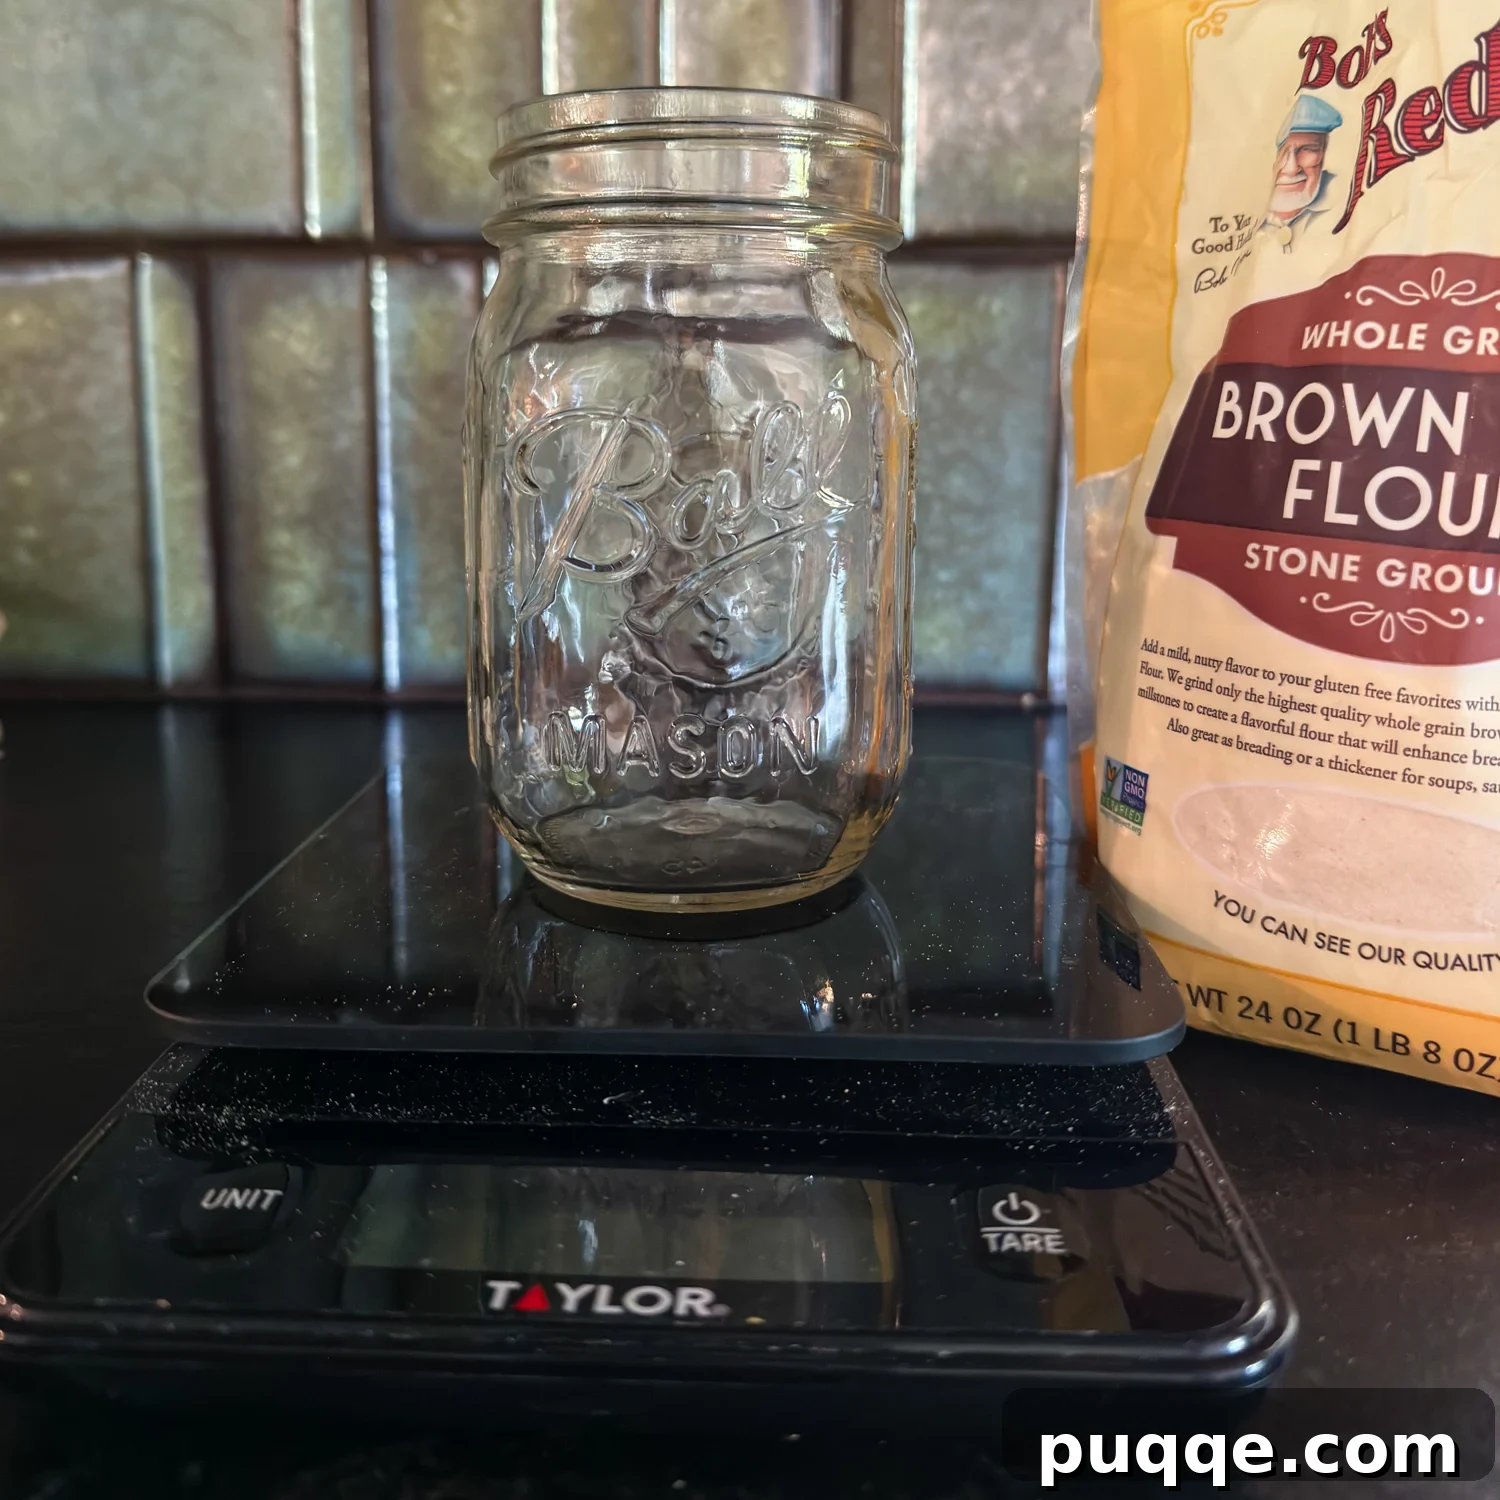
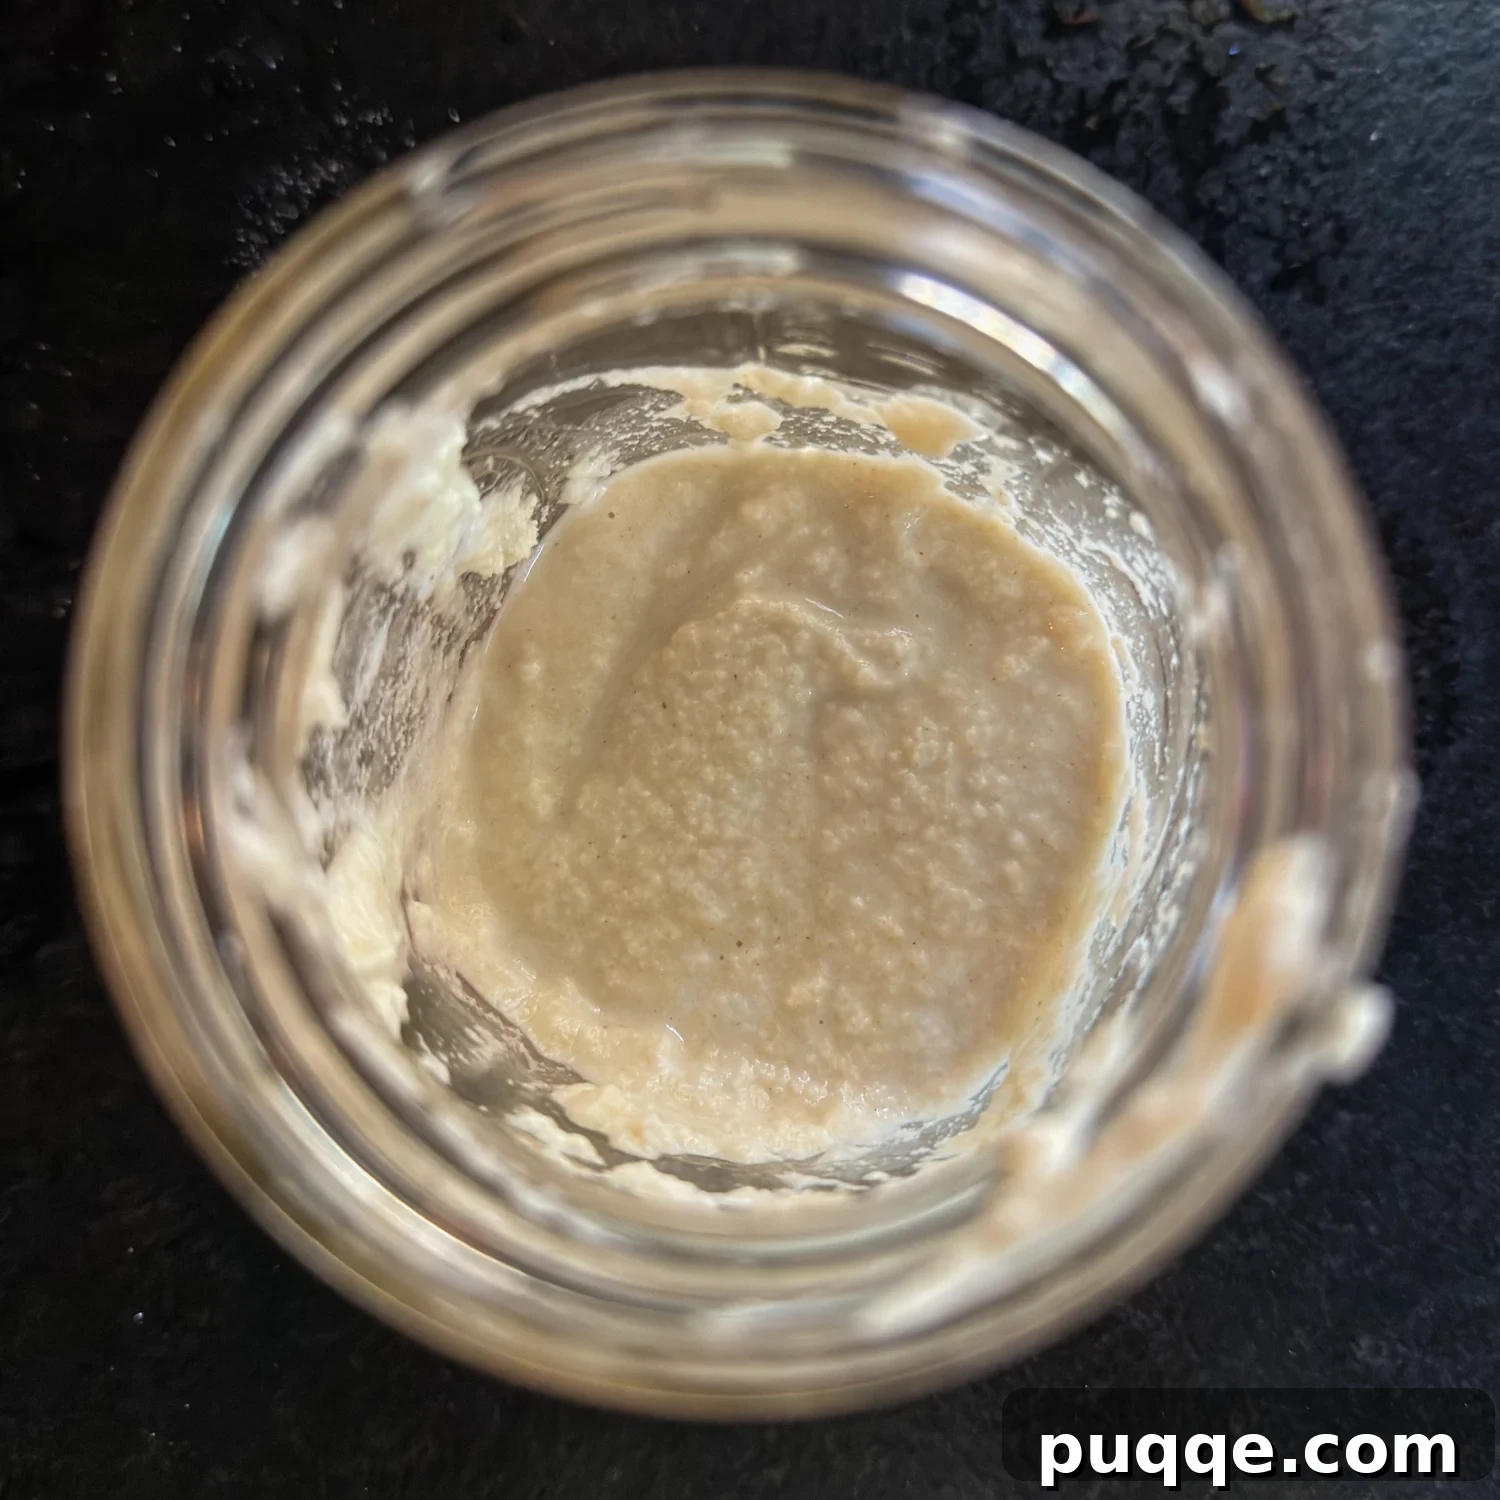
Use a clean glass jar or bowl and a scale. Add 50 grams of gluten-free flour (brown rice is a good choice) and about 50–60 grams water. Stir to a consistency slightly thicker than pancake batter. Cover loosely so the starter can breathe and leave it at room temperature for 24 hours.
Days Two–Four
Feed daily with 30 grams flour and 30–40 grams water, aiming for the same consistency each day. Cover loosely and let sit 24 hours between feedings.
Days Five–Ten (ish)
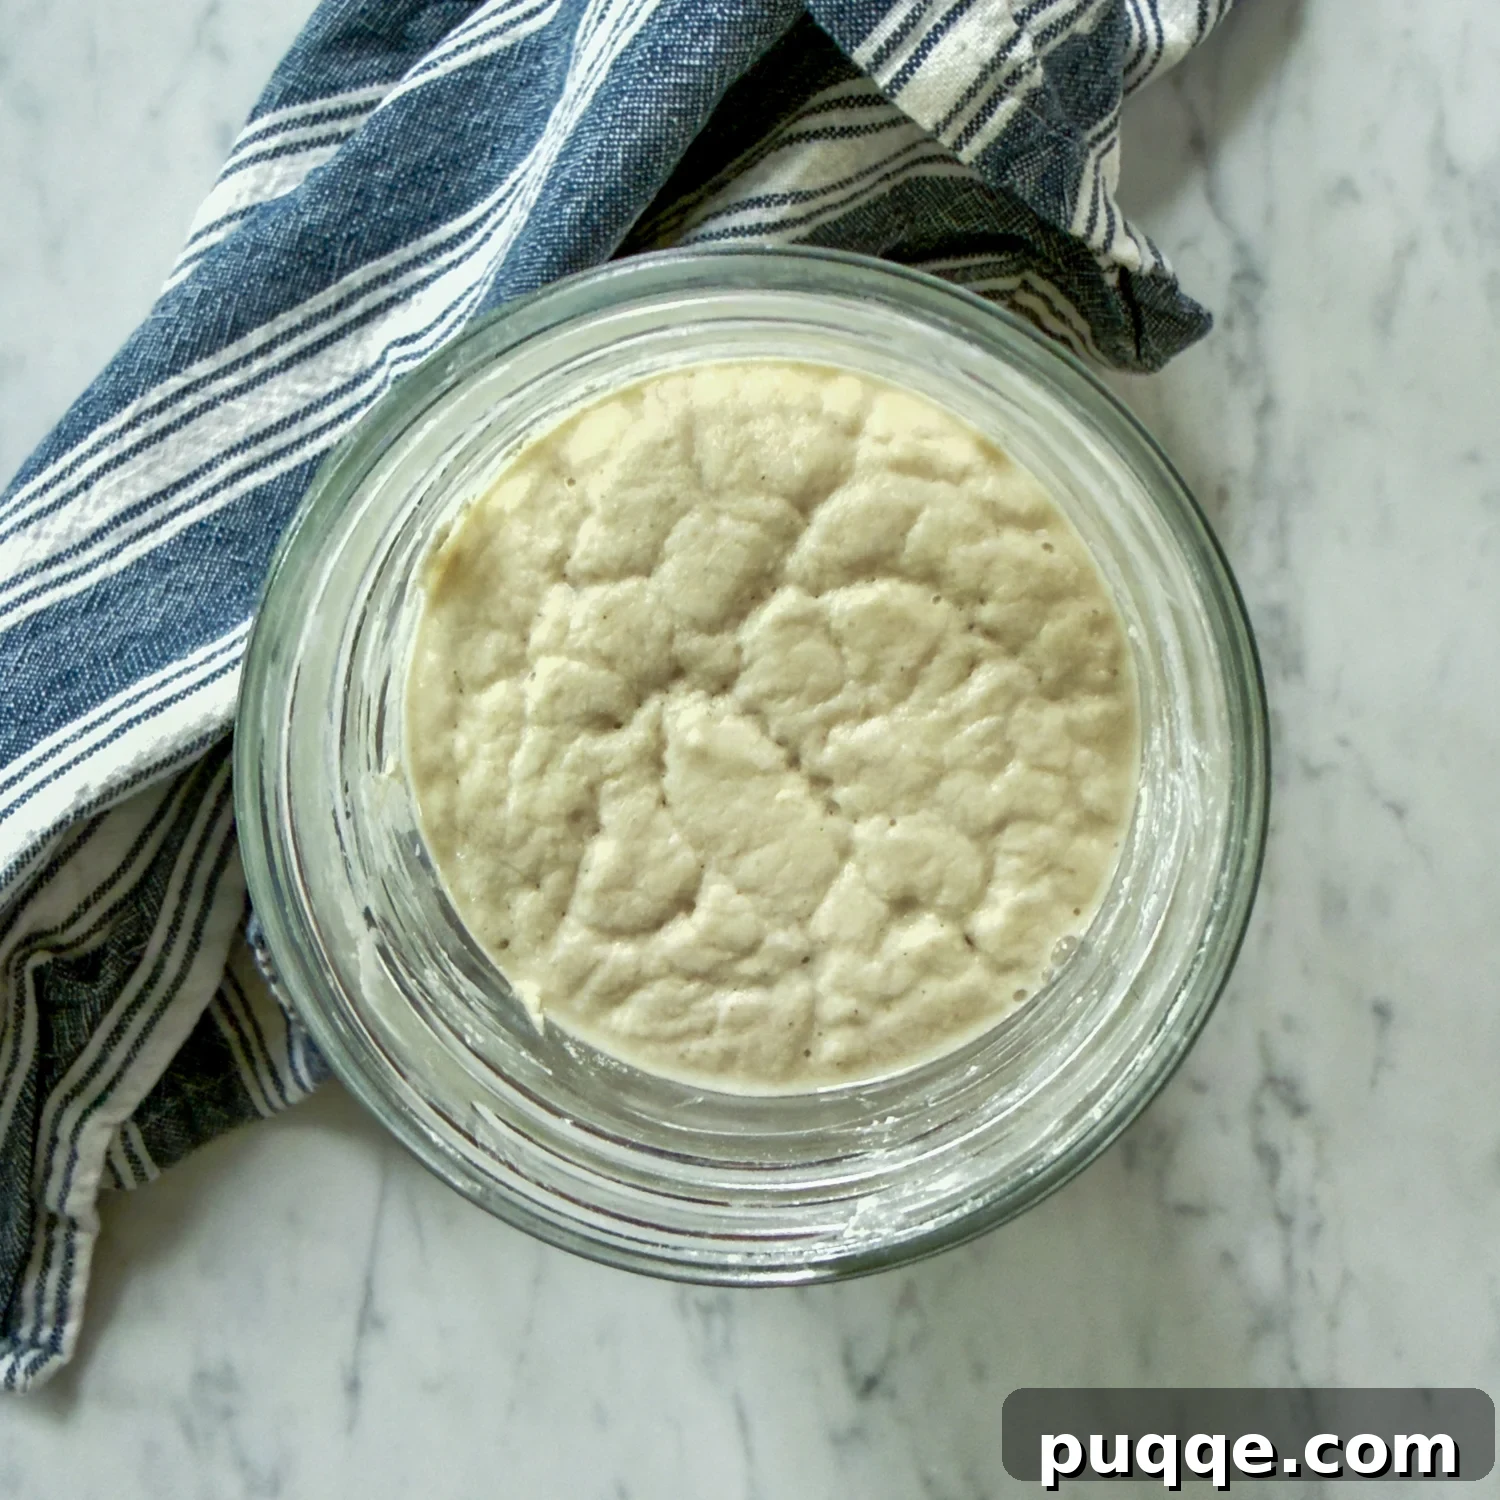
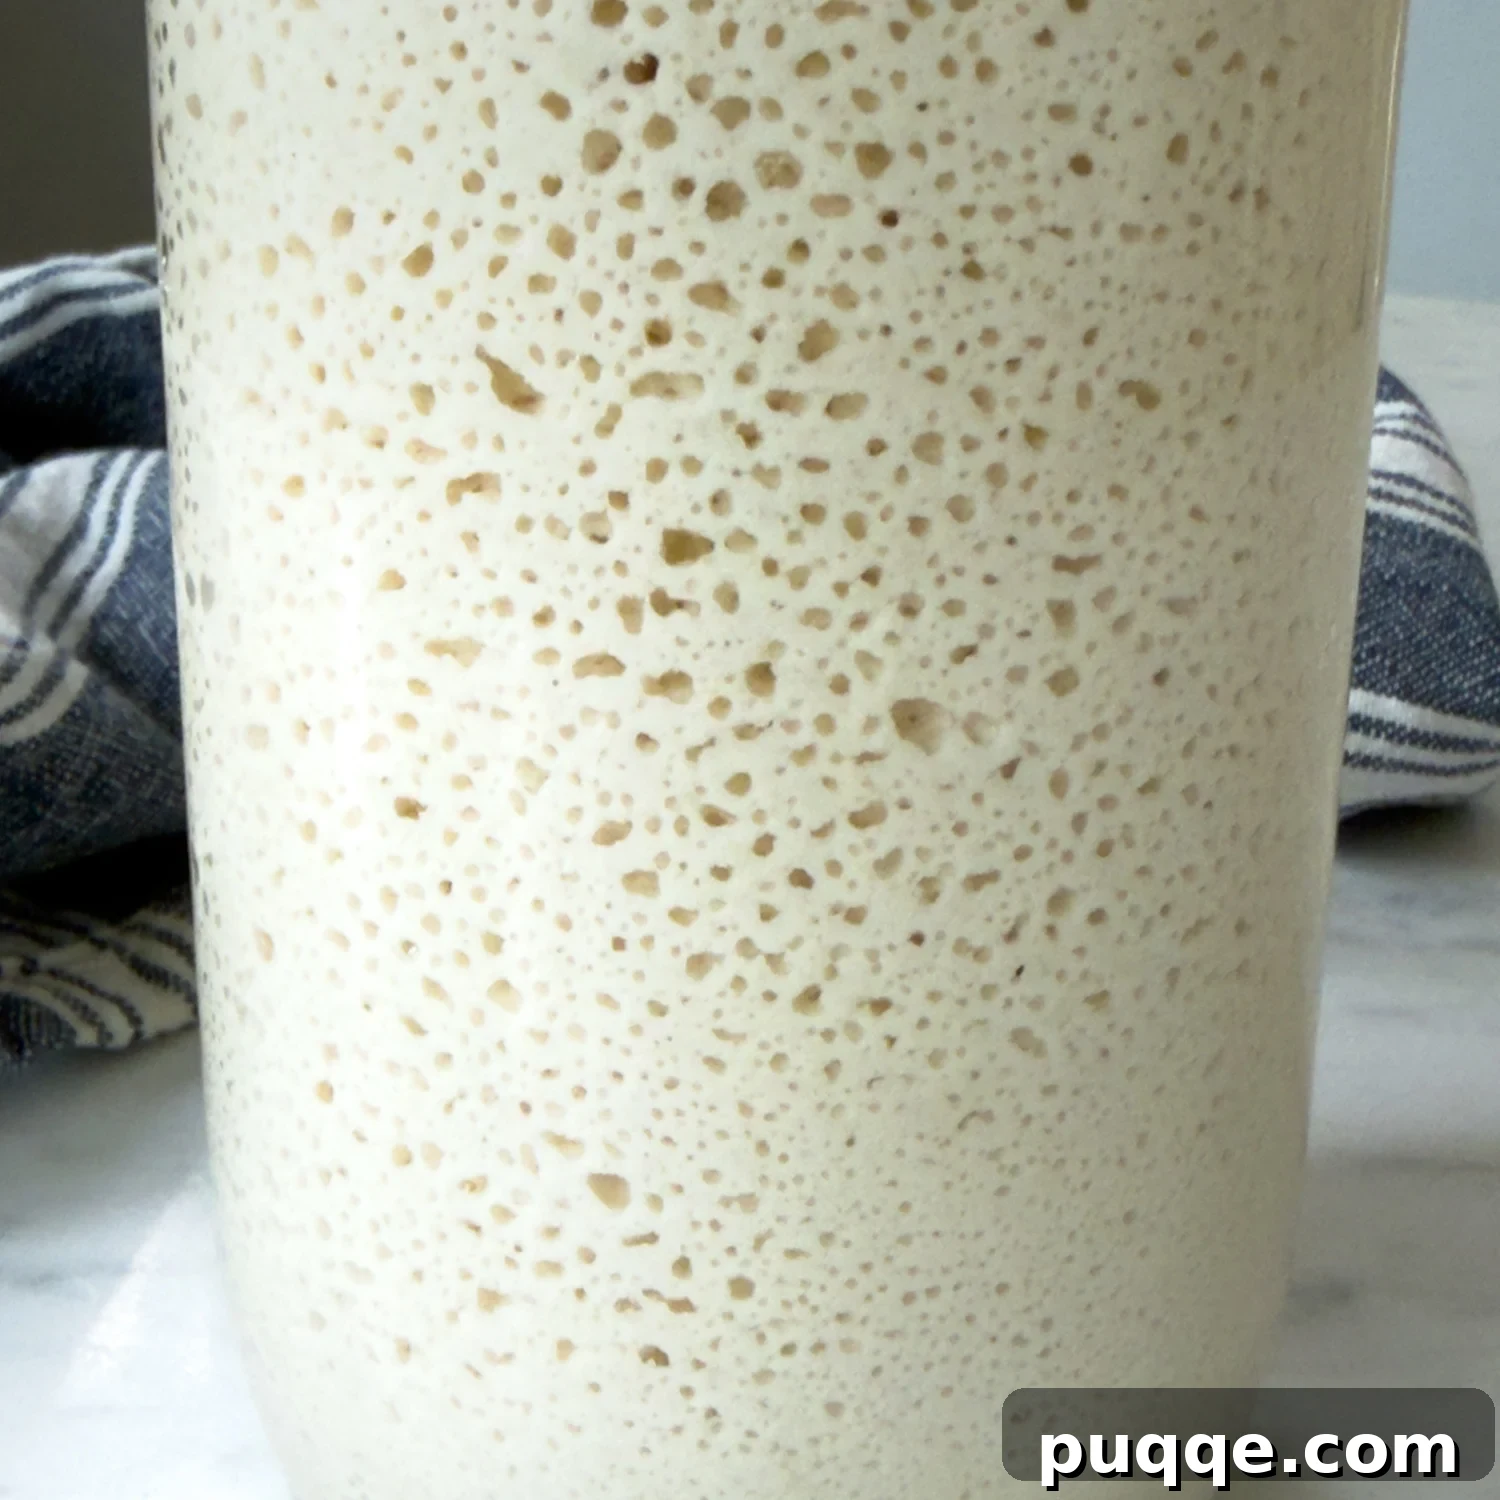
On day 5 discard about half the starter, then feed with 30 grams flour and 30–40 grams water. After that alternate between feeding only and discarding+feeding every other day to keep volumes manageable. During this period the starter should become bubbly, show rise between feedings, and develop a yeasty aroma. Continue until at least day 10 to ensure a strong, stable culture.
Most Commonly Asked Questions
What do I do with the discard? You can discard it, or use it in recipes. As a general rule, 120 grams starter (about ½ cup) can replace a packet of yeast, but you must reduce the recipe’s flour and water to account for the starter’s ingredients.
Why isn’t my starter bubbly? Cold temperatures slow activity. Starters perform best between 70–80°F (21–27°C). Create a warmer spot by placing it near a heat source, on top of the refrigerator, or in the oven with just the light on. Also avoid chlorinated tap water—use filtered or bottled water if needed.
How do I store it? If you bake every day, keep the starter at room temperature and feed daily. For less frequent baking, store the starter in a lidded jar in the refrigerator. Feed it before and after a baking session; many bakers refresh weekly if stored cold.
Save this recipe for later
Pin or save these instructions so you can return to them when you’re ready to start. Happy baking!
Did you make this starter? I love hearing how it went. Leave a rating and comment below if you try it—your feedback helps others and helps refine the method. —Melissa

Foolproof Gluten-Free Sourdough Starter
 Melissa Erdelac
Pin
Rate
Ingredients
- Gluten-free single-grain flour, such as brown rice, buckwheat, teff, or sweet rice (see notes for recommendations).
- Water
Equipment
- Food scale
- Glass jar or bowl
Instructions
-
Day 1 – In a clean glass jar or bowl combine 50 g gluten-free flour and 60 g water. Stir to a consistency slightly thicker than pancake batter. Cover loosely and leave at room temperature for 24 hours.
-
Days 2–4 – Each day add 30 g flour and 30–40 g water. Stir, cover loosely, and let sit 24 hours between feedings. Around day 4 or 5 you can introduce a second flour if desired.
-
Day 5 – Discard about half the starter, then feed with 30 g flour and 30–40 g water. Stir, cover loosely, and let rest 24 hours.
-
Days 6–10 – Alternate between feeding only one day and discarding + feeding the next. Continue until you have a consistently active, bubbly starter—usually by day 10.
-
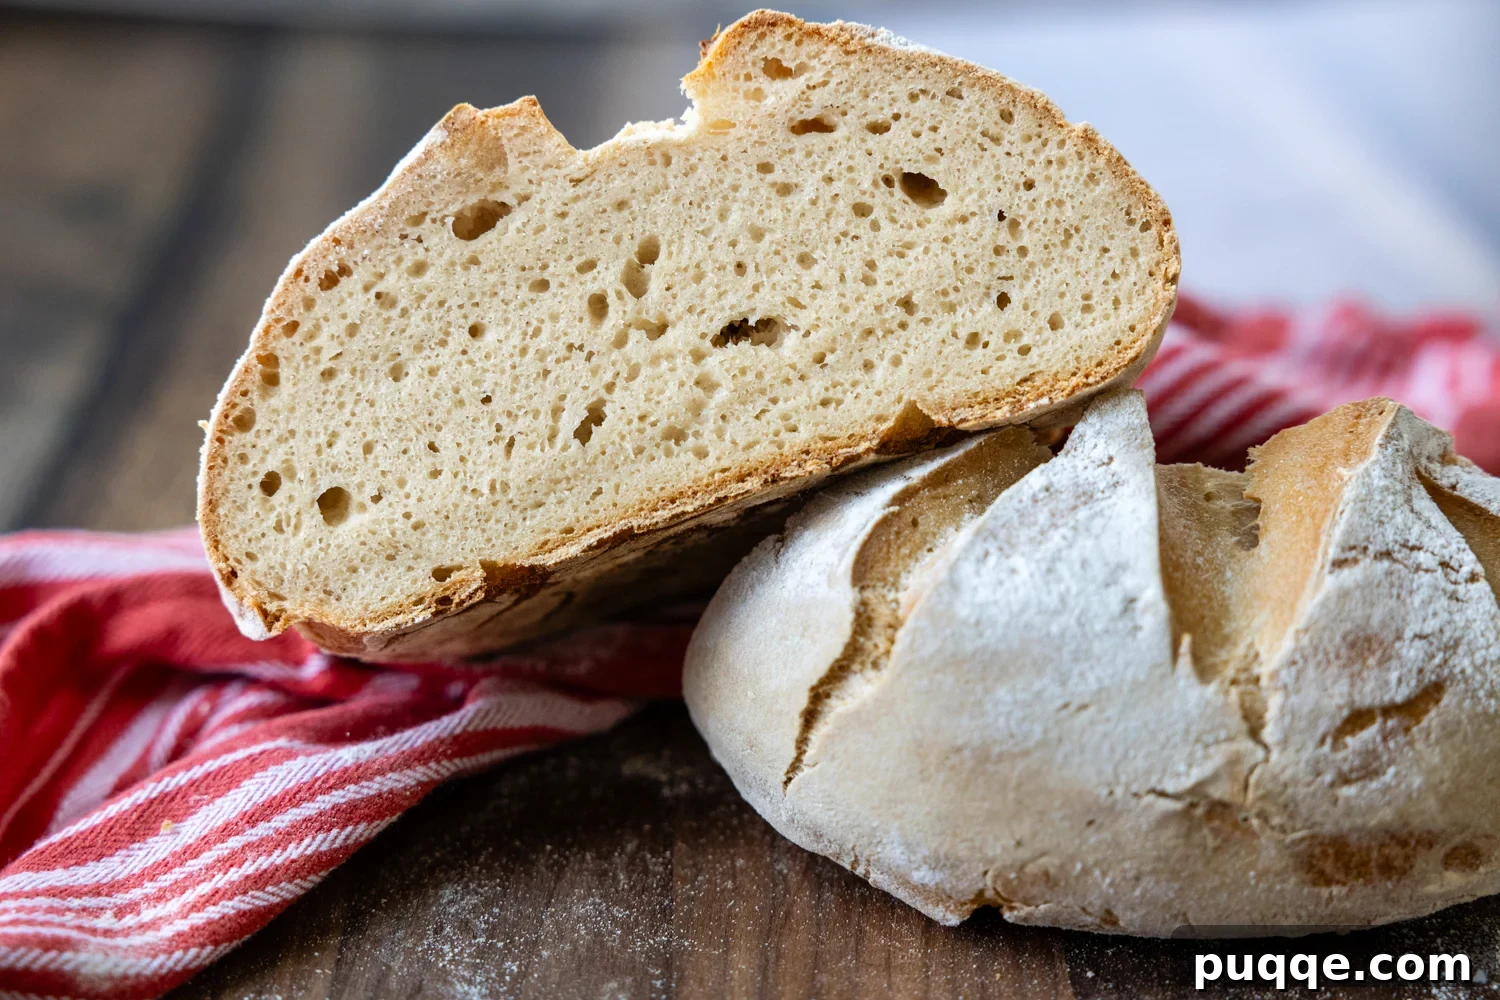
When your starter is active, either use it to bake your favorite gluten-free sourdough loaf or transfer it to a lidded jar and refrigerate until needed.
Notes
Recommended GF Flours
In testing, a rehydrated dehydrated starter with brown rice flour activated quickly and produced strong flavor. If you make a starter from scratch, a mix of buckwheat and brown rice with a bit of sweet rice added after a few days worked well. Single-grain starters can work for some bakers, but I had the most consistent results with blends or a rehydrated starter.