
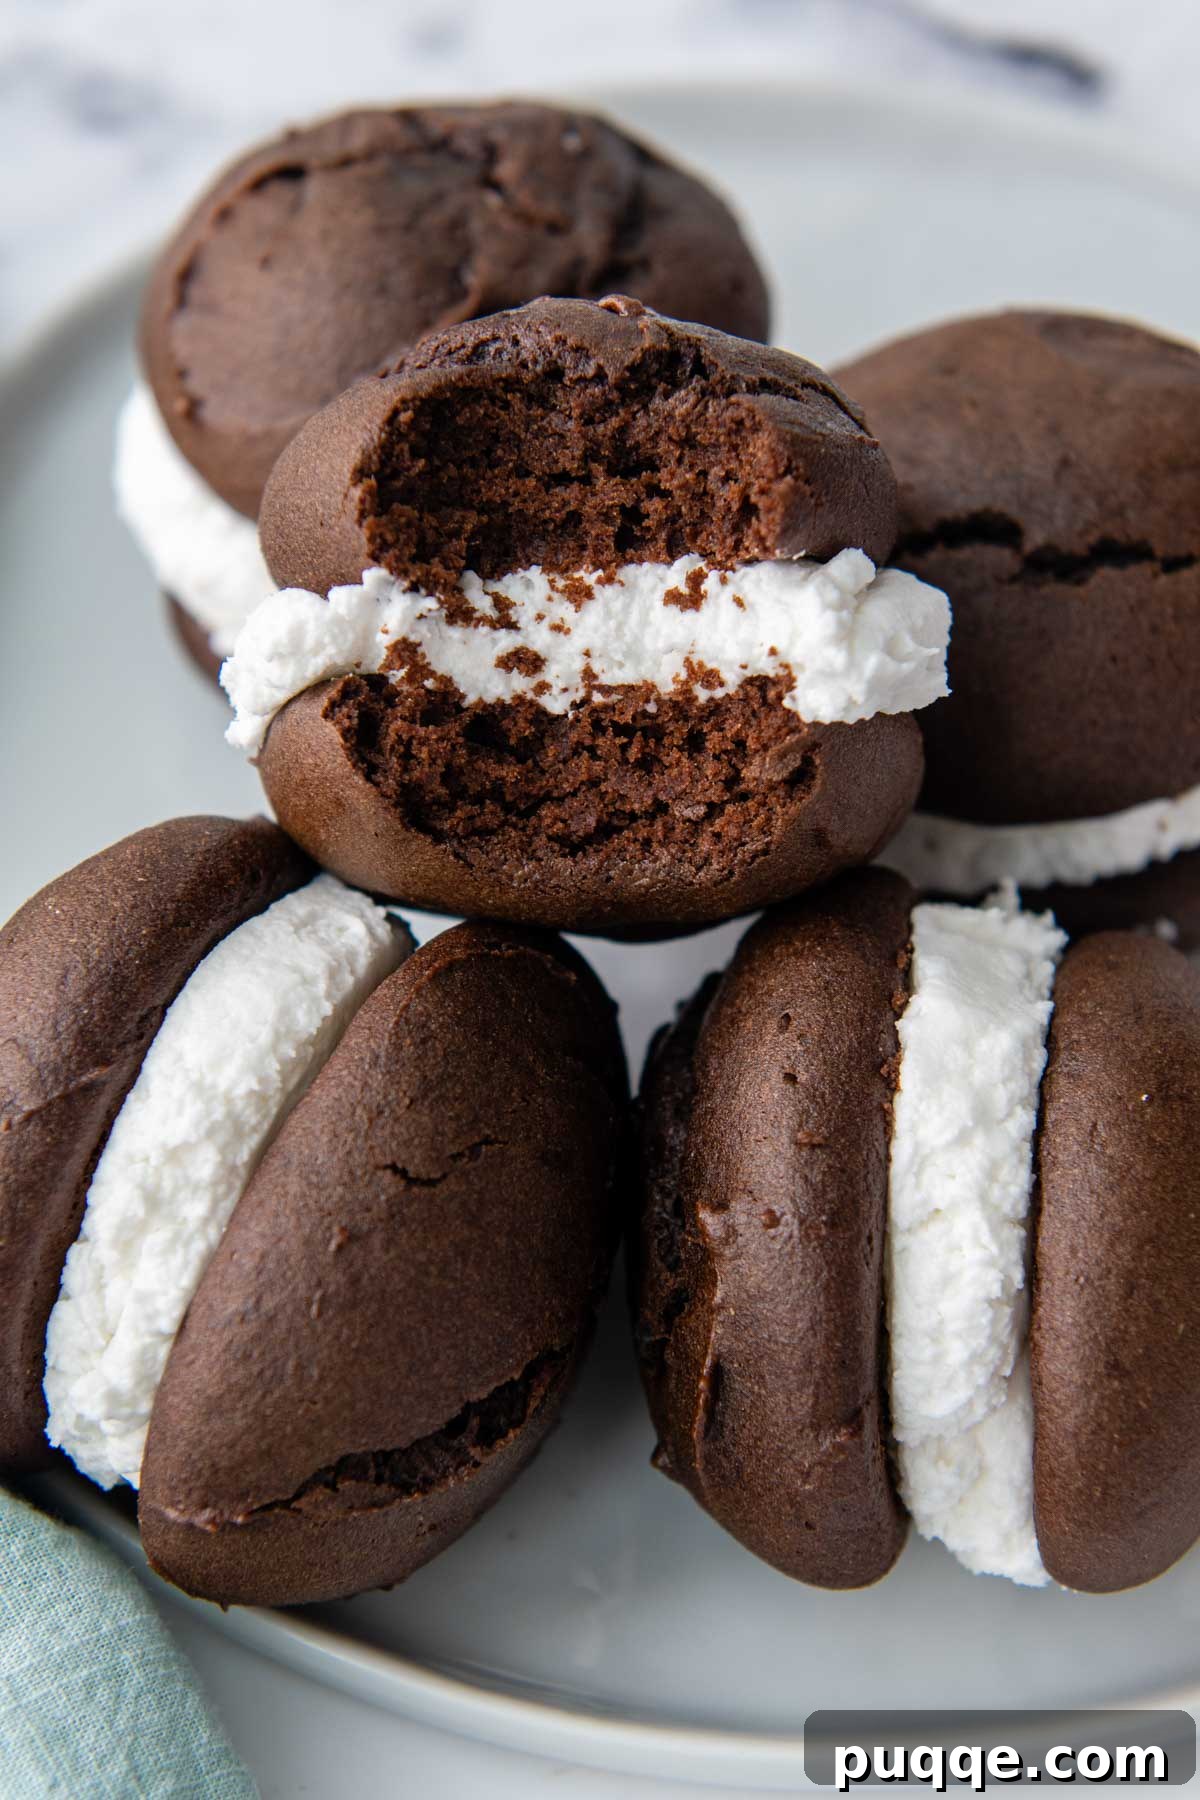
Prepare to indulge in the ultimate comfort dessert: authentic New England whoopie pies, reimagined for a gluten-free lifestyle. These delightful treats feature two soft, cake-like chocolate cookies sandwiching a generous layer of impossibly fluffy vanilla filling. A copycat version of the beloved Amish-style classic, these homemade whoopie pies will transport you straight to the bakeries of Lancaster, Pennsylvania, or the charming diners of Maine. If you’re a fan of iconic snack cakes like Suzy Q’s or Ding Dongs, get ready for a homemade gluten-free experience that truly elevates the game!
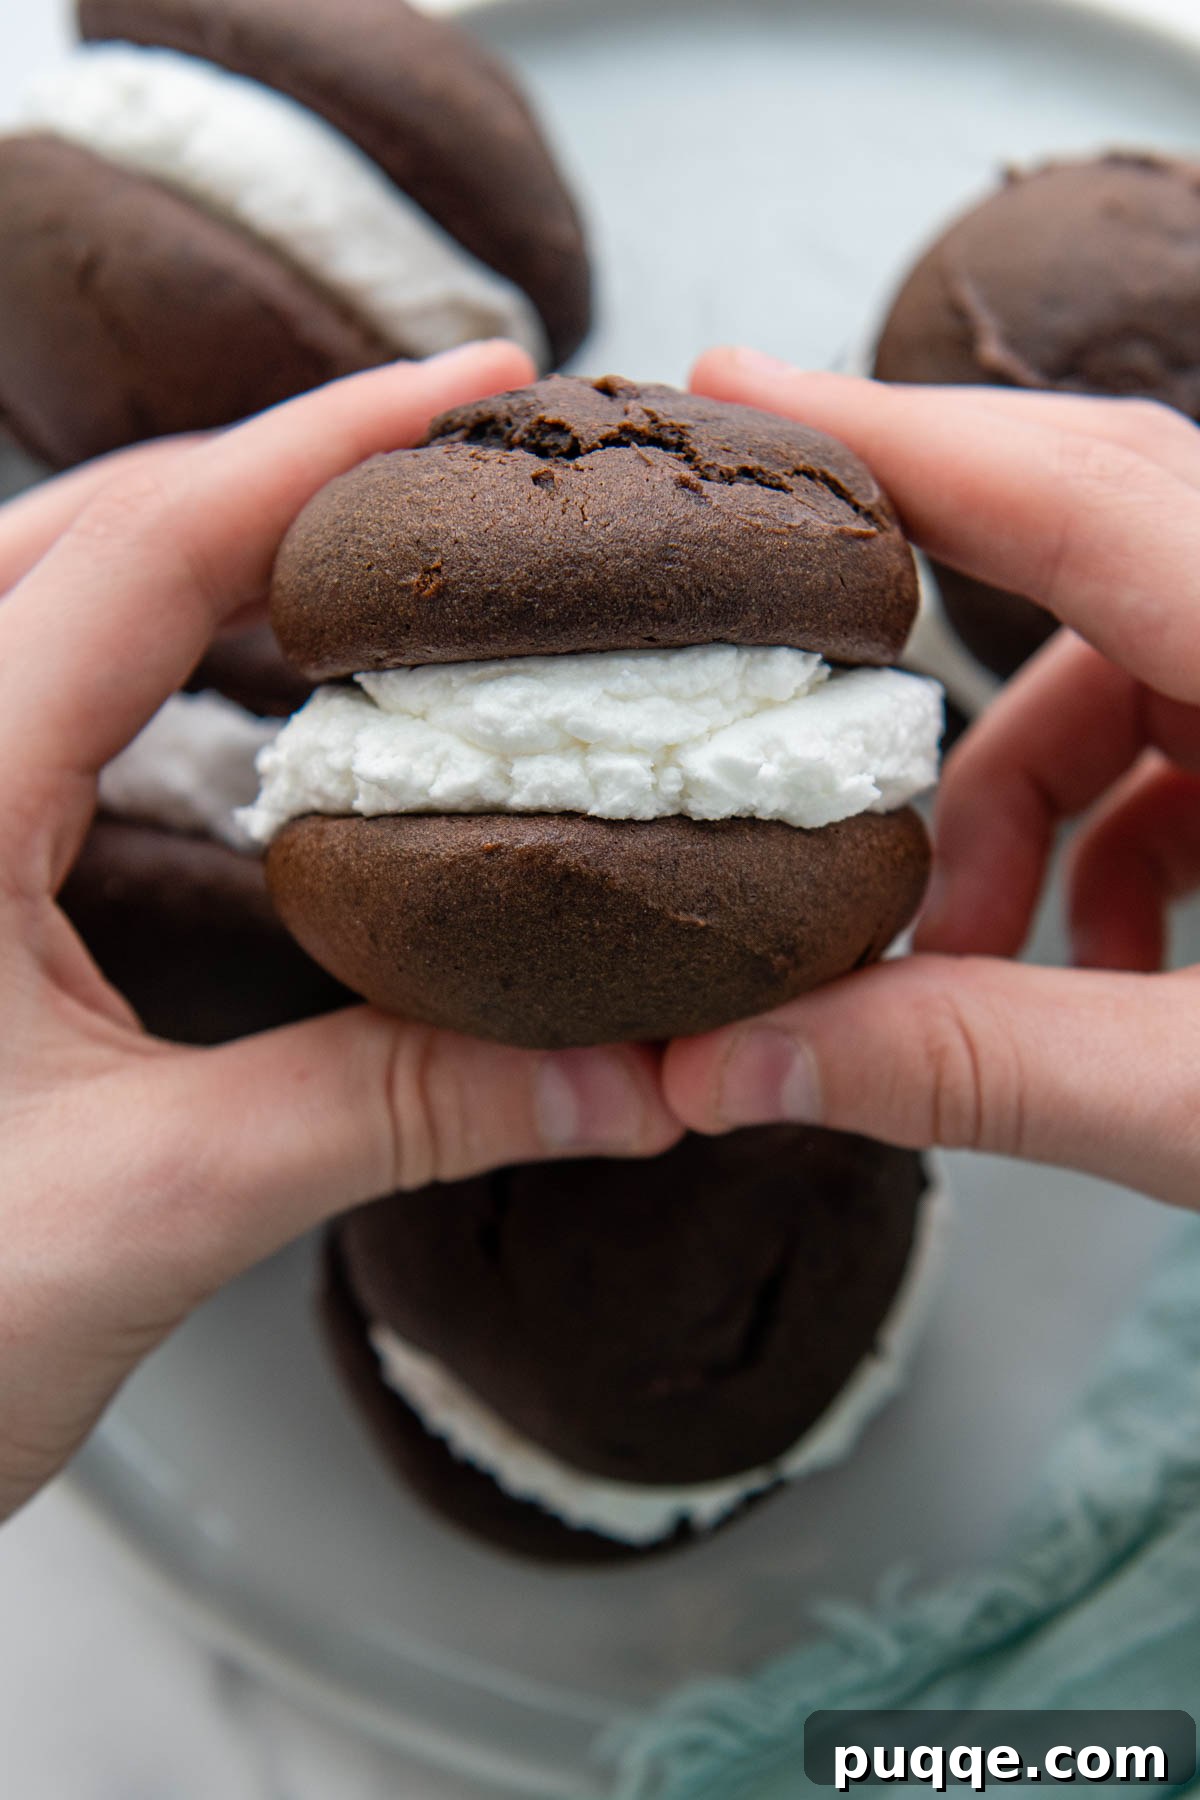
The Ultimate Recipe for Gluten-Free Whoopie Pies
Homemade gluten-free chocolate whoopie pies are an irresistible indulgence, often affectionately known as “gobs” in Amish country and throughout Maine. The cake-like cookies are remarkably rich in chocolate flavor, reminiscent of a classic devil’s food cake, yet perfectly balanced and not overly sweet. Their tender crumb and deep cocoa notes provide the perfect contrast to the star of the show: a filling that is nothing short of ethereal. Imagine clouds of fluffy, sweet vanilla goodness, so light it almost melts in your mouth.
While whoopie pie recipes traditionally call for an airy white filling, variations abound, including vanilla buttercream, tangy cream cheese frosting, or even a marshmallow fluff buttercream. However, my heart belongs to the specific filling I first savored in Lancaster, Pennsylvania. This copycat recipe faithfully recreates that quintessential Amish-style vanilla cream, promising an authentic experience that will delight your taste buds.
These came out just like Momma used to make. Even the filling was spot on.
—Julia
Essential Ingredient Insights for Perfect Gluten-Free Whoopie Pies
When embarking on your journey to create these delectable gluten-free whoopie pies, there’s one crucial factor to remember: **the specific brand of gluten-free flour you choose makes an enormous difference!** This isn’t just a minor detail; it’s the key to achieving the perfect texture and spread for your whoopie pie cookies. Through extensive testing, I discovered that my usual go-to gluten-free flour, Cup4Cup, unfortunately doesn’t perform optimally for this particular recipe. Its higher cornstarch content tends to prevent the cookies from spreading adequately, resulting in a different texture than desired for whoopie pies.
Therefore, for authentic, perfectly spread whoopie pies with the ideal cake-like crumb, I wholeheartedly recommend using King Arthur Measure-for-Measure gluten-free flour. This blend consistently yields the best results. I am continuously experimenting with other gluten-free flour blends, but if you discover another brand that works exceptionally well, please share your findings in the comments below!
- Gluten-Free Flour Blend: As highlighted, the brand is paramount for achieving the desired spread and cake texture. King Arthur Measure-for-Measure gluten-free flour is my top recommendation for truly authentic results. Look for blends that have a balanced starch content and don’t rely too heavily on cornstarch if you’re trying another brand.
- Unsweetened Cocoa Powder: This recipe calls for unsweetened cocoa powder, which contributes to the rich, dark chocolate flavor of the cakes. This deep cocoa profile beautifully complements the sweetness of the vanilla filling. For an even smoother, less acidic chocolate flavor, you may opt for Dutch-process cocoa powder.
- Buttermilk: Buttermilk is a secret weapon in baking, adding incredible moisture and a tender crumb to the cakes while also reacting with the baking soda for lift. For those needing dairy-free whoopie pies, simply replace the buttermilk with your favorite non-dairy milk (such as almond or soy milk), adding 1 tablespoon of white vinegar or lemon juice. Allow the mixture to sit for 5 minutes until it curdles slightly, then stir before incorporating into the batter.
- Oil: I prefer using canola oil for its neutral flavor and ability to keep the cakes exceptionally moist. Vegetable oil is another excellent neutral-flavored alternative. Melted coconut oil can also be used, but ensure it’s fully melted and cooled slightly. I advise against using melted unsalted butter in the cake batter, as it contains water and milk solids that can significantly alter the texture of these cake-like cookies, making them less tender and soft.
Watch the Recipe Video: Step-by-Step Gluten-Free Whoopie Pie Perfection
Let’s Bake These Delicious Whoopie Pies Together!
Follow these detailed steps, complete with visual guides, to create your perfect batch of gluten-free whoopie pies. (For the full recipe card with precise ingredient amounts, please scroll down below.)
Crafting the Easy Whoopie Pie Batter with a “Magic” Ingredient
Begin by combining the wet ingredients for your whoopie pie cakes. In a large mixing bowl, beat together the packed light brown sugar, oil, buttermilk, large egg, and vanilla extract until they are thoroughly blended and smooth. Next, add all the dry ingredients – your gluten-free flour blend, unsweetened cocoa powder, baking soda, and salt – and mix again until just combined.
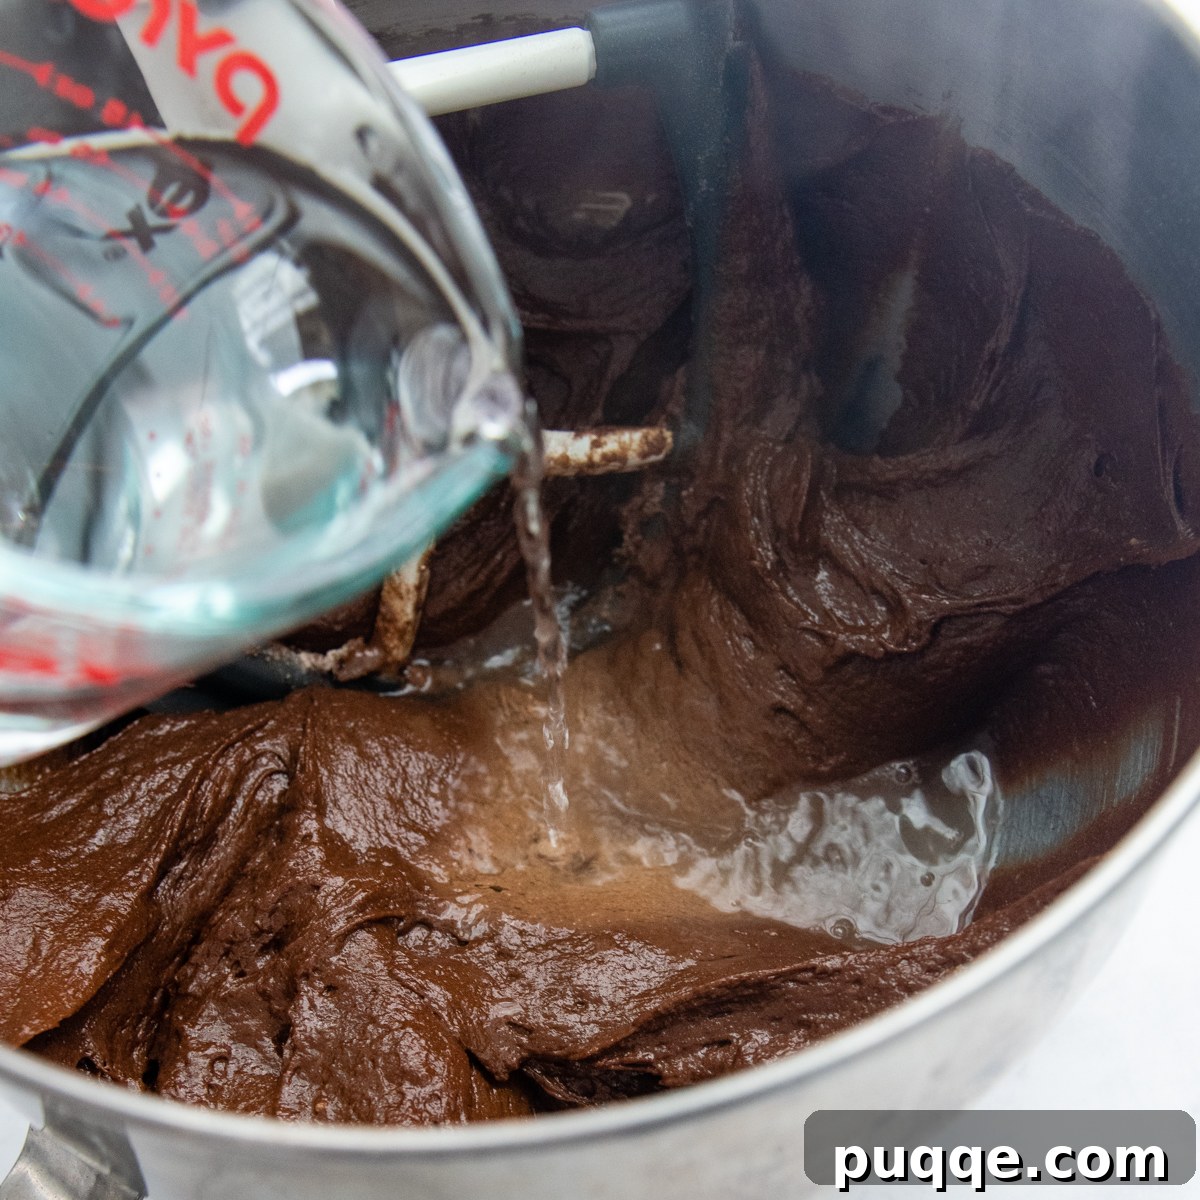
Now, for the “magic” ingredient that ensures an incredibly moist, tender, and deceptively light homemade gluten-free chocolate cake texture: boiling water. Slowly and carefully pour the boiling water into the batter while mixing on low speed. This hot water isn’t just for thinning the batter; it plays a crucial role in baking science. It helps to fully saturate the starches in the flour, preventing a gritty texture, and aerates the batter, resulting in a lighter, fluffier cake-like cookie.
Portioning and Quick Baking for Perfect Cakes
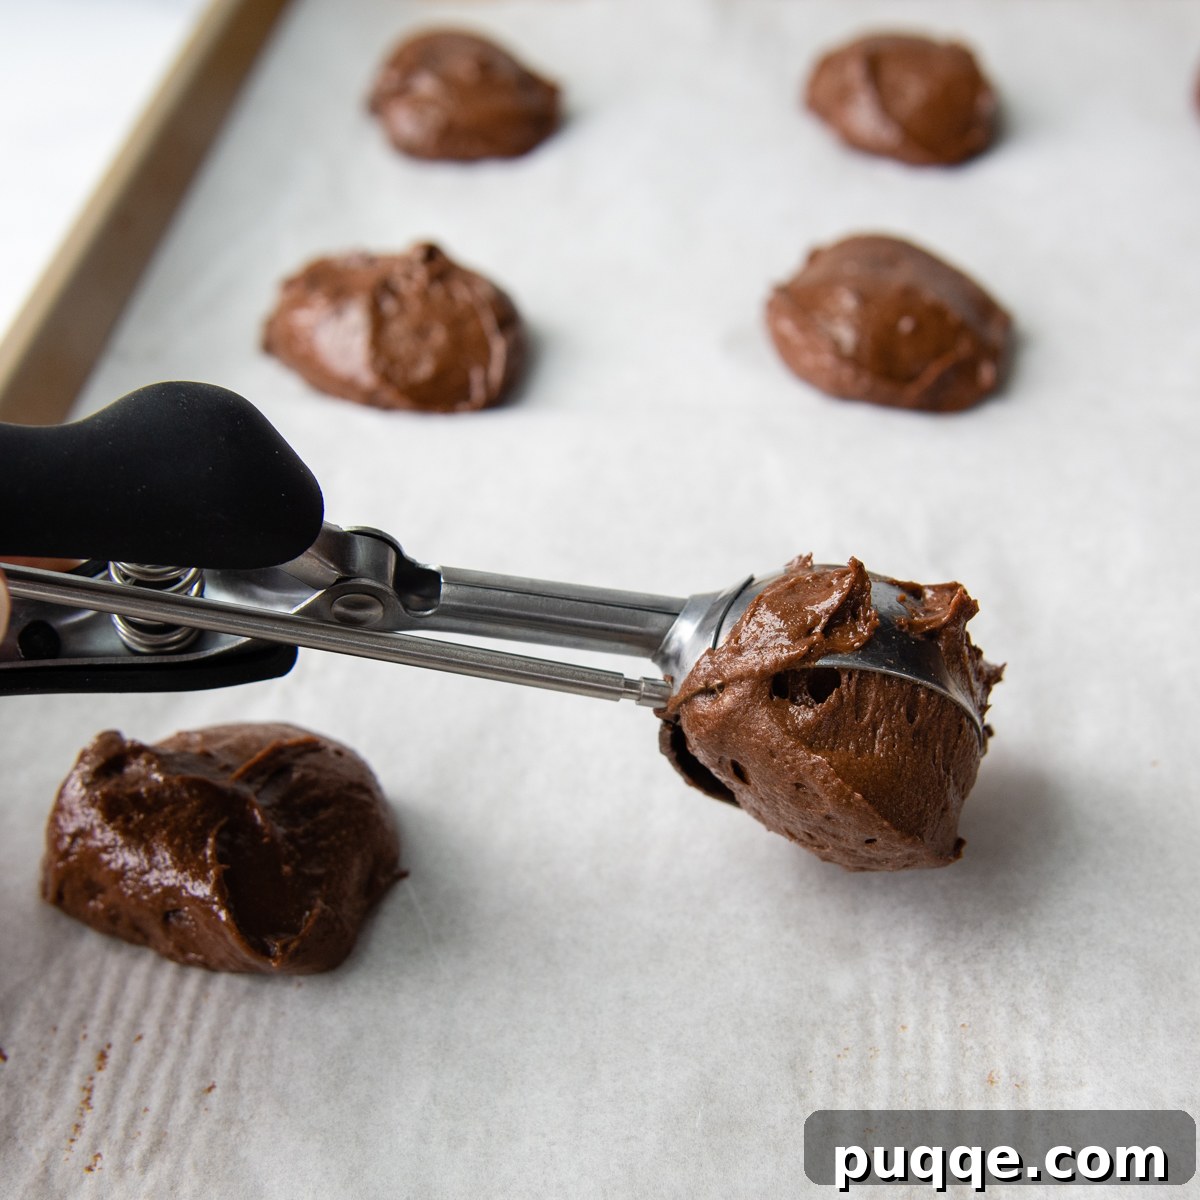
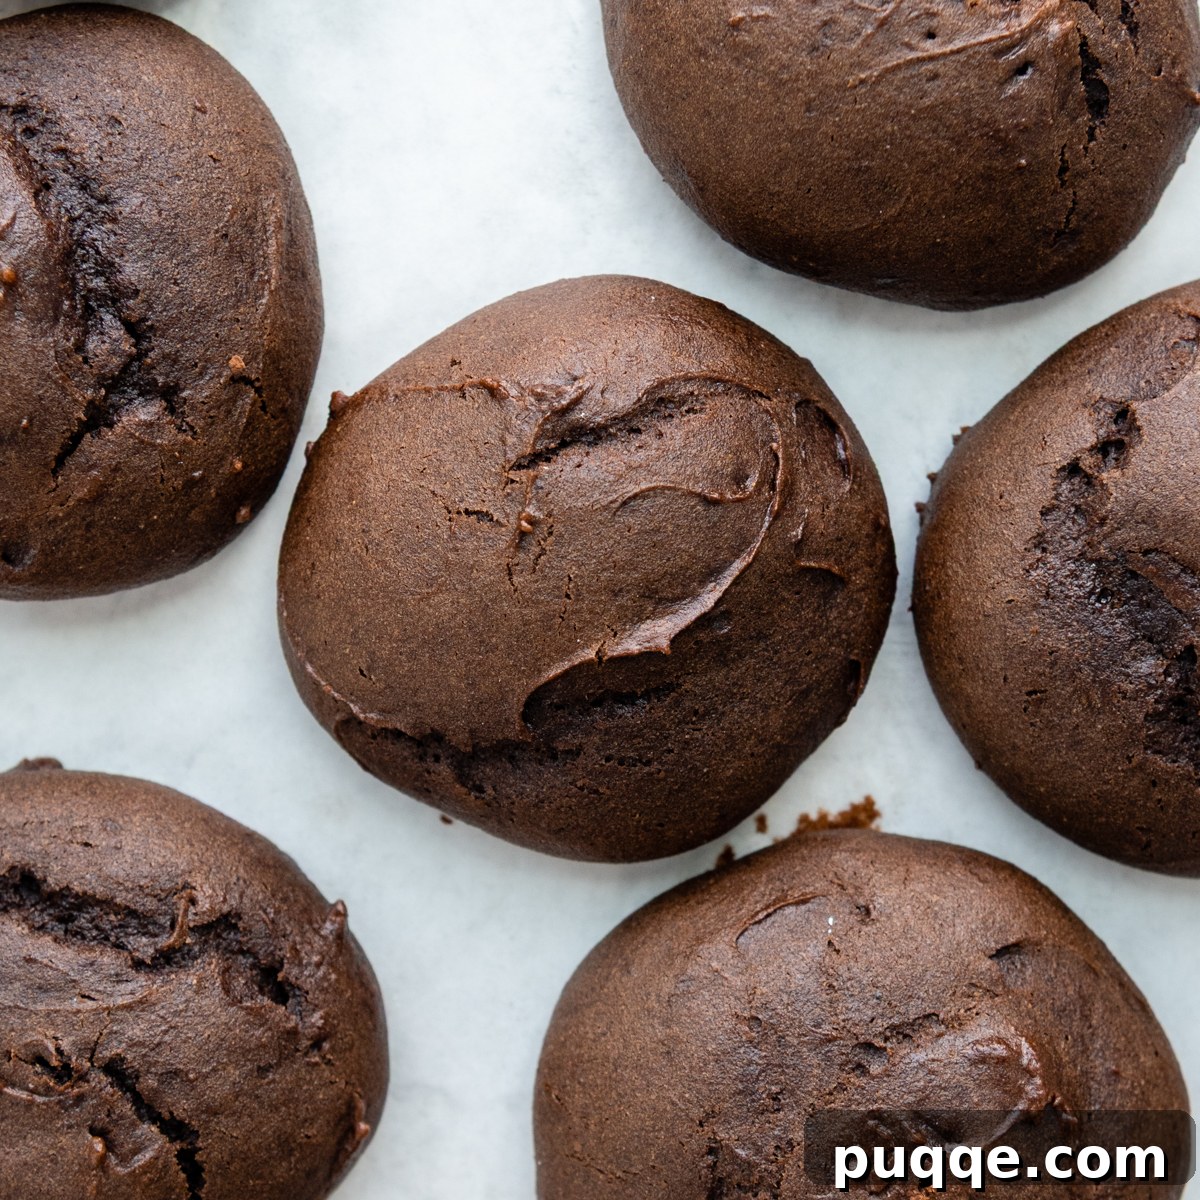
For uniform and professional-looking whoopie pie cookies, I highly recommend using a cookie scoop to portion out your batter. A medium-sized cookie scoop will yield smaller, more delicate whoopie pies, while a large scoop is perfect for creating impressive, bakery-style giant whoopie pies. Scoop the batter onto parchment-lined baking sheets, ensuring you leave about 2 inches of space between each portion to allow for proper spreading. Bake the cookies in a preheated 350ºF (175ºC) oven for approximately 10-12 minutes. You’ll know they’re done when a toothpick inserted into the center comes out clean, and the tops of the cookies show slight cracking.
Crafting the Legendary Whoopie Pie Filling (Authentic Amish-Style)
The filling is undoubtedly what elevates a good whoopie pie to a legendary one. Below, I’ll guide you through making the classic Amish-style whoopie pie filling, known for its soft, airy, and wonderfully sweet vanilla profile. This filling is so beloved and versatile that I’ve also featured it in two other nostalgic dessert recipes: my Homemade Hostess Ding Dong Cake and a gigantic Little Debbie’s oatmeal creme pie cake. Get ready to fall in love with its irresistible texture and flavor!
Achieving Fluffy Goodness for Your Filling
For a safe and perfectly textured filling, we’ll gently heat the egg white. In a heatproof medium-sized bowl, whisk together one egg white with ½ cup of powdered sugar. Place this bowl over a pot of barely simmering water, ensuring the bottom of the bowl does not touch the water directly – it should sit a few inches above, allowing the steam to gently warm the mixture. Continually whisk for about 3 minutes, until the egg white mixture is hot to the touch or reaches 140°F (60°C). This process ensures the egg white is safe to eat and creates a stable base for the fluffy filling.
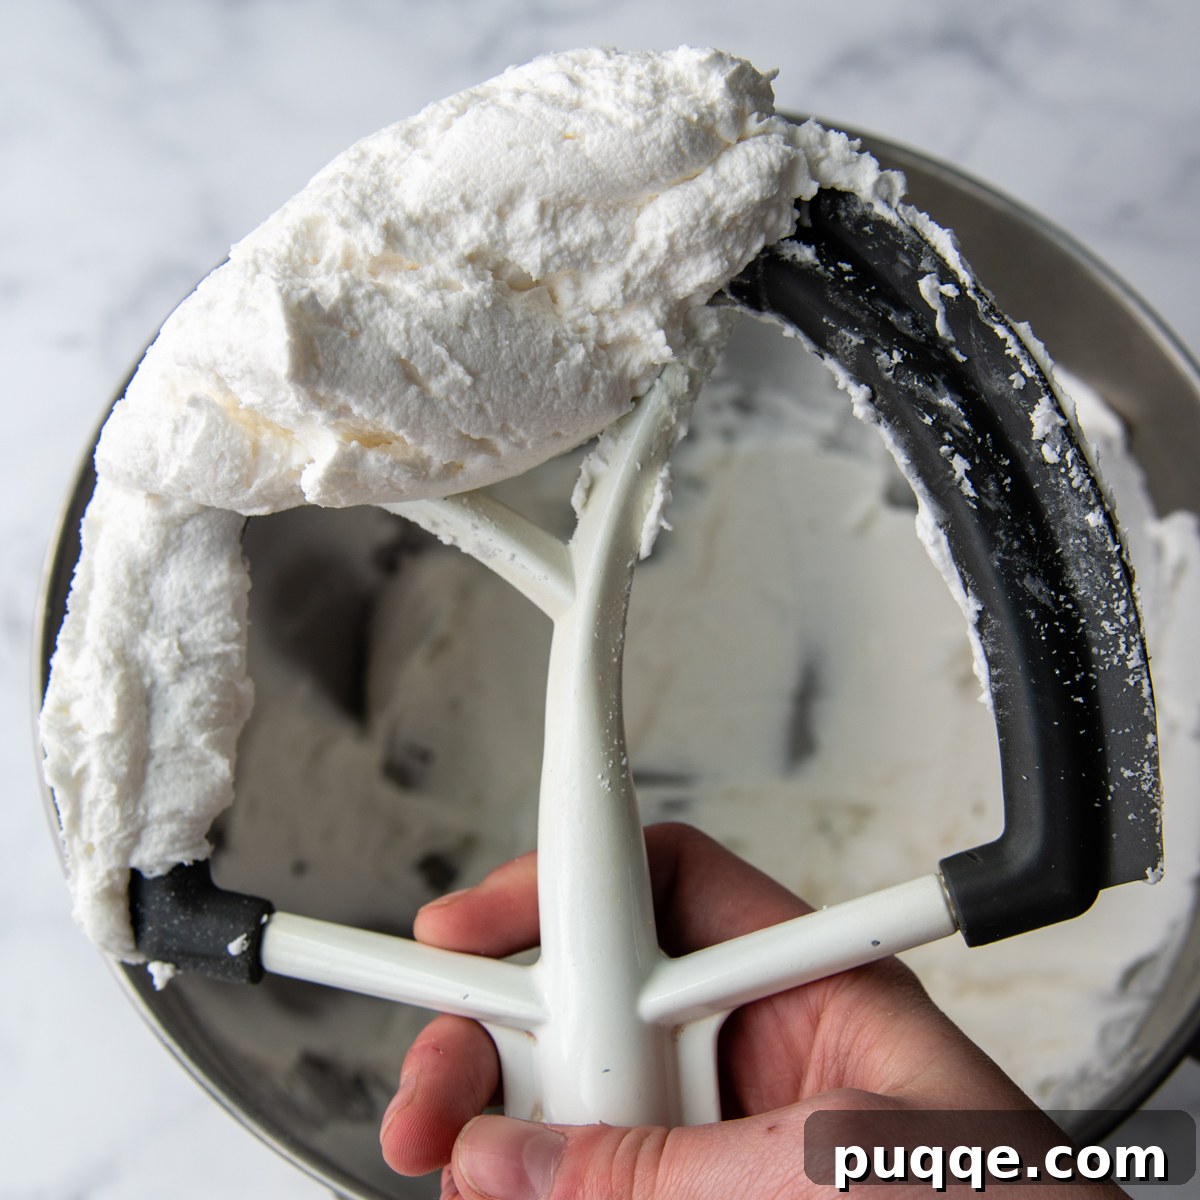
Remove the bowl from the heat and allow it to cool slightly. Once cooled, incorporate the vanilla extract and the remaining powdered sugar. If you are using a stand mixer, switch to a paddle attachment for this step. Next, add the shortening and beat on high speed for approximately 4 minutes. This extended beating time is crucial for incorporating air, transforming the mixture into a wonderfully light, airy, and impossibly fluffy filling.
The Best Part – Assembling Your Whoopie Pie Sandwiches!
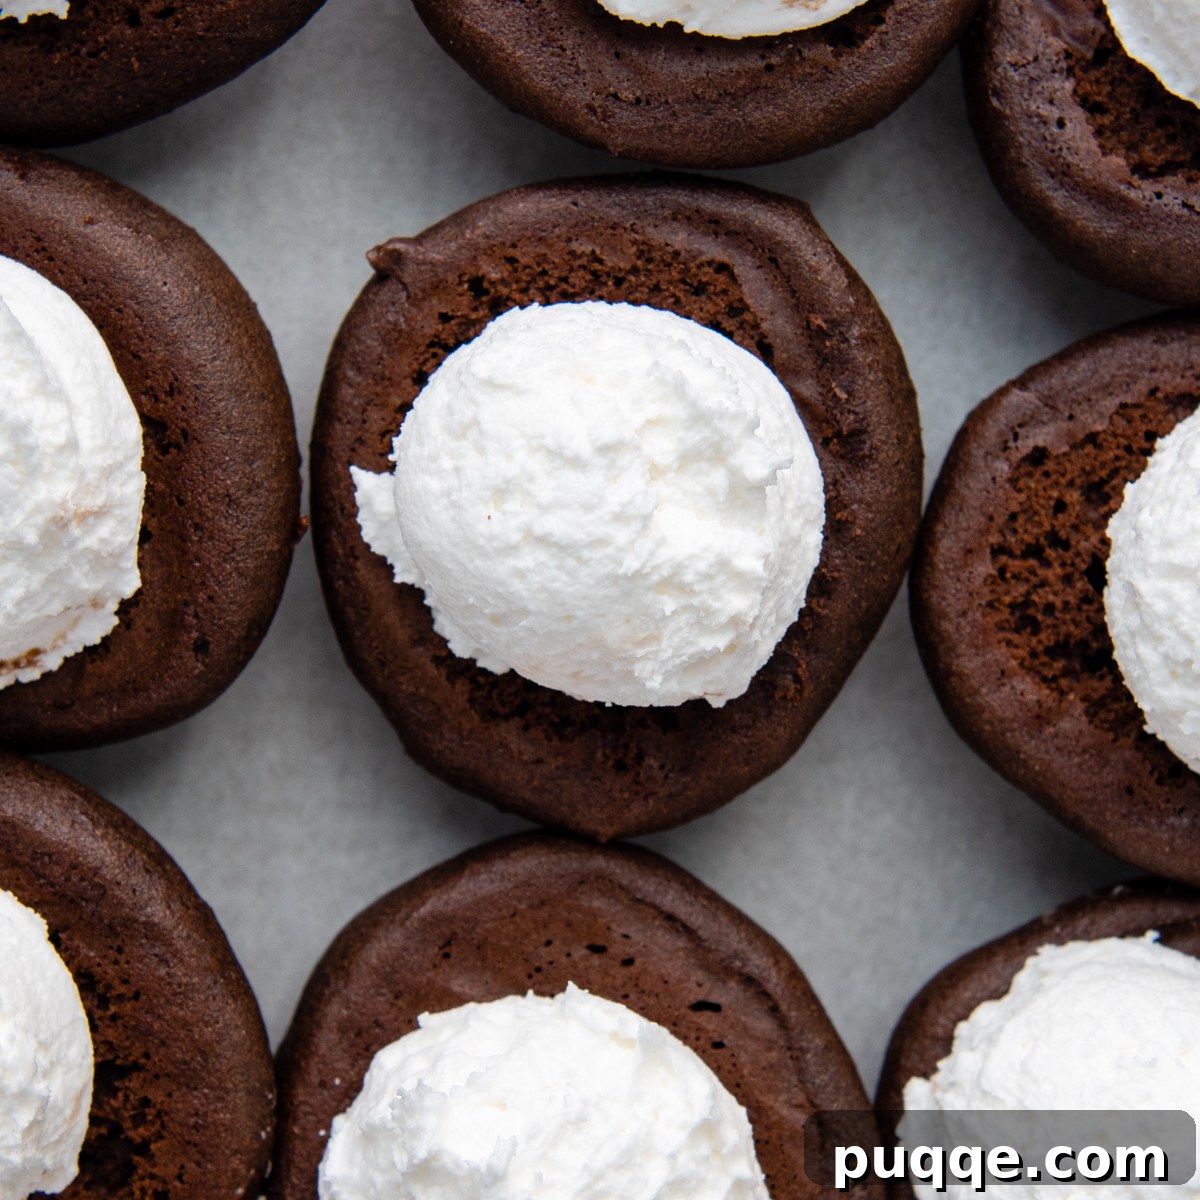
Once your cookies are completely cooled and your filling is light and airy, it’s time for the most enjoyable step: assembly! Lay half of the cooled chocolate cookies, bottom side up, on your baking sheets or a clean work surface. Using the same size cookie scoop you used to portion the cookie batter ensures a consistent and generous amount of filling. Scoop out the fluffy vanilla filling onto the center of each upturned cookie.
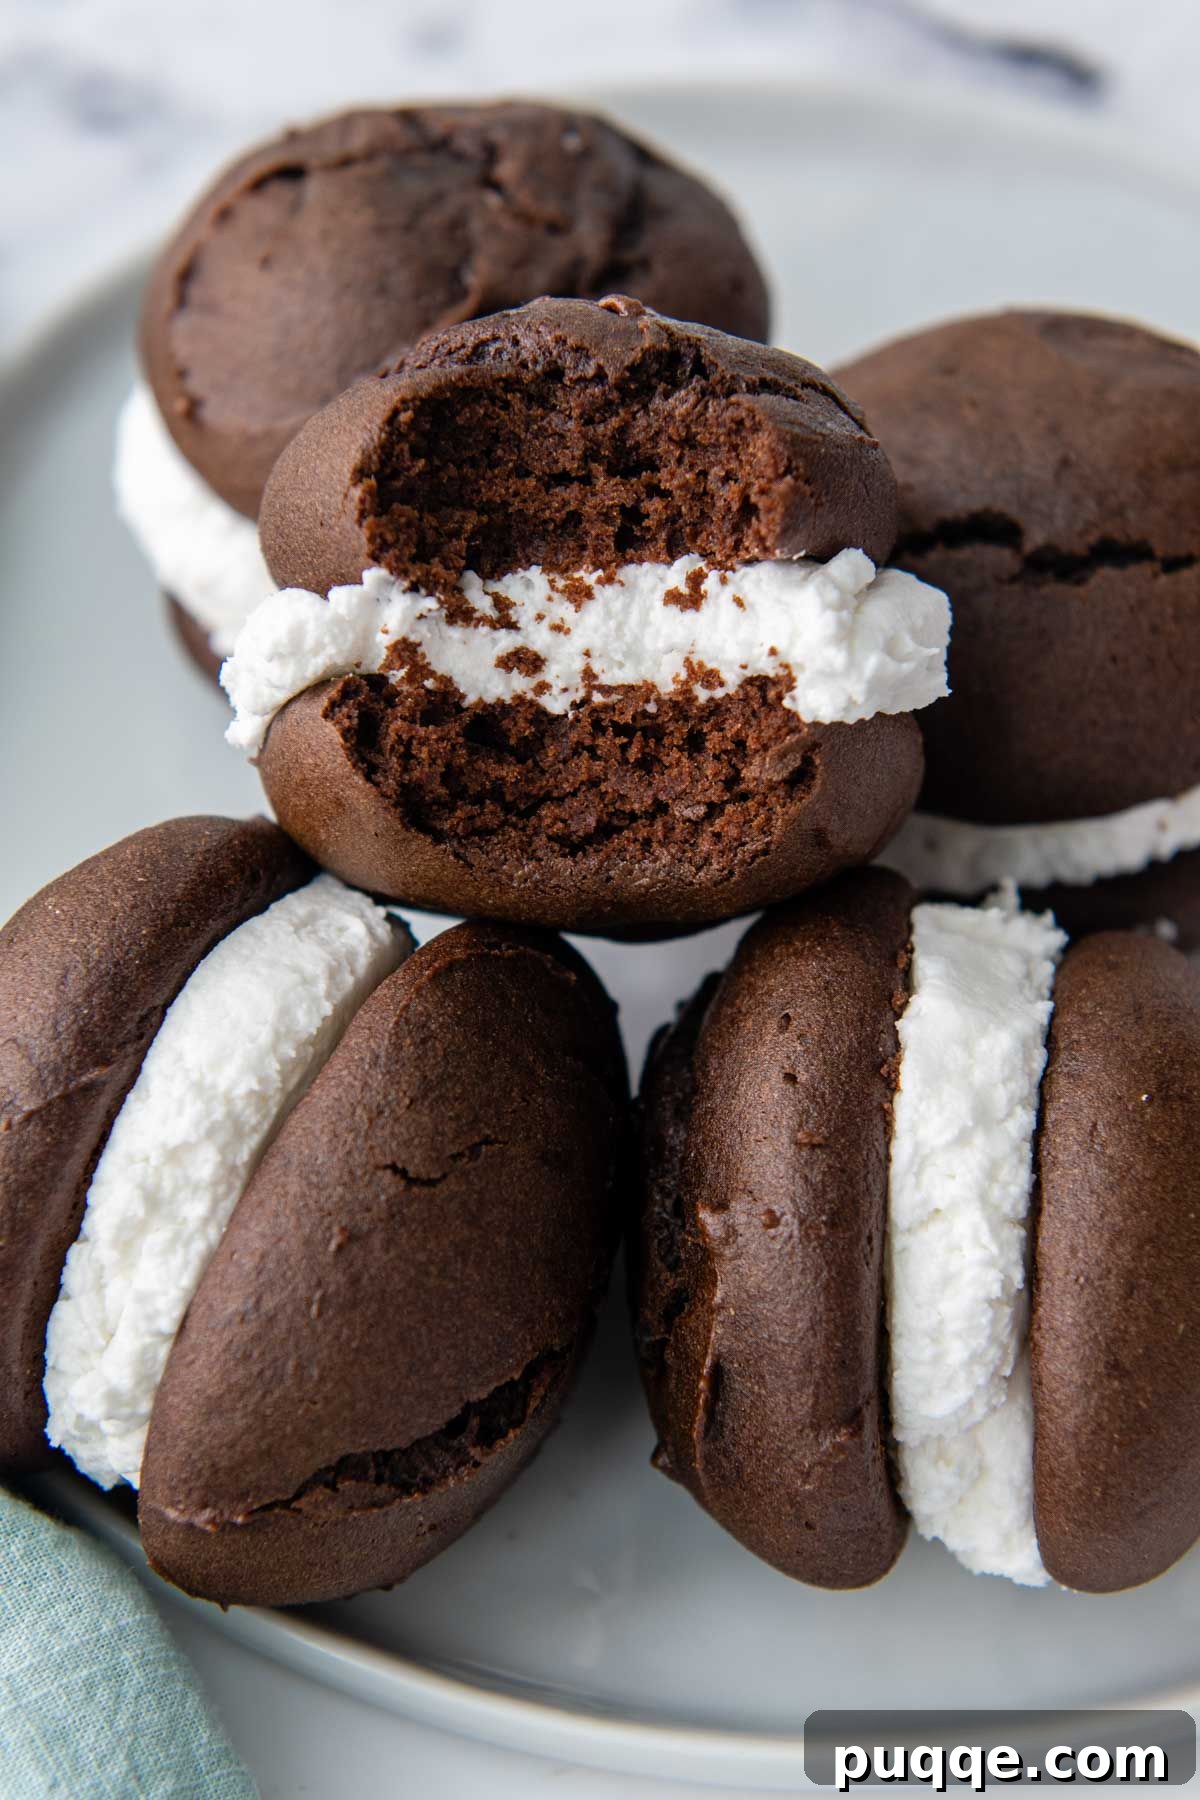
Gently top each filled cookie with another cookie, pressing down slightly. This gentle press allows the filling to spread evenly to the edges, creating that iconic whoopie pie sandwich look. Take a moment to admire your creations, then prepare to experience pure heaven with every bite!
Delightful Variations & Customization
Creative Twists for Your Whoopie Pies
While traditional Pennsylvania whoopie pies boast two soft chocolate cookies embracing a fluffy, white filling (much like the creamy center of Hostess Cupcakes), there’s a world of flavor exploration awaiting!
Our featured Amish-style filling, crafted with vegetable shortening and gently heated egg white, stands as a popular rival to the marshmallow filling commonly savored in New England states like Maine, New Hampshire, and Massachusetts. The New England marshmallow filling often uses marshmallow fluff and butter for a slightly different texture and sweetness profile.
If your palate prefers a rich buttercream, you can easily adapt this recipe. Simply replace the shortening in our filling recipe with an equal amount of softened unsalted butter for a classic buttercream taste. Alternatively, for a tried-and-true option, follow my detailed fluffy buttercream recipe. And for the ultimate double chocolate indulgence, swap out the vanilla filling for a decadent fluffy chocolate buttercream – a truly irresistible combination!
Achieving the Perfect Whoopie Pie Size and Shaping
Tips for Consistent and Beautiful Whoopie Pies
For consistent, evenly-sized cookies and a smooth baking process, I cannot stress enough the value of using cookie scoops. They streamline portioning the batter, ensuring each cookie bakes uniformly. The images featured in this post demonstrate whoopie pies made with a medium cookie scoop, which yields approximately 12 delightful “mini” whoopie pies. If you’re aiming for that impressive, authentic bakery-style presentation, I recommend opting for a large cookie scoop, which will typically make about 7 generously sized whoopie pies.
Another excellent option, particularly if you desire perfectly round and thick whoopie pies, is to use whoopie pie pans. These specialized pans feature shallow, large indentations, similar to a muffin top pan, which help the batter spread into an ideal circular shape and thickness. If you’re yearning for whoopie pies that truly rival those found in a traditional Pennsylvania bakery, investing in whoopie pie pans would be a fantastic choice for professional-looking results.
Save This Irresistible Recipe to Your Pinterest Board!
Let’s be friends on Pinterest! I’m always sharing great recipes and gluten-free baking inspiration!
Did you make this recipe? I love hearing from you! Leave a comment below and let me know how it turned out. Your feedback helps others discover and enjoy our recipes, and I always appreciate hearing from our wonderful community. You’ll always hear back from me! -Melissa
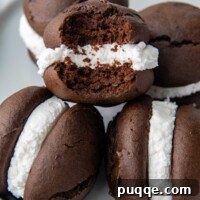
Easy Gluten-Free Whoopie Pies (Authentic Recipe)

Melissa Erdelac
12
30 mins
12 mins
42 mins
Pin
Rate
Remove Ads
Ingredients
Chocolate Gluten-Free Whoopie Pies
- ¾ cup packed light brown sugar
- ½ cup vegetable oil
- ½ cup buttermilk (see recipe notes for dairy-free milk substitution)
- 1 large egg
- 1 teaspoon vanilla extract
- 1 ¾ cup gluten-free all-purpose flour blend (King Arthur GF Measure-for-Measure recommended for best spreading)
- ½ cup unsweetened cocoa powder
- 1 teaspoon baking soda
- ½ teaspoon salt
- ½ cup boiling water
Whoopie Pie Filling
- 1 egg white
- ½ teaspoon vanilla extract
- 2 cups powdered sugar, divided
- ¾ cup shortening
Equipment
-
Stand Mixer
-
Baking Sheets
-
King Arthur Measure-For-Measure Flour
Instructions
-
Preheat your oven to 350ºF (175ºC). Line baking sheets with parchment paper or silicone baking mats and set aside.
-
In a large mixing bowl, beat together the brown sugar, oil, buttermilk, egg, and vanilla extract until the mixture is well combined and smooth.
-
Add the gluten-free flour, cocoa powder, baking soda, and salt to the wet ingredients. Beat again until everything is just combined. Slowly pour in the boiling water while mixing on low speed until it’s fully incorporated. Once the water is added, increase the mixer speed to medium-high and beat for 1 minute to aerate the batter.
-
Use a medium-sized cookie scoop for smaller whoopie pies, or a large scoop for generously sized, bakery-style treats. Portion the batter onto the prepared baking sheets, ensuring cookies are about 2 inches apart. Bake for 10-12 minutes, rotating the sheets halfway through baking for even cooking. The cookies are done when a toothpick inserted into the center comes out clean. Let them cool on the baking sheets for 5 minutes before carefully transferring them to a wire rack to cool completely. They must be fully cooled before filling.
Whoopie Pie Filling
-
In a heatproof medium-sized bowl, whisk together the egg white with ½ cup of powdered sugar. Place the bowl over a pot of barely simmering water, ensuring the bottom of the bowl does not directly touch the water but is suspended a few inches above to allow the steam to heat it gently. Whisk the egg white and powdered sugar continuously for about 3 minutes, until the mixture is hot to the touch or registers 140°F (60°C) on an instant-read thermometer. This pasteurization makes the egg safe to eat. Remove the bowl from the heat and allow it to cool slightly.
-
Add the vanilla extract and the remaining powdered sugar to the mixing bowl. Beat until the mixture is smooth and combined.
-
If using a stand mixer, switch to a paddle attachment. Add the shortening and mix on high speed for 4 minutes, until the filling becomes very light, airy, and fluffy. This step is crucial for achieving the signature texture.
-
Arrange half of the completely cooled cookies, bottom-side up, on your baking sheets or a clean work surface. Use the same size cookie scoop you used for the batter to portion out a generous amount of filling on top of each cookie. Top each filled cookie with another cookie and gently press down so the filling spreads evenly to the edges. Enjoy your homemade whoopie pies! See the recipe notes for optimal storing tips.
Notes
Why did my whoopie pies not spread out?
This common issue most likely stems from the brand of gluten-free all-purpose flour used. While many gluten-free flour blends will yield a tasty whoopie pie, they can significantly affect how much the cookies spread during baking.
Typically, I recommend Cup4Cup GF flour for many baked goods due to its excellent texture. However, for whoopie pies, it contains a higher proportion of cornstarch, which tends to inhibit the cookies from spreading as much as desired. For the best spread and authentic whoopie pie texture, I strongly recommend using King Arthur Measure-for-Measure gluten-free flour.
Dairy-Free Modification
To make this recipe dairy-free, simply replace the buttermilk with an equal amount of your preferred non-dairy milk (such as almond, soy, or oat milk). To mimic buttermilk’s acidity, add 1 tablespoon of white vinegar or lemon juice to the non-dairy milk. Stir gently and let it sit for 5 minutes until it slightly curdles before adding it to the batter.
Storing and Freezing
Whoopie pies are **best served at room temperature** as this allows the fluffy filling to maintain its soft and creamy texture. Store them in an airtight container in a single layer. If stacking, place sheets of wax paper between layers to prevent them from sticking.
If you’re not planning to enjoy them the same day they are made, I highly recommend freezing them until you’re ready to serve for optimal freshness.
**To freeze:** Place the assembled whoopie pies in a single layer on a parchment-lined sheet pan. Freeze until they are solid. Once frozen, you can stack them between sheets of wax paper and transfer them to an airtight container. For added protection against freezer burn, wrap the container with plastic wrap. They can be frozen for up to three months.
**To thaw:** Allow them to thaw at room temperature for approximately 2 hours. This ensures the filling returns to its delightfully soft and fluffy consistency. The cake portions will defrost quicker than the filling, so give them ample time.
Calories:
404
kcal
,
Carbohydrates:
49
g
,
Protein:
4
g
,
Fat:
24
g
,
Saturated Fat:
5
g
,
Polyunsaturated Fat:
9
g
,
Monounsaturated Fat:
8
g
,
Trans Fat:
2
g
,
Cholesterol:
15
mg
,
Sodium:
214
mg
,
Potassium:
97
mg
,
Fiber:
3
g
,
Sugar:
34
g
,
Vitamin A:
36
IU
,
Calcium:
42
mg
,
Iron:
1
mg