
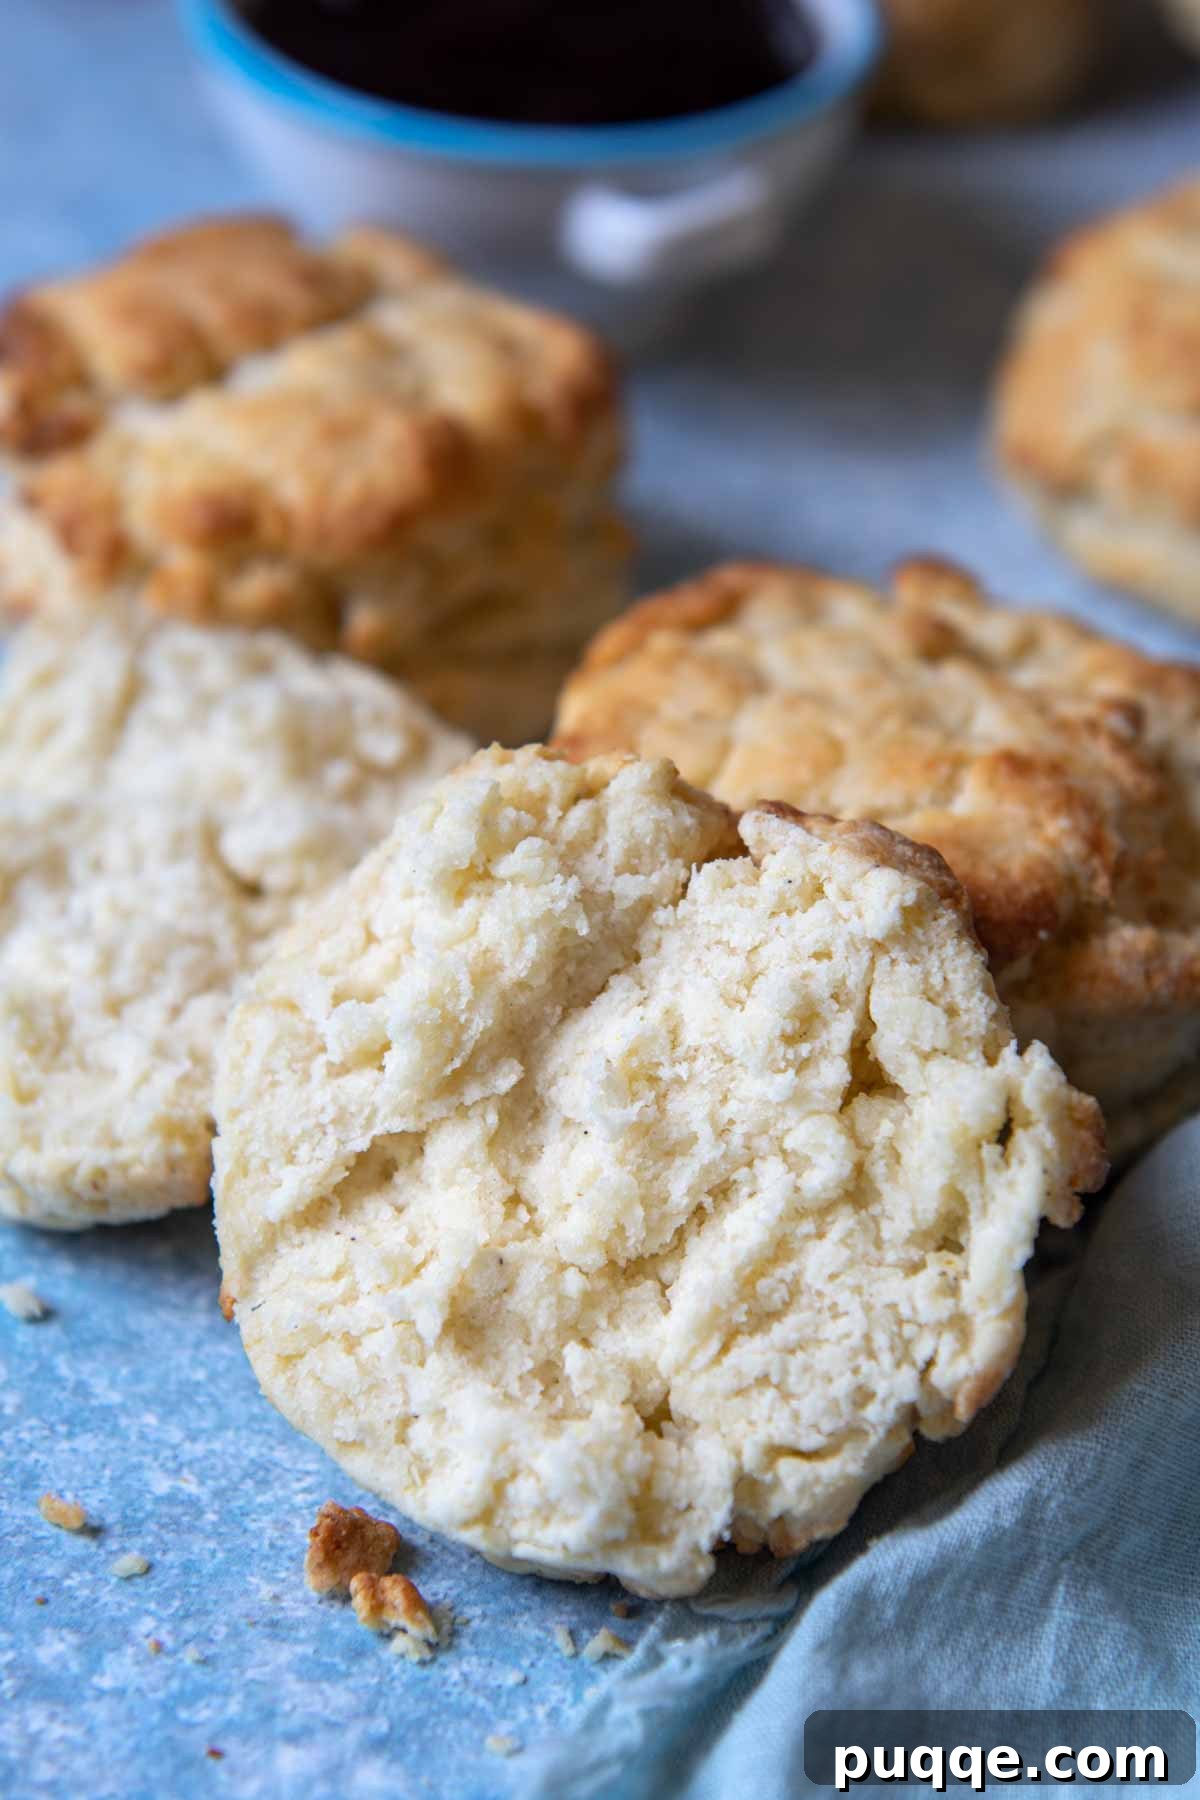
Discover the secret to baking truly irresistible gluten-free biscuits that are impossibly soft, tender, and incredibly fluffy, ready in under an hour! This perfected recipe takes the guesswork out of gluten-free baking, transforming what can often be a dense, crumbly affair into a light, buttery delight. Unlike traditional buttermilk biscuits, our innovative approach uses plain yogurt, creating a unique texture that’s moist without being heavy, ensuring every bite melts in your mouth. Get ready to impress your family and friends with these easy-to-make drop biscuits that require no rolling or special shaping. Simply mix, scoop, and bake your way to gluten-free perfection!
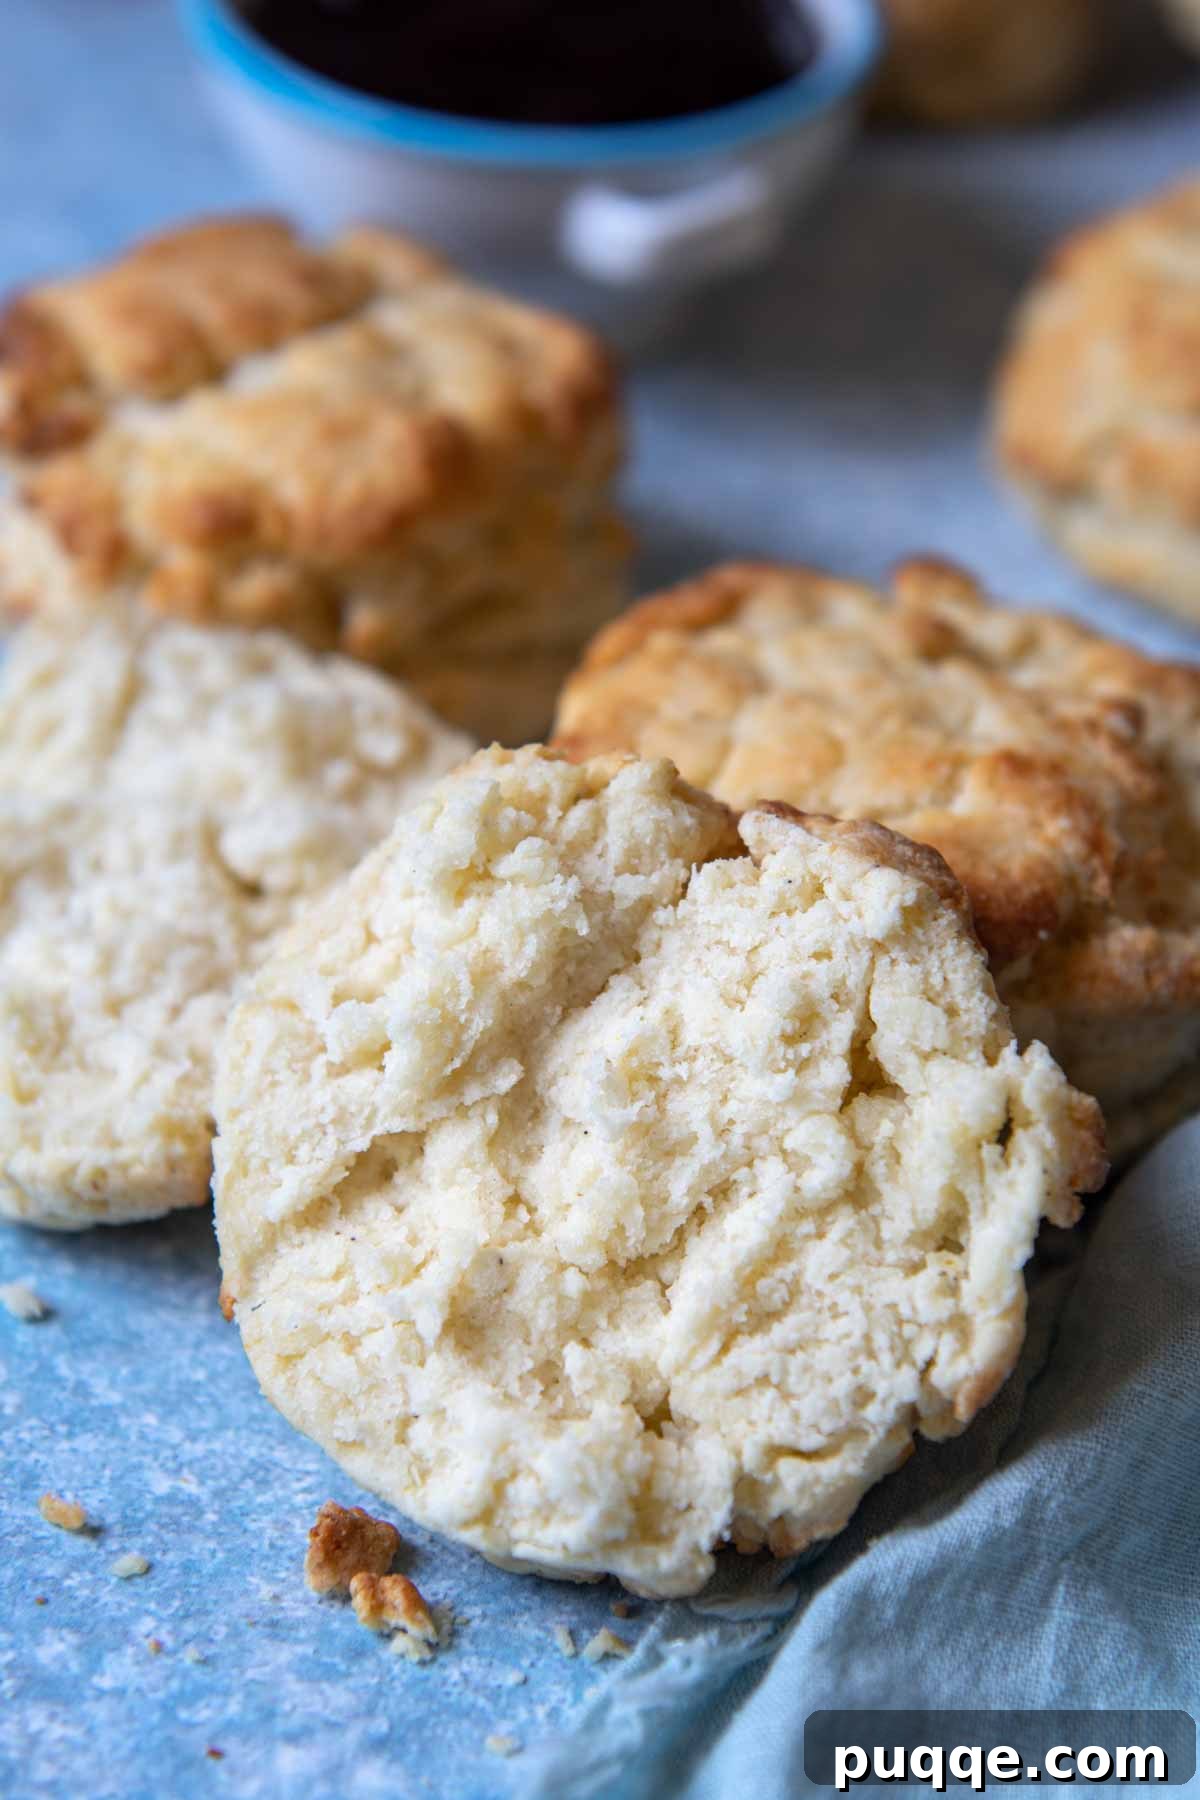
Seriously, THE BEST Fluffy Gluten-Free Drop Biscuits
For years, the quest for a truly light, fluffy, and tender gluten-free biscuit recipe felt like searching for a culinary unicorn. Many attempts resulted in dry, crumbly, or overly dense biscuits that simply couldn’t compare to their gluten-containing counterparts. But your luck has changed! After countless trials and meticulous adjustments, I’ve perfected a recipe that consistently delivers spectacular results. These aren’t just “good for gluten-free” biscuits; they are genuinely delicious, rivaling any traditional biscuit you’ve ever tasted. I keep a batch in my freezer at all times, ready for any craving or last-minute meal.
Why This Gluten-Free Biscuit Recipe is a Game-Changer
What sets these homemade gluten-free drop biscuits apart and makes them my absolute go-to? It boils down to a few key factors that prioritize both ease and exceptional flavor:
- Effortless Preparation: Forget the tedious rolling, cutting, and reshaping often associated with biscuit making. These are true “drop biscuits,” meaning you simply stir the dough together, scoop it onto a baking sheet, and let your oven do the rest. It’s a remarkably quick and easy process, perfect for busy mornings or when you need a comforting treat without the fuss.
- Versatile, Pantry-Friendly Ingredients: You’ll find most of the essential ingredients already stocked in your kitchen. While plain yogurt is a star for its unique ability to create a fluffy texture without weighing down the crumb, it’s also incredibly versatile. If yogurt isn’t on hand, sour cream can be easily substituted, yielding similarly fantastic results. The remaining staples are likely ready and waiting!
- Unbeatable Southern-Style Flavor and Texture: These biscuits boast that classic, rich, buttery flavor and incredibly tender crumb that defines southern comfort food. I can confidently say that this recipe produces biscuits that taste authentic and delightful, never like an inferior gluten-free imitation. They are perfect companions for savory dishes like homemade gluten-free sausage gravy, a match truly made in heaven. Or, enjoy them with sweet accompaniments like your favorite jam, a drizzle of honey, creamy ricotta grits, or simply alongside a plate of scrambled eggs for a hearty breakfast.
While this recipe is expertly adapted from the renowned America’s Test Kitchen: The How Can It Be Gluten Free Cookbook, I’ve incorporated additional insights and helpful tips below. You’ll find guidance on smart ingredient swaps, the optimal baking techniques for the most tender biscuits, and recommendations for the best gluten-free flour blends to use. Let’s embark on this baking journey and create incredible southern biscuits that will rival any you’ve ever tasted!
I have been gluten-free for about 10 years. This is the best recipe I have tried for drop biscuits. Thank you!
—Donna
This is by far the best gluten-free biscuit recipe I have ever tried I made the GF gravy with it and I am in heaven I have truly missed my biscuit and gravy on Sundays . 😁😁
—Renee
The Science Behind Perfect Gluten-Free Biscuits: Ingredient Deep Dive
Achieving the perfect gluten-free biscuit involves understanding how each ingredient contributes to the final texture and flavor. Here’s a closer look at the key components of this recipe:
- Gluten-Free Flour Blend: The foundation of any successful gluten-free baked good is the flour. Through extensive testing for my homemade gluten-free bread recipes, I’ve found that using a high-quality, all-purpose gluten-free flour blend is absolutely paramount. For this biscuit recipe, blind taste testers consistently rated Cup4Cup as superior. Its balanced blend delivers a wonderfully neutral taste and, most importantly, an exceptionally tender crumb that avoids the gritty texture sometimes associated with GF baking.
- The Magic of Yogurt: This ingredient is truly where the versatility and unique texture of these biscuits come from. While traditional recipes often call for buttermilk, yogurt proves to be more effective in gluten-free applications. Gluten-free starches tend to absorb moisture differently and can become oversaturated, leading to a dense or gummy texture. Yogurt provides rich moisture and fat without excess liquid, helping to maintain the dough’s structure and preventing it from spreading too much during baking. I’ve had great success with various types, including whole-milk, low-fat, and even vanilla yogurt. No yogurt? No problem! Sour cream makes an excellent substitute, offering similar moisture and tang.
- A Touch of Acid (Lemon Juice): To replicate the slightly tangy flavor that buttermilk typically provides in traditional biscuits, we add a touch of lemon juice. This acidity not only enhances the flavor profile but also reacts with the baking soda, creating additional lift and lightness in the biscuits. If fresh lemons aren’t available, an equal amount of apple cider vinegar or white vinegar will work perfectly, ensuring that classic biscuit tang.
- Balanced Fat for Flakiness: This recipe cleverly utilizes a combination of chilled butter and vegetable oil. Butter contributes to the rich, classic biscuit flavor and helps create those delightful flaky layers as it melts during baking. The vegetable oil, on the other hand, works to coat and saturate the gluten-free flour starches, preventing dryness and ensuring a tender, moist interior. Relying solely on butter might lead to a drier biscuit, while using only oil could result in an overly greasy texture. This perfect balance ensures a moist, tender, and flavorful biscuit every time.
Watch the Recipe: Visual Guidance for Success
Sometimes, seeing is believing, especially when mastering a new recipe. Watch this quick video to see each step of the gluten-free biscuit making process, ensuring you achieve perfect results on your first try!
Let’s Make These Together! Step-by-Step Perfection
(Below you’ll find step-by-step photos and detailed instructions to guide you. For the complete ingredient amounts and a printable recipe card, please scroll down to the bottom of the page.)
Combine Dry Ingredients and Cut in Chilled Butter.
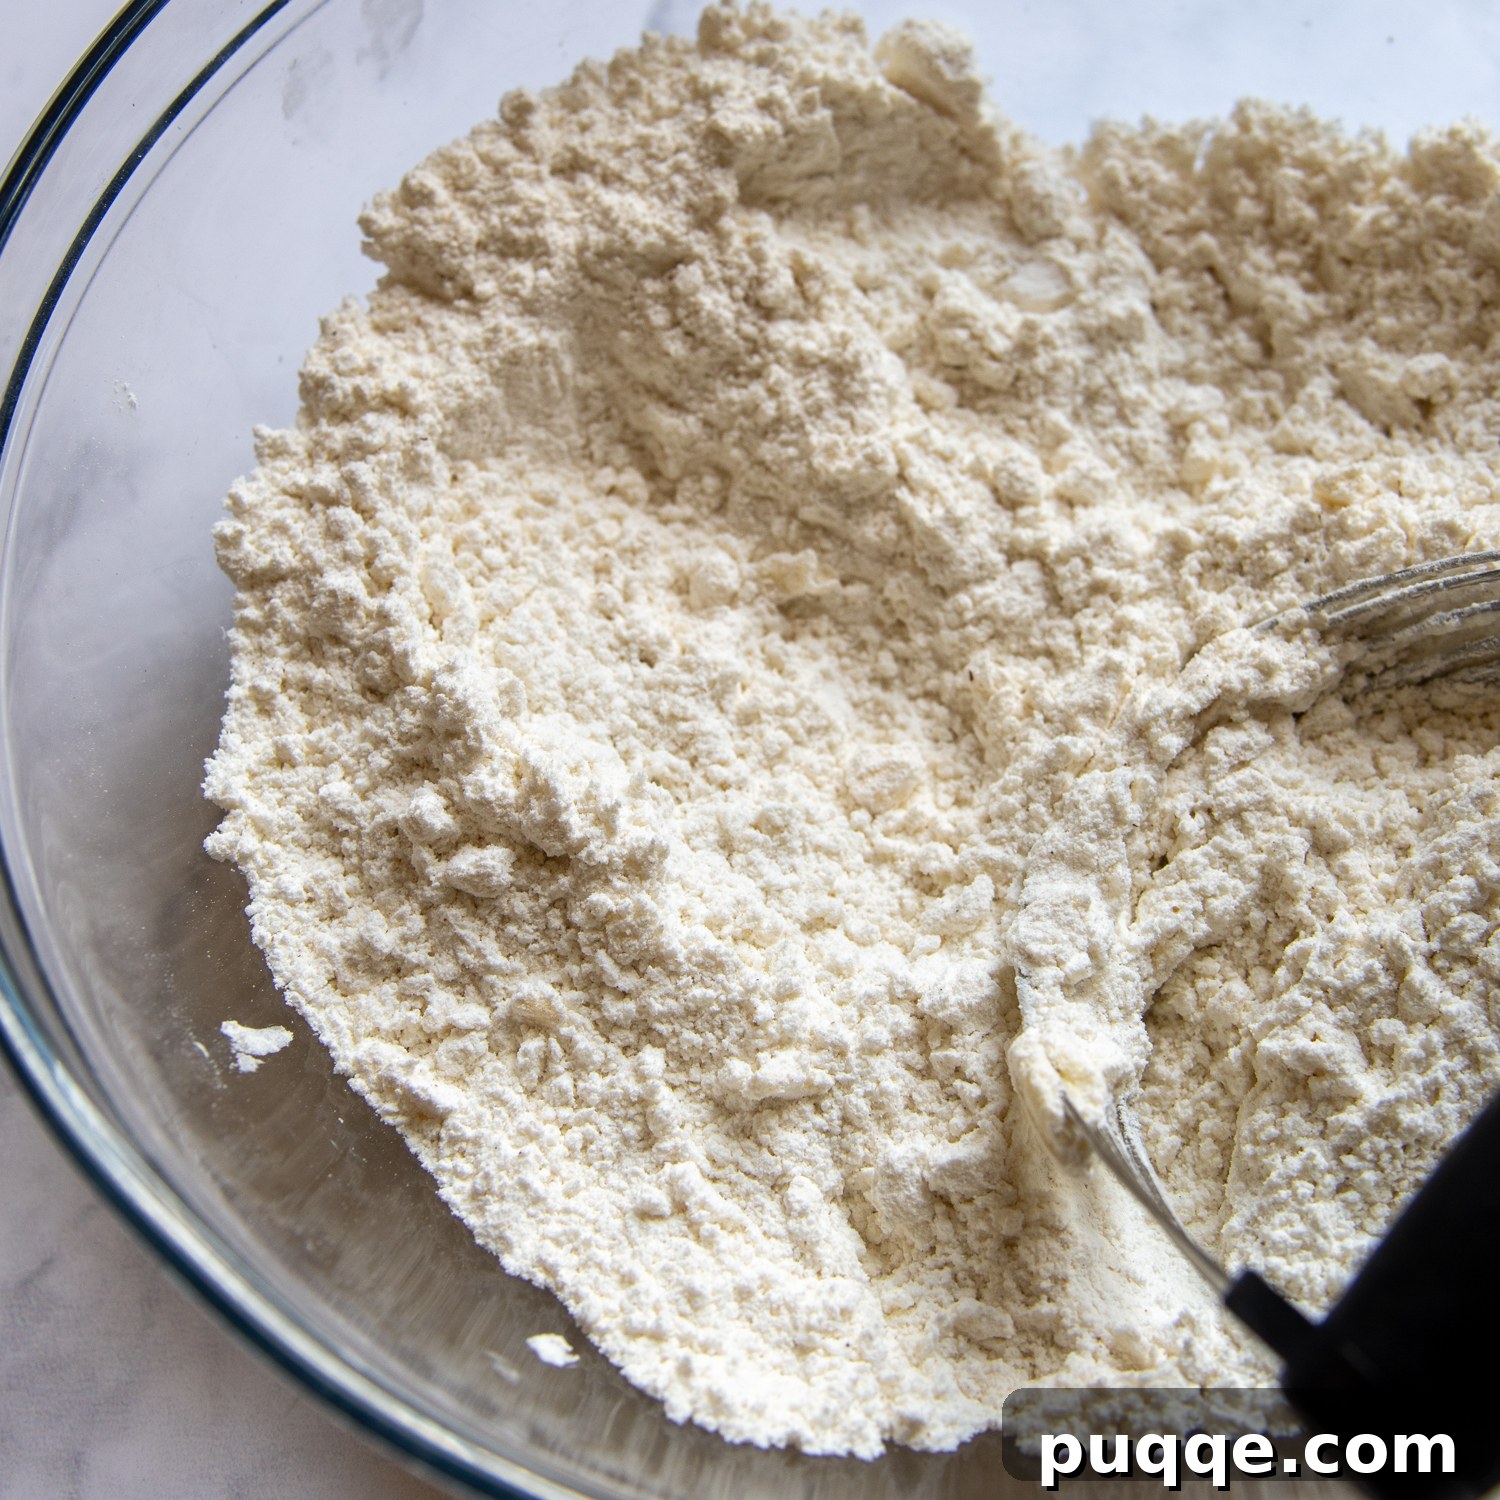
In a spacious mixing bowl, thoroughly whisk together all your dry ingredients – this includes the gluten-free flour blend, baking powder, sugar, salt, and baking soda. This ensures an even distribution of leavening agents and flavor. Next, it’s time to incorporate the crucial chilled butter. Using a pastry blender, a fork, or even your fingertips, cut the butter into the flour mixture. Work quickly to prevent the butter from melting. You’re looking for a texture that resembles coarse sand with some small, pea-sized pieces of butter remaining. These pockets of butter are essential for creating steam during baking, leading to flaky layers.
Add Wet Ingredients, Stir Gently, and Allow to Rest.
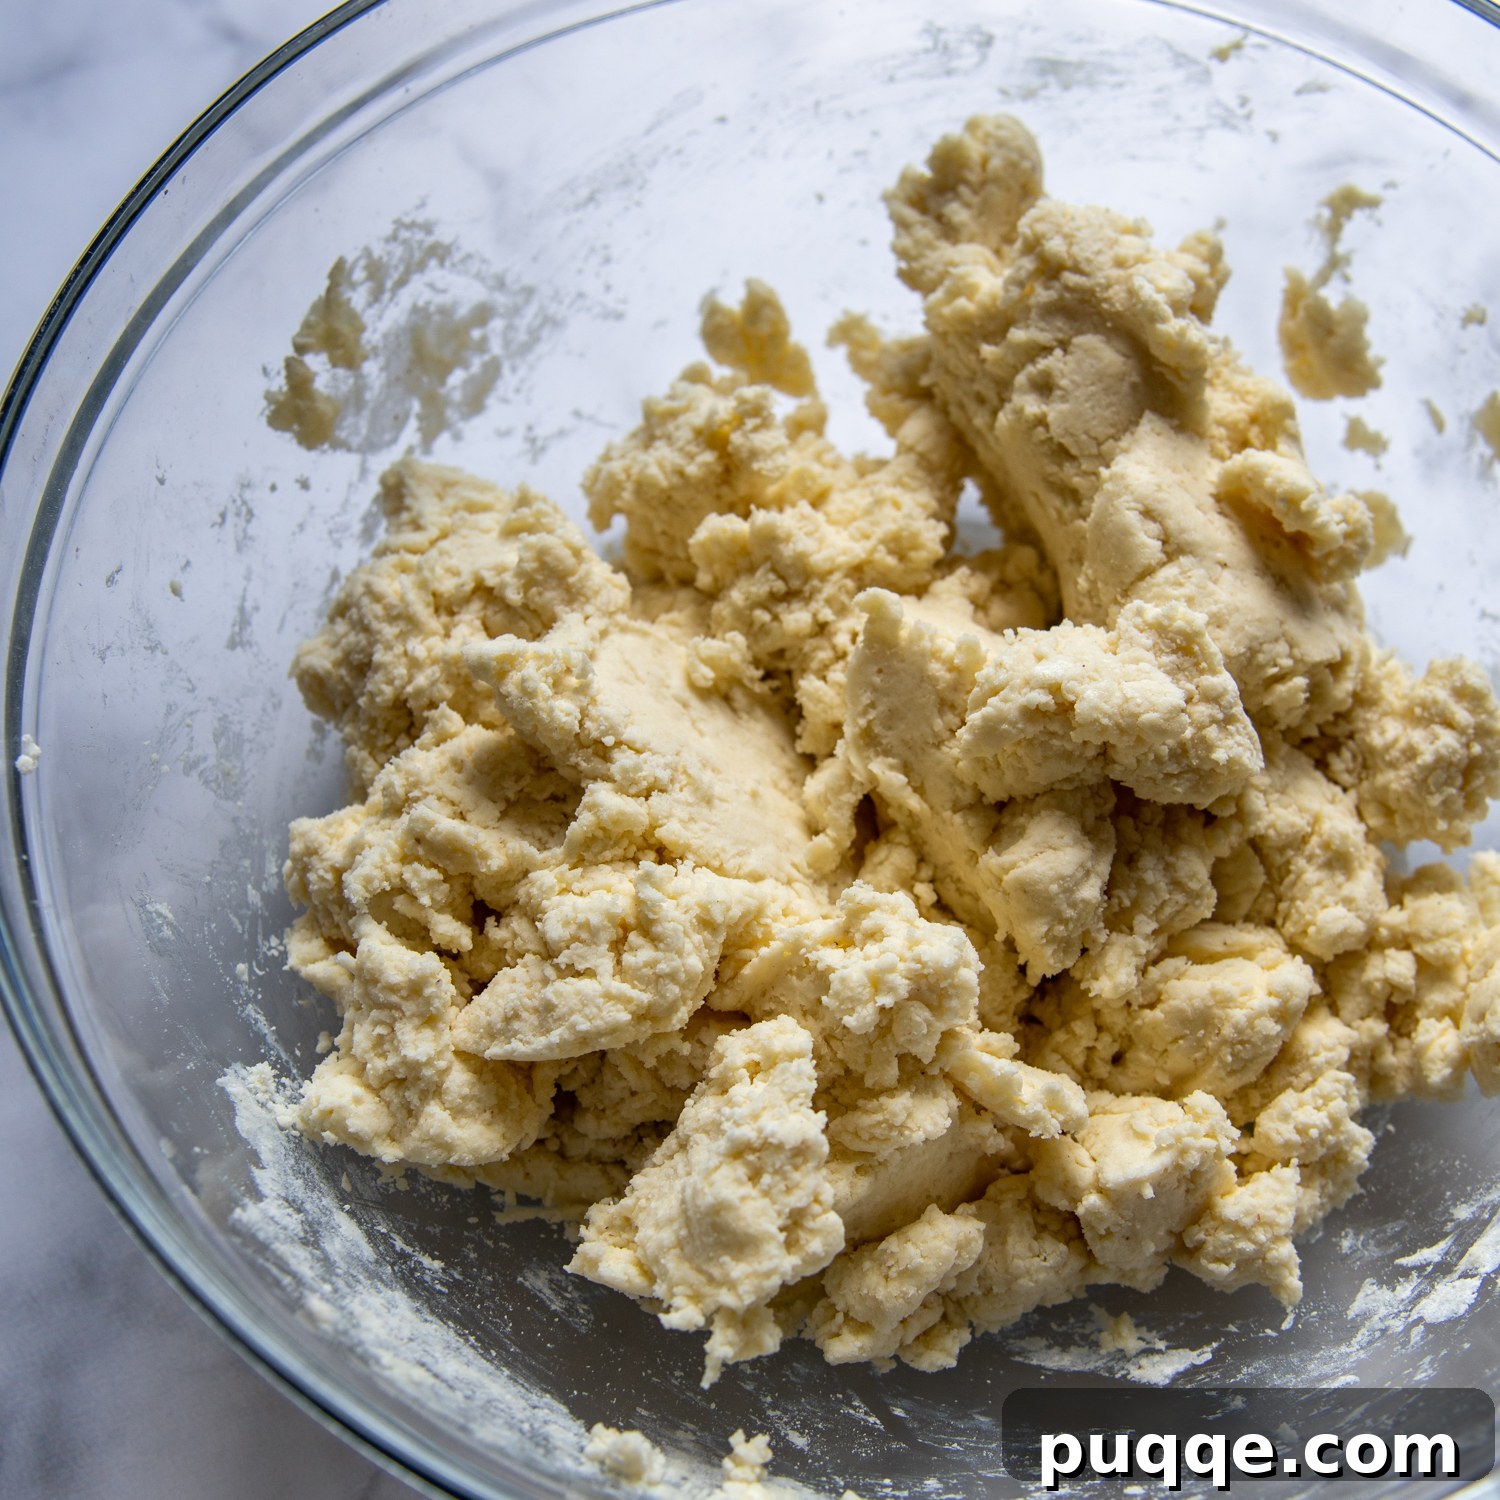
In a separate, smaller bowl, whisk together the wet ingredients: vegetable oil, egg, plain yogurt, and lemon juice until well combined. This ensures an even distribution of moisture and acidity throughout the dough. Pour this wet mixture into your flour and butter combination. Stir just until the ingredients are combined and a soft, cohesive dough forms. Avoid overmixing, as this can develop any gluten-like properties in the GF flour and lead to tougher biscuits. The next step is simple but absolutely crucial for success: cover the bowl with plastic wrap and let the dough rest at room temperature for 30 minutes. This resting period allows the gluten-free starches to fully hydrate and absorb the moisture and fat, preventing a dry or gritty texture and ensuring your biscuits emerge incredibly soft and tender from the oven.
Embrace the Seriously Easy Drop Biscuit Shaping Method.
If the thought of shaping homemade biscuits has ever intimidated you, prepare to be delighted by the simplicity of this drop biscuit method. There’s no rolling pin, no intricate folding, and no cookie cutters required! Simply grease a ⅓ measuring cup with cooking spray. Scoop a generous amount of the rested dough into the greased cup, pressing down gently to compact it. Then, “plop” the dough onto baking sheets lined with parchment paper. That’s it! Repeat this process, spacing the biscuits about 1 inch apart in the center of the sheet. The close proximity encourages steam to trap between them, contributing to a more tender result. Remember to lightly spray the measuring cup between each scoop to prevent sticking and ensure perfectly shaped biscuits every time.
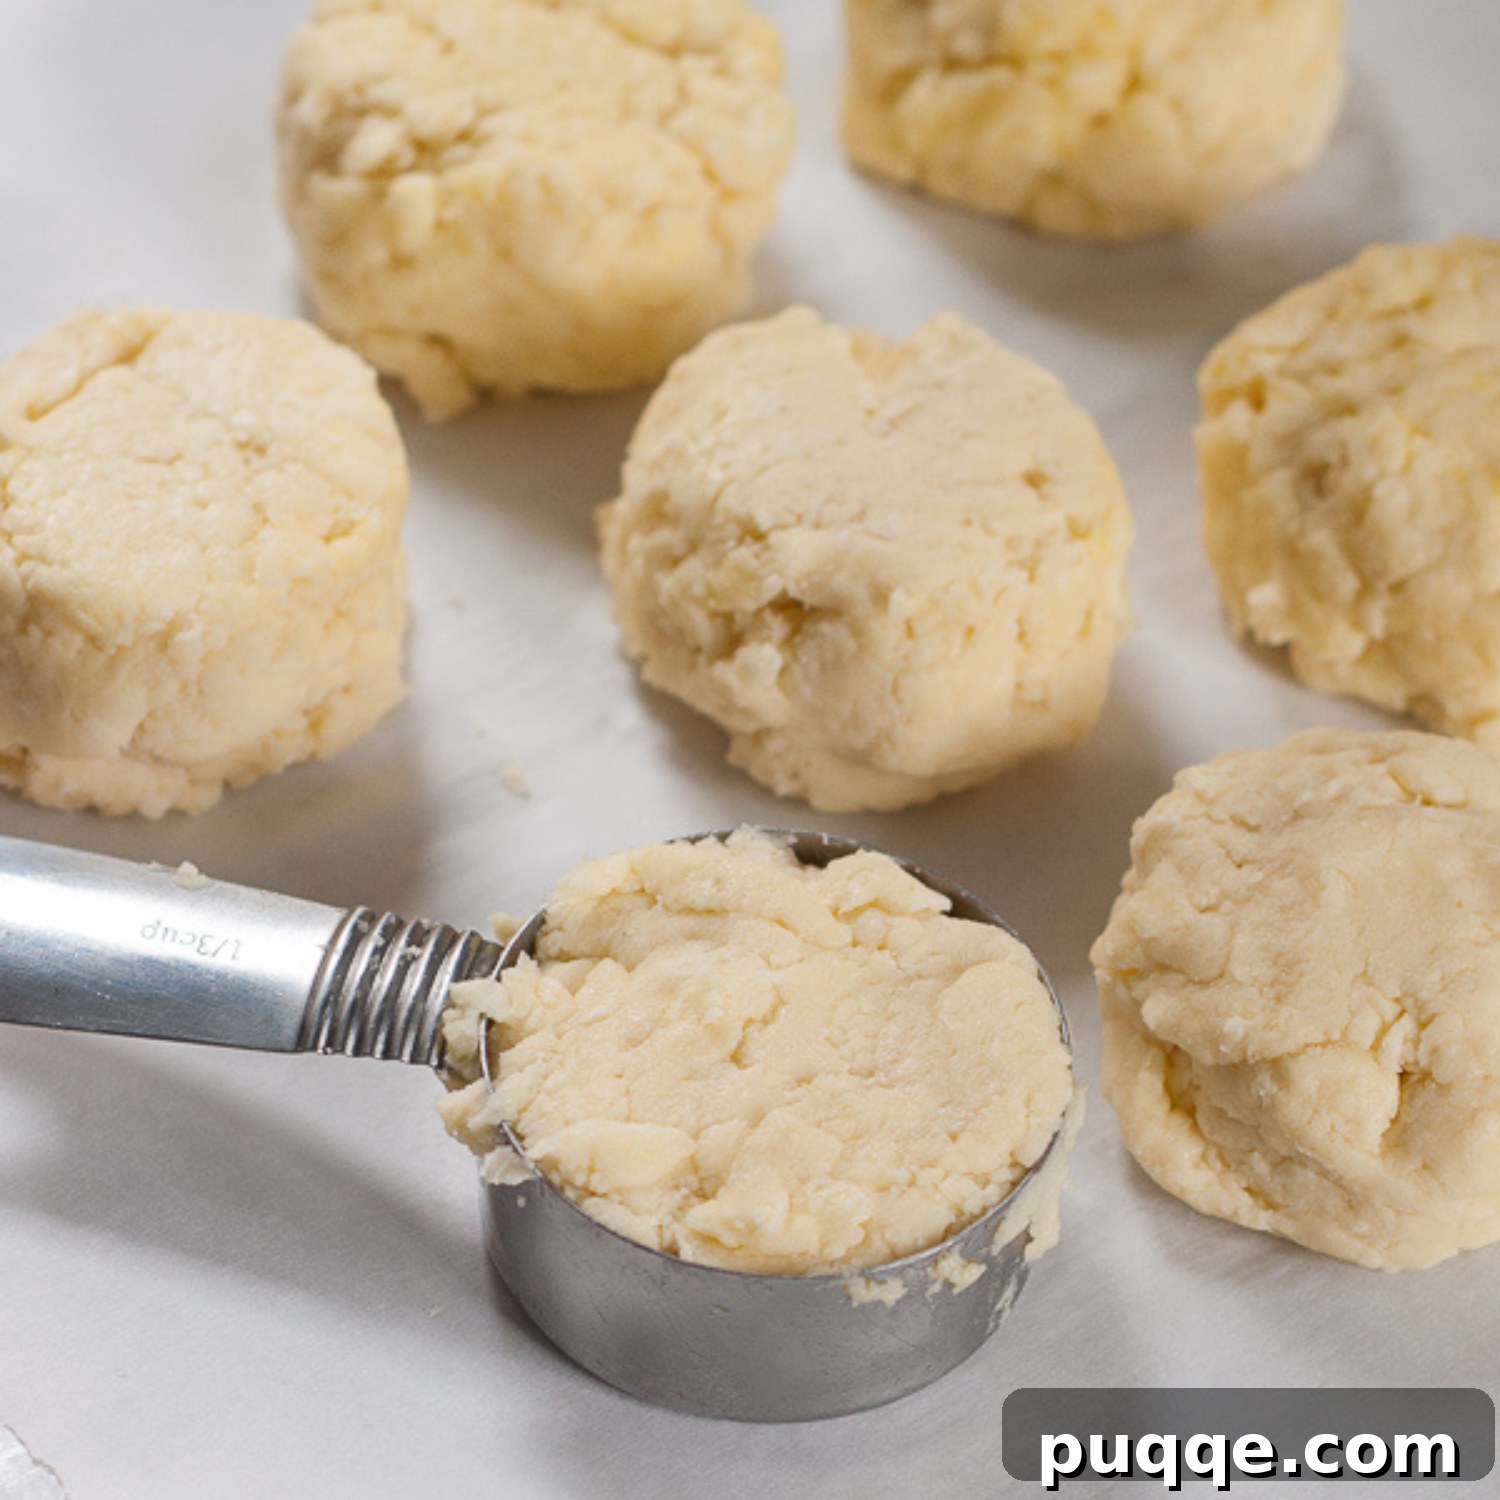
Masterful Baking Tips for Golden Perfection.
These gluten-free biscuits bake at a relatively high oven temperature, which helps them rise beautifully and achieve a golden crust. To prevent the bottoms from burning before the tops are perfectly golden and cooked through, we employ a clever trick: use a double layer of baking sheets. Simply place one baking sheet inside another. Line the top sheet with parchment paper, then arrange your biscuits. Bake in a preheated 425°F oven for approximately 15-17 minutes, rotating the pan halfway through the baking time to ensure even browning. Once golden, remove and prepare to enjoy immensely!
For any baking endeavor, an inexpensive oven thermometer placed on your oven rack is a valuable tool. Oven calibrations can vary significantly, meaning the temperature you set might not be the actual temperature inside. This discrepancy can greatly affect baking times and the final results of your biscuits. Before baking, check the thermometer’s reading and adjust your oven’s set temperature accordingly to match the recipe’s requirement. This small step ensures consistent, perfectly baked biscuits, avoiding the disappointment of burned or undercooked treats.
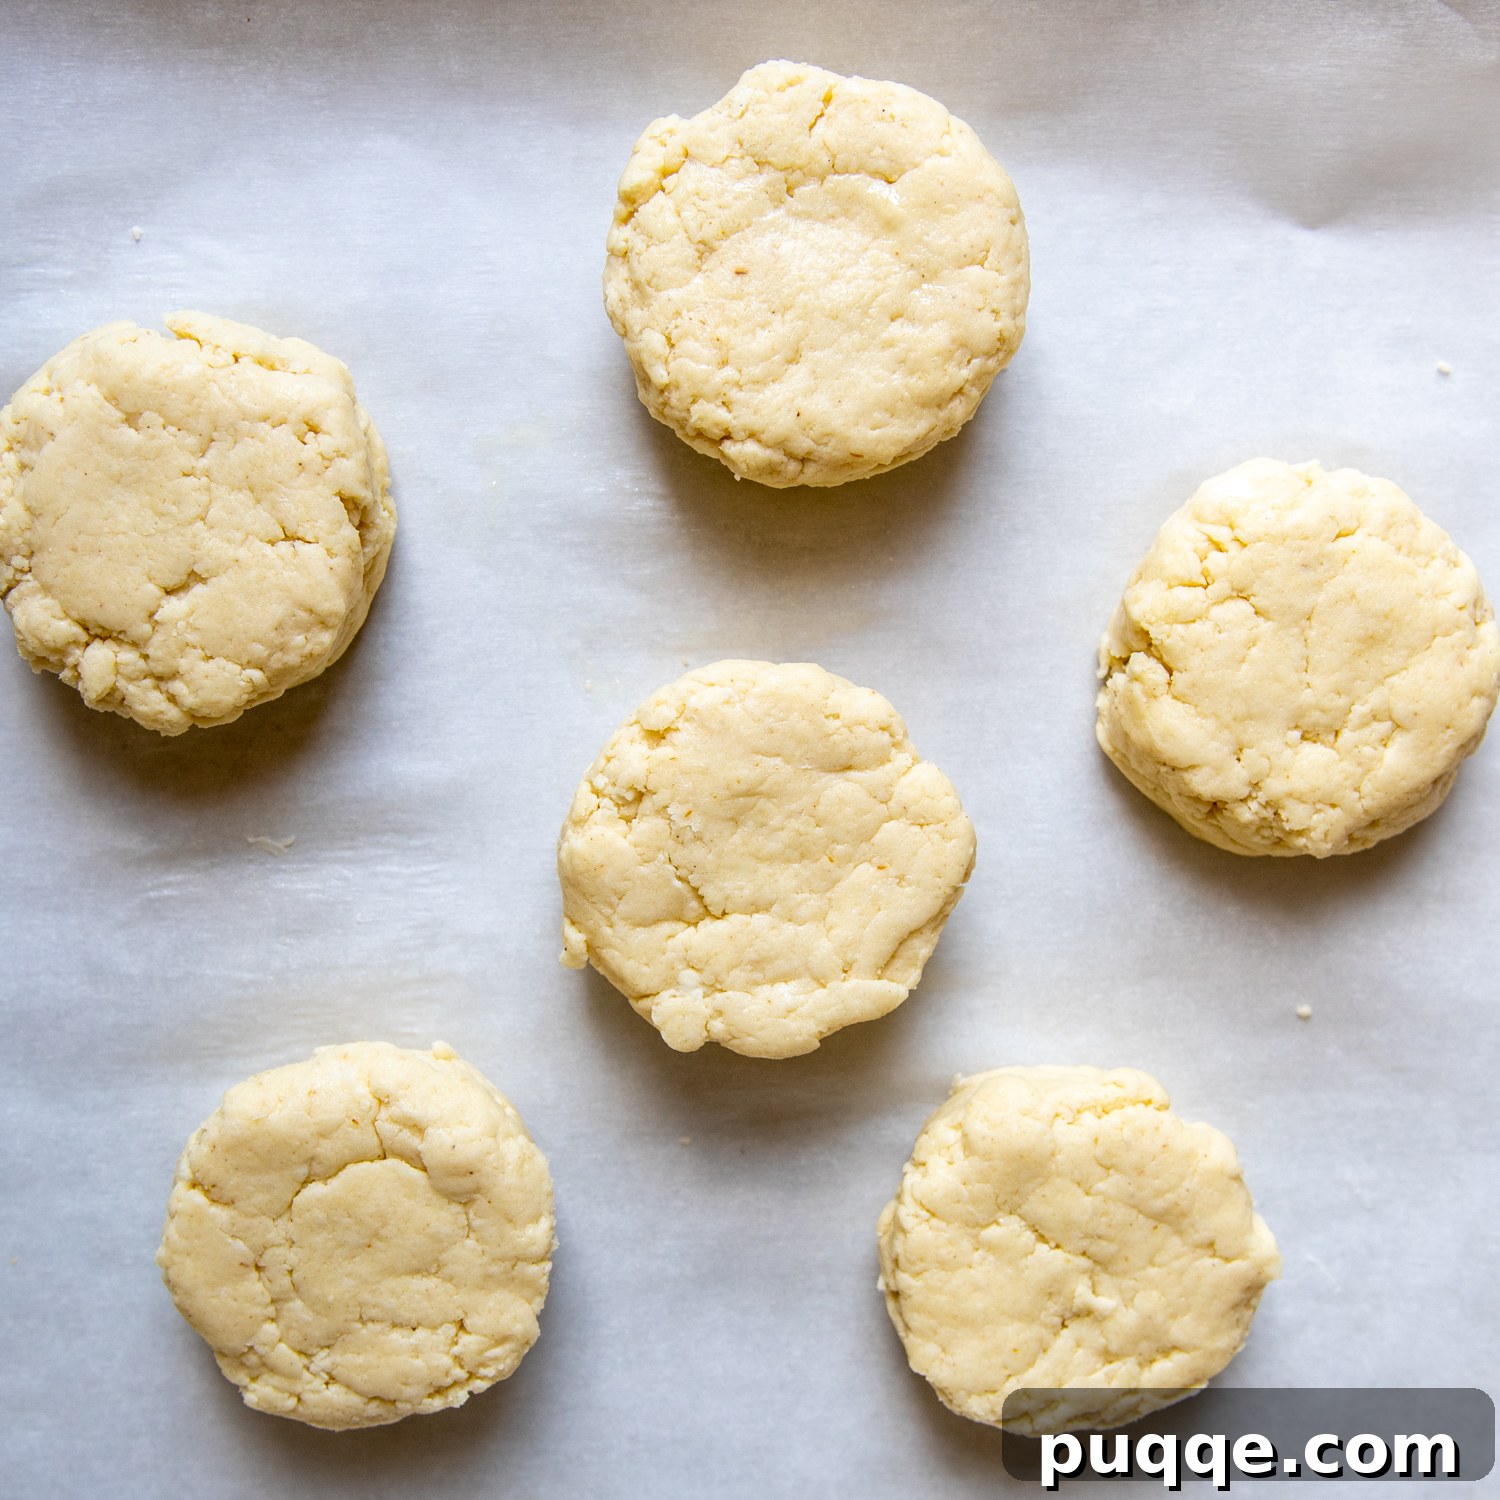
Essential Tips for Extra Fluffy Gluten-Free Biscuits
Dodge the common pitfalls of gluten-free baking – dense, dry, or gummy biscuits. These are my top, tried-and-true gluten-free baking tips to ensure your drop biscuits are the fluffy, tender treats of your dreams!
- Choose Yogurt Over Buttermilk: This is a crucial distinction for gluten-free recipes. Traditional buttermilk often causes gluten-free doughs to spread too much due to their different liquid absorption rates. Yogurt, with its higher fat content and thicker consistency, provides necessary moisture and structure without oversaturating the flour, resulting in a more stable and tender biscuit. This is a similar technique used to create rich texture in recipes like gluten-free pound cake made from scratch.
- Prioritize Dough Resting: Once your biscuit dough is mixed, don’t rush to bake. Cover the bowl with plastic wrap and let it rest at room temperature for at least 30 minutes. This resting period is vital, allowing the gluten-free flour to fully hydrate. Proper hydration eliminates any potential grittiness and contributes significantly to the final soft, tender texture of the baked biscuits.
- Strategic Placement on the Baking Sheet: For maximum tenderness, arrange your biscuits relatively close together on the baking sheet, about one inch apart. As they bake, the trapped steam circulating between the biscuits helps them rise higher and creates a more tender interior by keeping the surfaces moist. This “neighborly” proximity encourages a beautifully soft and moist crumb.
- Ensure Chilled Fat: Just like with traditional biscuits, very cold butter is key to flaky results. The small pieces of cold butter melt in the oven, creating pockets of steam that push the dough upwards, resulting in those desirable flaky layers. If your butter starts to soften, pop it back in the fridge for a few minutes.
- Avoid Overmixing: Gently combine the wet and dry ingredients until just incorporated. Overmixing can develop the starches in gluten-free flour, leading to a tougher, chewier biscuit instead of a light and tender one. Stop stirring as soon as no dry flour pockets remain.
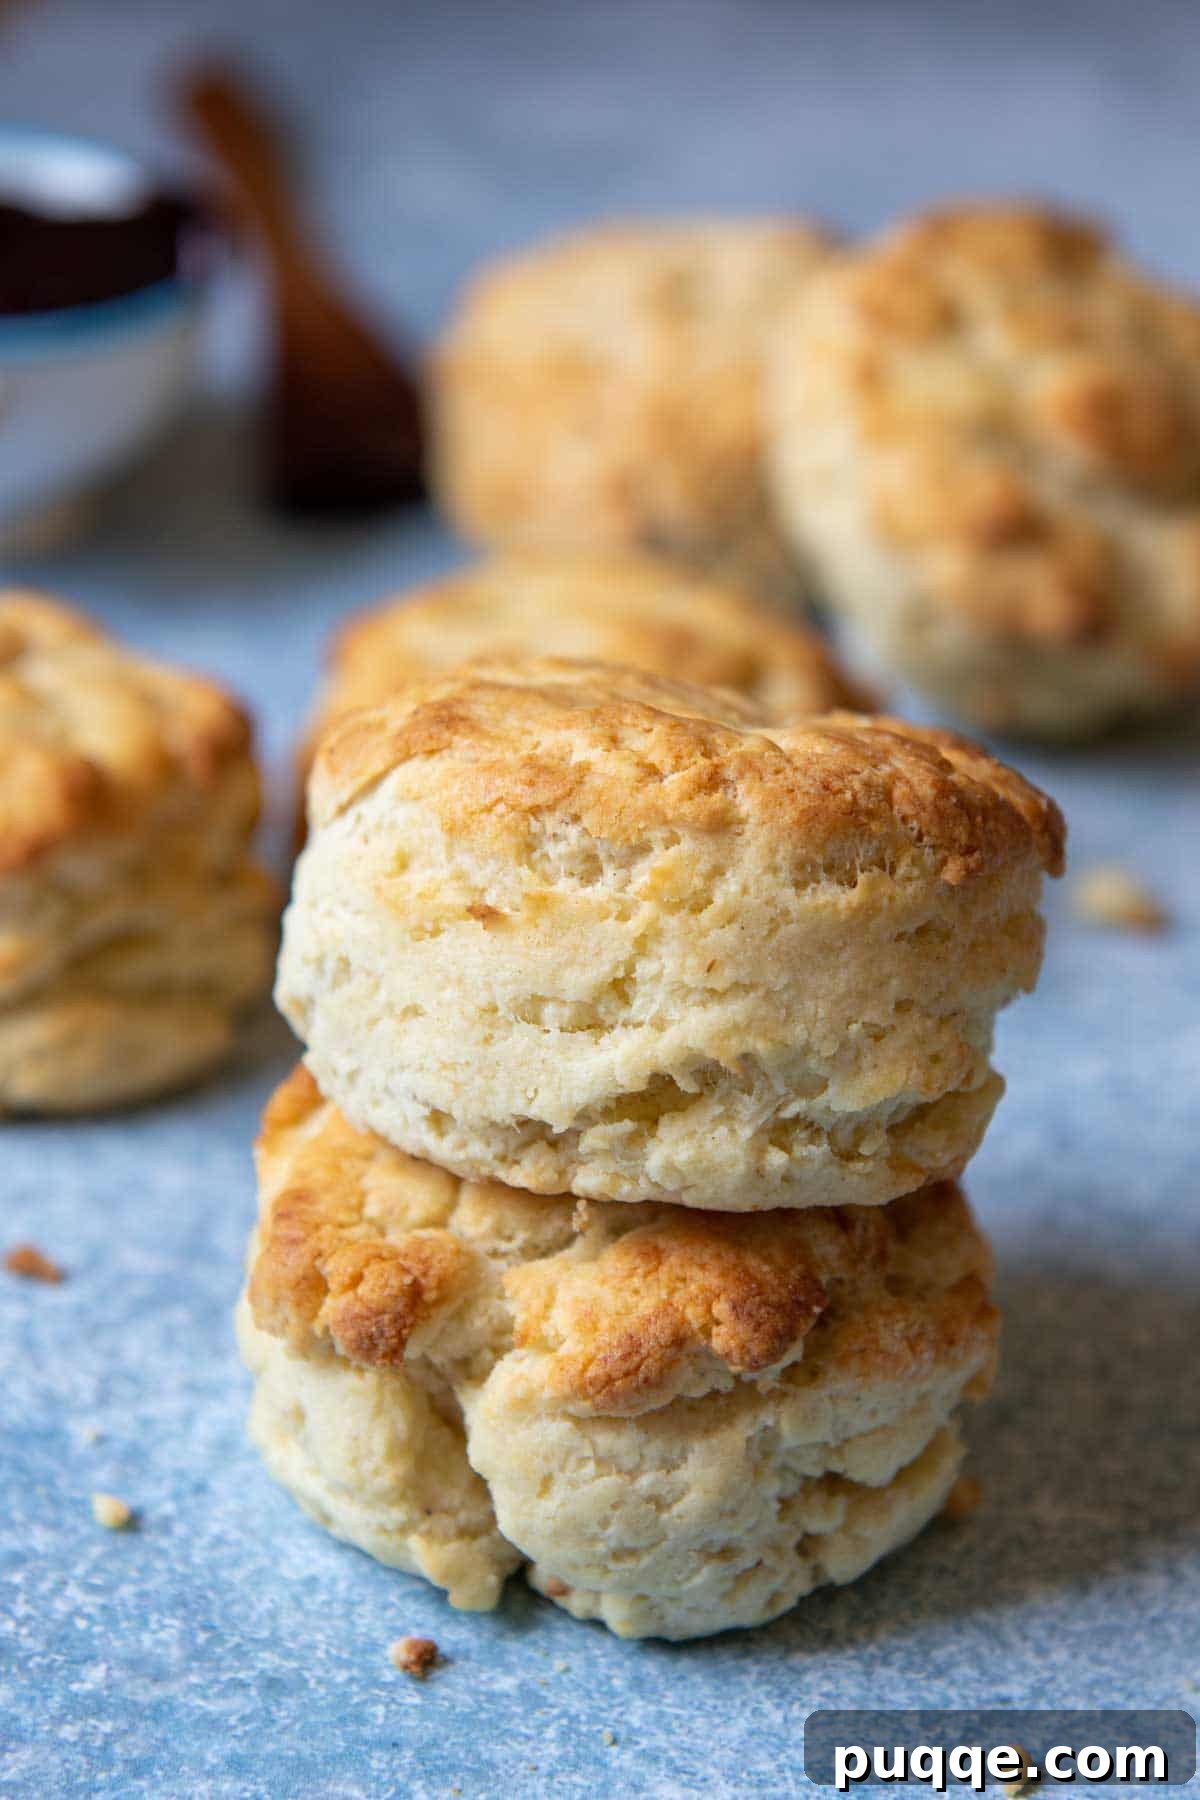
Creative Serving Suggestions and Recipe Variations
These versatile gluten-free biscuits are fantastic on their own, but they also serve as a perfect base for a variety of meals and treats:
- Savory Pairings: Beyond the classic sausage gravy, try serving these biscuits with a rich mushroom gravy, alongside hearty stews, or as a side for roasted chicken or pork. They also make an excellent base for breakfast sandwiches with egg, cheese, and your favorite protein.
- Sweet Delights: Slather them with butter and your favorite fruit jam, apple butter, or honey. They are also phenomenal with homemade lemon curd or a sprinkle of cinnamon sugar.
- Substitute Sour Cream: If plain yogurt isn’t available, sour cream makes an excellent 1:1 substitute, yielding similarly delicious and tender results. I’ve even successfully used vanilla yogurt without altering the taste significantly, adding a subtle sweetness.
- Vinegar for Lemon Juice: Don’t have fresh lemon juice on hand? Any variety of plain vinegar (white or apple cider) can be substituted in the same amount to provide the necessary acidity.
- Gluten-Free Strawberry Shortcake: Easily transform these biscuits into a seasonal dessert sensation! Follow the instructions for gluten-free strawberry shortcake, then serve with fresh macerated berries and a generous dollop of whipped cream for the ultimate summer treat.
- Cheddar Bay Biscuits Copycat: Adapt these into gluten-free cheese scones, reminiscent of Red Lobster’s famous Cheddar Bay Biscuits! Simply mix in garlic powder and shredded cheddar cheese to the biscuit dough before baking for a savory twist.
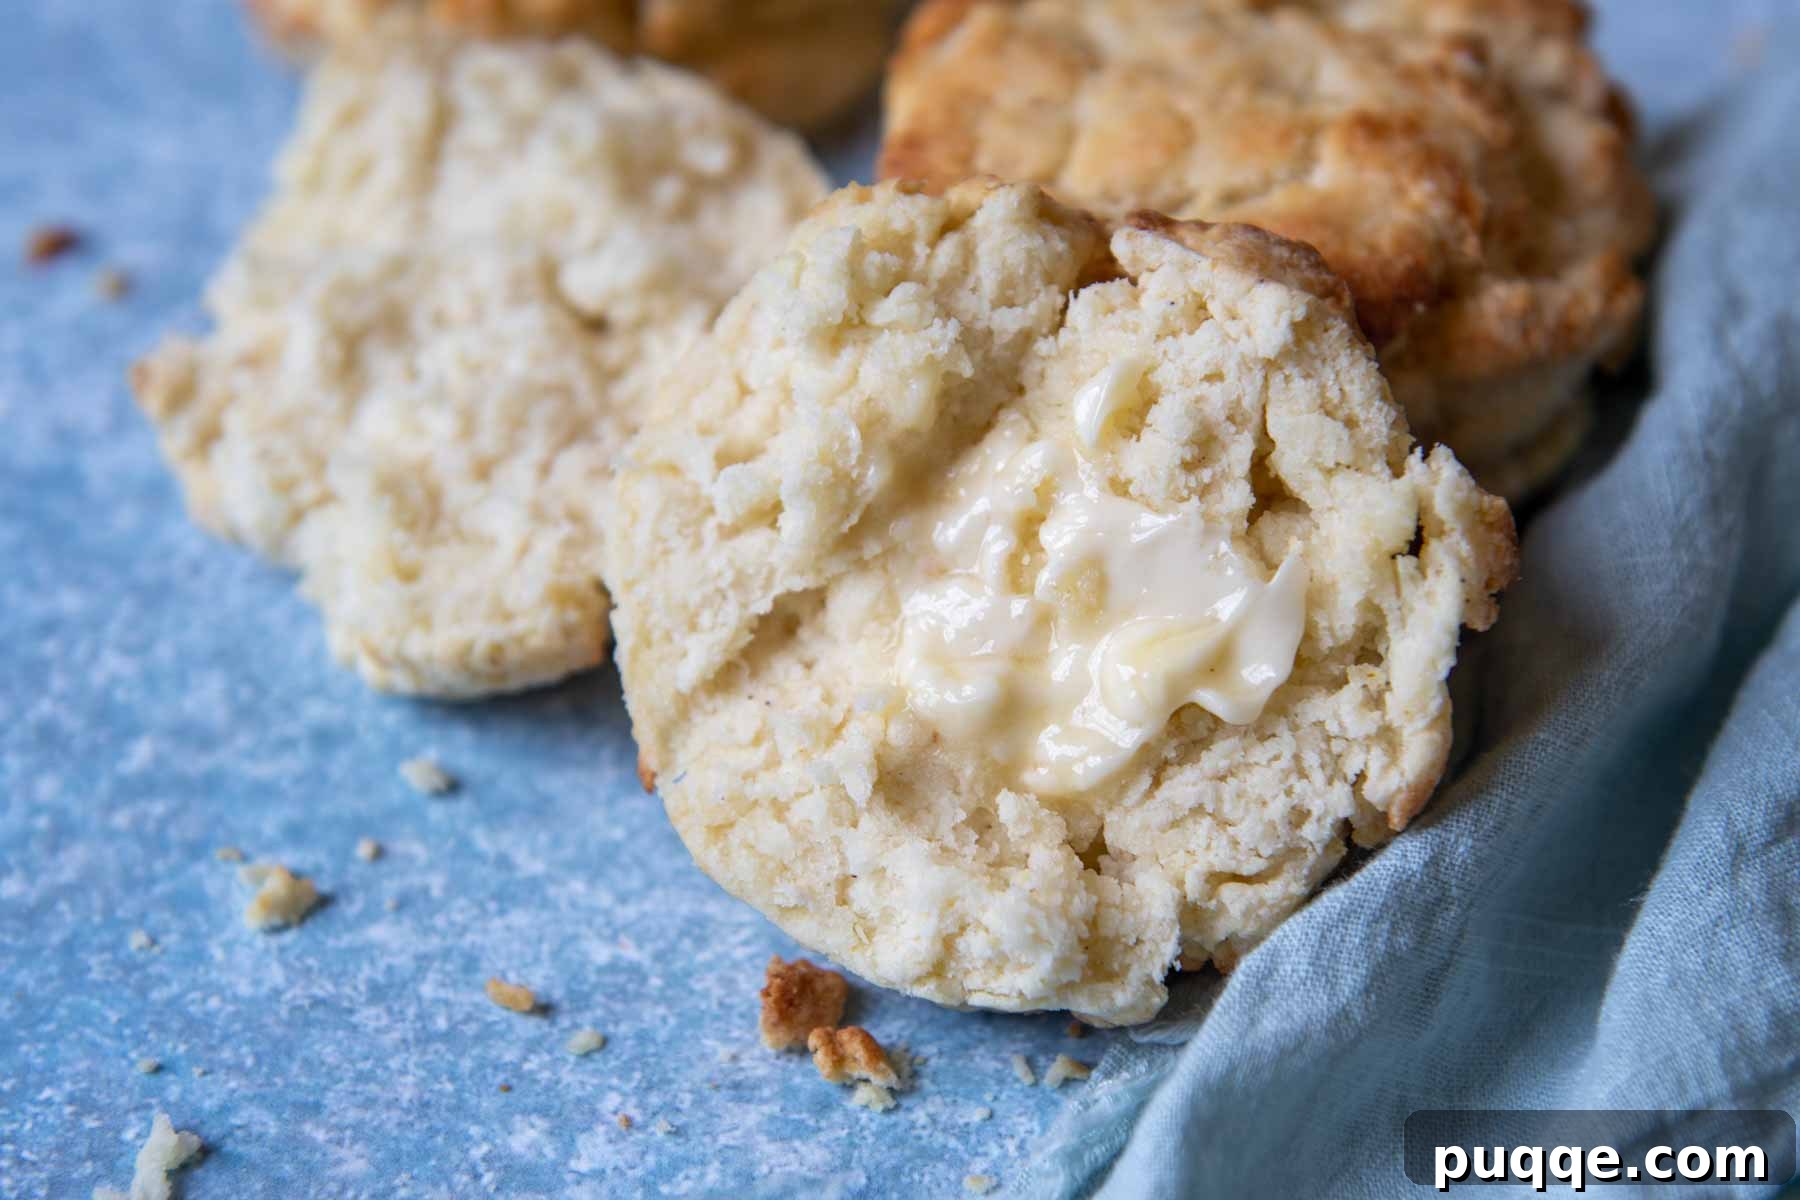
Save This Recipe to Your Pinterest Board!
Let’s be friends on Pinterest! I’m always sharing great recipes!
Frequently Asked Questions About Gluten-Free Biscuits
Here are some common questions about baking these incredible gluten-free drop biscuits:
- Can I use a different gluten-free flour blend? While Cup4Cup is highly recommended for its consistent results, you can experiment with other high-quality, all-purpose gluten-free flour blends that are designed for baking. Just be aware that results may vary slightly, as different blends have different starch and gum compositions.
- Why is it important for the butter to be chilled? Cold butter creates pockets within the dough. As these pockets of butter melt during baking, they release steam, which helps to create airy, flaky layers in the biscuits. If the butter is too warm, it will fully incorporate into the dough, resulting in a denser biscuit.
- Can I make these biscuits ahead of time? Yes, you can prepare the dough and let it rest in the refrigerator for up to 24 hours before scooping and baking. Allow the dough to come to room temperature for about 15-20 minutes before baking for optimal results.
- How do I know when my biscuits are fully baked? Look for a beautiful golden-brown color on top and a slightly firm texture. When split open, the inside should be soft and fully cooked, with no raw dough visible. An oven thermometer is your best friend here!
- What if my biscuits are dry or gritty? This usually indicates that the flour hasn’t fully hydrated. Ensure you use a good quality GF flour blend, and importantly, do not skip the 30-minute resting period at room temperature, as this allows the starches to properly absorb moisture.
Did you make this recipe? I love hearing from you! Leave a star rating and comment below the recipe card. It helps others when searching for recipes and I appreciate feedback from our community. You will always hear back from me! -Melissa

Seriously, THE BEST Fluffy Gluten-Free Biscuits
 Melissa Erdelac
Pin
Rate
Remove Ads
Ingredients
- 2 cups (292 g) gluten free all purpose flour, I recommend Cup4Cup gluten free flour
- 4 teaspoons baking powder
- 1 teaspoon sugar
- ½ teaspoon salt
- ¼ teaspoon baking soda
- 3 tablespoons (42 g) butter, chilled and cut into small pieces
- ¾ cup (184 g) plain yogurt
- 1 large egg
- 2 tablespoons (27 g) vegetable oil, (or any preferred oil)
- 2 teaspoons lemon juice, (I’ve substituted vinegar for this with good results)
Equipment
-
Cup 4 Cup Gluten Free Flour
-
Baking Sheets
-
Pastry Cutter
Instructions
-
In a large bowl, whisk together the gluten-free flour, baking powder, sugar, salt, and baking soda. Add the chilled butter pieces to the flour mixture. Using a pastry blender, a fork, or your fingers, quickly cut the butter into the flour until the mixture resembles coarse sand with small, pea-sized pieces of butter remaining.2 cups (292 g) gluten free all purpose flour, 4 teaspoons baking powder, 1 teaspoon sugar, ½ teaspoon salt, ¼ teaspoon baking soda, 3 tablespoons (42 g) butter
-
In a separate small bowl, whisk together the yogurt, egg, oil, and lemon juice. Pour this wet mixture into the flour and butter mixture and stir gently until just combined and no flour pockets remain. Avoid overmixing. Cover the bowl with plastic wrap and let the dough rest at room temperature for 30 minutes. This allows the GF starches to hydrate, making the biscuits tender and easier to shape. While the dough rests, preheat your oven to 425ºF (220°C).¾ cup (184 g) plain yogurt, 1 large egg, 2 tablespoons (27 g) vegetable oil, 2 teaspoons lemon juice
-
Prepare your baking setup by placing one baking sheet inside a second to create a double layer, and then line the top baking sheet with parchment paper. Lightly grease a ⅓ cup measuring cup with cooking spray. Scoop a heaping amount of biscuit dough into the cup, pressing down slightly to form it. Drop the dough onto the prepared baking sheet, spacing biscuits approximately 1 inch apart in the center of the sheet. This close placement helps trap steam, contributing to a more tender biscuit. Remember to spray the measuring cup between each scoop to prevent sticking.
-
Bake the biscuits in the preheated oven for about 15-17 minutes, or until they are beautifully golden brown. Rotate the pan halfway through the baking time to ensure even cooking and browning. Once baked, transfer the biscuits to a wire rack and allow them to cool for 5-10 minutes before serving. Enjoy the soft, fluffy goodness!
Storage, Freezing, and Reheating Instructions
Generally, gluten-free baked goods tend to dry out more quickly than their gluten-containing counterparts, and biscuits are no exception due to their lower moisture content. For this reason, if you don’t plan to eat all the biscuits the same day they’re baked, I highly recommend freezing any leftovers to maintain their freshness and tender texture.
To ensure optimal freezing results, make sure the biscuits are completely cooled before wrapping them, as any residual warmth can lead to ice crystal formation. Once cooled, wrap each biscuit individually in plastic wrap, then place them in a gallon-sized freezer bag. They can be frozen for up to 3 months, ready to be enjoyed whenever a craving strikes!
When you’re ready to enjoy a frozen biscuit, you can thaw it at room temperature for an hour or so, or quickly defrost it in the microwave. These biscuits are always best served warm. To reheat, wrap a biscuit in a slightly damp paper towel and microwave it for about 15 seconds, or until it’s warmed through and soft again. For a crispier exterior, you can also reheat them in a toaster oven.
If you leave them at room temperature, store them in an airtight container to prevent them from drying out. Avoid refrigerating them, as the cold can accelerate drying and firm up their texture.