
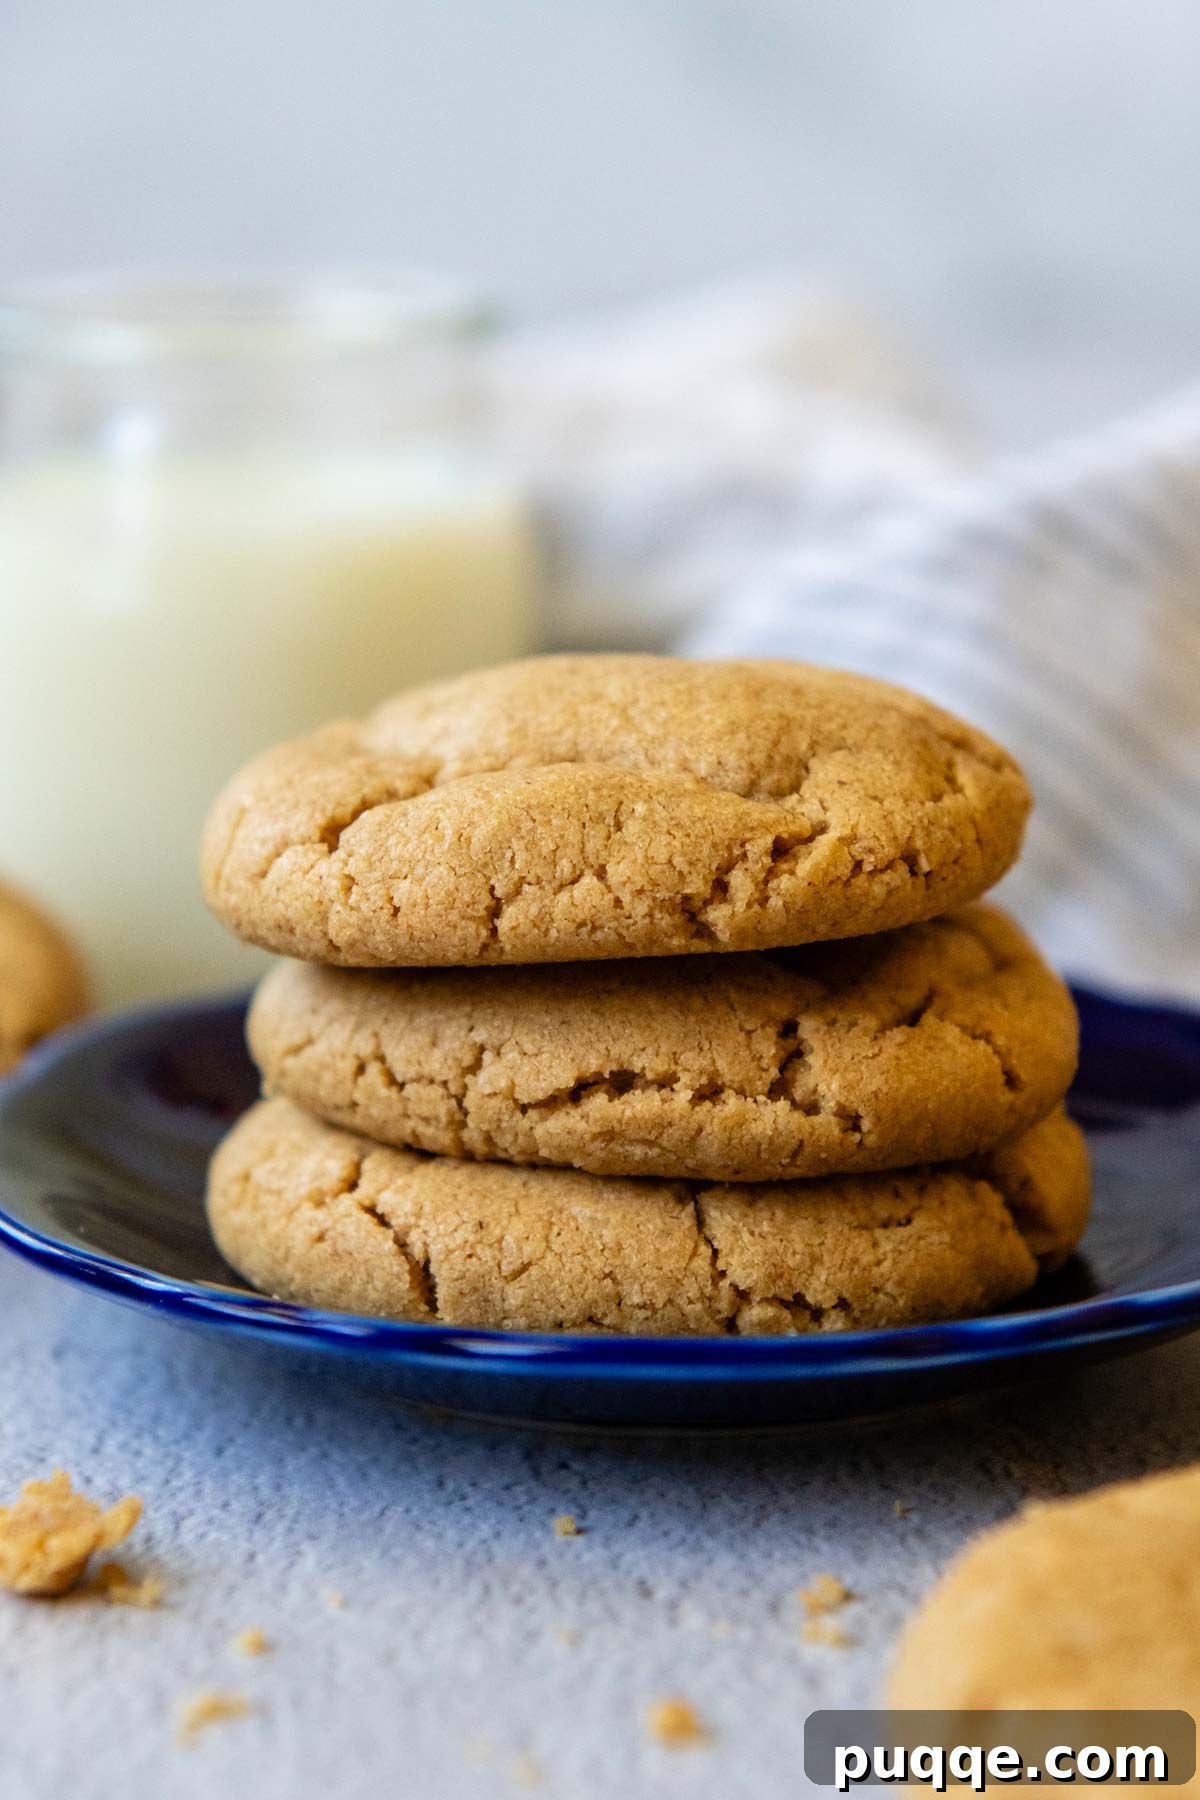
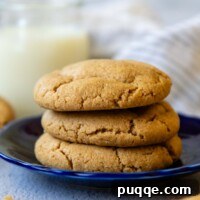
Prepare for an irresistible treat that will capture your heart from the very first bite! These classic, soft, and delightfully chewy peanut butter cookies are a revelation, especially once you discover they’re lovingly crafted with wholesome oat flour and are naturally gluten-free. Our **Peanut Butter Oat Flour Cookies** deliver that nostalgic, old-school taste and perfect texture, all thanks to a couple of incredibly simple baking tricks that anyone can master. Get ready to dive into this remarkably easy recipe and create a batch of cookies that will become an instant favorite!
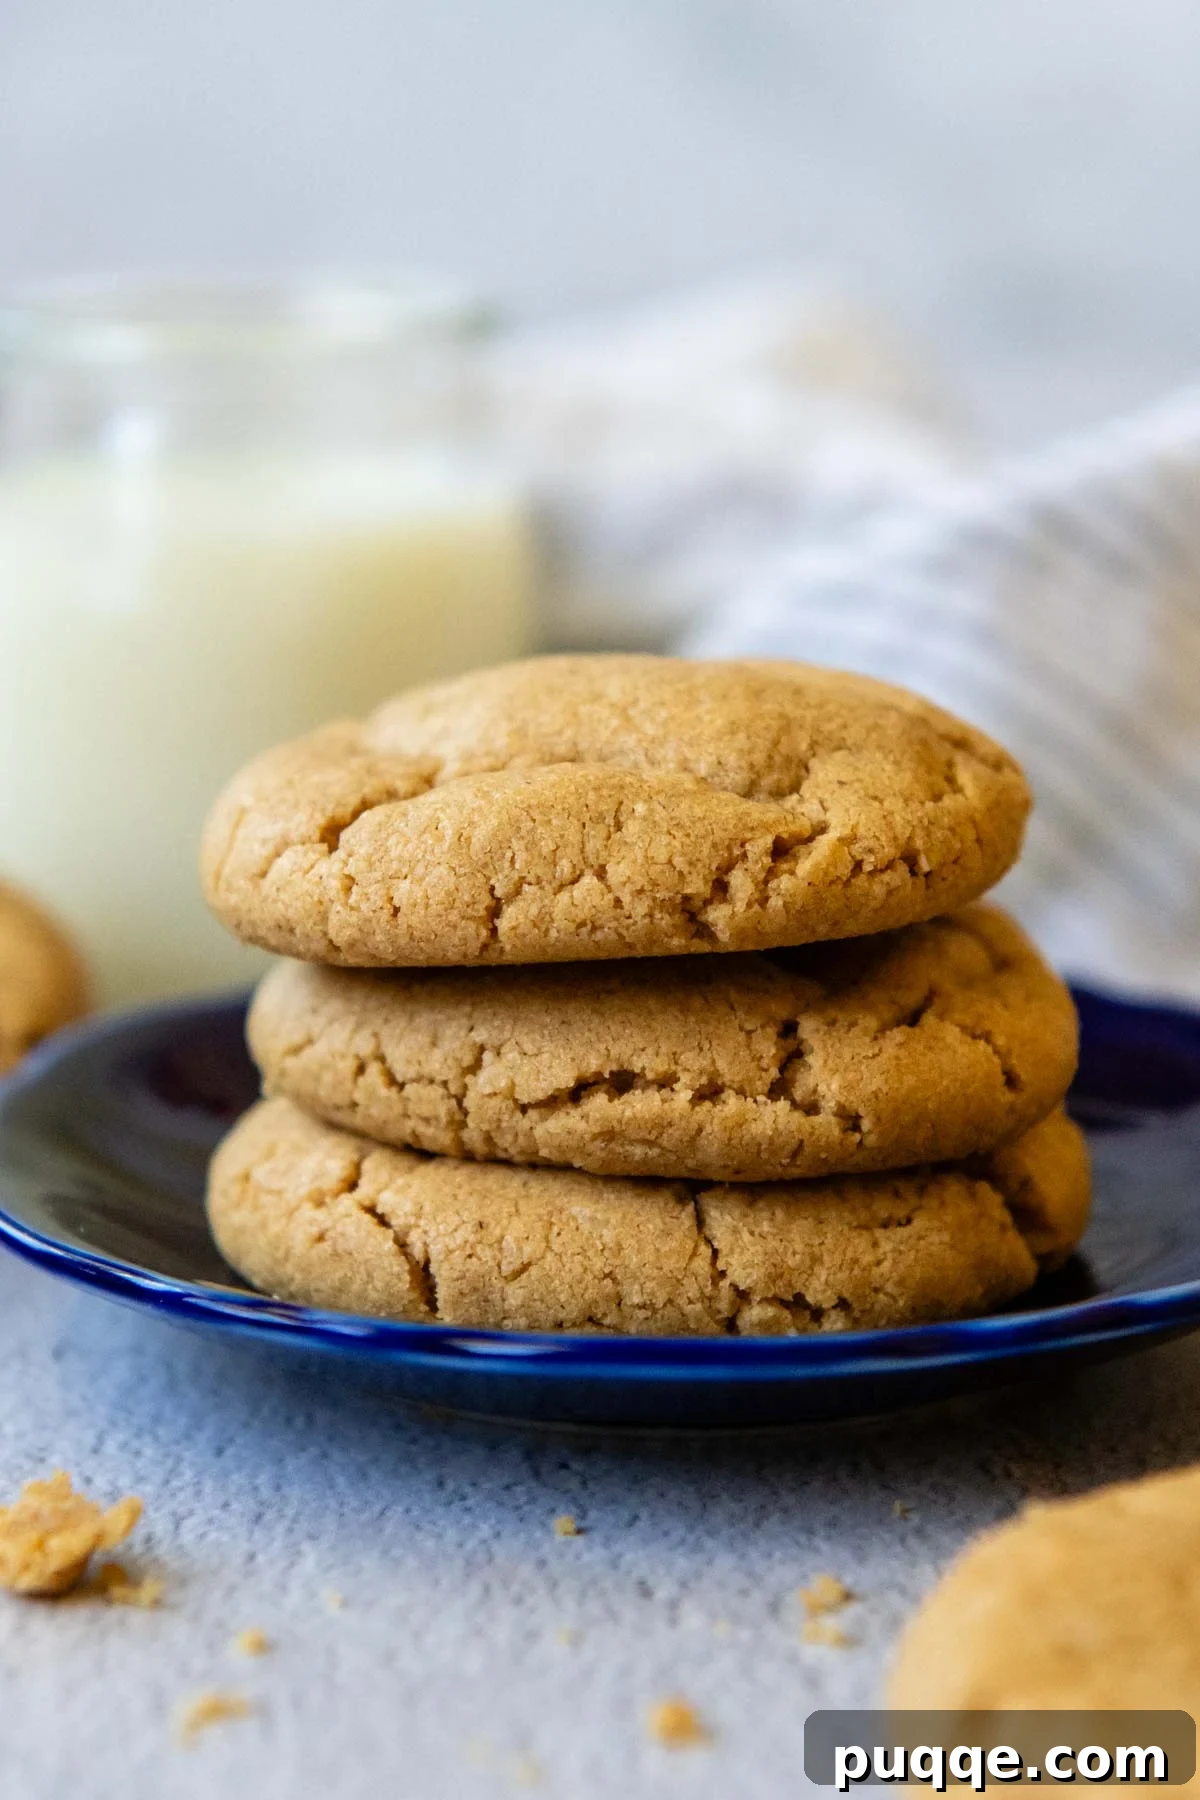
Discover the Magic of Oat Flour in Gluten-Free Baking
For years, baking with homemade oat flour has been a cornerstone in my kitchen, and for good reason. If you can comfortably include oats in your gluten-free diet, it offers a distinct advantage over many commercial gluten-free flour blends. Not only is it generally more cost-effective, but it also provides remarkably consistent results. Unlike blends that feature varying mixes of starches and gums across different brands, oat flour ensures a single, pure ingredient in your flour: 100% oats. This simplicity translates to predictable and delicious outcomes, making it a dream for gluten-free bakers.
Beyond its practicality, oat flour brings a subtly sweet, nutty flavor that elevates any baked good. When oats are finely milled into a powder, they contribute a unique depth that’s hard to replicate. My enthusiasm for oat flour has led me to develop a wide array of recipes showcasing its versatility. From a light and fluffy oat flour cake crowned with rich brown sugar frosting, to decadent fudgy oat flour brownies, and even delightful Belgian-style oat flour waffles – the possibilities are endless. These creations consistently prove that going gluten-free doesn’t mean compromising on taste or texture.
Crafting these peanut butter cookies with oat flour allowed me to streamline the baking process, aiming for a simple mix, scoop, and bake approach. However, I rarely leave a good recipe alone, especially when it comes to my favorite gluten-free cookie recipes. I meticulously experimented with various techniques: comparing chilled versus unchilled dough, testing different baking temperatures, and adjusting the oat flour quantity. My goal was to create an old-fashioned peanut butter cookie that perfectly replicated the classic taste and texture we all adore, ensuring a truly authentic experience even with a gluten-free twist.
Join me as we uncover the effortless tweaks that yield the best results. Whether you prefer a perfectly soft and chewy cookie or a wonderfully crispy one, I’ll guide you through the simple adjustments. Plus, we’ll explore exciting additions to take these already fantastic gluten-free peanut butter cookies to an entirely new level of deliciousness, making them truly unforgettable.
Essential Ingredients for Perfect Oat Flour Peanut Butter Cookies
Each ingredient plays a crucial role in achieving the signature taste and texture of these beloved peanut butter cookies. Here’s a detailed look at what you’ll need and why:
- Peanut Butter: For all my peanut butter desserts, I gravitate towards classic, creamy brands like Jif or Skippy. Their consistent texture and flavor are key to that unmistakable nostalgic taste. If you opt for natural peanut butter or another nut butter (almond, cashew, etc.), be sure to stir it thoroughly to reincorpor any separated oils before measuring. This prevents a greasy texture and ensures proper emulsification within the dough.
- Butter: This recipe uses unsalted butter, providing richness and tenderness. If you’re seeking a dairy-free alternative, plant-based vegan butter sticks are an excellent substitute. When using vegan butter, consider reducing the added salt in the recipe by half, as many vegan butters already contain a higher salt content. Ensure the butter is at room temperature for optimal creaming with the sugars.
- Oat Flour: The star of our gluten-free show! While you can certainly use pre-made oat flour, I highly recommend making your own if you have certified gluten-free rolled or quick oats and a high-powered blender or food processor. Homemade oat flour is fresher, often more affordable, and ensures a super fine consistency essential for a smooth cookie. To make it, simply place 2 cups of rolled or quick oats into your blender or food processor and process until it transforms into a very fine, powdery flour – typically about one minute. Stop and scrape down the sides if necessary to ensure no large oat flecks remain.
- Sugars: This recipe calls for a dynamic duo of sugars: granulated sugar and packed light brown sugar. Granulated sugar contributes to crispiness at the edges and helps with the spread of the cookie, while light brown sugar adds a wonderful caramel note, moisture, and ensures a wonderfully chewy, soft texture. The combination creates a balanced sweetness and structure. I haven’t tested this recipe with sugar alternatives, but if you do, please share your results in the comments!
- Egg: A large egg acts as a binder, providing structure and moisture, and helps emulsify the fats and liquids in the dough, contributing to the cookie’s chewiness.
- Vanilla Extract: A teaspoon of pure vanilla extract enhances the overall flavor profile, adding warmth and depth that complements the peanut butter beautifully. Don’t skip this essential flavor enhancer!
- Baking Soda: This leavening agent reacts with the acidic brown sugar and peanut butter to create carbon dioxide gas, which helps the cookies rise slightly and contributes to their characteristic soft, chewy texture.
- Salt: Just a half teaspoon of salt is vital for balancing the sweetness and enhancing all the other flavors, particularly the rich peanut butter. It brings out the best in every ingredient.
Let’s Bake These Delectable Cookies Together!
(The steps below provide detailed instructions and helpful photos to guide you. For the precise ingredient measurements and a complete printable recipe card, please scroll down to the end of this post.)
Cream Butter, Peanut Butter, and Sugars
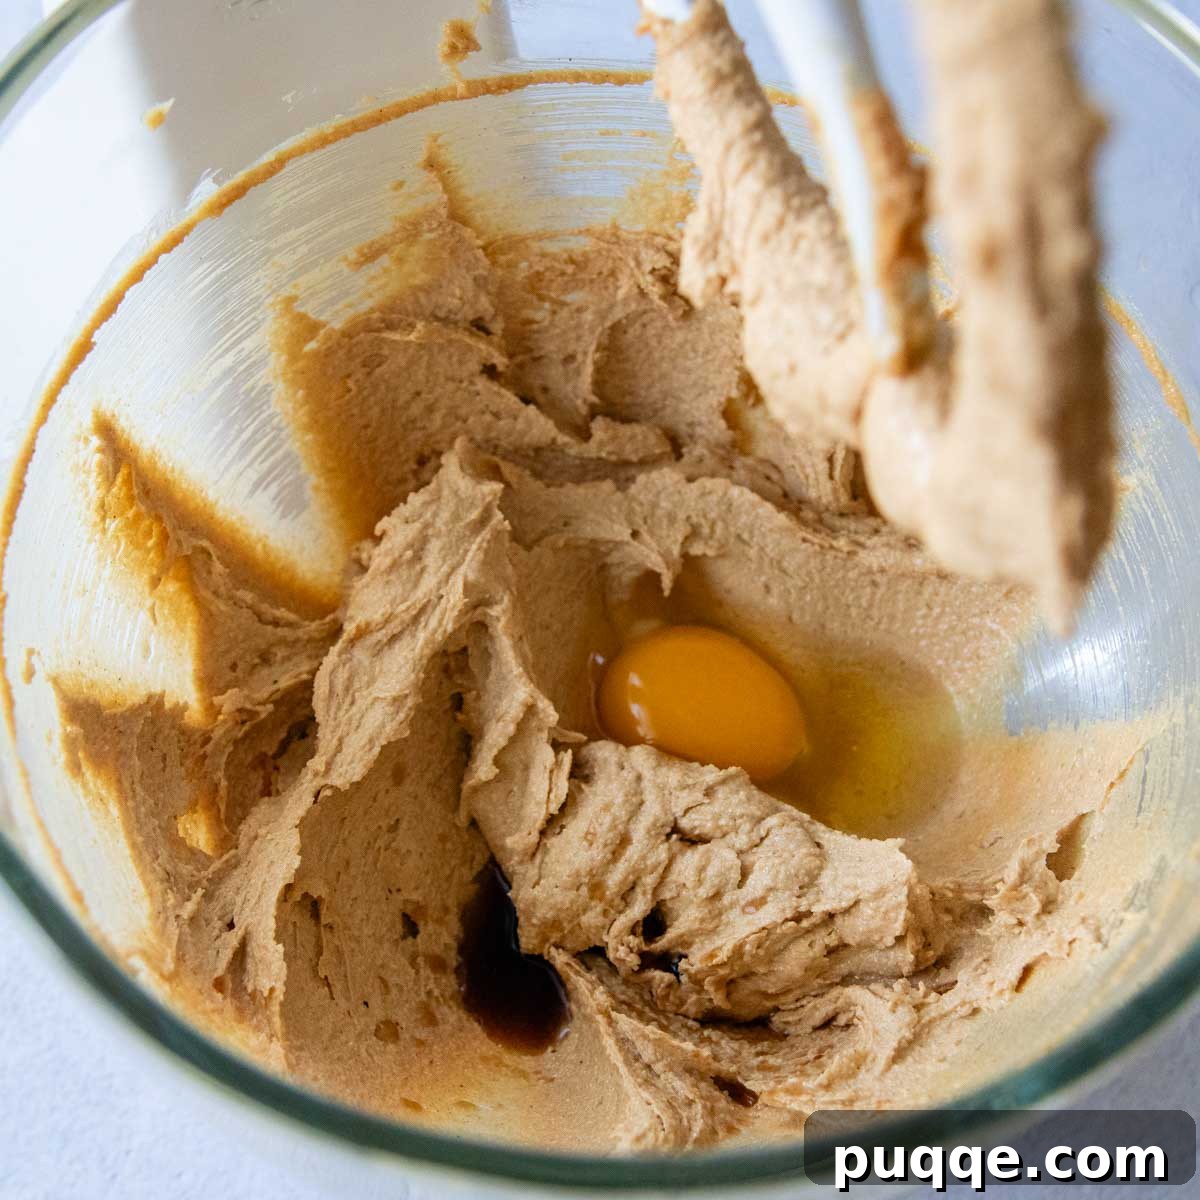
In a large mixing bowl or the bowl of a stand mixer fitted with the paddle attachment, combine the softened room-temperature unsalted butter, creamy peanut butter, light brown sugar, and granulated sugar. Beat these ingredients on medium-high speed for about 2-3 minutes, until the mixture becomes wonderfully light, fluffy, and smooth. This creaming process incorporates air, which is crucial for a tender cookie. Next, add the large egg and vanilla extract, mixing until just combined, ensuring the egg is fully incorporated without overmixing.
Incorporate Dry Ingredients for a Perfect Dough
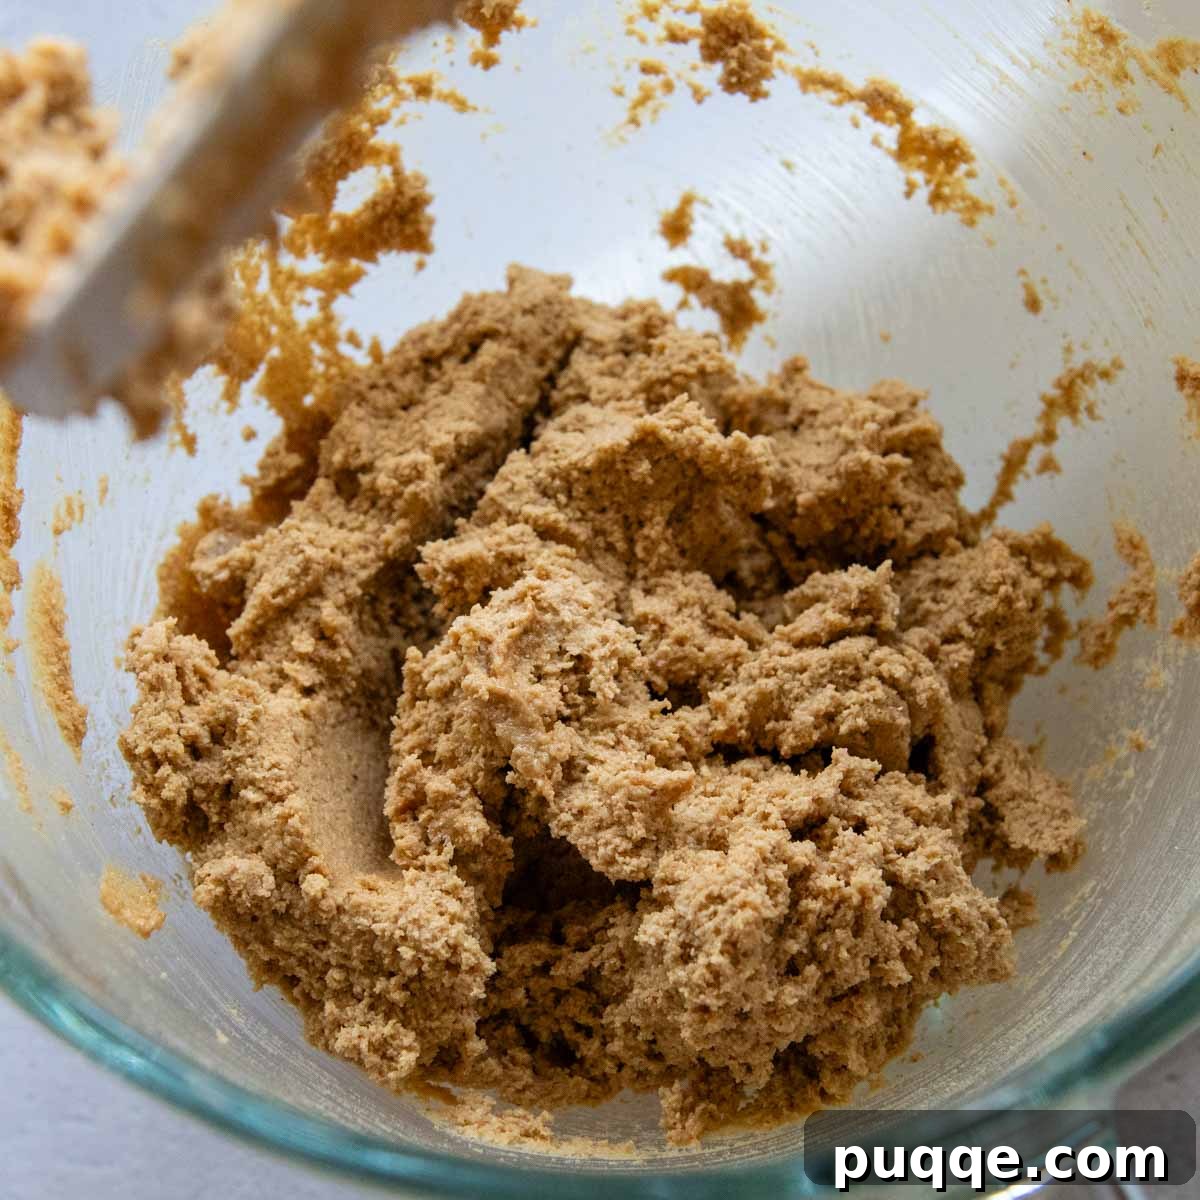
Now it’s time to add the dry ingredients to your wet mixture. Gradually add the finely milled oat flour, baking soda, and salt. Mix on low speed until all the dry ingredients are just combined with the wet ingredients. Be careful not to overmix the dough, as this can lead to tougher cookies. Continue mixing until a thick, cohesive cookie dough is formed. That’s it! The most hands-on part of your baking journey is complete, and you’re well on your way to delicious cookies.
Scoop, Chill, and Prepare for Baking
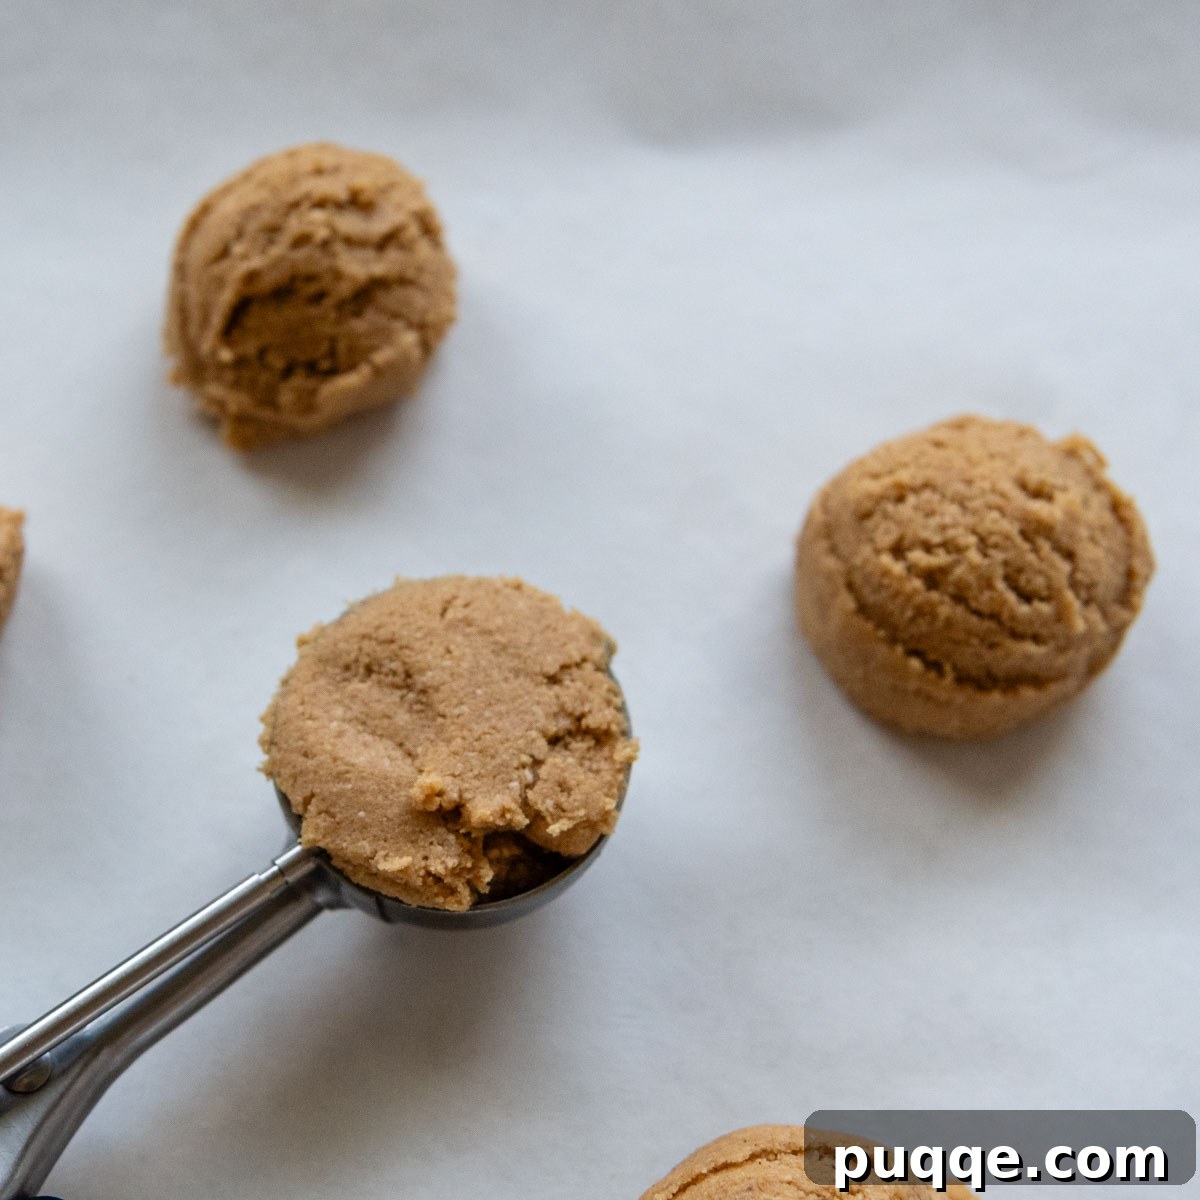
While this dough is easy to work with even without chilling, the texture of the baked cookies truly benefits from a chilling period (we’ll explain why in more detail below). However, if you find yourself in a cookie emergency and time is of the essence, you can certainly scoop and bake the dough immediately. For consistent cookie size and even baking, I recommend using a medium cookie scoop, which measures out approximately 1.5 tablespoons of dough per cookie. Arrange the scooped dough balls on a baking sheet lined with parchment paper, ensuring they are spaced about 2 inches apart to allow for spreading.
Crispy or Chewy: You Decide the Perfect Texture!
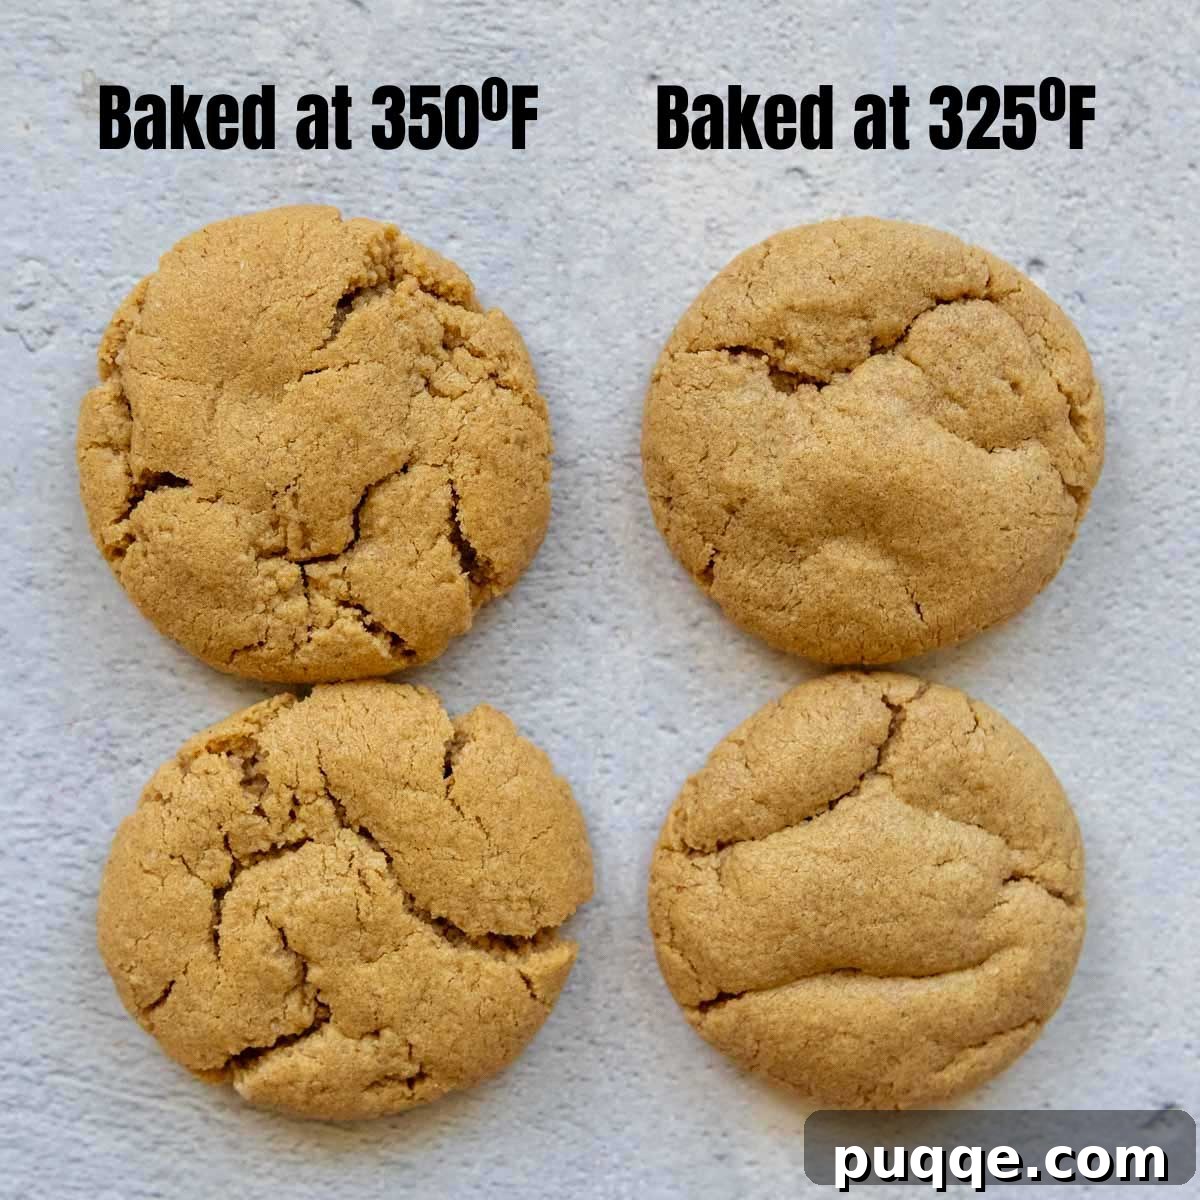
Achieving your desired cookie texture is easier than you think. Through extensive testing with various gluten-free cookie recipes, I’ve discovered that baking at a slightly lower oven temperature consistently yields a superior texture. For these peanut butter cookies made with oat flour, I was truly delighted by the softer ridges and the wonderfully chewy, “soft batch” crumb that resulted from baking them in a 325ºF oven. This temperature allows them to bake more evenly without drying out too quickly, locking in that coveted chewiness. However, if you’re firmly on “Team Crispy Cookie,” don’t despair! I recommend preheating your oven to 350ºF and extending the baking time by just 1-2 minutes. This higher temperature promotes a quicker set and a crispier edge. Remember to keep a close eye on your cookies during the last few minutes of baking to prevent over-browning, regardless of your preferred texture.
The Secret to Superior Cookies: The Importance of Chilling Dough
Often, the recommendation to chill cookie dough is associated with making it easier to handle and shape. While it’s true that cold dough is less sticky and holds its form better – especially useful for intricate designs or rolling – I initially thought I might skip this step for these peanut butter oat flour cookies, particularly since the dough was already quite manageable with a cookie scoop. However, I am incredibly glad I went through with the experiment of chilling, as the results were truly transformative.
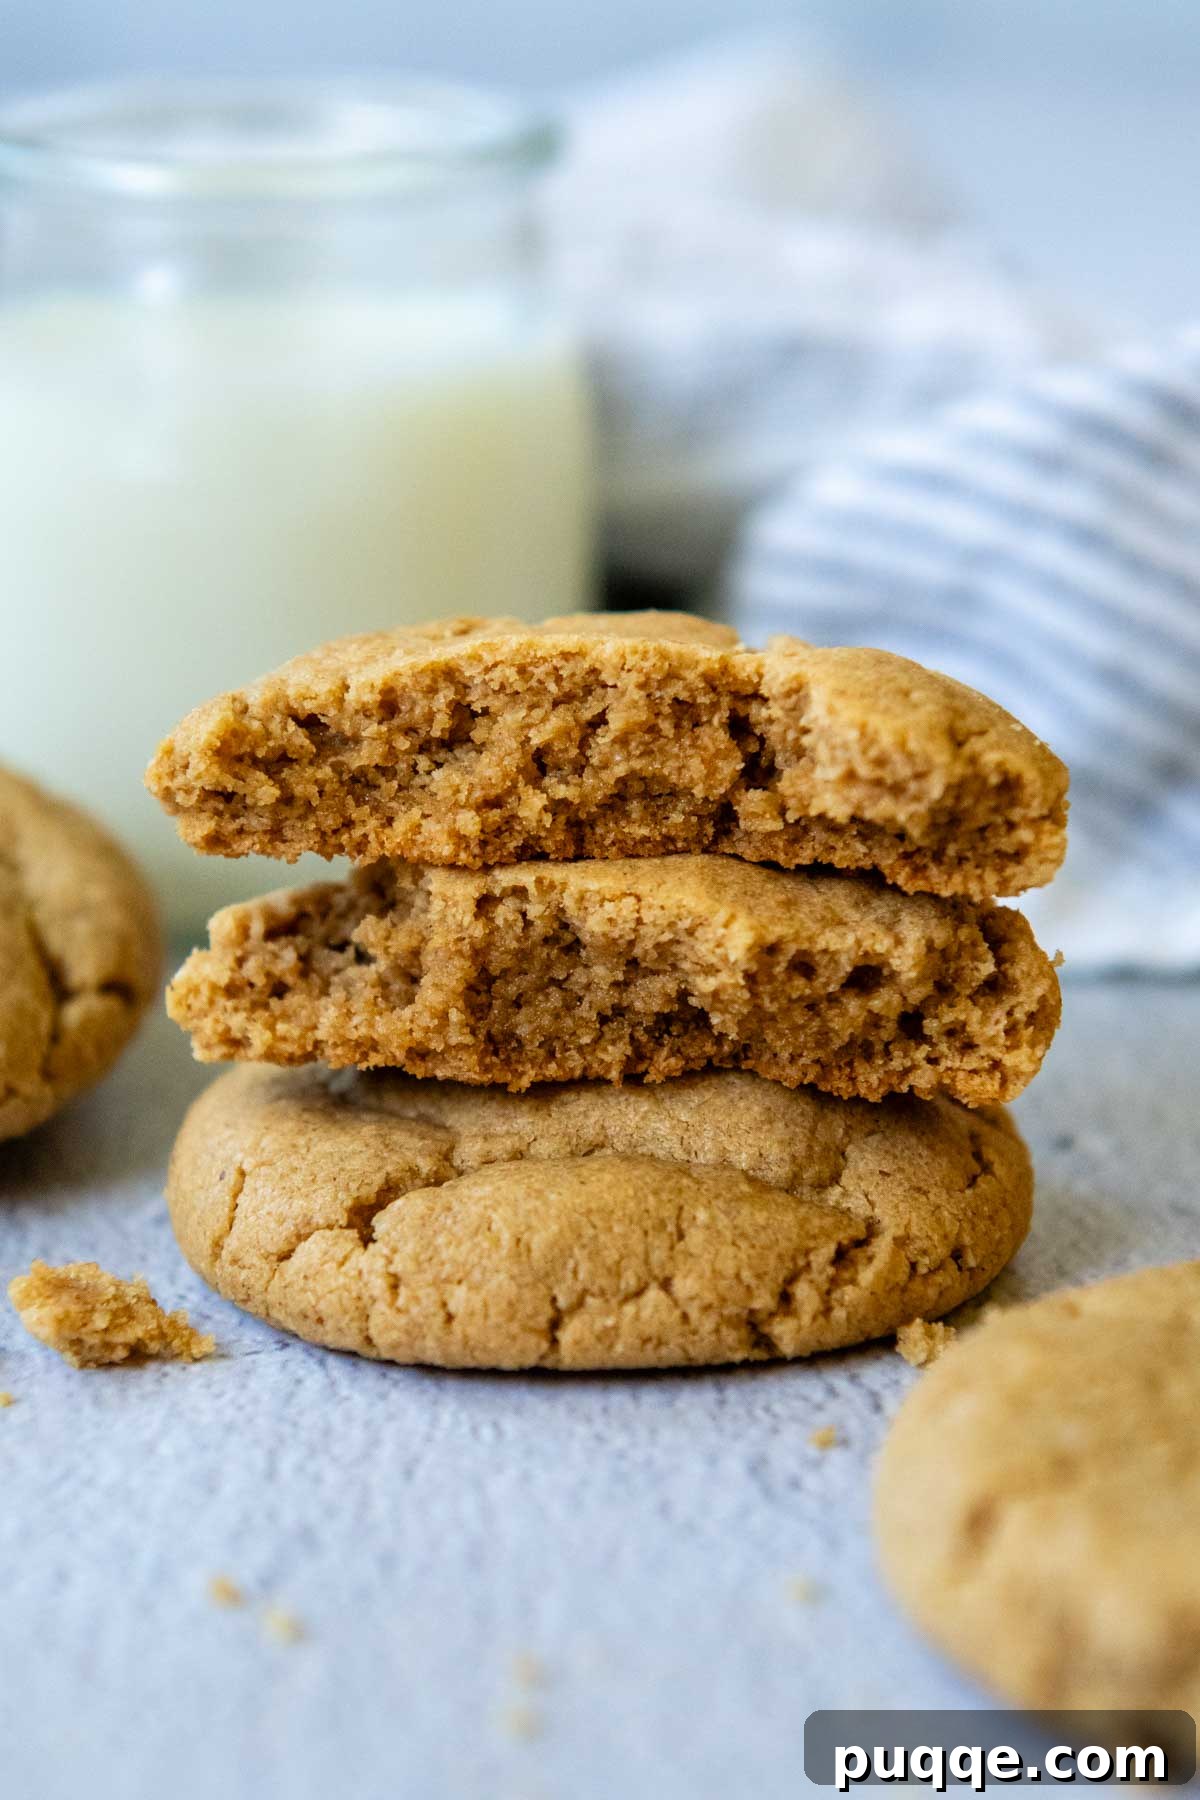
Chilling the dough for these oat flour peanut butter cookies doesn’t just make them easier to scoop; it fundamentally enhances their texture and flavor. Cold dough spreads less during baking, leading to thicker, chewier cookies with a more even bake. This process also allows the flour to fully hydrate, resulting in a smoother, less granular texture. When baked, chilled dough creates cookies with beautifully smooth, puffy undulations across the top – a sign of a truly premium, old-fashioned cookie. It’s the kind of texture that earns you a “first-class-ticket-to-cookie-heaven” experience, making every bite unbelievably satisfying.
While I understand that sometimes you might be pressed for time and tempted to skip this step, my sincere advice is: please try not to. The difference is significant. If you’re truly in a rush but still want the benefits of chilling, you can dramatically speed up the process by popping the prepared cookie dough into the freezer for about 30 minutes. This quick chill will firm it up sufficiently to achieve many of the desirable textural improvements, proving that a little patience can go a long way in creating truly exceptional peanut butter oat flour cookies.
Elevate Your Cookies: Fun and Delicious Additions!
While these oat flour peanut butter cookies are absolutely divine on their own, there’s always room to get creative and customize them. Here are some fantastic ideas for mix-ins and other ways to use this versatile dough to take your cookies to the next level:
- A Touch of Salt: For an irresistible sweet and salty contrast, sprinkle a pinch of flaky sea salt over the tops of the cookie dough balls just before baking. This simple addition brightens the flavors and adds a sophisticated finish.
- Extra Peanut Crunch: Enhance the peanut butter experience by mixing 1/2 cup of finely chopped roasted peanuts directly into the dough. Alternatively, for an attractive and crunchy topping, roll the scooped cookie dough balls in crushed peanuts before placing them on the baking sheet.
- Chocolate Lover’s Dream: Peanut butter and chocolate are a match made in heaven! Stir in 3/4 cup of your favorite chocolate chips into the cookie dough. I particularly love using a mixture of semi-sweet chips for classic flavor and miniature baking chips for an even distribution of chocolate in every bite.
- Dipped Perfection: After your cookies have baked and cooled completely, elevate them further by dipping half of each cookie into melted milk or dark chocolate. Place them on parchment paper to set, and perhaps sprinkle with a little extra sea salt for an elegant touch.
- Peanut Butter Blossoms: Transform these classic cookies into iconic peanut butter blossoms. Use a small cookie scoop to portion out smaller cookies. Immediately after they emerge from the oven, gently press an unwrapped Hershey’s Kiss into the center of each warm cookie. The residual heat will slightly melt the chocolate, creating that signature blossom look and taste. These gluten-free peanut butter blossoms are perfect for holiday platters or special occasions!
- Peanut Butter Sandwich Cookies: Once cooled, sandwich two cookies together with a generous dollop of homemade peanut butter frosting or a scoop of your favorite vanilla ice cream for an ultimate dessert experience.
Save This Recipe to Your Pinterest Board!
Let’s be friends on Pinterest! I’m always sharing great recipes and baking inspiration!
Did you make this recipe? I love hearing from you! Leave a star rating and comment below the recipe card to share your experience. Your feedback helps other home bakers discover delicious recipes, and I truly appreciate it from our wonderful community. You will always hear back from me! -Melissa
5 stars (2 ratings)
Soft Batch Oat Flour Peanut Butter Cookies

Melissa Erdelac
26
cookies
5
mins
12
mins
1
hr
17
mins
Guaranteed to be love at first bite! You won’t believe these old fashioned, soft and chewy peanut butter cookies are actually made with oat flour and naturally gluten-free. Peanut butter oat flour cookies have that old school taste and texture thanks to two simple baking tricks anyone can pull off. Let’s make this super-dooper easy recipe together!
Pin
Rate
Ingredients
- ½ cup (113 g) unsalted butter
- ¾ cup (194 g) creamy peanut butter
- ½ cup (117 g) packed light brown sugar
- ½ cup (100 g) granulated sugar
- 1 large egg
- 1 teaspoon vanilla extract
- 2 cups (190 g) oat flour, see recipe notes for making your own
- 1 teaspoon baking soda
- ½ teaspoon salt
Equipment
-
Baking Sheets
-
Medium Cookie Scoop
-
Stand Mixer
Instructions
-
First, prepare your oat flour if you don’t have it on hand. Place 2 cups of old-fashioned or quick-cooking oats into a food processor or high-powered blender. Blend until the oats transform into a very fine, powdery flour, which usually takes about 1 minute. Pause and check to ensure there are no larger flecks of oats remaining; if so, blend again until completely fine. Set the homemade oat flour aside.
-
In a large mixing bowl or the bowl of a stand mixer, combine the softened butter, creamy peanut butter, light brown sugar, and granulated sugar. Beat these on medium-high speed for 2-3 minutes, until the mixture is light, fluffy, and smooth. Incorporate the large egg and vanilla extract, mixing just until well combined.
-
Reduce the mixer speed to low. Gradually add the prepared oat flour, baking soda, and salt. Mix until all the dry ingredients are just combined and a thick, uniform cookie dough forms. Be careful not to overmix at this stage.
-
For optimal results, I strongly recommend chilling the dough. While this step can be skipped in a hurry, chilling significantly improves the cookie’s texture and flavor (refer to the main post for a detailed explanation!). Cover the bowl tightly with plastic wrap and chill the dough for at least 1 hour, or ideally, overnight. If you’re short on time, you can place the dough in the freezer for 30 minutes to speed up the chilling.
-
When you’re ready to bake, preheat your oven. For soft batch cookies, set the temperature to 325℉ (160°C). If you prefer a crispier cookie, preheat to 350℉ (175°C). Use a medium cookie scoop or drop 1½ – 2 tablespoons of dough per cookie onto baking sheets lined with parchment paper, ensuring they are about 2 inches apart. Bake for 12-14 minutes, rotating the pans halfway through for even baking. Be vigilant and avoid overbaking, especially for soft batch cookies, which should look slightly underdone in the center. If making crispy cookies, bake for 14-15 minutes. Allow the cookies to cool on the baking sheets for 5 minutes before carefully transferring them to a wire rack to cool completely.
Calories: 147kcal,
Carbohydrates: 16g,
Protein: 3g,
Fat: 8g,
Saturated Fat: 3g,
Polyunsaturated Fat: 1g,
Monounsaturated Fat: 3g,
Trans Fat: 0.1g,
Cholesterol: 16mg,
Sodium: 125mg,
Potassium: 86mg,
Fiber: 1g,
Sugar: 9g,
Vitamin A: 118IU,
Calcium: 14mg,
Iron: 1mg
Did you make this recipe?
Please leave a star rating and review below. It helps others when searching for recipes and I LOVE feedback!