
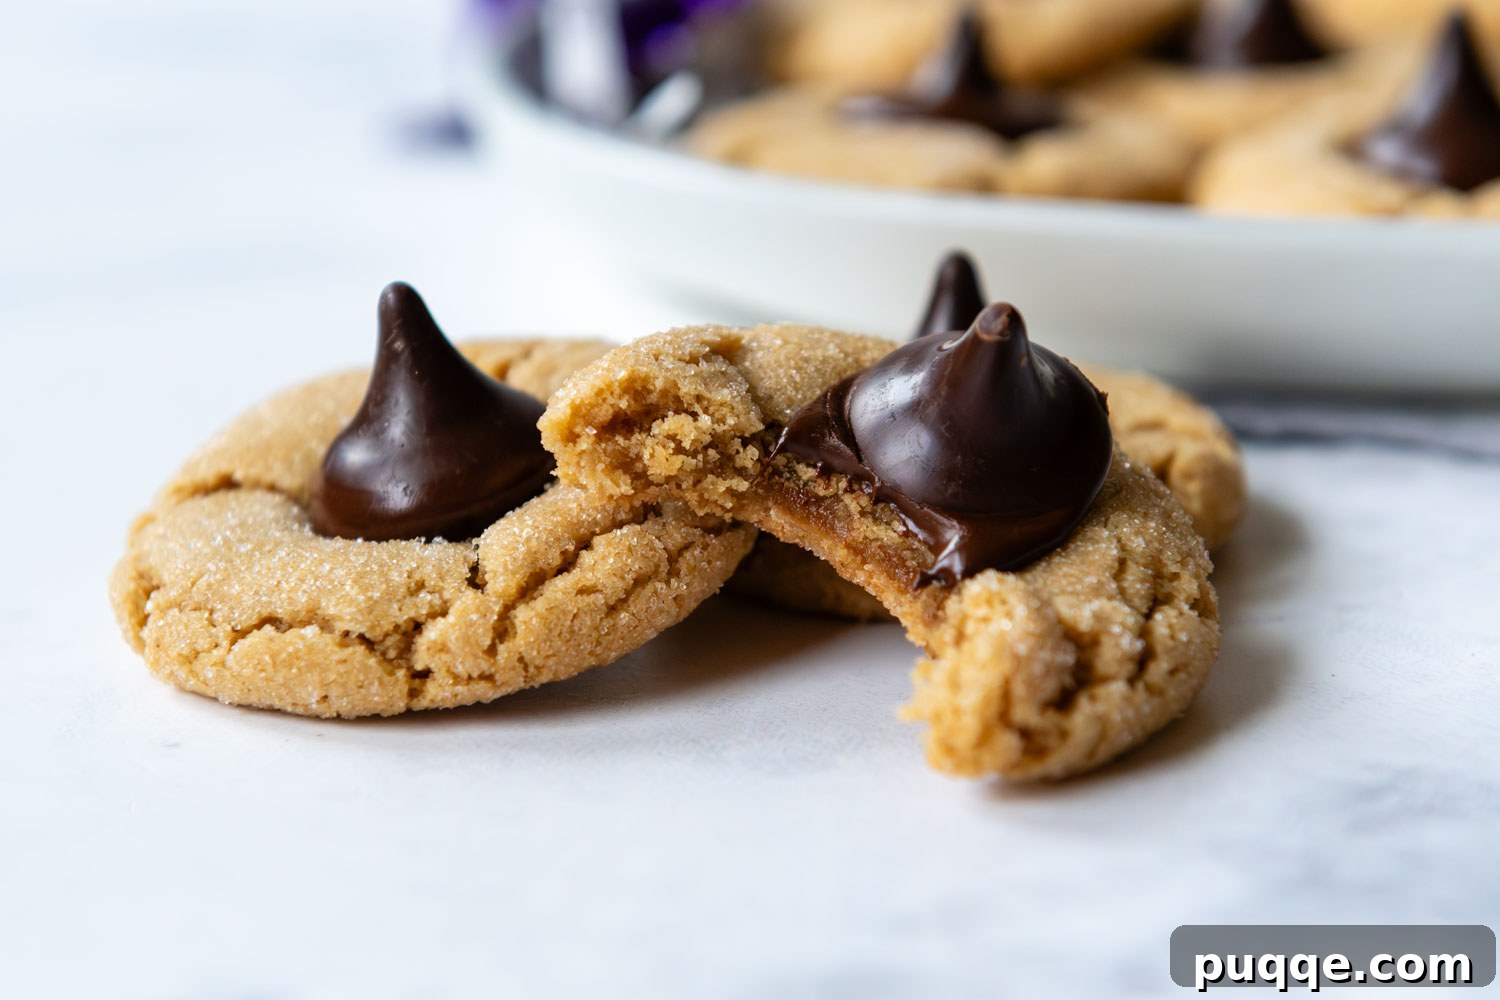
Step into a world of delicious nostalgia with these classic, old-school peanut butter blossoms cookies, masterfully reimagined for a gluten-free diet. This easy copycat recipe is specifically designed to banish the dry, gritty texture often associated with gluten-free baking, delivering a result so tender and perfectly chewy, you’ll swear they’re just like the ones you grew up with. What’s the secret to this delightful transformation? It’s a clever combination of slightly chilling and resting the dough, along with baking at a lower oven temperature. These simple yet crucial techniques allow the gluten-free starches to fully hydrate and saturate, replicating the authentic taste and texture of traditional peanut butter blossom cookies.
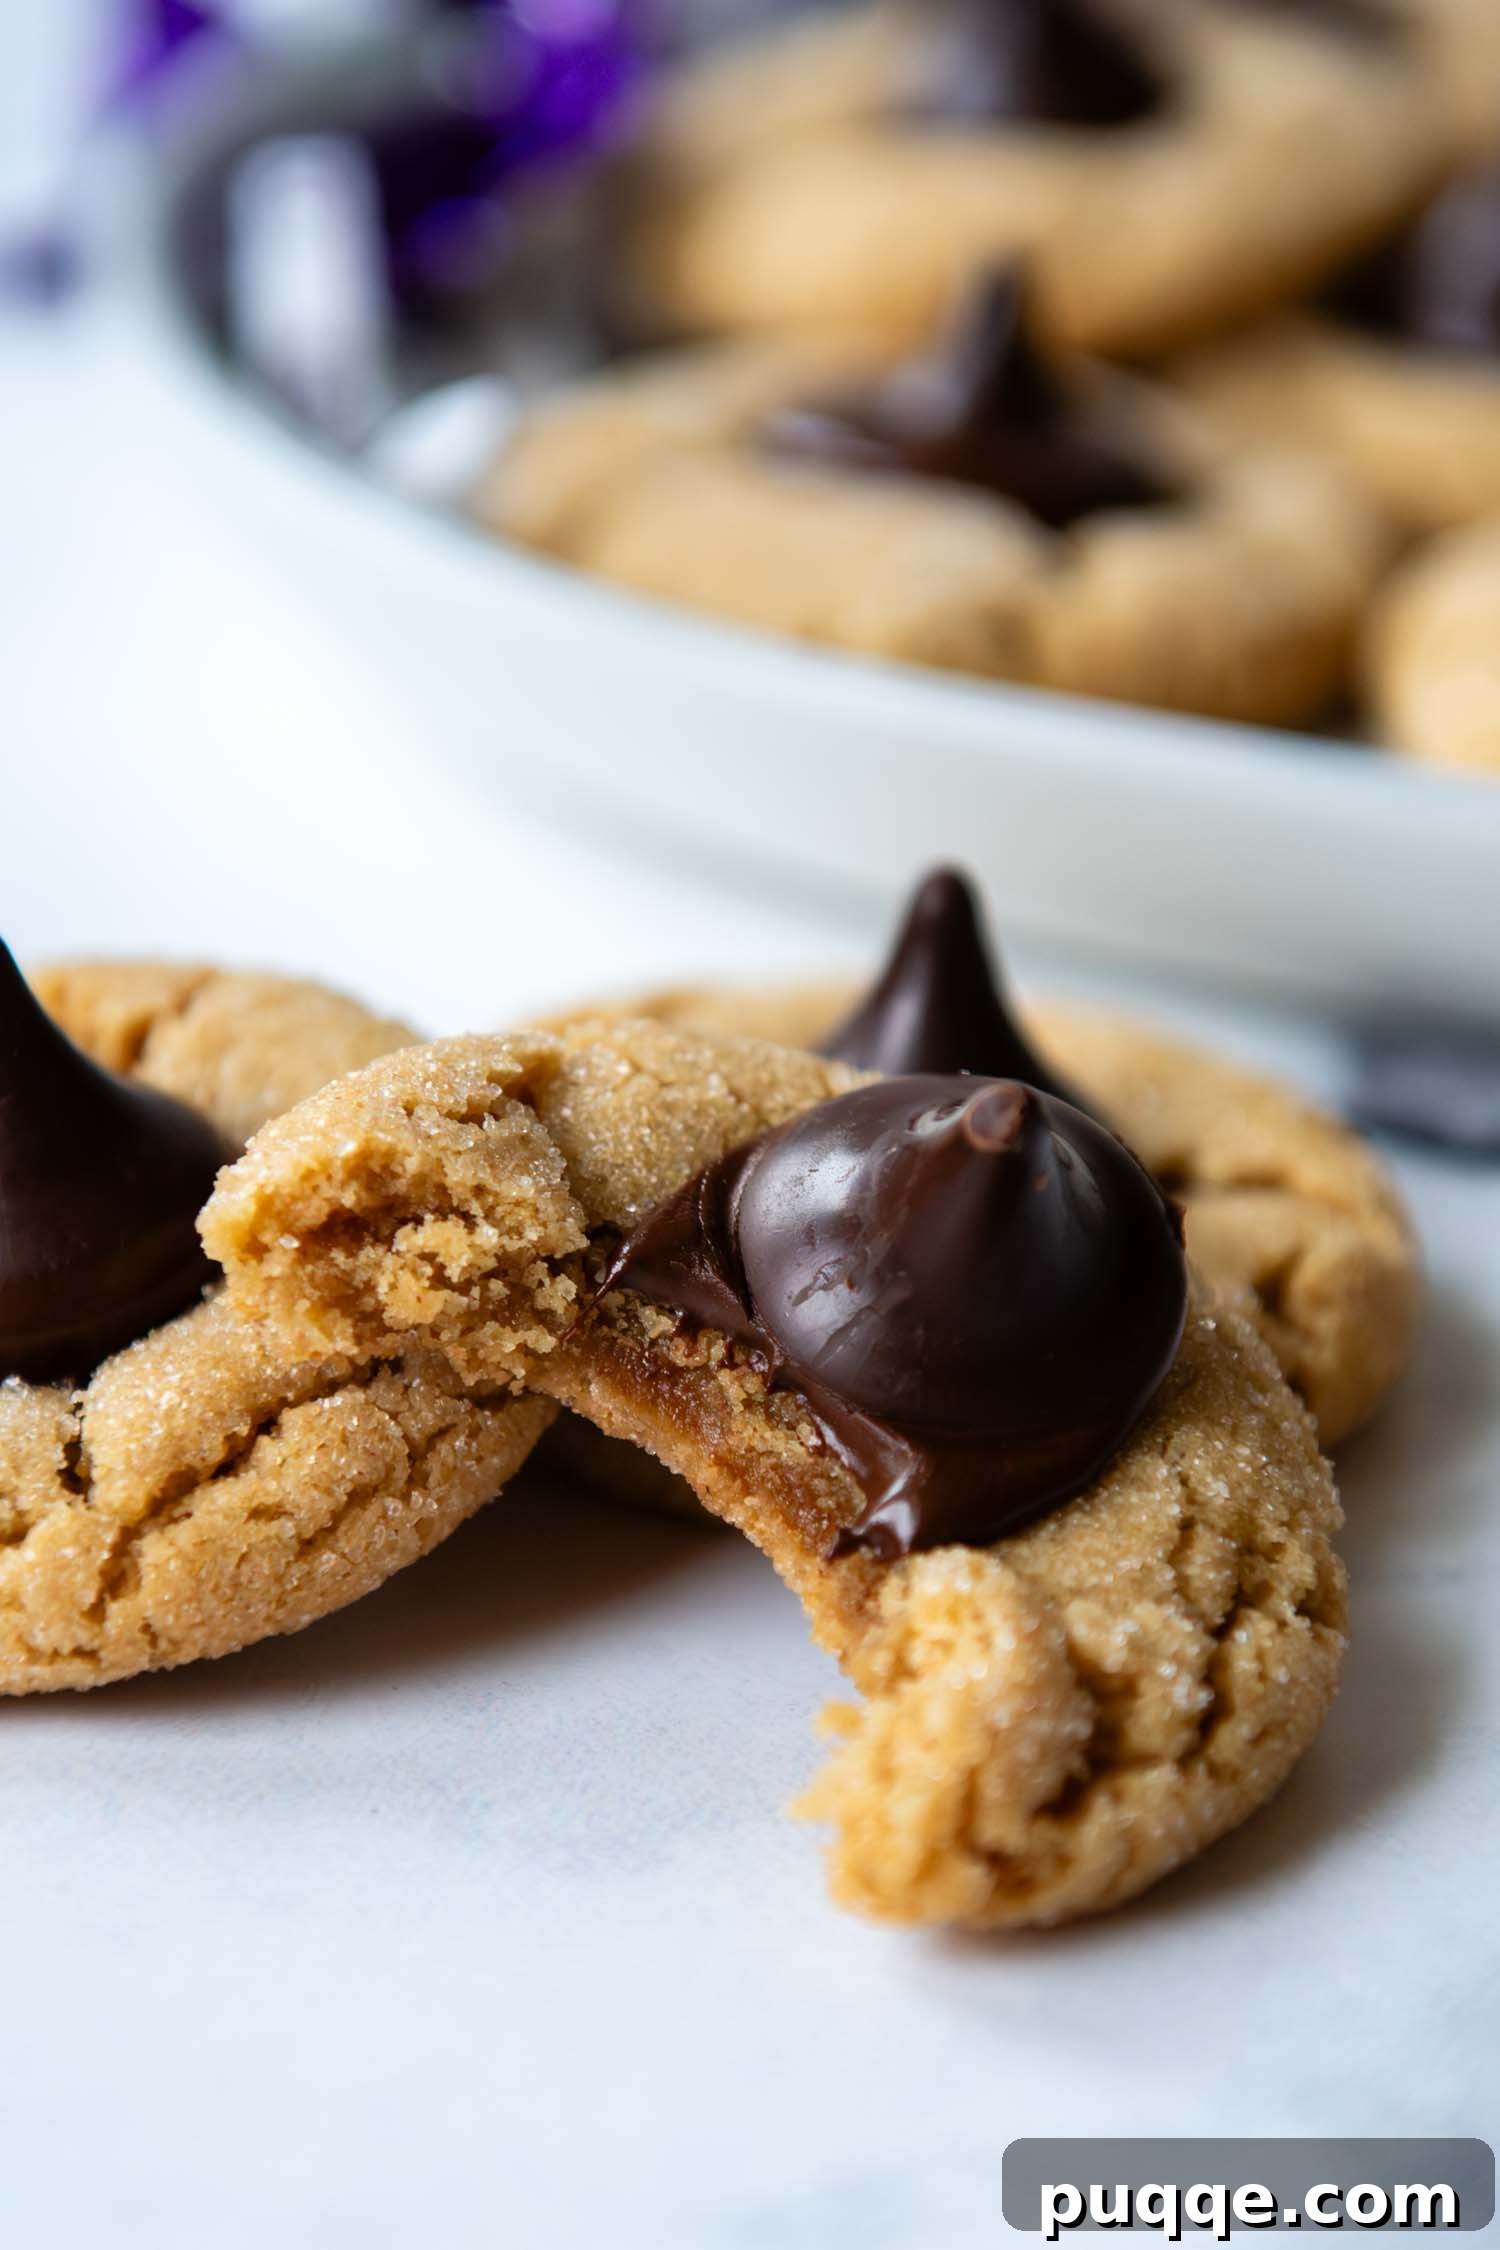
Irresistible Gluten-Free Peanut Butter Blossoms: Your New Holiday Favorite
There’s something truly magical about holiday baking, especially when it involves recreating beloved childhood recipes. For me, the ultimate joy comes from transforming those nostalgic treats into easy, spot-on gluten-free versions. My unwavering goal is to craft textures and flavors so authentic that family and guests happily indulge in my gluten-free Christmas cookie collection without ever suspecting they’re actually gluten-free. It’s a little secret I love to keep! 🤫
These easy gluten-free peanut butter kiss cookies are a proud star alongside other essential festive delights, like my perfectly crisp homemade cut-out gluten-free sugar cookies and my absolute go-to recipe for soft-batch gluten-free chocolate chip cookies. When developing the ideal peanut butter blossoms using gluten-free flour, I meticulously focused on overcoming common GF baking challenges such as grittiness or a dry, crumbly outcome. After all, the element of surprise is part of the fun – we certainly don’t want anyone to discover these are GF until after they’ve raved about them!
So, how do we achieve such a remarkable gluten-free cookie that mirrors its traditional counterpart? It’s wonderfully simple, yet incredibly effective. First, using slightly warm melted butter in the dough plays a pivotal role. Unlike solid butter, melted butter more thoroughly coats the gluten-free starches, ensuring they become fully saturated and contributing to an incredibly smooth, non-gritty texture. Second, allowing the dough to rest for a period before baking is non-negotiable. This resting time gives the gluten-free flours ample opportunity to fully absorb the moisture from the butter and peanut butter, preventing dryness and promoting a beautifully soft, tender crumb. Finally, baking these beauties at a slightly lower oven temperature helps them bake evenly and prevents rapid moisture loss, which often leads to a sticky chewiness or overly dry texture in gluten-free cookies. This slower bake ensures a soft, perfectly cooked cookie from edge to center. Let’s embark on this delightful baking journey together. Put on your favorite classic holiday tunes, deck the halls, and prepare to recreate a classic that transcends dietary restrictions.
Just made these for Christmas and you can’t tell they are gluten free! Thanks for the recipe!!!
—Regina
Unlocking the Perfect Gluten-Free Peanut Butter Blossom: Key Ingredients & Expert Tips
Achieving that perfect, old-school peanut butter blossom taste and texture in a gluten-free format hinges on selecting the right ingredients and understanding how they interact. Here’s a detailed breakdown of what you’ll need and why:
- Peanut Butter: To truly replicate the beloved classic Hershey kiss peanut butter cookies, the type of peanut butter you use is paramount. We strongly recommend using a creamy, processed peanut butter like Skippy or Jif brand. These brands offer a consistent texture and flavor profile crucial for the cookie’s structure and taste, and both are generally certified gluten-free. Avoid using natural peanut butter, which tends to separate and can result in a drier, more crumbly cookie that lacks the desired richness. We have not tested this recipe with alternative nut butters, such as almond butter. If you experiment, please share your results in the comments below – your insights help our baking community!
- Butter: The butter in this recipe is melted, not softened. This is a deliberate technique to enhance the gluten-free cookie’s texture. When melted, the butter more effectively coats the gluten-free starches, significantly reducing the chance of a gritty mouthfeel and contributing to a wonderfully moist and tender crumb. For those needing dairy-free gluten-free cookies, simply substitute an equal amount of high-quality vegan butter sticks (such as Earth Balance or Miyoko’s Kitchen). Ensure your chosen vegan butter performs well in baking.
- All-Purpose Gluten-Free Flour: The quality and composition of your gluten-free flour blend are critical for success. I personally use and highly recommend Cup4Cup gluten-free flour for this recipe. It’s a fantastic blend that yields consistently excellent results, often containing a balanced mix of flours and starches, plus xanthan gum, which mimics gluten’s elasticity. Many readers have also reported success with other reputable GF flour brands like King Arthur Measure-for-Measure. While many “all-purpose” gluten-free blends exist, they are not all created equal; some may require slight adjustments to liquid or baking time. Using a blend specifically designed for 1:1 substitution is typically your best bet.
- Hershey Chocolate Kisses: The iconic chocolate kiss is the crowning jewel of these cookies. While classic peanut butter blossoms traditionally feature milk chocolate, I have a personal preference for dark chocolate and used it here to great effect. Feel free to choose your favorite! When selecting your chocolate kisses or any other chocolate candy, it is absolutely essential to verify its gluten-free status, especially for various flavors or alternative brands. Hershey’s often labels its plain milk chocolate kisses as GF, and most of their “Hugs” are generally safe, but many varieties (such as “Sugar Cookie” or “Cookies ‘n’ Creme”) contain gluten. Always read labels carefully to ensure they meet your dietary needs.
Watch Our Gluten-Free Peanut Butter Blossoms Recipe Tutorial
Step-by-Step Guide: Crafting Your Gluten-Free Peanut Butter Blossoms
Get ready to create some delicious magic! Below, you’ll find detailed step-by-step photos and modified instructions to guide you through each stage of the baking process. For the complete recipe, including precise ingredient amounts and nutritional information, please scroll down to the dedicated recipe card.
Mastering the Dough: Creamy, Smooth, and Ready for Chilling
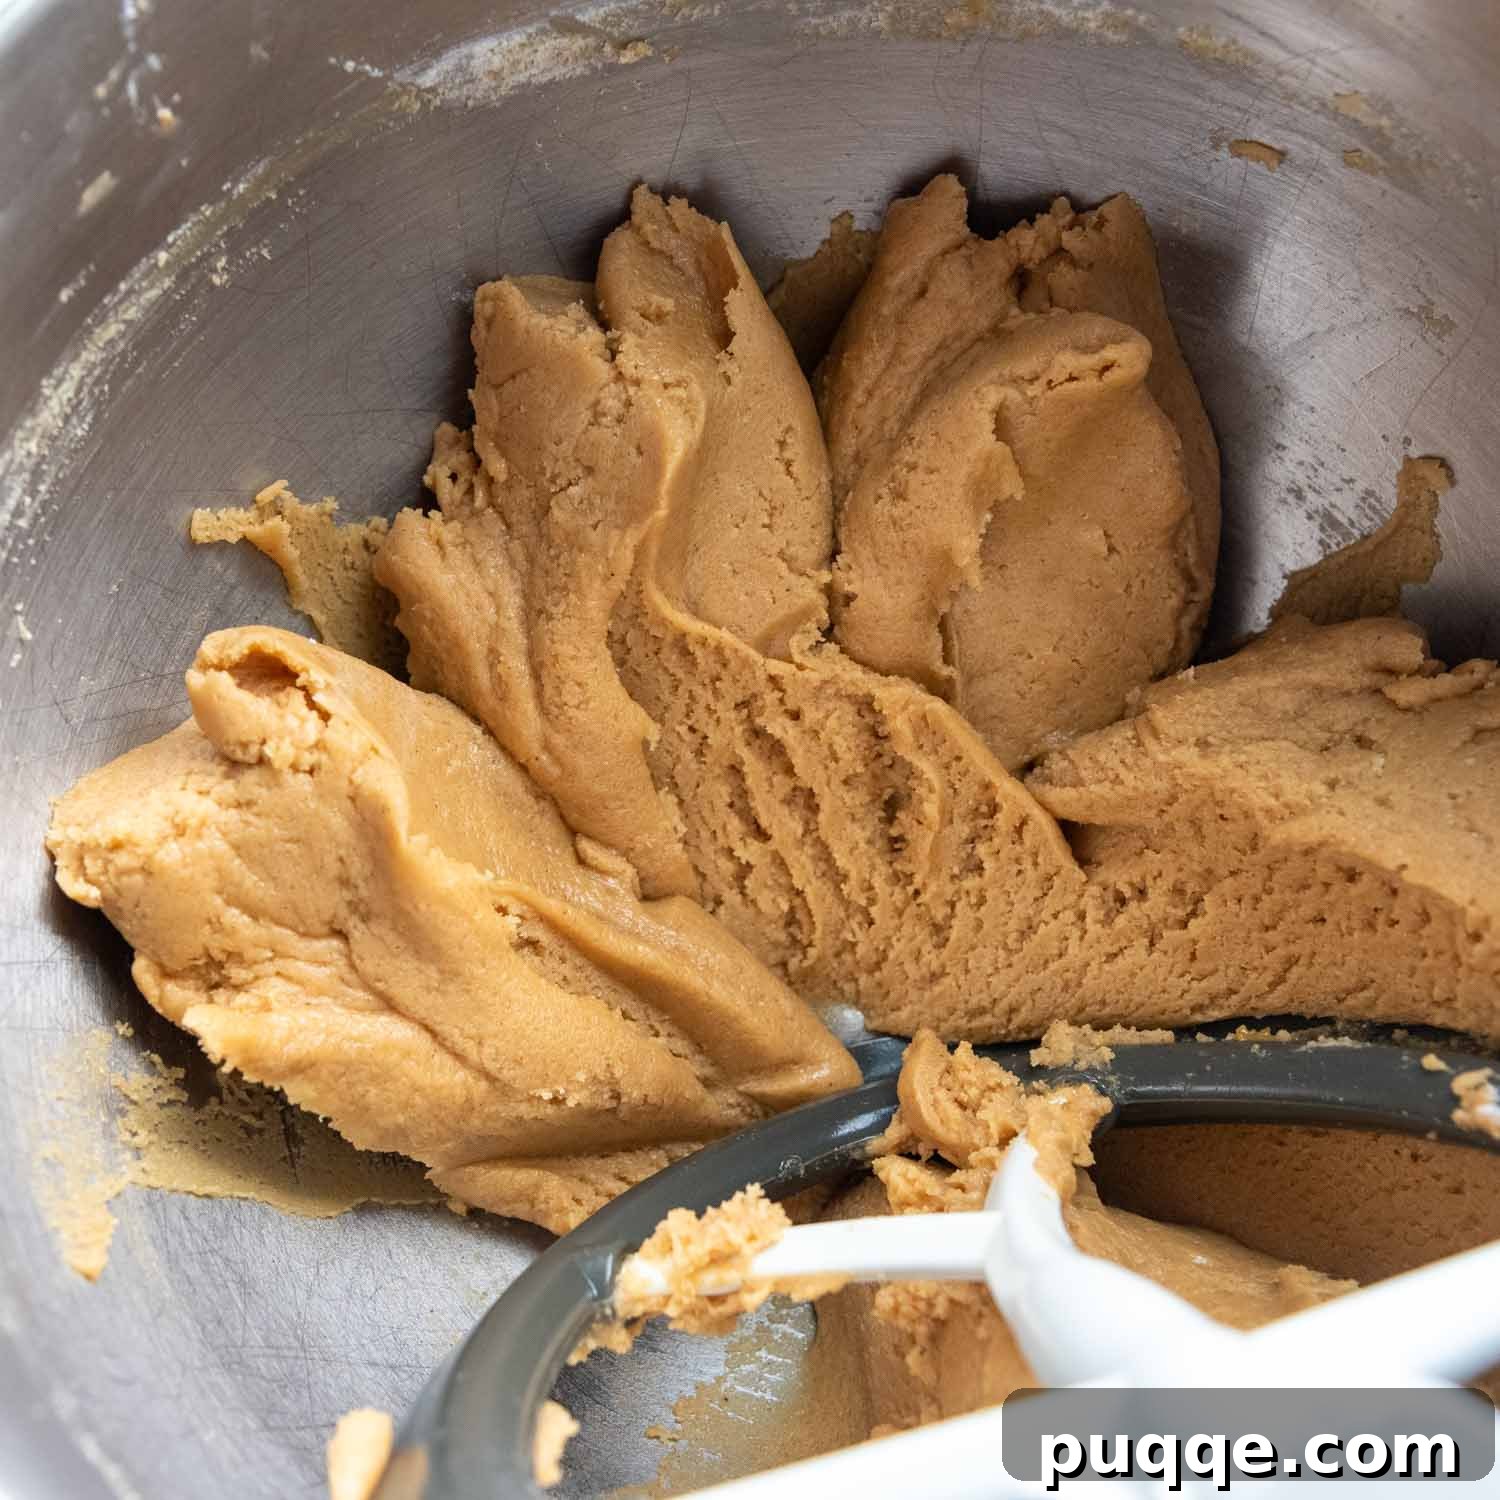
In a large mixing bowl, ideally using a stand mixer fitted with the paddle attachment, combine the creamy peanut butter, slightly warm melted butter, light brown sugar, and granulated sugar. Beat these ingredients together until the mixture is beautifully smooth and creamy, about 2-3 minutes. The warmth of the melted butter is key here, as it helps the sugar crystals dissolve more effectively, leading to a perfectly homogenous dough that coats gluten-free starches uniformly, preventing any unwanted grittiness in the final cookie. Next, add the large egg and vanilla extract, continuing to beat until they are thoroughly incorporated and the dough takes on a lovely, glossy sheen.
Gradually stir in the gluten-free all-purpose flour, baking soda, and salt on low speed. Mix just until no pockets of dry flour remain in the dough. Be careful not to overmix, which can sometimes toughen gluten-free baked goods. At this stage, your dough will appear shiny and feel wonderfully soft. This initial softness is exactly what we’re looking for! The critical next step of chilling the dough will allow it to stiffen just enough to be easily scooped and rolled into perfect balls. More importantly, this chilling period allows the gluten-free flour to fully hydrate, a crucial step for achieving that signature soft, tender texture and eliminating any potential grittiness. Don’t skip this important step!
Perfecting Your Cookie Shape: Rolling for Success
When it comes to shaping all those delightful cookie balls, efficiency is key to keeping the process enjoyable! I find it most systematic to approach this in a few steps for consistent results.
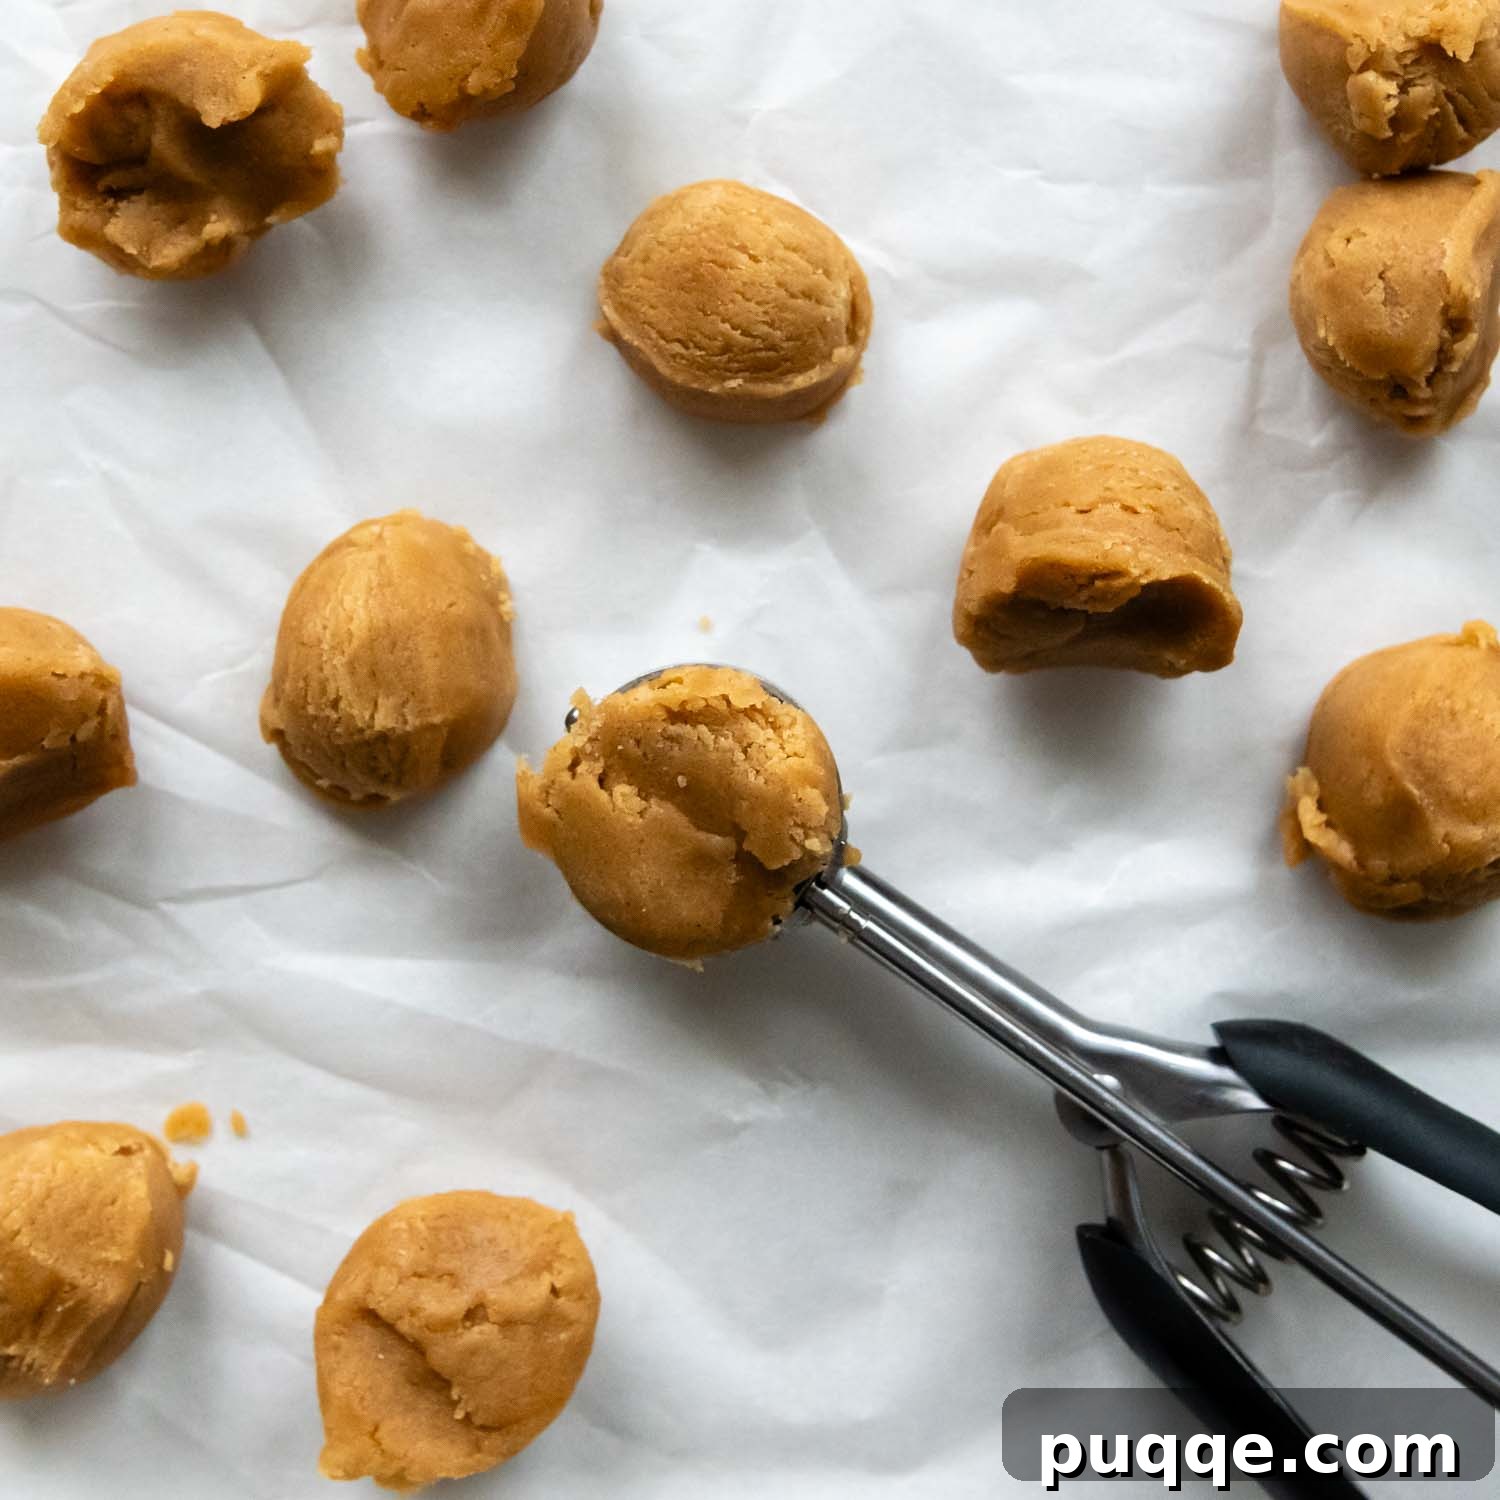
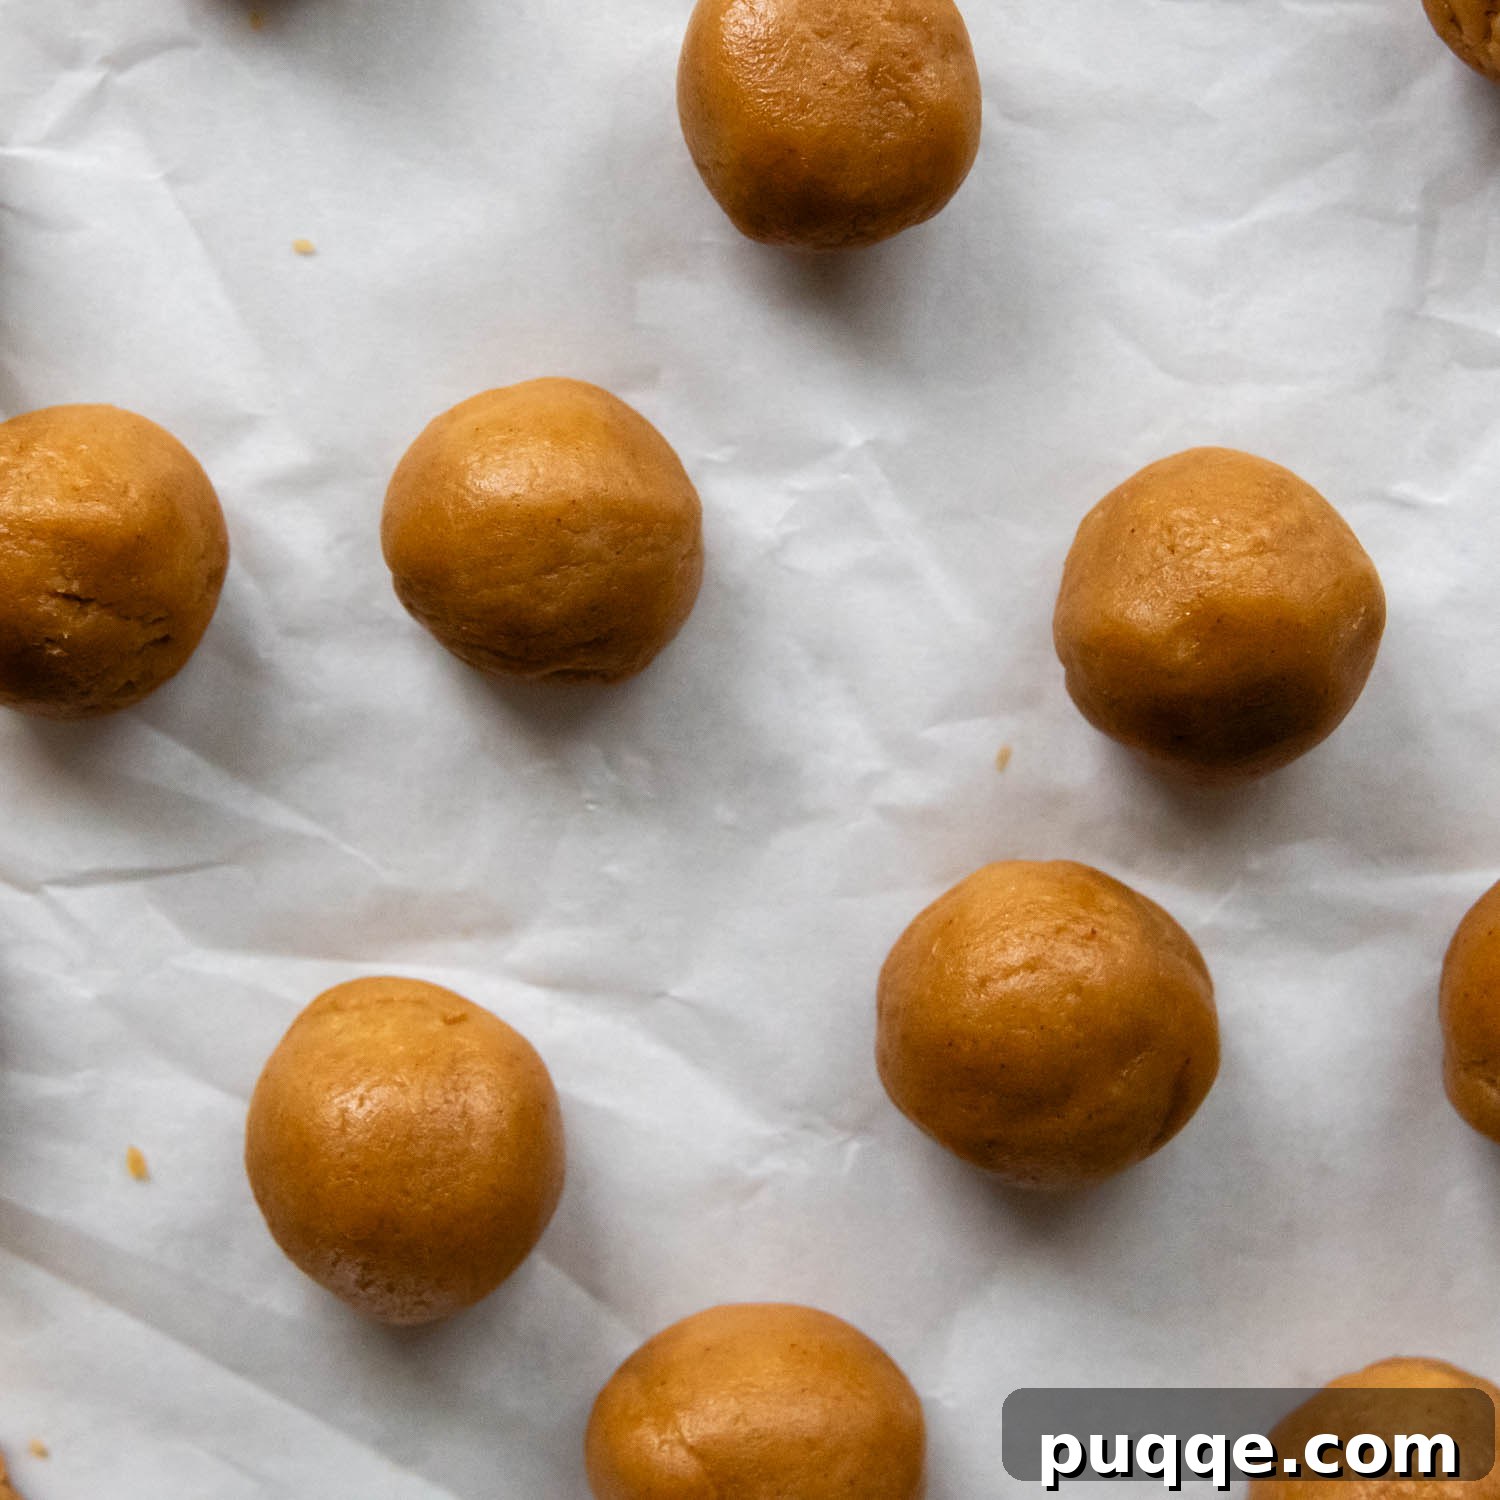
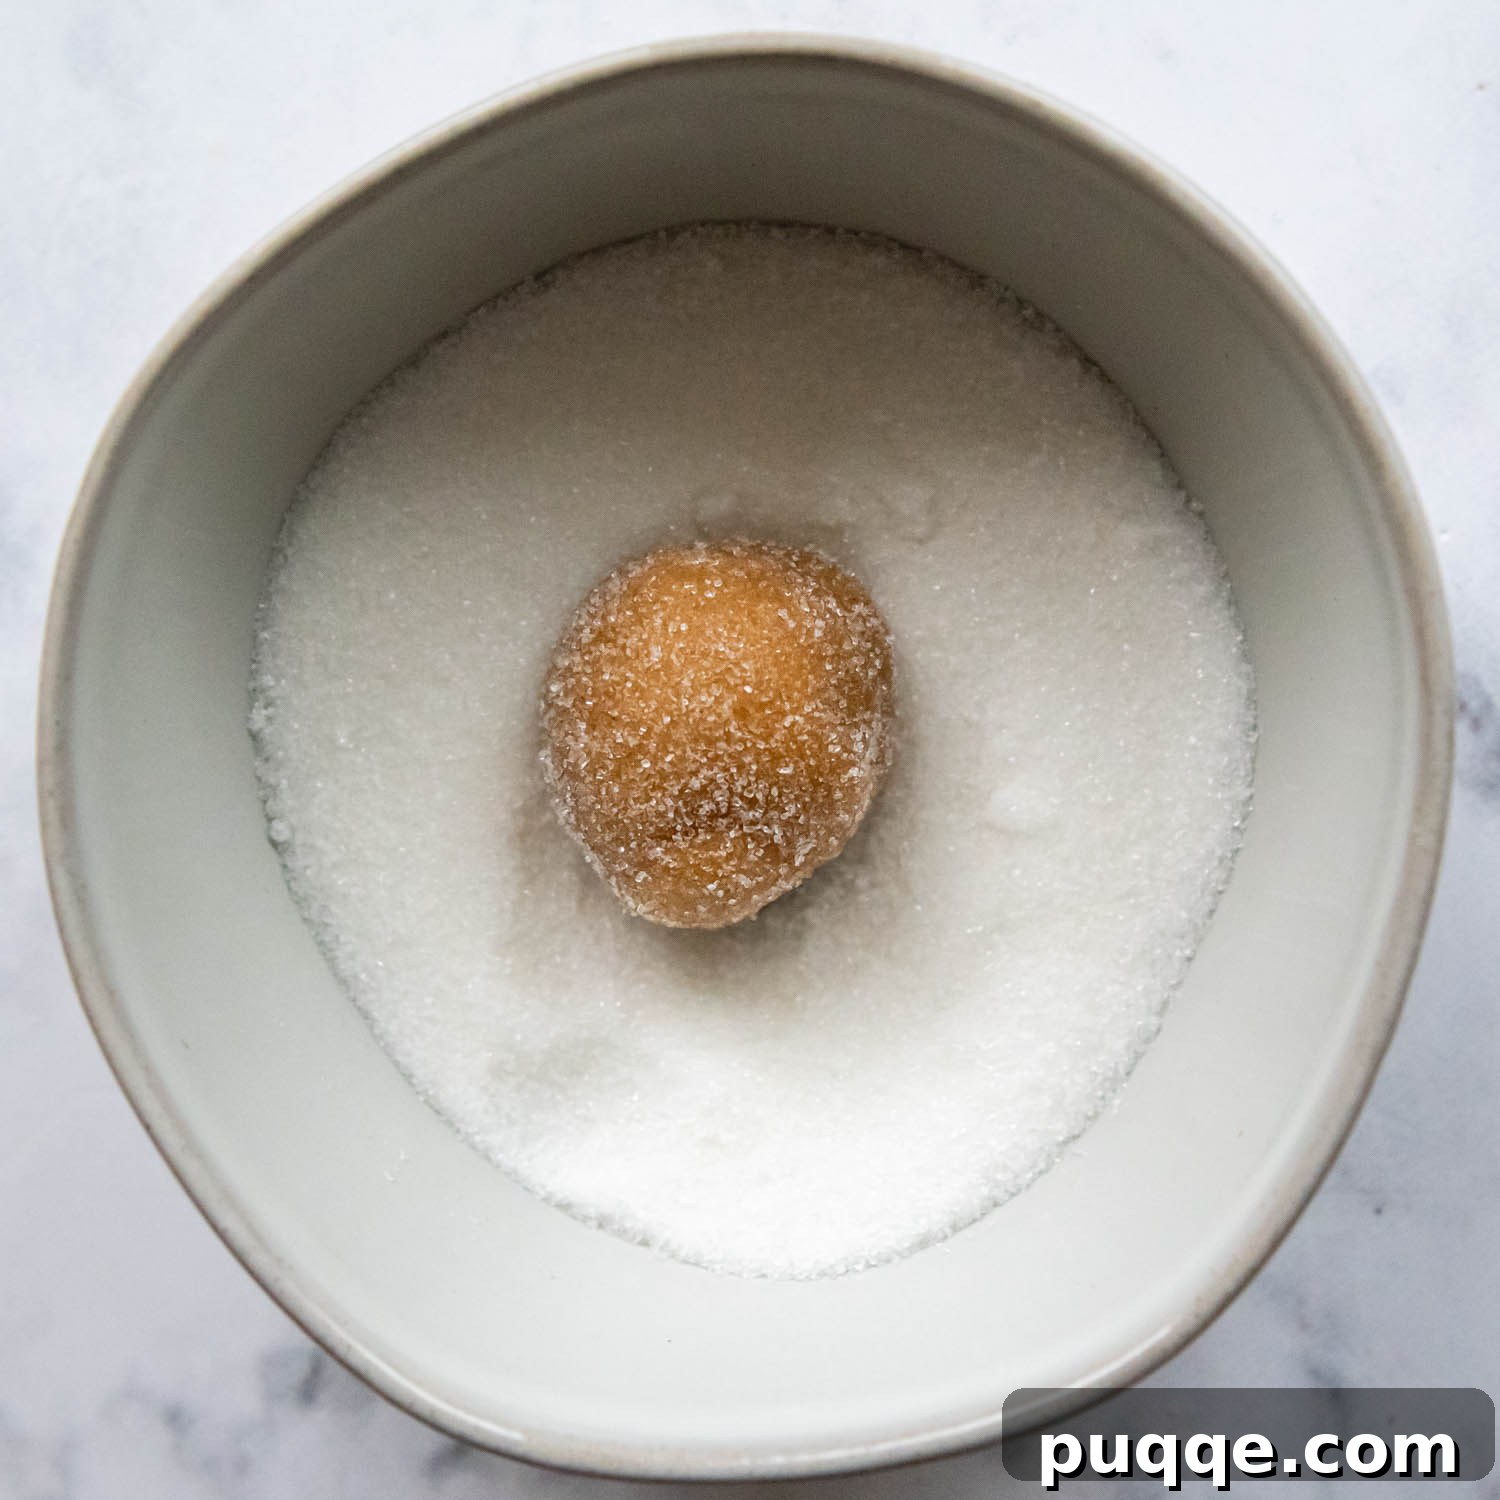
First, once your dough is perfectly chilled and ready, grab a small cookie scoop (a 1-tablespoon size is ideal) and scoop out all the dough portions onto your prepared parchment-lined baking sheets. This initial step helps to divide the dough into roughly equal sizes quickly. Once all the dough has been scooped, go back and, one by one, roll each portion between your palms into beautifully smooth, round balls. This ensures an even bake and a more appealing appearance. Finally, take each smooth dough ball and roll it generously in the granulated sugar you’ve set aside. This sugar coating adds a delightful sparkle, a subtle crunch, and enhances the classic appearance of peanut butter blossoms. Arrange these sugar-coated spheres on your parchment-lined baking sheets, making sure to leave about 1 ½ inches of space between each cookie to allow for proper spreading during baking.
The Grand Finale: Baking, Kissing, and Cooling to Perfection
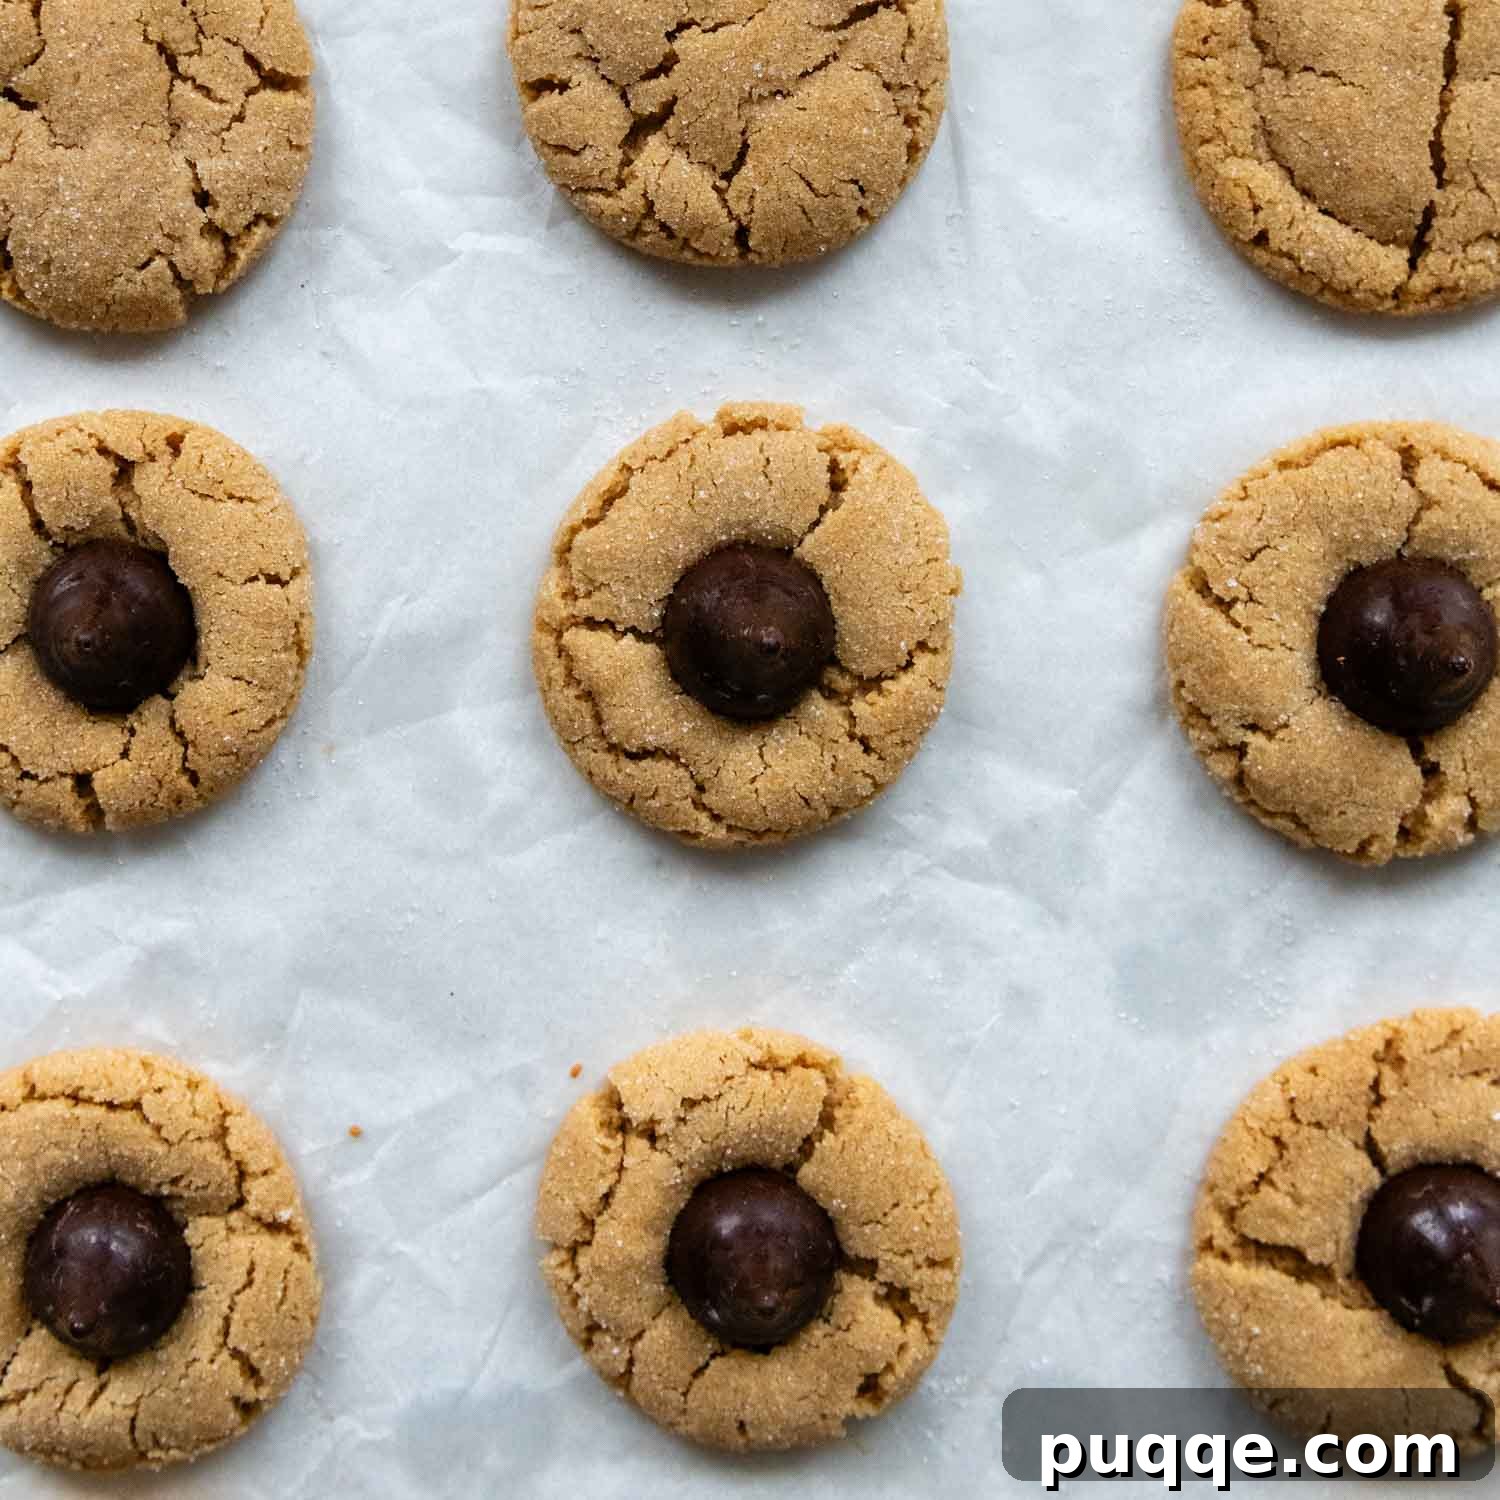
Baking these gluten-free wonders in a slightly lower oven temperature of 325°F (160°C) is another critical step that significantly improves their final texture. This gentler heat prevents the cookies from drying out too quickly, allowing them to bake through evenly and maintain their tender, soft consistency without becoming crumbly or overly stiff. Bake the cookies for approximately 13-15 minutes, or until their tops have just begun to show a slight crackle and the edges are faintly golden. The centers should still look soft – avoid overbaking, as gluten-free cookies can quickly become dry if left in the oven too long. While your cookies are baking to perfection, don’t forget to unwrap all your Hershey Kisses! This is often the most exciting part for kids (and adults alike!), and a great task for little hands to help with. You can reward them (or yourself 😉) with any extras!
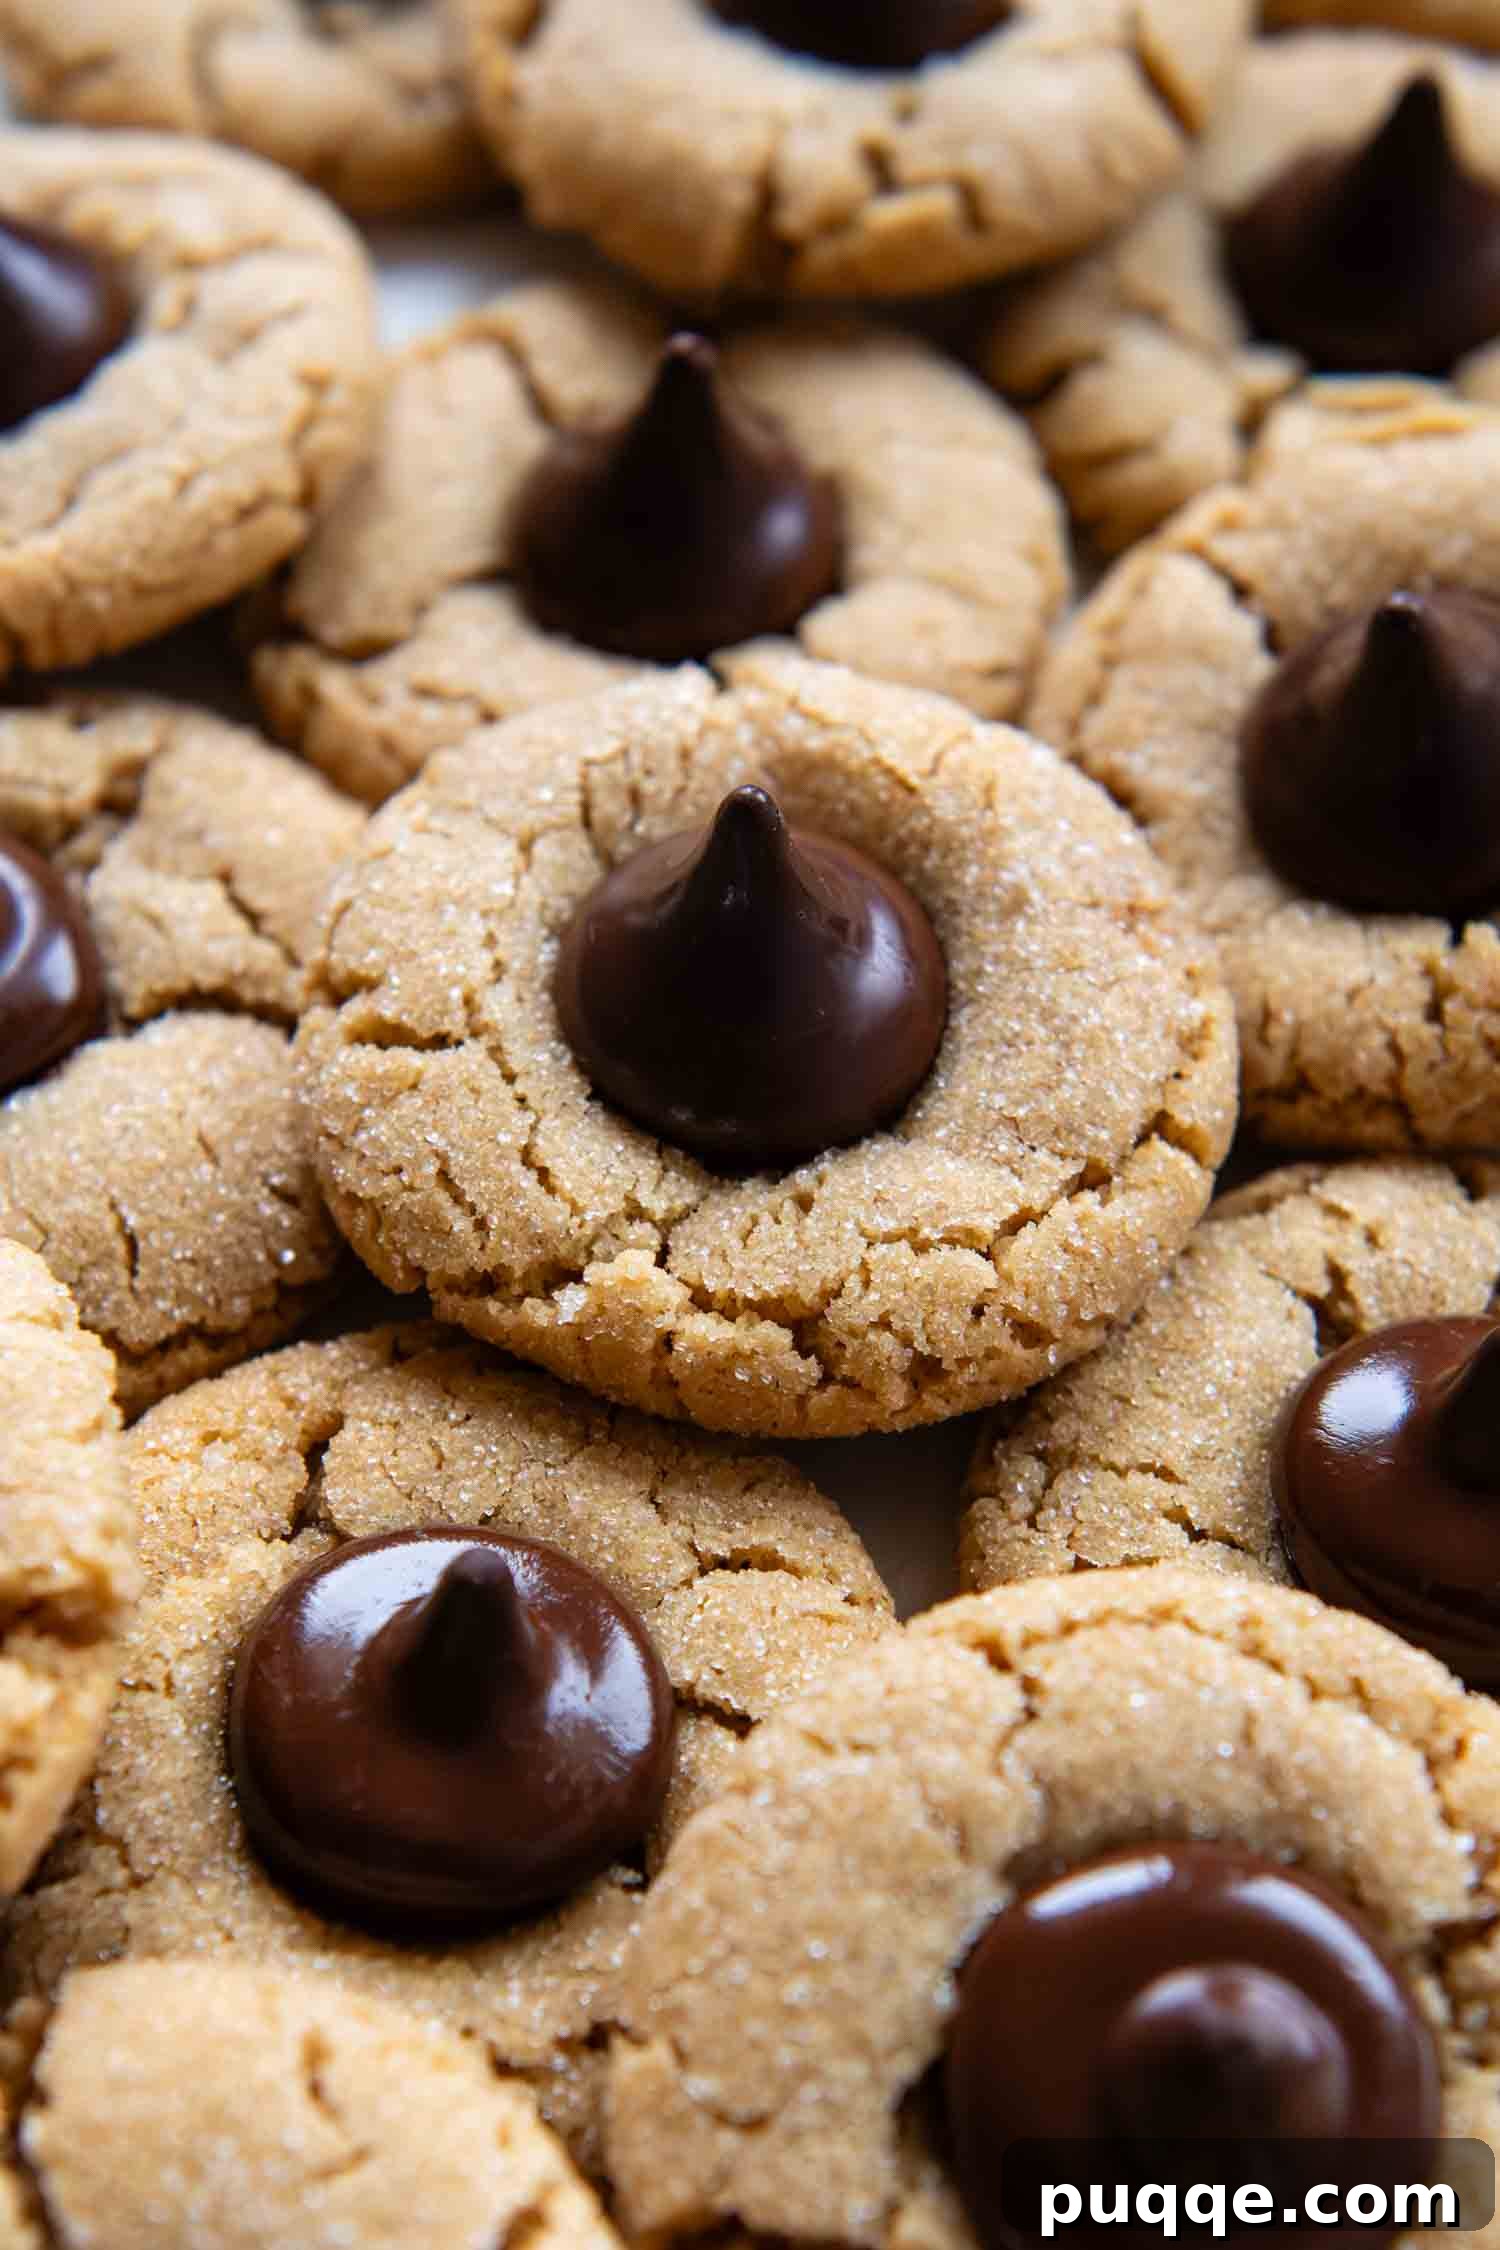
The best part you remember from making these as a kid? Pressing on the chocolate kiss, of course! This nostalgic moment is crucial for the perfect peanut butter blossom. As soon as the cookies emerge from the oven, still warm and pliable, gently but firmly press one unwrapped chocolate Kiss directly into the center of each hot cookie. The residual heat from the freshly baked cookie will cause the chocolate to melt ever so slightly, creating a beautiful bond that essentially “glues” the kiss onto the cookie and contributes to that iconic soft chocolate center. The chocolate will be quite melty at this point, so you have two options for cooling. You can let them sit undisturbed at room temperature until they cool completely and the chocolate hardens again, which typically takes about 1 hour. Alternatively, for a quicker set, allow them to cool on the baking sheet for about 10 minutes to firm up slightly, then carefully transfer them to a plate and refrigerate until the chocolate is firm, usually another 15-20 minutes. Either way, you’ll be left with perfectly set, utterly delicious gluten-free peanut butter blossoms ready to enjoy!
Beyond the Classic: Creative Variations for Your Peanut Butter Blossoms
While the classic Hershey Kiss is undeniably perfect, sometimes it’s fun to put a new spin on a beloved cookie. Experimenting with different “kisses” is an easy way to add variety to your holiday cookie platter or simply to customize a batch to your preferences. You can even make a mix of cookies with different chocolate candies, allowing everyone to pick their favorite from the tray!
- Miniature Reese’s Peanut Butter Cups: For an extra boost of peanut butter flavor and a delightful textural contrast, replace the chocolate kisses with miniature Reese’s peanut butter cups. Good news: most Reese’s products are certified gluten-free, but always double-check the label!
- Festive Sugars or Sprinkles: Instead of traditional granulated sugar, roll the cookie dough balls in brightly colored sanding sugars – think vibrant red and green for Christmas, soft pastels for Easter, or tiny gluten-free sprinkles for any celebratory occasion. This adds a beautiful visual appeal and a fun crunch.
- Peanut M&Ms: Press a few peanut M&Ms into the center of the warm cookies for a satisfying crunch and a burst of color. Ensure your M&Ms are gluten-free, as some seasonal varieties may contain gluten.
- Caramel or Specialty Kisses: Explore other Hershey’s Kiss varieties like Caramel Kisses for a gooey, sweet surprise. Alternatively, try Rolos or Dove chocolates, pressing them into the warm cookies for a decadent twist. Always confirm their gluten-free status before using.
Don’t Forget to Pin It! Save This Recipe for Later
Let’s be friends on Pinterest! We’re always sharing delicious recipes!
Made these delightful cookies? We’d love to hear from you! Share your feedback and a star rating below the recipe. Your reviews help fellow bakers and mean the world to us! -Melissa

Vintage, Soft Gluten-Free Peanut Butter Blossoms
 Melissa Erdelac
Pin Recipe
Rate Recipe
Remove Ads
Ingredients
- ½ cup creamy peanut butter
- 4 tablespoons melted butter, slightly warm
- ½ cup packed light brown sugar
- 6 tablespoons granulated sugar
- 1 large egg, room temperature
- 1 teaspoon vanilla extract
- ¾ cup + 2 Tablespoons gluten-free all purpose flour, Cup4Cup brand recommended
- ½ teaspoon baking soda
- ¼ teaspoon salt
- 30 chocolate kiss candies, unwrapped
- ½ cup granulated sugar, for rolling
Equipment
-
Stand Mixer
-
Baking Sheets
-
Small Cookie Scoop
Instructions
-
Begin by lining baking sheets with parchment paper or silicone baking mats. Alternatively, use ungreased cookie sheets. This helps prevent sticking and ensures even baking.
-
In a large bowl, beat together the creamy peanut butter, slightly warm melted butter, light brown sugar, and granulated sugar until the mixture is beautifully smooth and creamy. The warm melted butter helps to dissolve the sugars more effectively, leading to a homogenous blend that coats the gluten-free starches, preventing any grittiness. Next, incorporate the egg and vanilla extract, mixing thoroughly until everything is well combined and the dough has a glossy sheen.½ cup creamy peanut butter, 4 tablespoons melted butter, ½ cup packed light brown sugar, 6 tablespoons granulated sugar, 1 large egg, 1 teaspoon vanilla extract
-
Reduce mixer speed to low and gently blend in the baking soda and salt. Finally, gradually add the gluten-free all-purpose flour, mixing just until no flour streaks or pockets remain. Be careful not to overmix. At this stage, the dough will appear shiny and feel soft to the touch. This initial softness is perfectly normal; the chilling process will firm it up and allow the flour to fully hydrate, enhancing the final texture.½ teaspoon baking soda, ¼ teaspoon salt, ¾ cup + 2 Tablespoons gluten-free all purpose flour
-
Cover the mixing bowl tightly with plastic wrap and refrigerate the dough for a minimum of 30-60 minutes, or until it has chilled and firmed up sufficiently for easy handling. This crucial resting period allows the gluten-free flour to fully absorb moisture, preventing a dry or crumbly cookie. While the dough is chilling, preheat your oven to a slightly lower temperature of 325ºF (160ºC). This gentle heat is key to achieving a soft, tender gluten-free cookie without over-browning or drying it out.
-
Once chilled, use a small cookie scoop (approximately 1 tablespoon in size) to portion out uniform dough balls. For the best presentation and texture, roll each scooped portion between your palms until it forms a smooth, round sphere. Then, generously roll each ball in the granulated sugar reserved for coating. Arrange the sugar-coated dough balls on your prepared baking sheets, ensuring they are spaced about 1 ½ inches apart to allow for spreading during baking.½ cup granulated sugar
-
Bake the cookies for 13-15 minutes, or until their tops show slight cracking and the edges are lightly golden. They should still feel soft to the touch in the center. While the cookies are baking, take the opportunity to unwrap all your Hershey’s Kisses – this is a fun task for little helpers! Immediately upon removing the cookies from the oven, gently but firmly press one unwrapped chocolate Kiss directly into the center of each hot cookie. The warmth of the cookie will melt the chocolate slightly, allowing it to adhere beautifully. For chocolate that sets quickly, let the cookies cool on the baking sheet for about 10 minutes, then carefully transfer them to a plate and refrigerate for 5-10 minutes. Otherwise, let them cool completely at room temperature (about 1 hour) until the chocolate hardens again. Enjoy these warm or fully cooled!30 chocolate kiss candies
Notes
Dairy-Free Modification
While this recipe has not been personally tested with dairy-free alternatives, many readers have achieved success in other gluten-free cookie recipes by substituting vegan butter sticks (such as Earth Balance) for traditional butter. For a completely dairy-free option, ensure you also use a non-dairy chocolate kiss candy, like “Smooches” or other certified dairy-free chocolate alternatives. Always check labels carefully.
Storing and Freezing Gluten-Free Peanut Butter Blossoms
Once your cookies have completely cooled and the chocolate kisses are firm, store them in an airtight container at room temperature for up to 2 days. Due to the nature of gluten-free flours, these cookies tend to lose moisture more quickly than their gluten-containing counterparts, so prompt consumption or proper storage is recommended.
To freeze unbaked dough: Portion out the dough into balls, roll them in sugar, and place them on a baking sheet to freeze until solid. Once frozen, transfer the unbaked cookie dough balls to an airtight freezer-safe container or bag. They can be stored in the freezer for up to 3 months. When you’re ready to bake, simply place the frozen dough balls on an ungreased baking sheet and bake for approximately 1 minute longer than the recipe specifies for fresh dough.
To freeze baked cookies: Ensure they are completely cool and the chocolate has fully set. Carefully transfer them to an airtight freezer container, separating layers with parchment paper if stacking. These baked gluten-free peanut butter blossoms can be frozen for up to 3 months. Thaw at room temperature or gently warm in a low oven if desired.
Recipe adapted from our popular gluten-free peanut butter cookies recipe.