
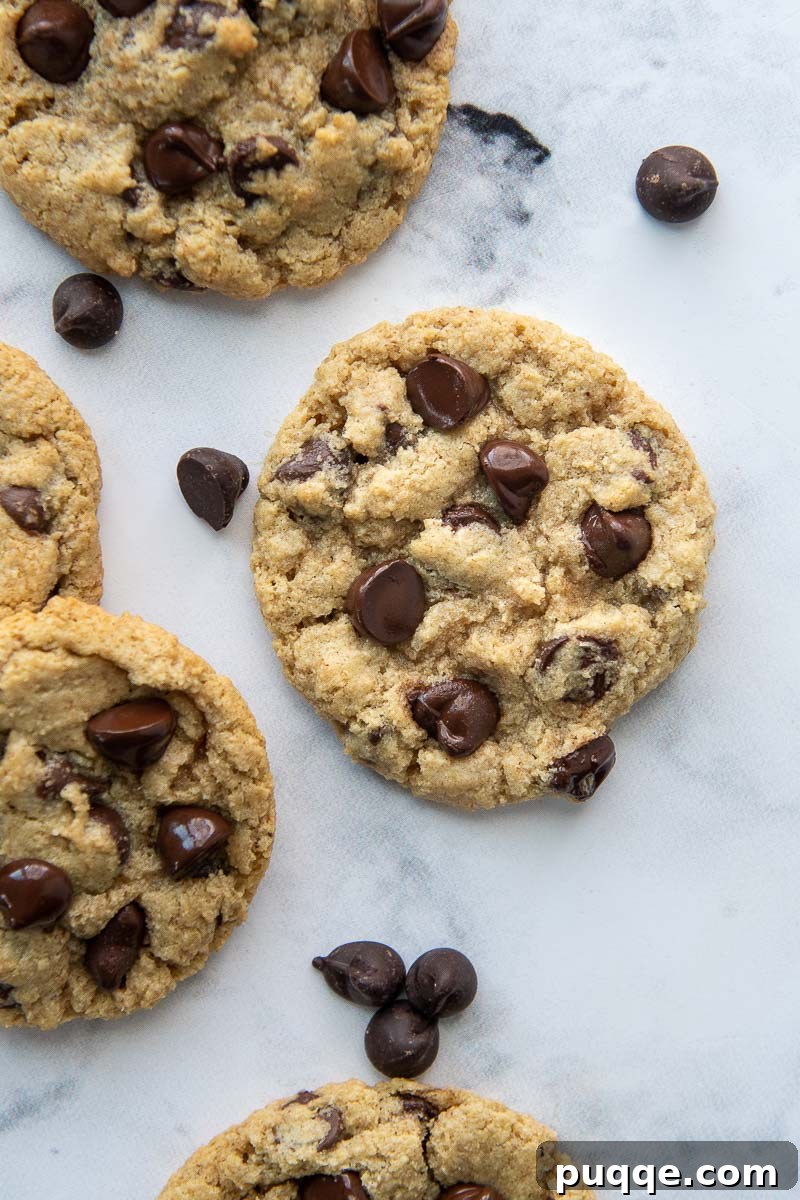
Get ready for love at first bite with these incredibly easy oat flour cookies! Just like your favorite classic chocolate chip cookies, they are wonderfully soft, delightfully chewy, and perfectly gooey. What makes them even better? They are completely flourless, naturally gluten-free, and incredibly simple to make using oatmeal quickly blended into flour. This recipe delivers an affordable cookie that tastes just like the comforting treats mom used to bake, making it a perfect choice for anyone seeking a healthier or allergen-friendly alternative without sacrificing flavor or texture.
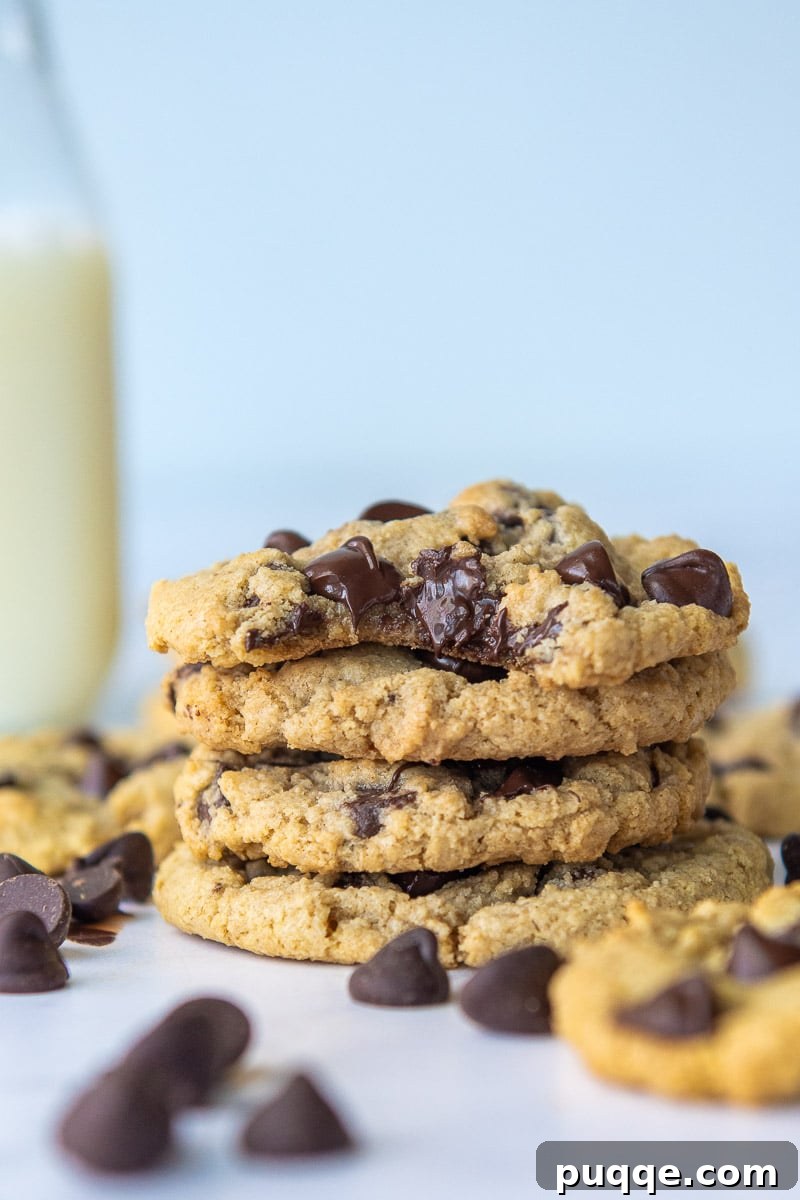
Irresistible Chocolate Chip Oat Flour Cookies: A Gluten-Free Delight!
After years of experimenting with various gluten-free baking methods, I’ve perfected the art of transforming traditional baked goods into naturally gluten-free versions using only whole oats. My journey into oat flour baking began with a simple goal: to create delicious treats that everyone, including those with gluten sensitivities, could enjoy. While I’ve since developed favorites like fudgy yet fluffy chocolate oat flour cake and versatile savory oat tortillas (perfect for wraps!), these homemade oat flour chocolate chip cookies were the original recipe that sparked my passion for this incredible ingredient. They are a testament to how simple ingredients can create extraordinary results.
There are countless ways to bake a wonderful homemade cookie, but I find myself consistently returning to this recipe because of the accessibility and versatility of oats. Rolled oats or quick-cooking oats are pantry staples in most homes, allowing you to whip up fresh, homemade oat flour in mere minutes. This convenience is a game-changer for spontaneous baking sessions or when you’re looking for a quick and easy dessert solution. Plus, making your own oat flour is significantly more economical than purchasing pre-made gluten-free flours such as 1-to-1 blends, almond flour, or coconut flour. Beyond its affordability, oat flour boasts a neutral flavor profile that seamlessly integrates into recipes, avoiding any strong, off-putting tastes often associated with alternative flours. This makes it an ideal choice for replicating classic recipes where the focus is on the familiar, comforting flavors of butter, sugar, and chocolate.
I am a strong advocate for any flourless cookie recipe, as they tend to yield consistently fabulous results without the unpredictable outcomes sometimes encountered with specialized gluten-free flour blends. If you’re still not entirely convinced, just wait until you discover the ridiculously simple method behind these cookies. Their straightforward approach and phenomenal taste are sure to win you over, proving that gluten-free baking can be both effortless and utterly delicious. Dive into this recipe and experience the pure joy of a perfectly baked cookie that caters to all!
“These chocolate chip cookies are absolutely delicious! They have the perfect crisp edges and a wonderfully light texture. They baked up beautifully, holding their shape without spreading too much – truly perfection!”
—Sherry
Essential Ingredients for Your Perfect Oat Flour Cookies
One of the best aspects of this recipe is that you likely already have all the necessary ingredients right in your kitchen! No need for a special trip to the grocery store; these cookies are designed for maximum convenience and minimal fuss. Here’s a closer look at what you’ll need and why each component is vital:
- Oats: The star of our recipe! You can use either old-fashioned rolled oats or quick oats. For those requiring a gluten-free diet, it’s crucial to use certified gluten-free oats to prevent cross-contamination. These oats will be blended into a fine flour, providing the structure for our cookies.
- Unsalted Butter: Softened unsalted butter is key for achieving that rich, tender texture. If you’re looking to make these cookies dairy-free, a high-quality vegan butter stick can be successfully substituted, ensuring a similar creamy consistency and flavor.
- Sugars: This recipe utilizes a harmonious blend of brown sugar and granulated sugar. Brown sugar contributes to the cookies’ chewiness and adds a delightful caramel note, while granulated sugar aids in achieving a crisp exterior and proper spread. For a slightly different flavor profile or to reduce overall sweetness, coconut sugar can be used as an alternative, or you can simply reduce the total sugar amount to suit your preference.
- Chocolate Chips: The classic addition! You can opt for milk chocolate or dark chocolate chips depending on your preference. Feel free to get creative – you can omit them entirely, substitute with dried fruits like raisins for a fruitier treat, or use dairy-free baking chips to keep the recipe dairy-free. A mix of different sized chips, like semi-sweet and mini chips, can create an irresistible “chocolate overload” effect, ensuring gooey pockets of chocolate in every bite.
- Egg: A large egg acts as a binder, providing structure and moisture to the cookies, helping them hold their shape and preventing them from being too crumbly.
- Vanilla Extract: Essential for enhancing the overall flavor profile, vanilla extract adds warmth and depth, complementing the sweetness of the sugars and chocolate.
- Baking Soda: This leavening agent reacts with the acidic brown sugar to create a soft, slightly raised cookie, preventing them from being too dense.
- Salt: A pinch of salt is vital in baking as it balances the sweetness and enhances all the other flavors, making the chocolate taste even richer.
Let’s Bake These Together: Step-by-Step Guide
Follow these detailed steps to create your perfect batch of oat flour chocolate chip cookies. Below are step-by-step photos and expanded instructions. For precise ingredient measurements, please refer to the complete recipe card at the bottom of this article.
1. Prepare Your Homemade Oat Flour
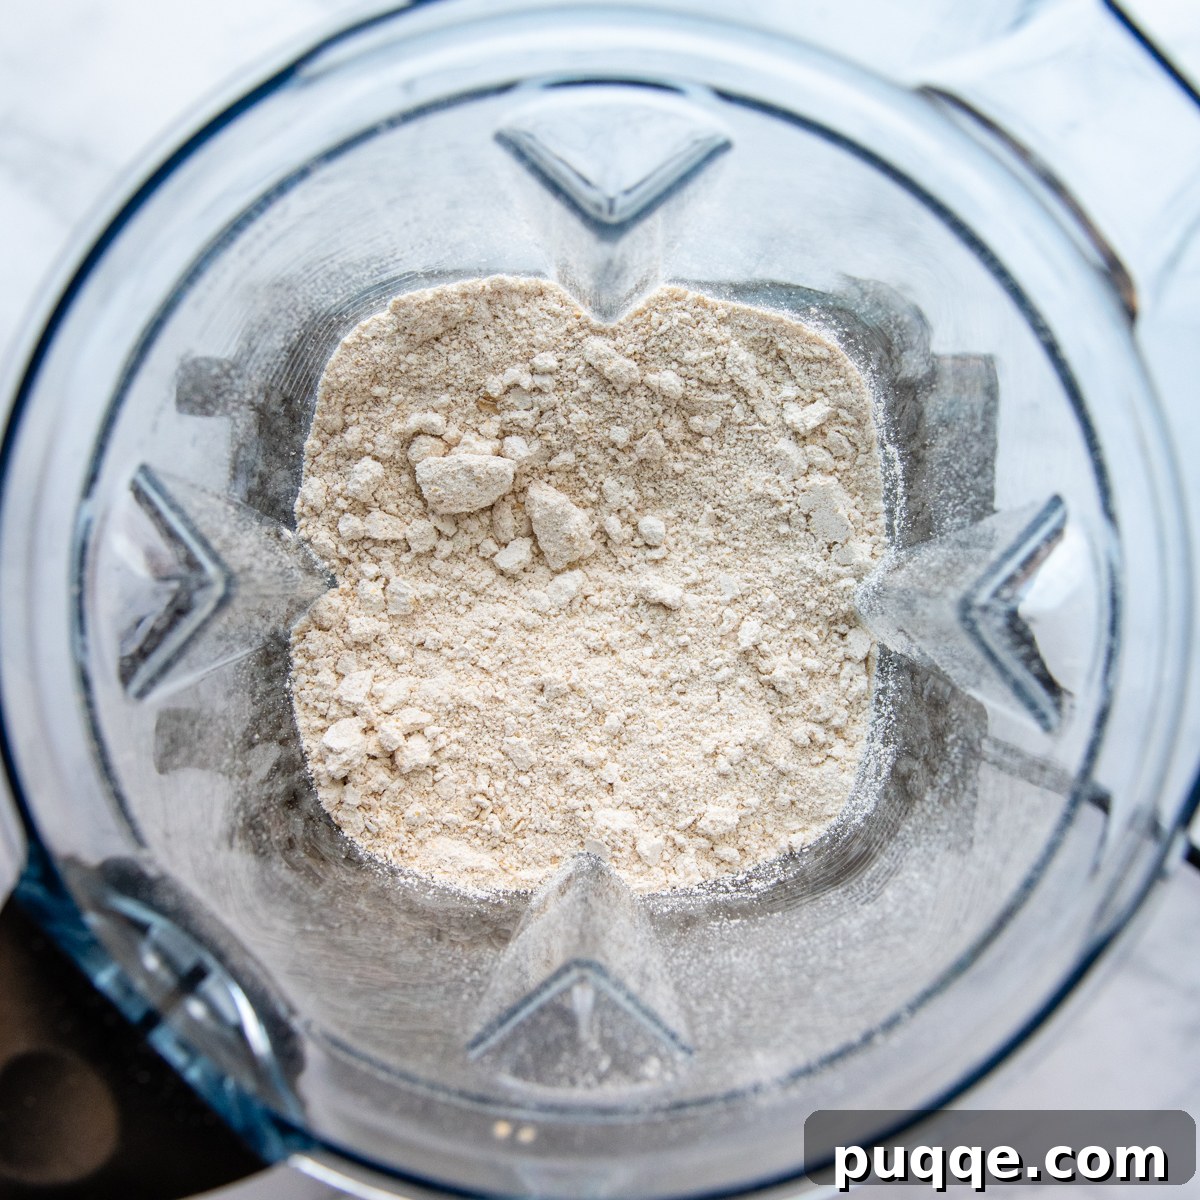
The first step is to transform your oats into a fine flour. For the best results and a super fine powder, I highly recommend using a powerful blender, such as a Vitamix. While other blenders or a food processor can certainly be used, a less powerful appliance might result in a slightly more rustic texture for your cookies. Simply pour the specified amount of rolled or quick oats into your blender and process until it forms a very fine, powdery flour – this usually takes about a minute. While store-bought oat flour is an option, making your own is incredibly easy and ensures maximum freshness. Once blended, set your homemade oat flour aside.
2. Cream the Butter and Sugars
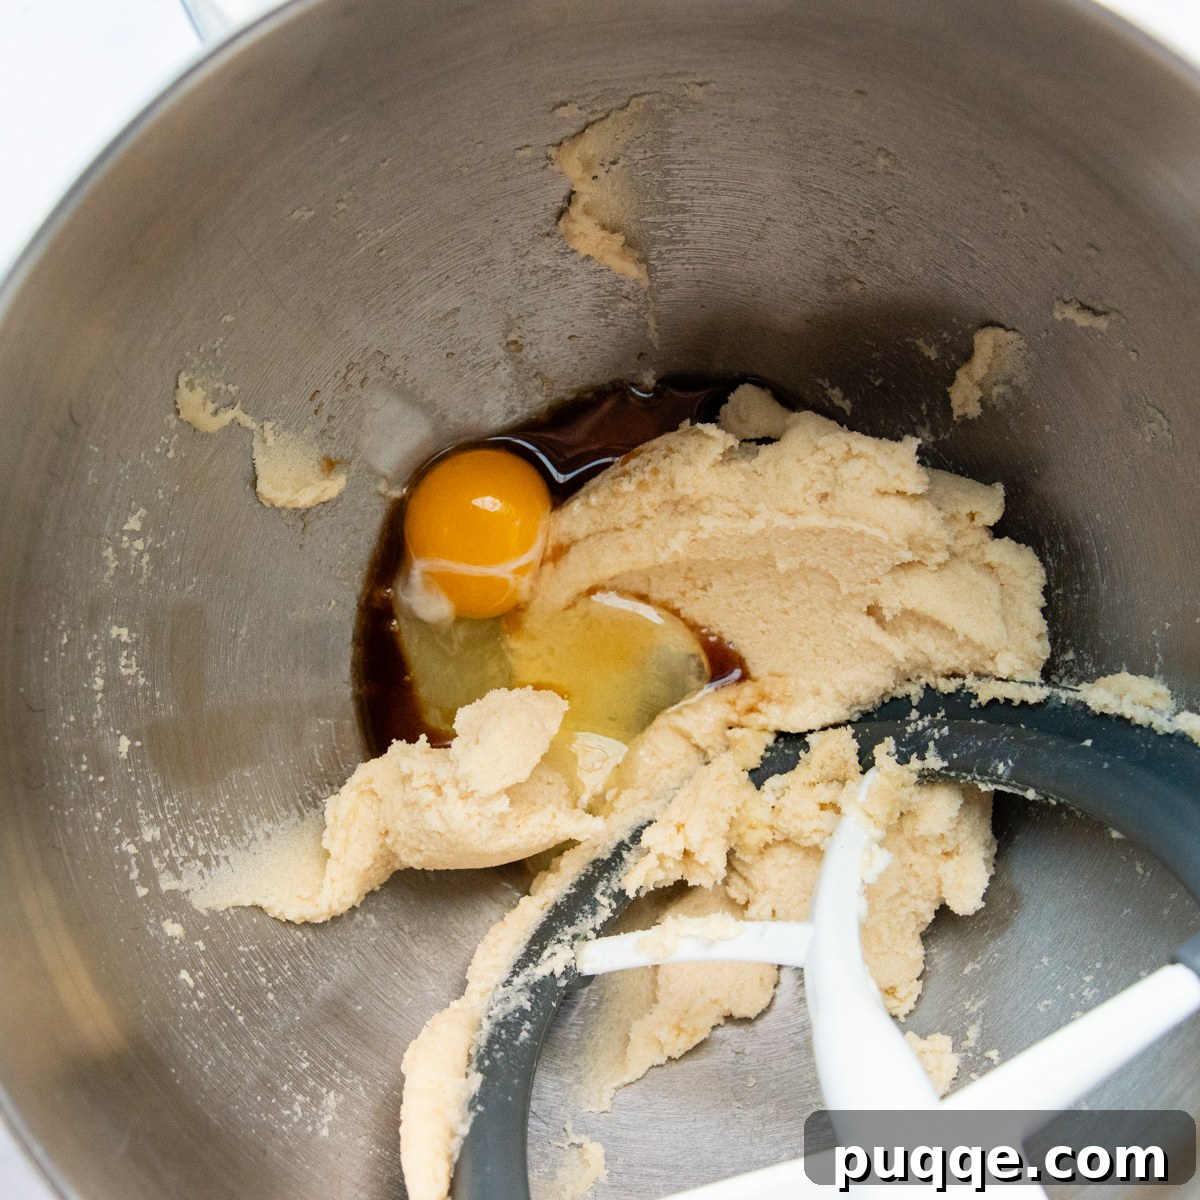
In a large mixing bowl, or the bowl of a stand mixer fitted with the paddle attachment, combine the softened unsalted butter, light brown sugar, and granulated sugar. Beat these ingredients together on medium-high speed until the mixture becomes very light, pale, and fluffy. This process typically takes about 2-3 minutes and is crucial for incorporating air, which contributes to the cookies’ final texture. Next, add the large egg and vanilla extract, mixing again until everything is well combined and smooth. Scrape down the sides of the bowl as needed to ensure all ingredients are thoroughly incorporated.
3. Combine Dry Ingredients & Chocolate Chips
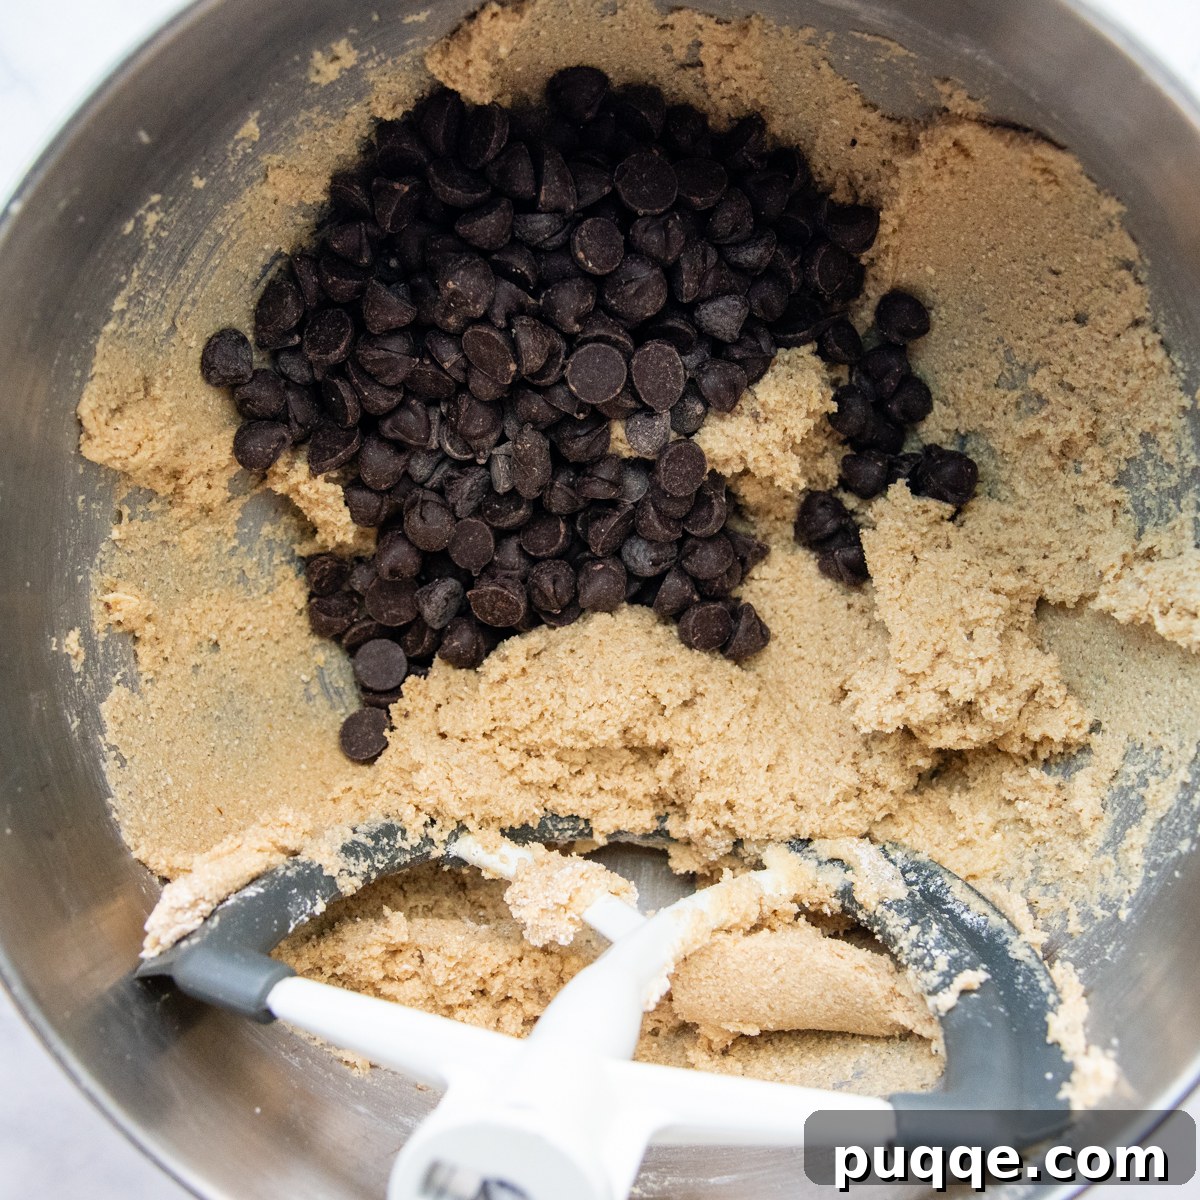
Reduce your mixer speed to low. Gradually add the dry ingredients to the creamed mixture: your freshly ground oat flour, baking soda, and salt. Mix until they are just combined, being careful not to overmix, which can lead to tough cookies. Finally, stir in the chocolate chips by hand until they are evenly distributed throughout the dough. For an extra delightful experience, I love using a mixture of semi-sweet and mini chocolate chips – this creates a wonderful variation in chocolate texture and ensures a gooey chocolate burst in every bite!
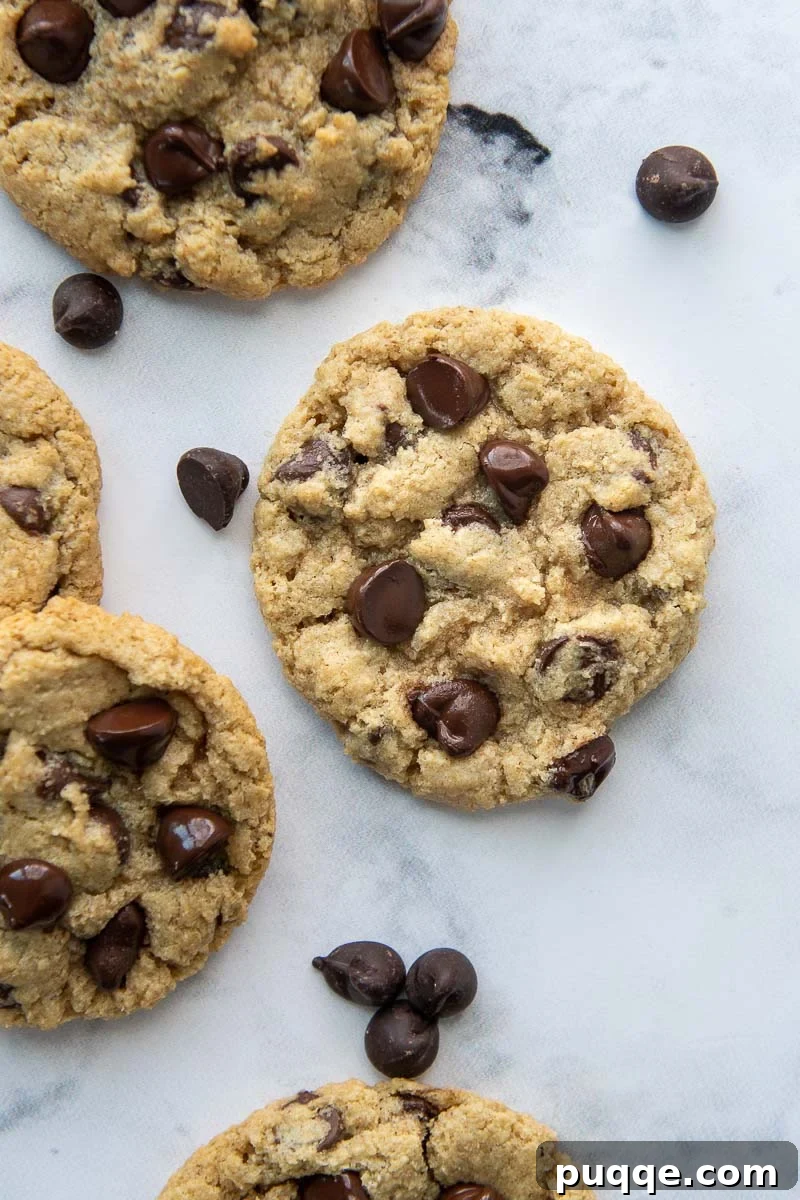
Once your dough is ready, preheat your oven to 350°F (175°C). Use a medium cookie scoop (my preferred method for consistent portioning!) to drop rounded spoonfuls of dough onto ungreased or parchment-lined baking sheets, spacing them about 2 inches apart. Bake for 9-11 minutes, rotating the baking sheets halfway through the baking time to ensure even browning. The cookies should be golden at the edges but still appear soft in the center. Allow them to cool on the baking sheets for about 5 minutes before carefully transferring them to a wire rack to cool completely. This resting period helps them set and prevents them from breaking.
Do I Need to Chill the Cookie Dough?
During the development of this recipe, I conducted tests both with and without chilling the cookie dough before baking. The good news is that there was no noticeable difference in terms of cookie spread, overall taste, or final texture between the chilled and unchilled batches. This means you can save yourself an extra step and some valuable time by skipping the chilling process if you’re in a hurry to enjoy warm, fresh cookies!
However, if you prefer to prepare your dough in advance or don’t wish to bake all the cookies at once, you certainly have the option to chill the dough. The cookie dough can be refrigerated for up to 24 hours before baking. This flexibility makes the recipe perfect for meal prepping or when entertaining, allowing you to have fresh cookies whenever the craving strikes.
Bonus Tips, Tricks, and Important Notes for Perfect Cookies
- Preventing Excessive Spreading: If you find your cookies spreading too much during baking, it’s often an indication that your butter might have been too soft or warm when you started. To remedy this, simply chill your cookie dough for 20-30 minutes before scooping and baking. A slightly firmer dough helps prevent over-spreading.
- Accurate Oat Flour Measurement: The amount of oat flour is crucial for the correct texture and spread. Too little or too much can alter the outcome. This recipe calls for 240 grams or 2⅔ cups of measured oat flour. Using a kitchen scale for grams is the most accurate method, especially with homemade flour.
- Finely Ground Oat Flour is Key: For cookies that maintain a nice, flatter shape similar to traditional chocolate chip cookies, ensure your homemade oat flour is very fine and powdery, almost like conventional flour. If the oats are not ground finely enough, your cookies will still taste delicious, but they might end up being more rounded and cake-like rather than the desired soft and chewy texture.
- Using Store-Bought Oat Flour: If you prefer the convenience of store-bought oat flour, absolutely go for it! You will need precisely 2⅔ cups of pre-made oat flour for this recipe. Just make sure it’s certified gluten-free if that’s a dietary requirement for you.
- Storage and Freezing Instructions: These cookies are best enjoyed within a day or two of baking, when they are at their freshest. Store any cooled leftover cookies in an airtight container at room temperature to maintain their softness. For longer storage, you can freeze cooled cookies for up to 3 months. To freeze, arrange them in a single layer on a baking sheet until solid, then transfer to a freezer-safe bag or container.
- Freezing Cookie Dough: You can also prepare the cookie dough in advance and freeze it! Portion out the cookie dough using your scoop onto a baking sheet, then freeze until the individual dough balls are firm. Once firm, transfer them to an airtight container or a freezer bag. This frozen cookie dough can be stored for up to 3 months.
- Baking from Frozen Dough: When you’re ready to bake, simply place the frozen cookie dough balls directly onto ungreased or parchment-lined baking sheets. You may need to add an extra 1-2 minutes to the standard baking time to ensure they are cooked through and golden brown.
- Recipe Adaptations: This recipe has been carefully adapted from Kitchen Bellecious, known for their delightful baking creations.
Don’t Forget to Pin This Recipe for Later!
Let’s connect on Pinterest! I’m always sharing amazing recipes and baking inspiration.
Have you made this incredible recipe? I absolutely love hearing from you! Please take a moment to leave a star rating and comment below the recipe card. Your feedback is invaluable, helping others discover and enjoy these recipes, and I always make sure to respond to every comment! -Melissa

Rating: ★★★★☆ (4.33 stars based on 95 ratings)
Soft Batch Chocolate Chip Oat Flour Cookies

Melissa Erdelac
It will be love (and astonishment!) at first bite with this easy peasy oat flour cookies recipe. Just like a classic chocolate chip cookie, they are soft, chewy, and gooey. Better yet, they are flourless, naturally gluten-free, and made with oatmeal blended quickly into flour for an easy, affordable cookie that tastes just like the ones mom made!
Pin Recipe
Rate This Recipe
Remove Ads
A video demonstrating how to make these delicious Oat Flour Cookies is available here.
Ingredients
- 2 ½ cups quick or rolled oats (certified GF), see recipe notes for using ready-made oat flour
- 8 tablespoons unsalted butter, softened
- ½ cup packed light brown sugar
- ½ cup sugar
- 1 large egg
- 1 teaspoon vanilla extract
- ¾ teaspoon baking soda
- ½ teaspoon salt
- 1 ¼ cups semisweet chocolate chips
Equipment
- High-Powered Blender (e.g., Vitamix)
- Medium Cookie Scoop
- Stand Mixer or large mixing bowl with hand mixer
- Baking Sheets
- Wire Cooling Rack
Instructions
- Preheat your oven to 350°F (175°C). If you don’t have ready-made oat flour, begin by making your own. Place 2 ½ cups of old-fashioned or quick-cooking oats into a food processor or a high-powered blender. Process the oats until they transform into a very fine, powdery flour, which usually takes about 1 minute. Set the freshly made oat flour aside.
- In a large mixing bowl or the bowl of a stand mixer fitted with the paddle attachment, cream together the softened unsalted butter, light brown sugar, and granulated sugar. Beat on medium-high speed for approximately 2-3 minutes, until the mixture is visibly light and fluffy. Then, add the large egg and vanilla extract, mixing until they are fully incorporated and the mixture is smooth.
- Reduce the mixer speed to low. Gradually add the prepared oat flour, baking soda, and salt to the wet ingredients. Mix until all the dry ingredients are just combined and no streaks of flour remain. Be careful not to overmix the dough. Finally, add the semisweet chocolate chips and gently stir them in until they are evenly distributed throughout the cookie dough.
- Using a medium cookie scoop, drop rounded spoonfuls of cookie dough onto ungreased or parchment-lined baking sheets, ensuring they are spaced about 2 inches apart. Bake for 9-11 minutes. For even baking, rotate the pans halfway through the baking time. The cookies are done when their edges are lightly golden and the centers still look slightly soft. Allow the cookies to cool on the baking sheets for 5 minutes before carefully transferring them to a wire rack to cool completely.
Notes
Substituting Store-Bought Oat Flour: If you opt to use commercially prepared oat flour instead of grinding your own, you will need precisely 2⅔ cups (240 grams) for this recipe.
Addressing Spreading Issues: If your cookies spread more than desired, the butter might have been too soft or warm at the start. Chilling the dough before scooping and baking can help. Additionally, incorrect measurement of oat flour can cause spreading; ensure you use 240 grams or 2⅔ cups of flour. Also, very fine oat flour is crucial for cookie shape; coarsely ground oats can lead to rounder, less flat cookies.
Storing & Freezing: These cookies are best enjoyed fresh, ideally within 1-2 days of baking. Store cooled cookies in an airtight container at room temperature. For longer preservation, freeze cooled cookies in an airtight container for up to 3 months. You can also portion out dough balls and freeze them; bake from frozen, adding 1-2 minutes to the baking time.
Nutrition Information (per cookie, approximate)
Calories: 149kcal, Carbohydrates: 21g, Protein: 2g, Fat: 6g, Saturated Fat: 4g, Cholesterol: 16mg, Sodium: 114mg, Potassium: 49mg, Fiber: 1g, Sugar: 13g, Vitamin A: 131IU, Vitamin C: 1mg, Calcium: 21mg, Iron: 1mg
★ Did you make this recipe? Please leave a star rating and a review below. Your feedback helps others discover delicious recipes, and I truly appreciate hearing from our community!