
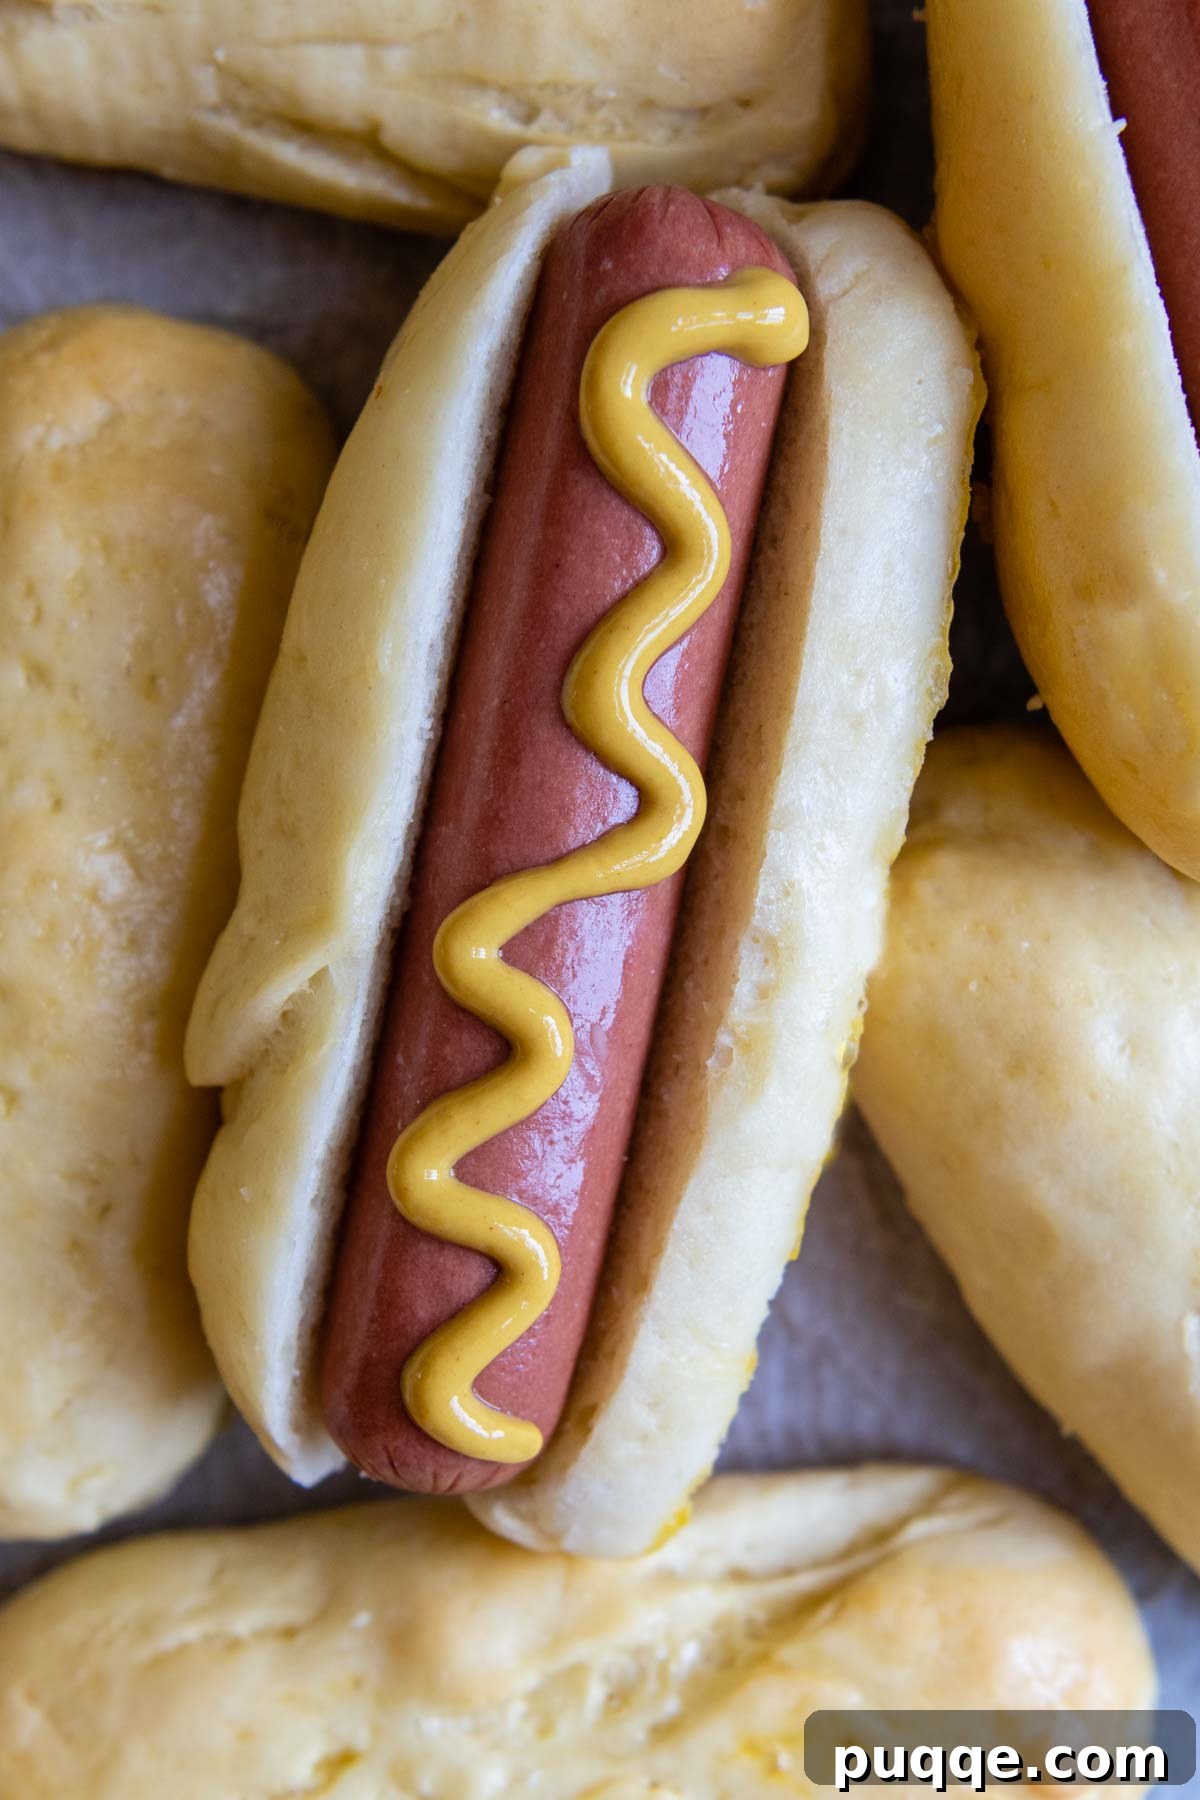
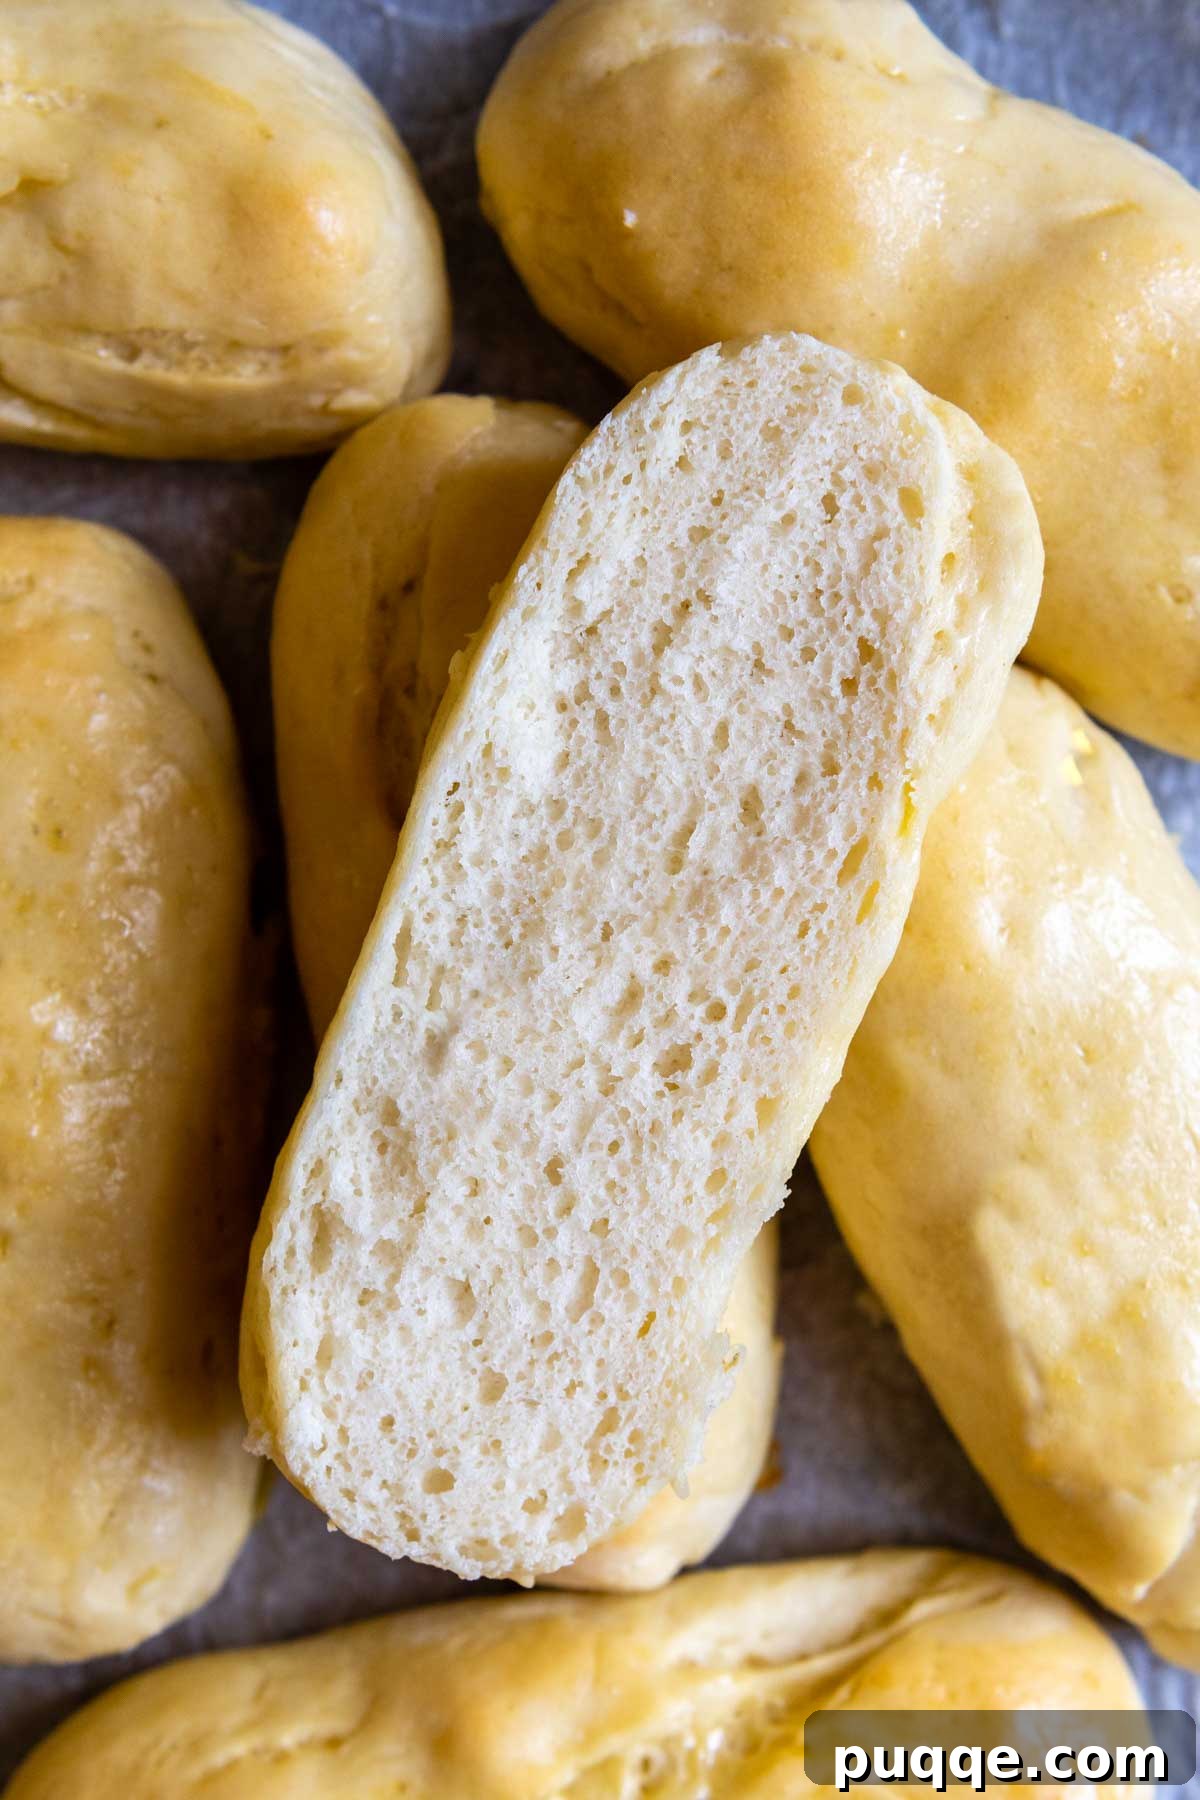
Craving the classic taste of hot dogs, but need a gluten-free bun that actually delivers on flavor and texture? Look no further! This effortless recipe for ultra-soft, fluffy gluten-free hot dog buns will transport you back to carefree summertime cookouts. These squishy, slightly sweet buns don’t just mimic traditional rolls; they surpass expectations, offering a delightful chewiness and tender crumb that’s hard to believe is gluten-free. Best of all, you can whip up a batch from start to finish in under an hour, making homemade gluten-free hot dog buns a convenient reality. A dairy-free option is also included, ensuring everyone can enjoy this classic treat.
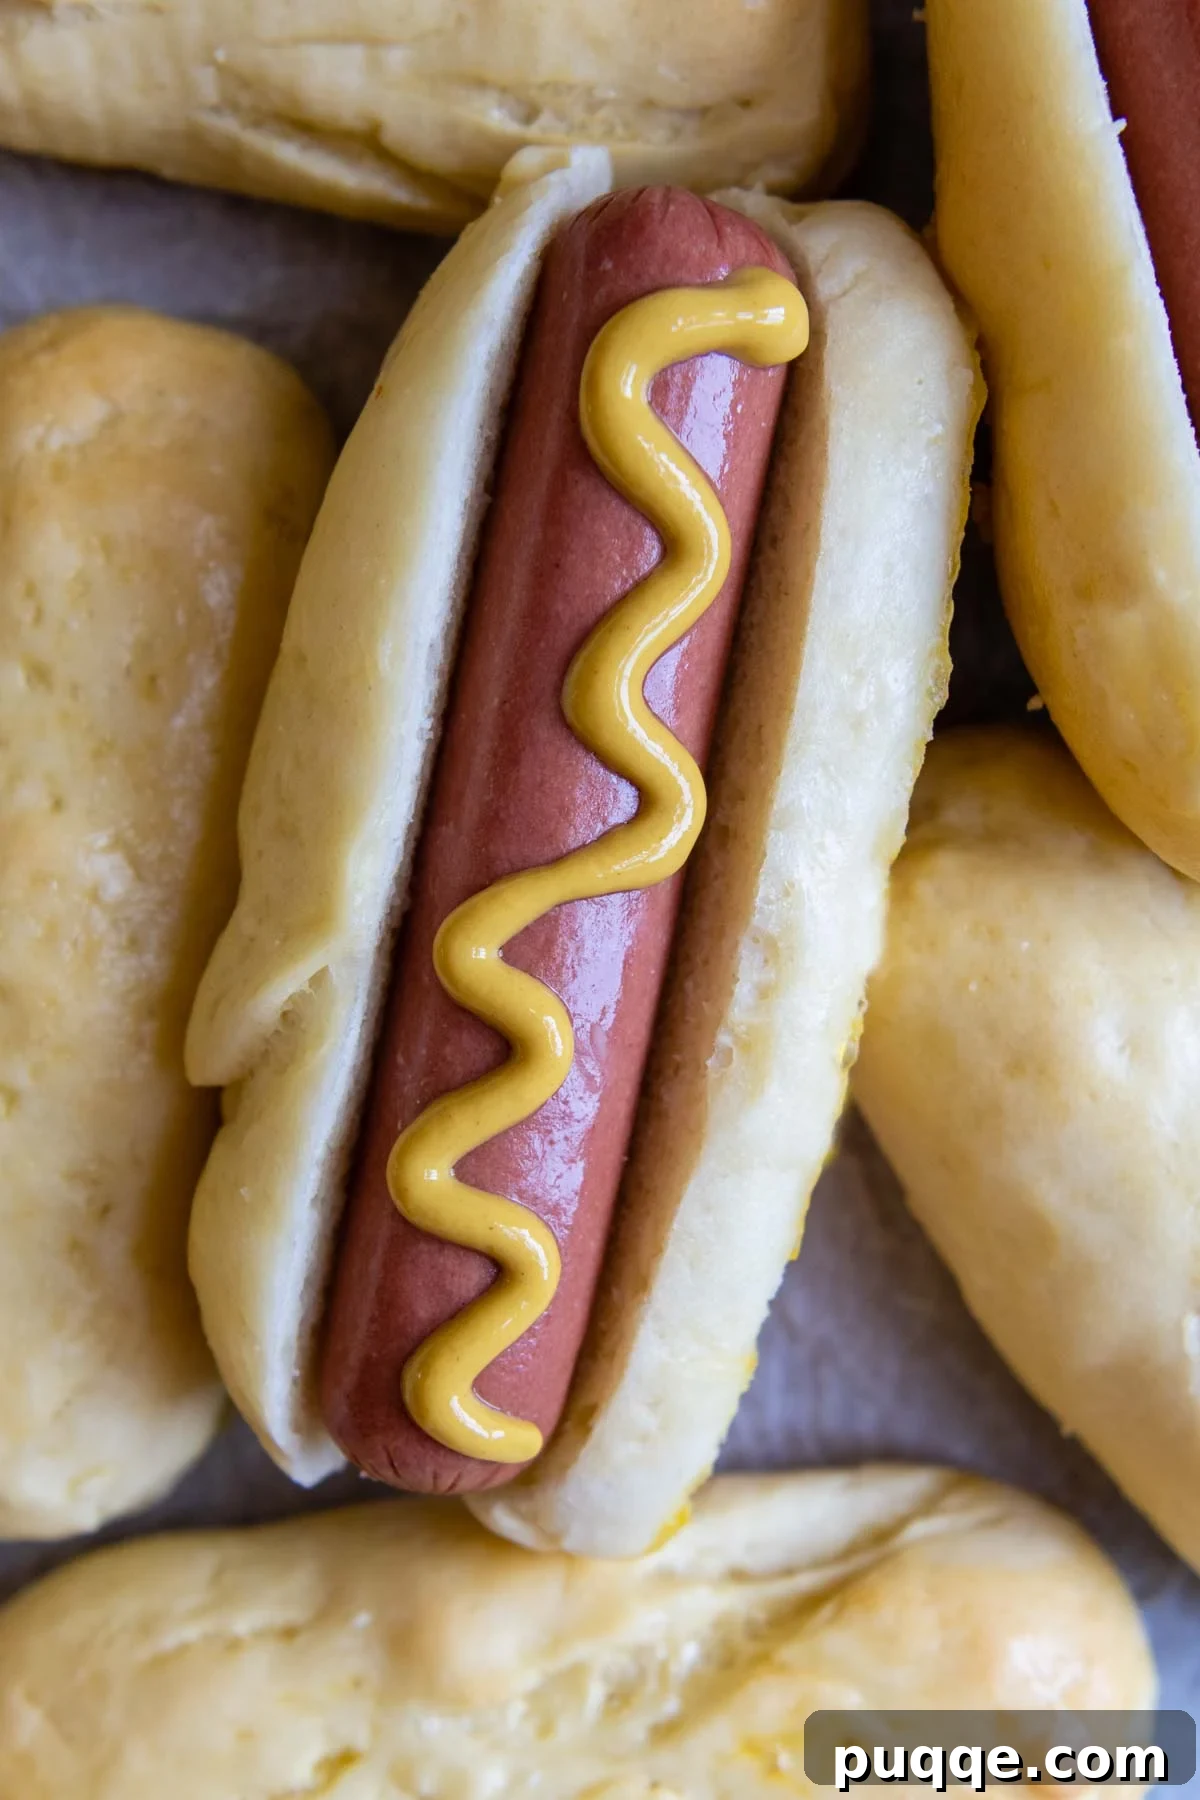
Homemade Gluten-Free Hot Dog Buns: Reclaiming Summertime Favorites
For too long, those on a gluten-free diet have had to miss out on the simple pleasure of a perfectly grilled hot dog cradled in a soft, yielding bun. Or, perhaps, you’ve settled for dry, crumbly alternatives that simply don’t do justice to your favorite frankfurter. But those days are over! With this incredibly easy, no-fuss recipe, you can enjoy all the joy of a summertime classic without compromise. Preparing gluten-free bread might seem daunting, especially for a beginner, but I promise this recipe is surprisingly straightforward and yields consistently delicious results.
My journey to perfect gluten-free baking has led to many acclaimed bread and bun recipes. After perfecting a truly delightful from-scratch gluten-free burger buns recipe that proved homemade GF buns could be both achievable and exceptional, I knew hot dog buns were the next frontier. The same foundational techniques and carefully selected ingredients that transformed countless dinner tables are now adapted to create these outstanding hot dog rolls – quite possibly the best you’ve ever tasted!
Throughout this guide, I’ll share invaluable baking tips and tricks. You’ll learn the secrets to shaping and structuring gluten-free hot dog buns to ensure they remain moist and tender, never dry. We’ll cover the optimal gluten-free all-purpose flour blend to use, identify the “secret ingredients” that lend elasticity and an irresistible softness to the dough, and reveal many more of my tried-and-true techniques for gluten-free baking success. Get ready to transform your barbecue experience with these unbelievably good, homemade hot dog buns.
Essential Ingredients for Your Gluten-Free Hot Dog Buns
While the ingredient list for these gluten-free hot dog buns is quite accessible, a few specific components play crucial roles in achieving their remarkable texture and flavor. Below, I’ll explain the significance of these ingredients and offer workable substitutions where applicable, empowering you to bake with confidence.
- Gluten-Free Flour Blend: The choice of flour is paramount in gluten-free baking. For all my gluten-free bread recipes, I wholeheartedly recommend Cup4Cup. This particular blend stands out because it remarkably mimics the taste and texture of traditional wheat flour recipes, providing a consistent and reliable base for soft, pliable dough. While other all-purpose GF blends may work, results can vary significantly in terms of rise and texture.
- Potato Starch (Not Flour): This is one of the “secret ingredients” responsible for making these hot dog rolls as incredibly soft and tender as old-fashioned potato buns. Instead of relying solely on additional flour for dough structure, incorporating potato starch provides a delicate starchiness that contributes to a superior crumb. This technique also yields fantastic results in recipes like homemade gluten-free calzone dough! For the best possible texture, stick with potato starch. However, if absolutely necessary, tapioca starch or a small amount of additional gluten-free flour can be substituted, though the final softness may differ.
- Psyllium Husk Powder: An absolutely essential binding agent in many gluten-free doughs, especially those that require shaping. Psyllium husk powder is critical for mimicking the elasticity and structural integrity typically provided by gluten in wheat-based baked goods. It helps the dough come together, allowing it to be kneaded and shaped without falling apart. A crucial note: darker colored psyllium can impart a purple-ish hue to your baked goods. To maintain an appealing appearance, I highly recommend using a very light-colored psyllium husk powder.
- Baking Powder and Yeast: For optimal rise and a light, airy texture in gluten-free breads, I employ a two-fold leavening method. The active dry yeast initiates the primary rise as the dough mixes and rests, while baking powder provides an additional boost during the baking process. This combination ensures a reliable and generous lift. If you opt for instant yeast, you can simply mix it directly with the dry ingredients without prior activation in water.
- Butter: Beyond adding a rich, delicious flavor, butter plays a vital role in coating the starches in the dough with fat. This prevents any potential grittiness often associated with gluten-free baked goods, resulting in a smooth and palatable mouthfeel. For those needing a dairy-free option, simply substitute a high-quality plant-based or vegan butter alternative, ensuring it’s in stick form for best consistency.
Let’s Bake These Buns Together!
Making these gluten-free hot dog buns is a rewarding experience, and following these steps will guide you to perfection. The process is designed to be straightforward, even for those new to gluten-free baking. (Below, you’ll find detailed step-by-step photos and expanded instructions. For the complete recipe, including precise ingredient measurements, please scroll down to the dedicated recipe card.)
Activate the Yeast and Prepare Your Dough
Begin by combining the yeast and a small amount of sugar with warm water. Achieving the correct water temperature (around 105-115°F or 40-46°C) is crucial for yeast activation; an instant-read thermometer can be very helpful here. Allow this mixture to sit for about 5 minutes until it becomes foamy, indicating the yeast is active. Then, whisk in the slightly cooled melted butter and eggs.
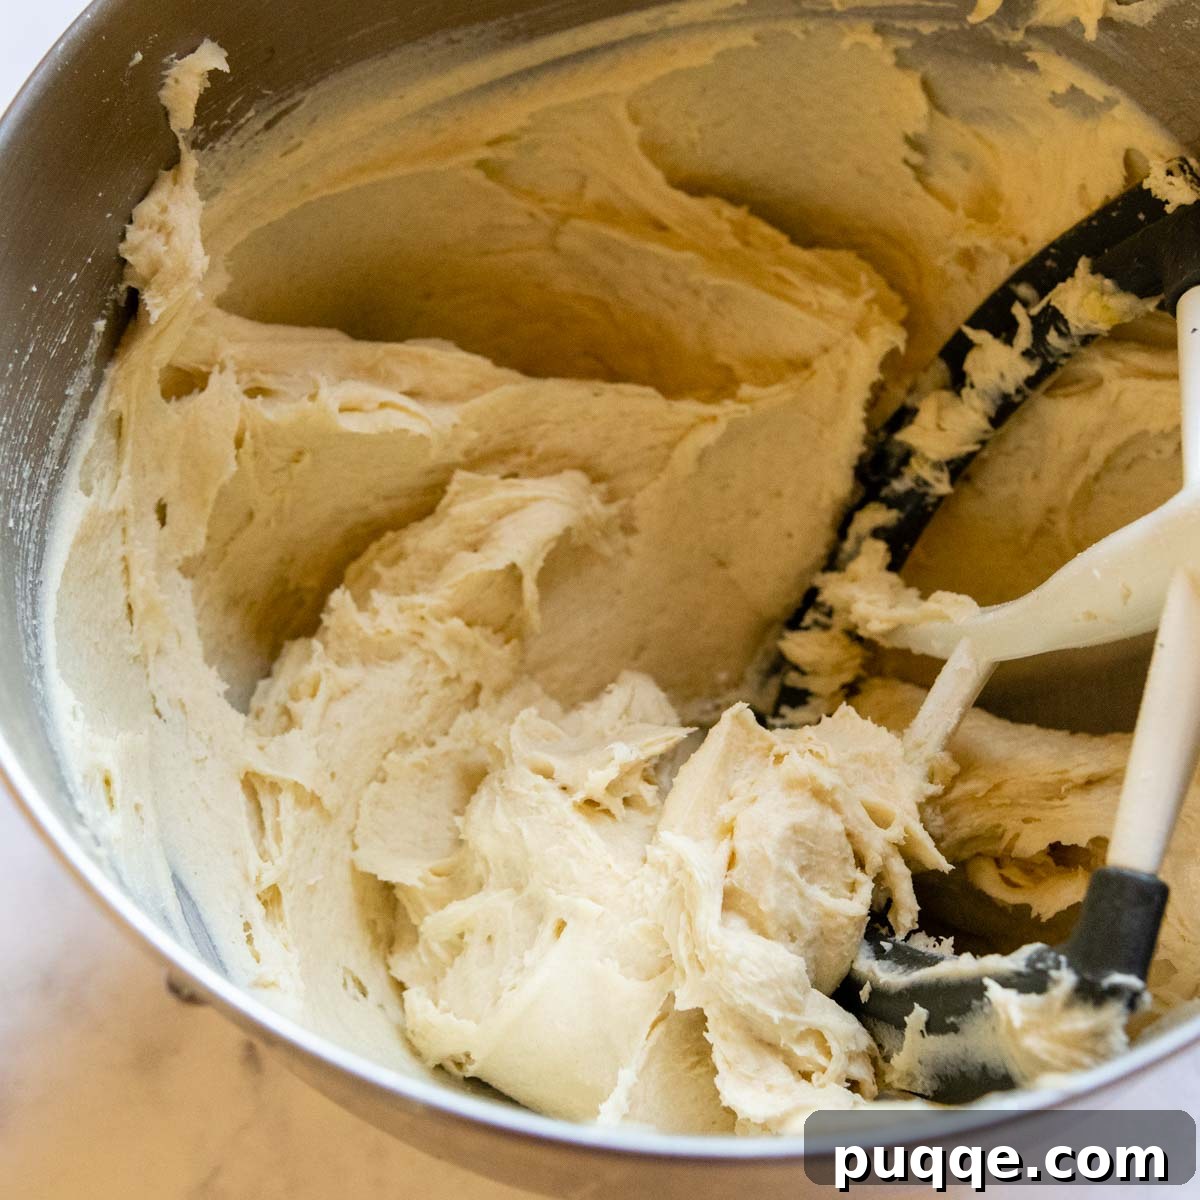
While the yeast is blooming, in the bowl of a stand mixer fitted with a paddle attachment, combine all your dry ingredients. Gradually add the wet yeast mixture to the dry ingredients, mixing on low speed until everything is just incorporated. Once the dough begins to come together, increase the mixer speed to medium and beat for a full 6 minutes. This vigorous mixing helps develop the structure in gluten-free dough. The resulting dough will be fairly stiff but retain a noticeable stickiness—this is exactly the consistency we want to achieve for ultimate softness.
Portioning and Initial Shaping
Many gluten-free hot dog bun recipes recommend adding excessive amounts of flour to make the dough easier to handle. However, this often leads to a major drawback: dry, crumbly buns after baking. Our method intentionally uses less flour, meaning the dough will be slightly sticky. Don’t worry, the shaping technique we’ll employ ensures it’s still very manageable to work with!
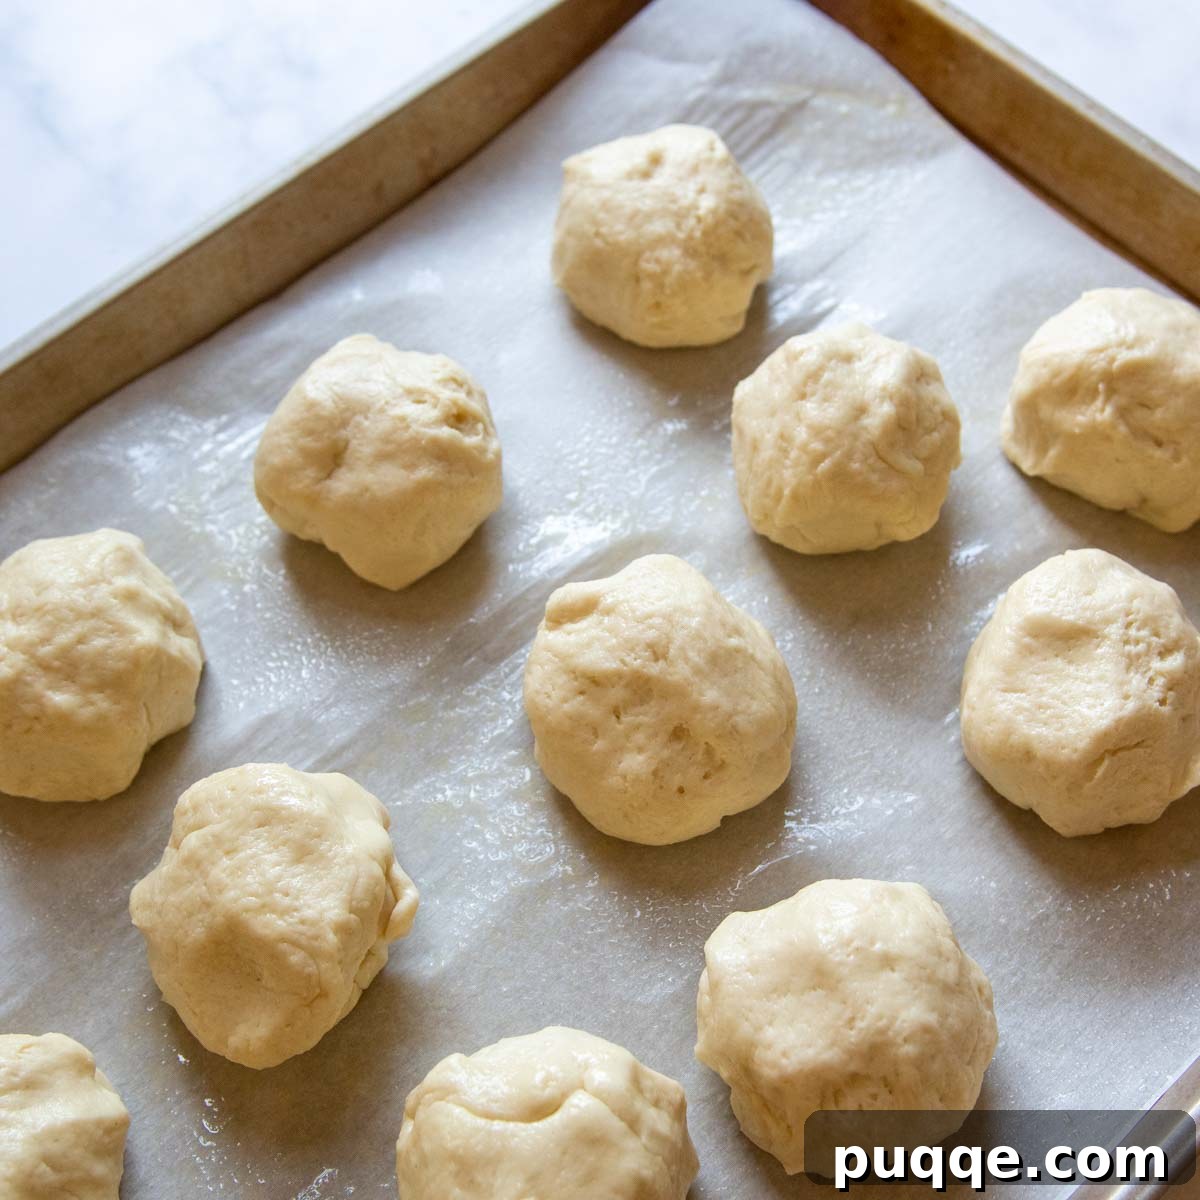
First, divide your dough into uniform portions. For standard-sized hot dog buns, aim for approximately 3-ounce portions. A simple trick for easy portioning is to spray a ⅓ measuring cup with cooking spray before scooping. Alternatively, for precise measurements, use a food scale with a piece of greased plastic wrap placed on top to prevent sticking. Once portioned, lightly oil your hands with cooking spray before rolling each piece into a tight, smooth ball. You should end up with 12-13 perfectly sized dough balls.
Transforming Dough Balls into Classic Hot Dog Bun Shapes
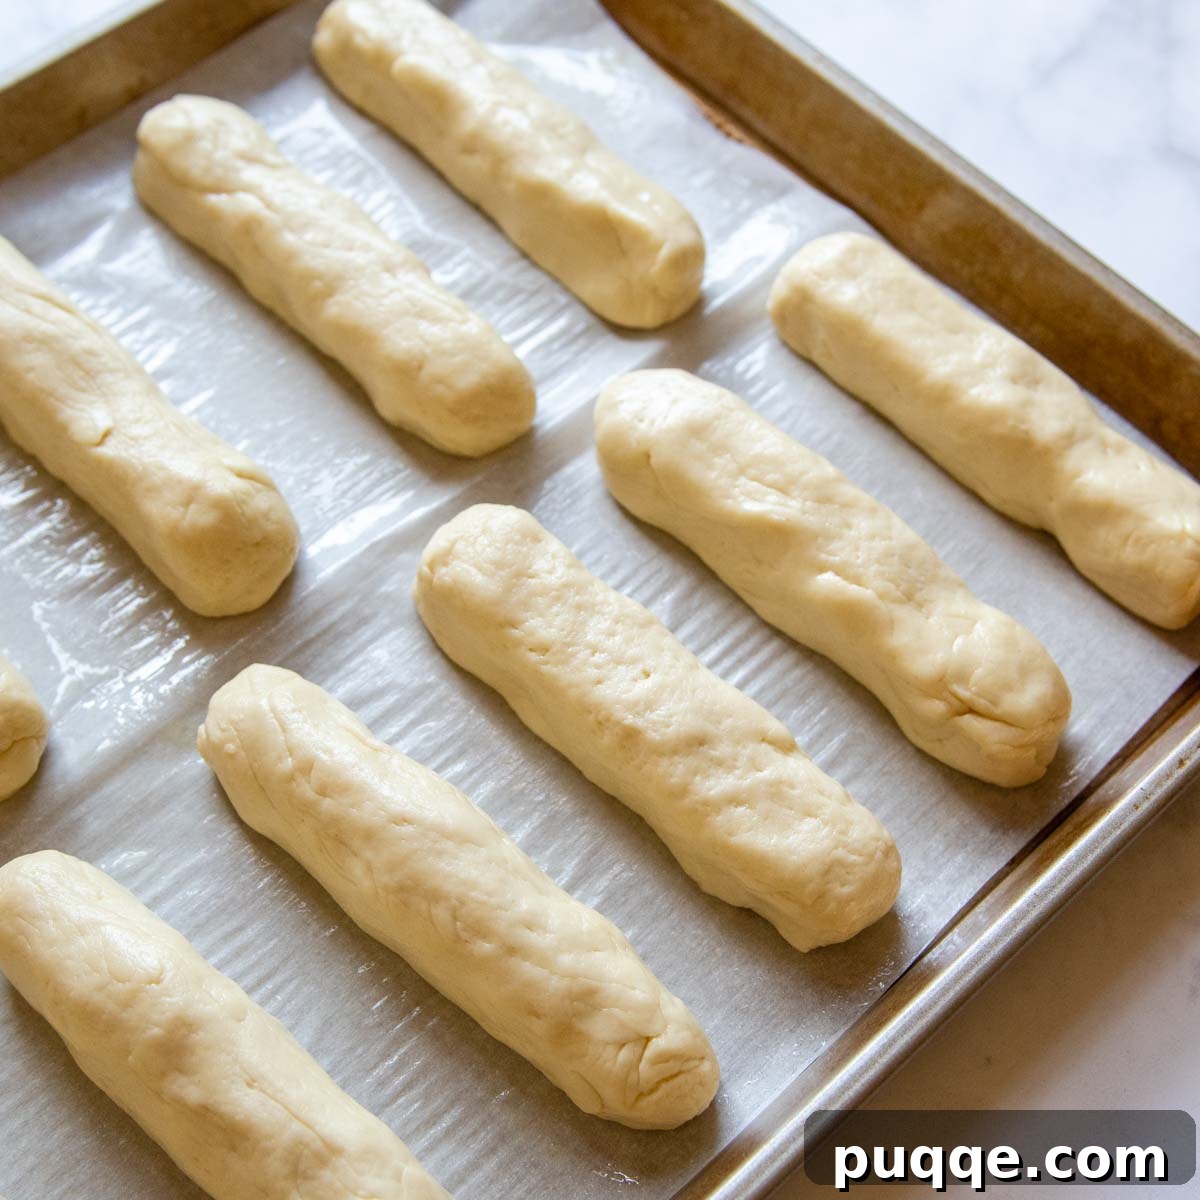
Now, it’s time to give our dough balls their characteristic hot dog bun shape. Take one of the dough balls and, with lightly oiled hands, gently roll it into a 5-inch log. Focus on making the surface of the dough as smooth as possible. A smoother log will result in a more attractive bun that is less prone to cracking during baking. While minor cracks won’t affect the taste or softness, a smooth finish simply enhances their visual appeal.
Arrange the shaped buns on your prepared baking sheet in two neat rows, leaving about 1.5 to 2 inches of space between each bun to allow for expansion. Lightly cover the baking sheet with a greased piece of plastic wrap. This prevents the dough from drying out and sticking. Place the covered buns into your previously warmed (and now turned off) oven for 10 minutes. This provides a warm, draft-free environment for the initial rise. After 10 minutes, remove the pan from the oven and let the buns continue to proof at room temperature for another 20 minutes while your oven preheats for baking.
The Final Touch: Brush and Bake for Golden Perfection
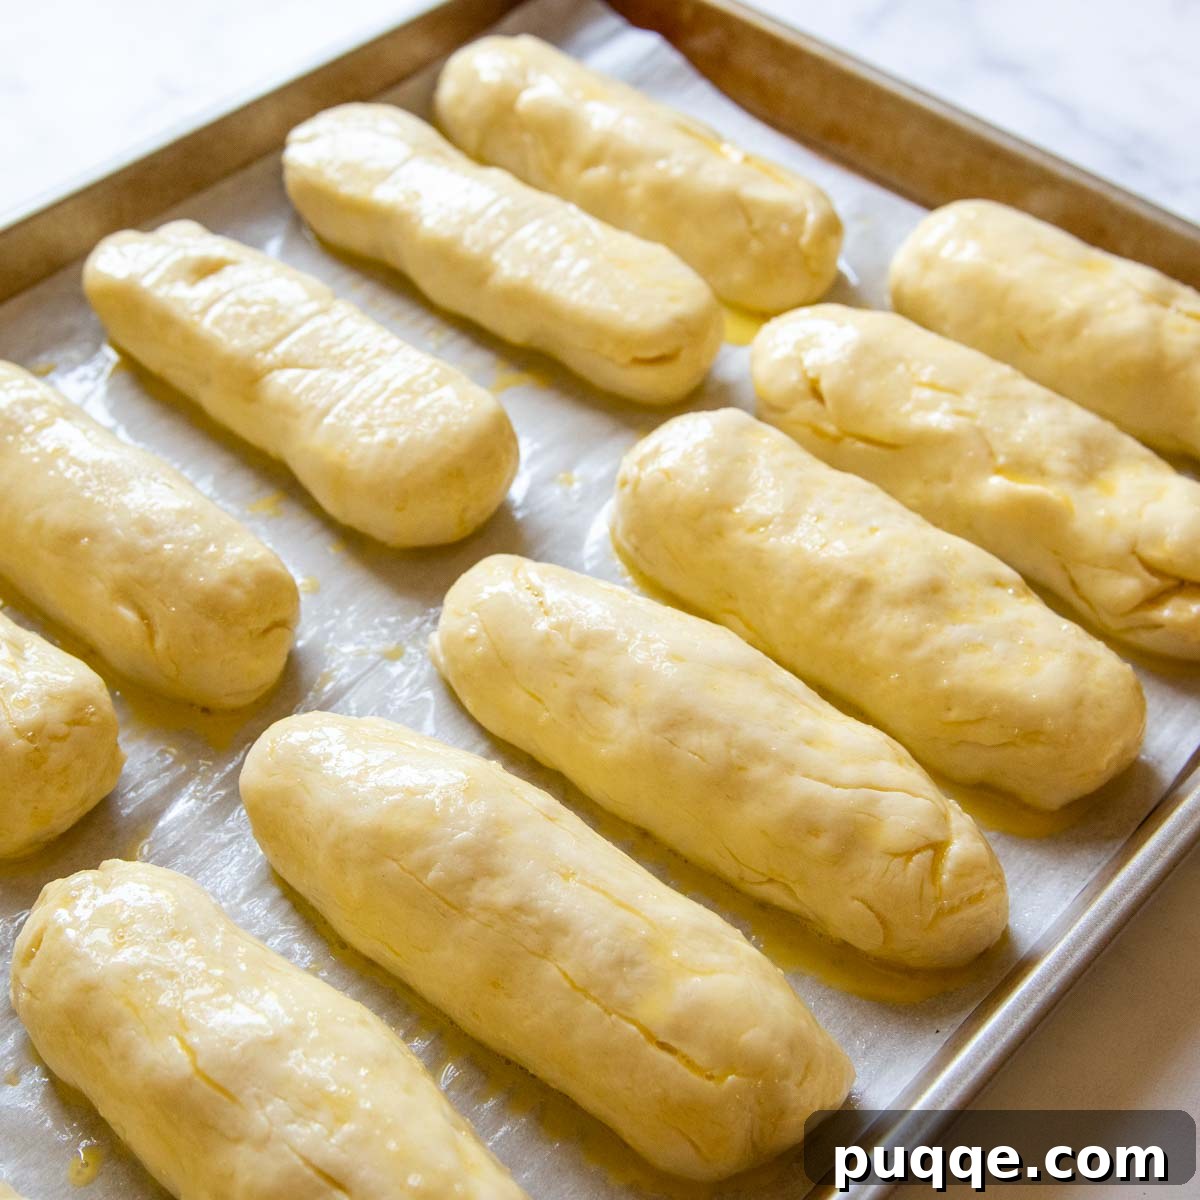
Before baking, create a simple egg wash by whisking one egg with one tablespoon of water. Gently brush this mixture over the tops and sides of each risen bun. The egg wash serves a dual purpose: it gives the buns a beautiful, glossy, golden-brown exterior and helps any sprinkled toppings adhere. If desired, now is the time to sprinkle sesame seeds or poppy seeds over the buns for extra flavor and visual appeal.
Place the baking sheet in the preheated 375°F (190°C) oven. Bake for 16-18 minutes, rotating the pan halfway through to ensure even browning. The buns are ready when their bottoms are golden brown and their internal temperature reaches 190°F (88°C) when checked with an instant-read thermometer. For an extra touch of richness and shine, you can brush the freshly baked, hot buns with a little melted butter immediately after they come out of the oven. Allow them to cool completely before serving or storing to ensure the best texture and prevent them from becoming gummy.
Serving Your Delicious Gluten-Free Hot Dog Buns
For the absolute best texture and enjoyment, I highly recommend serving these homemade gluten-free hot dog buns on the same day they are baked. Their fresh, soft quality is truly unmatched. However, life happens, and sometimes you need to plan ahead. Be sure to check the “Storing and Freezing” notes in the recipe card below for detailed instructions on how to prepare these buns in advance and ensure they remain delicious for later enjoyment.
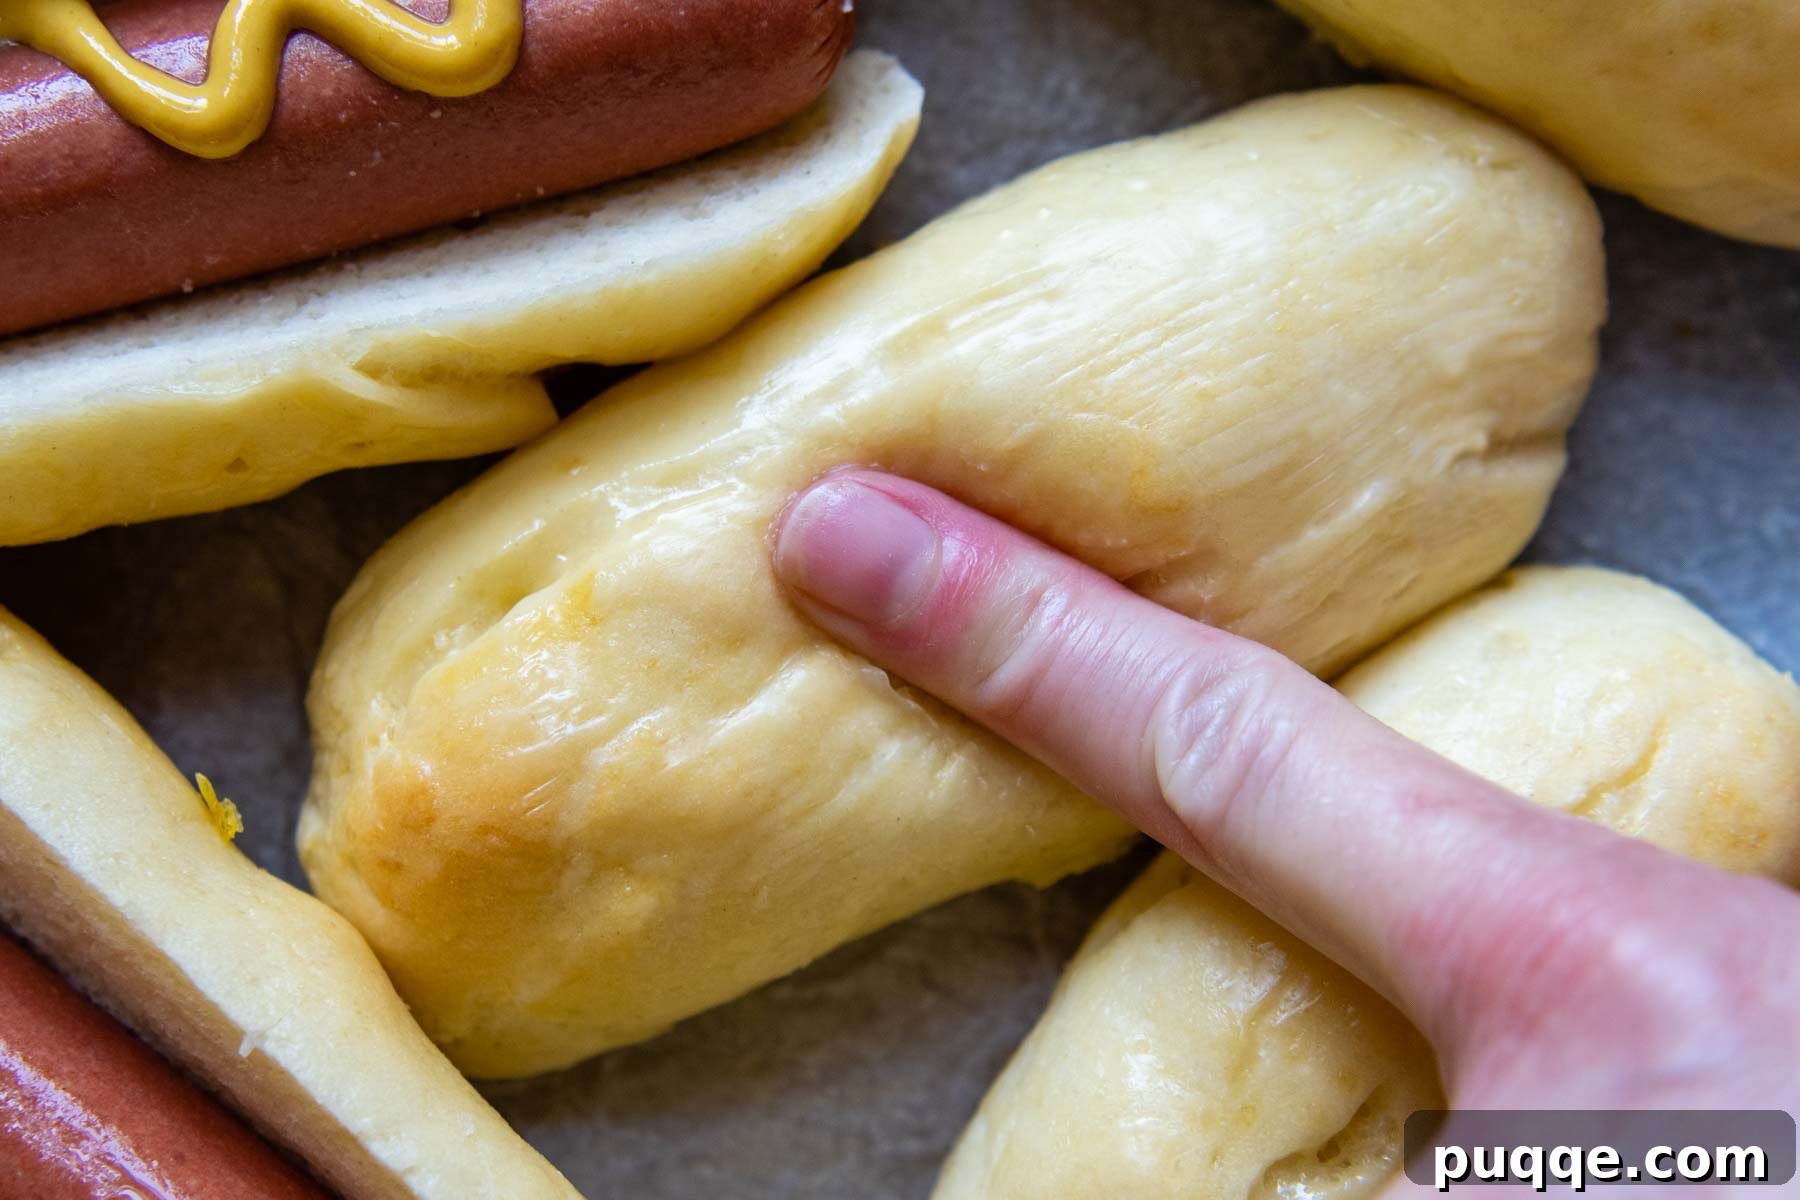
Beyond their incredible texture, these buns are a versatile canvas for your favorite hot dog creations. Before baking and after brushing with the egg wash, consider sprinkling on classic poppy or sesame seeds for an authentic bakery-style finish and an added layer of flavor. Of course, they pair perfectly with traditional hot dog toppings like ketchup, mustard, relish, and finely diced onions. But don’t limit yourself! Get creative with gourmet options like creamy pimento cheese, tangy sauerkraut, vibrant pickled red onions, or even a hearty chili cheese topping for a truly memorable meal. These buns are robust enough to hold up to even the most generous toppings.
Pin This Recipe for Later!
Let’s be friends on Pinterest! I’m always sharing amazing gluten-free recipes and baking tips.
Did you try this recipe? Your feedback is invaluable! Please leave a star rating and comment below the recipe card. Your reviews help others discover fantastic recipes, and I truly appreciate hearing from our community. I always personally respond to every comment! -Melissa
Recipe: Ultra-Soft Gluten-Free Hot Dog Buns
Yield: 13 buns | Prep Time: 30 mins | Cook Time: 15 mins | Total Time: 45 mins
Ingredients
- 1 ½ cup (360 g) warm water (110°F)
- 1 packet (2 ½ tsp, 9 g) active dry yeast
- 2 large eggs, room temperature
- ¼ cup (57 g) melted butter, cooled slightly (see notes for dairy-free option)
- 3 ¼ cup (473 g) gluten-free all-purpose flour (Cup4Cup brand recommended)
- ⅓ cup + 1 tsp (80 g) granulated sugar, divided
- ½ cup (88 g) potato starch
- 2 tablespoons (22 g) psyllium husk powder (learn more about psyllium husk)
- 2 teaspoons baking powder
- 1 teaspoon salt
- Egg wash: 1 egg mixed with 1 tbsp water
Equipment
- Stand Mixer with paddle attachment
- Cup4Cup Gluten-Free Flour (or preferred blend)
- Food Scale (optional, for precise dough portioning)
- Baking sheet
- Parchment paper
- Instant-read thermometer (optional, for water temperature)
Instructions
- Before beginning to mix the dough, preheat your oven to 200ºF (93°C). Once it reaches temperature, turn the oven off. This creates a warm environment for proofing. Line a baking sheet with greased parchment paper.
- In a small bowl, stir the yeast and 1 teaspoon of the granulated sugar into the warm water. Allow this mixture to sit undisturbed for 5 minutes, or until foamy. Then, add the room temperature eggs and slightly cooled melted butter to the yeast mixture and gently whisk to combine.
- While the yeast is activating, in the bowl of a stand mixer fitted with a paddle attachment, combine the dry ingredients: the gluten-free flour, the remaining granulated sugar, potato starch, psyllium husk powder, baking powder, and salt. Slowly pour the wet yeast mixture into the dry ingredients while mixing on low speed until just combined.
- Once the dough forms a cohesive mass, increase the mixer speed to medium and beat vigorously for 6 minutes. The dough will appear quite stiff, but it will still be sticky to the touch. You may need to stop the mixer once or twice to scrape down the sides of the bowl to ensure even mixing.
- For consistent hot dog bun sizing, portion the dough into approximately 3-ounce (around 85g) pieces. For an easy way to do this, lightly spray a ⅓ measuring cup with cooking spray and use it to scoop slightly less than a full cup. Alternatively, for maximum precision, place a greased piece of plastic wrap on top of a food scale and weigh each portion.
- Lightly spray your hands with cooking spray. Take each portion of dough and roll it into a tight, smooth ball. This recipe yields about 12-13 buns. Move these dough balls to the upper part of your prepared baking sheet to leave ample room below for shaping the logs.
- Now, take one dough ball and roll it between your palms or on a lightly floured surface into a 5-inch (approx. 12-13 cm) log. Aim for the smoothest possible surface to prevent cracking during baking, which improves their final appearance.
- Arrange the shaped buns on the prepared baking sheet in two rows, leaving about 1 ½ to 2 inches (3-5 cm) of space between each bun. Loosely cover the baking sheet with a greased piece of plastic wrap. Place the covered sheet into the warmed, turned-off oven for 10 minutes to promote initial rising. After this time, remove the pan from the oven and let the buns continue to proof at room temperature for an additional 20 minutes while you preheat your oven to 375°F (190°C).
- Just before baking, gently brush the tops and sides of each risen bun with the prepared egg wash (1 egg mixed with 1 tablespoon of water). If desired, sprinkle with sesame seeds for added flavor and a classic finish. Bake for 16-18 minutes, rotating the baking sheet halfway through the cooking time to ensure even golden-brown results. The buns are done when their bottoms are golden and their internal temperature reaches 190ºF (88°C). For an extra soft and glossy finish, you may brush the hot buns with a little melted butter immediately after removing them from the oven. Allow the buns to cool completely on a wire rack before storing them in an airtight container or freezing.
Notes
Dairy-Free Modifications
To make this recipe entirely dairy-free, simply replace the melted butter with an equal amount of vegan or plant-based butter sticks. When making this substitution, reduce the amount of salt in the recipe to ¾ teaspoon, as some vegan butters can be saltier than their dairy counterparts.
Serving, Storing, and Freezing Gluten-Free Buns
Gluten-free baked goods tend to lose moisture more quickly than traditional wheat-based items. For the absolute best and softest texture, I highly recommend serving these hot dog buns on the same day they are baked.
To make ahead: If you need to prepare them in advance, allow the buns to cool completely after baking. Once cool, wrap each bun tightly in plastic wrap, then transfer them to a freezer-safe ziplock bag. They can be frozen for up to 2 months.
When ready to serve from frozen: Thaw the buns at room temperature. It is crucial that the buns are at room temperature and not chilled when served. If the buns are cold, they will not have their signature soft and squishy texture and may feel more crumbly. You can gently warm them in the microwave for a few seconds (5-10 seconds per bun) to ensure any “chill” is completely removed and to restore their fresh-baked softness.
This recipe has been lovingly adapted from our popular gluten-free hamburger buns recipe.
Nutrition Information (per bun)
Calories: 190 kcal | Carbohydrates: 34g | Protein: 5g | Fat: 5g | Saturated Fat: 2g | Polyunsaturated Fat: 0.4g | Monounsaturated Fat: 1g | Trans Fat: 0.1g | Cholesterol: 35mg | Sodium: 222mg | Potassium: 140mg | Fiber: 5g | Sugar: 6g | Vitamin A: 146IU | Vitamin C: 0.2mg | Calcium: 57mg | Iron: 1mg
Did you make this recipe? Please leave a star rating and review below. Your feedback helps others and is greatly appreciated!