
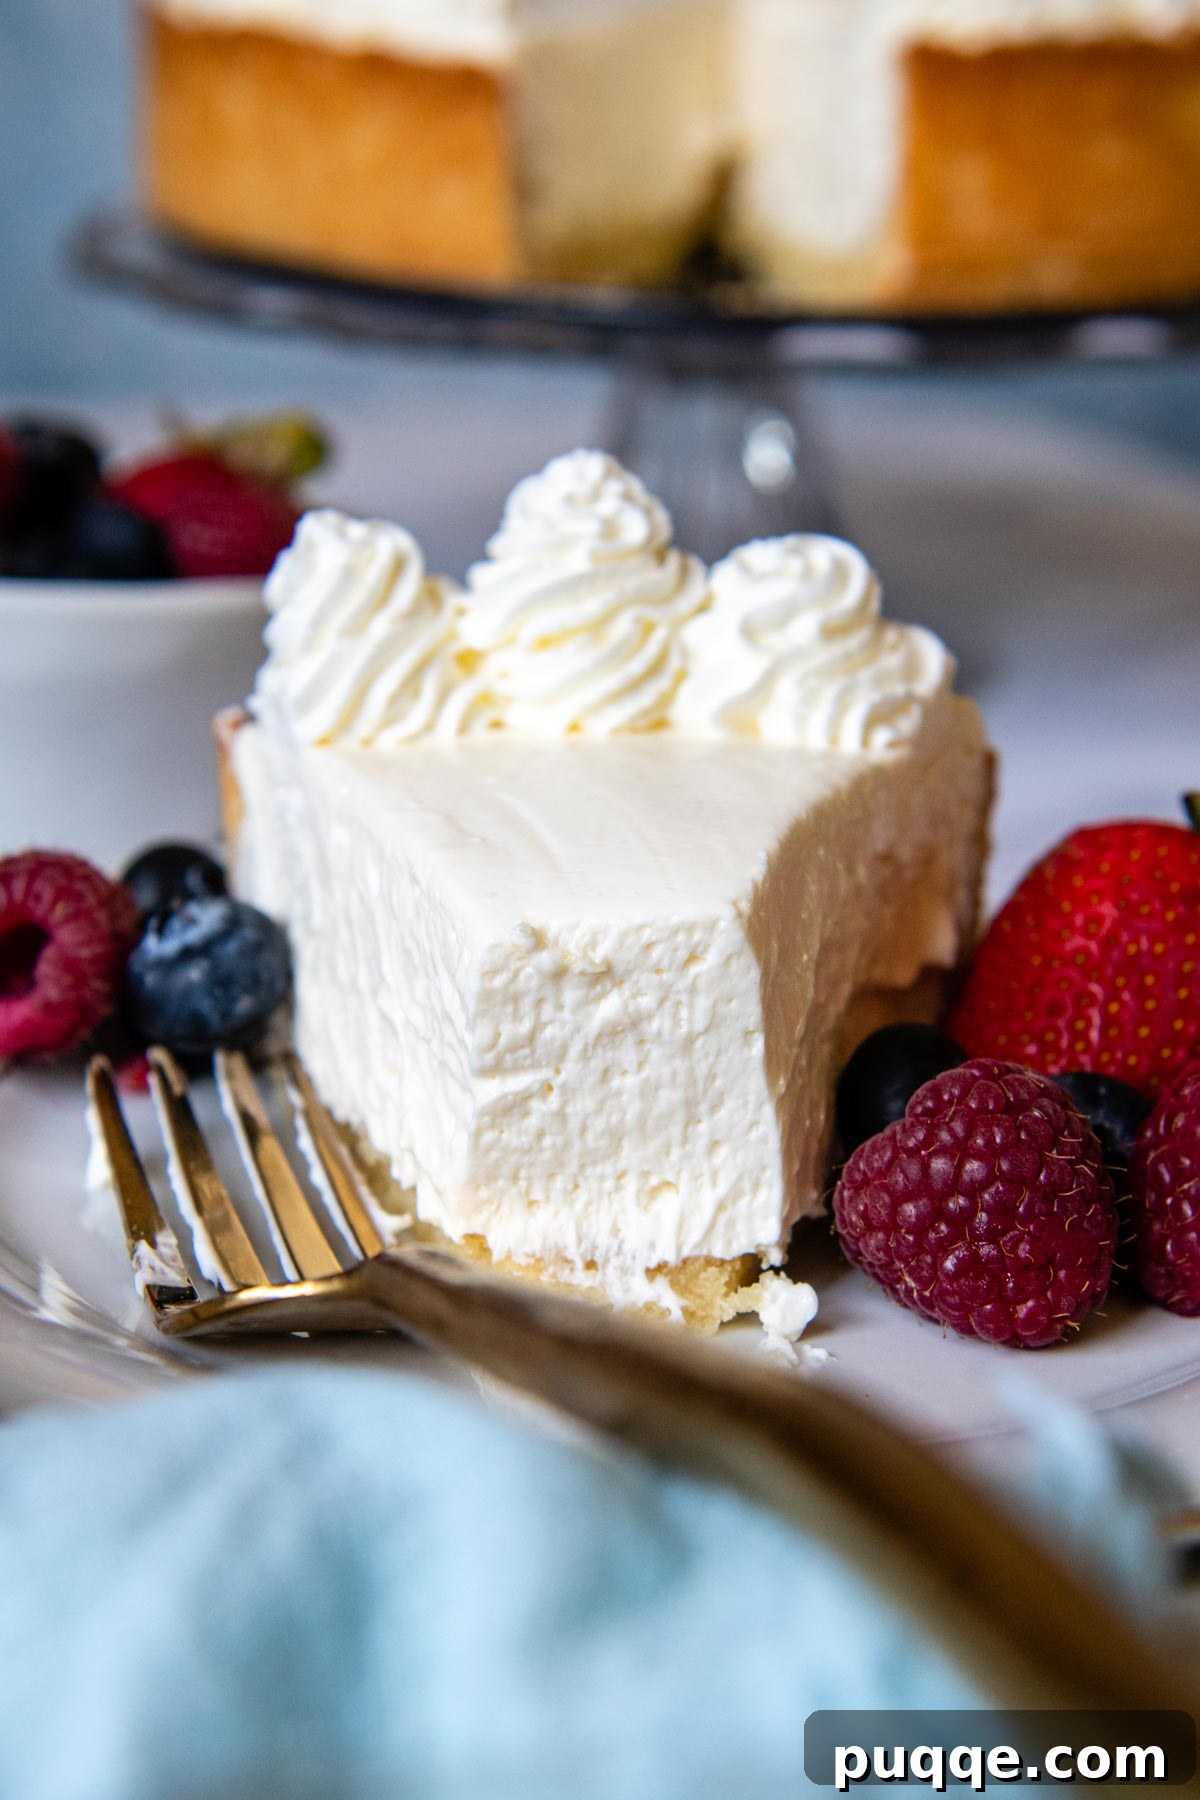
Are you searching for a dessert that’s effortlessly elegant, incredibly delicious, and perfectly suited for gluten-free diets? Dive into the world of an ultra-rich and creamy **No-Bake Gluten-Free Cheesecake**, a recipe designed to satisfy even the most discerning palates. This quick and easy method eliminates the need for baking the filling, offering a surprisingly simple approach to a show-stopping dessert. Plus, we’ll reveal ingenious alternatives for an easy gluten-free crust that will leave you wondering why you ever struggled with traditional versions. If you’ve been on a quest for a gluten-free cheesecake recipe that rivals, or even surpasses, its conventional counterparts, your search ends here!
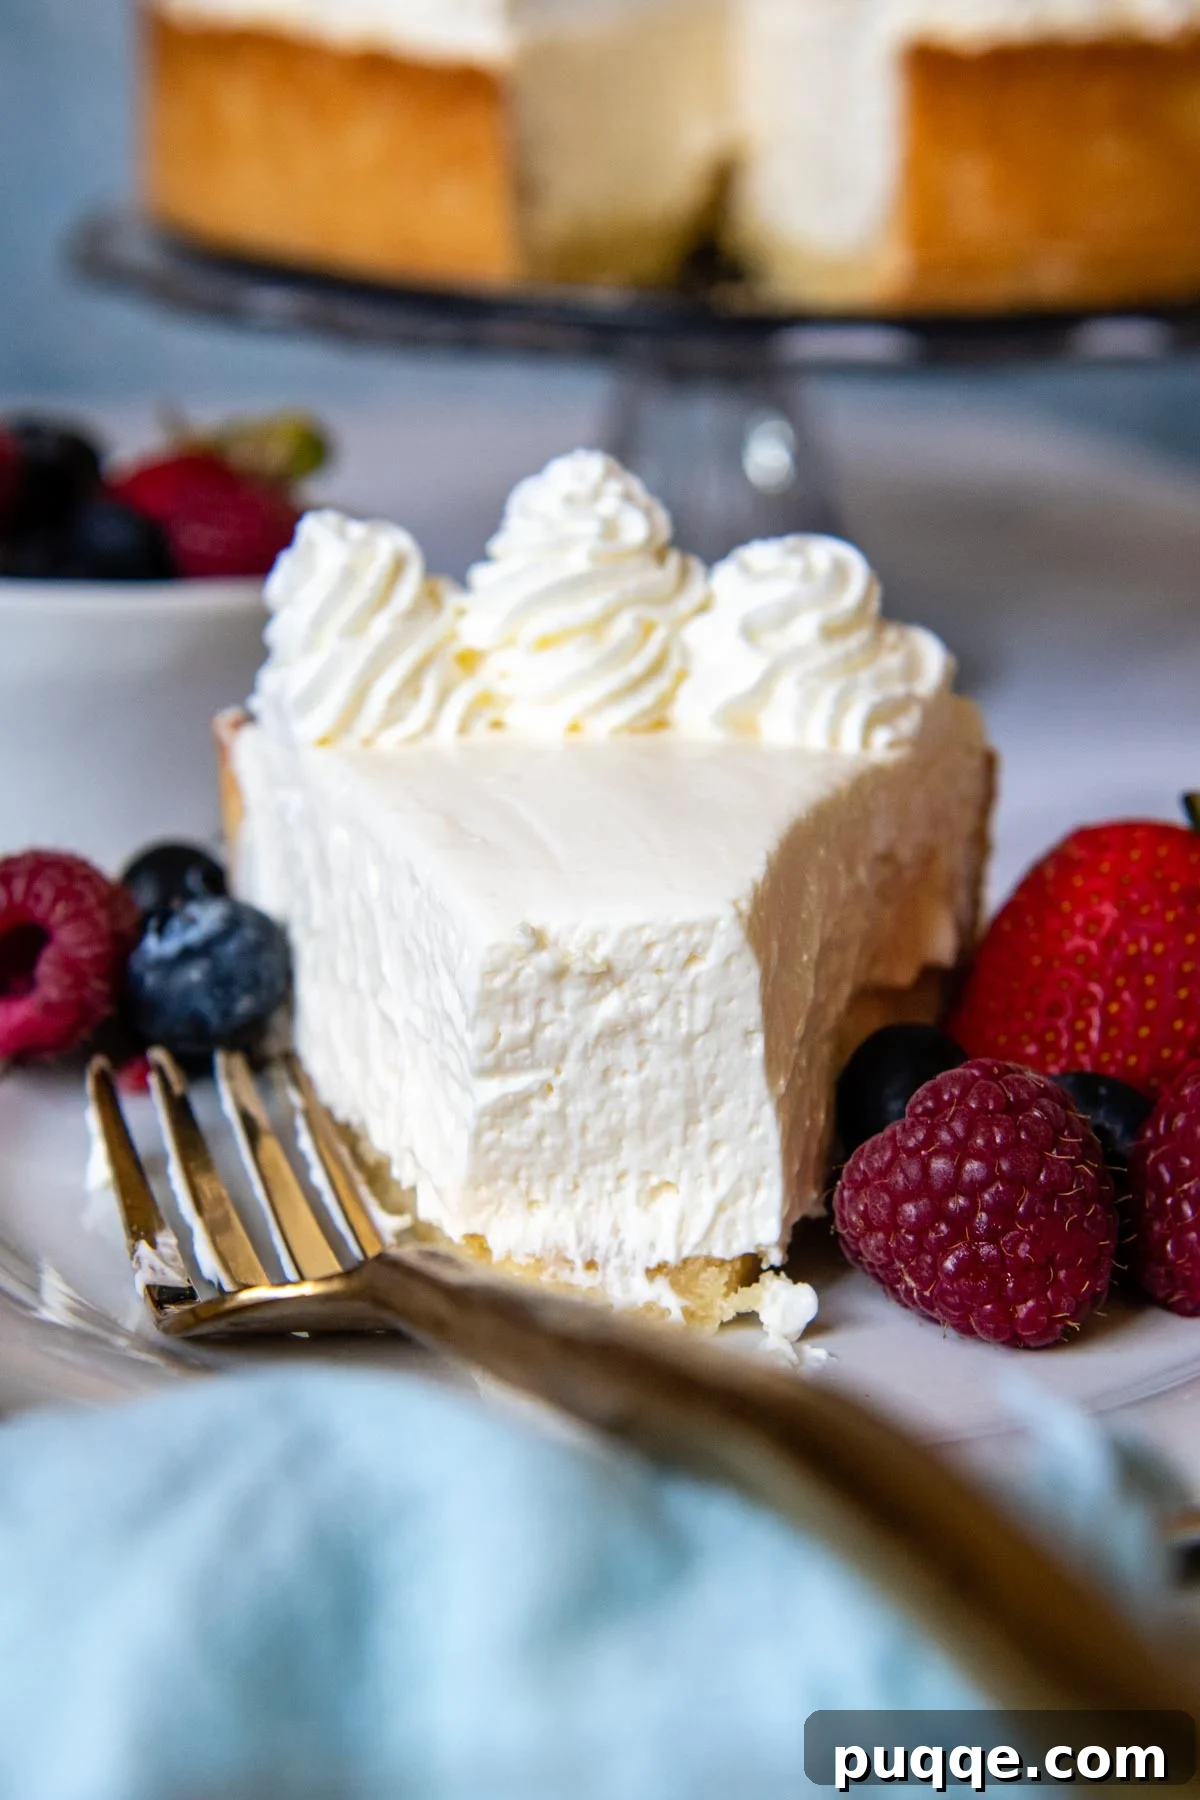
Discover the Best No-Bake Gluten-Free Cheesecake Recipe
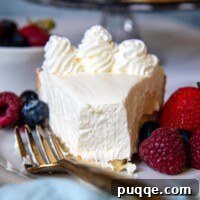
Imagine a cheesecake so smooth and luscious, it melts in your mouth, yet it comes together with minimal effort and without ever needing to go into the oven. Our best no-bake gluten-free cheesecake filling is a marvel of simplicity, requiring just five fundamental ingredients. It sets up beautifully, allowing for clean, elegant slices that look and feel just like a classic baked cheesecake – but without any of the fuss. Forget the complexities of water baths to prevent cracks or the anxiety of uneven baking; this recipe delivers perfect results every single time.
The secret to its irresistible texture lies in a thoughtful blend of ingredients. The filling achieves its silky, thick, and profoundly creamy consistency through a combination of high-quality cream cheese and a touch of sour cream. The sour cream isn’t just an addition; it’s a crucial component that introduces a delightful tang, perfectly balancing the richness of the cream cheese and preventing the dessert from being overly sweet. This contrast elevates the flavor profile, making it far more complex and appealing than recipes relying solely on cream cheese.
Beyond its luxurious creaminess, what truly sets this gluten-free cheesecake apart is its surprisingly light and airy texture. Unlike many dense, heavy cheesecakes, this version feels wonderfully delicate, making it just as sought-after as our celebrated party-worthy gluten-free cake recipes. How do we achieve this remarkable lightness? The magic happens by whipping heavy cream into fluffy, cloud-like peaks and then gently folding it into the cream cheese mixture. This aeration process infuses the filling with air, creating a dessert that’s both substantial and ethereally light.
For those times when you need an even quicker shortcut without compromising on taste or texture, we’ve got you covered. If the idea of an extra step for whipping cream gives you pause, simply opt for our even easier alternative: swap out the homemade whipped cream for a thawed Cool Whip topping. This clever hack is a favorite, not just for this recipe, but also for delightful treats like our no-bake strawberry cheesecake with Cool Whip. It saves you time and effort while still delivering a divinely smooth and delicious cheesecake.
Excellent! Made for family celebration & someone said they couldn’t decide if it was better than Cheesecake Factory! Loved how the crust came together & how easy it was to work with. Luscious filling.
—Carol
Crafting Your Gluten-Free Cheesecake: A Step-by-Step Guide
Let’s walk through the process of creating this incredible no-bake gluten-free cheesecake together. The steps are designed to be straightforward and rewarding, ensuring a perfect dessert every time. (Detailed ingredient amounts are provided in the comprehensive recipe card below.)
Step 1: The Easy Press-In Gluten-Free Crust
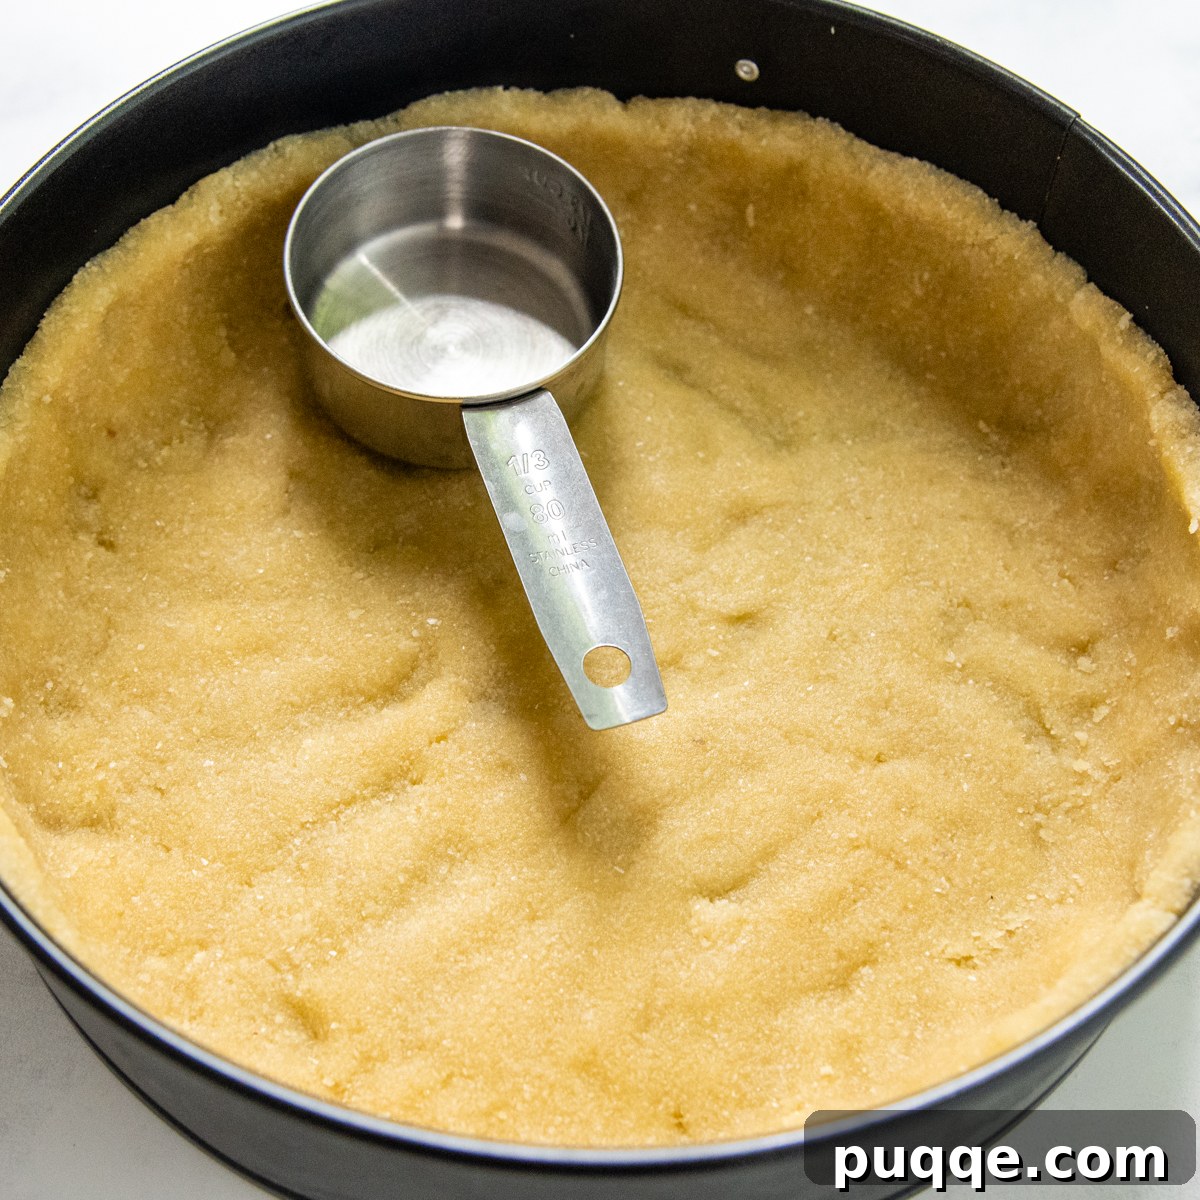
Our chosen crust for this cheesecake is a simple yet flavorful almond flour crust. Begin by stirring together the almond flour, a touch of granulated sugar, salt, melted unsalted butter, and a lightly beaten egg. Mix these ingredients until they are thoroughly combined and form a cohesive, slightly moist dough. This combination not only ensures a delicious, tender crust but also provides a sturdy base for your no-bake filling.
Next, press this mixture firmly into a 9-inch springform pan. We recommend a 9-inch pan over a 10-inch for a reason: it yields a wonderfully thicker crust and a more generous layer of creamy filling, making each slice even more satisfying. You have the flexibility to either just line the bottom of the pan for a pronounced crust layer or extend it up the sides for a classic cheesecake look. Use the bottom of a measuring cup or a flat-bottomed glass to press the crust down firmly and evenly, creating a smooth, compact base. Before baking, gently prick the bottom of the crust several times with a fork. This simple step is crucial for allowing steam to escape, preventing the crust from bubbling up during baking and ensuring a perfectly flat foundation. Bake until lightly golden, then allow it to cool completely before adding the filling.
Step 2: Preparing the Creamiest No-Bake Filling
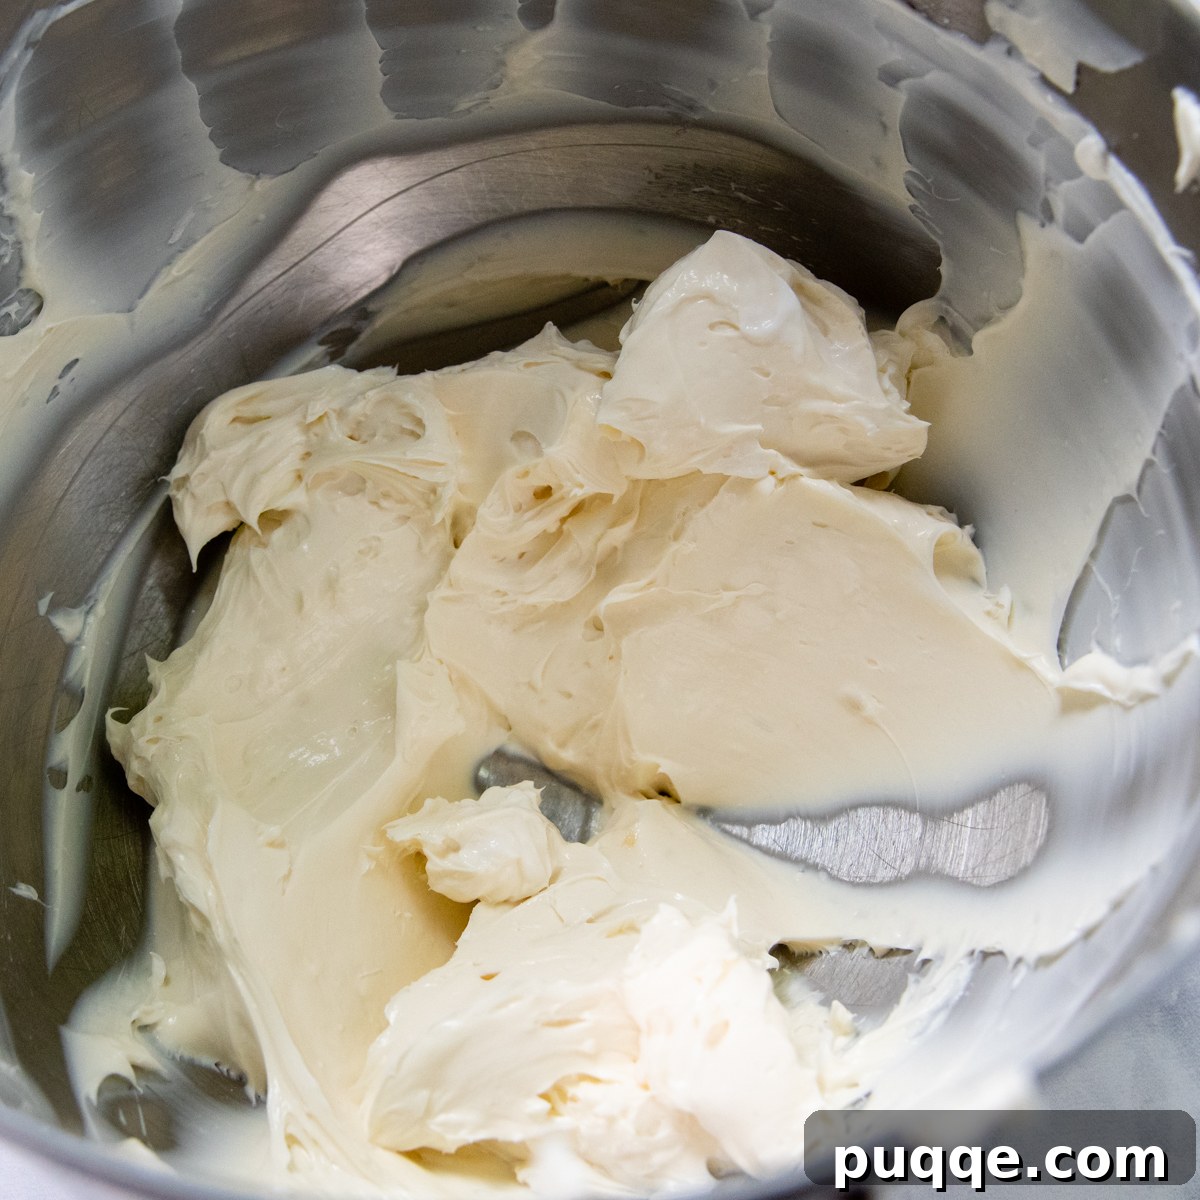
While your perfectly baked crust is cooling, it’s time to whip up the star of the show: the incredibly creamy no-bake filling. In a medium-sized mixing bowl, combine the softened cream cheese, sour cream, powdered sugar, and vanilla extract. Using an electric mixer, beat these ingredients together on high speed for about one minute, or until the mixture is completely smooth, luscious, and free of any lumps. This ensures a velvety foundation for your cheesecake.
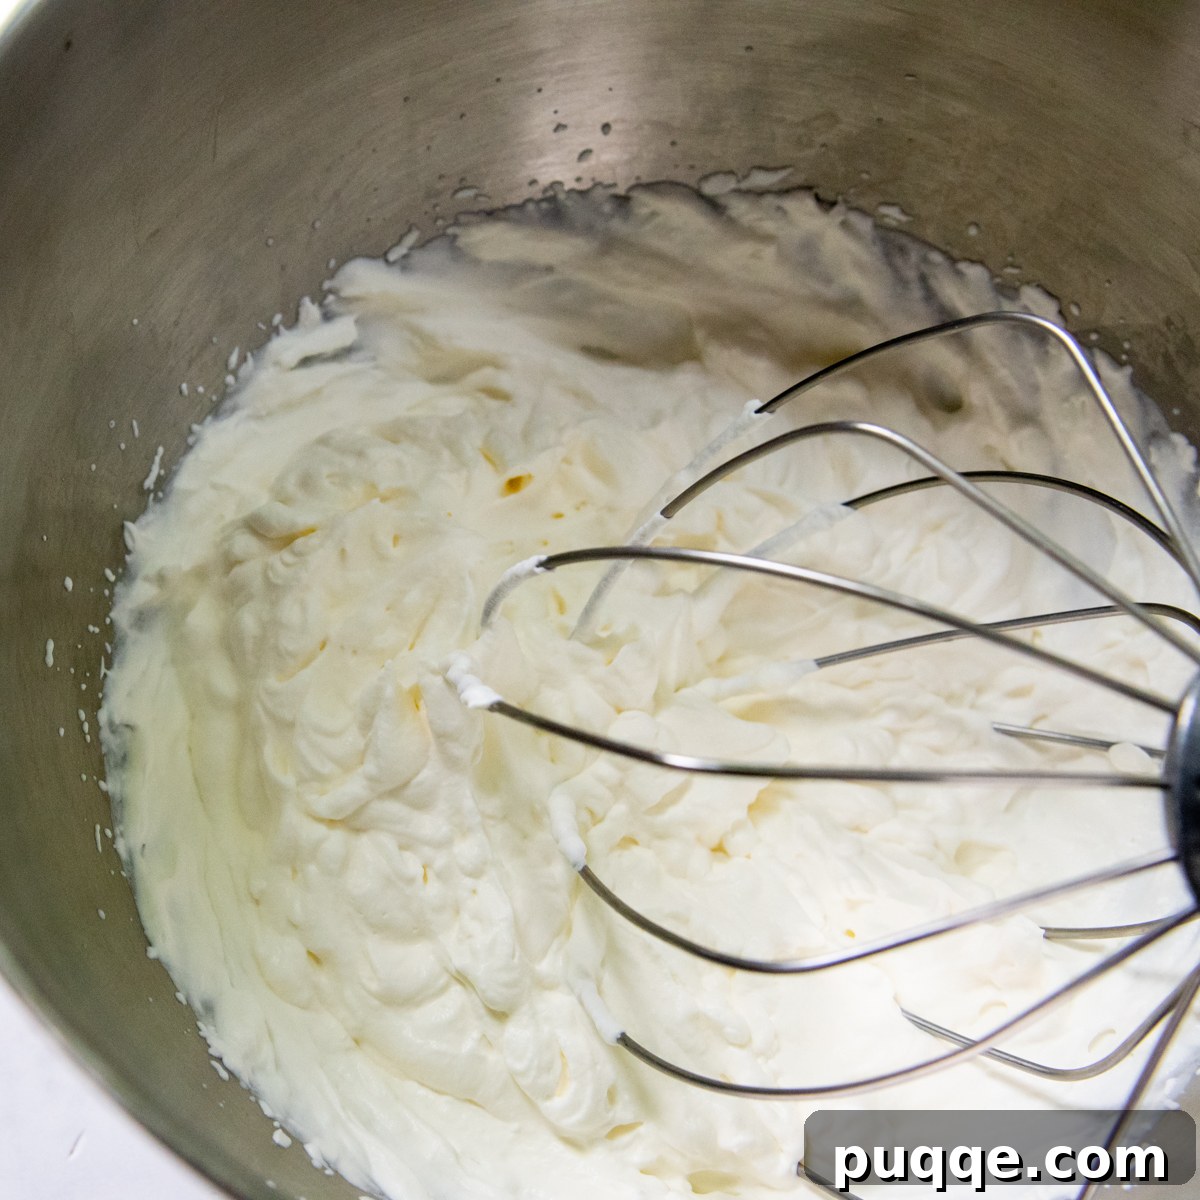
Now for the light and airy element! In a separate, clean bowl, using a whisk attachment, beat the heavy cream until stiff peaks form. This means the cream will hold its shape when the whisk is lifted, indicating it’s perfectly aerated. This step is key to achieving that signature light texture that distinguishes this cheesecake. If, however, you’re opting for the super-easy shortcut, you can skip this step entirely and proceed with using thawed Cool Whip topping instead. Both methods yield a delightful, creamy result, so choose what best suits your time and preference.
Step 3: Assemble, Smooth, and Chill to Perfection
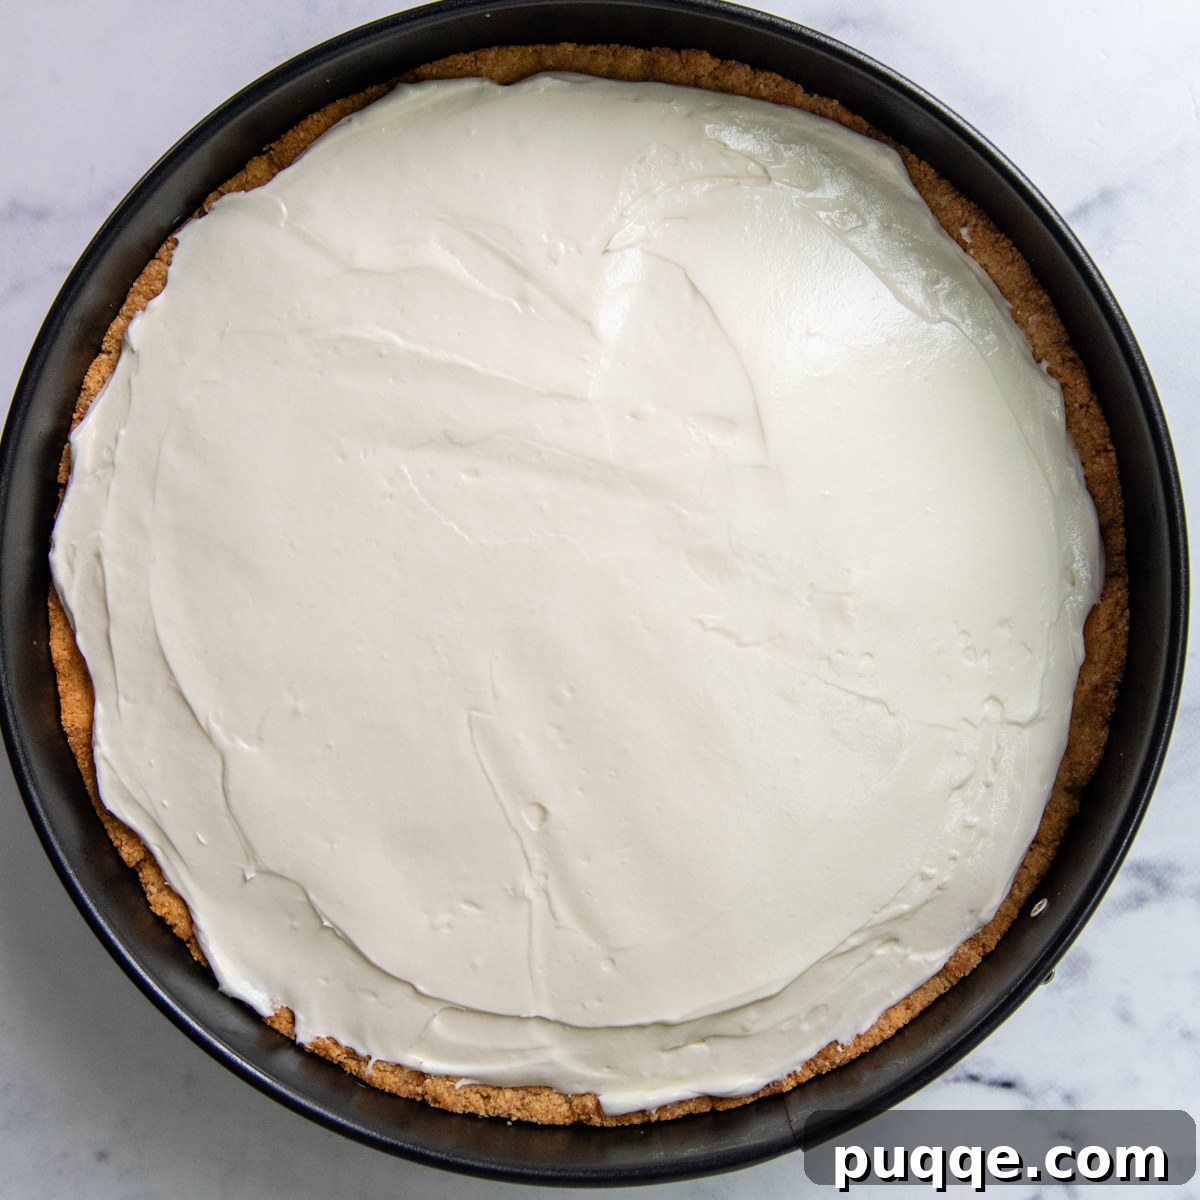
With your cream cheese base and whipped cream (or Cool Whip) ready, it’s time to gently combine them. Carefully fold the whipped cream (or thawed Cool Whip) into the cream cheese mixture using a spatula. The goal is to incorporate the whipped cream without deflating it too much, preserving the airy texture. Once combined, gently “dump” or spoon the cheesecake filling into your completely cooled crust. Use a spatula to spread the filling evenly across the crust, ensuring a smooth and uniform top layer. Take your time to achieve a beautiful, professional finish.
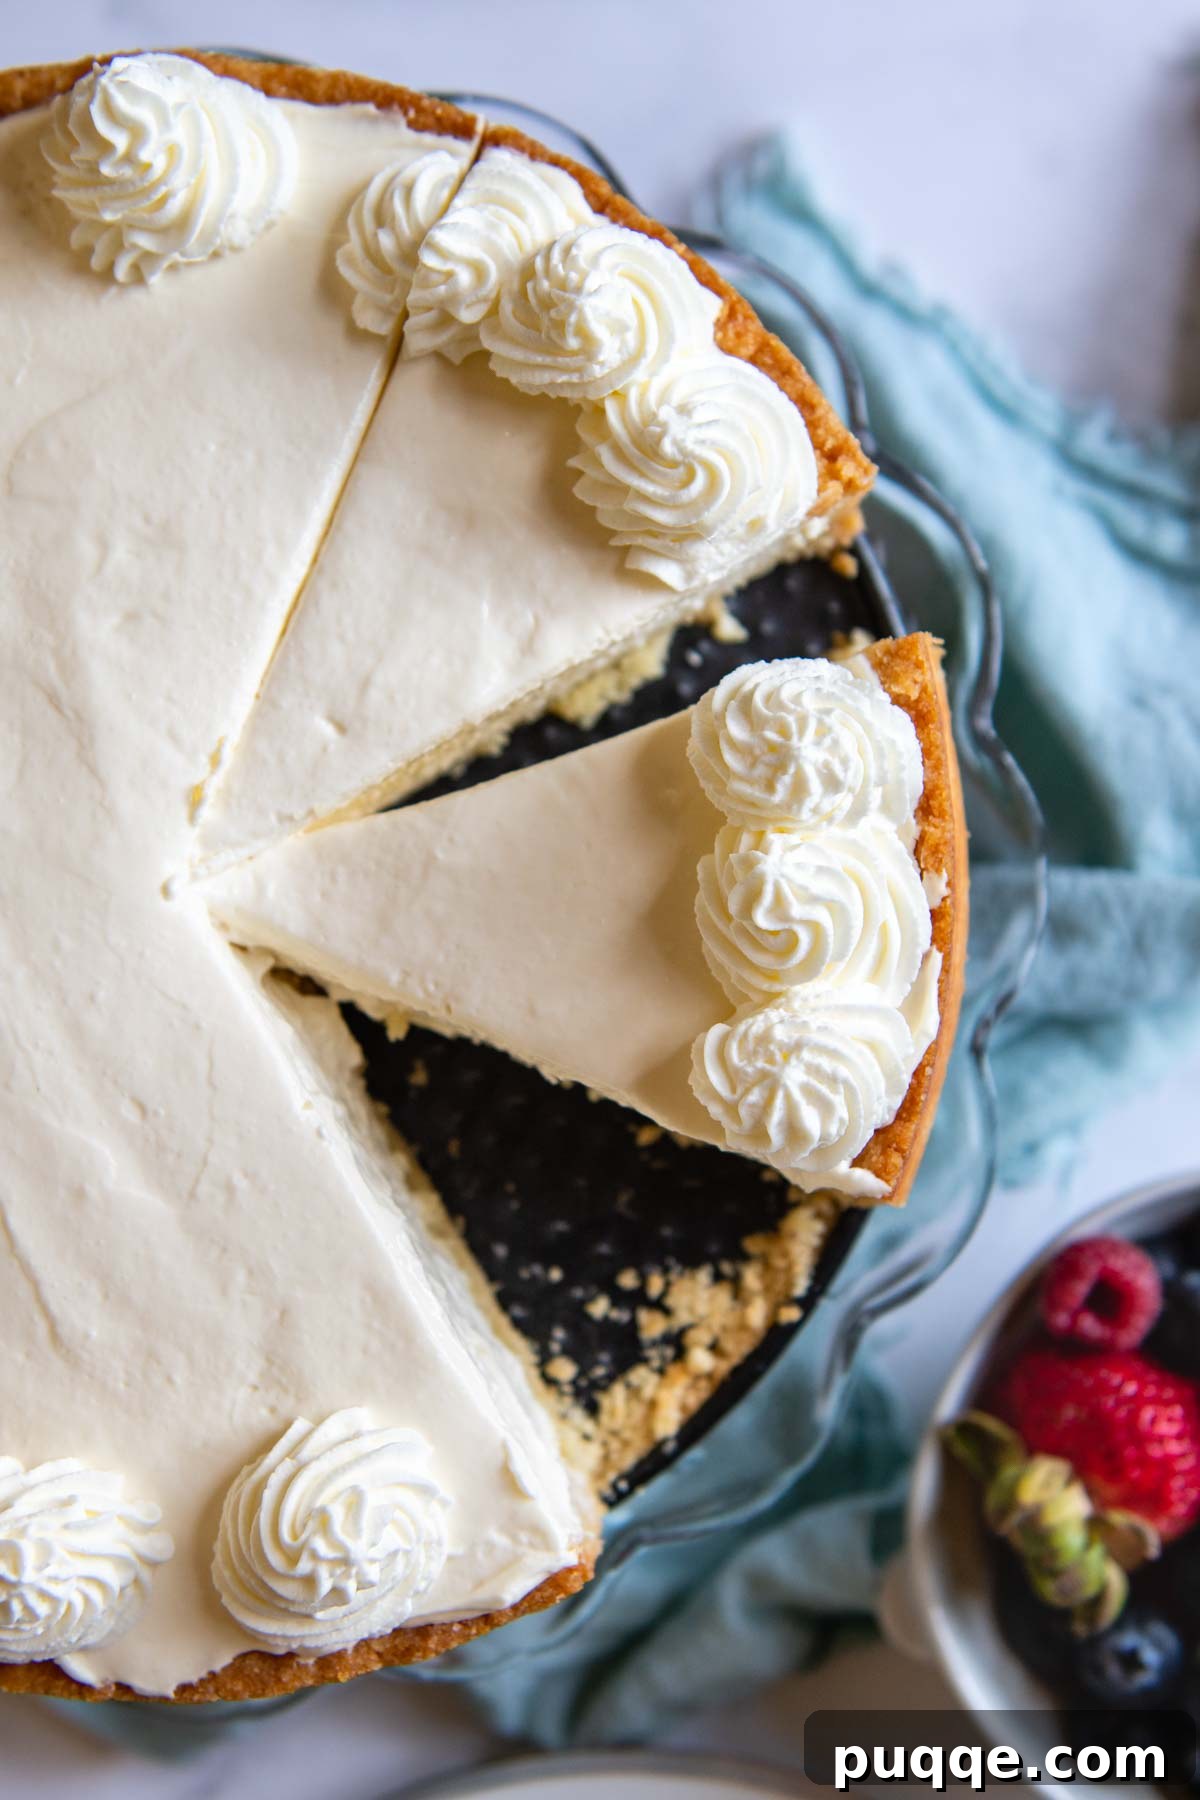
Once the filling is smoothly spread, cover the springform pan tightly with plastic wrap. This is a crucial step for chilling. Refrigerate the cheesecake for a minimum of 4 hours, though ideally, allow it to chill overnight. This extended chilling period is vital; it allows the filling to fully set and firm up, developing its perfect slicing consistency and deepening its flavors. As you wait, you can dream of indulging in heavenly slices. When you’re ready to serve, run a thin knife around the outer edge of the cheesecake before releasing the springform pan to ensure a clean release and pristine slices. Serve chilled with your favorite toppings.
Elevate Your Dessert: The Yummiest Gluten-Free Toppings for Cheesecake
While the ultra-creamy, perfectly tangy filling of this no-bake cheesecake is utterly satisfying on its own, it also serves as a magnificent canvas for a myriad of delicious toppings. Personalize your cheesecake experience with these delightful additions. You can either elegantly drizzle sauces or scatter fruits before serving, or present a beautiful selection of options for your guests to customize their own slices. Explore our extensive list of favorite cheesecake topping ideas for even more inspiration.
- Classic Chocolate Sauces: A generous drizzle of hot fudge sauce, a rich chocolate sauce, or a glossy chocolate ganache adds a decadent touch that pairs beautifully with the creamy cheesecake.
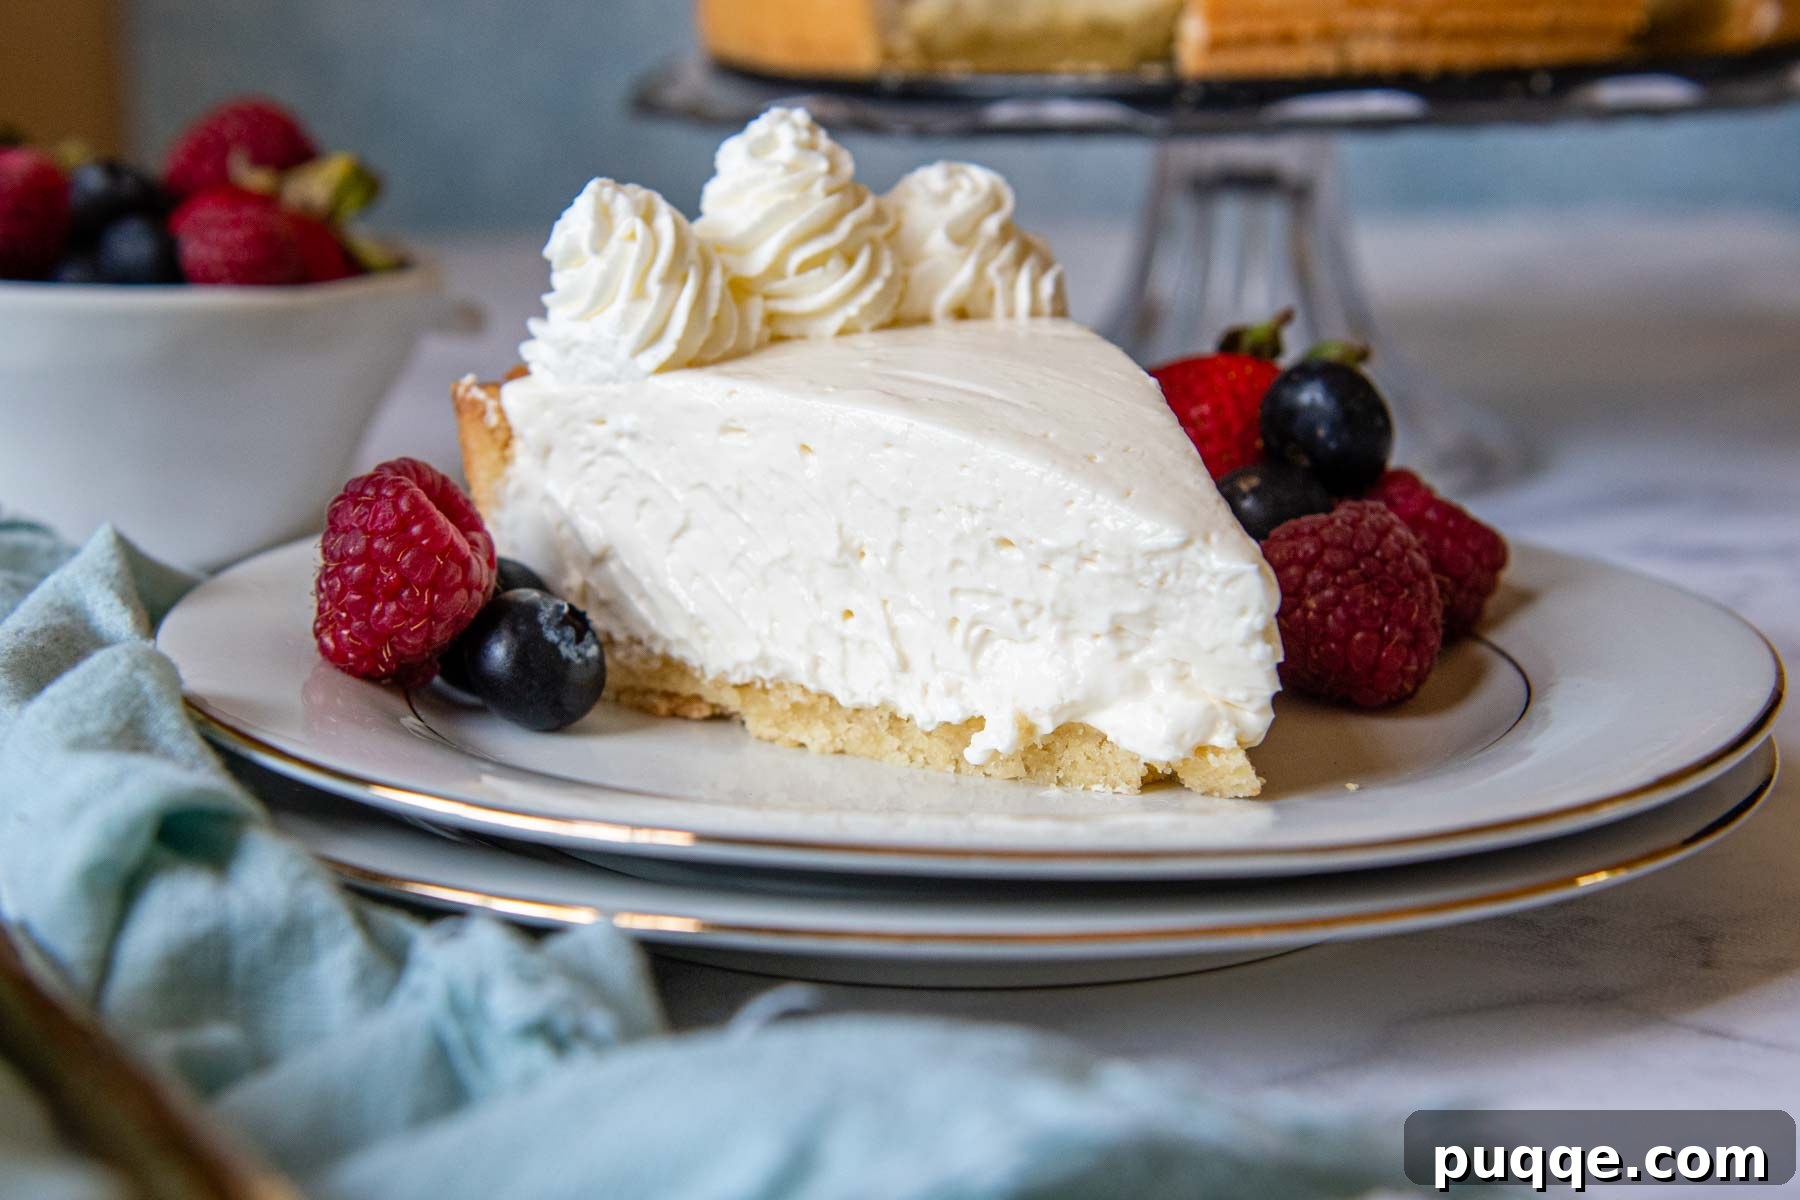
- Fresh Fruit Medley: Brighten your cheesecake with a vibrant array of fresh fruits. Slices of juicy strawberries, plump blueberries, or tangy raspberries not only add natural sweetness and a hint of tartness but also contribute beautiful colors.
- Homemade or Store-Bought Fruit Sauces: Elevate the fruit experience with luscious fruit sauces. Think a rich blueberry sauce, a sweet and tart raspberry coulis, a classic strawberry topping, or even a comforting cherry pie filling (ensure it’s gluten-free).
- Caramel Indulgence: For a buttery, sweet counterpoint, a smooth caramel sauce is an irresistible choice. Drizzle it generously for a truly indulgent treat.
- Chopped Candy Goodness: Add some playful crunch and flavor with chopped candy. Always double-check labels to ensure they are certified gluten-free. Think pieces of peanut butter cups or your favorite chocolate bar.
- Gluten-Free Oreo Crumble: For a delightful texture and familiar chocolatey flavor, crush some certified gluten-free Oreo cookies and sprinkle them over the top.
Storing and Freezing Your No-Bake Gluten-Free Cheesecake
Proper storage is key to enjoying your delicious no-bake gluten-free cheesecake for as long as possible. Once fully set, cover the cheesecake tightly with plastic wrap and store it in the refrigerator for up to 3-4 days. For optimal freshness and to prevent the cheesecake from absorbing other odors, ensure the plastic wrap is pressed directly onto the surface of the cheesecake before sealing the pan.
If you wish to make this dessert ahead of time or save leftovers for a later date, freezing is an excellent option. To prevent freezer burn and ice crystals from forming, it’s best to freeze the cheesecake unwrapped first. Place the cheesecake (still in its springform pan or on a sturdy plate) into the freezer until it is solidly frozen, typically 2-3 hours. Once frozen solid, remove it and wrap it meticulously. Start with a couple of layers of plastic wrap, ensuring no surface is exposed, then follow with a layer of aluminum foil. This double-layer protection will safeguard its texture and flavor. Stored this way, the cheesecake can last in the freezer for up to 1 month. To serve, simply thaw it in the refrigerator overnight before slicing and enjoying.
Frequently Asked Questions (FAQs) About Gluten-Free Cheesecake
We’ve gathered some common questions to help you master your no-bake gluten-free cheesecake:
- Can I use a different gluten-free crust? Absolutely! While our almond flour crust is fantastic, you can certainly explore other options. For a traditional twist, try an easy gluten-free graham cracker crust recipe. Or, for a rich, chocolatey base, opt for a gluten-free chocolate crust made with crushed GF Oreos.
- How long does no-bake cheesecake last? When properly covered and refrigerated, your no-bake gluten-free cheesecake will stay fresh and delicious for 3-4 days.
- Why didn’t my cheesecake set properly? The most common reasons for a cheesecake not setting are insufficient chilling time or not whipping the heavy cream to stiff peaks. Ensure you chill it for at least 4 hours, preferably overnight, and that your whipped cream is firm before folding it in. If using Cool Whip, ensure it’s fully thawed.
- What’s the best way to slice a no-bake cheesecake? For clean, professional-looking slices, use a sharp, thin knife. Dip the knife in hot water and wipe it clean between each slice. This keeps the edges neat and prevents the filling from sticking.
- Can I make this dairy-free? While this recipe relies on dairy for its classic texture, you can experiment with dairy-free cream cheese alternatives and dairy-free heavy cream or coconut cream. Results may vary slightly in texture and flavor.
Save this recipe to your Pinterest board!
Let’s be friends on Pinterest! I’m always sharing great recipes!
Did you make this recipe? I love hearing from you! Leave a star rating and comment below the recipe card. It helps others when searching for recipes and I appreciate feedback from our community. You will always hear back from me! -Melissa
Silky No-Bake Gluten-Free Cheesecake (Extra Easy)
 Melissa Erdelac
Pin Recipe
Rate Recipe
Remove Ads
Ingredients
Almond Flour Crust (see recipe notes for alternatives)
- 2 ½ cups almond flour
- ¼ cup granulated sugar
- ¼ teaspoon salt
- 4 tablespoons unsalted butter, melted
- 1 large egg, lightly beaten
Cheesecake Filling
- 16 ounces cream cheese, softened
- ⅓ cup sour cream
- 2 teaspoon vanilla extract
- 1 cup powdered sugar
- 1 ¼ cups heavy cream, (or 3 cups Cool Whip, thawed)
- (optional) fresh berries, chocolate sauce, or fruit sauce, for serving
Equipment
-
9-inch springform pan
-
Stand Mixer
-
Almond Flour
Instructions
Crust
-
Preheat oven to 350°F (175°C). In a medium bowl, combine the almond flour, granulated sugar, and salt. Add the melted unsalted butter and the lightly beaten egg. Stir with a spoon or your hands until all ingredients are thoroughly moistened and the mixture forms a cohesive, slightly sticky dough.2 ½ cups almond flour, ¼ cup granulated sugar, ¼ teaspoon salt, 4 tablespoons unsalted butter, 1 large egg
-
Transfer the crust mixture into a 9-inch springform pan. Use your fingers to press the dough down and spread it evenly across the bottom and halfway up the sides of the pan. For an extra smooth and firm base, use the bottom of a small measuring cup or a flat-bottomed glass to press down firmly and evenly.
-
Using a fork, prick the bottom of the crust several times. This helps to prevent the crust from bubbling up during baking, ensuring a flat and stable base for your filling.
-
Bake for 22-24 minutes, or until the crust is lightly golden brown. It might puff up slightly during baking, but it will settle as it cools. Set the baked crust aside and allow it to cool completely before proceeding with the filling.
No-Bake Cheesecake Filling
-
In a large mixing bowl, using an electric mixer, beat together the softened cream cheese, sour cream, vanilla extract, and powdered sugar. Beat on high speed for about 1 minute until the mixture is completely smooth, creamy, and free of any lumps.16 ounces cream cheese, ⅓ cup sour cream, 2 teaspoon vanilla extract, 1 cup powdered sugar
-
In a separate, clean bowl, using a whisk attachment, beat the heavy cream until stiff peaks form. The cream should hold its shape firmly when the whisk is lifted. If you are opting to use Cool Whip topping instead, you can skip this step entirely; ensure your Cool Whip is thawed.1 ¼ cups heavy cream
-
Gently fold the whipped cream (or thawed Cool Whip) into the cream cheese mixture using a spatula. Mix until just combined, being careful not to overmix and deflate the air from the whipped cream. Evenly spread the cheesecake filling into the completely cooled crust.
-
Cover the springform pan tightly with plastic wrap and refrigerate for a minimum of 4 hours, or ideally, overnight. This chilling time is essential for the cheesecake to set completely. Before serving, run a thin knife around the outer ring of the cheesecake to ensure a clean release from the pan. Slice and serve with your chosen optional toppings.
Notes
Other GF Crust Options
For variety, you could choose a traditional easy gluten-free graham cracker crust recipe, or create a delicious gluten-free chocolate crust using crushed gluten-free Oreo cookies.
Freezing Cheesecake
To freeze, first ensure the cheesecake is fully assembled and set. For best results and to prevent freezer burn, freeze the cheesecake uncovered until it is solid. Once frozen, wrap it tightly in a couple of layers of plastic wrap, then cover with aluminum foil. This method helps maintain its texture and prevents ice crystals from forming. Thaw in the refrigerator before serving.