
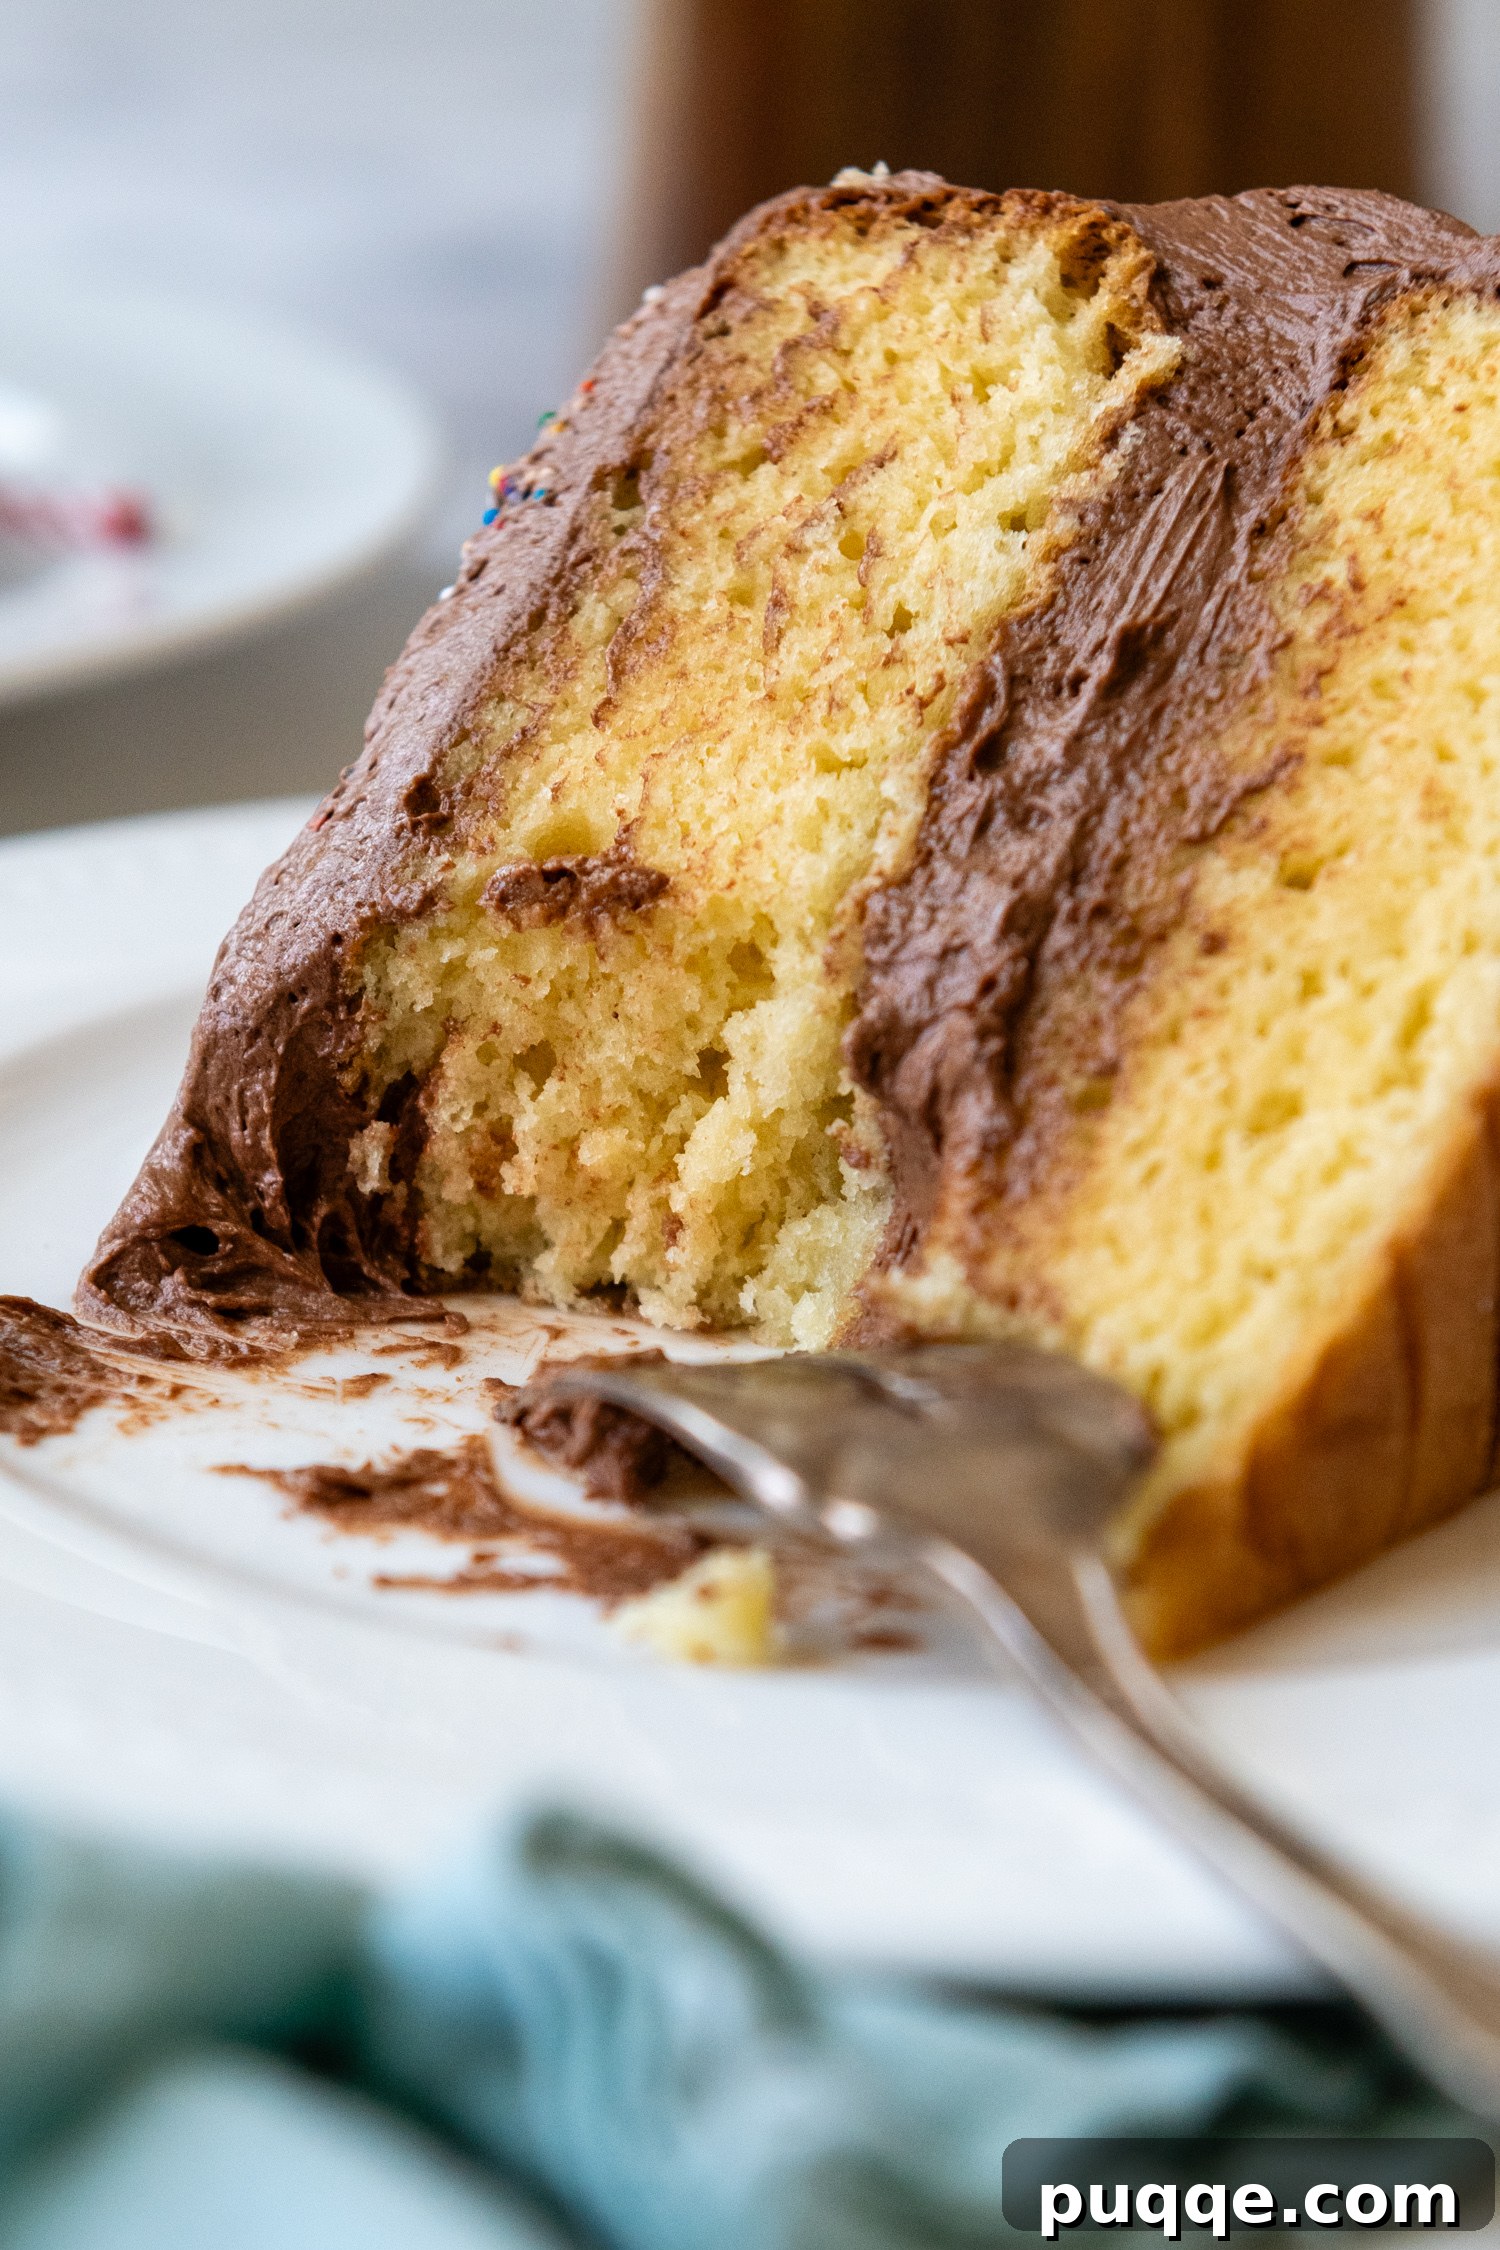
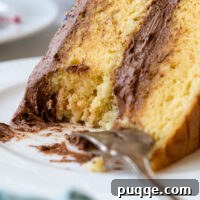
Prepare to rediscover your favorite dessert with this exceptionally moist, fluffy, and tender gluten-free yellow cake. Forget everything you thought you knew about gluten-free baking – this isn’t just a good gluten-free cake, it’s a truly amazing yellow cake that happens to be gluten-free. We’ve meticulously crafted this easy-to-follow, from-scratch layer cake recipe using readily available ingredients, specifically addressing and conquering common gluten-free baking challenges like dry, crumbly, or dense textures. After countless tests and refinements, we’re confident that nobody will ever guess it’s gluten-free!
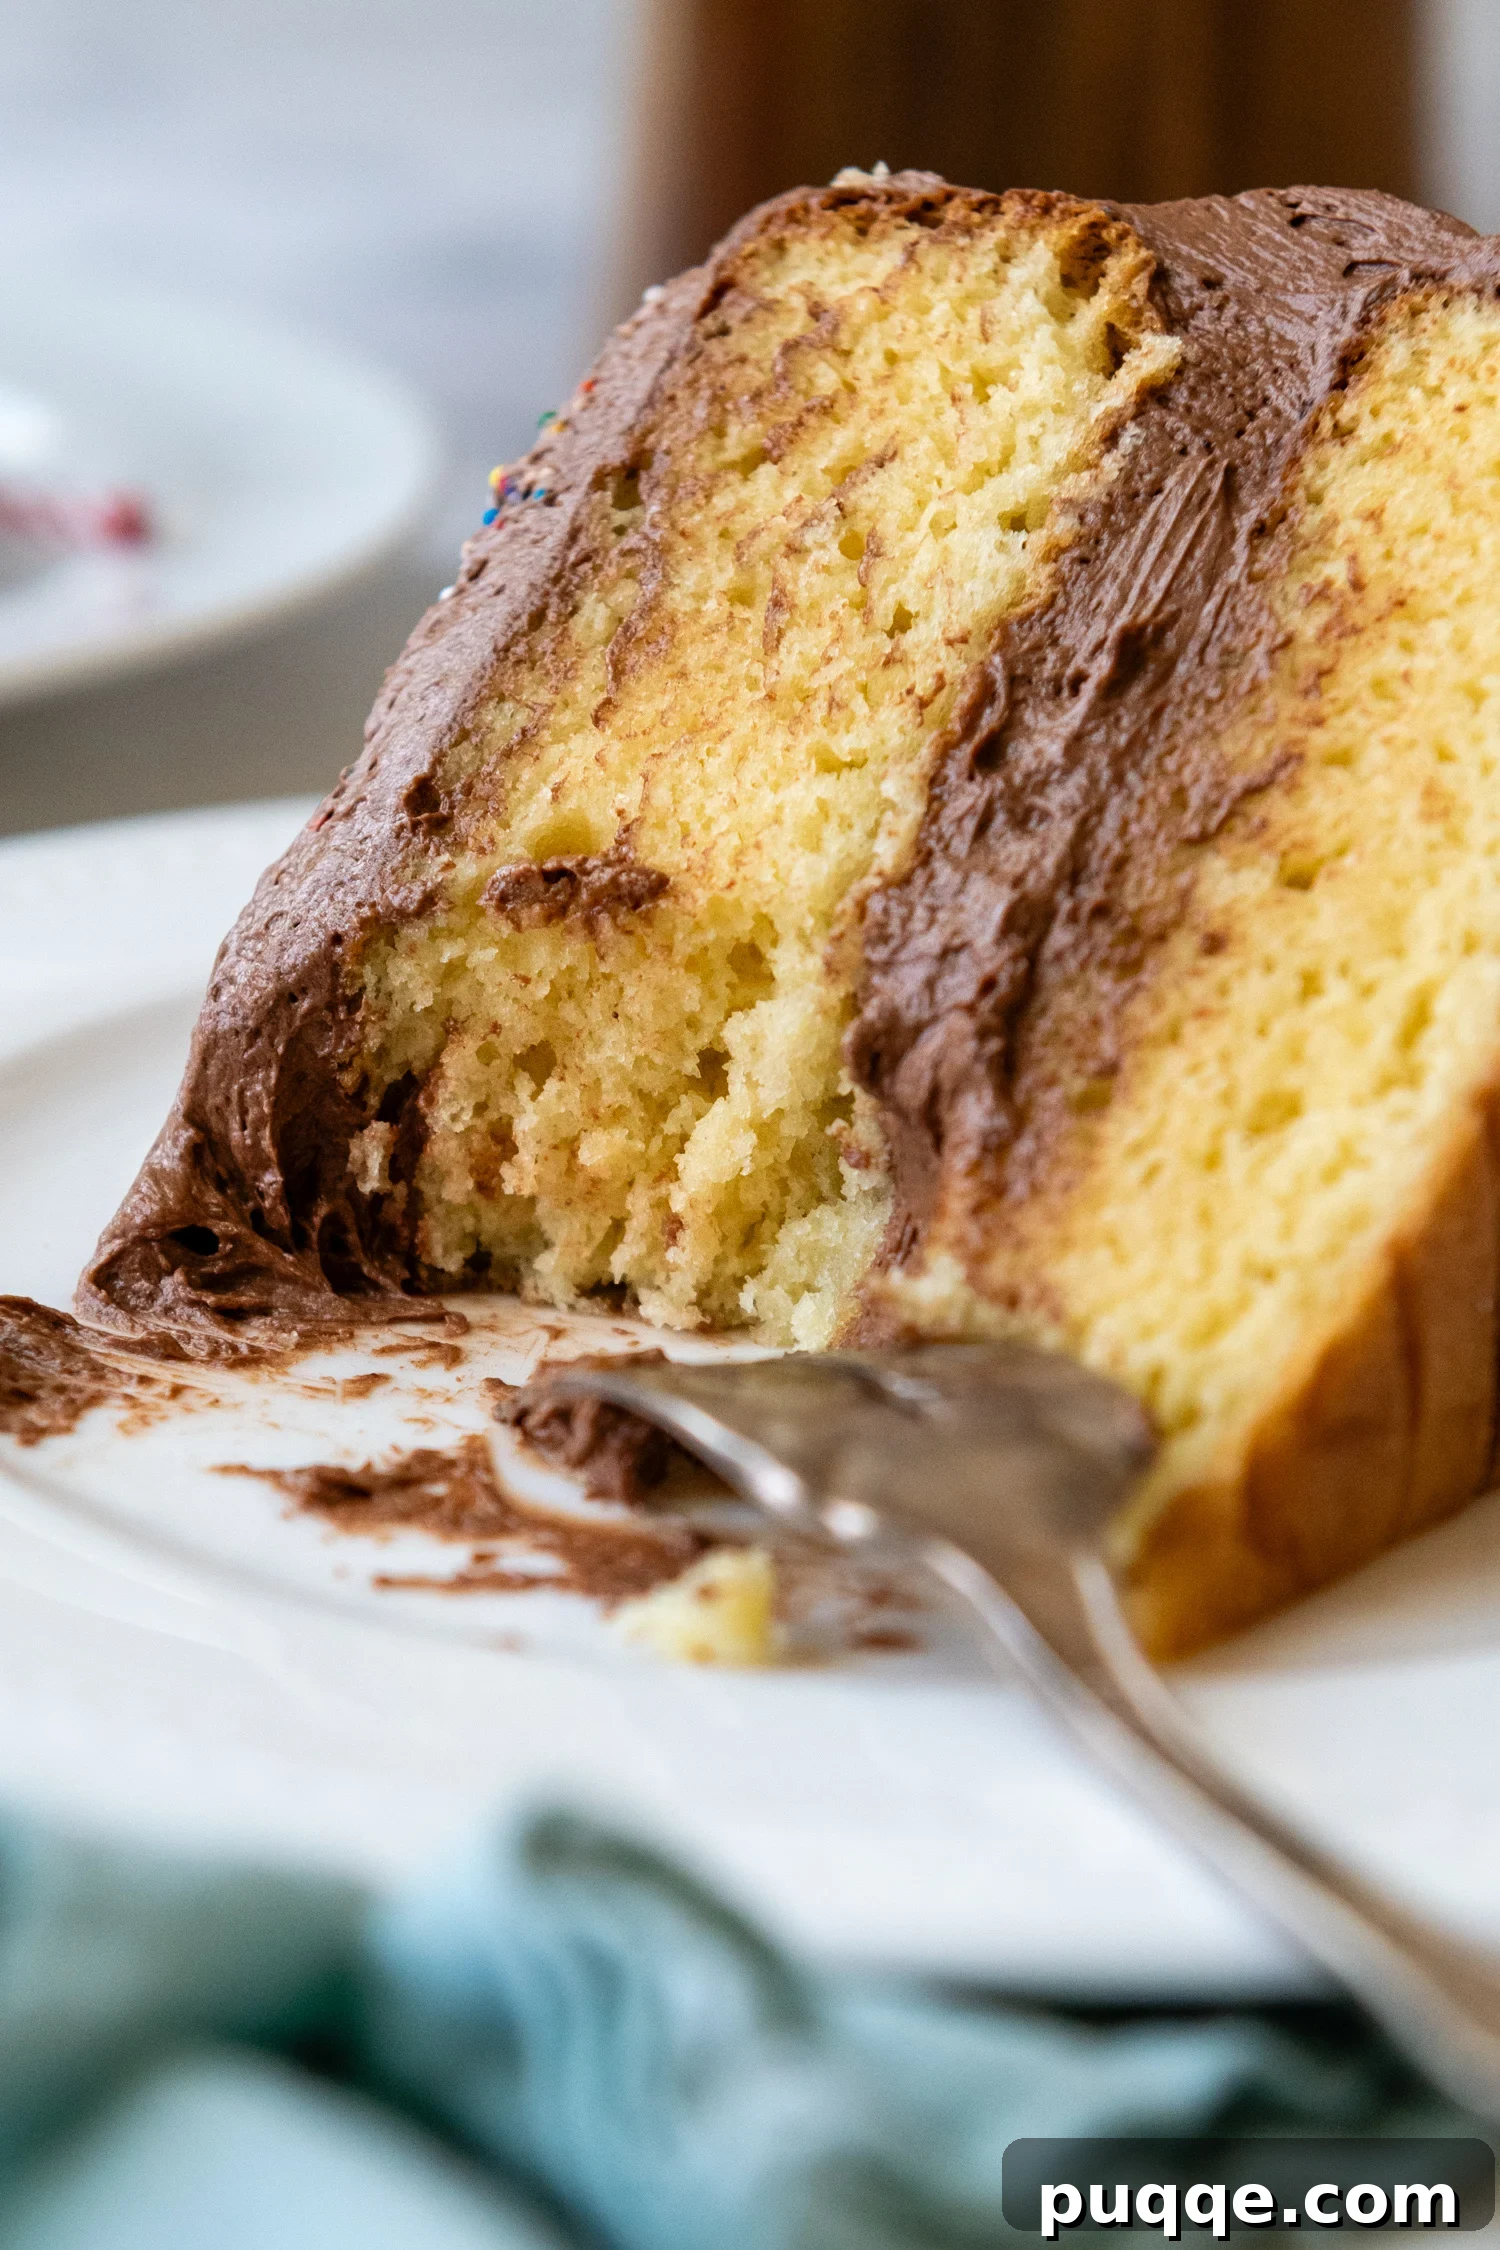
The Ultimate Classic, Moist Gluten-Free Yellow Cake Recipe
Finding a reliable, mouth-watering gluten-free cake recipe can feel like searching for a needle in a haystack. Many recipes yield cakes that are either too dry, fall apart easily, or possess an unappealing gummy texture. Our mission was to develop a fail-proof gluten-free cake recipe that truly lives up to the beloved classic yellow cake experience. This recipe isn’t just for those with dietary restrictions; it’s a showstopper for every occasion, from joyous birthday celebrations and festive holidays to intimate family dinners. It’s the kind of versatile, homemade gluten-free yellow cake recipe you’ll turn to time and time again, making every moment sweeter and stress-free.
When embarking on the journey to perfect this gluten-free layer cake, our primary goal was to achieve a tender, moist crumb paired with that nostalgic, rich old-fashioned vanilla flavor we all grew up loving. We wanted the simplicity of a box mix, but with the elegant, professional results of a bakery-quality cake. Why should anyone have to compromise on taste or texture just because they’re baking gluten-free? We believe everyone deserves to indulge in a truly spectacular cake.
One of the first crucial decisions in developing this recipe was determining the ideal fat blend: butter or oil? While butter offers an unparalleled richness and depth of flavor, oil is a champion for consistent moisture. So, we opted for a harmonious blend of both. The butter elevates the classic yellow cake taste, while the oil ensures a supremely moist and tender crumb that stays fresh longer. Furthermore, using a higher fat whole milk plays a pivotal role in eliminating any potential grittiness, a common and often frustrating issue encountered when working with all-purpose gluten-free flour blends. This thoughtful combination of fats and dairy is key to the cake’s success, guaranteeing a luxurious texture and taste.
Beyond the ingredients, we incorporated a smart gluten-free baking technique that proved instrumental in building the cake’s structure and ensuring airy, light layers that don’t become dense or compressed after baking. The secret? A simple resting period for the batter. Allowing the batter to sit in the pan for 10-15 minutes before baking makes an incredible difference. This seemingly small step provides crucial time for the gluten-free starches to fully hydrate and absorb the liquids, resulting in a cake that bakes up beautifully and maintains its structure and fluffy texture. It’s a game-changer for avoiding deflated or overly dense gluten-free cakes.
Of course, a perfect, homemade gluten-free vanilla cake wouldn’t be complete without the literal icing on the cake. For us, the classic pairing of vanilla cake with a rich chocolate frosting is irresistible, which is why we often reach for our tried-and-true fluffy chocolate buttercream frosting. However, for those who prefer a pure vanilla experience, the world’s floofiest white frosting would be equally fabulous, offering a light, airy contrast to the cake’s tender crumb. The choice is yours, but either way, prepare for a truly decadent finish to this sensational gluten-free cake.
Essential Ingredient Insights for Your Gluten-Free Yellow Cake
Achieving the perfect gluten-free yellow cake relies on understanding the role each ingredient plays. Here’s a closer look at the key components and why they are essential:
- Eggs: For that signature rich yellow hue and deeply satisfying flavor, the addition of extra egg yolks is absolutely critical. We use a thoughtful combination of whole eggs for structure and additional yolks to enhance the color, richness, and moisture, contributing to beautifully tall and sturdy cake layers.
- Gluten-Free Flour: The foundation of any gluten-free bake. This recipe was meticulously tested and perfected using Cup4Cup gluten-free flour blend. This particular blend is our hands-down favorite for all gluten-free baking recipes because of its consistent results and ability to mimic conventional flour. Using a high-quality, reliable GF flour blend is paramount for success.
- Butter: While we aim for a blend, butter is vital for imparting that classic, rich flavor profile. We haven’t personally tested this recipe with dairy-free butter, but given its composition, there’s no inherent reason why a good quality dairy-free stick butter alternative wouldn’t work as a substitute, maintaining the integrity of the recipe’s structure and flavor.
- Oil: The unsung hero for unparalleled moisture. Any neutral-flavored oil will work beautifully here; we typically opt for vegetable oil for its mild taste and consistent performance. The oil ensures the cake remains incredibly moist and tender, even days after baking, combating the common dryness associated with many gluten-free recipes.
- Milk: For optimal flavor and enhanced moisture, we strongly advocate for using a higher fat milk, such as whole milk. Its richness contributes to a creamy texture and helps prevent any potential grittiness that can sometimes arise with gluten-free flours. If you’re making a dairy-free version, full-fat cashew milk or a rich oat milk would be excellent alternatives, offering comparable richness and moisture.
Let’s Bake This *Together*: Step-by-Step Perfection!
(The following section provides step-by-step photos and detailed instructions to guide you through the process. For precise ingredient amounts and the complete recipe, please scroll down to the comprehensive recipe card below.)
Start with Room Temperature Ingredients
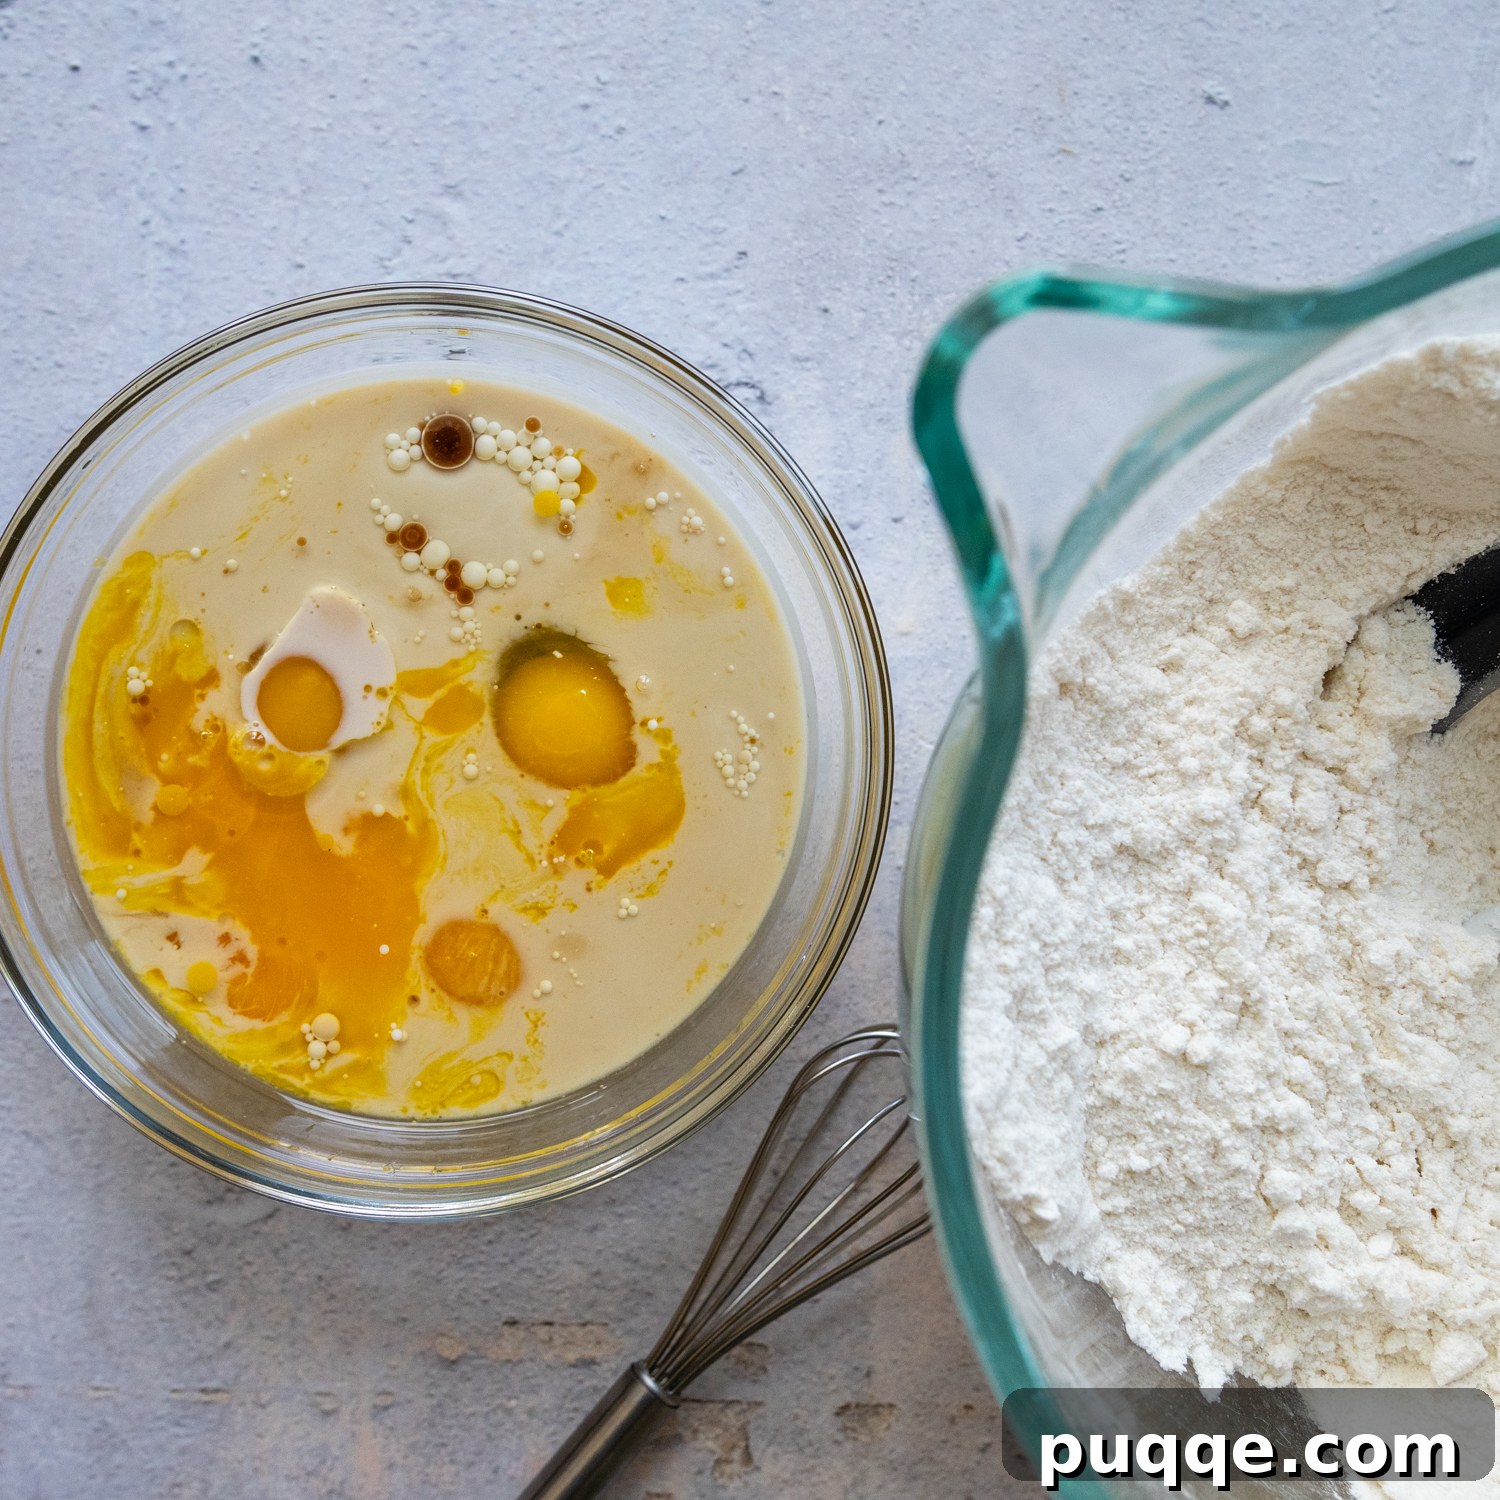
Before you begin, ensure your milk, eggs, and butter are all at room temperature. This crucial step allows ingredients to emulsify more effectively with the gluten-free flour blend, resulting in a smoother, more uniform batter and a finer cake crumb. To speed up the process, you can place eggs in a bowl of warm water for 10 minutes and let milk sit out for 30 minutes. Melt your butter and then allow it to cool completely before incorporating it. While these ingredients are coming to temperature, mix together all your dry ingredients in a large mixing bowl, making sure they are thoroughly combined.
Mastering the Gluten-Free Cake Mixing Technique
One of the beautiful advantages of working with gluten-free batter is the freedom from worrying about overmixing. Since there’s no gluten to develop, there’s no risk of your cake becoming tough. In fact, extended beating actually benefits gluten-free cakes, helping to create a light and airy texture by incorporating more air into the batter.
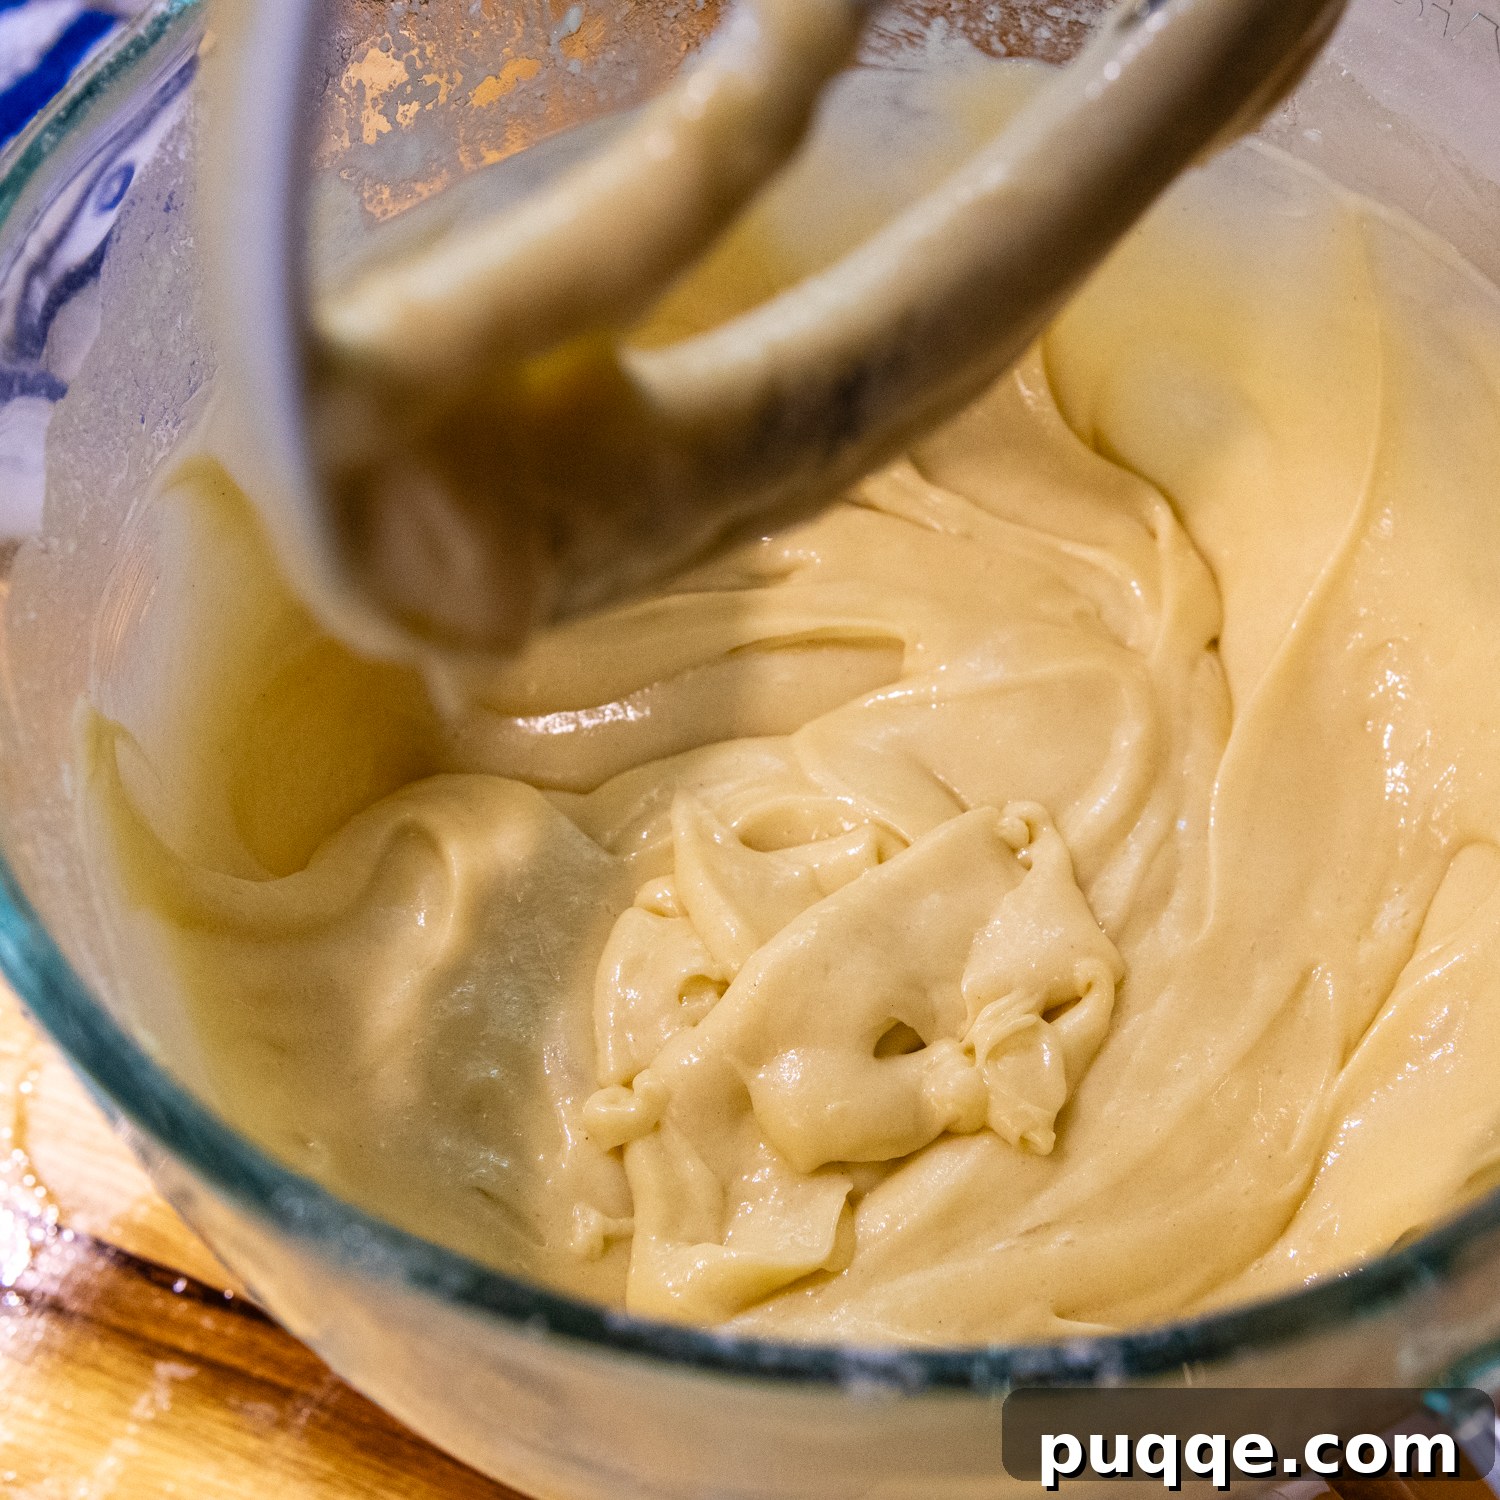
To execute this technique, first whisk together all your liquid ingredients until well combined. Then, pour all but approximately ½ cup of this liquid mixture into the bowl with your dry ingredients. Begin beating slowly to gently moisten everything, then increase the speed to medium and mix for about 2 minutes. During this stage, you’ll notice the batter transforming, becoming noticeably lighter and very fluffy. Finally, pour in the remaining ½ cup of wet mixture and beat for another 1 minute. This staggered addition aids gluten-free starches, which naturally have a harder time absorbing moisture, ensuring they are fully hydrated. This is the first critical step to achieving a wonderfully moist cake.
Why Rest is Best for Gluten-Free Cakes
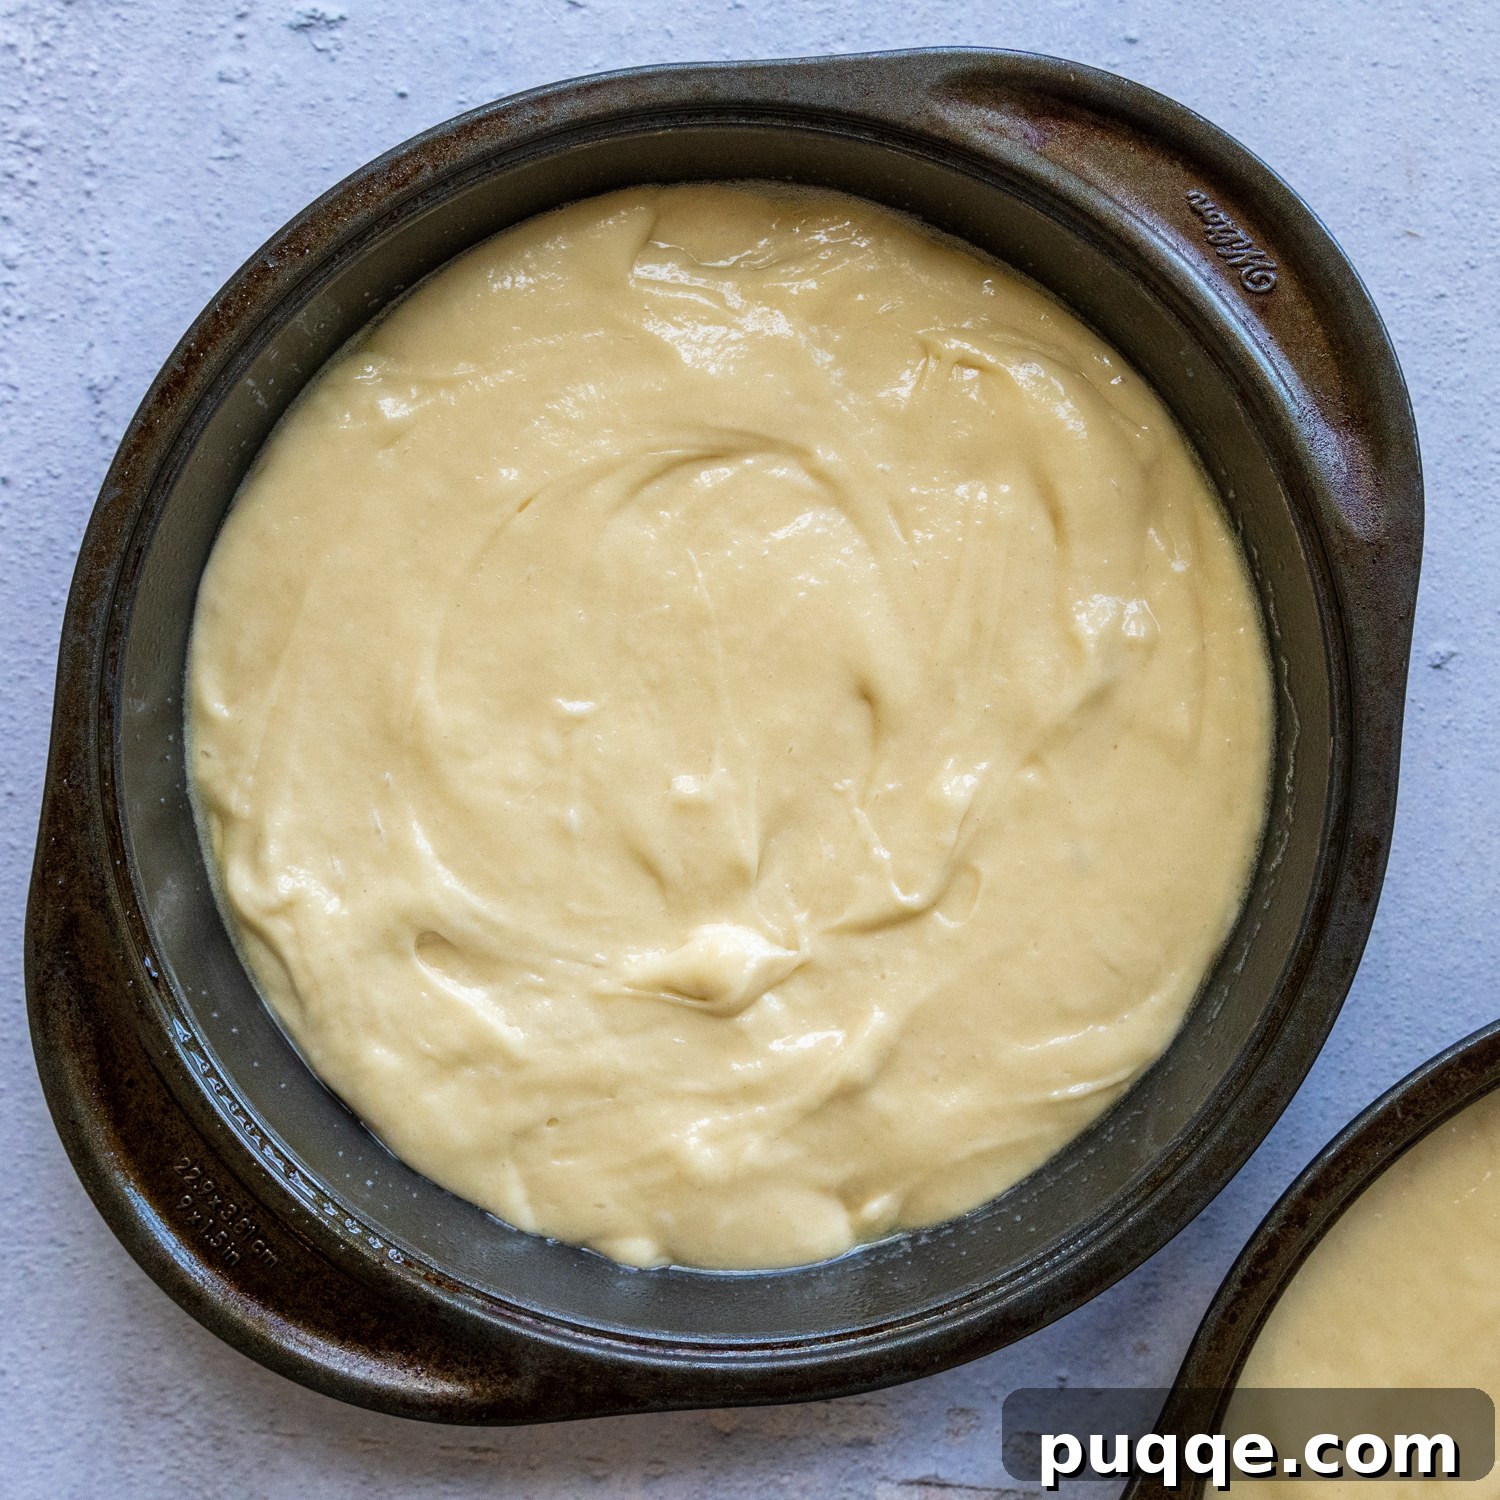
Once your batter is perfectly mixed, divide it evenly between your prepared cake pans. Now comes another essential, yet often overlooked, step: let it rest! Allow the batter to sit in the pans for approximately 15 minutes before placing them in the oven. This crucial resting period gives the liquids ample time to fully absorb into the gluten-free starches. This complete hydration is what allows you to bid farewell to dense, heavy cake layers forever!
During my extensive testing, I observed that cakes baked immediately after mixing would initially rise nicely in the oven but then had a tendency to deflate, resulting in a less-than-ideal texture. The rest prevents this. After resting, bake your cake in a preheated 350°F (175°C) oven for about 20 minutes, rotating the pans halfway through to ensure even baking. Once baked, allow the cake layers to cool for 5 minutes in their pans before carefully turning them out onto wire racks to cool completely. Cooling thoroughly is vital before frosting to prevent melting and ensure a stable structure.
Cool, Frost, and Savor the Best Cake Ever
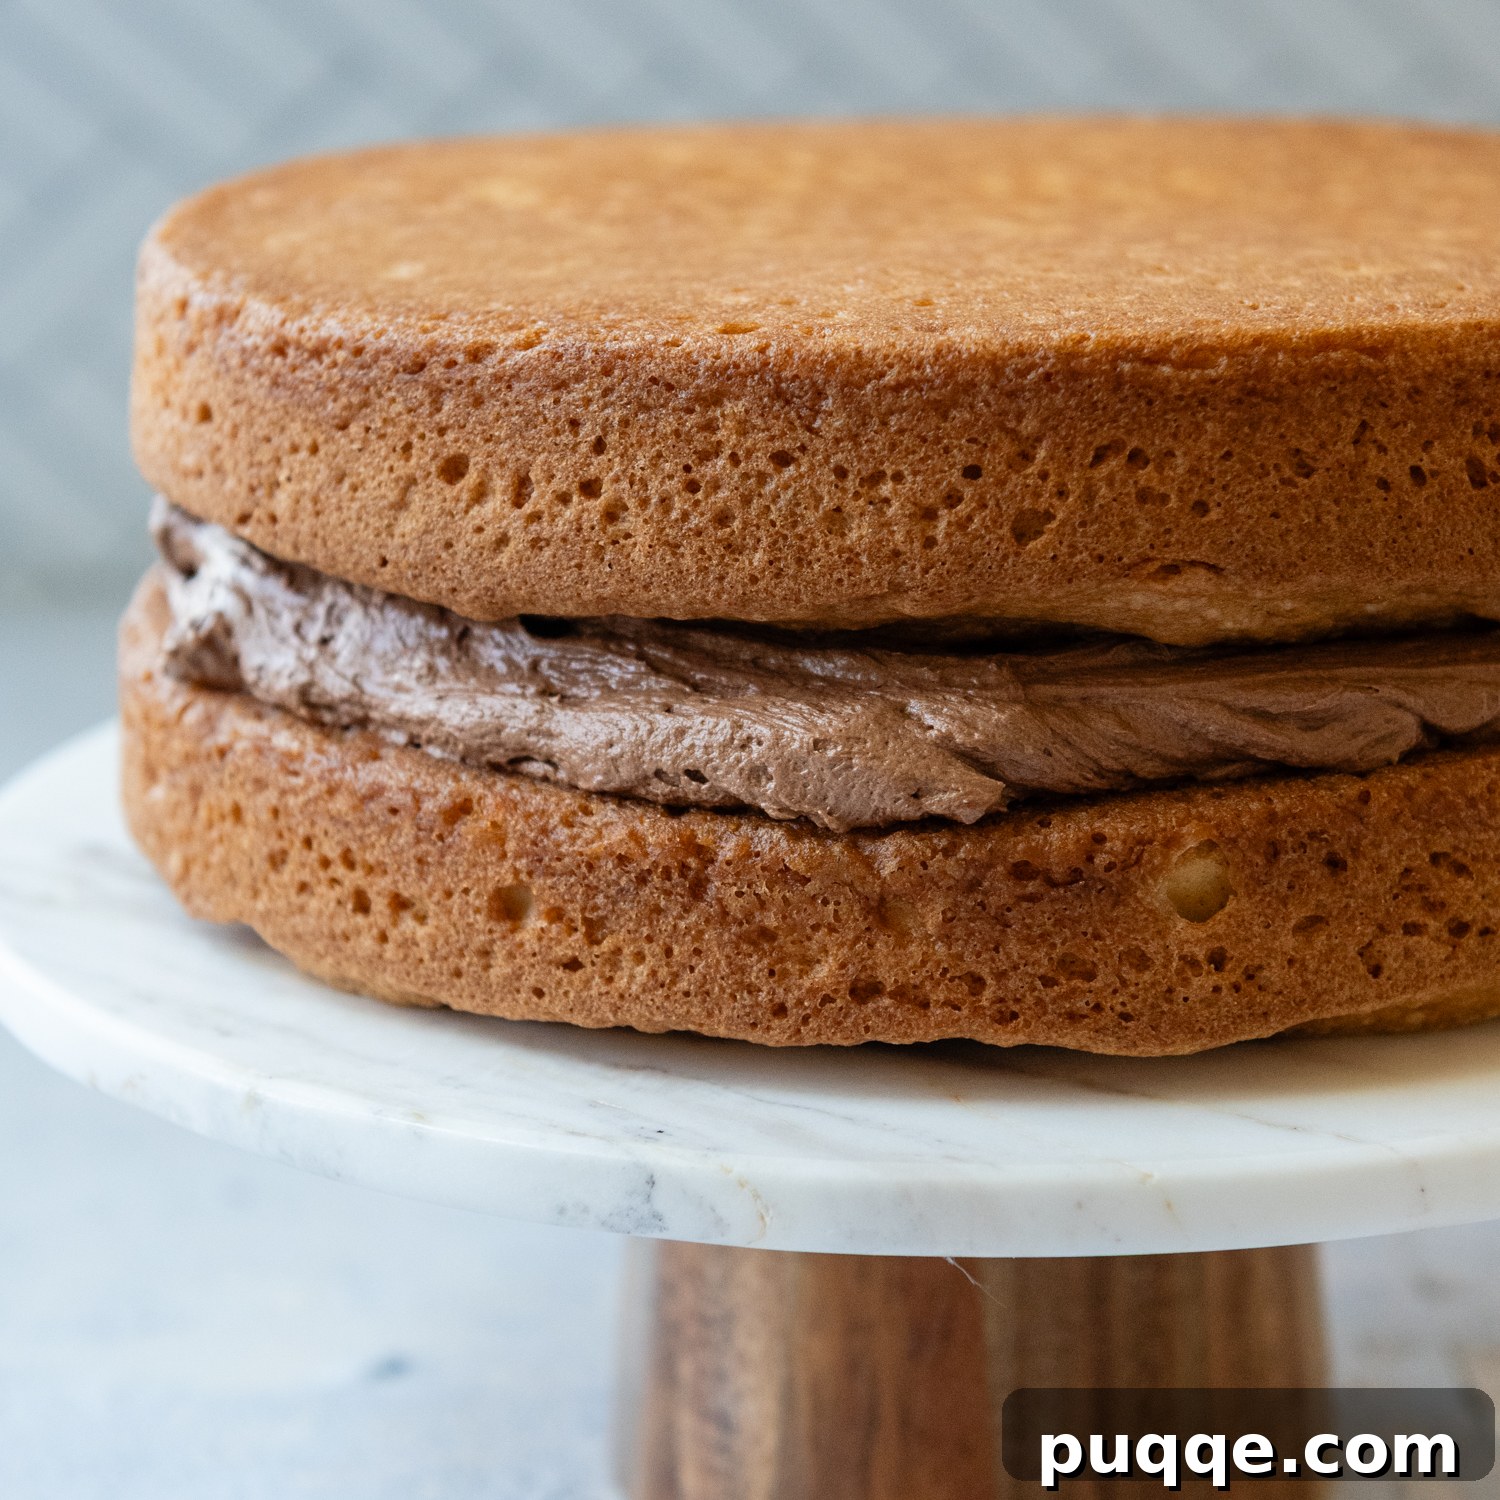
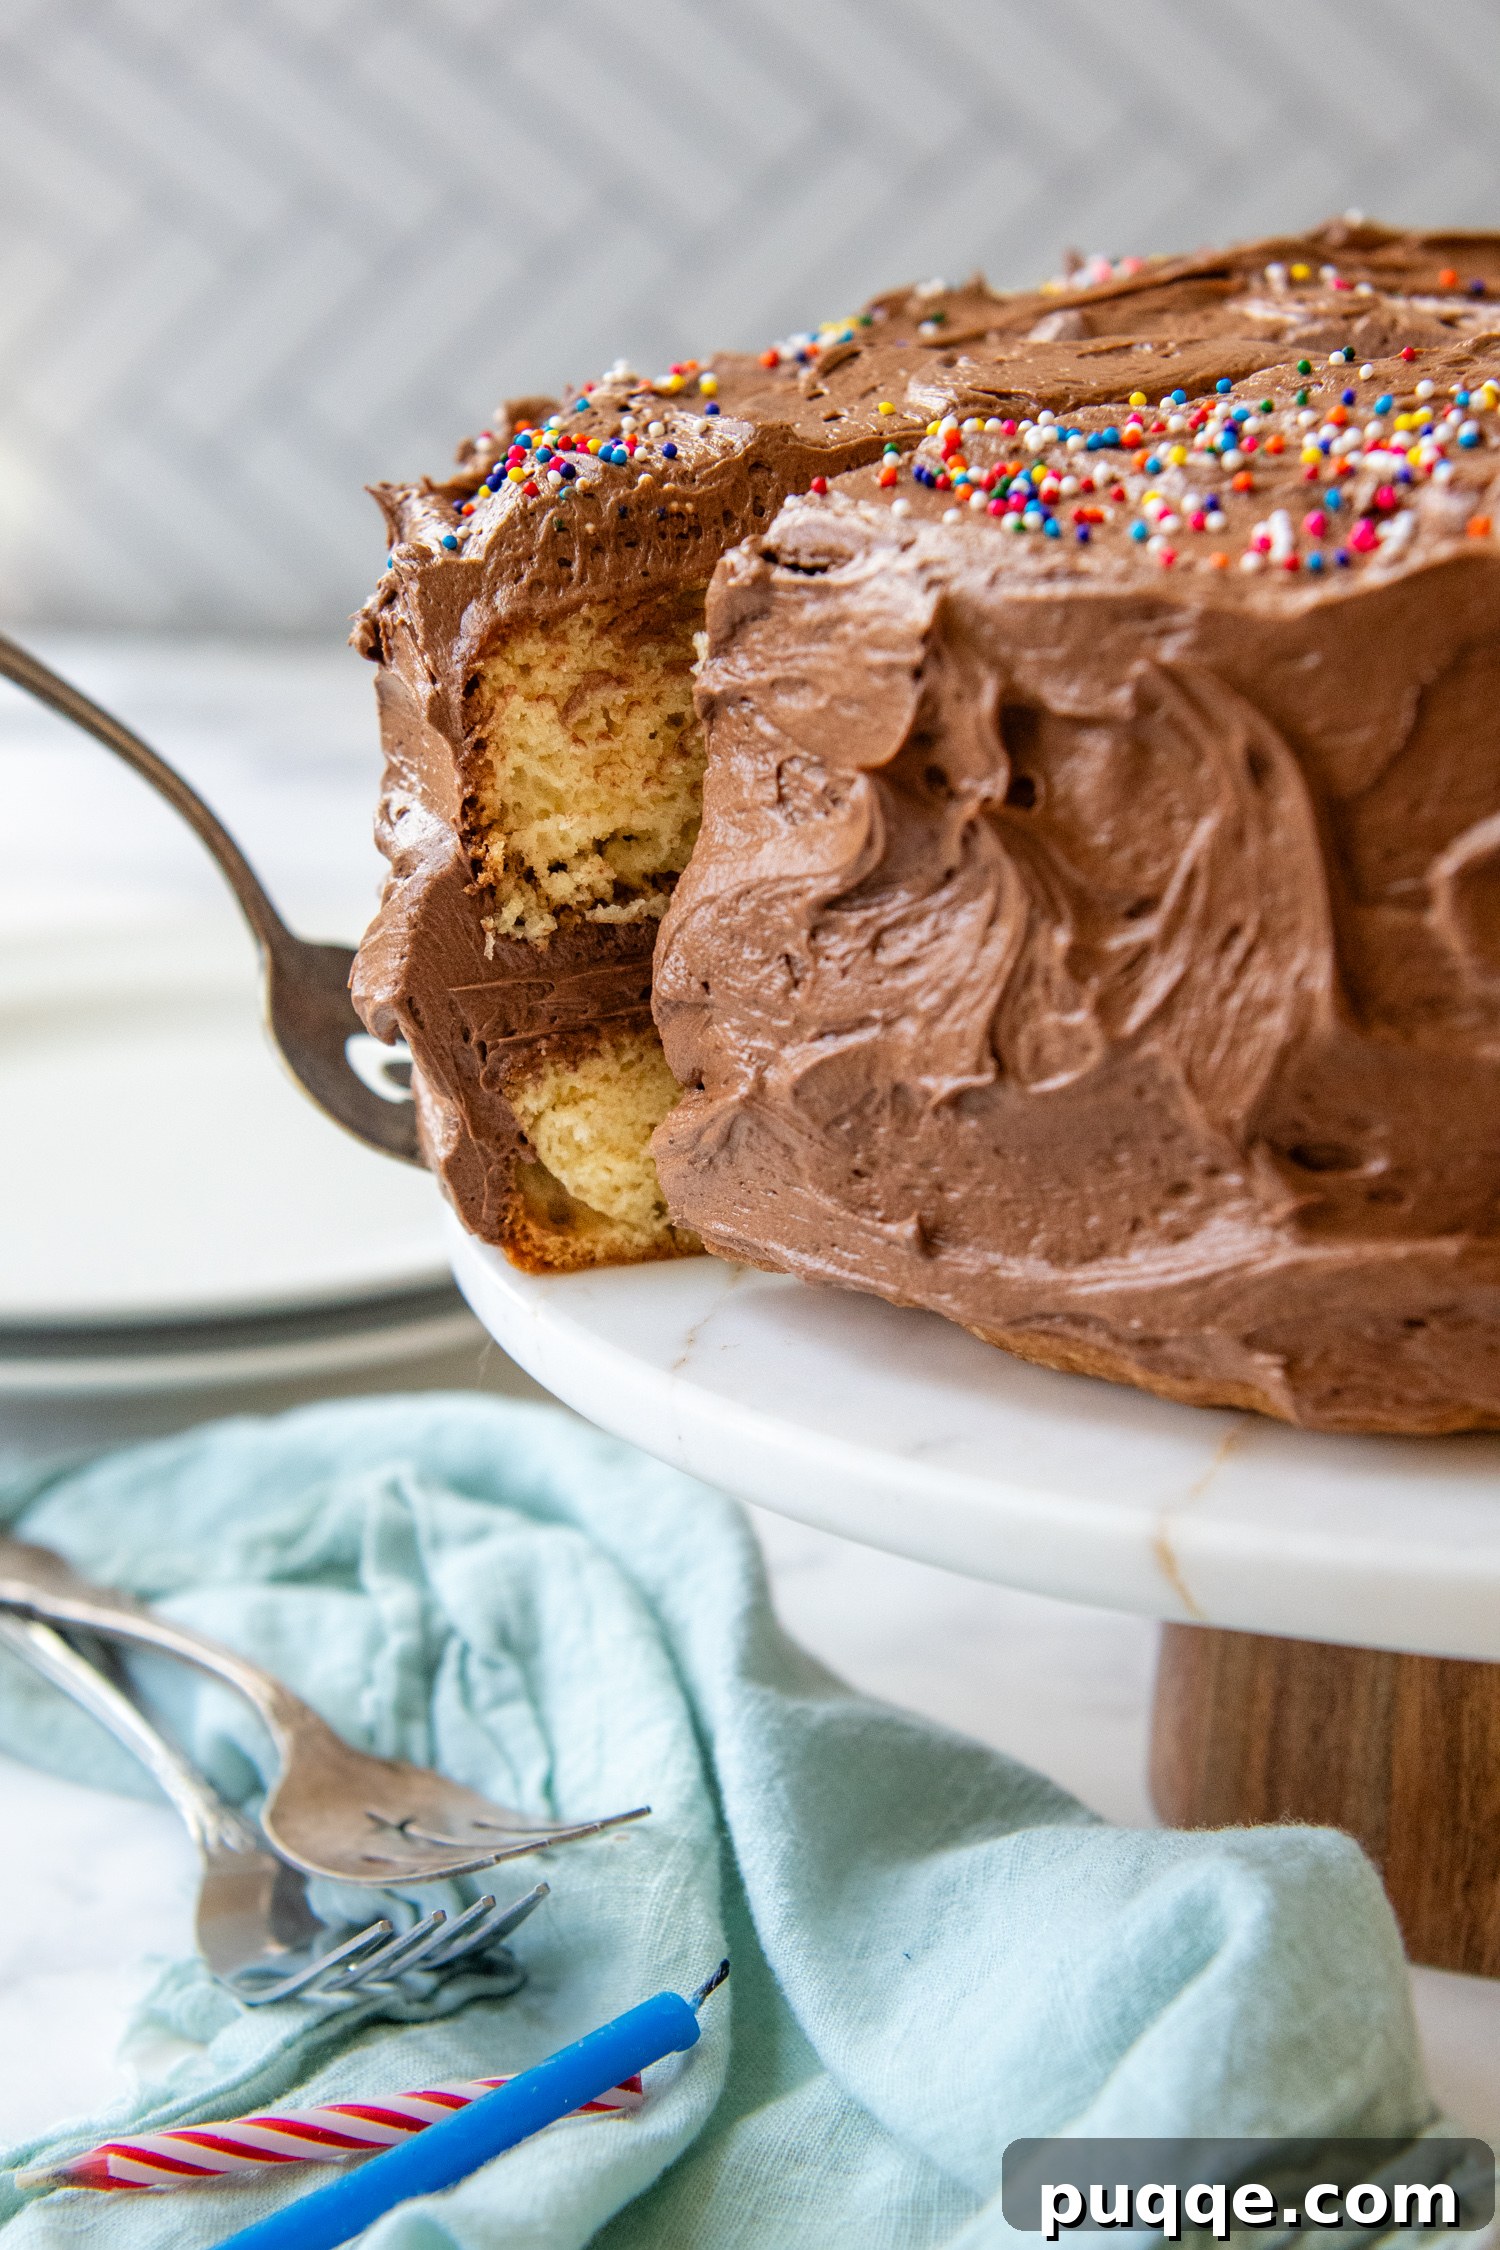
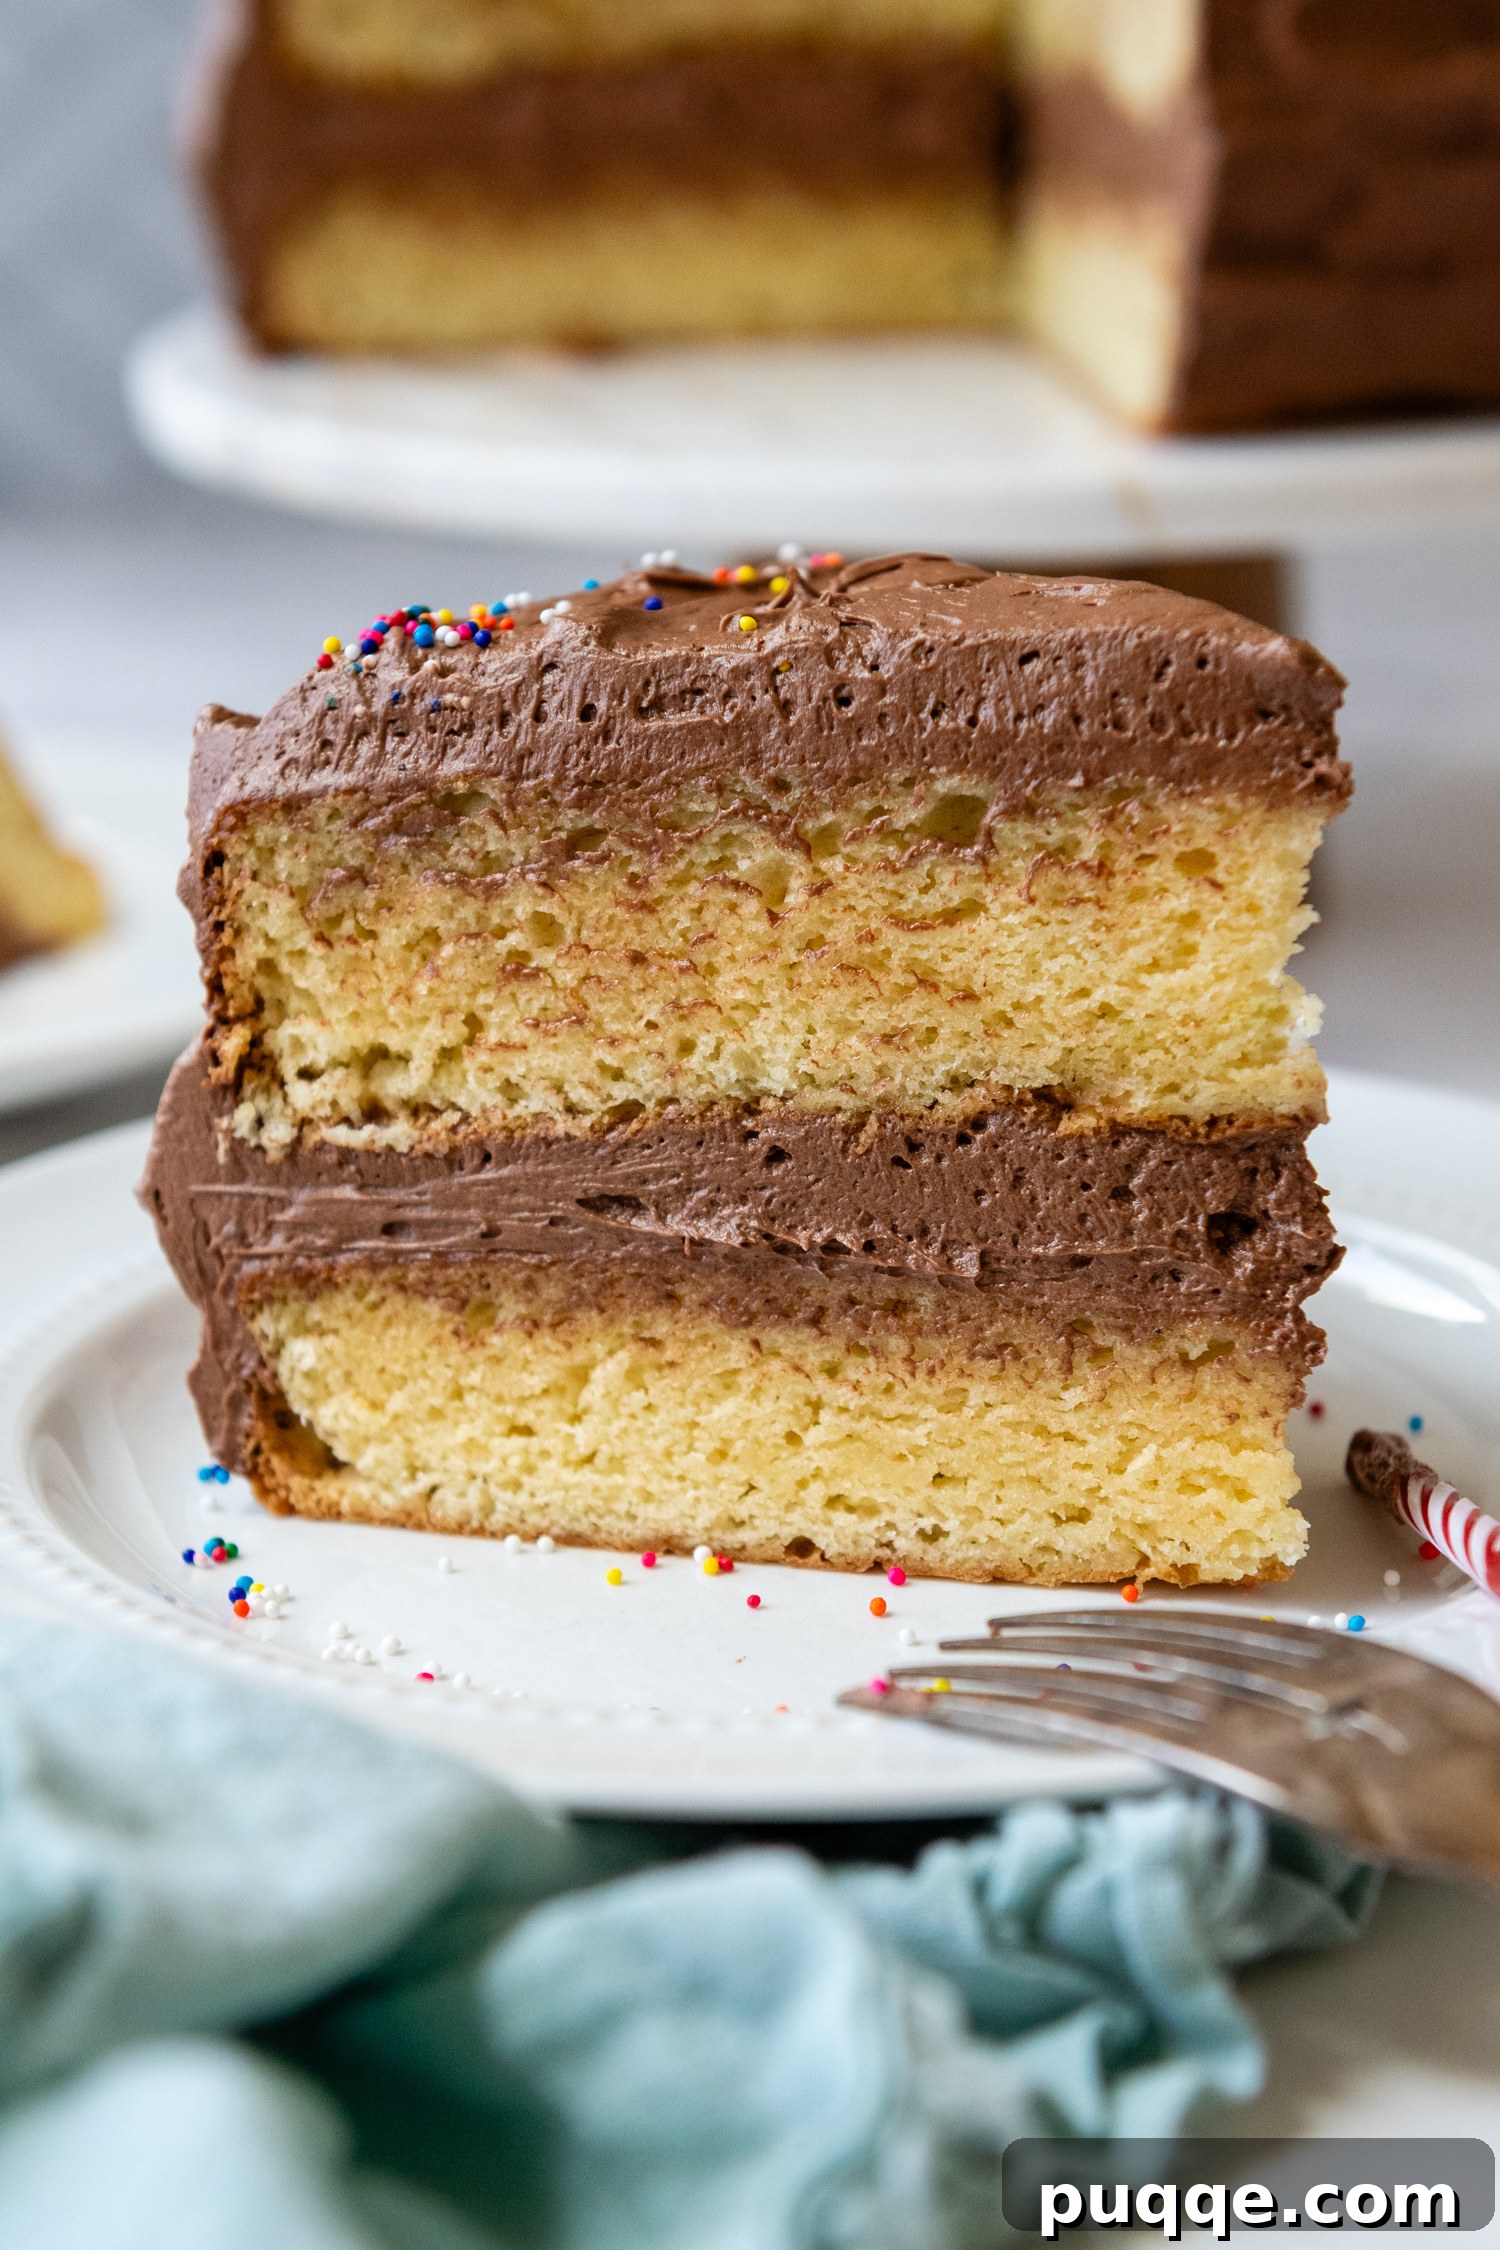
The moment of truth has arrived – it’s frosting o’clock! Once your cake layers are completely cool to the touch, it’s time to assemble and decorate. Spread a generous, even layer of your chosen frosting in the middle, between the cake layers. Then, proceed to frost the top and sides of the cake, aiming for a smooth, attractive finish. For a truly professional touch and to keep your cake platter pristine, I like to tuck thin strips of wax paper or parchment paper just under the bottom cake layer before frosting. Once you’re done frosting, gently pull out the strips – they’ll catch any stray smudges and leave your serving plate spotless. Now, all that’s left is to slice, serve, and enjoy the fruits of your labor. Get ready for some serious finger-licking deliciousness – this truly is the best gluten-free yellow cake ever! 😎
Versatile & Delicious: Converting to Gluten-Free Cupcakes
Deciding between a full layer cake and individual cupcakes for a celebration can be tough, but with this versatile gluten-free yellow cake recipe, you don’t have to choose! It seamlessly converts into delightful cupcakes. This recipe will yield approximately 22 standard-sized cupcakes. To prepare, simply line your cupcake tins with paper liners, then distribute the batter evenly among them, filling each cup no more than two-thirds full to allow for proper rising. Bake for 15-18 minutes in a 350°F (175°C) oven, or until the tops are set, lightly golden, and a wooden toothpick inserted into the center comes out clean. Allow them to cool completely on a wire rack before frosting and, of course, don’t forget a generous sprinkle of your favorite decorations!
Exploring Other Baking Pan Options
While this recipe is designed for two 9-inch cake pans, which we find to be the most common size in home kitchens, it’s incredibly adaptable to various baking vessels. If you desire slightly thicker, taller cake layers, we recommend using two 8-inch cake pans instead. Keep in mind that using smaller pans will require a slightly longer baking time, typically an additional 2-3 minutes, so always rely on the toothpick test for doneness.
For those looking to make a single layer cake, simply halve the entire recipe and pour the batter into either an 8-inch or 9-inch round cake pan. If a convenient sheet cake is more your style, you can pour the full recipe batter into a 9×13-inch baking pan. For a sheet cake, the baking time will extend significantly to approximately 30-35 minutes. Regardless of your chosen pan, always check that the middle is set and a toothpick inserted into the center emerges clean before removing it from the oven.
Don’t Miss Out! Save This Recipe to Your Pinterest Board!
Let’s connect and be friends on Pinterest! I’m always sharing fantastic recipes and baking inspiration!
Did you bake this incredible gluten-free yellow cake? We absolutely love hearing from you and seeing your delicious creations! Please leave a star rating and comment below the recipe card. Your feedback is invaluable, helping other bakers in our community discover and enjoy this recipe. Plus, I promise you’ll always hear back from me! -Melissa
My Best Moist Gluten-Free Yellow Cake Recipe
 Melissa Erdelac
Pin
Rate
Remove Ads
Ingredients
- 5 tablespoons (70 g) unsalted butter, melted and cooled
- ¼ cup (53 g) oil, any preferred
- ⅔ cup (163 g) whole milk, room temperature
- 2 large eggs, room temperature
- 3 egg yolks, room temperature
- 2 teaspoons vanilla extract
- 2 cups (308 g) gluten free all purpose flour, I use and highly recommend Cup4Cup
- 1½ cups (300 g) granulated sugar
- 1 tablespoon baking powder
- ½ teaspoon baking soda
- ½ teaspoon salt
Equipment
-
Stand Mixer
-
9 inch Cake Pans
-
Cup4Cup Gluten Free Flour
Instructions
-
Preheat your oven to 350ºF (175°C) and ensure the oven rack is positioned in the middle. Prepare two 9-inch or 8-inch cake pans by spraying them generously with cooking spray. Line the bottoms of the pans with parchment paper circles, then grease the parchment paper as well. Set the prepared pans aside.
-
First, melt the butter and set it aside to cool completely to room temperature. Once cooled, whisk together the melted butter, oil, milk, eggs, and vanilla extract in a separate bowl until the mixture is well combined.5 tablespoons (70 g) unsalted butter, ¼ cup (53 g) oil, ⅔ cup (163 g) whole milk , 2 large eggs, 3 egg yolks, 2 teaspoons vanilla extract
-
In a large mixing bowl or the bowl of a stand mixer fitted with a paddle attachment, combine the gluten-free flour, granulated sugar, baking powder, baking soda, and salt. Mix until all dry ingredients are thoroughly combined. Add all but approximately ½ cup (you can simply eyeball this amount) of the liquid mixture to the dry ingredients. Begin beating on low speed initially to moisten the ingredients, then increase the speed to medium and beat for 2 minutes until the batter becomes light and fluffy. Pour in the remaining liquid mixture and continue to beat on medium speed for 1 minute longer.2 cups (308 g) gluten free all purpose flour, 1½ cups (300 g) granulated sugar, 1 tablespoon baking powder, ½ teaspoon baking soda, ½ teaspoon salt
-
Divide the batter evenly between your prepared cake pans. Allow the batter to rest in the pans for 15 minutes. This resting period is crucial for the gluten-free flour to fully absorb the liquids, which ensures beautifully fluffy and tender cake layers. Bake for 20 minutes (or about 2 minutes longer if using 8-inch pans), rotating the pans halfway through the baking time to promote even cooking. The cake is done when the tops are golden brown, the middle feels set to the touch, and a wooden toothpick inserted into the center comes out clean.
-
After baking, allow the cake layers to cool in their pans for 5 minutes. Then, carefully invert them onto a wire rack, gently remove the parchment paper from the bottoms, and let them cool completely to room temperature before applying your chosen frosting. We highly recommend our fluffy chocolate buttercream frosting or a light, airy vanilla frosting. Refer to the recipe notes section below for detailed storing and freezing tips to keep your cake fresh and delicious.
Notes
Storing and Freezing for Freshness
Gluten-free cakes, by nature, tend to dry out more quickly than traditional cakes. For the best flavor and texture, if you do not plan on freezing the cake, aim to bake it no more than 24 hours before you intend to serve it. Store the frosted cake at room temperature in an airtight cake dome or container for up to 2-3 days, or in the refrigerator for up to 5 days.
Freezing Unfrosted Cake Layers: This is a fantastic way to prepare ahead! Once each cake layer has cooled completely to room temperature, wrap each layer securely and individually in several layers of plastic wrap. To provide extra protection against freezer burn, transfer the wrapped layers into a gallon-sized freezer bag or an airtight freezer-safe container. These unfrosted layers can be frozen for up to 3 months.
When you’re ready to use them, remove the wrapped cake layers from the freezer bag and thaw them at room temperature for approximately 1 hour. Once thawed, they are ready to be frosted and enjoyed!
Freezing a Frosted Cake: Yes, you can freeze an assembled and frosted cake! First, allow your entire frosted cake to chill in the freezer for about 1-2 hours, or until the frosting has completely solidified. This step prevents the frosting from sticking to the wrapping. After the frosting is frozen solid, carefully wrap the entire cake securely with several layers of plastic wrap. Then, cover the plastic-wrapped cake with a layer of aluminum foil for added protection. Your frosted cake can be frozen for up to 3 months.
To thaw, transfer the wrapped cake to the refrigerator overnight. Once thawed in the fridge, carefully remove the plastic wrap and foil. Continue to thaw the cake at room temperature for another 5-6 hours, allowing it to come to a perfect serving temperature before slicing and enjoying.