
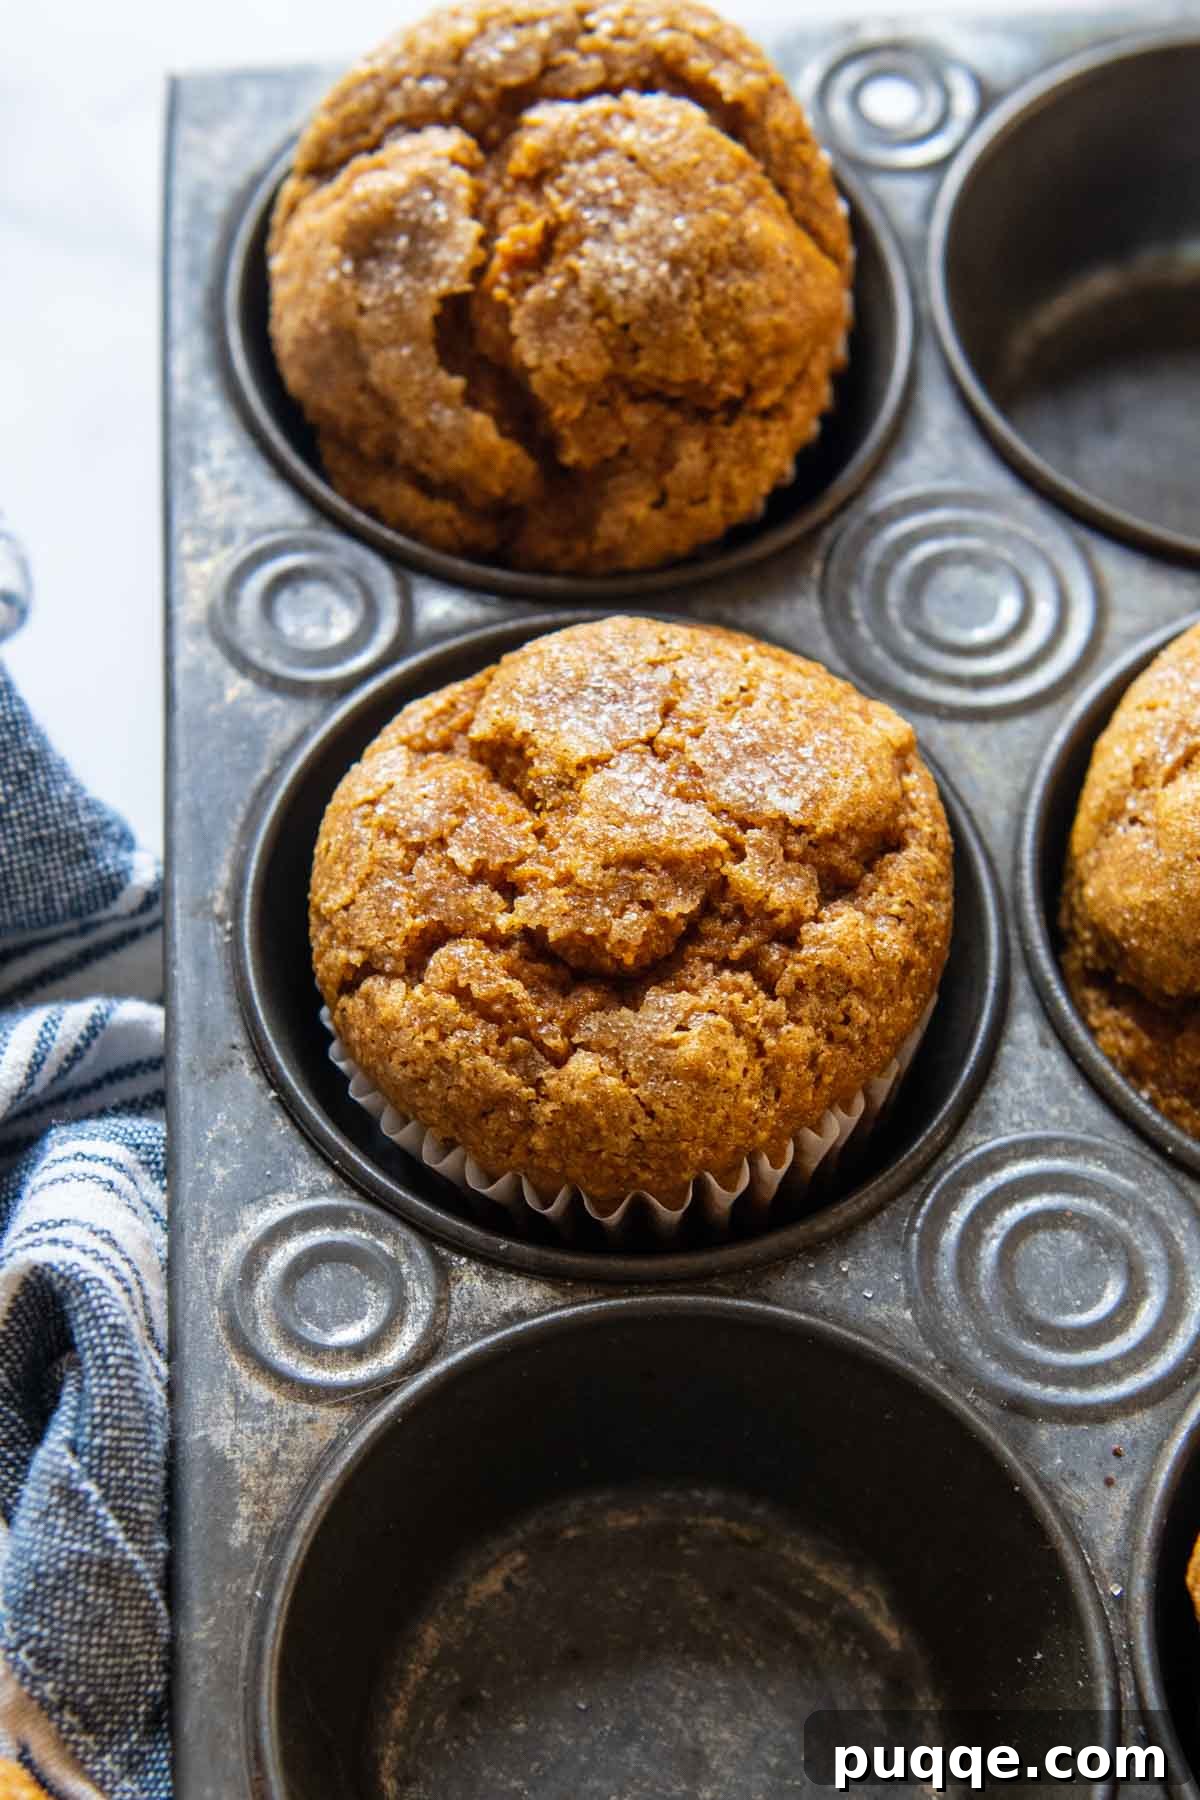
Prepare to experience love at first bite with these incredibly delicious and effortlessly made **Pumpkin Oat Flour Muffins**! Crafted with wholesome, gluten-free oats and rich pumpkin puree, this recipe delivers a truly flourless and deeply satisfying treat. Imagine light, fluffy muffins bursting with warm, cozy pumpkin spice flavor, all whipped up in minutes using just a blender. Whether you’re seeking a healthier breakfast, a delightful snack, or a guilt-free dessert, these muffins are a seasonal sensation you’ll want to enjoy all year round.
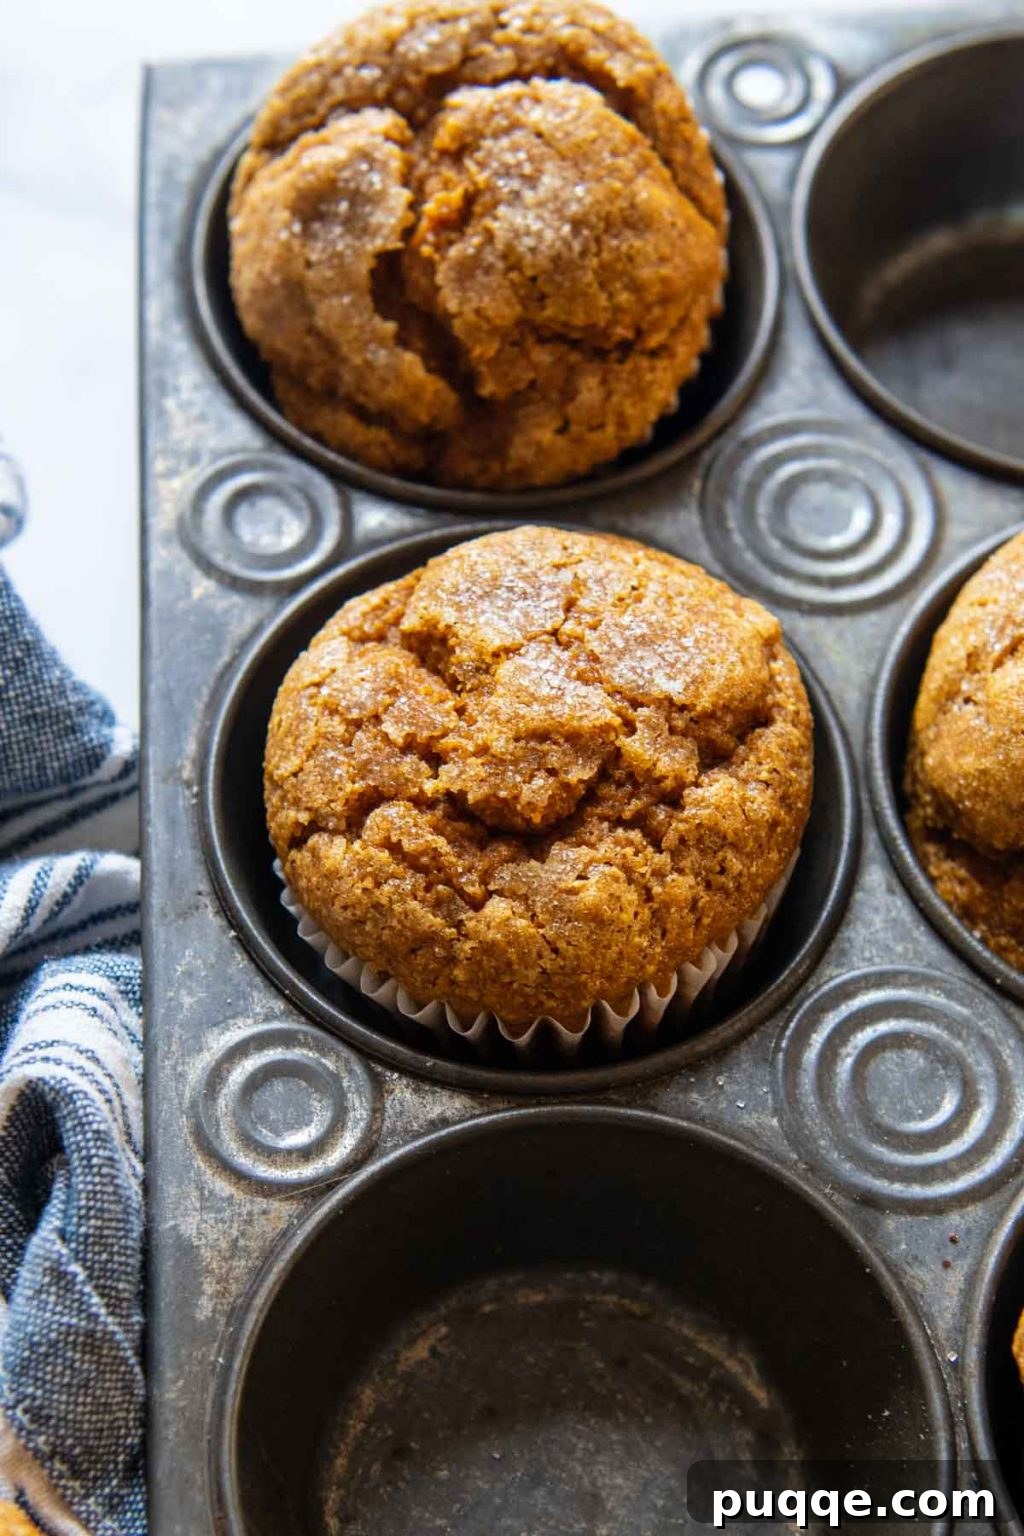
Irresistibly Fluffy & Flourless: The Ultimate Gluten-Free Pumpkin Oat Flour Muffins Recipe
I simply cannot stop baking these pumpkin oat flour muffins! Seriously, my kitchen has been in a constant state of pumpkin-spiced bliss. My love affair with creating 1-minute homemade oat flour and exploring naturally gluten-free oat flour recipes started because I adore easy, flourless, and gluten-free recipes that don’t demand a trip to a specialty store for obscure ingredients.
These muffins beautifully marry the simplicity found in my highly-acclaimed oat flour bread recipe. By utilizing readily available gluten-free rolled oats, you can create your own budget-friendly oat flour right at home. This foundation, combined with the comforting embrace of pumpkin spice and velvety pumpkin puree, transforms into a wholesome, nutrient-packed muffin. It’s the perfect way to kickstart your day or enjoy a moment of pure comfort.
The magic happens with minimal effort. Just toss your oats into a blender or food processor to grind them into fine flour. Add the remaining ingredients, process for a mere few seconds until combined, pour into your muffin tins, and bake. The entire process requires only minutes of hands-on time, and the best part? Absolutely no traditional flour is needed!
Late at night I was asked to make a gluten free breakfast sweet for an event the next morning. So glad I found this recipe! I doubled the recipe and used one 15 ounce can of pumpkin. I did add some extra pumpkin pie spice, but otherwise simply followed the recipe. Full of flavor, moist…just perfect!
—Pamela
My go to muffin recipe. These are absolutely scrumptious and turn out perfectly every time. Chocolate chips make these an extra special treat. Also added a pinch of ginger powder last time and they were fantastic. Thanks for sharing!
—Nooreen
Essential Ingredients for Perfect Pumpkin Oat Muffins & Smart Swaps
If you have a can of pumpkin puree ready, you’re halfway to baking a batch of these quick and delightful pumpkin oat muffins. Here are some detailed notes about the key ingredients and how you can adapt them to suit your dietary needs or pantry availability. For even more creative ideas, be sure to read the recipe notes and FAQs below.
- Oat Flour: For guaranteed gluten-free muffins, always opt for certified gluten-free rolled oats or pre-made oat flour. If you’re using store-bought oat flour, refer to the recipe card for the slightly adjusted amount required, as pre-ground flour can be more compact. Making your own oat flour from rolled oats is incredibly simple and cost-effective. The finer you can grind your oats, the lighter and fluffier your muffins will be.
- Pumpkin Puree: This isn’t just for flavor; pumpkin puree adds incredible moisture to these muffins, reducing the need for excessive oil. Be sure to use 100% pure pumpkin puree, not pumpkin pie filling, which contains added sugars and spices. Since this recipe typically doesn’t use an entire can, save the remainder to make these chewy, homemade gluten-free pumpkin cookies or seriously fluffy almond flour pumpkin bread.
- Oil: A modest amount of oil is essential for tenderness. You can use any neutral-flavored oil you prefer, such as canola, vegetable, or melted coconut oil. Apple sauce can sometimes be substituted for a portion of the oil for a lower-fat option, but be mindful of potential texture changes.
- Milk: Dairy milk works perfectly, but for a dairy-free recipe, feel free to substitute with your favorite non-dairy milk like almond, soy, or oat milk.
- Sweetener: Brown sugar lends a rich, molasses-like depth and moistness. Alternatively, you can use unrefined sweeteners like maple syrup or honey for a different flavor profile. However, using liquid sweeteners will introduce slightly more moisture into the batter, which may necessitate an extra minute or two of baking time to ensure the muffins are fully set.
- Pumpkin Pie Spice: This spice blend is the heart of the pumpkin flavor. If you don’t have it on hand, you can easily create your own with individual spices (see recipe notes for a homemade blend).
- Baking Powder & Baking Soda: These leavening agents work in harmony to give the muffins their characteristic lift and airy texture. Ensure they are fresh for optimal results.
- Salt: A pinch of salt enhances all the other flavors, balancing the sweetness and spices.
- Vanilla Extract: Essential for rounding out the flavor profile and adding a touch of aromatic sweetness.
Let’s Bake These Delicious Muffins Together!
(Below, you’ll find step-by-step photos and detailed instructions. For the complete recipe, including precise ingredient amounts, please scroll down to the dedicated recipe card.)
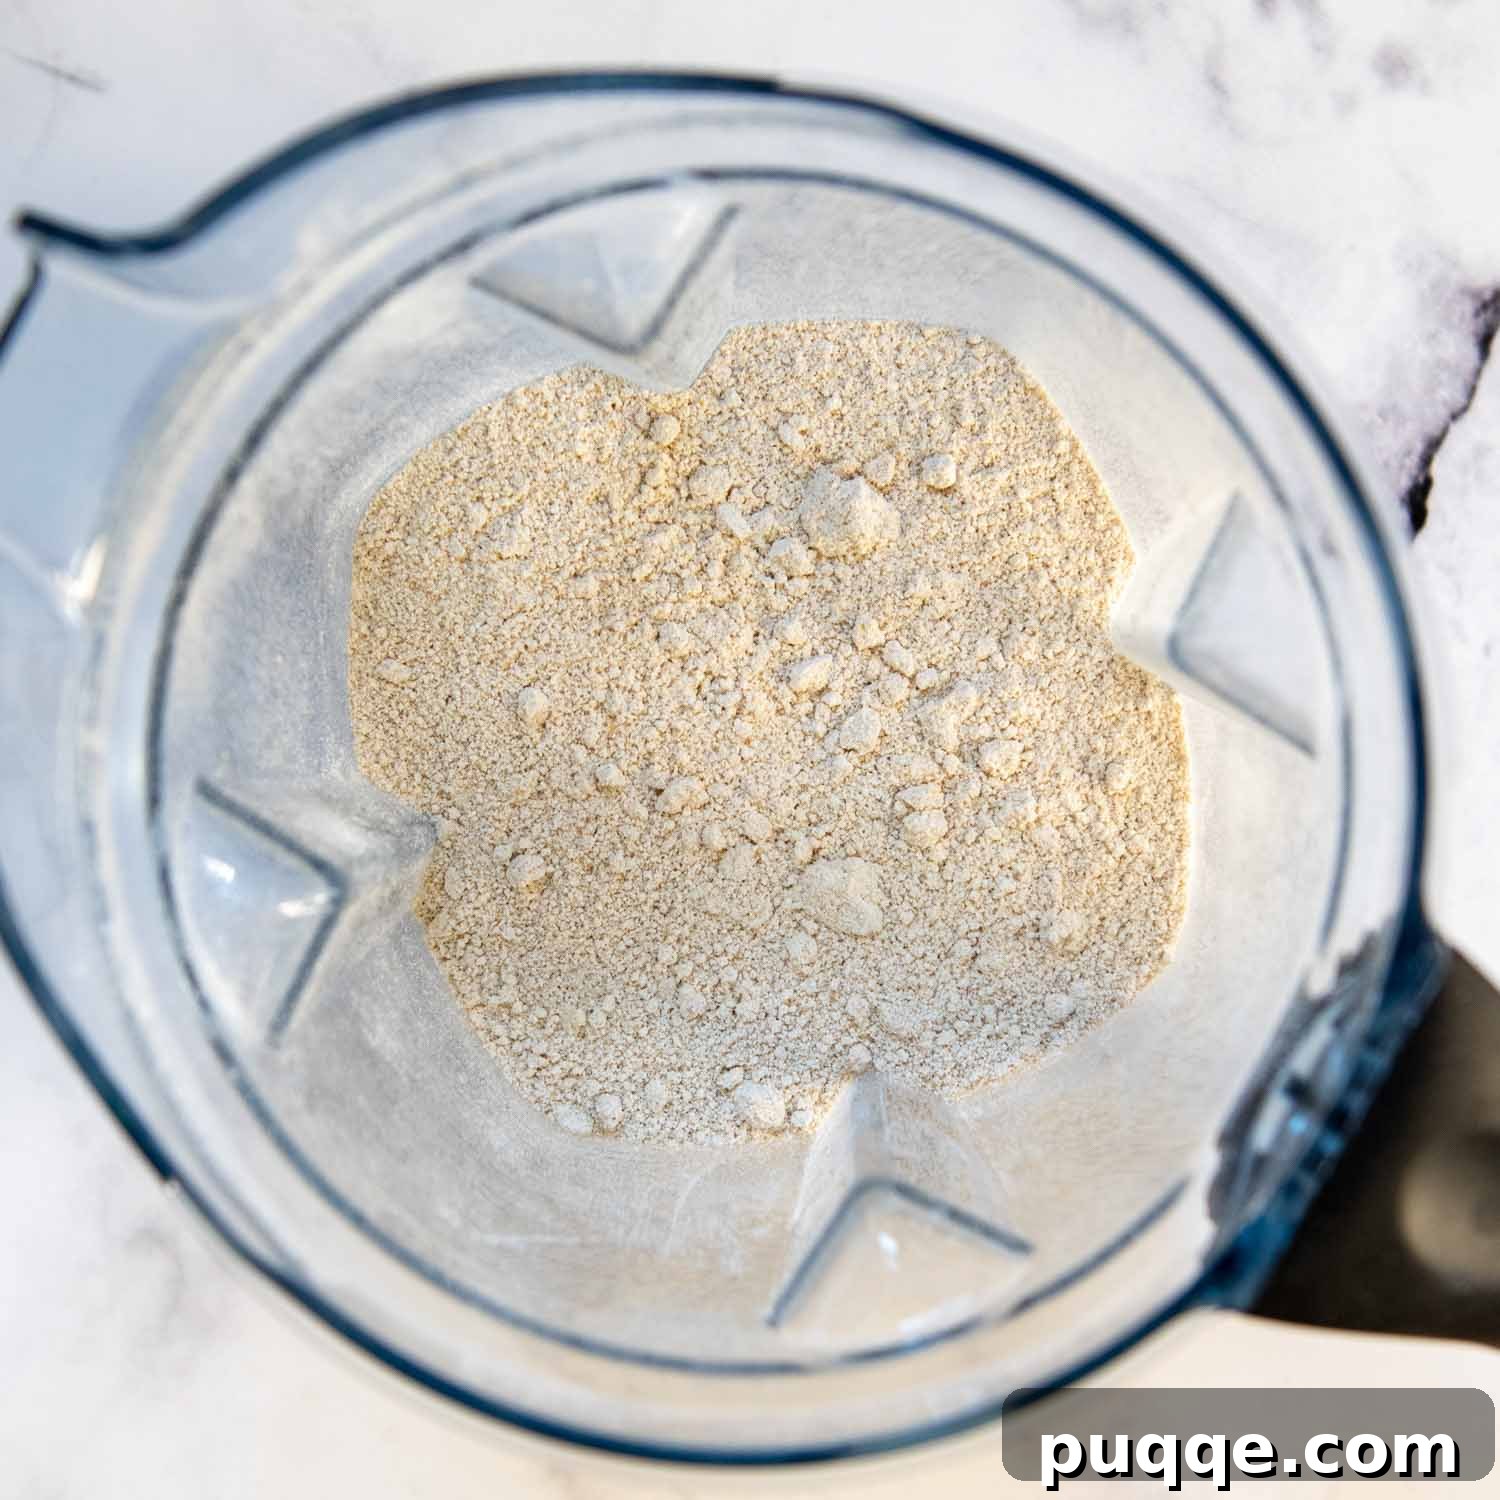
Step 1: Prepare Your Homemade Oat Flour
If you have a blender and a bag of rolled oats, there’s absolutely no need to buy expensive oat flour! Making it at home is ridiculously quick and simple, taking less than a minute. The key to truly fluffy muffins lies in how finely you can grind the oats. A high-powered blender, such as a Vitamix, excels at creating a superfine flour, but most standard blenders will also do a fantastic job. You might just have a slightly coarser crumb, which still makes for delicious muffins.
Step 2: Combine the Dry Ingredients
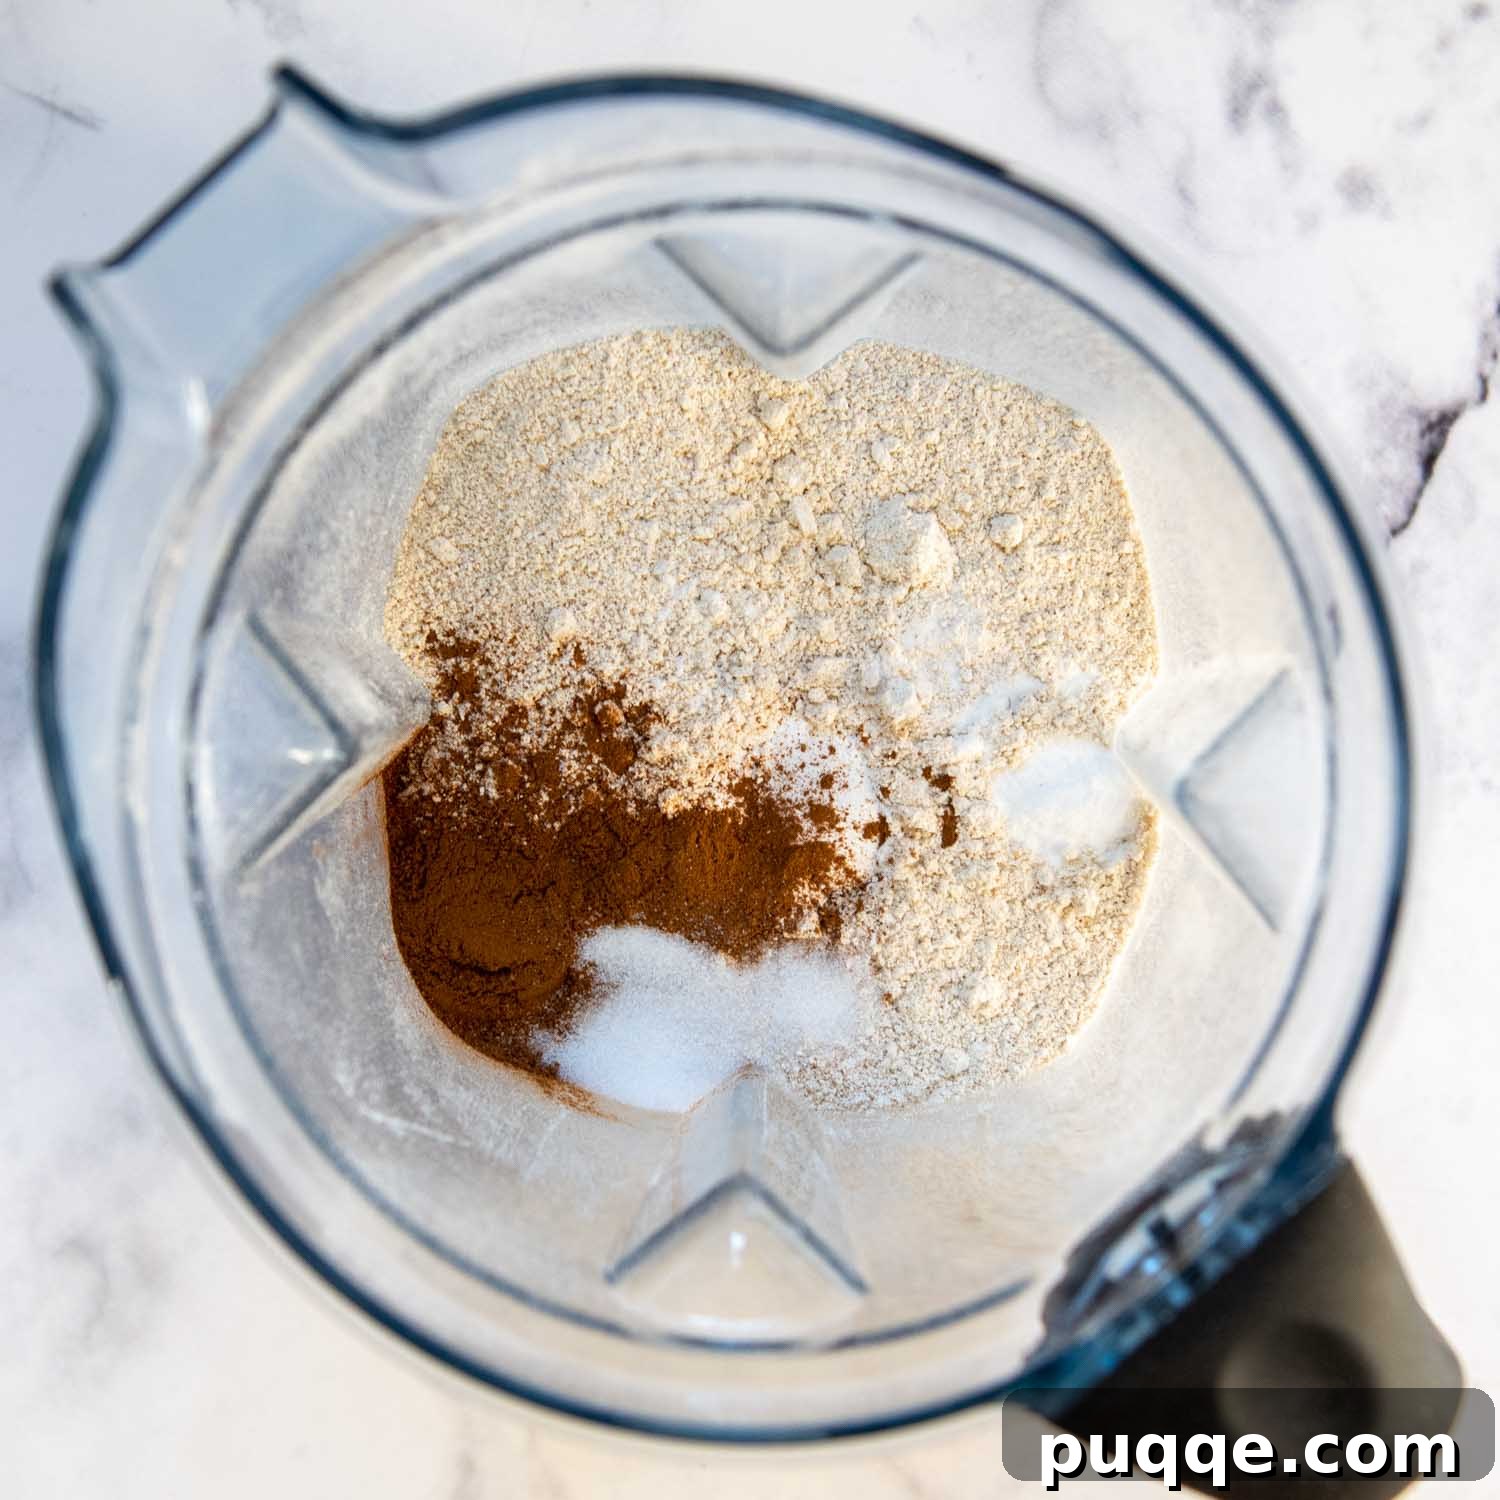
Once your oat flour is ready, add the remaining dry ingredients directly into the blender: pumpkin pie spice, baking powder, baking soda, and salt. Give it a quick pulse or whiz to ensure everything is thoroughly combined. This step ensures that the leavening agents and spices are evenly distributed throughout the flour, leading to consistent flavor and rise in every muffin.
Step 3: Introduce the Wet Ingredients
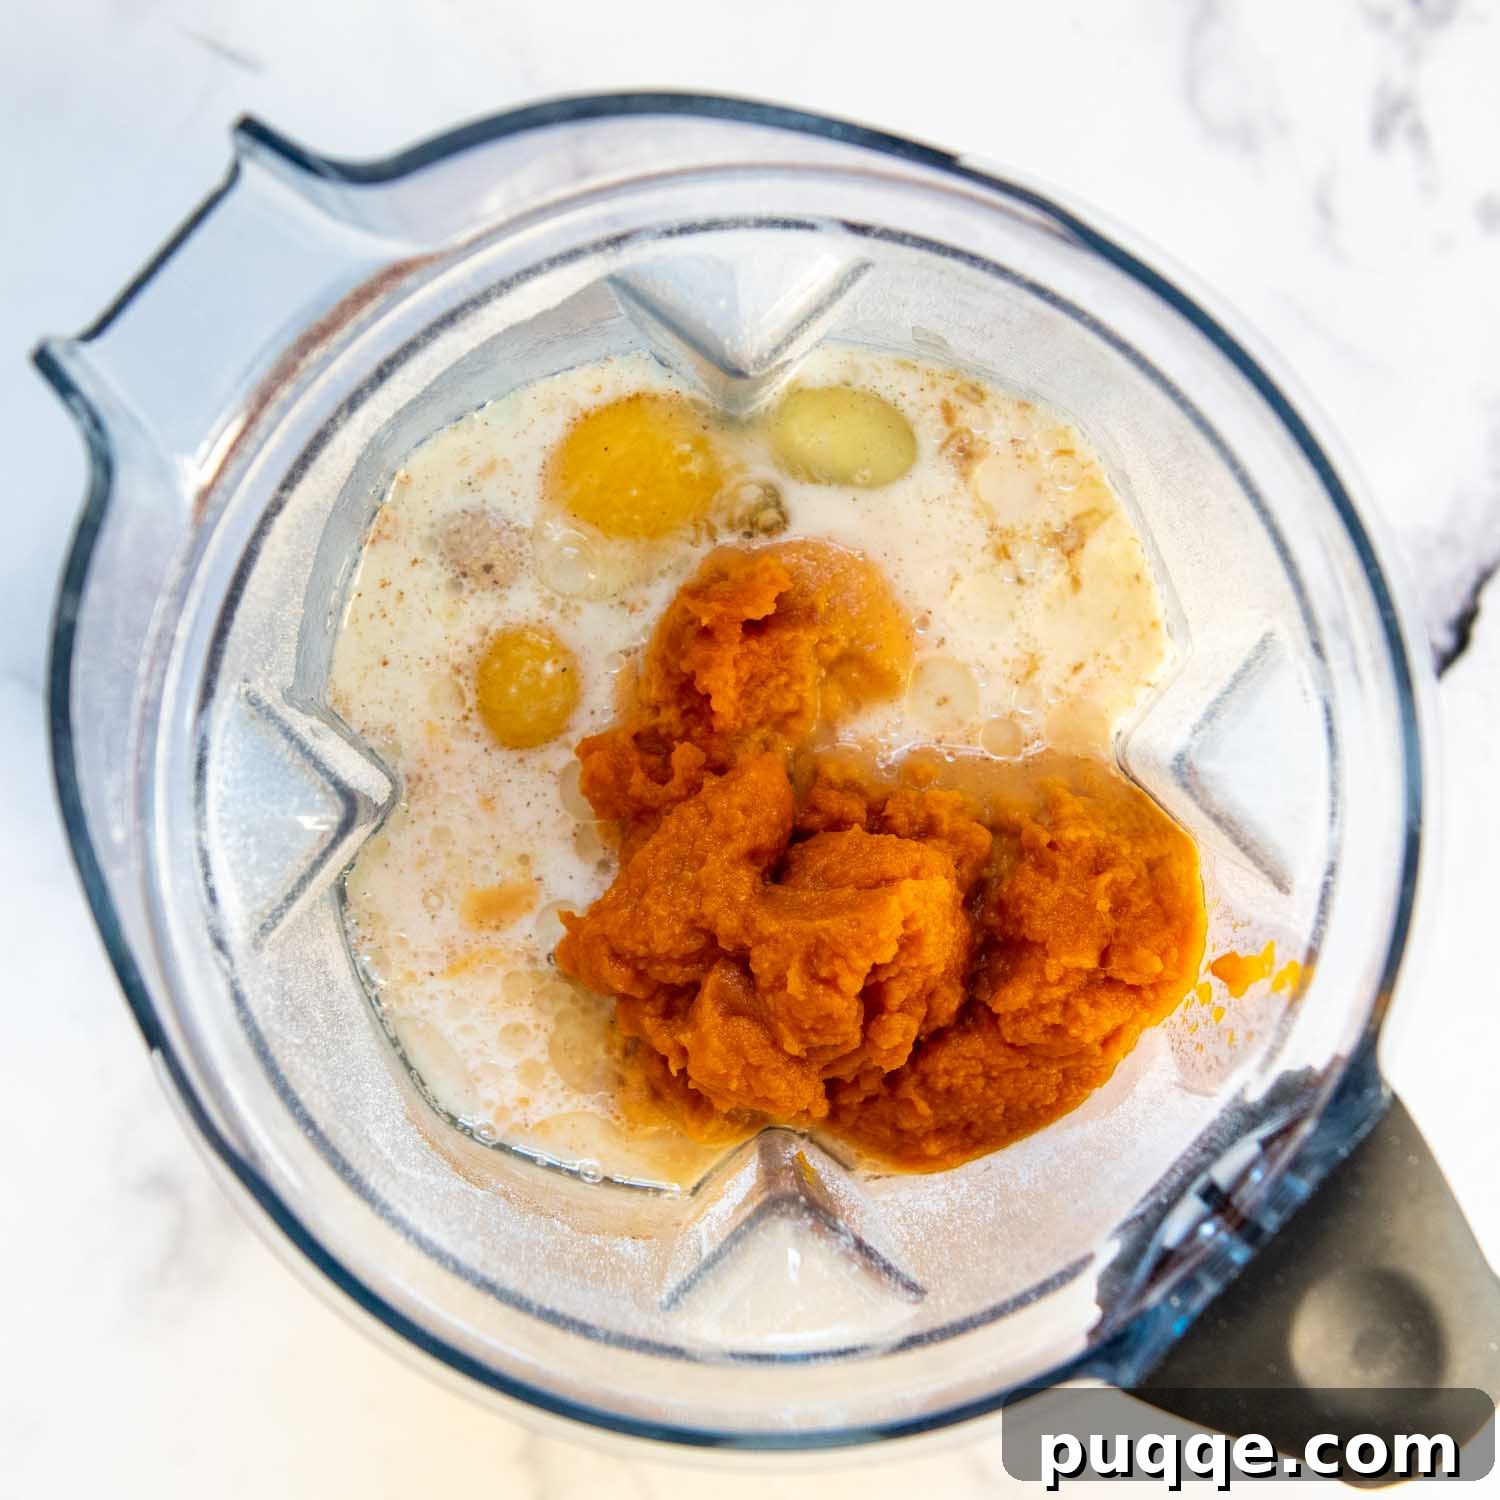
Now for the star of the show – pumpkin! Add the pumpkin puree, along with the eggs, milk, brown sugar, oil, and vanilla extract, into the blender with your dry ingredients. Blend until everything is just combined and smooth. It’s crucial to stop and scrape down the sides of the blender halfway through to ensure no pockets of dry oat flour remain, guaranteeing a perfectly consistent batter.
Step 4: Pour and Bake to Golden Perfection
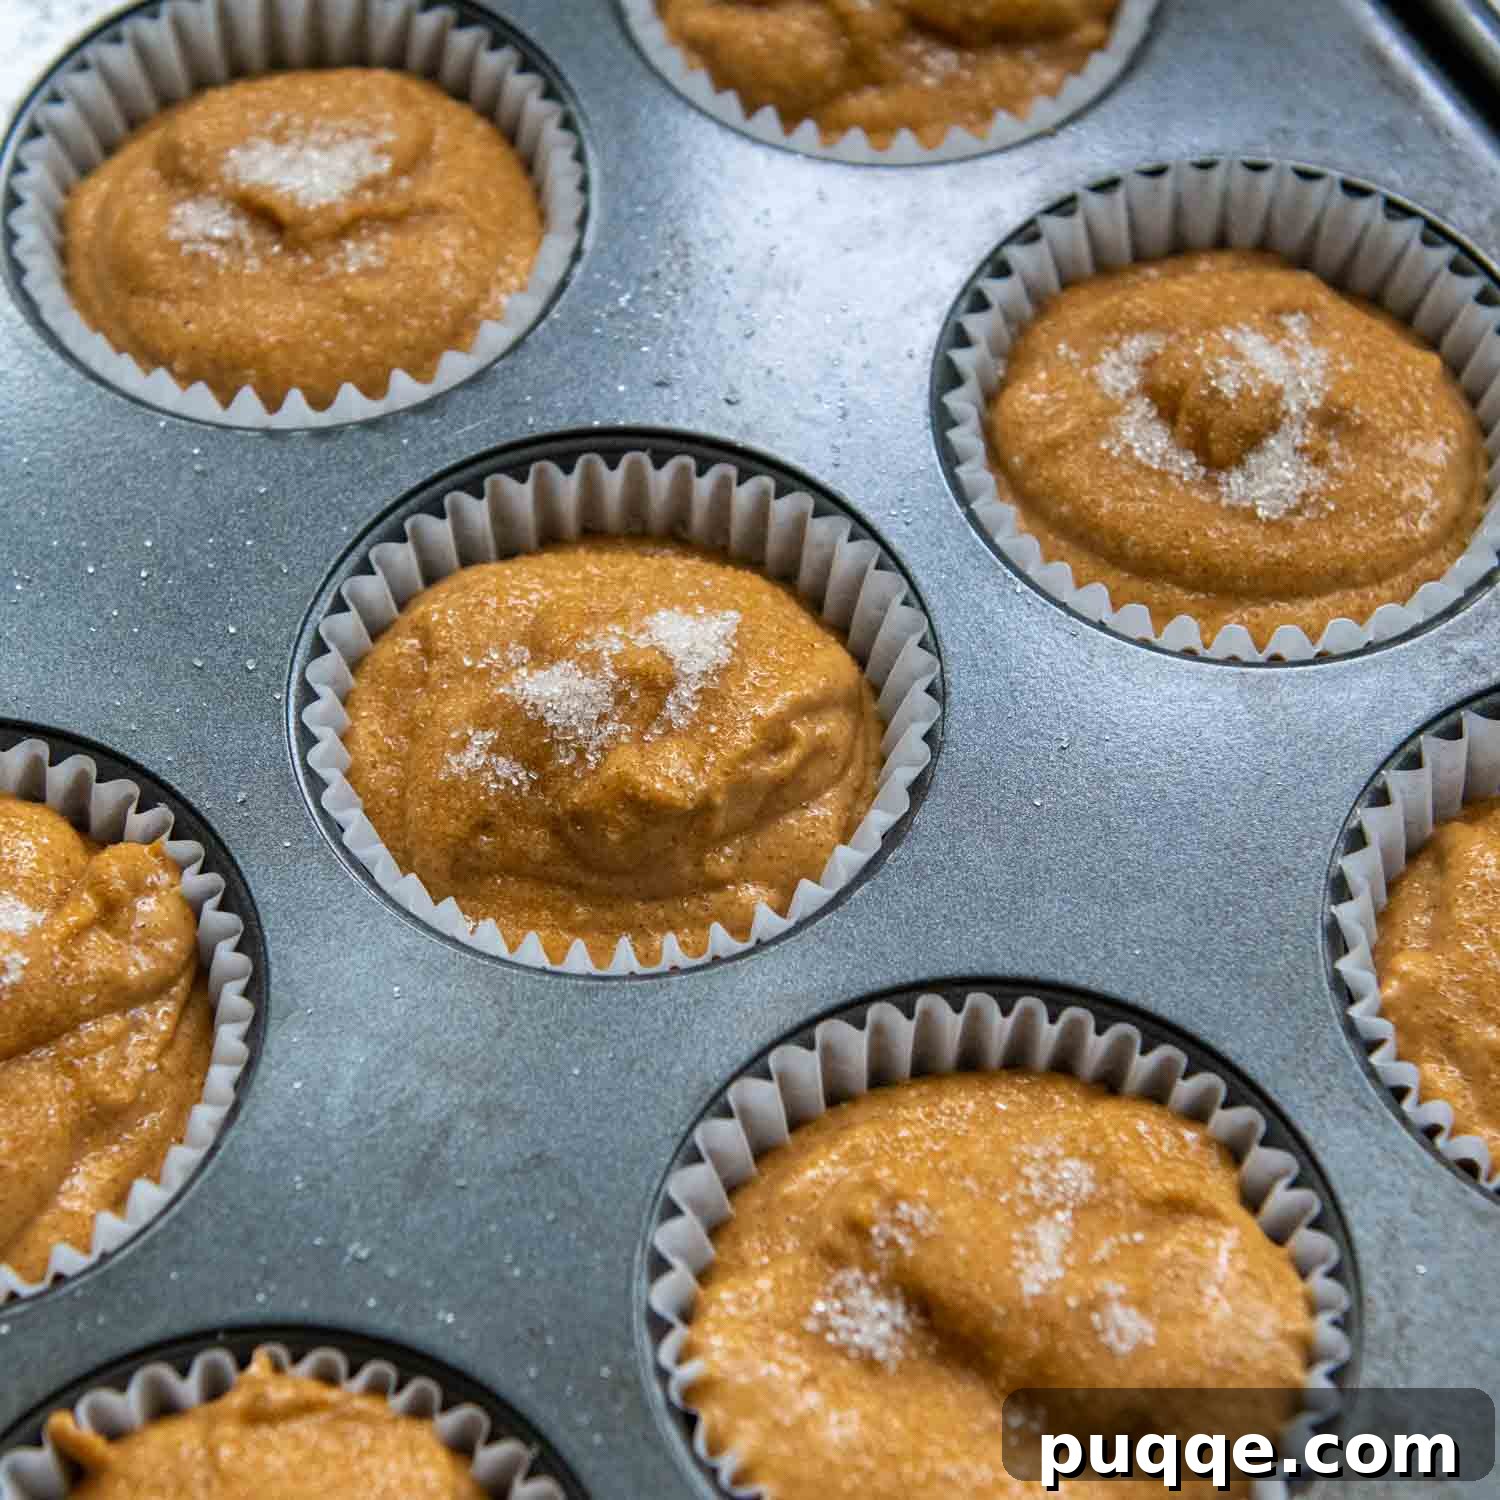
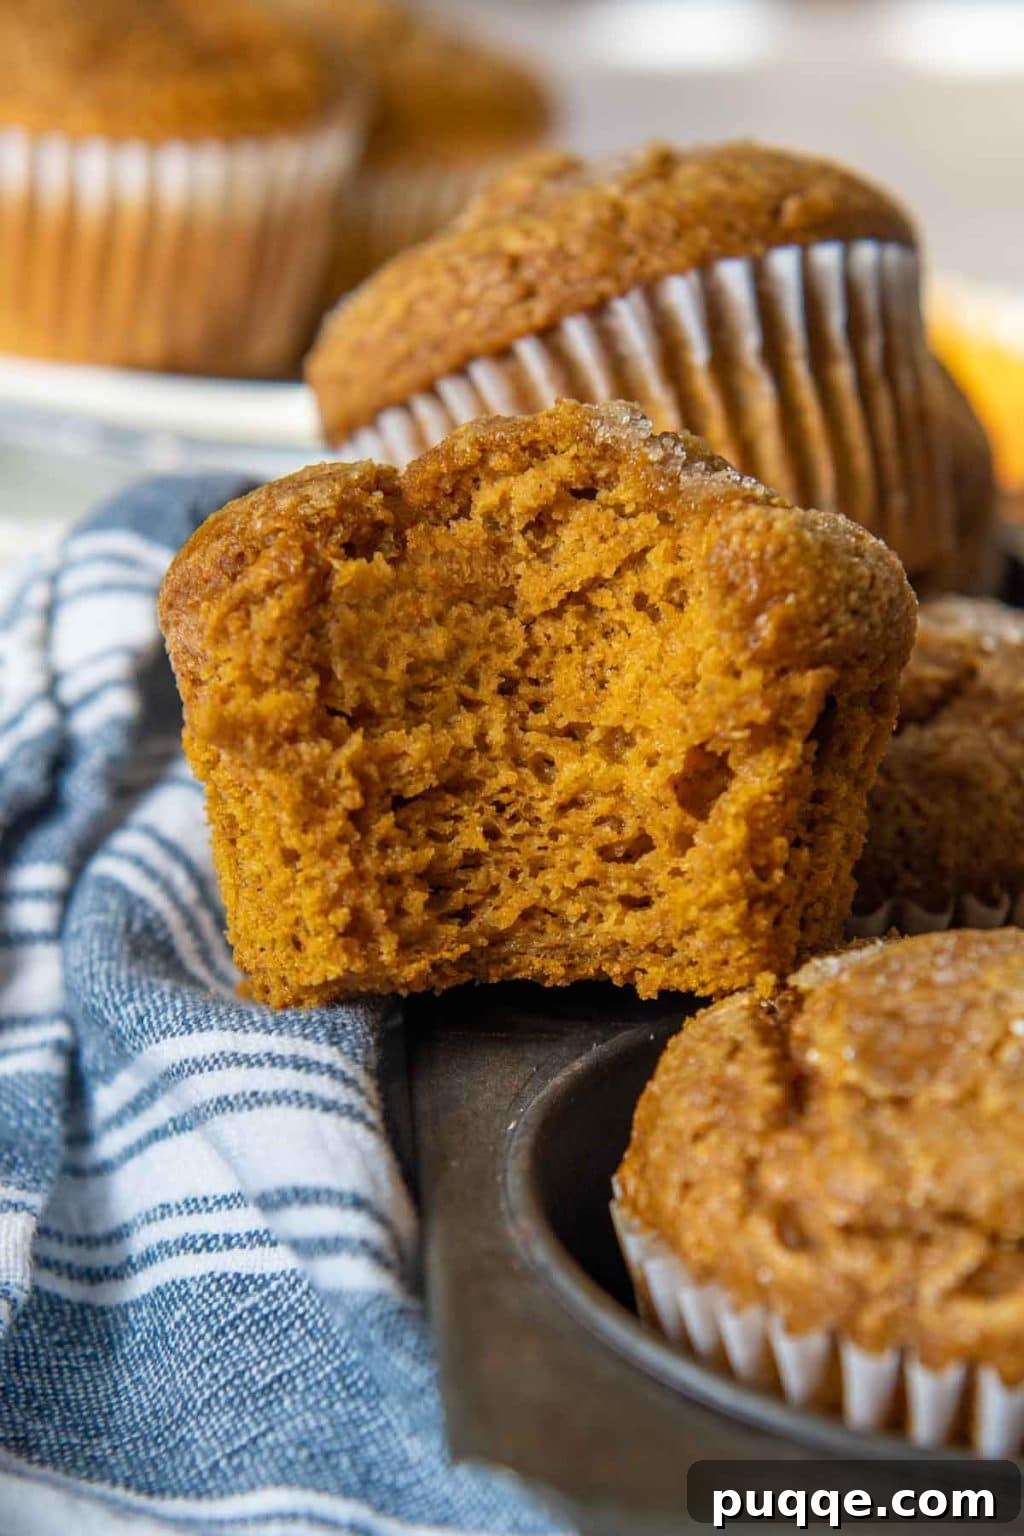
When it’s time to fill your muffin cups, aim to fill them about 2/3 to 3/4 full. For those beautifully rounded, bakery-style muffin tops, I always recommend filling muffin cups more generously than you would for cupcakes. Before baking, consider adding a delightful sprinkling of coarse turbinado sugar to the tops. This creates a wonderful crunchy, sweet finish that adds an extra layer of texture. Bake your muffins in a preheated 350ºF (175ºC) oven for 18-20 minutes, or until a toothpick inserted into the center comes out clean, indicating they are perfectly baked through.
Frequently Asked Questions About Pumpkin Oat Flour Muffins
Can I substitute store-bought oat flour?
Absolutely, you can! While making your own oat flour is incredibly easy and often more economical, using pre-ground store-bought oat flour works perfectly. Refer to the recipe card for the exact amount of oat flour to use when swapping it out for rolled oats. If using store-bought oat flour, you can choose between the convenient blender method (just add all ingredients and blend) or the traditional mixing bowl method described below.
No blender? No problem! How to make these muffins without one.
Don’t have a high-speed blender or food processor? You can still enjoy these delightful gluten-free pumpkin oatmeal muffins! The key is to purchase good quality oat flour. Ensure it’s 100% oat flour and not a baking blend that might contain other starches or flours.
To use the no-blender method, start by whisking together all the dry ingredients – oat flour, baking powder, baking soda, pumpkin spice, and salt – in a large mixing bowl. In a separate, smaller bowl, whisk together the wet ingredients: brown sugar (or maple syrup/honey), eggs, pumpkin puree, milk, oil, and vanilla extract. Once both mixtures are ready, pour the wet ingredients into the dry ingredients. Mix gently with a spatula or spoon until just combined, being careful not to overmix. Pour the batter into your prepared muffin pan and bake as directed. This method proves that deliciousness doesn’t always require fancy equipment!
What kind of oats should I use for oat flour?
For making your own oat flour, old-fashioned rolled oats are ideal. They grind into a fine flour easily and produce a light texture. If you need gluten-free muffins, always ensure your rolled oats are certified gluten-free to avoid cross-contamination.
How do I store and freeze these pumpkin oat muffins?
Proper storage is key to keeping your muffins fresh and moist. Once baked, allow the muffins to cool completely on a wire rack before storing them. Storing warm muffins will trap moisture and make them soggy. Transfer the cooled muffins to an airtight container and store at room temperature for up to 3 days. For longer storage, these muffins freeze beautifully. Individually wrap each cooled muffin in plastic wrap, then place them in a freezer-safe ziplock bag or container. They can be frozen for up to 3 months. When ready to enjoy, simply thaw at room temperature or gently warm in the microwave.
Can I add mix-ins to these muffins?
Absolutely! These pumpkin oat flour muffins are wonderfully adaptable. Feel free to stir in your favorite additions during the final mixing step before baking. Some popular choices include:
- Dried cranberries or raisins for a touch of sweetness and chewiness.
- Chopped nuts like pecans or walnuts for added crunch and richness.
- Pepitas (pumpkin seeds) for a slightly savory crunch and healthy fats.
- Mini chocolate chips (dark, milk, or white) for a decadent twist – just check labels for gluten-free certification if needed.
- Finely chopped crystallized ginger for a warm, spicy kick.
Save This Recipe to Your Pinterest Board!
Let’s be friends on Pinterest! I’m always sharing great recipes!
Did you make this recipe? I love hearing from you! Leave a star rating and comment below the recipe card. It helps others when searching for recipes and I appreciate feedback from our community. You will always hear back from me! -Melissa
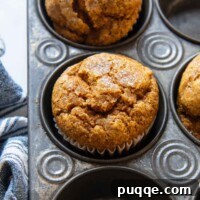
Fluffiest Pumpkin Oat Flour Muffins (5-Minutes)
 Melissa Erdelac
Pin
Rate
Remove Ads
Ingredients
- 1 ½ cup (158 g) gluten-free rolled oats, (for oat flour, 1 ½ cup + 3 tbsp – 178 g)
- 1 ½ teaspoons pumpkin pie spice, (see recipe notes for substitution)
- 1 teaspoon baking powder
- ½ teaspoon baking soda
- ¼ teaspoon salt
- 2 large eggs
- 1 cup (245 g) pumpkin puree, Libby’s brand preferred
- ½ cup (117 g) packed brown sugar, (or maple syrup or honey)
- ¼ cup (55 g) oil, any
- ¼ cup (61 g) milk or non-dairy milk
- 1 teaspoon vanilla extract
- (optional) turbinado sugar, for sprinkling
Equipment
-
Vitamix (or other high-speed blender/food processor)
-
Muffin Tins (12-cup standard size)
Instructions
-
Preheat your oven to 350°F (175°C). Prepare a standard 12-cup muffin pan by lining 10 cups with cupcake liners or lightly greasing them with cooking spray. Set aside.
-
To make the oat flour, place the 1 ½ cups (158 g) gluten-free rolled oats in a high-powered blender or a food processor. Blend until the oatmeal transforms into a fine, powdery flour. This usually takes about 30 seconds to 1 minute, depending on your appliance.
-
NOTE: At this stage, you have the option to continue making the batter directly in the blender or transfer the freshly made oat flour to a large mixing bowl. Using a separate bowl can sometimes make portioning the batter easier, potentially yielding a few more muffins.
-
If continuing in the blender, add the 1 ½ teaspoons pumpkin pie spice, 1 teaspoon baking powder, ½ teaspoon baking soda, and ¼ teaspoon salt. Pulse to combine. If using a bowl, transfer the oat flour, then add and whisk together these dry ingredients.
-
Now, add the remaining wet ingredients: 2 large eggs, 1 cup (245 g) pumpkin puree, ½ cup (117 g) packed brown sugar, ¼ cup (55 g) oil, ¼ cup (61 g) milk or non-dairy milk, and 1 teaspoon vanilla extract. Blend everything in the blender until smooth, stopping to scrape down the sides as needed. If using bowls, whisk the wet ingredients together in a separate bowl, then pour into the dry ingredients and stir until just combined.
-
Divide the batter evenly among the 10 prepared muffin cups, filling them approximately 3/4 full for perfectly rounded tops. If desired, sprinkle the tops with turbinado sugar for a crunchy finish. Bake for 18-20 minutes, rotating the pan halfway through for even baking. The muffins are fully baked when a toothpick inserted into the center comes out clean, without any wet batter.
-
Allow the muffins to cool in the pan for a few minutes before transferring them to a wire rack to cool completely. Serve warm or at room temperature. For storage, once completely cooled, keep them in a sealed container at room temperature for up to 3 days, or freeze for up to 3 months.
Notes
Substitution for Pumpkin Pie Spice
If you don’t have pumpkin pie spice on hand, you can easily create your own blend. Use 1 teaspoon ground cinnamon, ¼ teaspoon ground nutmeg, ⅛ teaspoon ground ginger, and ⅛ teaspoon ground cloves to achieve a similar warm and inviting flavor profile.
Optional Add-Ins for Extra Flavor & Texture
Feel free to customize your muffins by stirring in any of these delightful additions to the batter before baking:
- Dried cranberries or golden raisins
- Finely chopped pecans or walnuts
- Pepitas (shelled pumpkin seeds)
- Mini chocolate chips (dark, milk, or white – ensure gluten-free if necessary)
- Chopped crystallized ginger for a zesty kick
Storing & Freezing Tips for Optimal Freshness
To prevent your delicious muffins from becoming soggy, it’s crucial to allow them to cool completely on a wire rack before attempting to store them. Any residual heat will create condensation, leading to undesirable moisture.
Store the cooled muffins in an airtight container at room temperature for up to 3 days. For longer preservation, these muffins freeze exceptionally well. Transfer them to a freezer-safe ziplock bag or container and freeze for up to 3 months.
For best results and to maintain individual freshness, wrap each muffin separately in plastic wrap before placing them in the freezer container. This helps prevent freezer burn and makes it easy to grab one muffin at a time.
Recipe adapted from Allrecipes.