
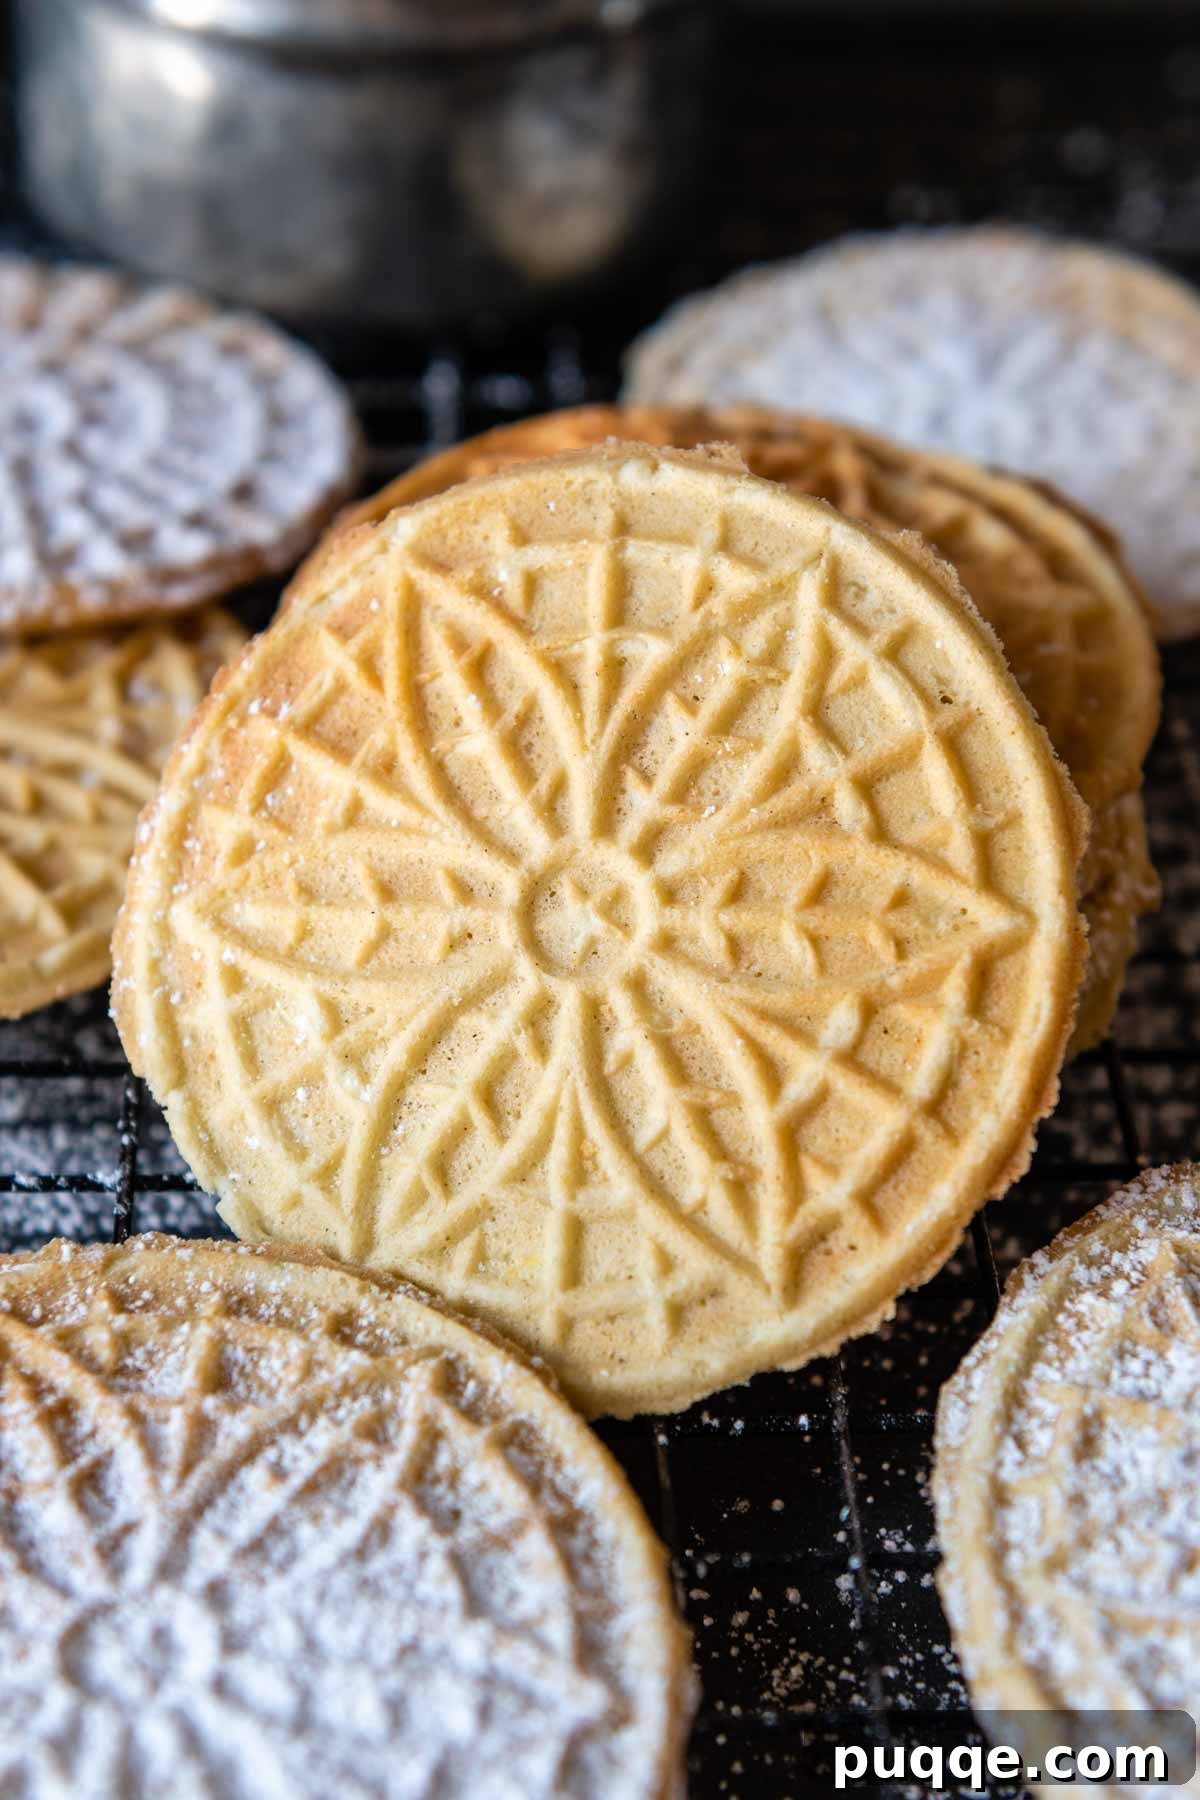
Delve into the art of creating the most exquisite gluten-free pizzelles, and you’ll soon be delighting in crisp, authentic Italian cookies right in your own kitchen. This comprehensive guide uncovers expert tips, various flavor combinations, innovative applications for these delightful treats, and an effortless dairy-free modification to suit all preferences.
Embracing Tradition: Authentic Italian Gluten-Free Pizzelles
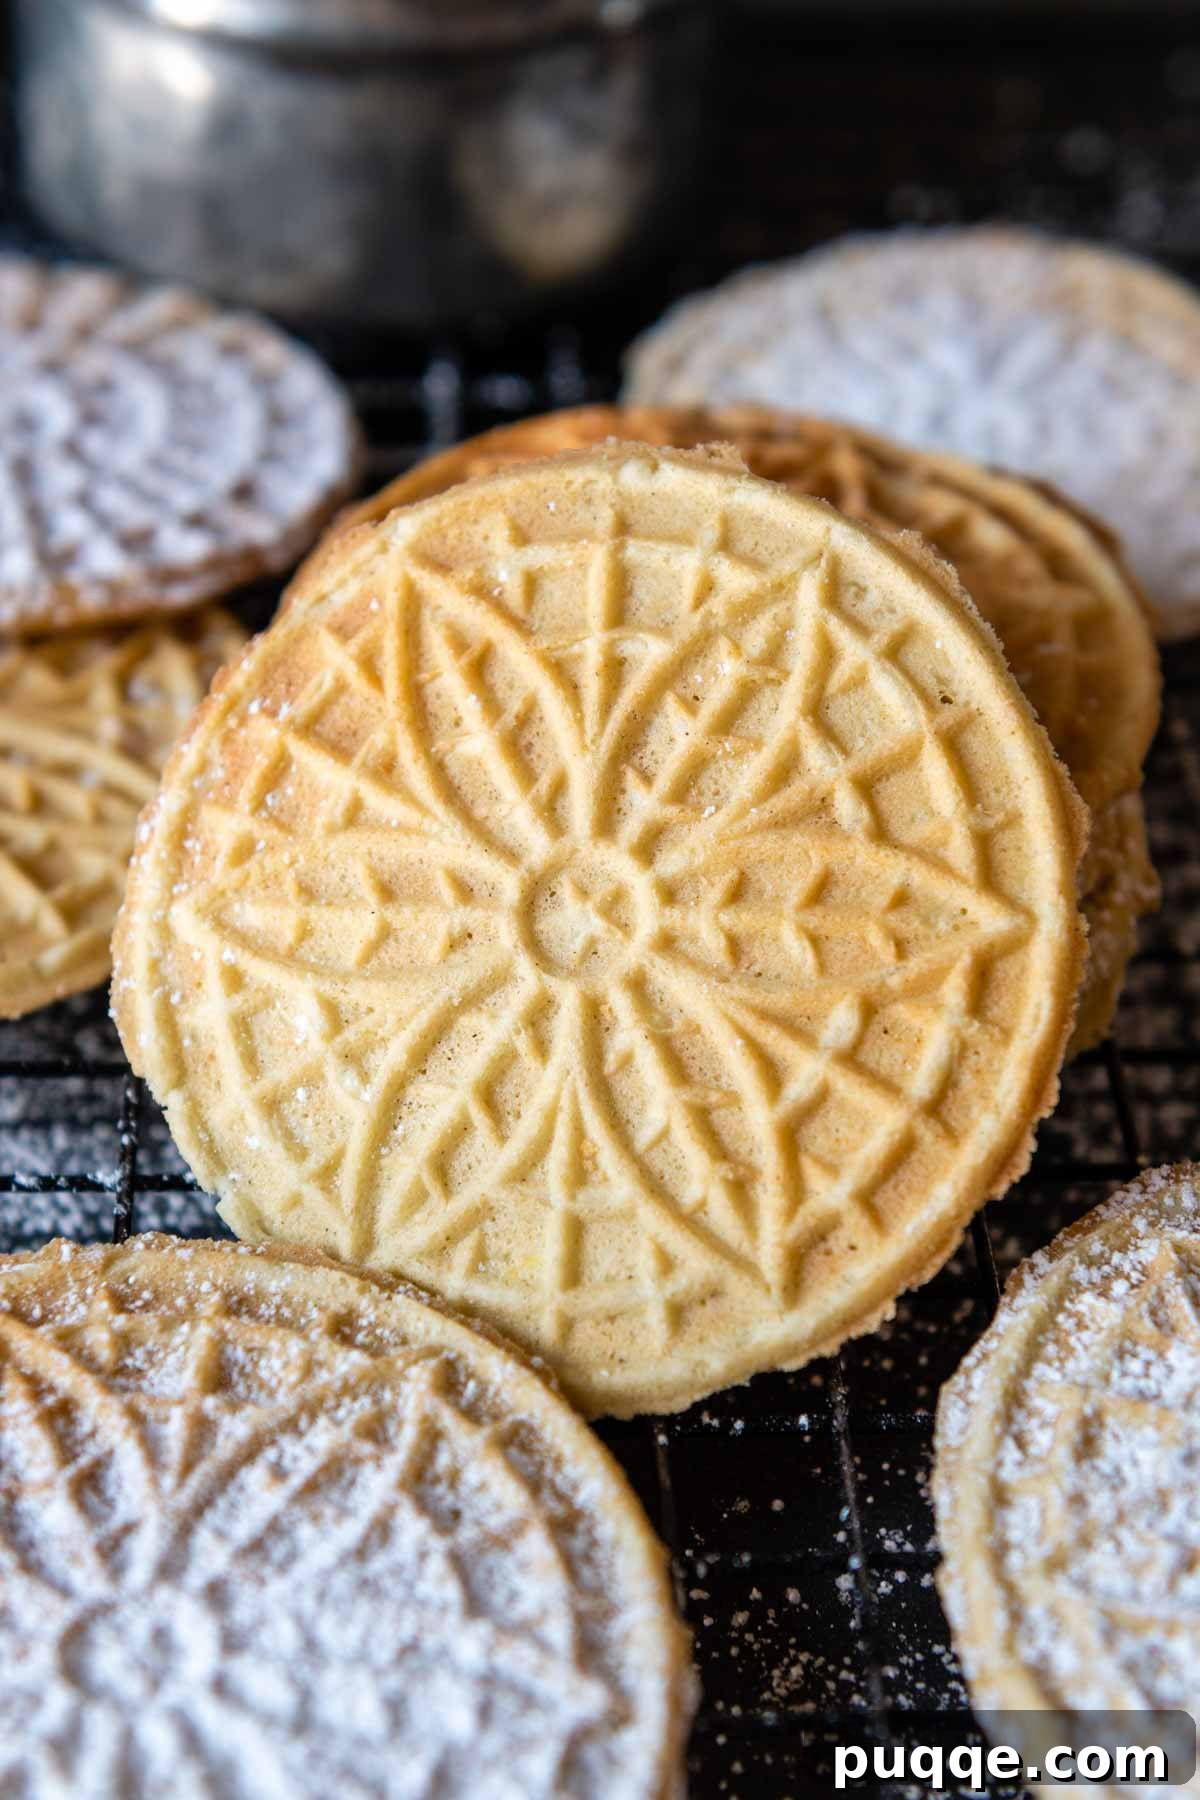
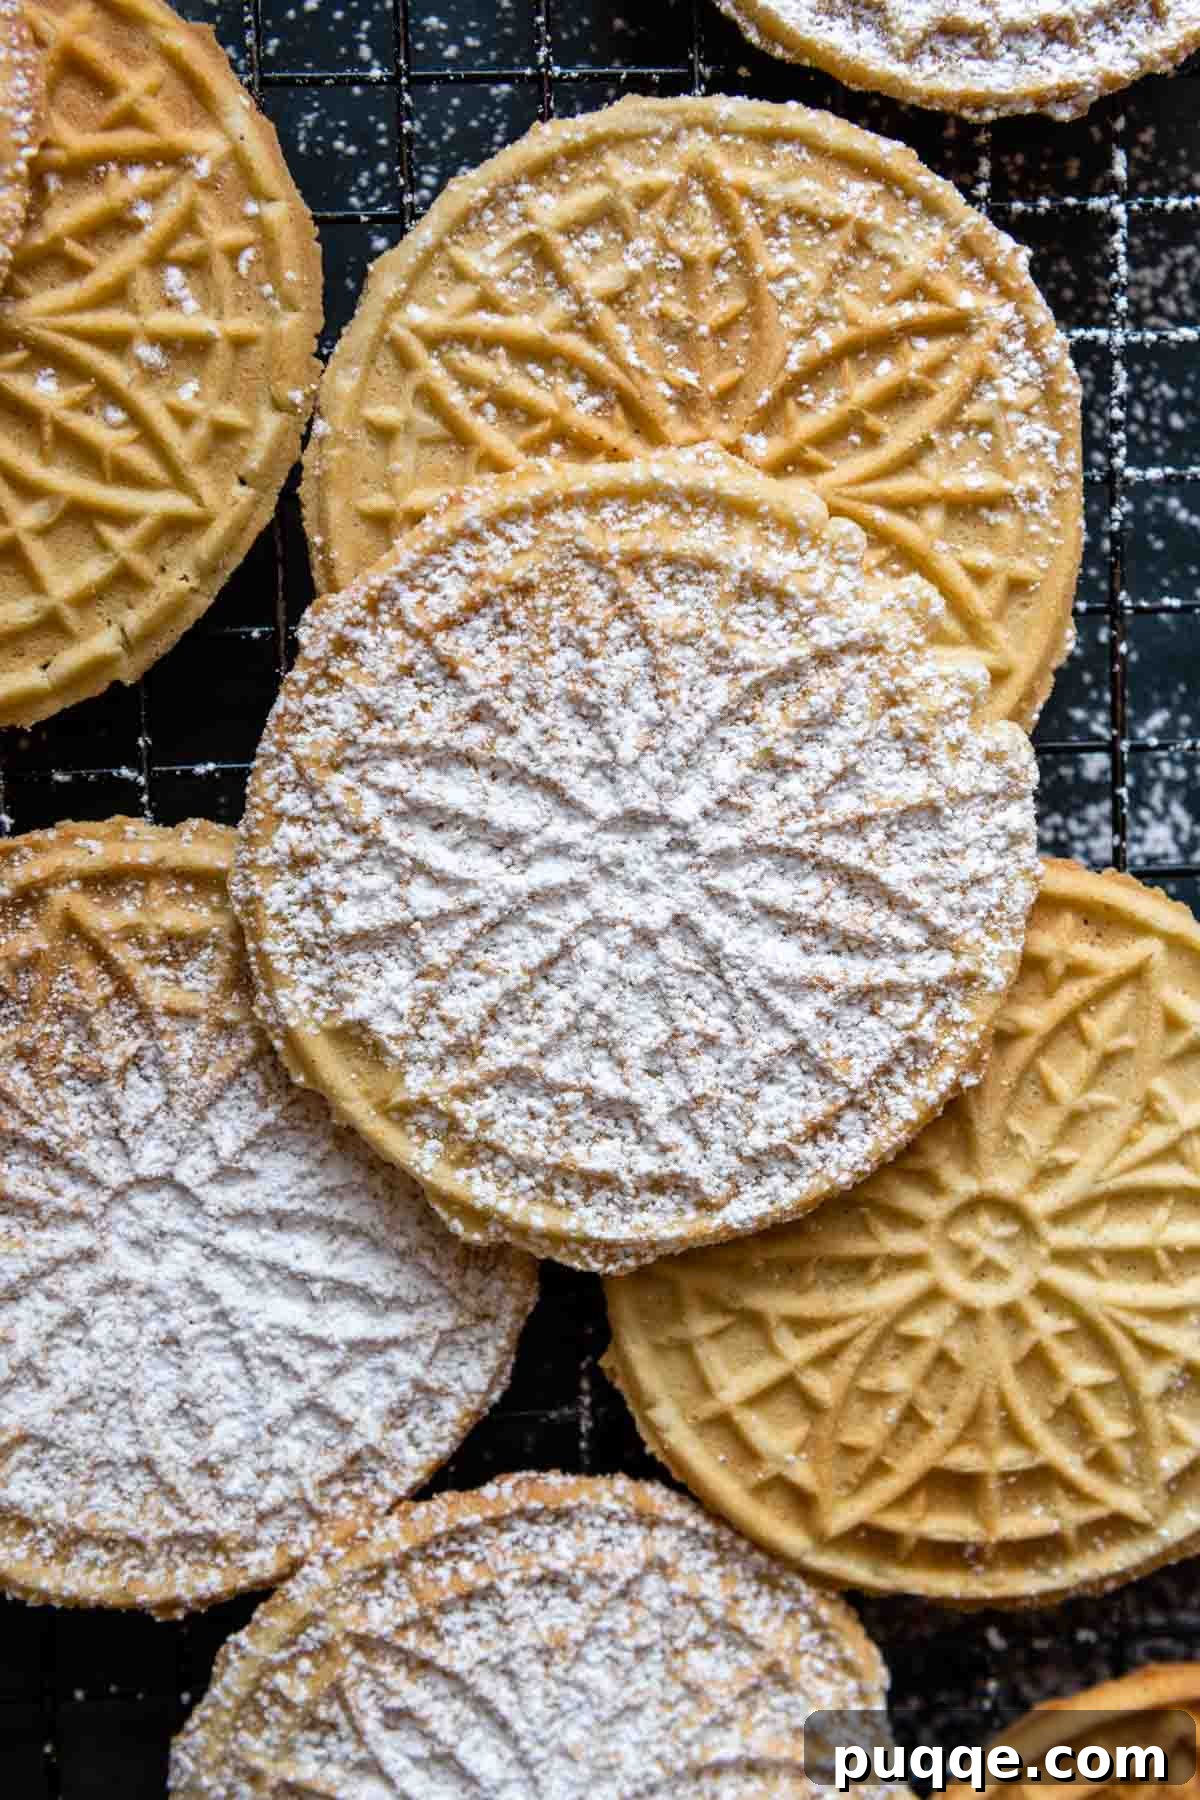
For many Italian-American families, the festive season isn’t complete without a towering stack of light, airy, and delicately crisp homemade pizzelles, generously dusted with a blanket of powdered sugar. This gluten-free pizzelle recipe faithfully preserves that cherished tradition, offering a taste so remarkably authentic that even the most discerning palate won’t detect the absence of gluten.
My first-generation Italian mother has tirelessly continued this culinary legacy, not just as a tribute to our heritage but because these delicate cookies provide the quintessential finish to any rich and satisfying Italian meal. Now, with her beloved recipe expertly adapted into an easy-to-follow gluten-free version, it proudly stands alongside other Italian holiday favorites, ensuring everyone can partake in the joy.
Pizzelles are a wonderful addition to any gluten-free Christmas cookie collection, complementing decadent treats like Italian almond paste cookies. Beyond holiday festivities, they elevate afternoon tea gatherings and entertaining, much like buttery, tender gluten-free shortbread, proving absolutely divine when dunked into a steaming mug of tea or coffee.
Beyond their charm as a simple cookie, this versatile pizzelle recipe opens doors to creative culinary endeavors. Imagine crafting delicate gluten-free cannoli shells, elegant cookie sandwiches, or even homemade ice cream waffle cones and dessert bowls. Below, we’ll guide you through selecting the ideal gluten-free flour, exploring a spectrum of flavor variations, and sharing invaluable expert tips to perfect your pizzelles.
“I absolutely adore making pizzelle cookies. My husband has celiac disease, and I had nearly given up hope of finding a truly delicious gluten-free pizzelle recipe. This one is simply extraordinary! I opted for the lemon variation since he’s not a fan of anise, and it was a resounding success. This recipe is definitely a keeper. Thank you for sharing!”
—Jerri
Essential Ingredients for Perfect Pizzelles
The beauty of a classic pizzelle recipe lies in its simplicity. The basic ingredients are readily available, affordable, and come together quickly. The primary piece of specialized equipment you’ll need is a pizzelle maker or press to cook the delicate batter. If I were to purchase a new one today, I would lean towards a model that produces one or two larger pizzelles, rather than several smaller ones at a time, for more versatility.
Below, we’ll explore the fundamental ingredients, along with clever substitutions for a delicious dairy-free version. Continue reading to the recipe variations section for a delightful array of ways to infuse these Italian cookies with different flavors.
- Eggs: Essential for structure and richness. While I haven’t personally experimented with egg substitutes in this specific recipe, I’ve seen successful vegan pizzelle recipes that utilize products like Just Egg, so it may be a viable option for those avoiding eggs.
- Butter: Contributes a classic, rich flavor that is characteristic of traditional pizzelles. Some historical Italian recipes occasionally substitute butter with oil; however, in my tests, using oil tended to diminish the overall flavor profile. For a dairy-free adaptation, I highly recommend using high-quality vegan butter sticks or melted coconut oil. Be mindful that coconut oil will impart a subtle coconut flavor to your pizzelles, which can be a delightful addition if you enjoy it.
- Gluten-Free Flour: The choice of gluten-free flour blend is paramount to the success of this recipe. It truly makes a significant difference in the batter’s consistency and the final texture of your pizzelles. I strongly recommend using King Arthur Measure-for-Measure or Bob’s Red Mill 1-to-1 Gluten-Free Flour. While I often advocate for Cup4Cup gluten-free flour in many of my other baking recipes, I found it made the pizzelle batter excessively thick and challenging to work with. Look for blends that create a consistency closer to a thick pancake batter rather than a stiff dough.
- Baking Powder: This leavening agent is crucial for achieving that signature light, airy, and wonderfully crisp texture that defines a perfect pizzelle.
- Extract: The extract you choose will define the primary flavor profile of your pizzelles. I tested this recipe using both vanilla and anise extract. While vanilla offers a universally loved aroma, I personally found that anise extract provided a deeper, more traditional flavor that truly captured the essence of classic Italian pizzelles. Feel free to experiment based on your preference.
The Critical Role of Gluten-Free Flour in Pizzelles
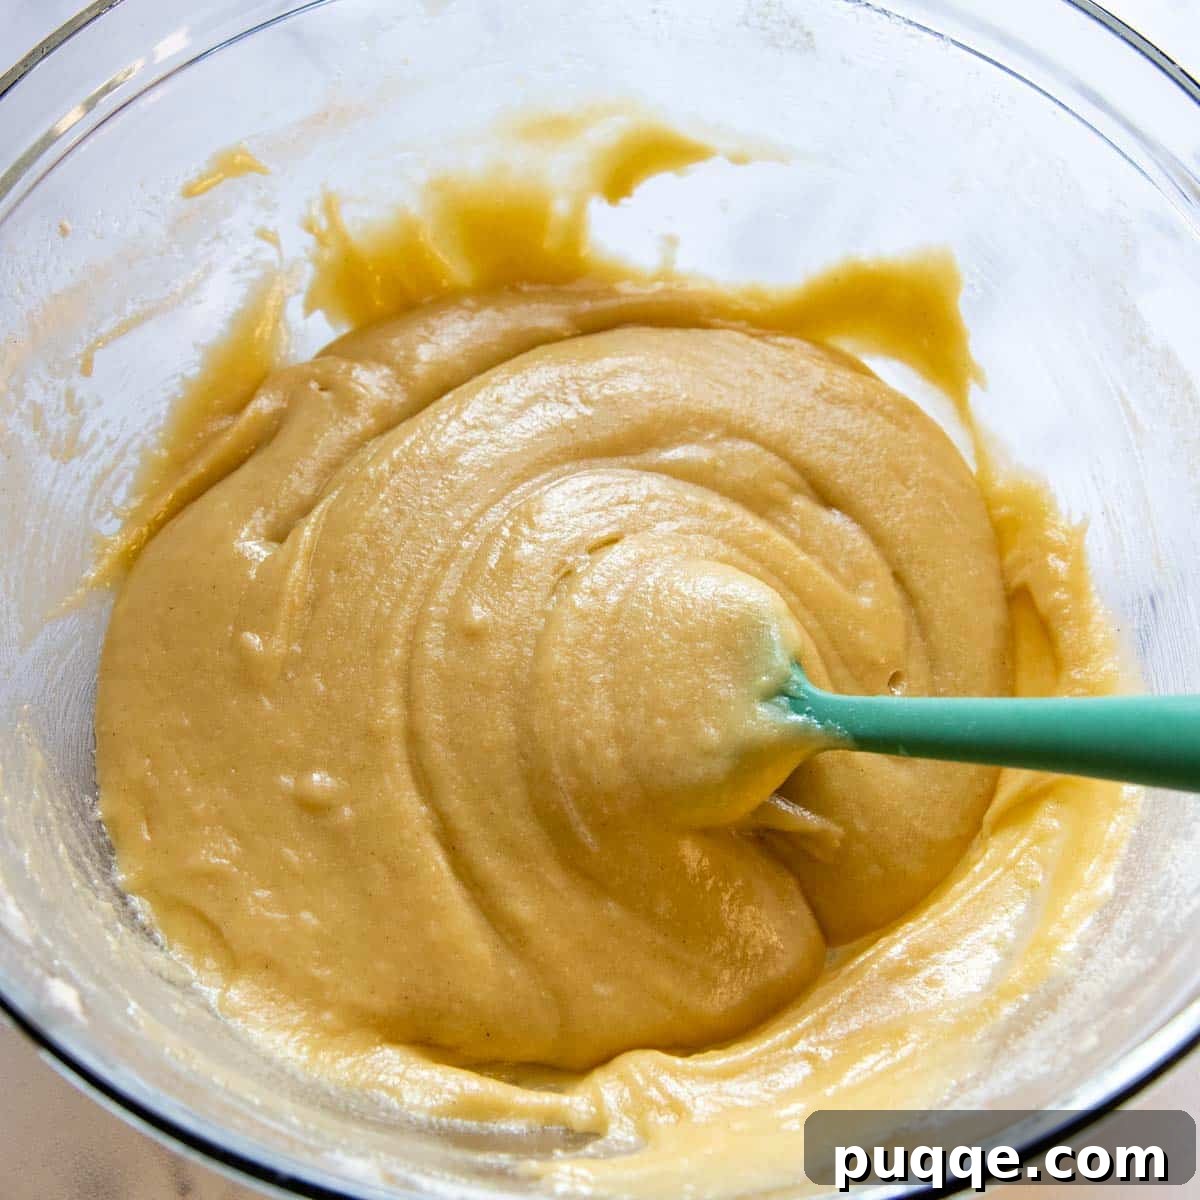
When developing this recipe, the type of gluten-free flour blend used emerged as the single most impactful factor determining the batter’s consistency and, consequently, the ease of pizzelle making and the final texture. For optimal results, pizzelle batter should ideally resemble a thick pancake batter or a very thin dough – something that spreads easily but isn’t overly runny.
My initial trials with Cup4Cup gluten-free flour, a blend I typically highly recommend for its versatility in baking, resulted in a batter that was far too dense and dough-like. This made it incredibly frustrating to quickly and evenly distribute the batter across the intricate patterns of the pizzelle maker, often leading to unevenly cooked or misshapen cookies.
This experience prompted me to experiment with other gluten-free flour blends that already incorporate xanthan gum but feature a lower proportion of cornstarch. King Arthur Measure-for-Measure gluten-free flour consistently delivered a superior batter consistency, yielding perfectly crisp pizzelles. Bob’s Red Mill 1-to-1 Gluten-Free Flour is another excellent alternative, though I personally lean towards King Arthur for its slightly preferred taste profile. Regardless of the brand you choose, I highly recommend checking the ingredient list to ensure cornstarch isn’t a dominant component, as excessive cornstarch can contribute to a thick, unmanageable batter.
Let’s Bake Together: Step-by-Step Pizzelle Guide!
(The following section provides detailed step-by-step photos and modified instructions to guide you through the process. For the comprehensive recipe, including exact ingredient quantities, please scroll down to the full recipe card at the end of this article.)
Prepare Your Batter
The pizzelle batter comes together remarkably fast, so it’s essential to preheat your pizzelle maker first. Most modern pizzelle irons feature a naturally non-stick surface, negating the need for greasing. Ensure it reaches its optimal temperature before you begin.
In a large mixing bowl, vigorously whisk together the eggs with the granulated sugar until the mixture is thoroughly combined and lightens in color. Next, incorporate the cooled, melted butter and your chosen extract (anise or vanilla), whisking until smooth. Finally, gently fold in the dry ingredients – your gluten-free flour blend and baking powder – until just combined. Be careful not to overmix, as this can lead to tougher pizzelles.
Drop, Cook, and Cool
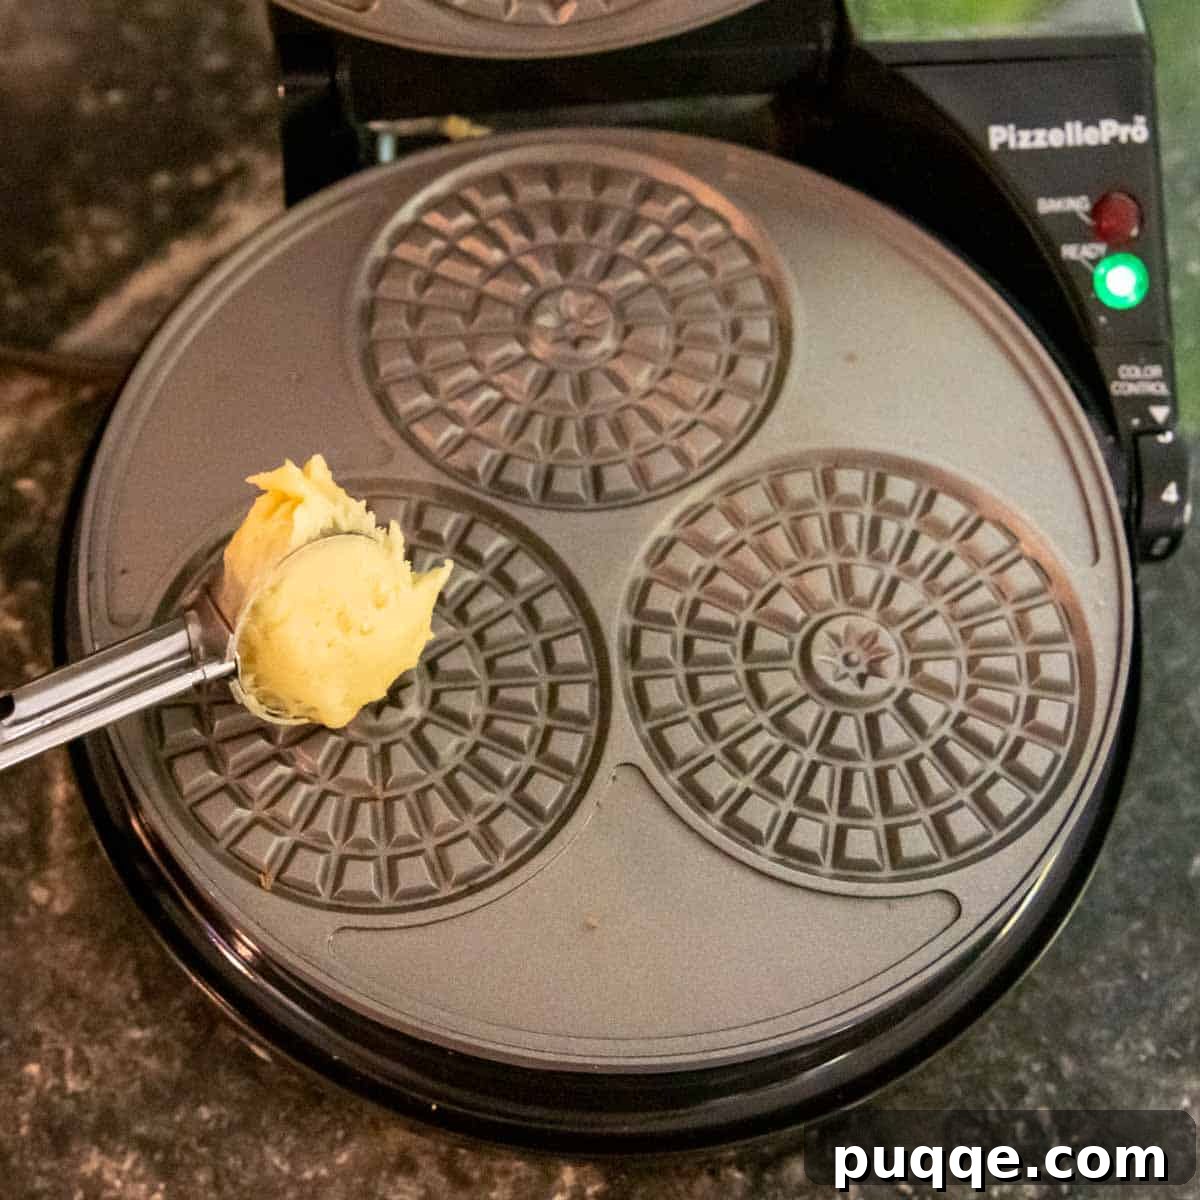
For the initial few pizzelles, you may need to fine-tune the exact amount of batter required for your specific pizzelle maker. A good starting point is about 2 teaspoons per pizzelle. Spoon the batter directly into the center of each iron plate and promptly close the lid securely. To ensure quick and even distribution, I highly recommend using a small or medium cookie scoop, the size depending on your pizzelle maker’s dimensions.
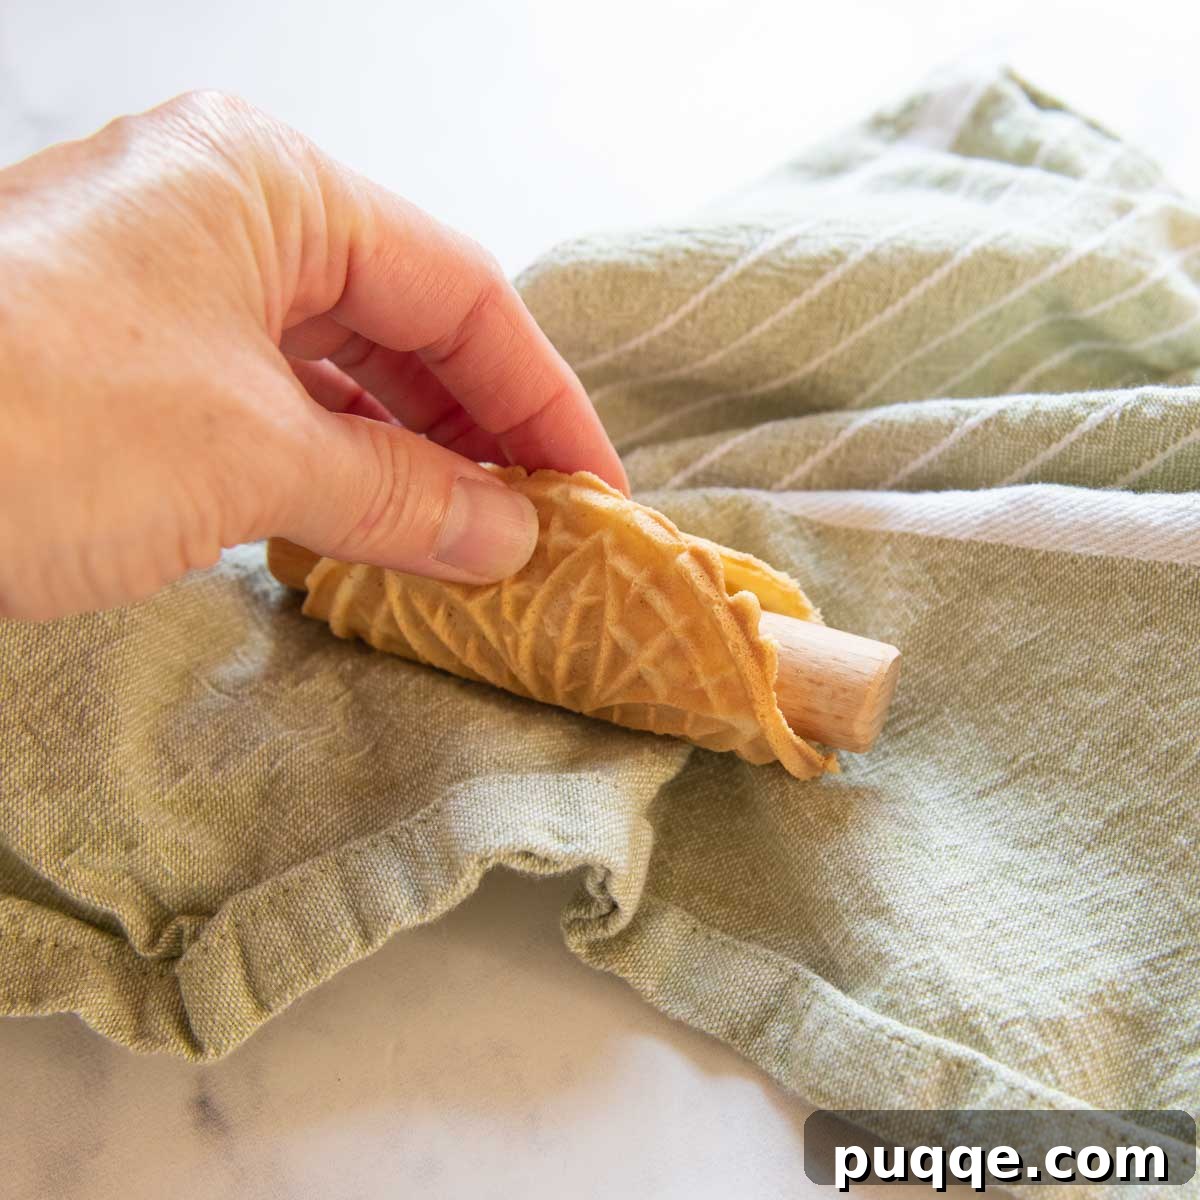
Once your pizzelle maker indicates that the cookies are done (this is often a light or audible signal, or when they reach a light golden-brown color), carefully transfer the hot pizzelles to a wire rack to cool completely. If you intend to shape your pizzelles into cones, bowls, or cannoli shells, this must be done *immediately* while they are still hot and pliable. For protection, you might want to use a clean kitchen towel or light gloves when handling the hot cookies. Before serving, give your cooled pizzelles a generous dusting of confectioner’s sugar for that traditional, elegant finish.
More Creative Ways To Enjoy Your Gluten-Free Pizzelles
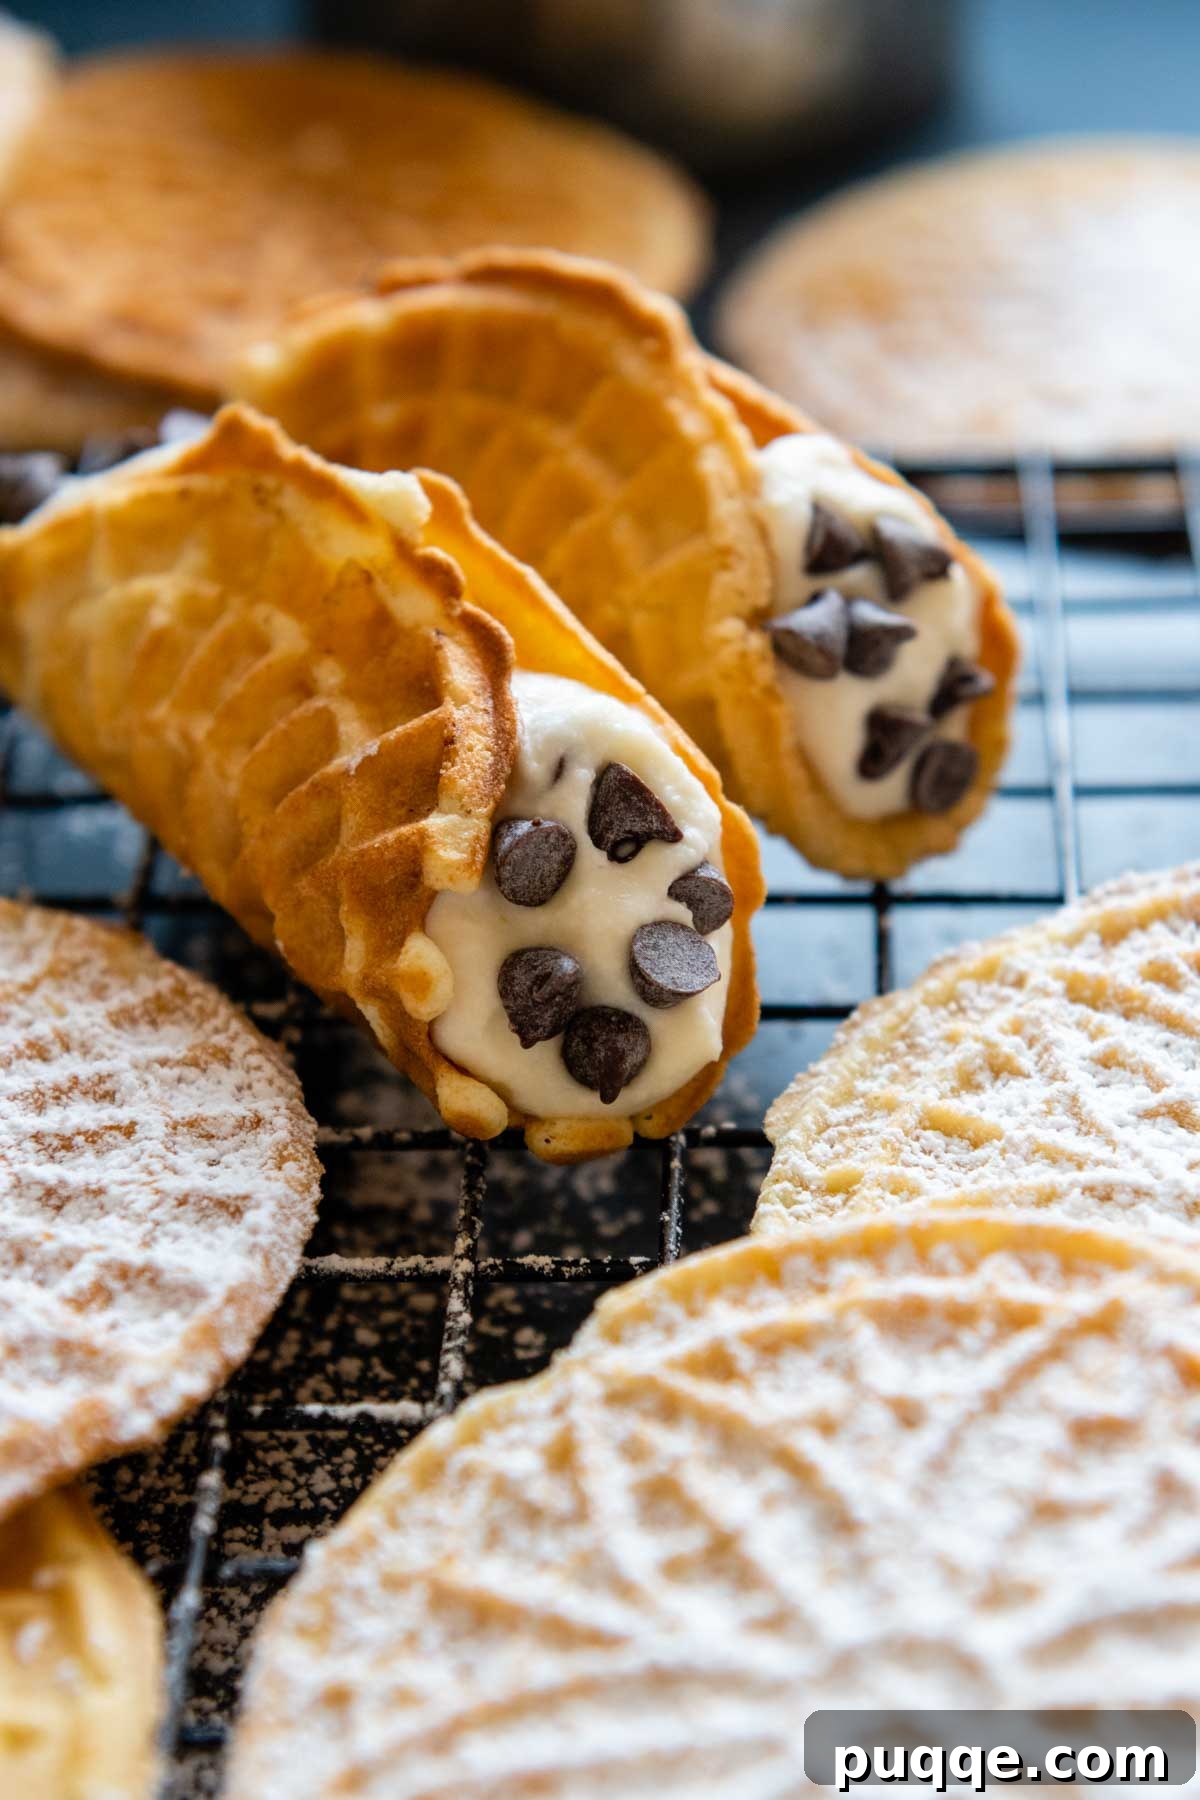
Homemade pizzelles offer far more versatility than just being enjoyed as a light, crispy cookie. Their delicate texture and subtle flavor make them a perfect canvas for a myriad of creative desserts. I particularly love transforming them into delightful “mock” gluten-free cannoli shells, with a filling and shaping method detailed in the recipe card below.
- Cannoli Shells: The moment a pizzelle comes off the iron, while it’s still warm and pliable, immediately shape it around a cannoli mold, a wooden spoon handle, or even a tube fashioned from scrunched aluminum foil. Once cooled, these crisp shells are ready to be filled with ricotta cream or other sweet fillings.
- Cookie Sandwiches: Elevate your pizzelles by creating elegant cookie sandwiches. Fill them with your favorite ice cream for a refreshing treat, a rich frosting, fluffy whipped cream, decadent Nutella, or the classic gluten-free cannoli filling described in the recipe notes.
- Waffle Cones: For a homemade ice cream experience, shape the hot pizzelles around a waffle cone mold or a makeshift cone from aluminum foil. These delicate cones are perfect for holding scoops of ice cream or a delightful cream horn filling.
- Dessert Bowls or “Tacos”: Get creative by shaping warm pizzelles into miniature bowls or dessert “tacos.” Use a bowl mold, a small ramekin, or simply drape them over a rolling pin for a taco shape. Fill these edible containers with fresh berries, scoops of ice cream, a dollop of whipped cream, or a delightful mixture of all three.
- Chocolate Dipped: For an extra touch of decadence, dip one half of a cooled pizzelle into melted dark or white chocolate. For best results and a beautiful sheen, consider tempering your chocolate (see this post for the best way to temper chocolate). While the chocolate is still wet, immediately add festive sprinkles, chopped nuts, or a drizzle of contrasting chocolate for an eye-catching finish.
Optimal Storage and Freshness Tips
One of the many appealing aspects of pizzelles is their impressive shelf-life and straightforward storage requirements. The good news is that these delightful cookies are easy to store and can maintain their crispness for weeks, ensuring you can enjoy them long after they’re baked!
My mother, a connoisseur of pizzelle preservation, always meticulously stored her batches in airtight cookie tins, carefully layering them between sheets of waxed paper. Stored this way, they remained wonderfully fresh and delicious at room temperature for weeks beyond the Christmas holidays, a testament to their inherent stability.
While traditional pizzelles boast a very long shelf life, those made with gluten-free flour typically have a slightly shorter optimal window. Unfilled gluten-free pizzelles can be stored effectively at room temperature in an airtight container for up to 2 weeks. For extended freshness, they can be frozen for up to 2 months. However, I generally advise against refrigerating unfilled pizzelles, as the humidity can cause them to soften. If your pizzelles are filled with creams or perishable ingredients, then refrigeration in an airtight container is necessary, but consume them within a few days.
Should you find that your stored pizzelles have lost some of their characteristic crispness and become soft, there’s an easy fix to revive them. Simply arrange the softened cookies in a single layer on a baking sheet. Bake them in a preheated 300ºF (150ºC) oven for approximately 3-5 minutes, or until they regain their signature crisp texture. Keep a close eye on them to prevent over-browning.
Pro Tips for Pizzelle Perfection
- A Pizzelle Iron is Non-Negotiable: To achieve those distinctive patterns and wafer-thin crispness, you absolutely need a dedicated pizzelle iron. Unfortunately, a standard waffle maker will not produce the same results.
- Gluten-Free Flour Matters: As emphasized, the type of gluten-free flour blend you select is crucial for the success of your GF pizzelles. Refer to the recommended brands mentioned earlier in this article for the best outcome.
- Adjust Batter Consistency if Needed: If you notice your batter becoming excessively thick as you work through the batch, don’t hesitate to thin it out slightly. A small dash of water or milk (or dairy-free milk) can help restore it to the ideal consistency.
- Post-Cooling Trimming: Don’t fret about breaking off any rough edges while the pizzelles are still hot and fragile. Once they have completely cooled, any excess edges will snap off cleanly and effortlessly.
- Resist Spreading the Batter: There’s no need to meticulously spread the batter across the pizzelle iron plates. Simply drop a dollop of batter (using a scoop for consistency) into the center of each pattern, close the iron, and it will spread evenly on its own under pressure.
- Optimal Batter Distribution: For efficient and consistent baking, I highly recommend using a small or medium cookie scoop. The ideal size will depend on the dimensions of your specific pizzelle maker’s molds.
- Achieving Ultimate Crispness: If your pizzelles turn out soft rather than crisp, it’s a clear indication that they weren’t left on the iron for quite long enough. When in doubt, it’s better to slightly overcook them to ensure maximum crispness, rather than undercooking. A perfectly cooked pizzelle will be a uniform golden-brown.
Save This Recipe to Your Pinterest Board!
Let’s connect and be friends on Pinterest! I’m constantly sharing wonderful recipes and culinary inspiration.
Have you tried this recipe? Your feedback means the world to me! Please leave a star rating and a comment below the recipe card. Your reviews are incredibly helpful to other home bakers searching for delicious recipes, and I truly value the input from our community. I promise you’ll always hear back from me! -Melissa
Gluten-Free Pizzelle Recipe (Crisp Italian Pizzelles)

Melissa Erdelac
30
cookies
5
25
30
Pin
Rate
Remove Ads
Ingredients
- 3 large eggs
- ¾ cup (150 g) granulated sugar
- ½ cup (113 g) butter, melted and cooled
- 1 tablespoon anise or vanilla extract
- 1 ¾ cup (249 g) gluten-free all-purpose flour blend, King Arthur Measure-for-Measure gluten-free flour highly recommended
- 2 teaspoons baking powder
- powdered sugar, for dusting
Equipment
-
Pizzelle Iron
-
Cannoli Mold (optional, for shaping)
-
Medium Cookie Scoop
Instructions
-
Since the batter comes together quickly, first preheat your pizzelle maker. The surface should be naturally non-stick so there is no need to grease the iron.
-
In a large bowl whisk together the eggs with sugar until well combined and the mixture starts to pale. Whisk in the cooled melted butter and extract. Stir in the dry ingredients (flour blend and baking powder) until just combined.3 large eggs,
¾ cup (150 g) granulated sugar,
½ cup (113 g) butter,
1 tablespoon anise or vanilla extract,
1 ¾ cup (249 g) gluten-free all-purpose flour blend,
2 teaspoons baking powder -
The first couple pizzelles you may have to experiment with the amount of batter needed. Spoon a small amount of batter (about 2 tsp per pizzelle mold) in the middle of the iron and then close securely.
-
Once the maker indicates the pizzelles are done (usually a light golden brown), transfer them to a wire rack to cool. If you plan on shaping the pizzelles for cannoli or cones, do this immediately while they are hot and pliable. Use a kitchen towel to protect your fingers and wrap around the mold. Dust the cooled cookies with confectioner’s sugar before serving. Store unfilled pizzelles in an airtight container at room temperature.
Notes
Dairy-Free Modification
You may also replace the butter with oil for a dairy-free recipe. However, as a word of warning, I tried this, but found the flavor really lacking.
Therefore, for a dairy-free recipe, I recommend using melted vegan butter sticks or ½ cup melted coconut oil, which will flavor the pizzelle cookie slightly.
Flavoring Options
- Orange: 1 tablespoon orange zest with ¼ tsp orange or vanilla extract.
- Spiced: ½ tsp ground cinnamon, ½ tsp ground cardamom with 1 tbsp vanilla extract.
- Lemon: 2 tsp lemon zest with ½ tsp lemon extract.
- Coconut: Replace butter with ½ cup coconut oil, 1 tsp vanilla extract, ½ tsp coconut extract.
Cannoli Shaping and Filling
Filling:
- 1/2 cup heavy cream
- 1/2 cup powdered sugar
- 1/2 tsp vanilla extract
- 15 oz low-moisture ricotta cheese
- 1/2 tsp orange zest
- (Optional: Mini chocolate chips)
Using a standing mixer fitted with the whisk attachment or an electric mixer, whip the heavy cream, powdered sugar, and vanilla until thick and stiff peaks form. Gently fold in the ricotta, optional chocolate chips, and orange zest.
77
kcal
10
g
1
g
4
g
2
g
0.2
g
1
g
0.1
g
25
mg
31
mg
35
mg
1
g
5
g
118
IU
20
mg
0.4
mg
Please leave a star rating and review below. It helps others when searching for recipes and I LOVE feedback!