
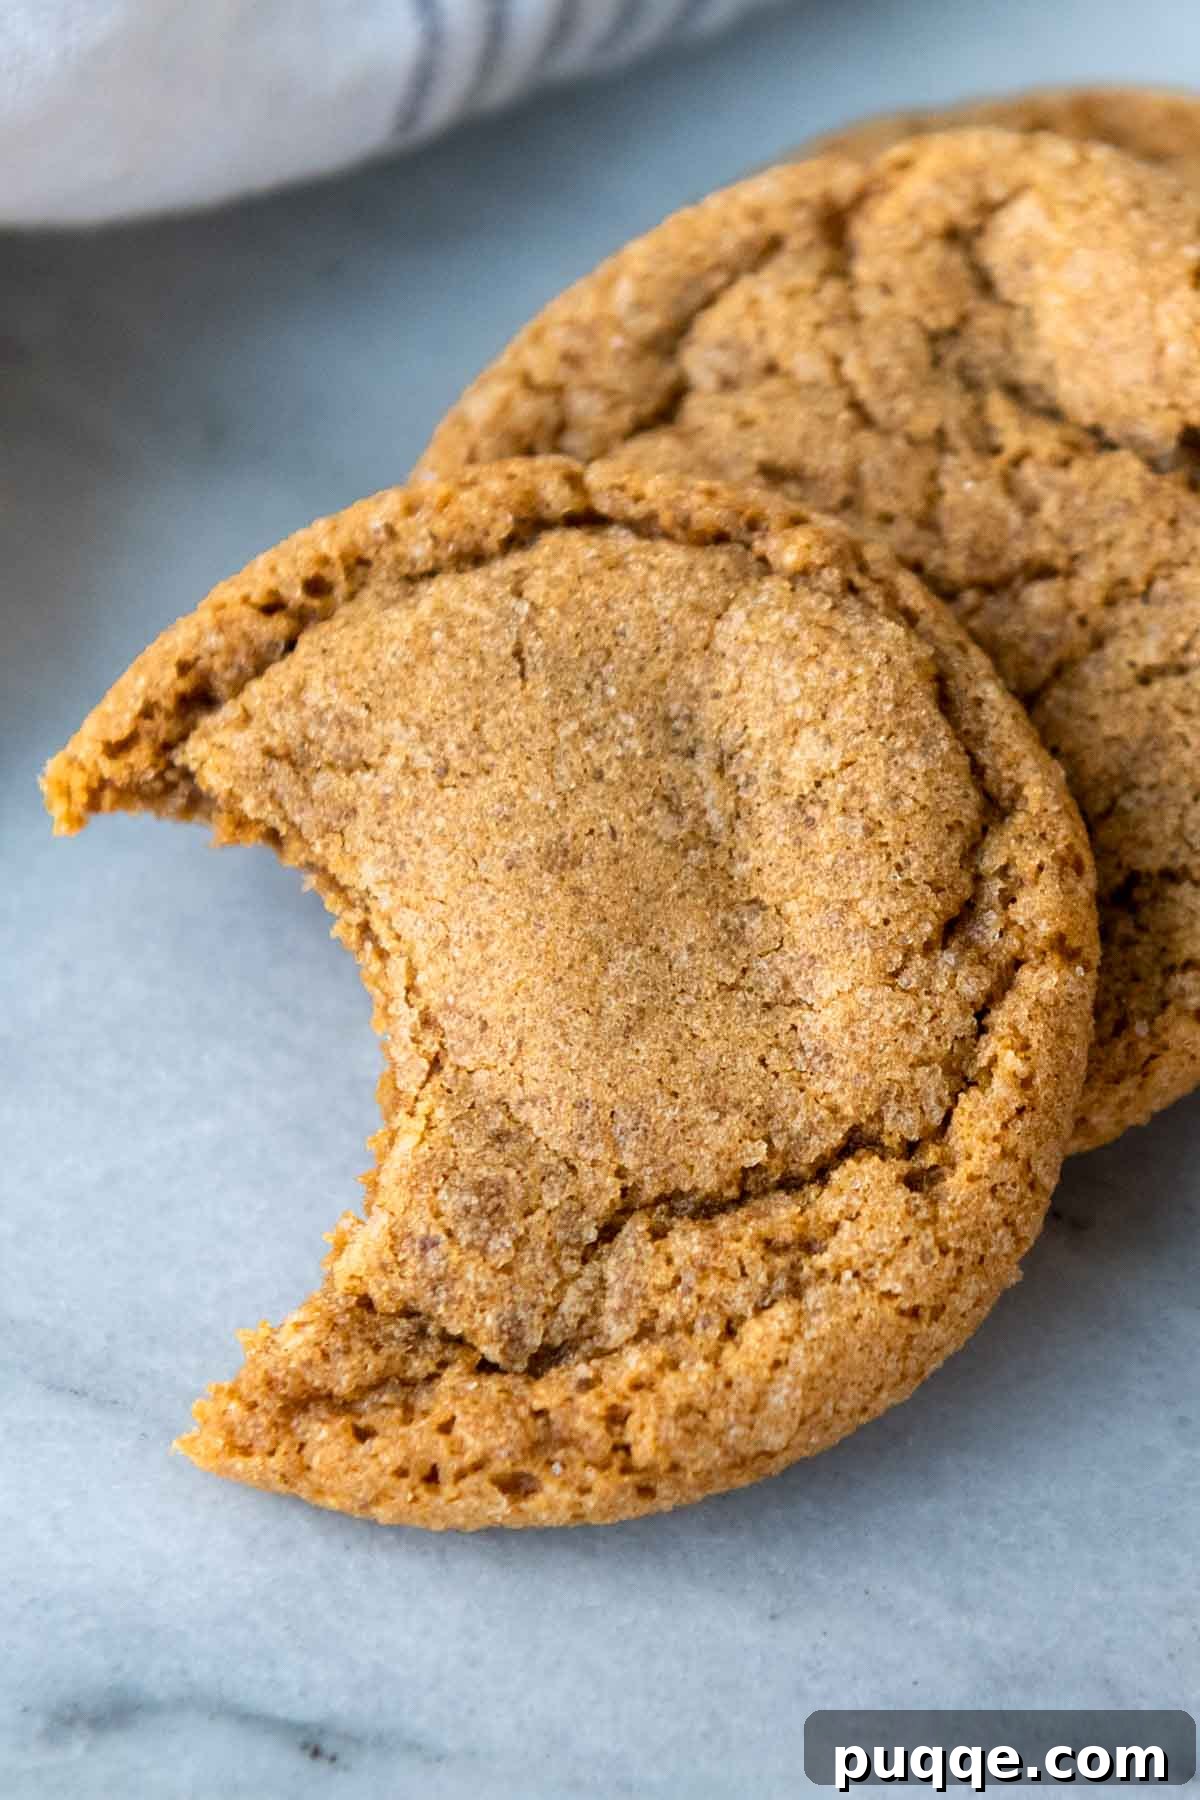
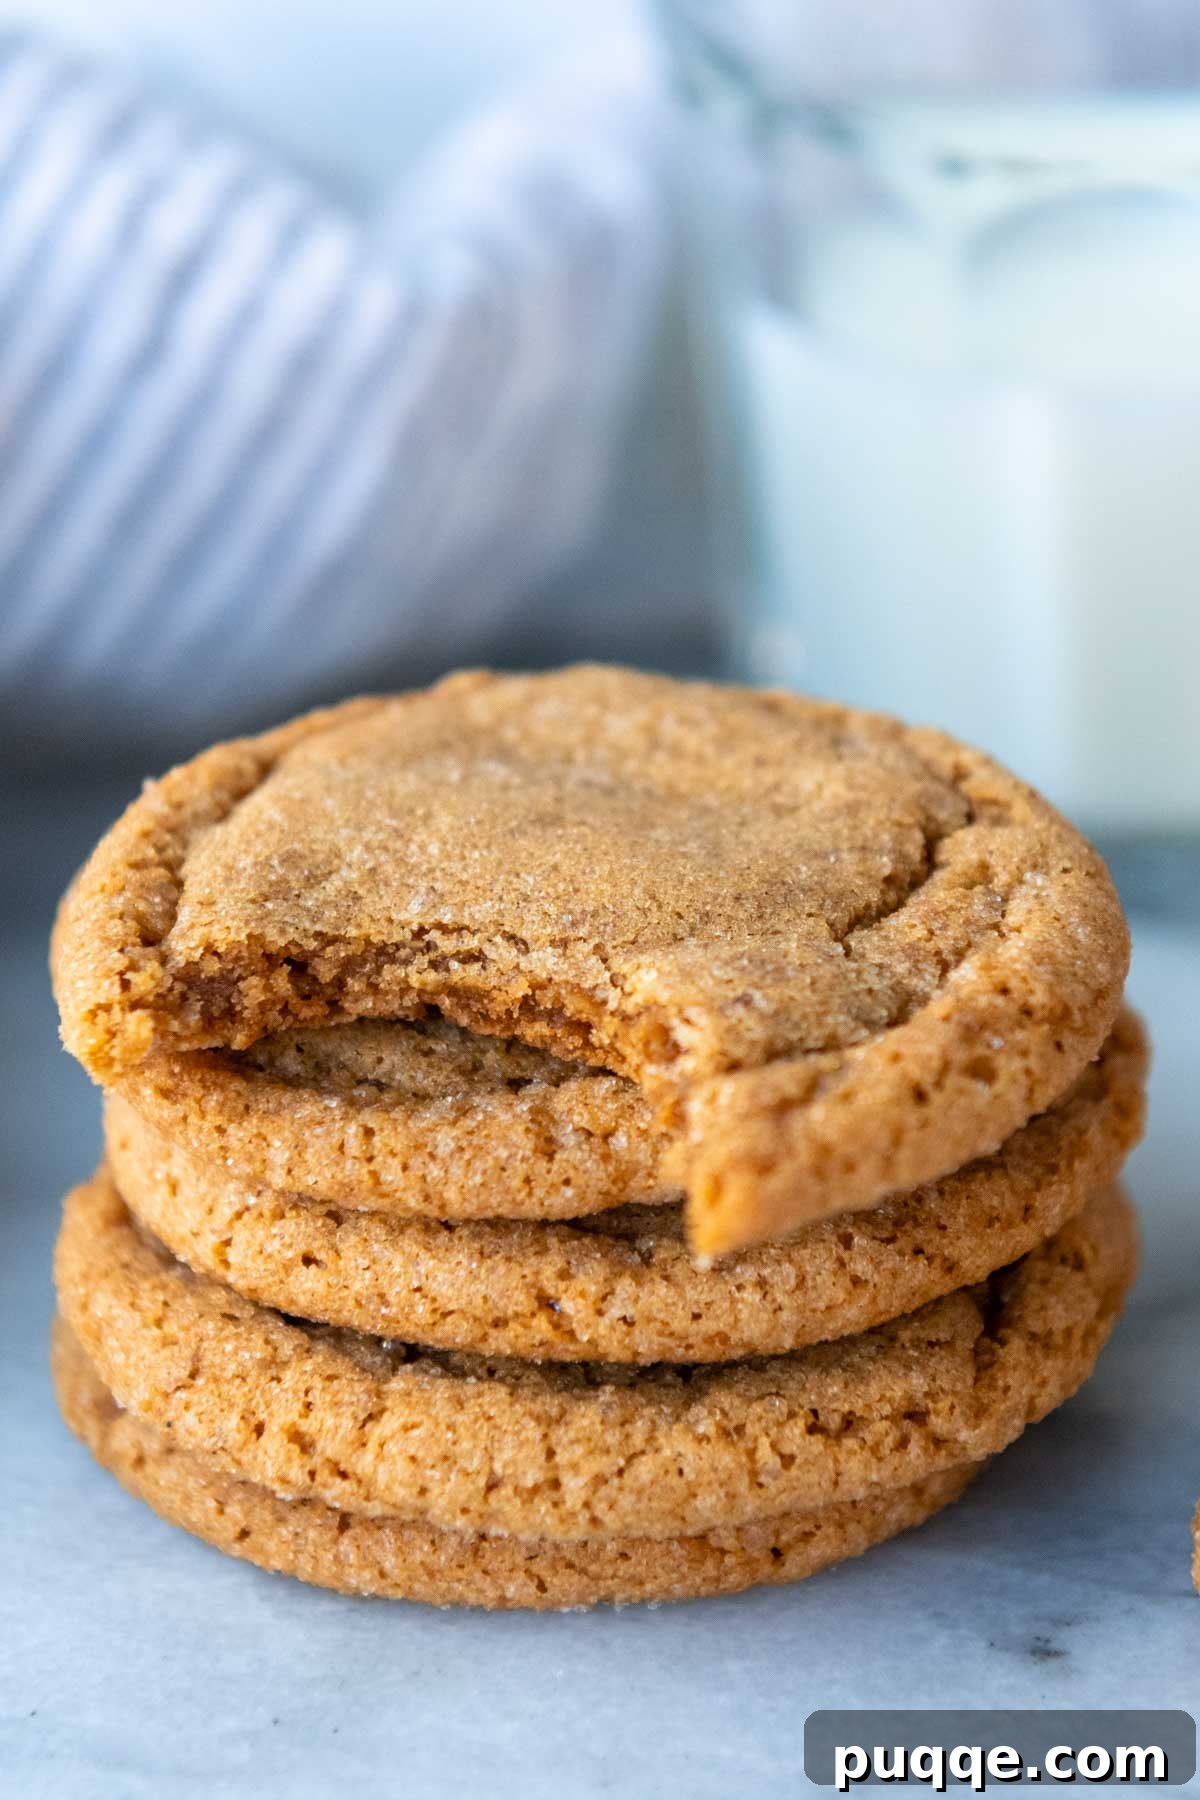
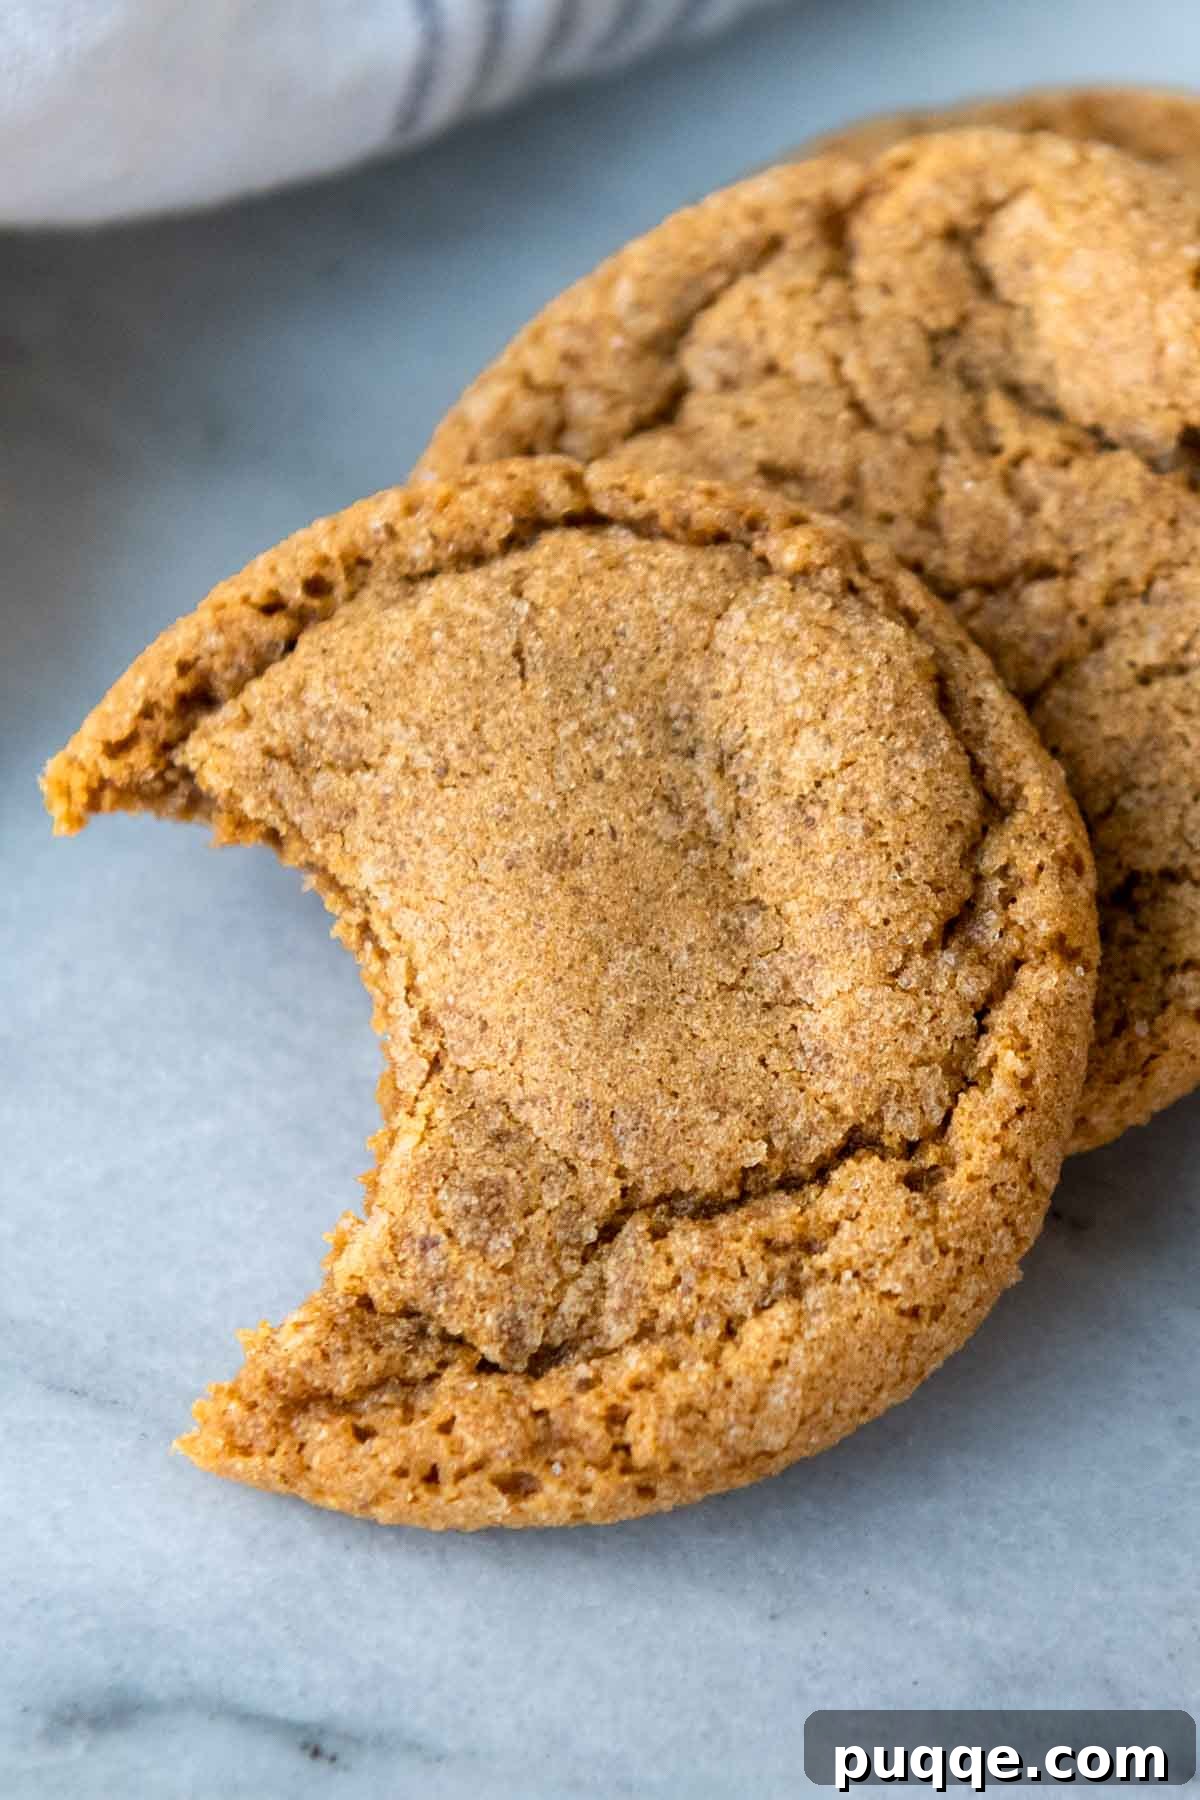
Rejoice, cookie lovers! Get ready to savor an old-fashioned favorite once more with the ultimate gluten-free ginger snaps recipe. This meticulously tested recipe employs clever gluten-free baking techniques to consistently deliver a batch of thick, wonderfully chewy, and perfectly soft ginger cookies every single time. Bid farewell to the frustration of cookies spreading too thin or the unwelcome gritty texture often found in GF baked goods. With this straightforward method, you’ll create gluten-free ginger snaps that not only look but also taste indistinguishable from the cherished classic you grew up enjoying.
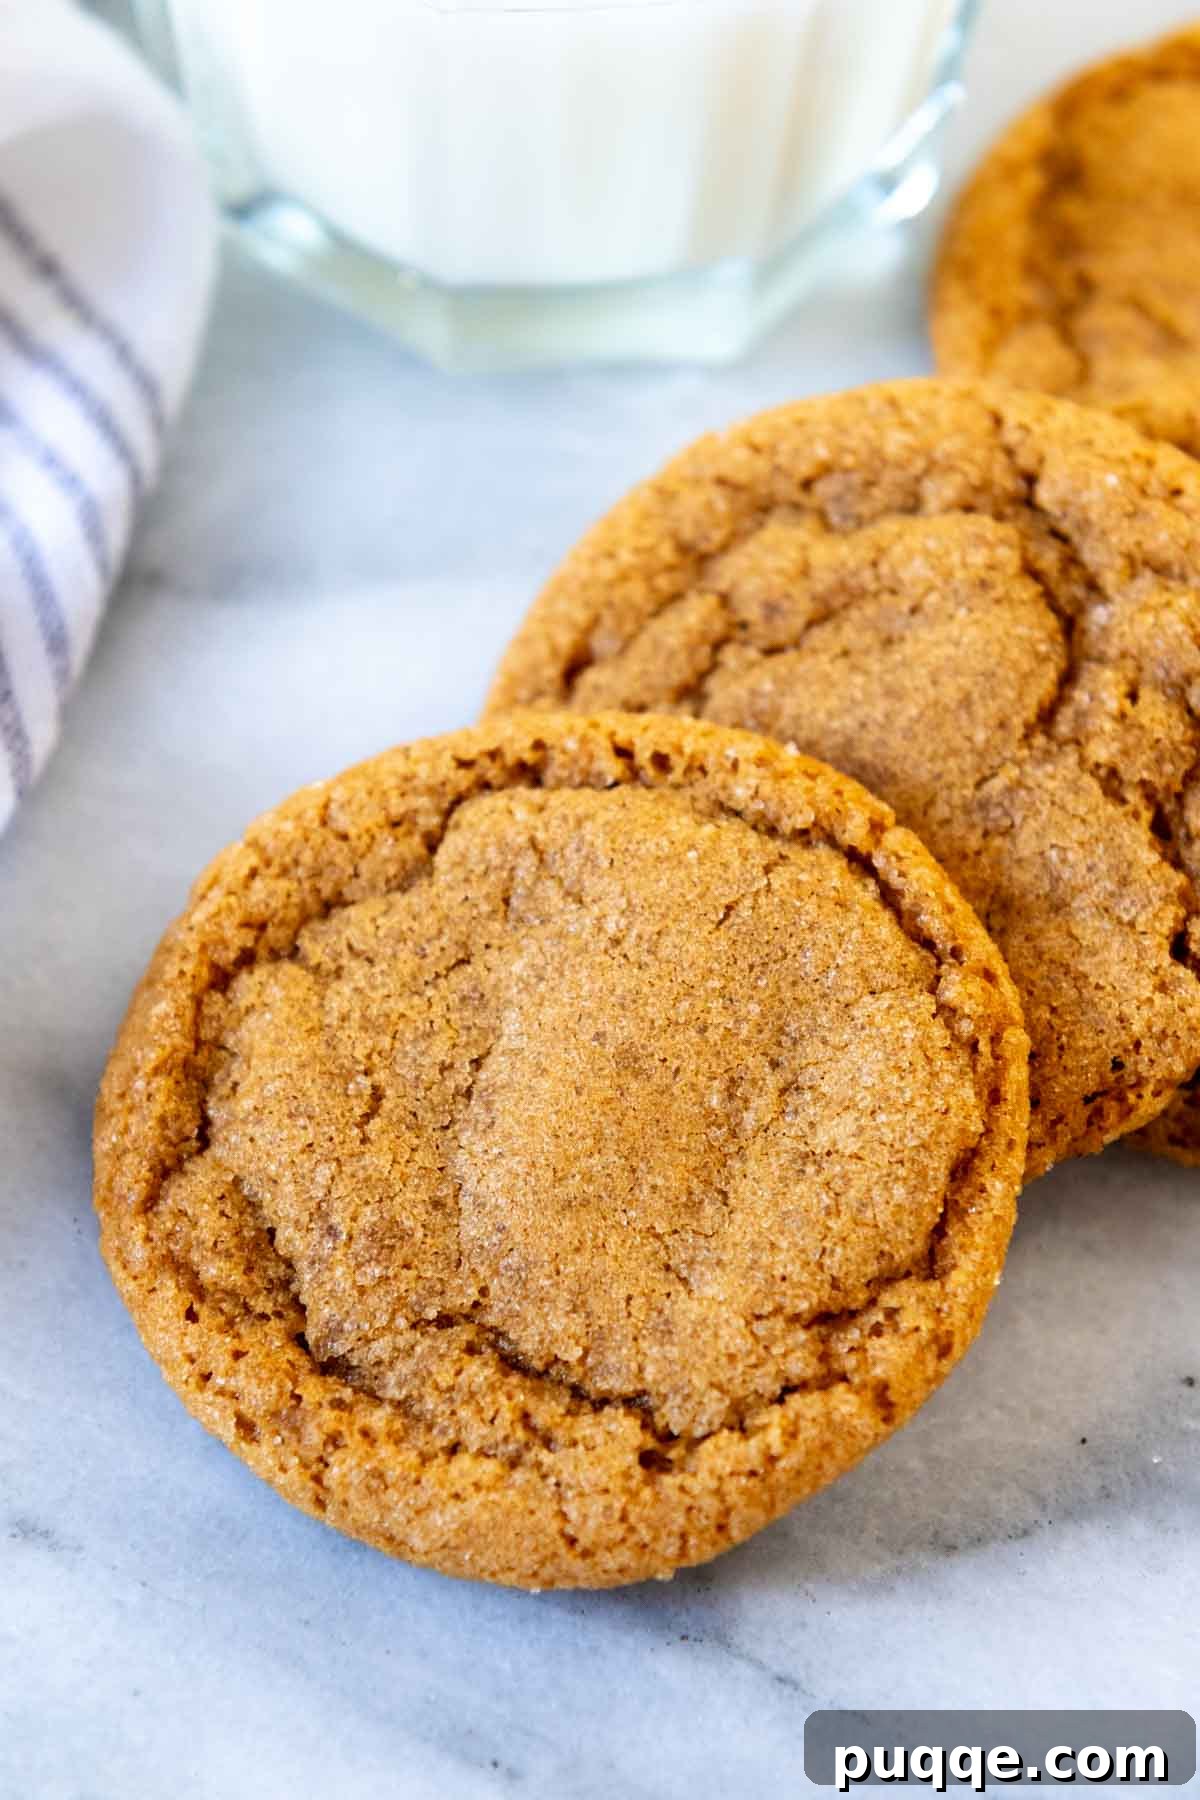
Seriously, The BEST Gluten-Free Ginger Cookies You’ll Ever Make
After years of dedicated gluten-free baking experimentation, I honestly didn’t anticipate the extensive testing required to perfect this ginger snap recipe. While my family happily devoured every experimental batch, I remained puzzled by the unique challenges presented by gluten-free ginger snaps. Crafting a truly exceptional gluten-free ginger snap proved to be more of a culinary puzzle than expected.
My journey in gluten-free baking has led to many successes, transforming countless favorite cookie recipes into gluten-free versions that are just as, if not more, delicious than their original counterparts. This dedication brought me to masterpieces like my homemade GF chocolate chip cookies and many other beloved desserts. I’ve uncovered a few tried-and-true techniques that consistently yield outstanding results, even with the trickiest of recipes.
Initially, when developing this recipe with gluten-free all-purpose flour, I applied some of these reliable hacks: baking at a slightly lower oven temperature, thoughtfully shaping the cookie dough, and chilling the dough for an extended period. Despite these efforts, the cookies still tended to spread more than desired, losing that signature thick, chewy profile. This persistent spreading became a hurdle I was determined to overcome to achieve the perfect ginger snap.
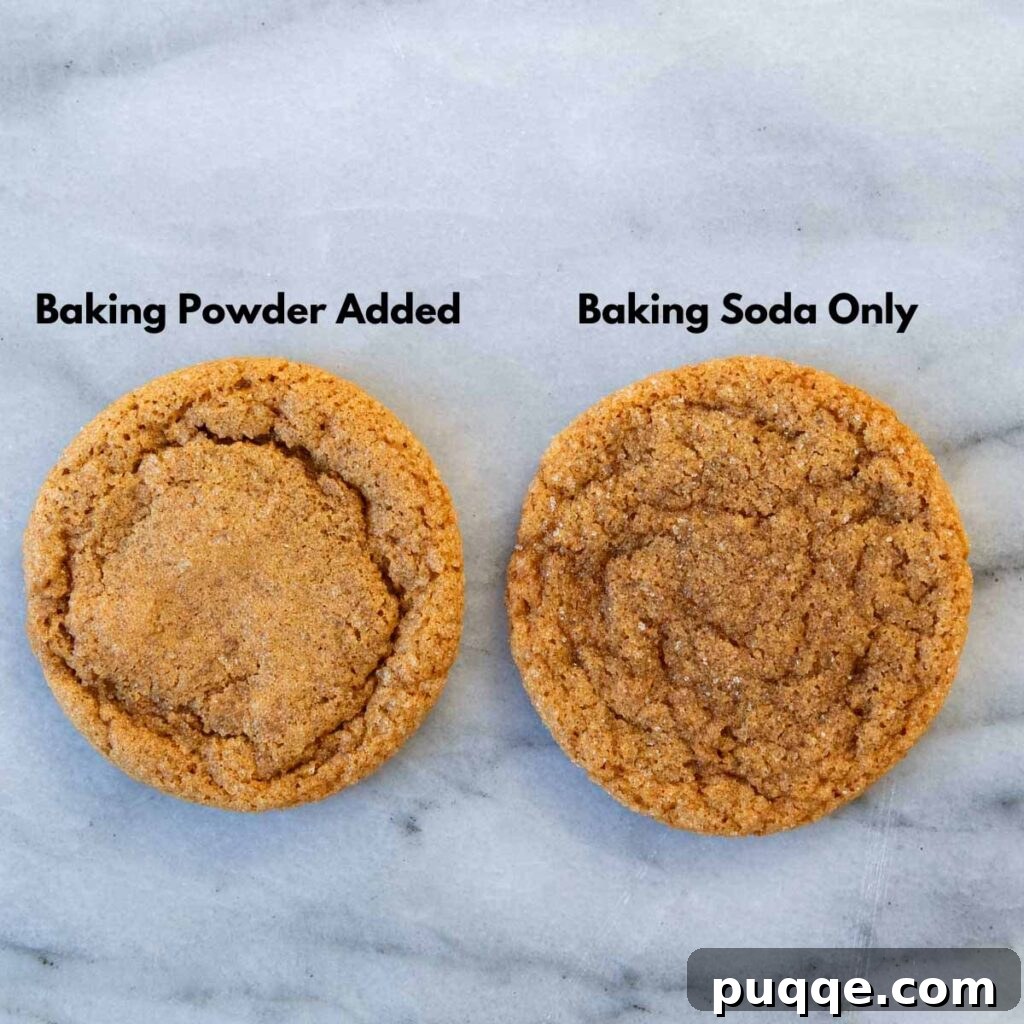
To counteract the spreading and achieve the ideal texture, I introduced a few key adjustments. I swapped my usual 1½ tablespoon cookie scoop for a slightly smaller 1 tablespoon scoop, ensuring more compact cookie dough balls. I also added a touch of baking powder alongside the baking soda, a strategic move to boost the cookie’s lift. Furthermore, I opted for a 350°F oven temperature, a slight increase from the 325°F I often recommend for other gluten-free cookies. This combination of subtle changes proved to be pure magic, giving birth to what I confidently declare are the best gluten-free ginger snap cookies!
Why Gluten-Free Ginger Snaps Require Special Attention
Ginger snaps present a unique challenge in gluten-free baking primarily due to one star ingredient: molasses. This thick, rich syrup is essential for their distinctive smoky, spiced flavor and characteristic dark hue. However, molasses also introduces additional liquid into the dough. Gluten-free flours and starches, unlike wheat flour, struggle to absorb moisture efficiently. This excess liquid, when combined with less absorbent gluten-free blends, can cause cookies to spread excessively during baking rather than holding their shape and developing a satisfying thickness.
This challenge is similar to what one might encounter with homemade gluten-free snickerdoodles. Chilling the dough becomes a critical step, allowing ample time for the gluten-free starches to gradually absorb the moisture from the molasses and other liquid ingredients. This absorption process helps to firm up the dough, preventing excessive spreading in the oven. The addition of baking powder works in tandem with baking soda, providing an extra boost of leavening, which promotes a stronger, more desirable rise. Baking at 350°F, as opposed to a lower temperature, also contributes to this enhanced rise, setting the cookie structure more quickly and preventing it from flattening out too much. These seemingly small adjustments are the secrets to achieving beautifully shaped, perfectly chewy gluten-free ginger snaps.
Once again, another great recipe! This one will stay in my cookbook for years to come. Even my husband commented on how good they were!
—Ashley
EXCELLENT!! Just as good as my former (wheat flour) recipe.
—Sharon
Let’s Make These Gluten-Free Ginger Snaps Together!
Below, you’ll find detailed step-by-step photos and modified instructions to guide you through the baking process. For the complete recipe, including precise ingredient amounts and nutritional information, please scroll down to the full recipe card at the end of this article.
Step 1: Cream the Butter and Sugars
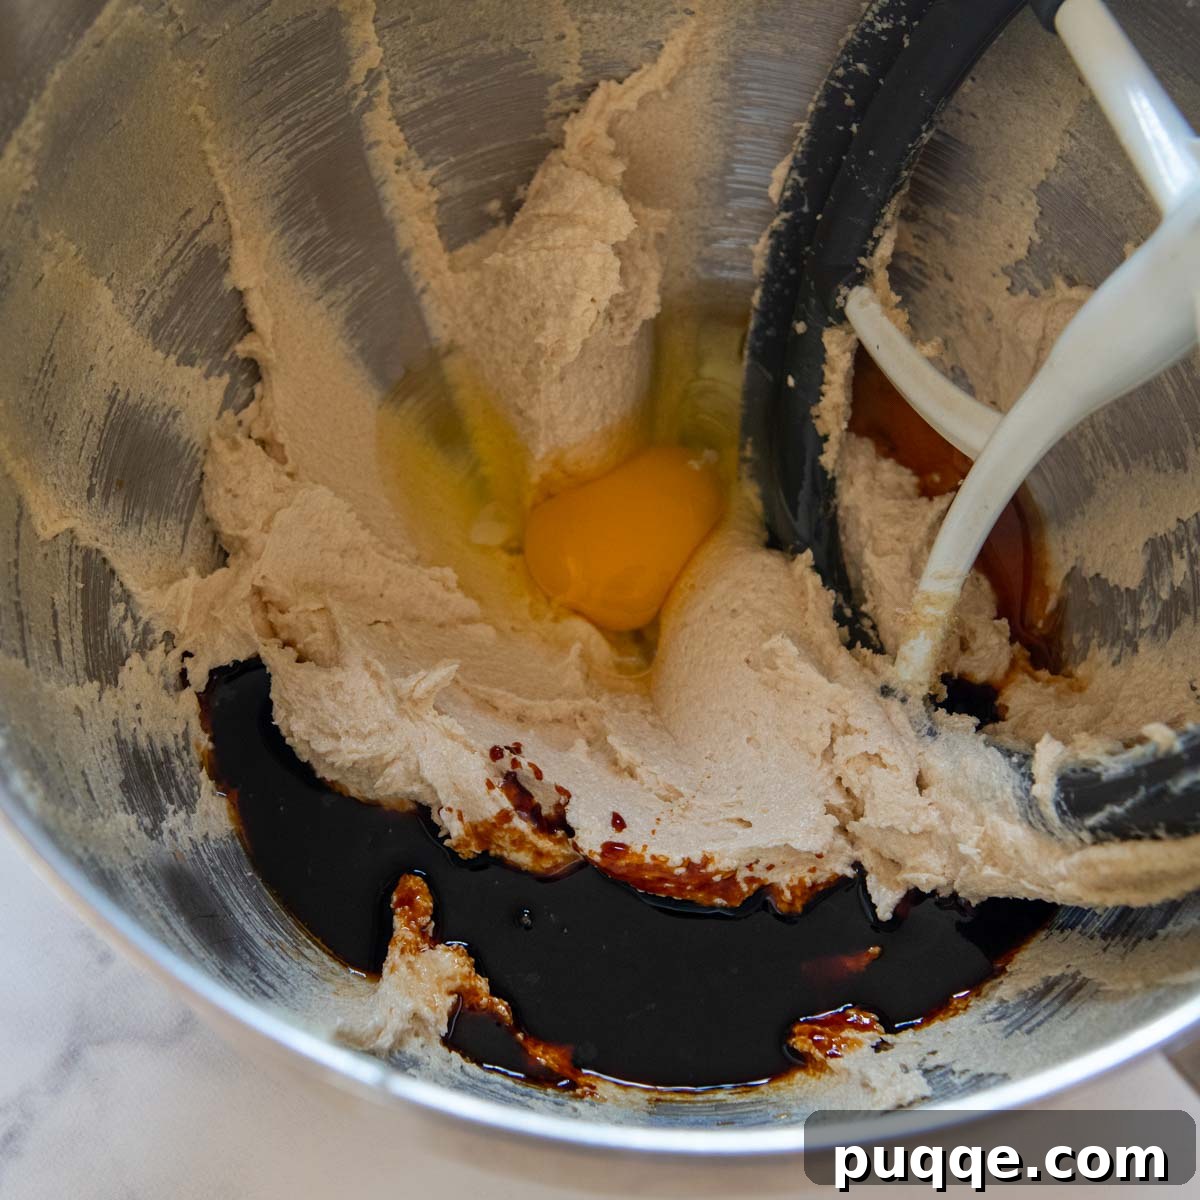
Begin by combining softened, room-temperature unsalted butter with both brown sugar and granulated sugar in a large mixing bowl. Beat these ingredients together until the mixture becomes wonderfully light and fluffy. This process, known as creaming, is crucial for incorporating air into the dough and ensuring a tender cookie texture. This usually takes about 3 minutes of consistent beating. Once creamed, add the rich molasses, a large egg, and fragrant vanilla extract, mixing until just combined. Be careful not to overmix at this stage.
Step 2: Incorporate Dry Ingredients and the Magic Leavening Combo
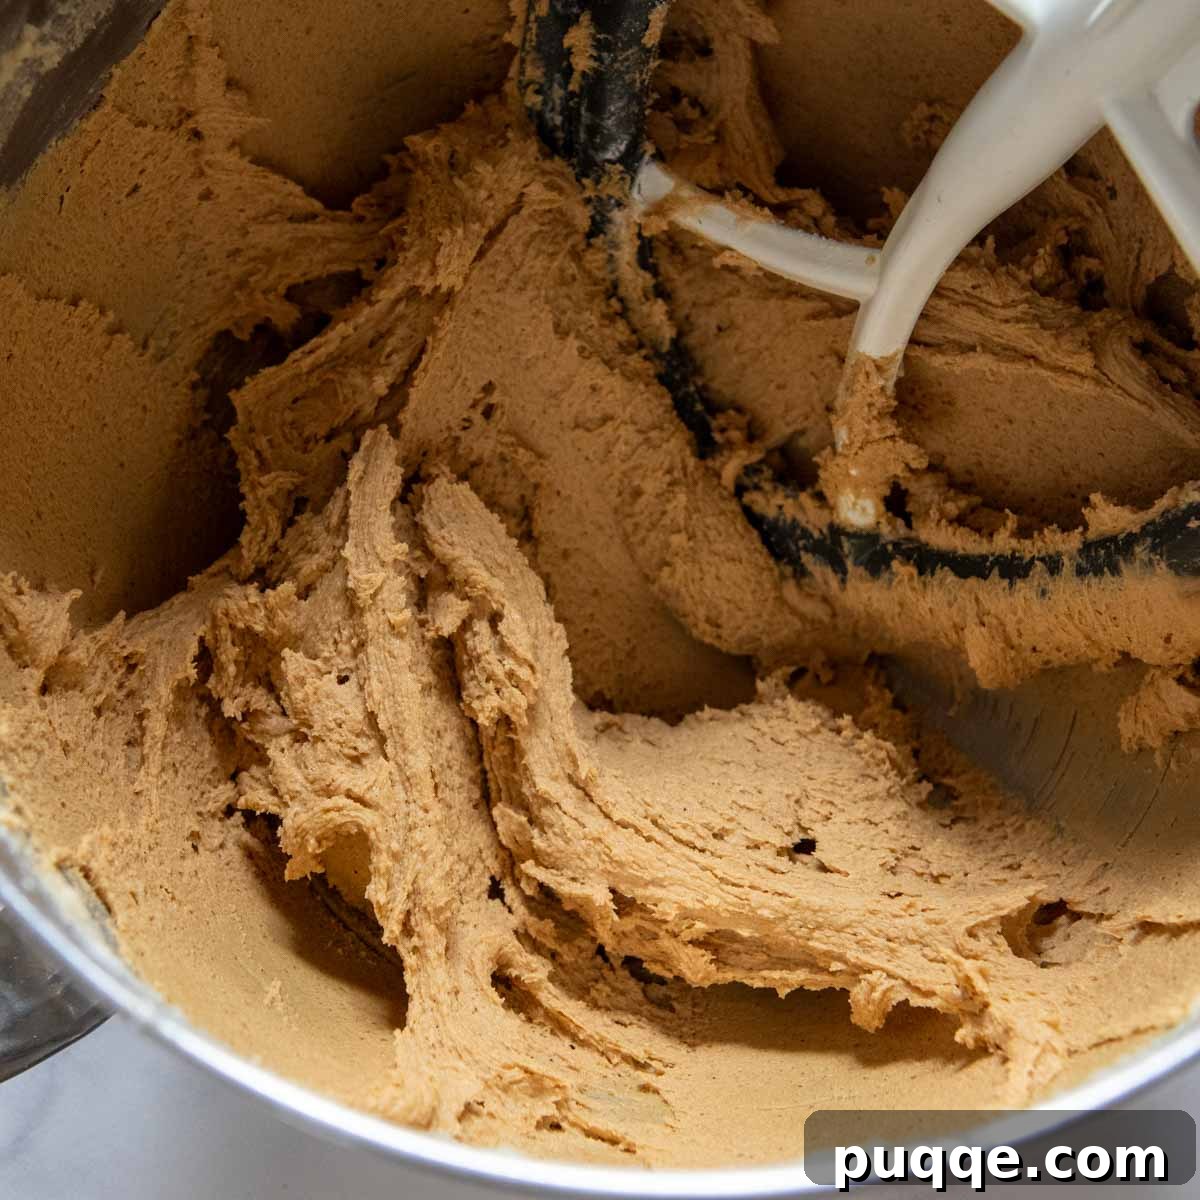
In a separate bowl, whisk together the ground spices (ginger, cinnamon, cloves), baking soda, baking powder, and salt. This ensures they are evenly distributed throughout the dough. Add this spiced dry mixture to the wet ingredients, followed by the gluten-free all-purpose flour. Mix on low speed until all ingredients are just combined, being careful not to overmix, as this can lead to tough cookies. Once mixed, cover the bowl tightly and refrigerate the dough until it is thoroughly chilled—ideally for at least 1.5 to 2 hours, or even overnight. This chilling step is paramount; it allows the gluten-free flour to fully hydrate, preventing the cookies from spreading too much and eliminating any potential gritty texture, ensuring a smooth and tender bite.
The visual difference from adding a touch of baking powder is remarkable. As you can see below, the cookies with baking powder exhibit a noticeable lift, resulting in a thicker, chewier texture. While you’ll still get a delicious ginger cookie without it, the added baking powder prevents them from spreading too thinly, giving you that delightful soft-batch chewiness.
Step 3: Scoop, Roll, and Bake to Perfection
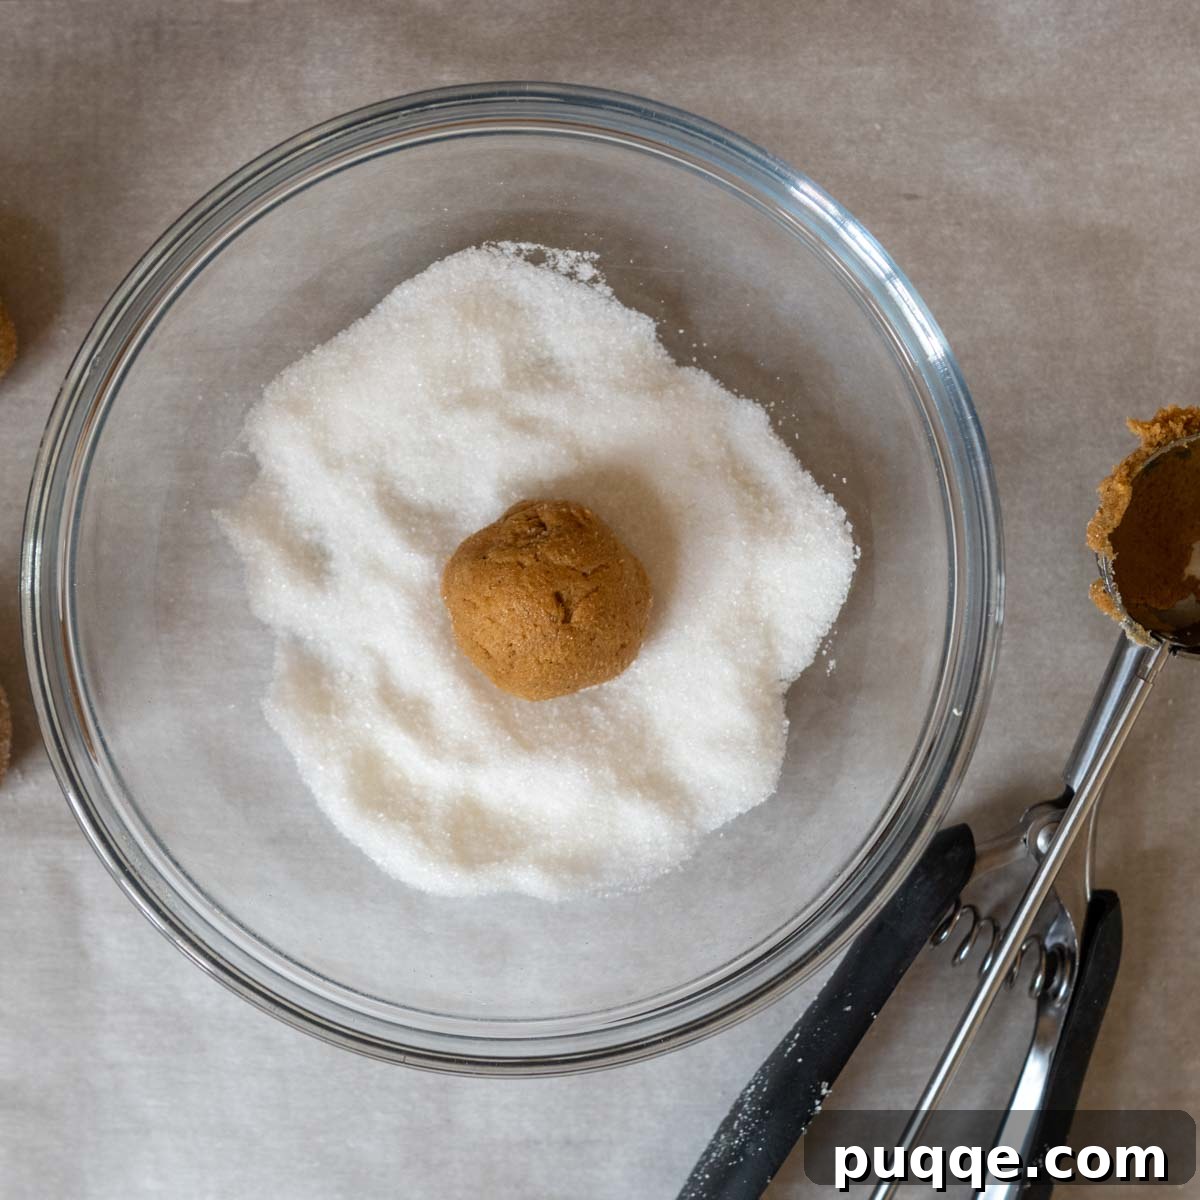
Once your dough is perfectly chilled and firm, it’s time to prepare for baking. Preheat your oven to 350°F (175°C) and line baking sheets with parchment paper or silicone baking mats. If you don’t have parchment or mats, leave the baking sheets ungreased to help prevent spreading. Using a small cookie scoop, portion out uniform 1-tablespoon size balls of cookie dough. Consistency in size ensures even baking. If you don’t have a scoop, you can roll the dough into balls using your hands. Next, gently drop each dough ball into a small bowl filled with granulated sugar. Roll them around until they are thoroughly coated. This sugar coating not only adds a beautiful sparkle but also contributes to the classic ginger snap crackle. Arrange the sugar-coated dough balls on your prepared baking sheets, ensuring they are about 1½ to 2 inches apart to allow for proper air circulation and slight spreading. Bake for a precise 9-10 minutes. The cookies will look slightly soft in the center but will firm up as they cool. Allow them to cool on the baking sheet for about 10 minutes before carefully transferring them to a wire rack to cool completely. Then, prepare to enjoy these incredibly delicious, thick, and chewy gluten-free ginger snaps immensely!
Amp Up Your Ginger Cookies With Creative Mix-Ins and Variations!
This fantastic gluten-free ginger snap dough serves as a perfect base for a variety of creative culinary explorations. Transform these simple cookies into a delightful assortment of personalized treats with these exciting mix-in and variation ideas:
- Baking Chips: Elevate the flavor profile by stirring in 1 to 2 cups of your favorite baking chips. Semi-sweet chocolate chips offer a classic pairing, while rich chocolate chunks provide a more intense chocolatey bite. For a sweeter, contrasting note, consider white chocolate chips. Ensure chips are evenly distributed throughout the dough before scooping.
- Crystallized Ginger: For those who crave an extra spicy kick and a delightful chew, mix in ½ cup of finely minced dried crystallized ginger. The candied ginger adds a concentrated burst of warmth and a lovely textural contrast to the soft cookies.
- Dried Fruit: Introduce a hint of fruitiness and extra chew by folding in 1 cup of dried cranberries, currants, raisins, or golden raisins. These fruits add a sweet-tart balance that complements the spicy ginger beautifully. For best results, lightly toss dried fruits with a tablespoon of gluten-free flour before adding to the dough to prevent them from sinking to the bottom.
- Chocolate Drizzled or Dipped: After your ginger snaps have cooled completely, melt some semi-sweet chocolate or white chocolate (using a double boiler or microwave). For a simple yet elegant touch, drizzle the melted chocolate over the tops of the cookies. For a more decadent treat, dip half of each cookie into the melted chocolate. If the chocolate seems too thick, add a tiny amount of neutral oil (like coconut oil or vegetable oil) to thin it slightly for easier dipping and a smoother finish. Allow the chocolate to set on parchment paper before storing.
- Ginger Cookie Sandwiches: Turn these single cookies into an impressive dessert by creating sandwiches. Choose your favorite creamy filling: a classic vanilla buttercream, a vibrant lemon buttercream for a zesty contrast, or fluffy marshmallow fluff for a gooey delight. Spread generously between two cooled ginger snaps and gently press together. These are perfect for special occasions or when you want to truly impress!
Experiment with these additions to discover your new favorite gluten-free ginger snap creation!
Don’t Forget to Pin This Recipe to Your Pinterest Board!
Let’s be friends on Pinterest! I’m always sharing great recipes and gluten-free baking tips!
Did you make this recipe? I love hearing from you! Your feedback helps others discover amazing recipes. Please leave a star rating and comment below the recipe card to share your experience. I always make sure to respond! -Melissa
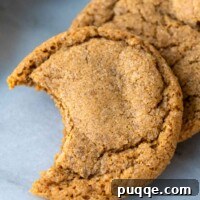
Soft Batch, Chewy Gluten-Free Ginger Snaps

Melissa Erdelac
50
cookies
10
mins
10
mins
1
hr
30
mins – overnight
1
hr
50
mins
Enjoy an old fashioned classic again with the best gluten-free ginger snaps recipe! These well-tested cookies use simple gluten-free baking tricks to guarantee a thick, chewy, soft batch bake every time. No longer will you be disappointed by cookies that spread too much or a gritty texture after you learn the easy method to make GF gingersnaps look and taste just like the cookie you grew up on!
Pin Recipe
Rate This Recipe
Ingredients
- ¾ cup (1 ½ sticks) unsalted butter, softened
- ½ cup packed brown sugar
- ½ cup granulated sugar
- 1 large egg, room temperature
- ¼ cup molasses
- 1 teaspoon vanilla extract
- 1 teaspoon baking soda
- ¼ teaspoon baking powder
- 2 teaspoons ground ginger
- ¾ teaspoon ground cinnamon
- ½ teaspoon ground cloves
- ¼ teaspoon salt
- 2 ¼ cups gluten-free all-purpose flour (recommend Cup4Cup gluten-free flour)
- ¼ cup granulated sugar, for rolling
Equipment
- Stand Mixer
- Cup4Cup Gluten Free Flour
- Small Cookie Scoop
Instructions
- In a large mixing bowl, or a stand mixer fitted with a paddle attachment, cream together the softened room temperature butter, brown sugar, and granulated sugar until the mixture is light and fluffy, which usually takes about 3 minutes. Then, mix in the molasses, a large egg, and vanilla extract until just combined.
- Add the baking soda, baking powder, ground ginger, ground cinnamon, ground cloves, and salt to the wet mixture. Mix briefly to combine these spices and leavening agents. Next, gradually add the gluten-free all-purpose flour, mixing on low speed until the flour is just incorporated and a cohesive dough forms. Be careful not to overmix.
- Cover the bowl containing the cookie dough tightly and refrigerate it until it is thoroughly chilled. This process should take approximately 1½ to 2 hours, or you can refrigerate it overnight for best results. This chilling time is essential for optimal texture and to prevent spreading.
- When you’re ready to bake, preheat your oven to 350°F (175°C). Line several baking sheets with parchment paper or silicone baking mats. If you are not using parchment paper or baking mats, leave the baking sheets ungreased to prevent excess spreading.
- Using a small cookie scoop (approximately 1 tablespoon in size), portion out uniform balls of cookie dough. Alternatively, you can roll the dough into even balls using your hands.
- Place the additional ¼ cup of granulated sugar into a small bowl. Roll each cookie dough ball in the sugar until it is fully coated. Transfer the sugar-coated dough balls to the prepared baking sheets, ensuring they are spaced about 1½ to 2 inches apart to allow for proper airflow and slight expansion during baking. Bake for 9-10 minutes. The cookies will appear set around the edges but may look slightly soft in the center; they will firm up as they cool.
- Allow the freshly baked cookies to cool on the baking sheet for at least 10 minutes before carefully transferring them to a wire rack to cool completely. This step helps them retain their shape and chewy texture.
Notes
To freeze after baking: Ensure the cookies are completely cool on a wire rack. Wrap 2-3 cookies tightly in plastic wrap to prevent freezer burn. Place the wrapped cookie groups into a freezer-safe ziplock bag. These can be frozen for up to 2 months. To enjoy, simply thaw the cookies on your kitchen counter for about an hour.
To freeze before baking: Shape the cookie dough into balls and roll them in sugar as instructed in the recipe. Place these uncooked dough balls on a cookie sheet, arranging as many as possible without them touching. Transfer the entire cookie sheet to the freezer. Once the dough balls are solid and frozen (this usually takes 1-2 hours), transfer them to a freezer-safe ziplock bag. Freeze for up to 2 months. When you’re ready to bake, place the frozen dough balls on a prepared cookie sheet, spaced 2 inches apart, and bake according to the recipe instructions, adding just 1 minute to the total baking time since they are starting from frozen.
Gluten-Free Flour Blend: The success of this recipe relies heavily on a good quality gluten-free all-purpose flour blend. I highly recommend using Cup4Cup gluten-free flour for its consistent results and excellent texture. Different blends can vary significantly in their composition and absorption properties, so results may vary with other brands.
Nutrition Information
(Based on approx. 50 cookies)
Carbohydrates: 10g,
Protein: 1g,
Fat: 3g,
Saturated Fat: 2g,
Polyunsaturated Fat: 0.2g,
Monounsaturated Fat: 1g,
Trans Fat: 0.1g,
Cholesterol: 11mg,
Sodium: 37mg,
Potassium: 33mg,
Fiber: 1g,
Sugar: 7g,
Vitamin A: 90IU,
Vitamin C: 0.002mg,
Calcium: 12mg,
Iron: 0.3mg
*Nutrition information is an estimate and will vary based on ingredients used and portion sizes.
Did you make this recipe?
Please leave a star rating and review below. It helps others when searching for recipes and I LOVE feedback!