
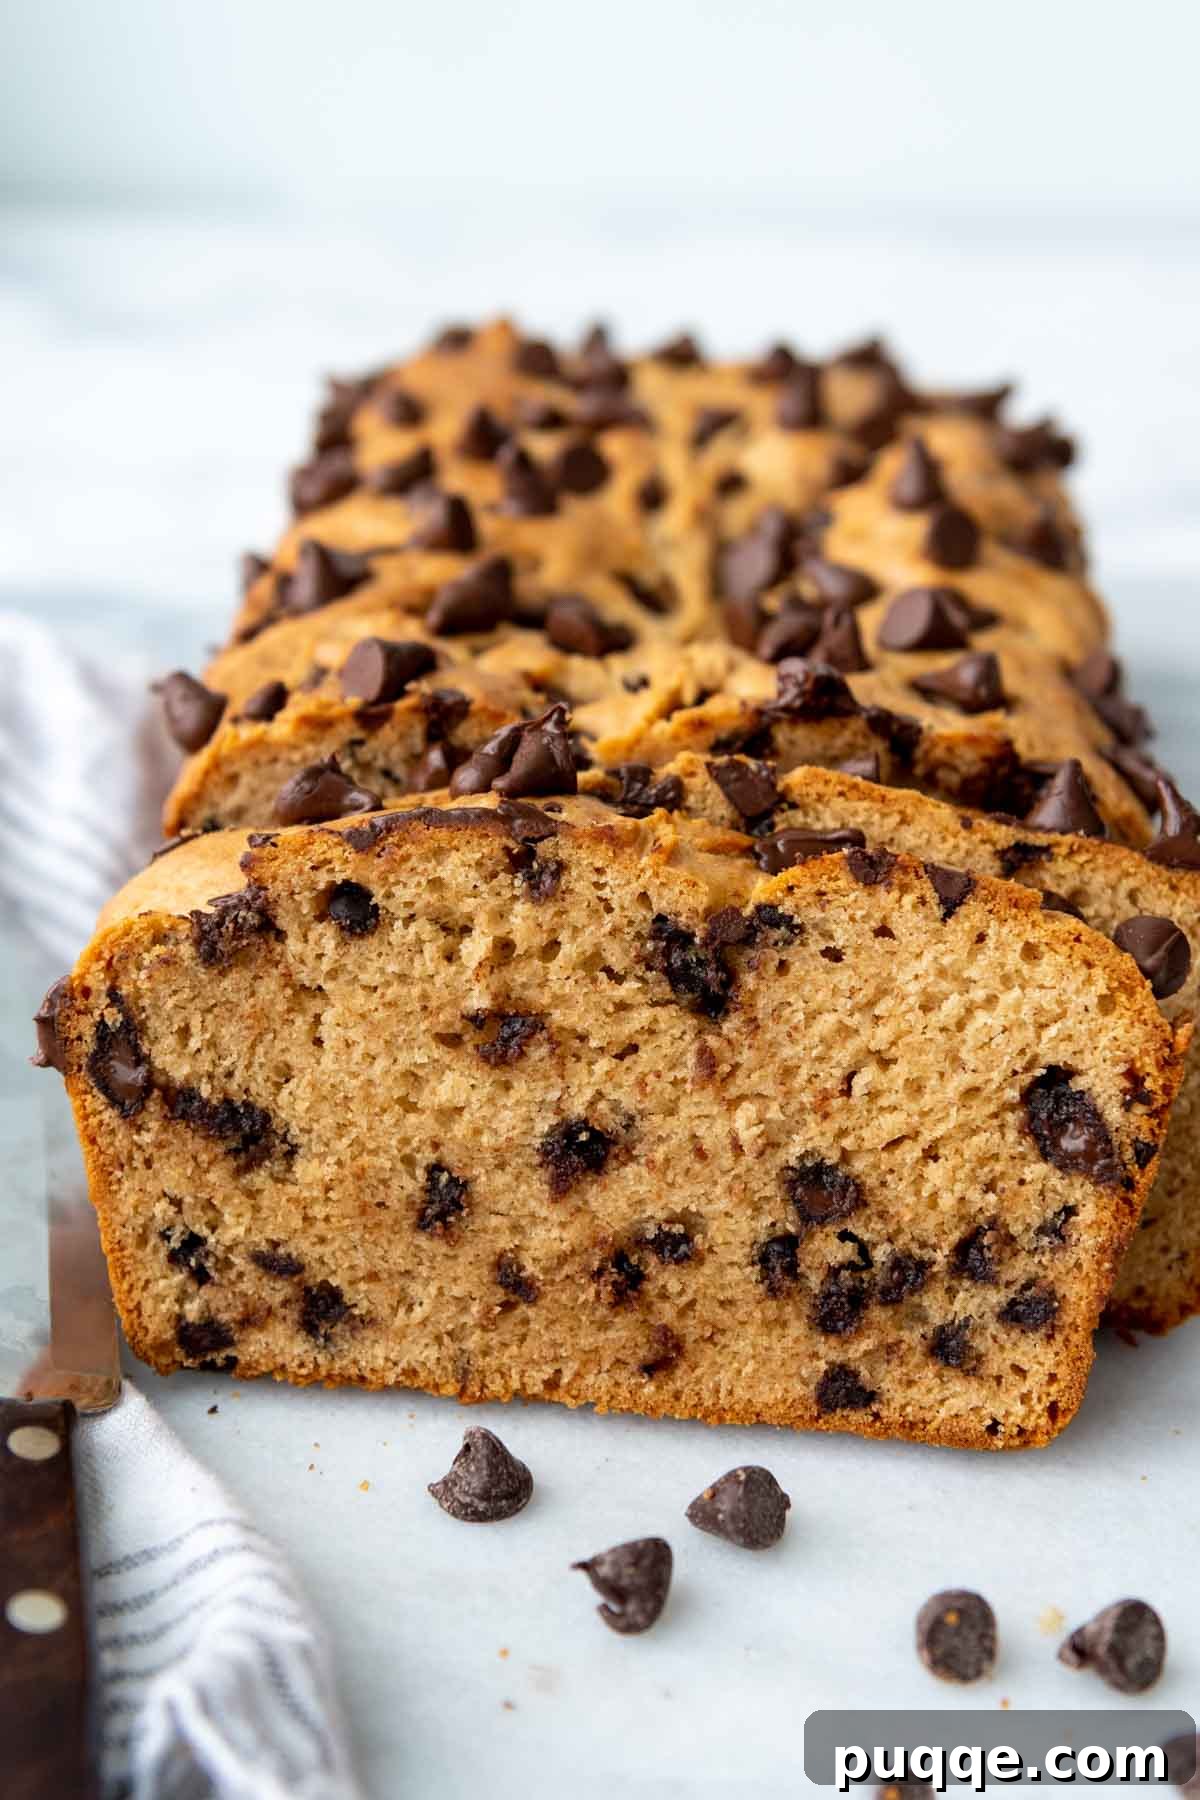
Delightfully Moist Gluten-Free Peanut Butter Bread with Gooey Chocolate Chips
Prepare to fall in love with this incredibly **easy and satisfying recipe** for gluten-free peanut butter bread! This isn’t just any quick bread; it’s an ultra-moist, tender loaf, richly flavored with creamy peanut butter and generously dotted with melting chocolate chips. Perfect as an indulgent breakfast, a delightful treat, or a comforting snack, this recipe brings together beloved flavors in a wholesome, gluten-free package.
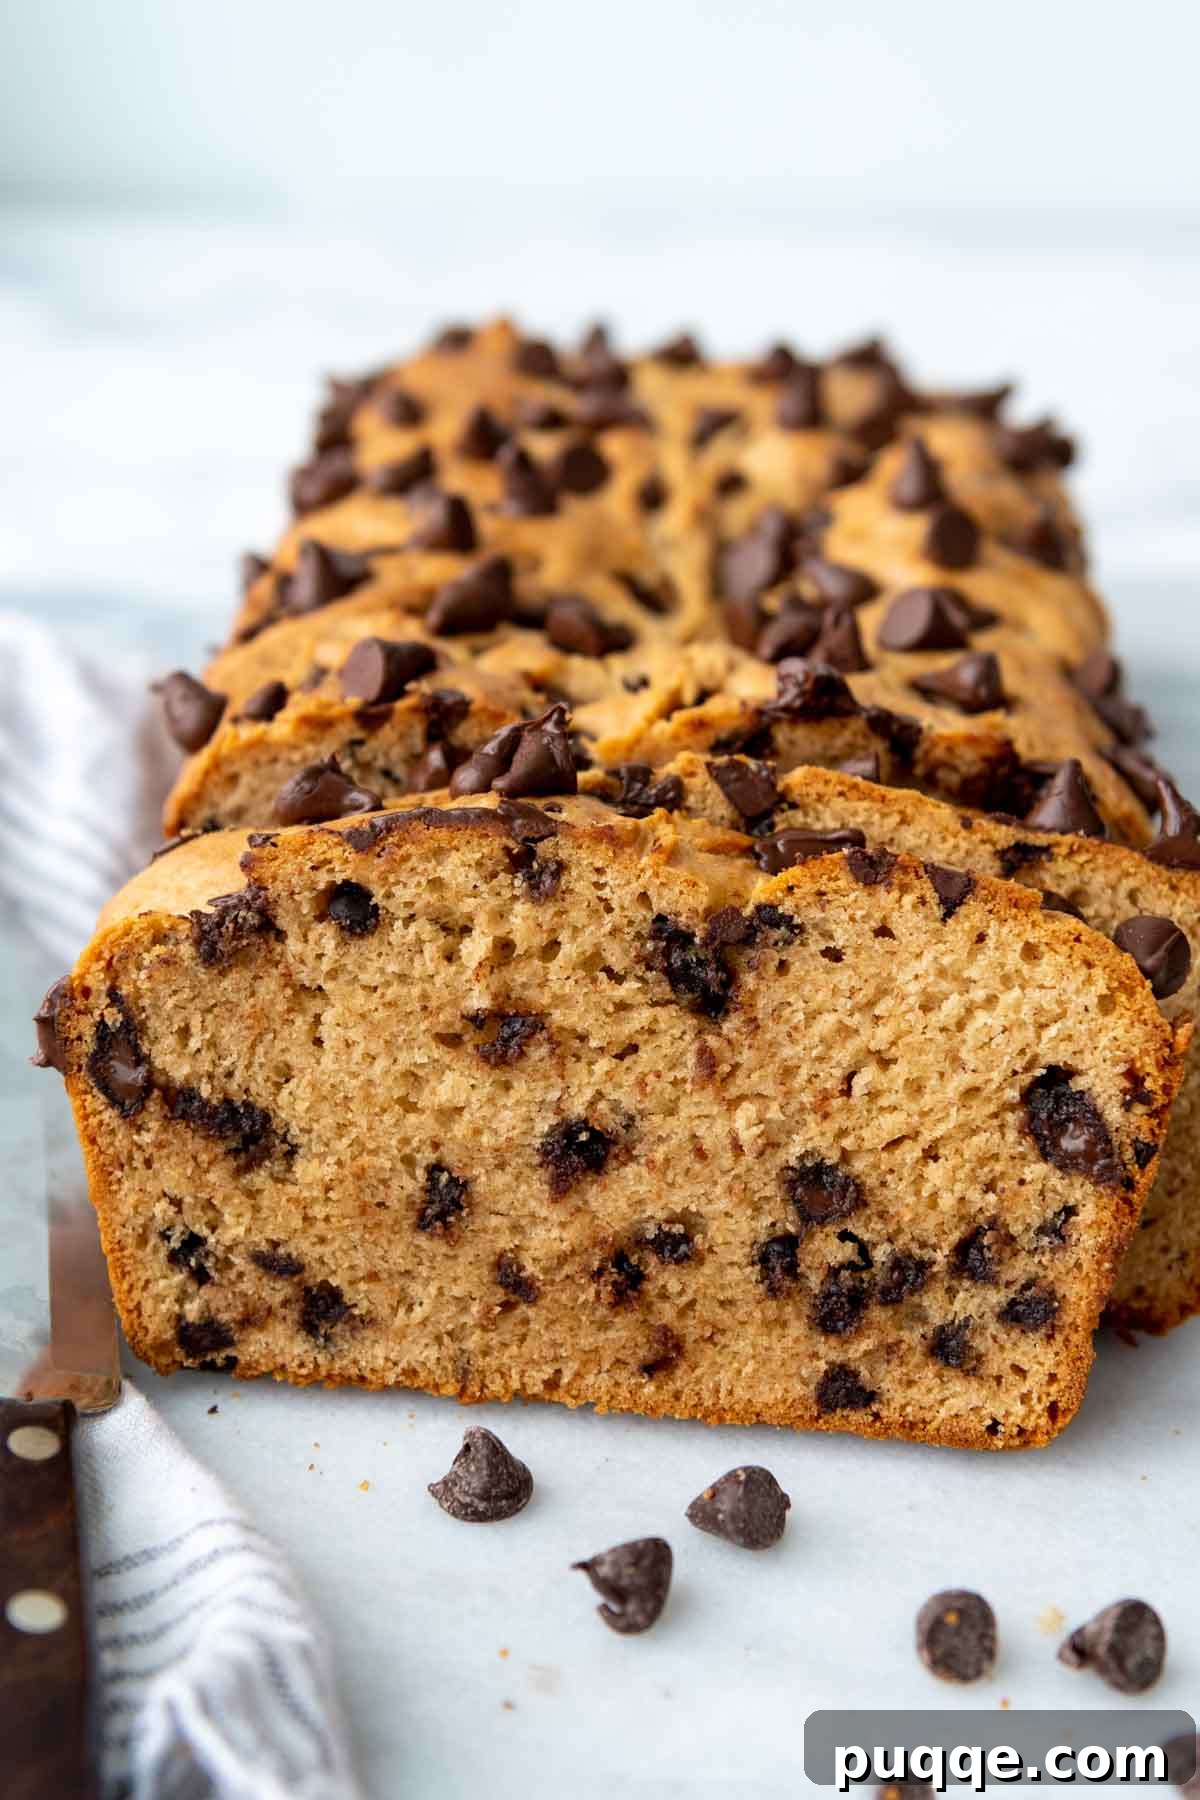
The Ultimate Moist Gluten-Free Peanut Butter Bread Recipe
If the thought of rich peanut butter, sweet chocolate chips, and comforting carbs gets your taste buds tingling, then this gluten-free peanut butter bread is absolutely for you! This recipe hits all the right notes, combining classic flavors into a quick bread that’s both easy to make and impossible to resist.
Do you have a soft spot for peanut butter creations? If decadent recipes like an easy peanut butter sheet cake or a cool and creamy chocolate peanut butter Oreo pie capture your culinary imagination, then we certainly share a common love for this versatile legume. My passion for gluten-free peanut butter chocolate chip bread runs deep, extending to crafting accessible and delicious recipes with ingredients you likely already have in your pantry.
Much like other popular gluten-free quick bread recipes, such as a fluffy gluten-free banana bread or a hearty oat flour bread, this peanut butter loaf requires minimal effort. It comes together effortlessly in a single bowl, needs no yeast, and skips the time-consuming steps of kneading or waiting for dough to rise. It’s truly as simple as mix, pour, and bake!
Understanding Gluten-Free Quick Bread
Quick breads are a marvel of the baking world, distinguished by their use of chemical leavening agents like baking powder and/or baking soda instead of yeast. This crucial difference is what earns them the “quick” moniker. Without yeast, there’s no need for kneading to develop gluten or for lengthy proofing periods where the dough rises. This characteristic makes quick breads particularly well-suited for gluten-free bread recipes, as gluten-free flours inherently lack the elastic properties necessary for traditional yeast-based kneading.
The “quick” aspect also refers to the rapid assembly of the batter. Ingredients are typically combined in one bowl, poured directly into loaf pans, and baked immediately. This streamlined process is a huge time-saver for busy bakers.
Adapting quick bread recipes for gluten-free diets is generally more straightforward than converting yeast breads. While a simple 1:1 replacement of wheat flour with gluten-free flour doesn’t always yield perfect results, quick bread structures are more forgiving. For this particular gluten-free peanut butter bread, I found that incorporating softened butter not only enhances flavor but also needed a little help to prevent dryness. Adding a couple of tablespoons of oil alongside the butter proved to be the secret to achieving that desirable moist and tender crumb.
The choice of gluten-free flour blend is also paramount. Using a high-quality, balanced blend, such as Cup4Cup gluten-free flour, can significantly elevate your gluten-free baking. It’s renowned for replicating the taste and texture of traditional wheat-based baked goods, making everything from fluffy gluten-free biscuits to hearty gluten-free cornbread taste just like the versions you grew up loving.
When converting any quick bread recipe to be gluten-free, it’s often necessary to slightly reduce the liquid content. Gluten-free flours do not absorb liquids as efficiently as wheat flour, which can lead to dense, gummy, or even sunken textures if not adjusted properly. Experimentation is key to finding the perfect balance between wet and dry ingredients to achieve the ideal light and airy crumb for your gluten-free quick bread.
How to Master Gluten-Free Peanut Butter Bread
Creating this delicious gluten-free peanut butter bread is a straightforward process that yields incredibly rewarding results. Below, you’ll find step-by-step guidance and illustrative photos to help you along the way. For the precise ingredient measurements and a complete printable recipe, please scroll down to the dedicated recipe card.
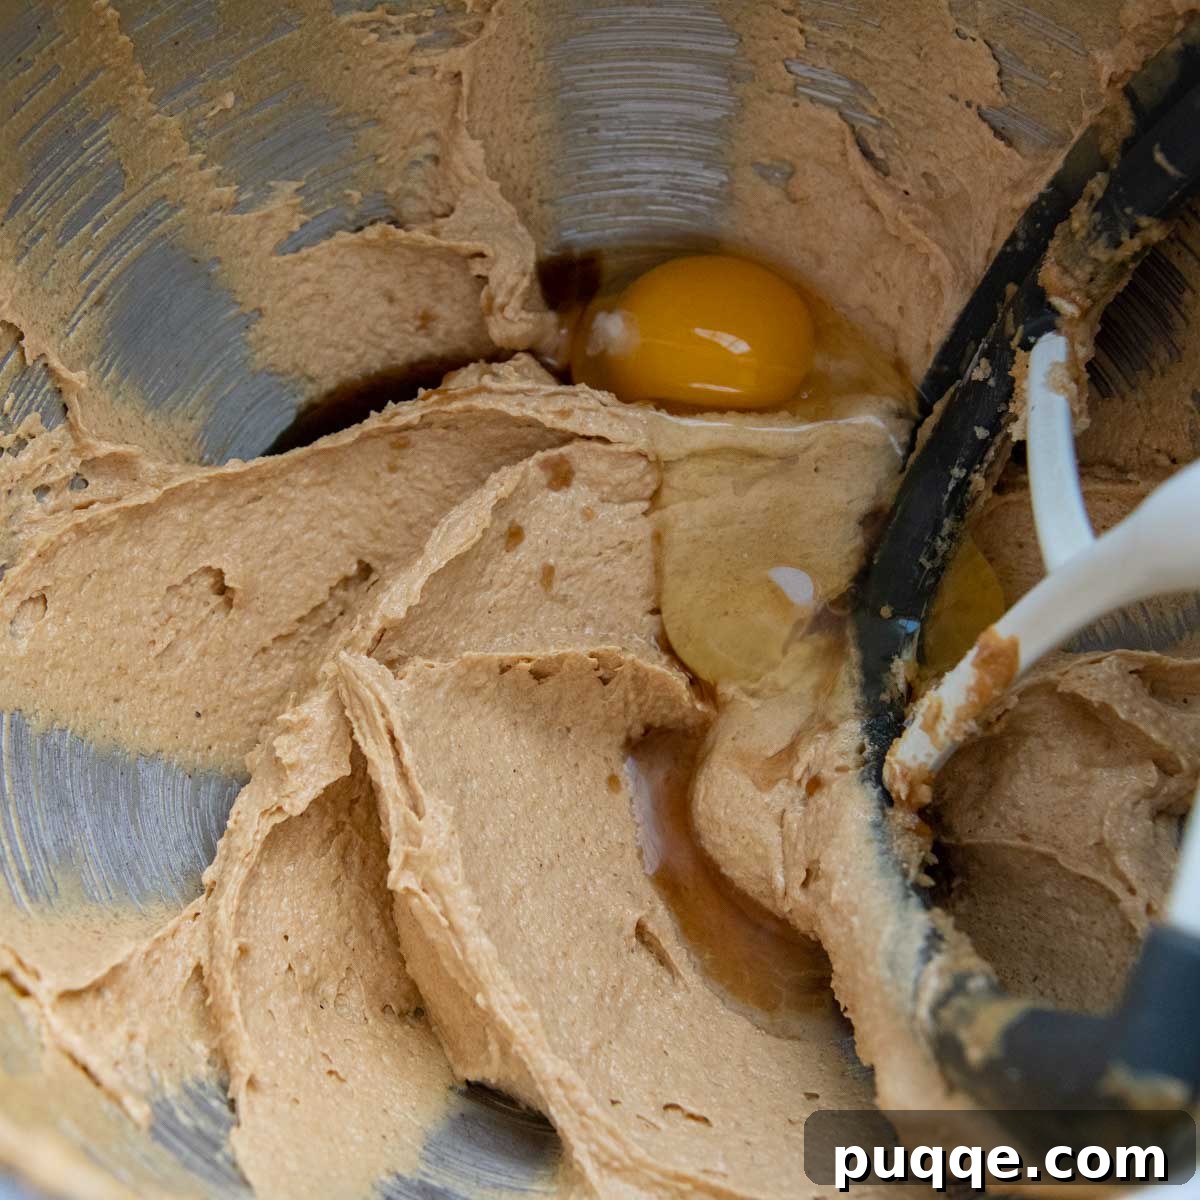
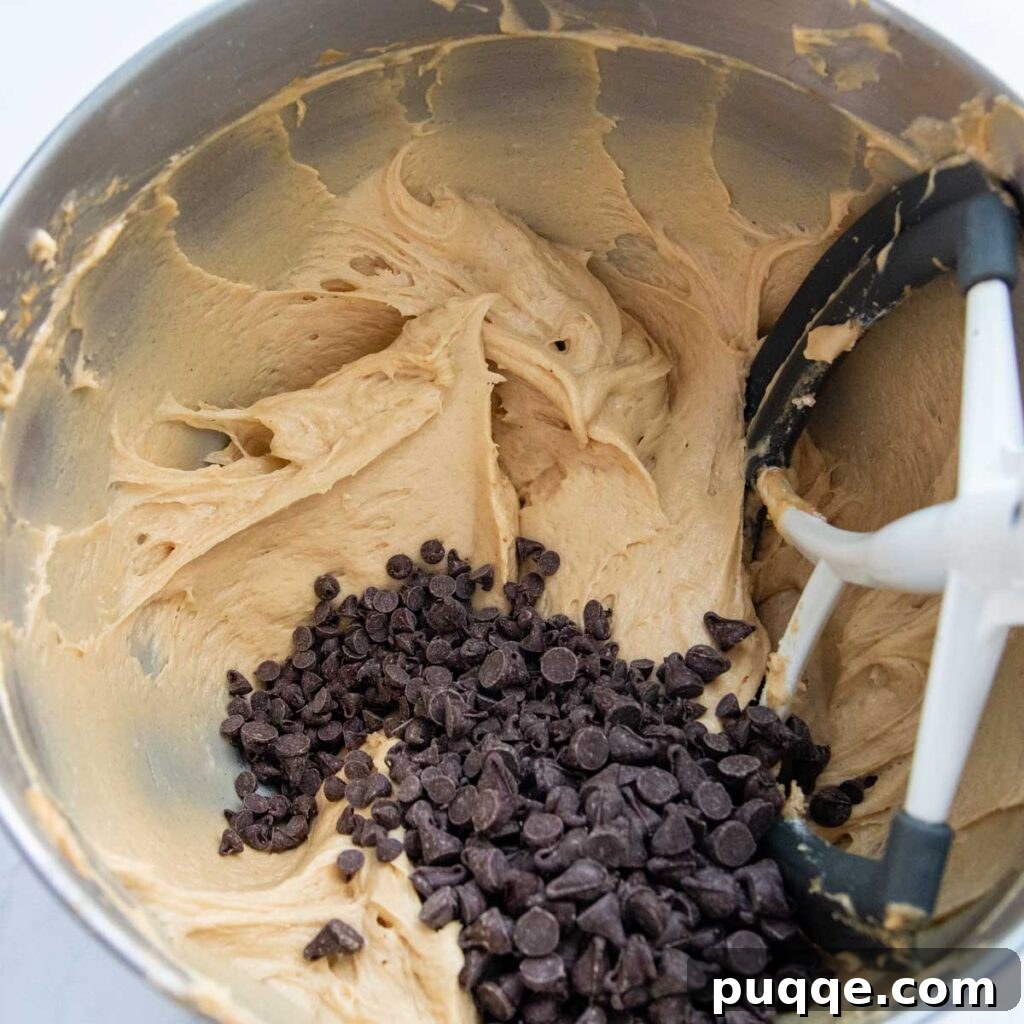
- Cream the Wet Ingredients: Begin by combining the softened butter with both granulated sugar and light brown sugar, along with the oil. Beat this mixture until it becomes delightfully light, fluffy, and creamy. This step is crucial for incorporating air and ensuring a tender texture.
- Incorporate Egg and Milk: Next, add the large egg and vanilla extract to the creamed mixture, beating until fully combined. Then, gradually mix in the milk on a low speed. Don’t be alarmed if the mixture appears slightly curdled at first; with continued gentle mixing, it will smooth out beautifully.
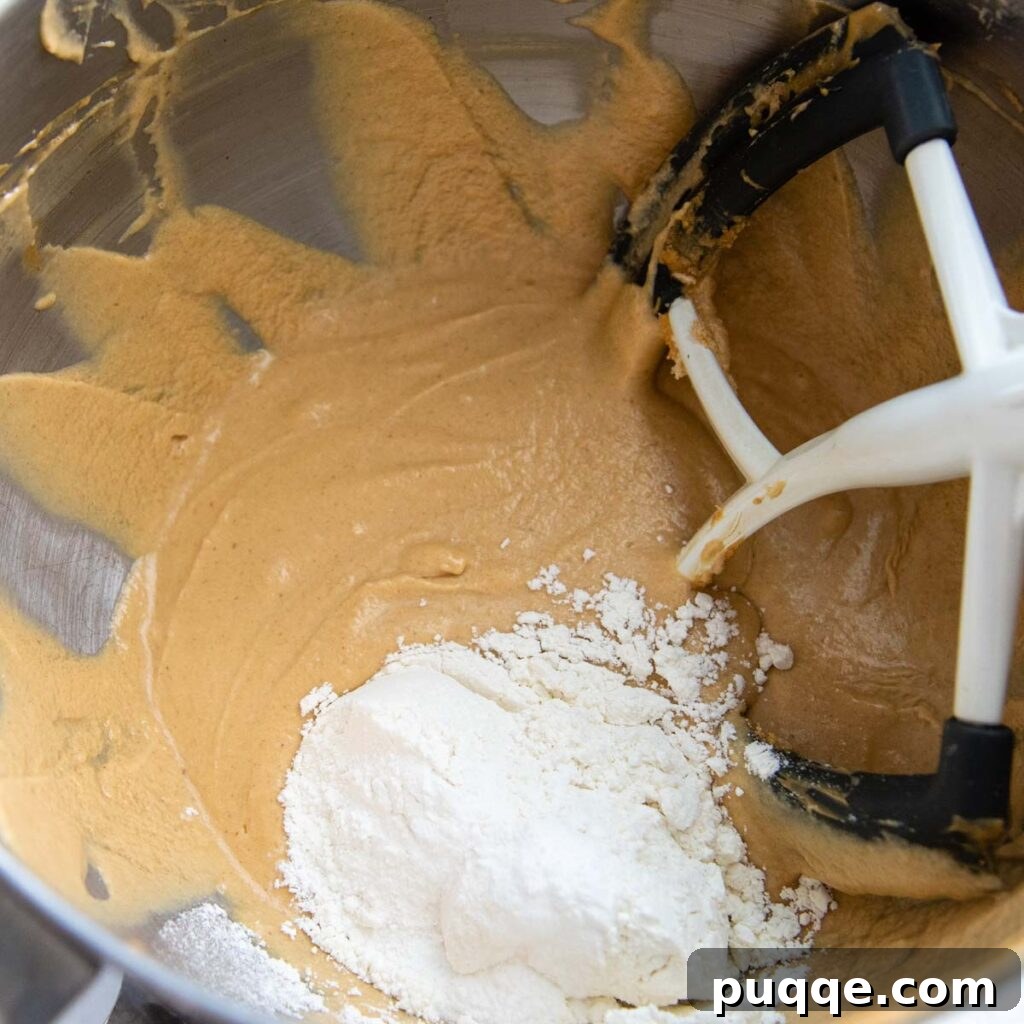
- Add Dry Ingredients: Gently fold in the dry ingredients: your chosen gluten-free flour blend, baking powder, baking soda, and salt. Mix on a low speed only until no pockets of dry flour remain. Overmixing gluten-free batter can lead to a tougher loaf, so stop as soon as it’s just combined.
- Fold in Chocolate Chips: Finally, stir in the chocolate chips. For an even distribution of gooey chocolate in every bite, I love using a combination of regular-sized and miniature chocolate chips. This ensures delightful chocolatey pockets throughout the bread.
- Bake to Perfection: Pour the prepared batter into your greased loaf pan and bake according to the recipe card instructions. Make sure to consult the tips below on how to tell when your gluten-free bread is perfectly baked.
Selecting the Best Peanut Butter for Your Loaf
The type of peanut butter you choose can significantly impact the texture and flavor of your gluten-free bread. For this particular recipe, I’ve exclusively tested and highly recommend using creamy, commercially processed peanut butter brands, such as Jif or Skippy, both of which are widely available and certified gluten-free. These types of peanut butter provide a consistent, smooth texture and a rich flavor that’s essential for the bread’s moistness.
I strongly advise against using natural peanut butter (the kind that separates with oil on top). Its drier consistency and varying oil content can lead to a bread with a less moist crumb and a different overall texture than intended for this recipe. Achieving the desired moistness and tenderness relies on the specific fat and protein balance found in processed creamy peanut butter.
While I haven’t personally tested this recipe with other nut butters, such as almond butter or cashew butter, I understand the desire for variation. If you decide to experiment with an alternative nut butter, please be aware that the liquid and fat ratios might need slight adjustments to compensate for differences in their consistency. If you give it a try, I’d love to hear about your results in the comments below!
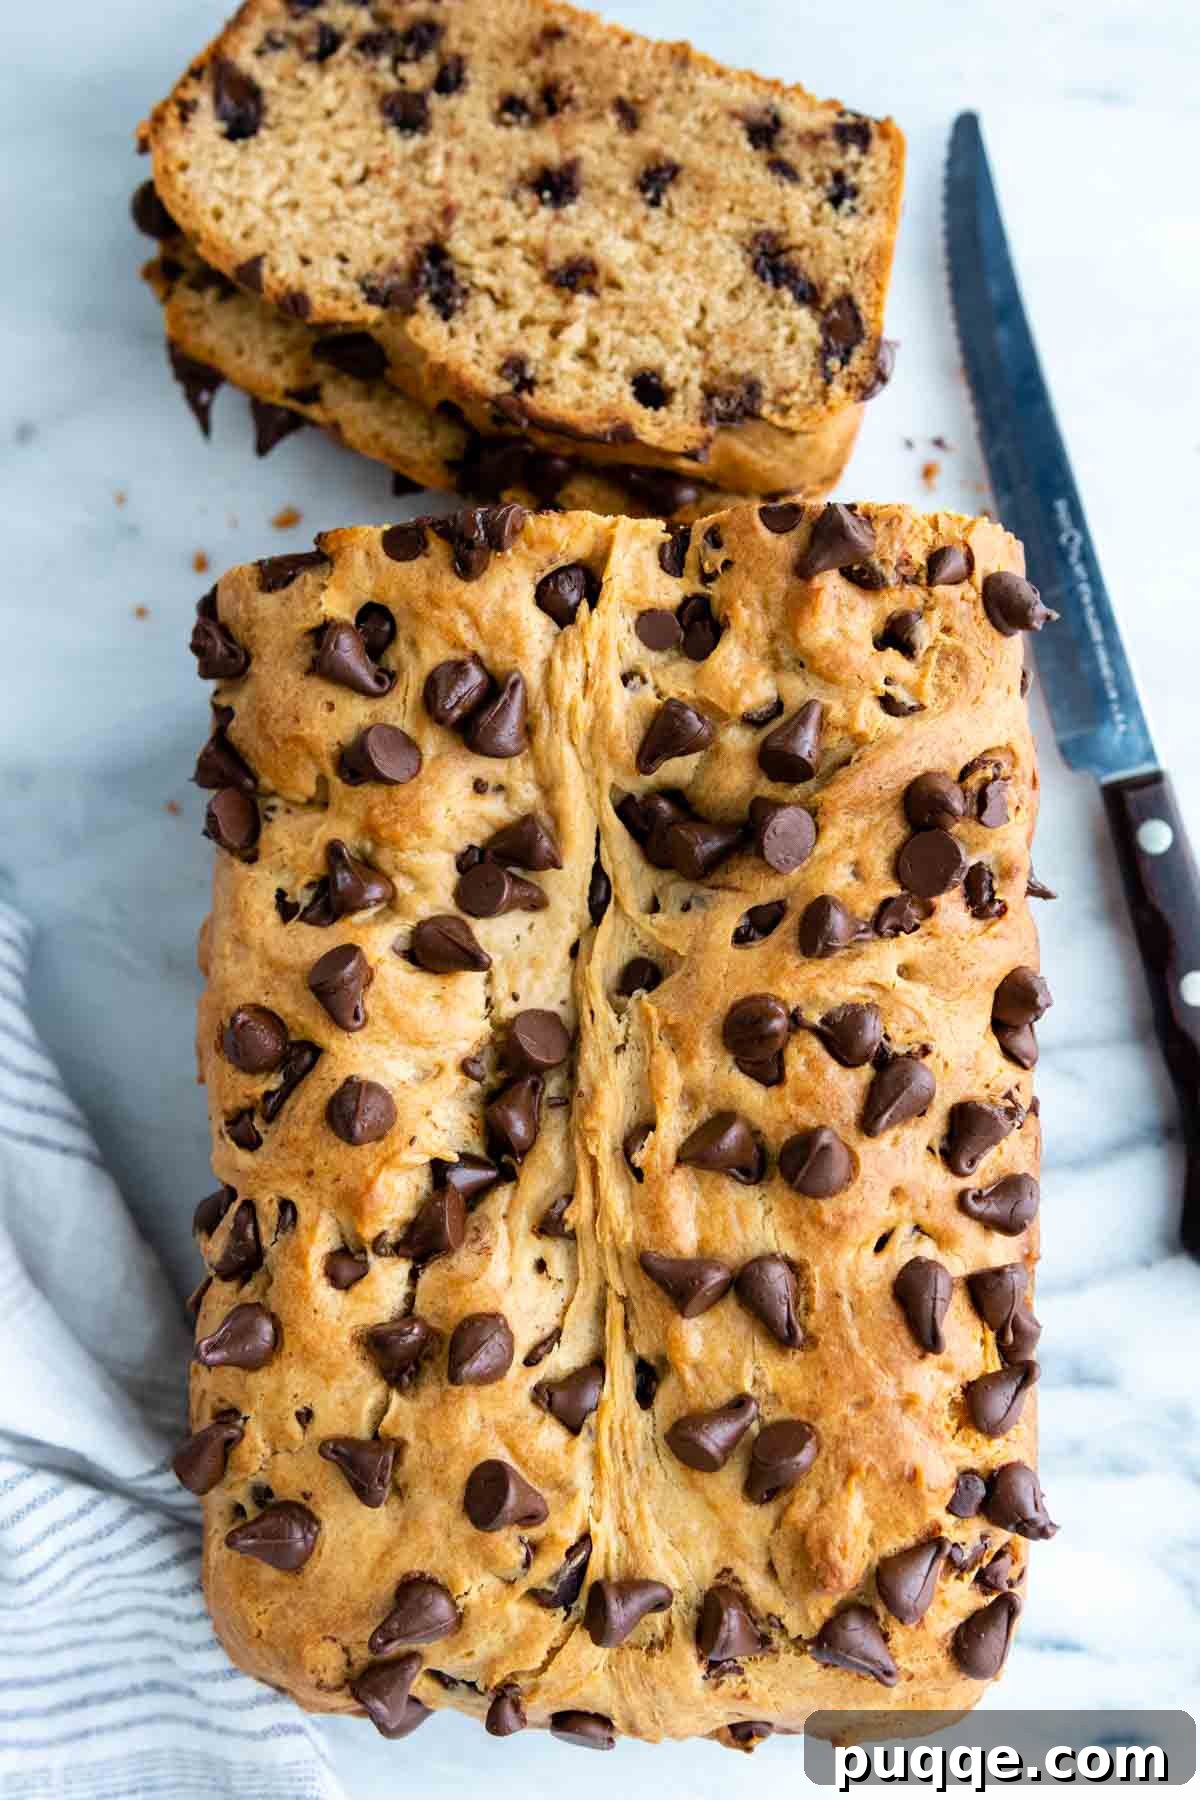
Endless Possibilities: Creative Mix-In Ideas for Your Peanut Butter Bread
This gluten-free peanut butter bread recipe is wonderfully versatile, making it the ideal canvas for your culinary creativity. While delicious on its own, adding different mix-ins can transform it into an entirely new delightful experience. Feel free to experiment and customize the flavors to perfectly suit your preferences!
- Sweet Chip Swaps: Instead of traditional chocolate chips, consider using butterscotch chips or peanut butter chips for a different flavor profile. Always remember to carefully check labels to ensure they are certified gluten-free, as some brands may contain malt or other hidden gluten ingredients.
- Pure Peanut Perfection: For the ultimate, unadulterated peanut butter flavor, simply omit the chocolate chips altogether. This allows the rich, nutty notes of the peanut butter to truly shine through, perfect for purists.
- Peanut Butter and Jelly Bread: For a nostalgic twist, skip the chocolate chips. Once the batter is spread evenly in your prepared loaf pan, dollop spoonfuls of your favorite jam or jelly on top. Use a knife to gently swirl the jam into the batter before baking as directed. The sweet fruitiness beautifully complements the peanut butter.
- Crunchy Texture: If you prefer a bit of textural contrast, substitute creamy peanut butter with crunchy peanut butter. Alternatively, you can add about 1/2 cup of finely chopped nuts, such as peanuts, walnuts, or pecans, into the batter along with the chocolate chips for an extra layer of crunch.
- Fruity Additions: Introduce a touch of sweetness and chewiness by folding in 1/2 cup of dried fruit. Raisins, dried cranberries, or chopped dried apricots would all make fantastic additions, adding a lovely tart or sweet counterpoint to the rich peanut butter.
- Spice It Up: A pinch of cinnamon or nutmeg (about 1/2 teaspoon) can add warmth and depth to the peanut butter flavor profile, making it even more inviting.
How to Know When Your Gluten-Free Bread is Perfectly Baked
Baking gluten-free breads can sometimes be a bit tricky when it comes to determining doneness. A common challenge is that the exterior often appears beautifully set and golden brown, leading you to believe it’s ready, while the interior remains underbaked. If insufficient time is allowed for the liquids within the batter to properly evaporate, you’ll end up with a dense, gummy, or even deflated loaf – a disappointing outcome after all your effort.
To accurately check if your bread is cooked through, resist the urge to use a short toothpick, as it may not reach the true center of the loaf. Instead, insert a long wooden skewer or a thin knife into the very middle of the bread. If it comes out clean with no wet batter clinging to it, your bread is likely done. If you see wet crumbs, continue baking for a few more minutes and retest.
To eliminate all guesswork and ensure consistently perfect results, I highly recommend using an instant-read thermometer. This tool is invaluable for gluten-free baking. When inserted into the center of the loaf, a perfectly baked gluten-free quick bread should register an internal temperature between 190-200ºF (88-93ºC). This temperature range indicates that the starches have fully gelatinized and the structure is set, preventing that dreaded gummy texture.
Tips for Serving Your Delicious Peanut Butter Bread
While this gluten-free peanut butter bread is delightful at any temperature, it truly reaches its peak of perfection when served slightly warmed. Warming the bread enhances its soft, tender texture and gently re-melts the chocolate chips, creating pockets of gooey goodness. If your bread has cooled completely, simply pop a slice into the microwave for about 15-20 seconds. Alternatively, a quick toast in a toaster oven can also bring it back to life, adding a lovely crisp exterior.
For an extra treat, consider spreading an additional dollop of creamy peanut butter or a smear of your favorite fruit jam on a warm slice. A drizzle of honey or maple syrup can also elevate the flavors. It pairs wonderfully with a hot cup of coffee, tea, or a cold glass of milk, making it a perfect accompaniment for any time of day.
Storing and Freezing for Lasting Freshness
To ensure your gluten-free peanut butter bread remains at its best, proper storage is key. After removing it from the oven, let the loaf cool in the pan for about 10 minutes before transferring it to a wire rack. It’s crucial to let the bread cool completely, for at least 20 minutes, before attempting to slice it. Slicing too soon can cause the bread to crumble or lose its structure, especially with gluten-free varieties.
Once fully cooled, store the bread in an airtight container at room temperature. It will stay fresh and moist for up to 3 days. For longer preservation, consider freezing individual slices. To freeze, ensure the bread is completely cooled, then slice it. Arrange the slices in a single layer on a baking sheet and flash freeze for about 30 minutes to prevent them from sticking together. Once firm, transfer the slices to a ziplock freezer bag, removing as much air as possible before sealing. Stored this way, the bread can maintain its quality in the freezer for up to 3 months. When you’re ready to enjoy, simply thaw a slice at room temperature or gently reheat it in the microwave or toaster oven.
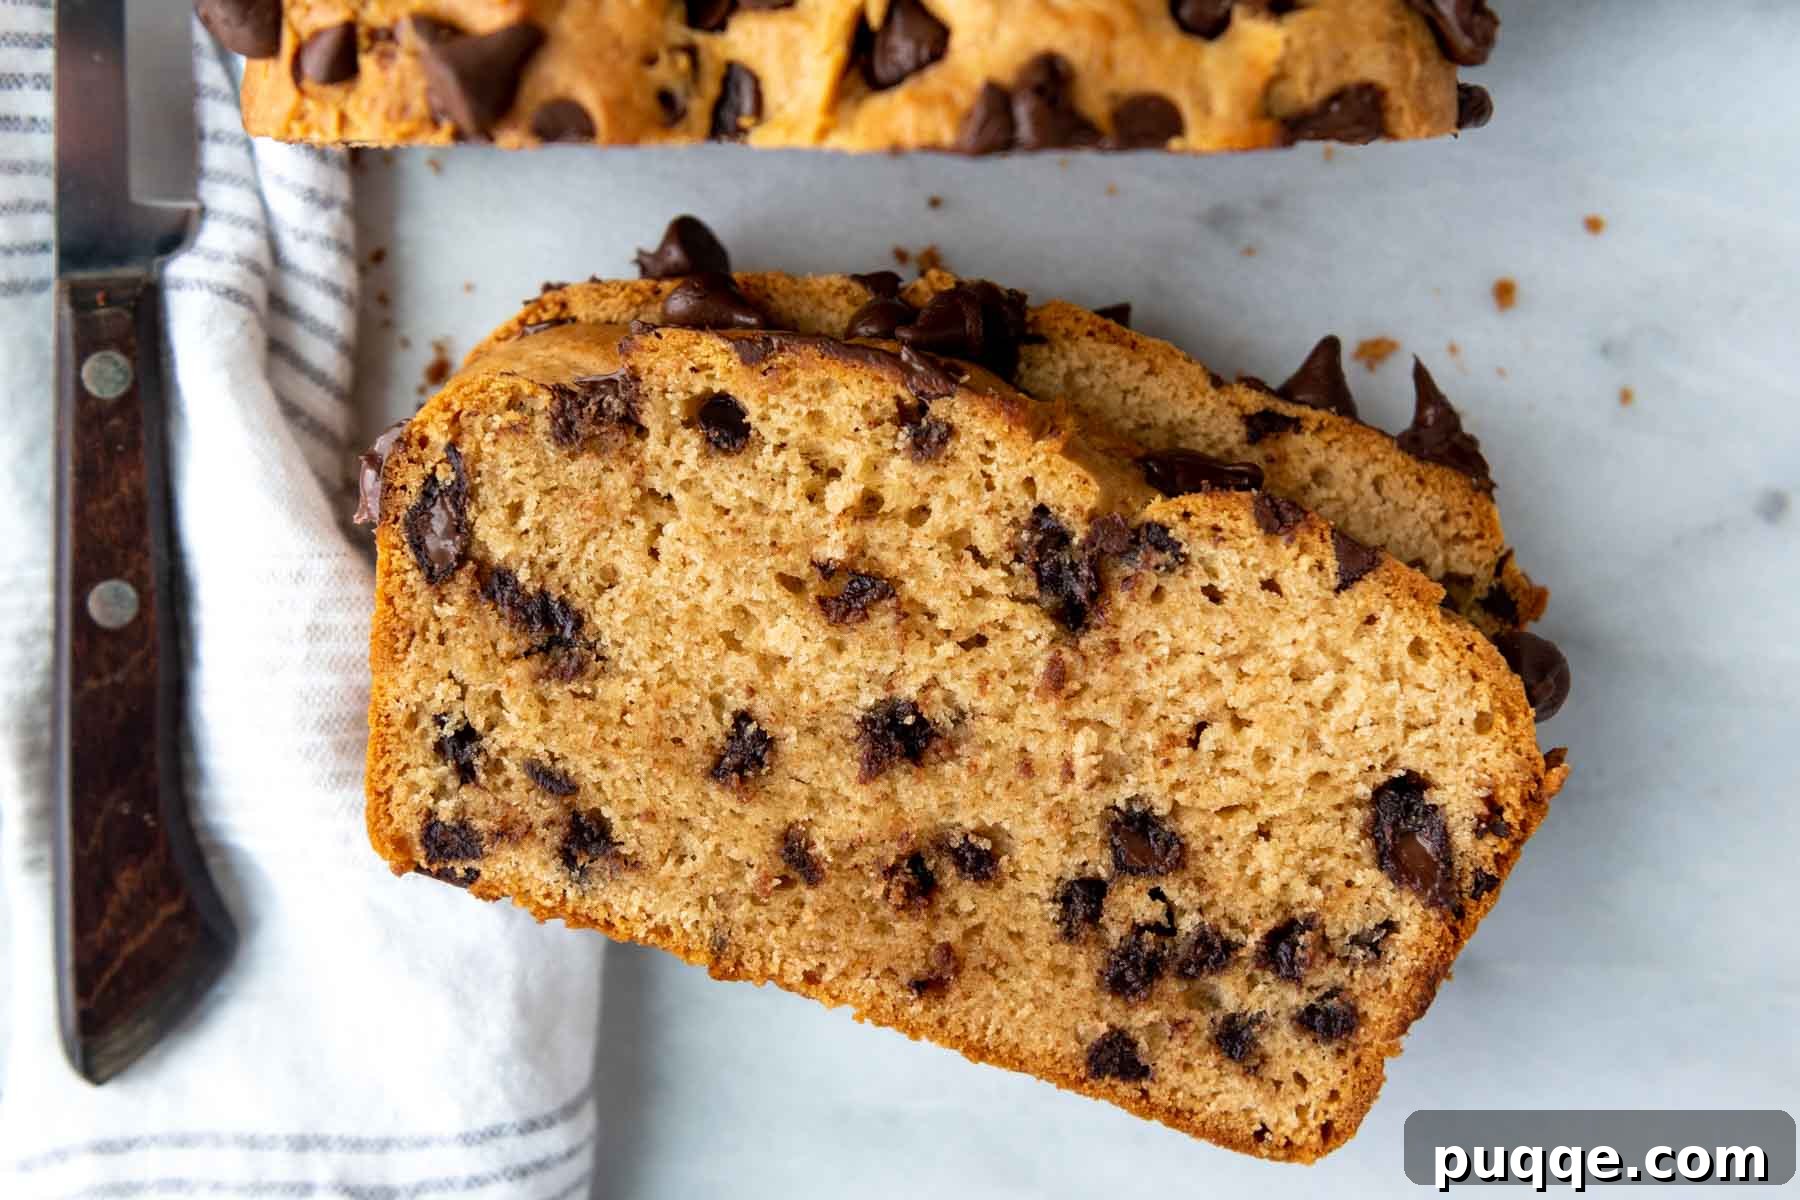
Save This Delicious Recipe to Your Pinterest Board!
Let’s be friends on Pinterest! I’m always sharing fantastic recipes you’ll love!
Did you make this recipe? I genuinely love hearing from you! Please leave a star rating and comment below the recipe card. Your feedback is incredibly valuable, helping other home bakers discover and enjoy these recipes. Rest assured, I always respond to comments! -Melissa
Gluten-Free Peanut Butter Bread (Quick Bread)

Melissa Erdelac
12 servings
15 mins
1 hr 10 mins
1 hr 25 mins
Pin Recipe
Ingredients
- ¾ cup (194 g) creamy peanut butter
- ⅓ cup (76 g) unsalted butter, softened
- ⅓ cup (67 g) granulated sugar
- ⅓ cup (74 g) packed light brown sugar
- 2 tablespoons (28 g) canola or vegetable oil
- 1 large egg
- 1 teaspoon vanilla extract
- ¾ cup (184 g) milk
- 1 ¾ cups (253 g) gluten-free all-purpose flour (I recommend Cup4Cup gluten-free blend)
- 1 teaspoon baking powder
- ½ teaspoon baking soda
- ½ teaspoon salt
- ½ cup (85 g) semi-sweet chocolate chips
- ½ cup (85 g) miniature semi-sweet chocolate chips (optional ¼ cup additional for sprinkling on top)
Equipment
-
9X5 loaf pan
-
Cup4Cup Gluten-Free Flour
-
Stand Mixer (or hand mixer with a large mixing bowl)
Instructions
-
Preheat your oven to 325ºF (160ºC). Lightly grease a 9×5 inch loaf pan with nonstick cooking spray or butter and set it aside.
-
In a large mixing bowl, using a stand mixer or hand mixer, beat together the creamy peanut butter, softened unsalted butter, granulated sugar, packed light brown sugar, and canola or vegetable oil. Continue beating until the mixture is very light, smooth, and creamy, which usually takes about 2 minutes.¾ cup (194 g) creamy peanut butter, ⅓ cup (76 g) unsalted butter, ⅓ cup (67 g) granulated sugar, ⅓ cup (74 g) packed light brown sugar, 2 tablespoons (28 g) canola or vegetable oil
-
Add the large egg and vanilla extract to the mixture and beat well until fully incorporated. Gradually pour in the milk and mix on low speed until everything is just combined. Then, increase the speed slightly and beat until the mixture becomes completely smooth – it will go from slightly curdled to silky.1 large egg, 1 teaspoon vanilla extract, ¾ cup (184 g) milk
-
In a separate bowl, whisk together the gluten-free all-purpose flour, baking powder, baking soda, and salt. Add these dry ingredients to the wet mixture. Beat on low speed just until no flour pockets remain and the batter is smooth. Be careful not to overmix. Finally, add the semi-sweet chocolate chips and miniature semi-sweet chocolate chips. Stir or mix on low speed until the chocolate is evenly dispersed throughout the batter.1 ¾ cups (253 g) gluten-free all-purpose flour, 1 teaspoon baking powder, ½ teaspoon baking soda, ½ teaspoon salt, ½ cup (85 g) semi-sweet chocolate chips, ½ cup (85 g) miniature semi-sweet chocolate chips
-
Evenly spread the thick batter into the prepared 9×5 inch loaf pan. If desired, sprinkle an additional ¼ cup of chocolate chips on top for a visually appealing finish. Bake for 1 hour and 8-12 minutes. Please refer to the “How to Tell When Bread is Done” section in the recipe notes for crucial tips on verifying doneness.
-
Cool the bread in the pan for 10 minutes before carefully removing it to a wire rack to cool completely. The bread is best served slightly warm, allowing the chocolate to be perfectly gooey and the crumb to be tender.
Notes
How to Tell When Gluten-Free Bread is Done
Gluten-free breads can be challenging to determine doneness because they often develop a set, golden-brown top while the interior remains underbaked. Insufficient baking time, which means not enough time for the liquids to evaporate, will result in a dense, gummy, or even sunken loaf.
To double-check that your bread is thoroughly cooked and not wet in the center, insert a long skewer or a thin knife into the middle. A small toothpick may not reach far enough to give an accurate reading. The skewer should come out clean.
For guaranteed perfect results, I always recommend using an instant-read thermometer. While golden-brown exteriors can be deceptive, an instant-read thermometer will tell you the precise internal temperature. When inserted into the middle of the loaf, the bread should read between 190-200ºF (88-93ºC) to be considered fully baked.
Calories: 378kcal
Carbohydrates: 38g
Protein: 7g
Fat: 23g
Saturated Fat: 9g
Polyunsaturated Fat: 3g
Monounsaturated Fat: 9g
Trans Fat: 0.2g
Cholesterol: 29mg
Sodium: 267mg
Potassium: 262mg
Fiber: 4g
Sugar: 21g
Vitamin A: 215IU
Calcium: 72mg
Iron: 2mg
Did you make this recipe?
Please leave a star rating and review below. Your feedback helps others and is greatly appreciated!
This post contains affiliate links. My opinions are always my own. If you purchase a product through an affiliate link, I make a small commission – at no cost to you. Read our full Privacy Policy here.