
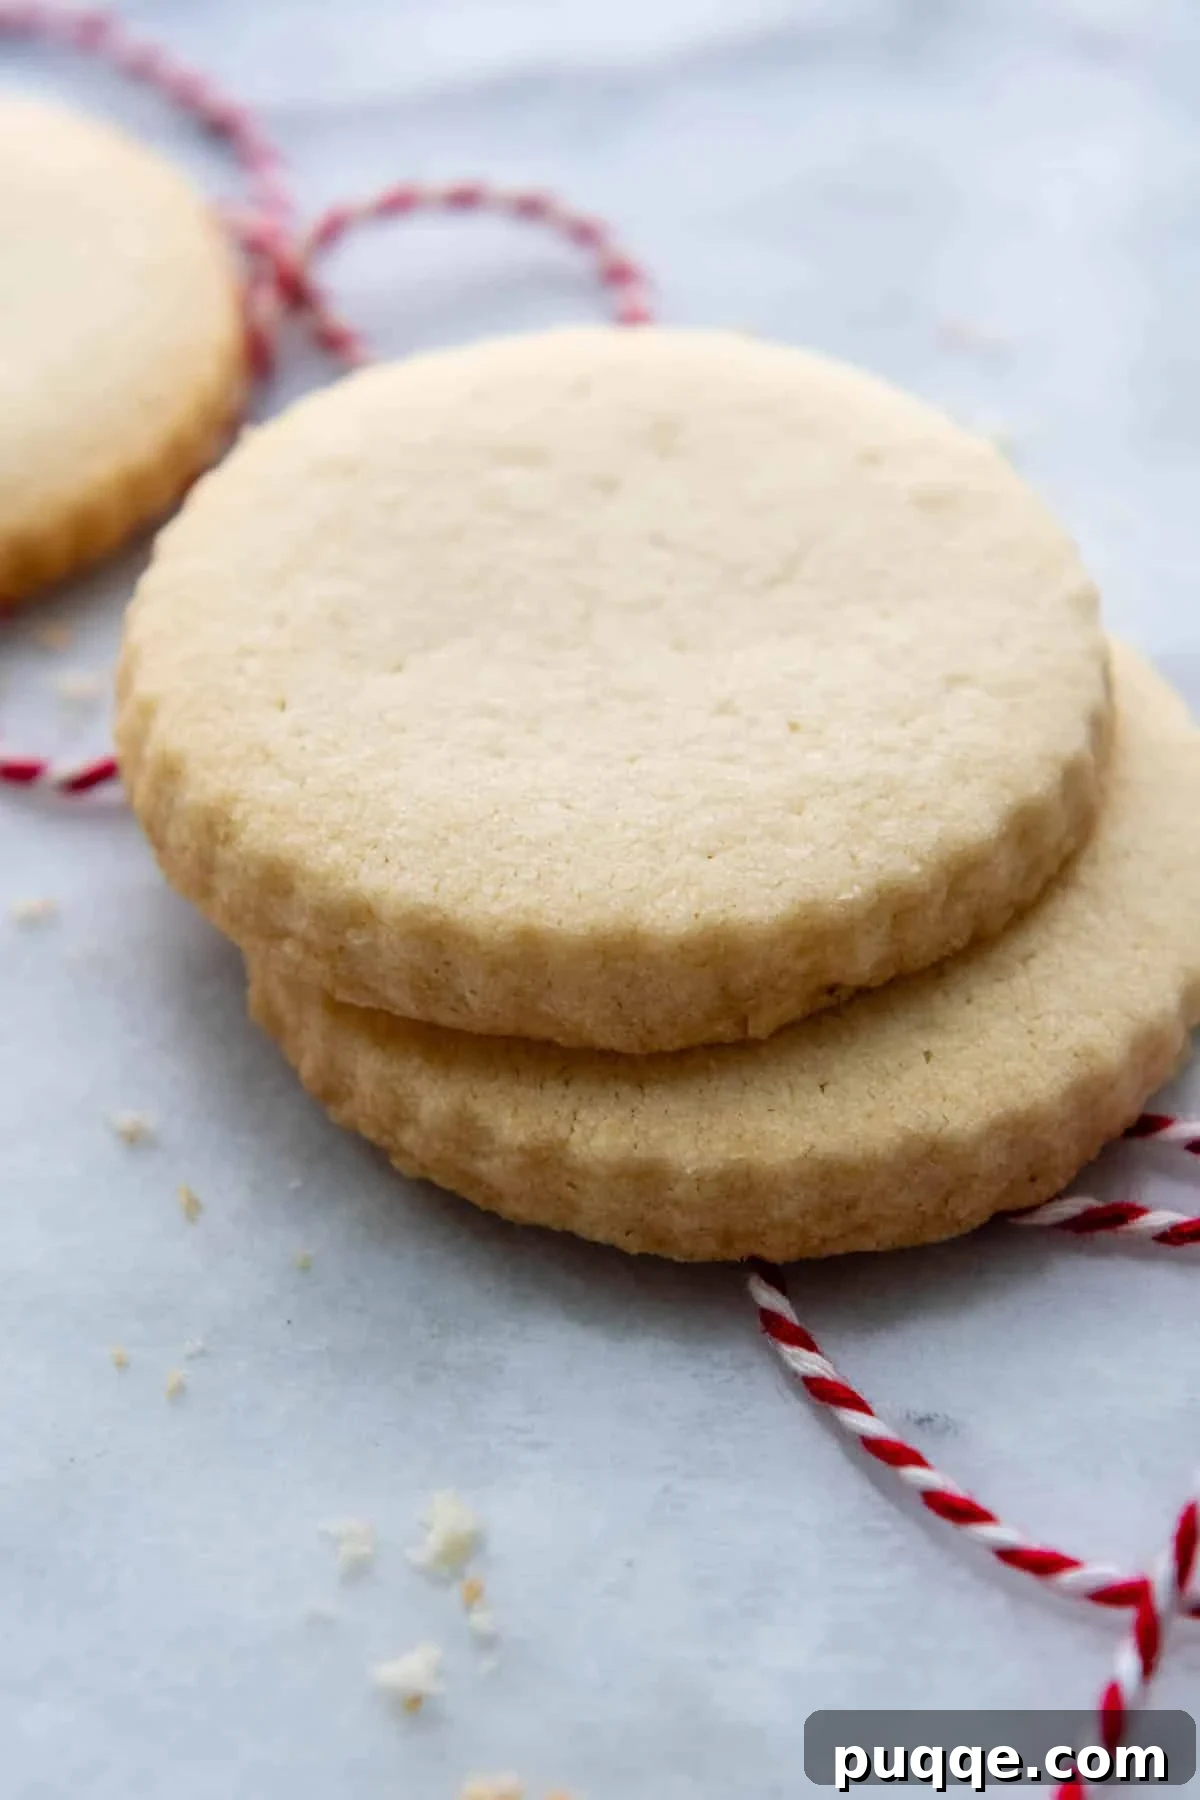
Unlock the secret to baking the most divine gluten-free shortbread cookies with this remarkably easy and truly foolproof recipe! Say goodbye to dry, crumbly, or gritty textures often associated with gluten-free baking. Our signature method ensures tender, melt-in-your-mouth classic shortbread, achieving that perfect buttery crispness every time. The magic lies in two crucial, yet simple, techniques: a brief chilling period for the dough and baking at a precisely lower oven temperature. Whether you prefer the convenience of the slice-and-bake method or the classic charm of cut-out cookies, this 4-ingredient wonder will elevate your baking game and leave everyone reaching for more of these irresistible biscuits.
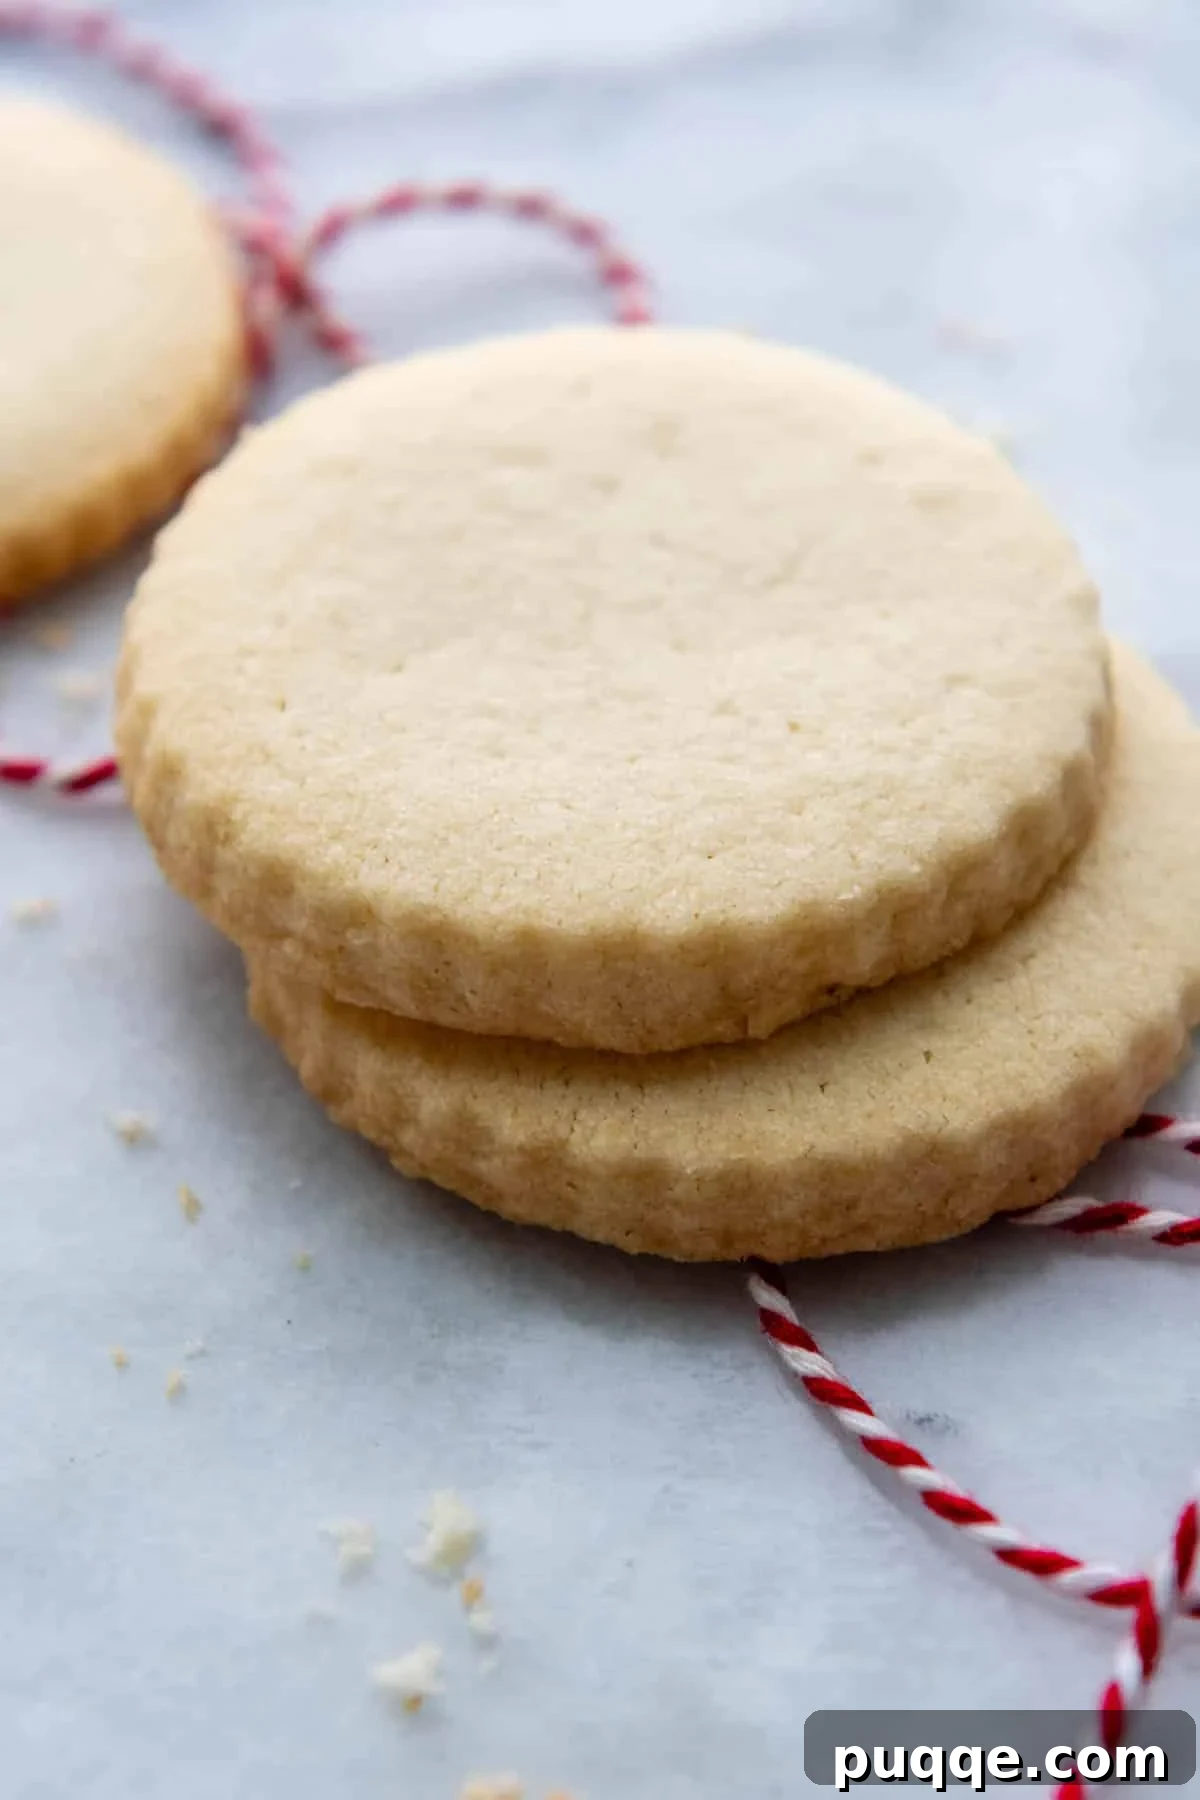
Mastering Easy Gluten-Free Shortbread: A Classic Recipe Redefined
As the holiday season approaches, or perhaps any time a craving for a simple yet elegant treat strikes, these traditional gluten-free shortbread cookies are an absolute must-have. They effortlessly complete any essential gluten-free Christmas cookie collection, offering a rich, buttery flavor paired with an incredibly tender and crisp texture. This recipe isn’t just easy; it’s a culmination of dedicated testing and refined baking tricks designed to deliver perfection without the gluten.
Crafting the perfect gluten-free shortbread presented a unique challenge. Through extensive experimentation—comparing chilled versus unchilled doughs, baking at various oven temperatures, and trying different shaping methods—we finally perfected this recipe for the best gluten-free shortbread cookies. The result is a simple enough process for even a novice baker to achieve outstanding results, requiring minimal effort but yielding maximum flavor and ideal texture.
While many gluten-free shortbread recipes bypass the chilling step, our tests revealed a significant improvement in texture when the dough was refrigerated for as little as 20 minutes. This crucial waiting period allows the gluten-free starches in the flour blend ample time to absorb moisture and soften from the butter fat. This hydration process is key to preventing the common gritty or sandy texture often found in gluten-free baked goods, resulting in a remarkably smooth and tender crumb that truly melts in your mouth.
Further experimentation involved baking the biscuits at different oven temperatures, specifically 325ºF and 350ºF. The lower temperature of 325ºF emerged as the clear winner for two compelling reasons. Firstly, it produces a lighter, more classic cookie color, characteristic of traditional Scottish shortbread. A higher temperature can cause excessive browning before the interior is fully cooked. Secondly, similar to our popular homemade gluten-free chocolate chip cookies, a lower oven temperature extends the baking time. This prolonged, gentle heat allows the butter to more thoroughly meld with the gluten-free flour, deepening the rich flavor and contributing to an exceptionally tender and uniform texture throughout the cookie.
Finally, we explored various shaping methods to ensure versatility and ease for every baker. The dough can be effortlessly rolled into a log, then simply sliced and baked. This method is quick and straightforward, although achieving perfectly round cookies might take a little practice. Alternatively, the dough can be rolled out and cut into shapes using cookie cutters, much like our favorite gluten-free sugar cookies recipe. We found this approach remarkably easy, and the cookies maintained their intricate shapes beautifully during baking, making them ideal for decorative purposes or holiday platters.
Continue reading to uncover more invaluable gluten-free cookie tips, including creative recipe variations to customize your shortbread, detailed make-ahead instructions for convenience, and expert freezing tips for extended enjoyment. We’ve also included step-by-step photos and tutorials to guide you through every stage of the baking process. These biscuits are truly guaranteed to rival, if not surpass, the taste and texture of even the most renowned old-fashioned shortbread, ensuring your gluten-free baking endeavors are nothing short of spectacular!
Perfect recipe! These were perhaps among the best shortbread cookies I’ve ever tasted, including those made with wheat. Delicate, rich texture, intensely buttery flavor, and perfectly balanced sweetness. No one even suspected they were gluten-free!
—Maureen
Essential Ingredient Insights for Perfect Shortbread
You’ll be hard-pressed to find another homemade cookie recipe that demands fewer ingredients, yet delivers such an abundance of flavor and exquisite texture. The simplicity of this recipe truly highlights the quality of each component, making every ingredient essential.
- Butter: The star of shortbread! While some traditional recipes call for cold butter, we’ve found that using slightly softened, yet still chilled, unsalted butter makes the dough significantly easier to work with. This optimal temperature allows for a smoother incorporation with the sugar, resulting in a more uniform dough and an ultimately tender, creamy texture in the baked cookie. High-quality butter is non-negotiable for that authentic rich flavor.
- Gluten-Free Flour Blend: This is where your choice truly matters for gluten-free baking. I personally use and wholeheartedly recommend Cup4Cup gluten-free flour. Its unique blend, particularly the inclusion of cornstarch, is a game-changer. It makes the cookie dough exceptionally pliable and easy to handle, preventing crumbling, and crucially, it contributes to an incredibly soft, delicate, and tender texture in the final shortbread. If using another blend, ensure it contains xanthan gum or add ¼ teaspoon per cup of flour, as this helps with structure.
- Powdered Sugar: Rather than granulated sugar, powdered sugar (confectioners’ sugar) is vital for achieving the characteristic light, crisp, and smooth texture of shortbread. Its finely milled particles dissolve more readily and evenly into the butter, preventing a grainy mouthfeel and contributing to a superior melt-in-your-mouth quality. It also helps prevent the cookies from spreading too much.
- Vanilla Extract: A touch of pure vanilla extract imparts a delightful hint of warmth and creaminess, enhancing the overall flavor profile of the buttery shortbread. For adventurous bakers, almond extract or lemon extract can be substituted for different flavor dimensions. Be sure to explore our Recipe Variations section to see how this simple dough can be transformed into a multitude of delicious flavors!
- Salt: Often overlooked, a pinch of salt is crucial. It balances the sweetness of the sugar and significantly amplifies the rich, buttery notes, preventing the shortbread from tasting flat. Always use unsalted butter if possible, and then add salt separately to control the seasoning.
Let’s Bake This Perfect Shortbread Together!
(Below, you’ll find step-by-step photos and detailed instructions. For the complete recipe, including precise ingredient amounts and nutritional information, please scroll down to the printable recipe card at the end of this post.)
Crafting the Easy-Peasy Cookie Dough
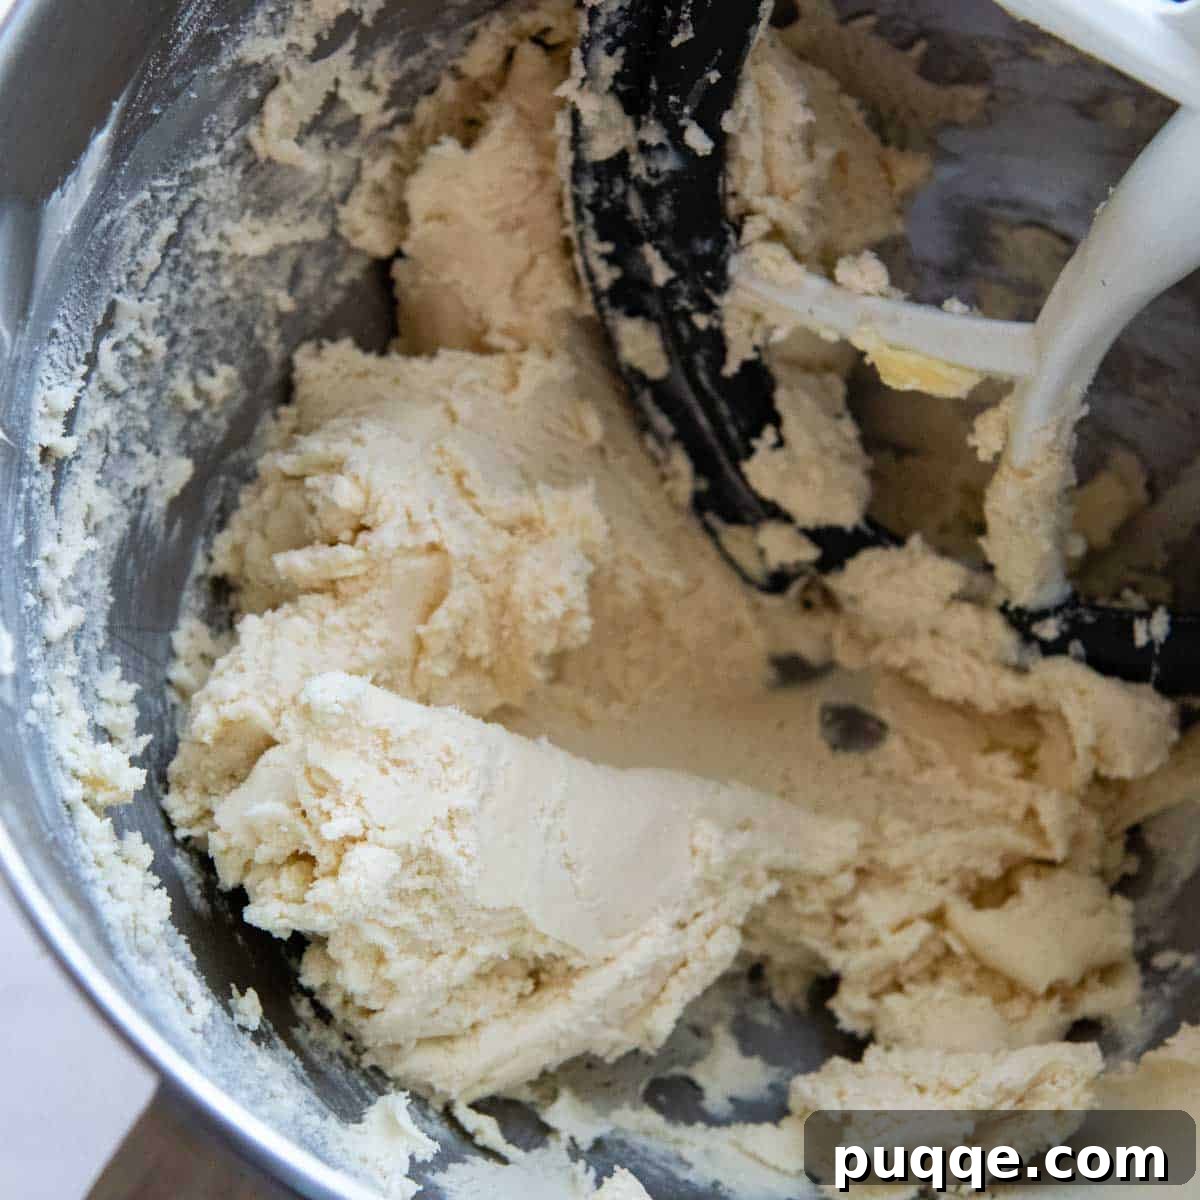
Begin by combining the slightly softened butter with the powdered sugar and salt in a large mixing bowl or a stand mixer fitted with a paddle attachment. Cream these ingredients together until the mixture is light, fluffy, and smooth, which usually takes about 2 minutes. This creaming process incorporates air, contributing to the shortbread’s delicate texture. Next, beat in the vanilla extract until just combined. Gradually add the gluten-free flour, mixing on low speed until a stiff dough forms and no pockets of dry flour remain. Initially, the mixture will appear dry and crumbly, but as it continues to combine, the flour will smoothly incorporate with the butter, transforming into a cohesive, stiff dough that’s ready for shaping.
Option 1 – Roll and Slice Shortbread Cookies
This versatile recipe accommodates two popular shortbread styles: the convenient roll-and-slice method or the more artistic cut-out approach. Here’s how to create perfectly round, rustic shortbread slices.
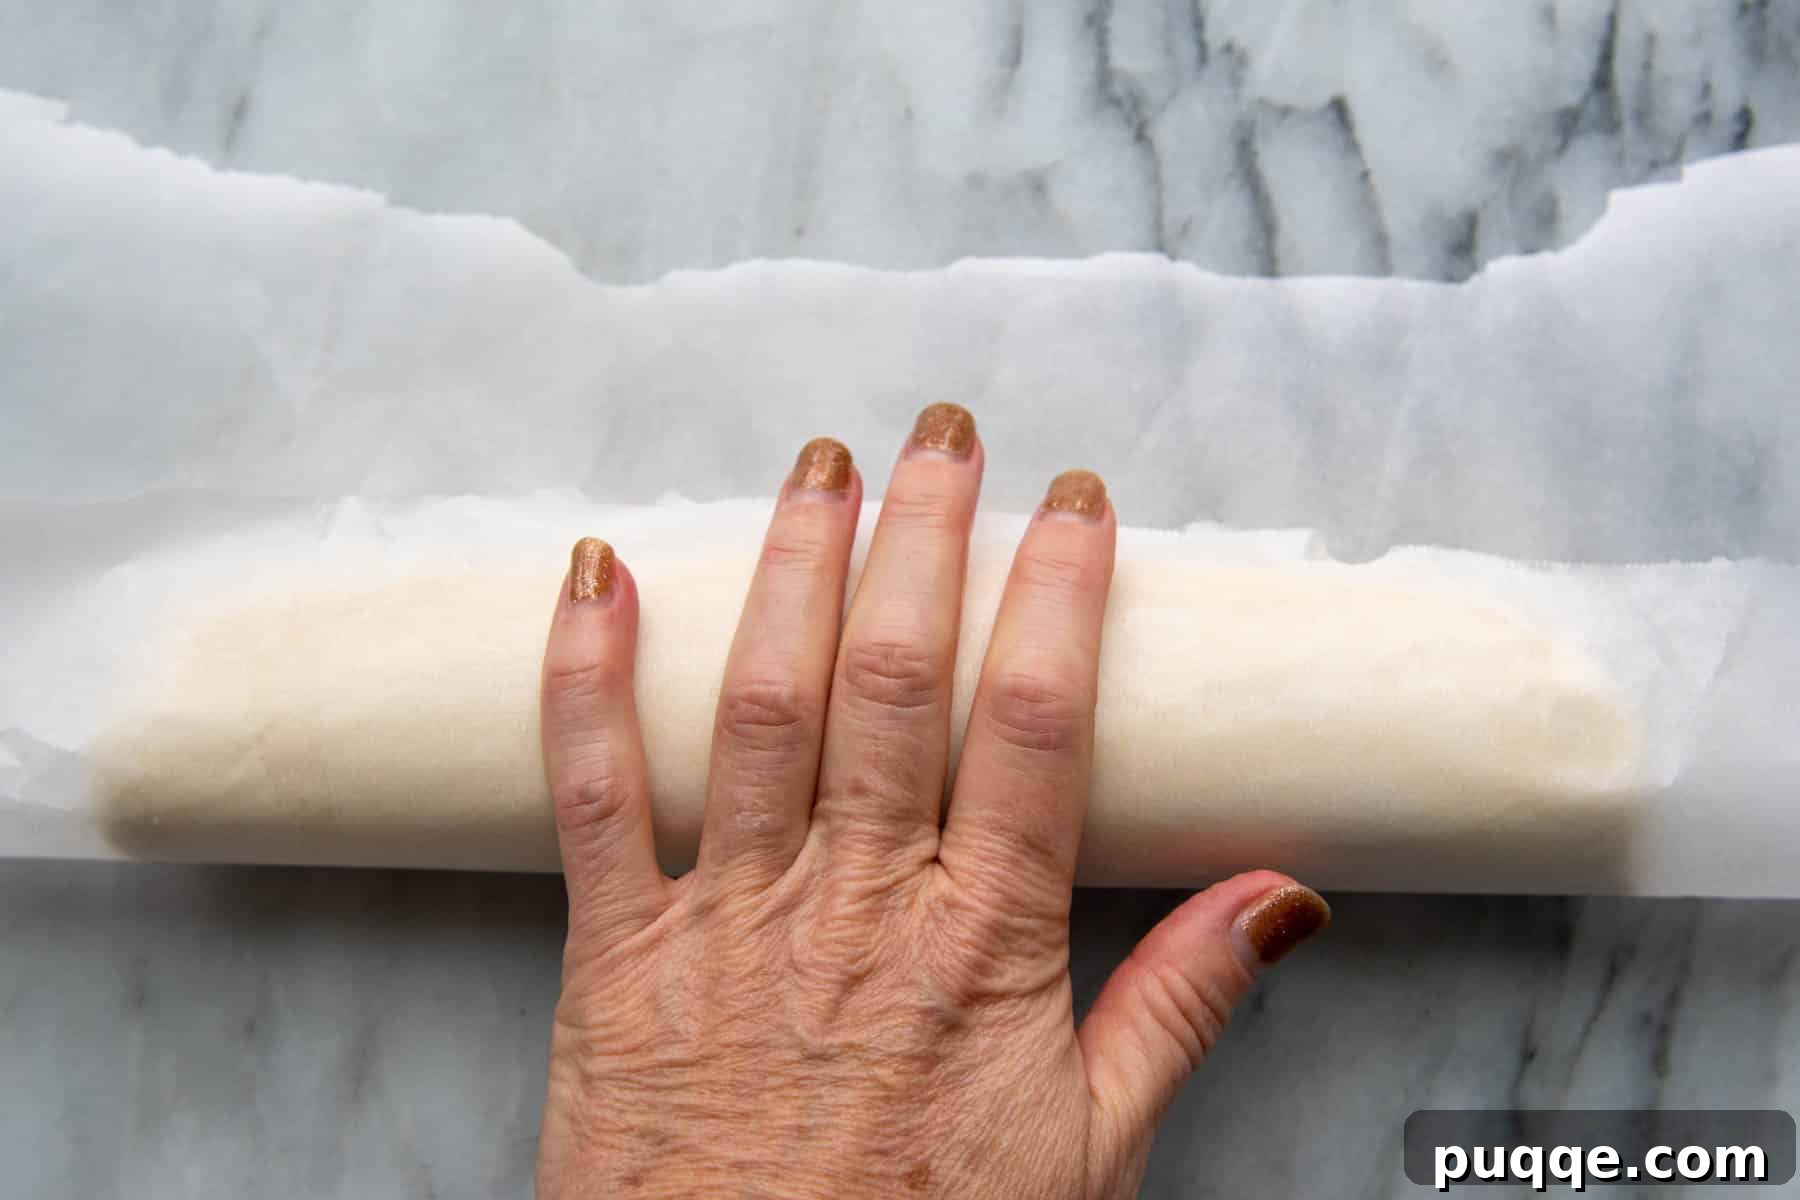
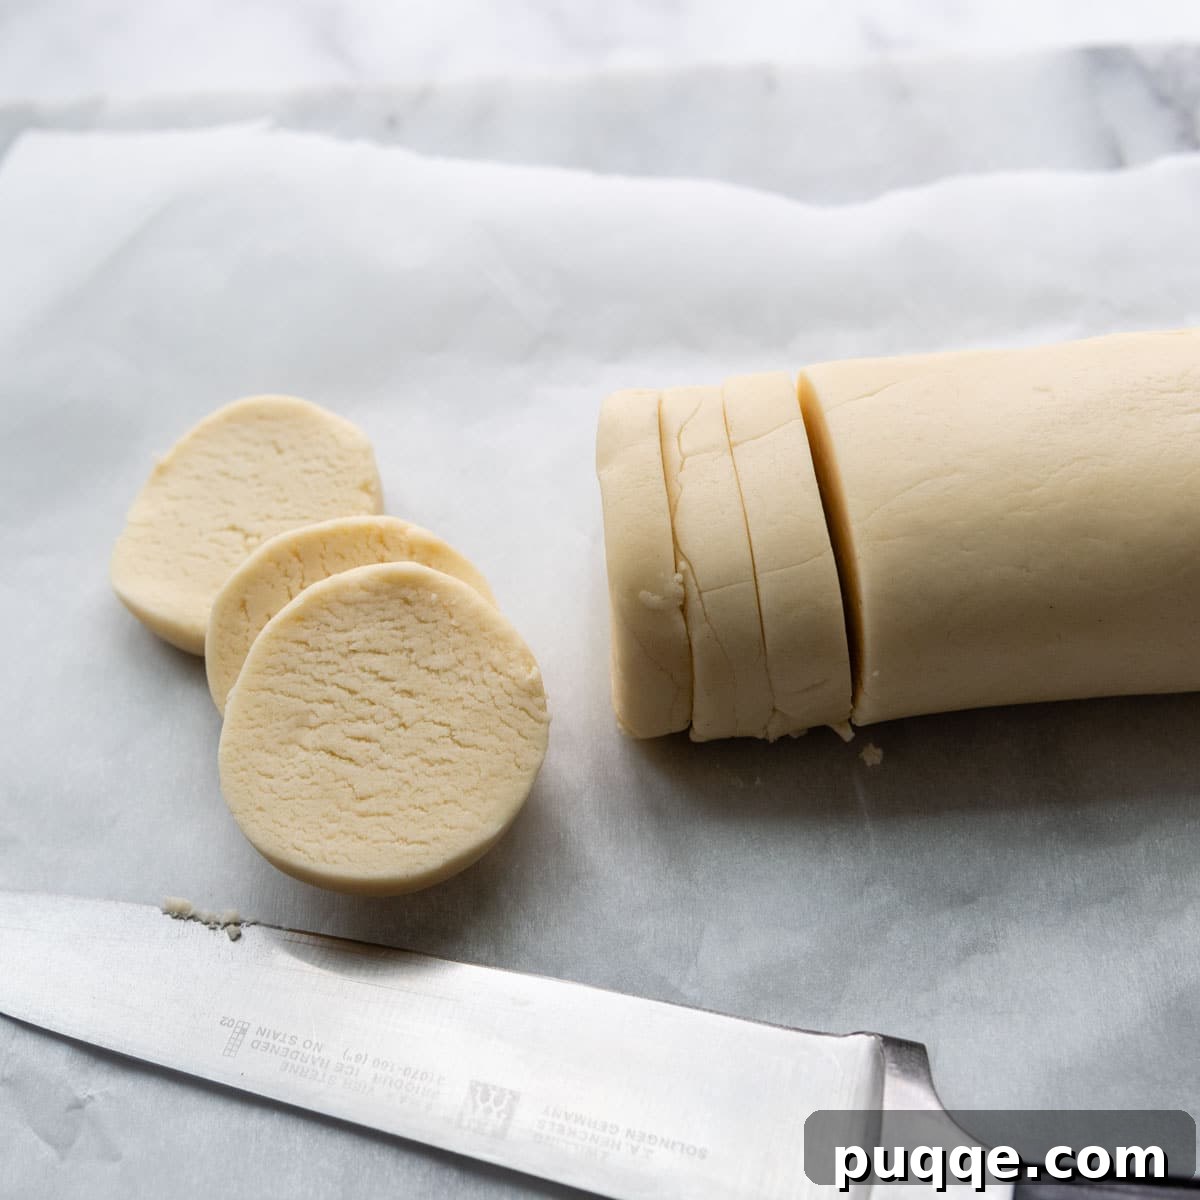
First, tear off a strip of parchment paper, roughly 12 inches long. Place your freshly mixed dough onto the paper and, using your hands, gently shape it into a uniform log, approximately 1.5 to 2 inches in diameter. Use the parchment paper to help you roll and smooth the log further, ensuring an even cylinder. Once shaped, roll the parchment completely around the dough log and chill it in the refrigerator for at least 20 minutes. This chilling period is essential for firming up the butter and preventing the cookies from spreading excessively during baking, guaranteeing beautifully defined slices.
After chilling, remove the dough log from the fridge. Unwrap it, and if it has a flat side, gently roll it again on a clean surface to restore its round shape. Using a sharp knife, carefully slice the log into ½-inch thick rounds. Arrange these rounds on ungreased baking sheets, leaving about 1 inch of space between each cookie to allow for slight expansion. While the dough chills, preheat your oven to 325ºF. Bake these classic shortbread rounds for 20-22 minutes, rotating the baking sheets halfway through for even cooking. The cookies should appear lightly golden at the edges, but still pale in the center.
Option 2 – Elegant Cut-Out Shortbread
For those who enjoy a more decorative touch or wish to create themed cookies for special occasions, the cut-out method is perfect. This technique yields beautifully shaped shortbread that holds its form exceptionally well during baking.
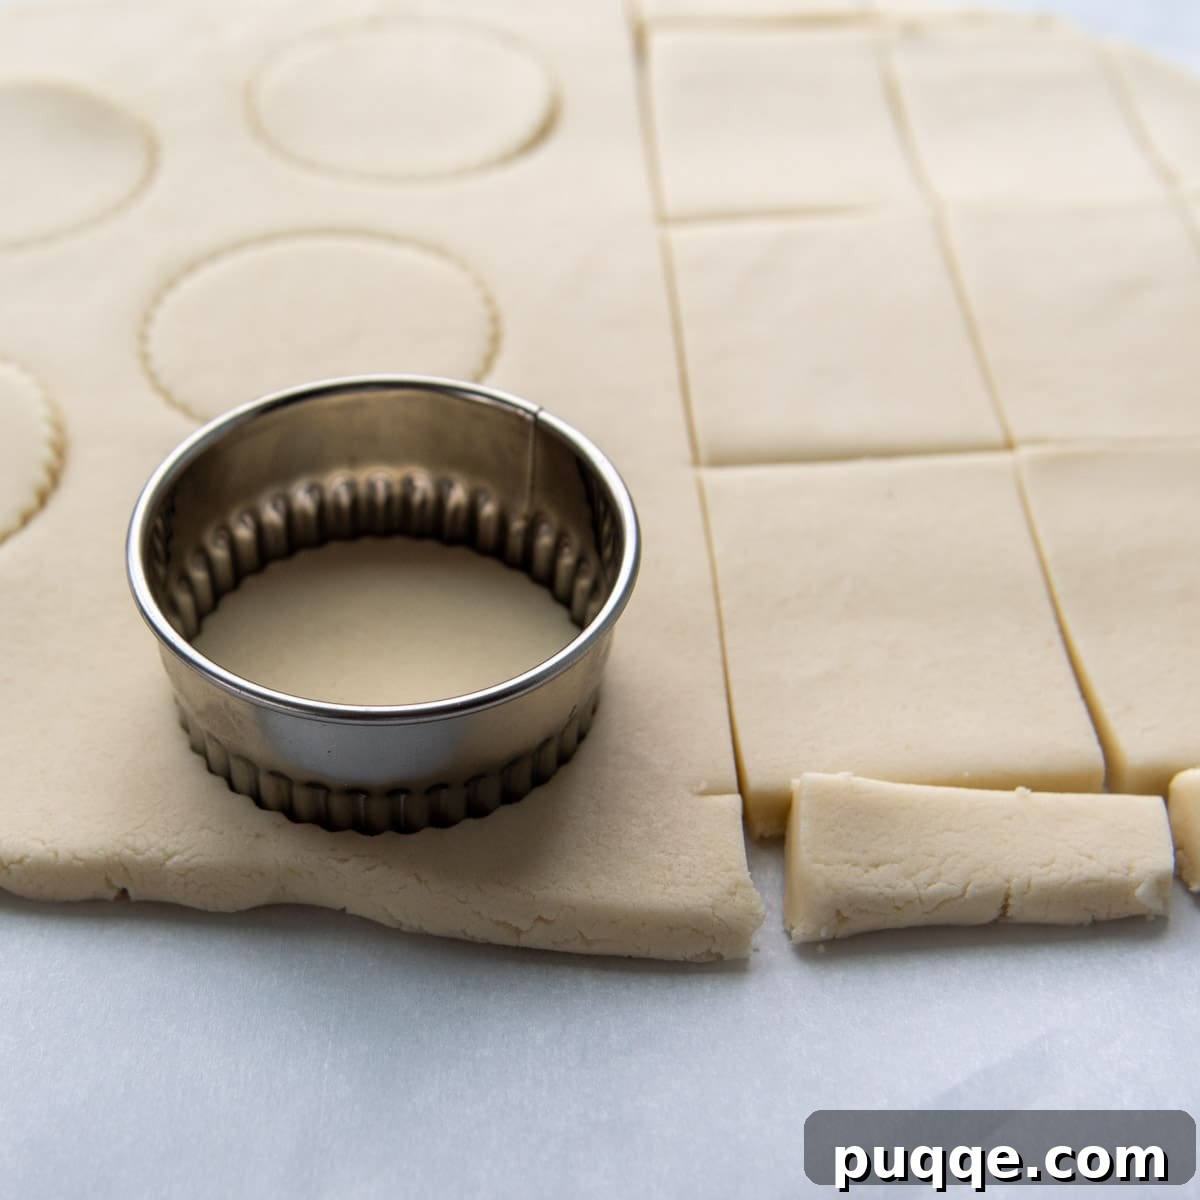
Once your shortbread dough is prepared, wrap it securely in plastic wrap and refrigerate it for at least 20 minutes. This chilling step is vital for making the dough firm enough to roll and cut without becoming sticky or losing its shape. After chilling, lightly dust your work surface with a small amount of gluten-free flour (if necessary, though a marble pastry board often negates this need as it keeps dough cooler). Roll the dough evenly to a thickness of ½-inch. Press your favorite cookie cutters or biscuit cutters into the dough, ensuring clean edges. Alternatively, for a classic look, you can use a knife or pastry wheel to slice the dough into neat 3 x 1-inch rectangles, creating traditional shortbread fingers.
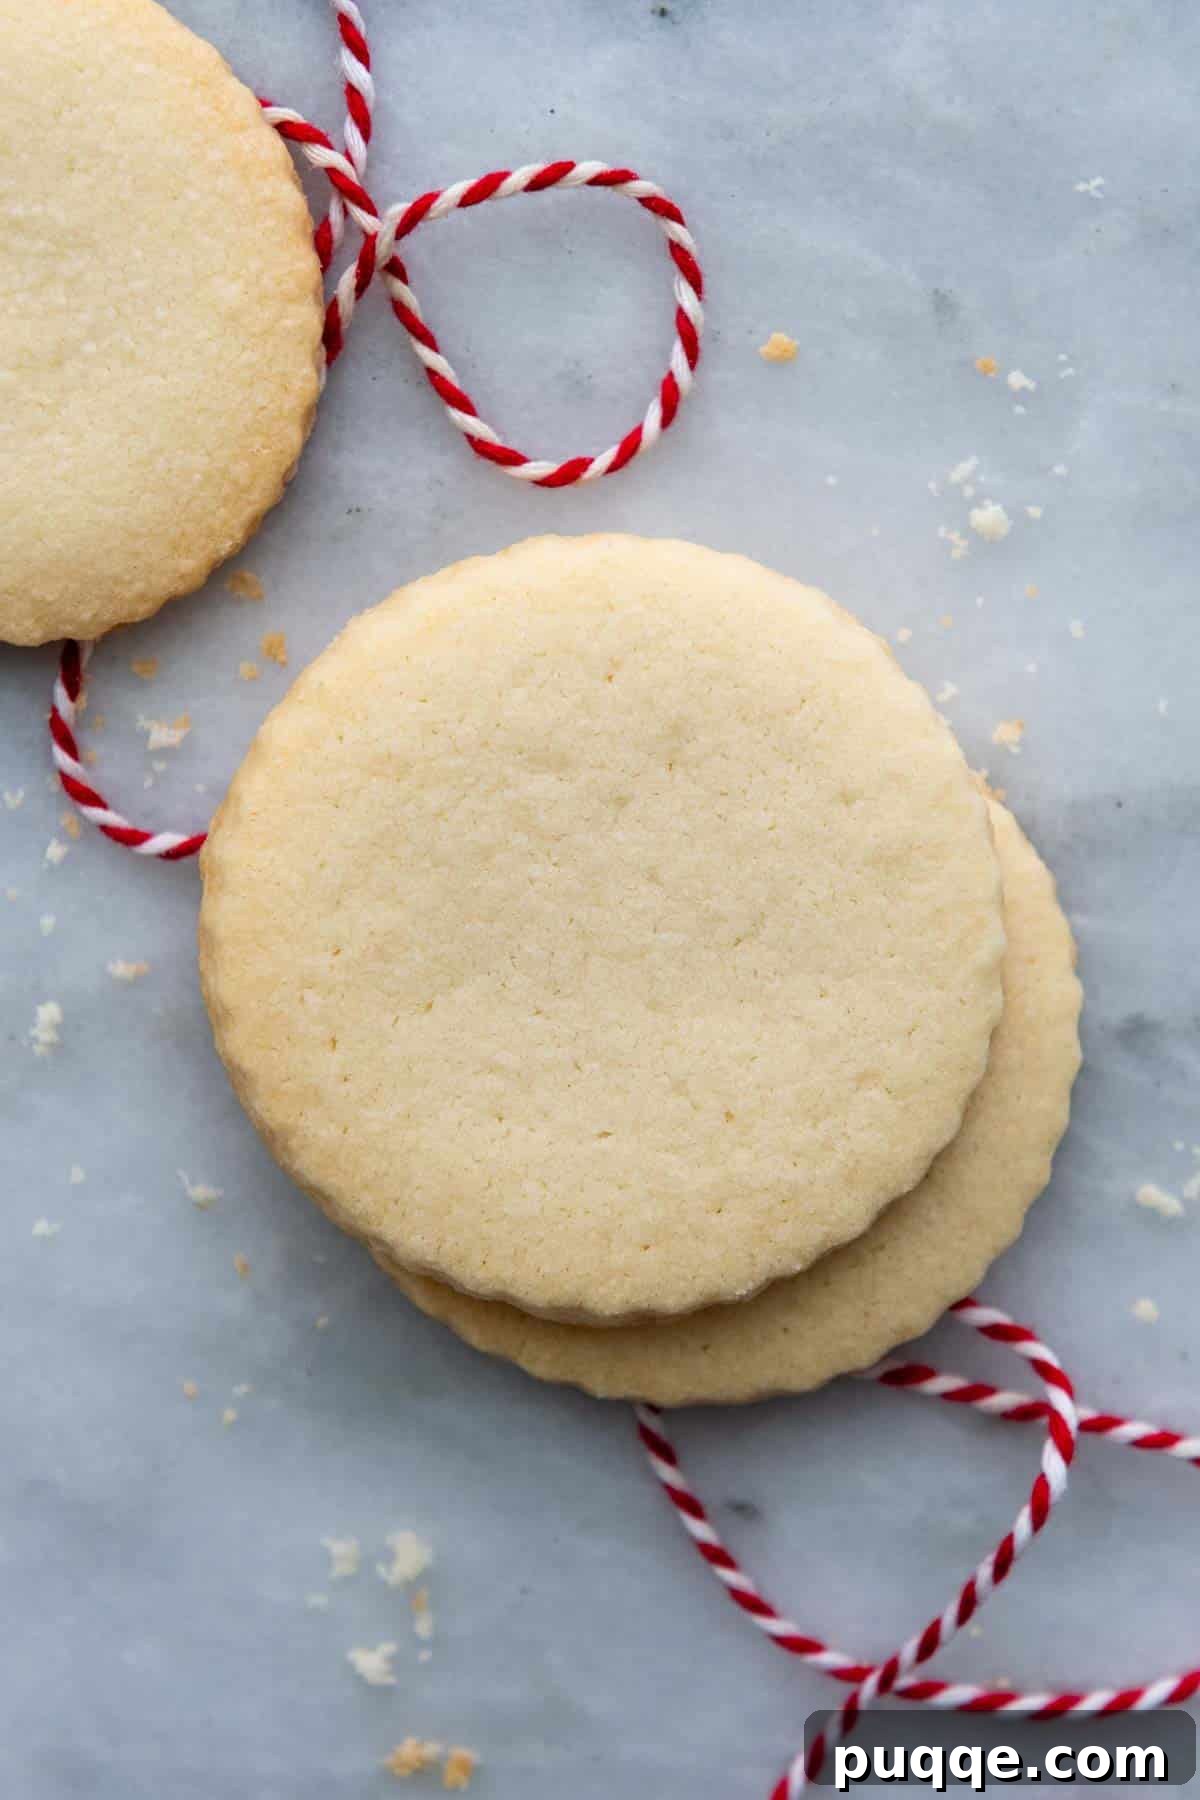
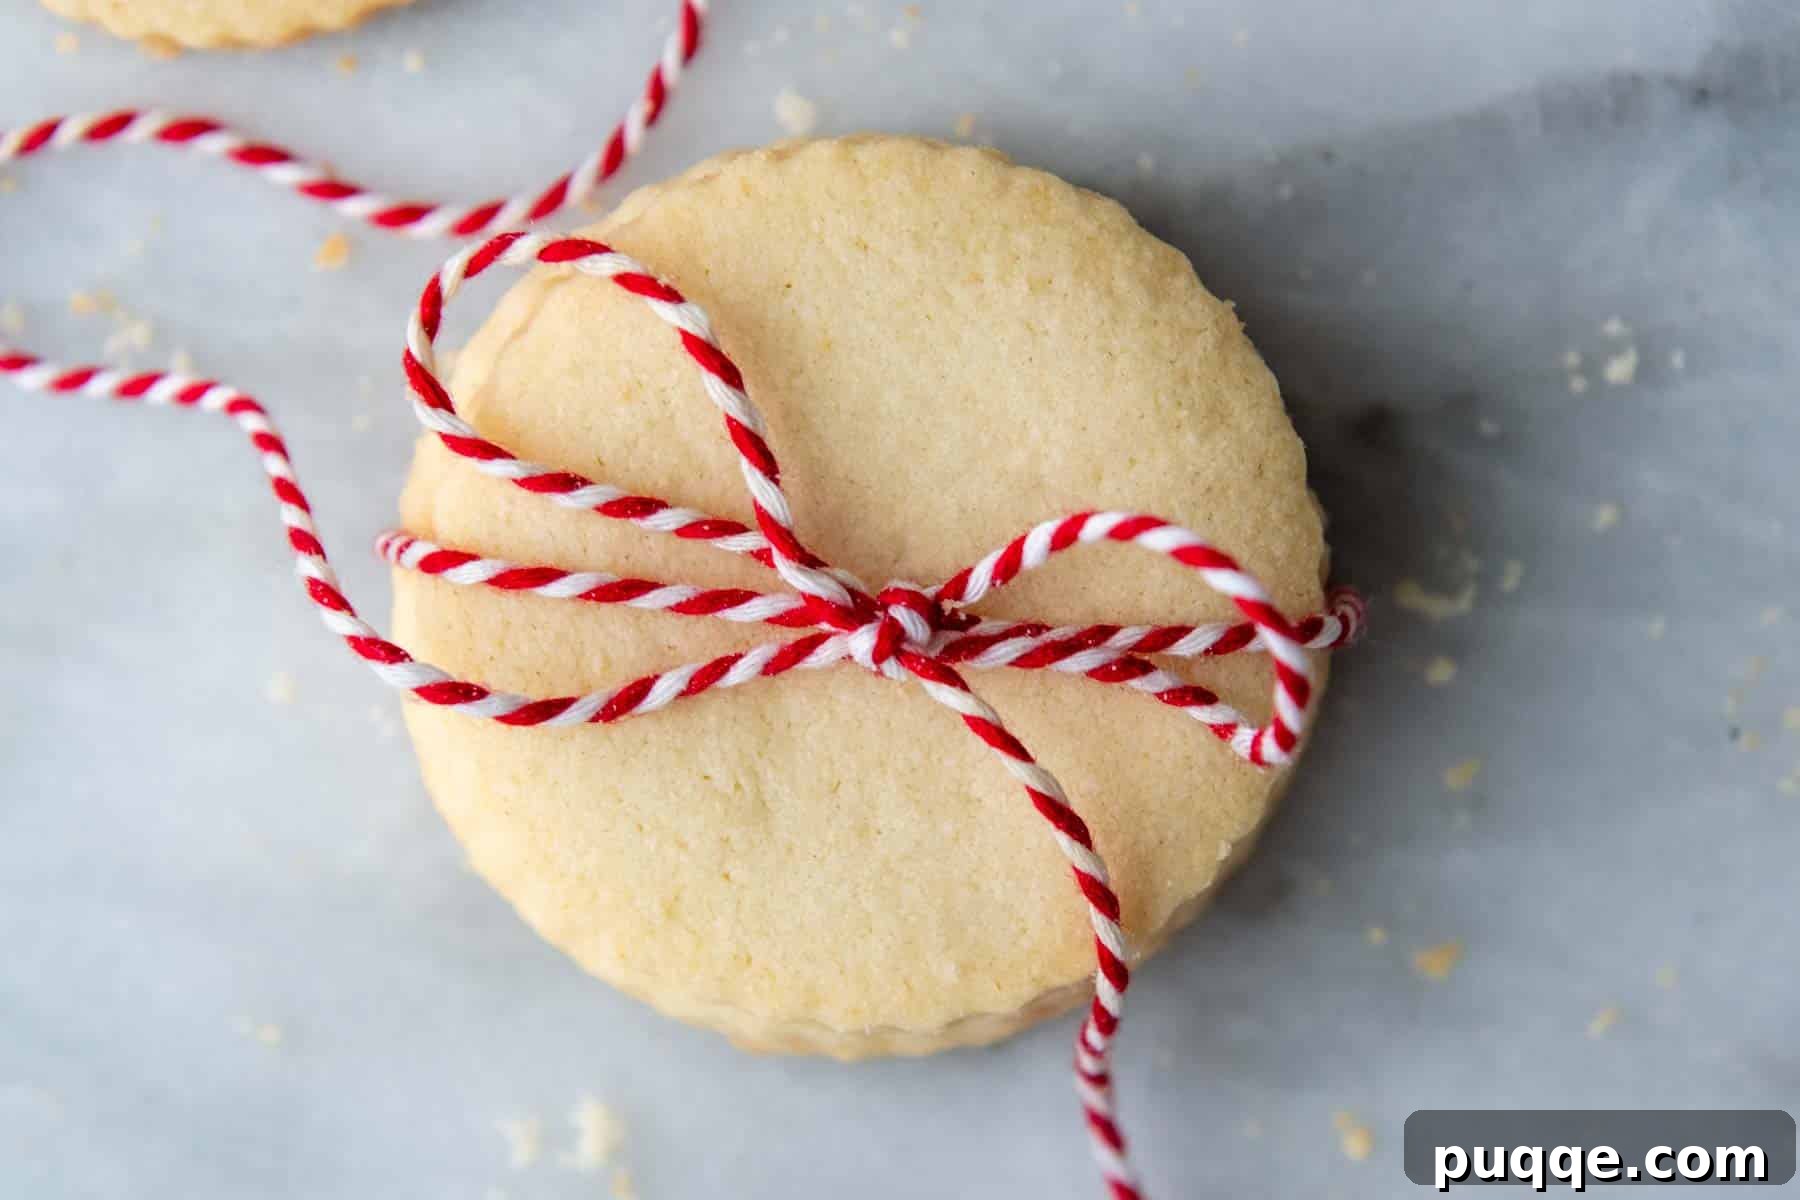
Carefully transfer your shaped cookies to ungreased or parchment-lined baking sheets, maintaining about 1 inch of space between them. Gather any leftover dough scraps, gently press them together, re-wrap, chill briefly if they become too warm, and then re-roll and cut out more shapes until all the dough is used. Bake these cut-out cookies in a preheated 325ºF oven for 20-22 minutes, rotating the pans halfway through. Keep a close eye on them; the goal is a pale, tender cookie with just a hint of golden color around the edges. Allow them to cool on the baking sheets for 10 minutes before carefully transferring them to a wire rack to cool completely.
Make Them Your Way! Yummy Recipe Variations
While classic shortbread is delightful on its own, this versatile gluten-free dough provides a perfect canvas for countless flavor innovations. Get creative and customize your batch with these tempting variations:
- Chocolate Dipped or Drizzled: For a decadent touch, melt semi-sweet chocolate chips (or your favorite type like dark or milk chocolate) in a small heatproof bowl. To achieve a smoother consistency for dipping or drizzling, stir in a dash of neutral oil (like coconut oil or vegetable oil). Dip one side of the cooled shortbread cookie into the melted chocolate, allowing any excess to drip off, then place on wax or parchment-lined baking sheets to set. Alternatively, use a small spoon or fork to artfully drizzle the chocolate over the cookies for an elegant finish. A sprinkle of sea salt on top of the wet chocolate can really enhance the flavor!
- Zesty Lemon Shortbread: Brighten your shortbread with the vibrant flavor of lemon. Incorporate 1 tablespoon of finely grated lemon zest directly into the dough during the creaming stage. For an intensified citrus aroma, replace the vanilla extract with an equal amount of lemon extract. To take it a step further, prepare a simple lemon glaze by whisking together 1 cup of powdered sugar with 2 tablespoons of fresh lemon juice until smooth. Drizzle or spread this glaze over the cooled cookies for a tangy, sweet finish.
- Warm Spiced Shortbread: Embrace warm, comforting flavors by adding your favorite ground spices to the dough. Mix in up to 1 teaspoon of ground cinnamon, ginger, nutmeg, allspice, anise, or cardamom, or a blend of several. Add the spices with the gluten-free flour to ensure even distribution. These are particularly wonderful for autumn or winter gatherings.
- Cranberry Orange Shortbread: A festive and flavorful combination! Fold in ¼ cup of finely chopped dried cranberries and 1 tablespoon of fresh orange zest into the dough during the final mixing stage. The cranberries add a chewy texture and tartness, while the orange zest provides a lovely aromatic sweetness. You can also substitute the vanilla extract with orange extract for a more pronounced citrus flavor.
- Mini Chocolate Chip Shortbread: For a subtle chocolatey surprise, mix ½ cup of miniature chocolate chips (or finely chopped standard chocolate chips) into the shortbread dough. The small size of the chips ensures they disperse evenly and don’t overwhelm the delicate texture of the shortbread.
- Earl Grey Shortbread: For a sophisticated twist, infuse your butter with Earl Grey tea. Gently heat the butter until melted, then steep 1-2 Earl Grey tea bags in the warm butter for about 10-15 minutes. Strain the butter, allow it to cool and solidify slightly, then use it as directed in the recipe. The subtle bergamot notes will beautifully complement the buttery flavor.
Save This Recipe to Your Pinterest Board!
Let’s be friends on Pinterest! I’m always sharing great recipes and gluten-free baking inspiration!
Did you make this recipe? I love hearing from you! Leave a star rating and comment below the recipe card. Your feedback is invaluable and helps others in our community discover fantastic recipes. I always strive to respond to every comment! -Melissa
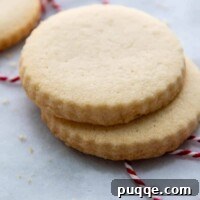
Tender & Buttery Gluten-Free Shortbread Cookies
 Melissa Erdelac
Pin
Rate
Remove Ads
Ingredients
- 14 tablespoons unsalted butter, softened, but still slightly chilled
- ¾ cup powdered sugar
- ½ teaspoon salt
- 1 teaspoon vanilla extract
- 1 ¾ cup gluten free all purpose flour, I use and highly recommend Cup4Cup gluten-free flour
Equipment
-
Baking Sheets
-
Stand Mixer
-
Cup4Cup Gluten Free Flour
Instructions
-
In a large mixing bowl, or using a stand mixer fitted with a paddle attachment, cream together the slightly softened unsalted butter, powdered sugar, and salt until the mixture is light, fluffy, and smooth, which should take approximately 2 minutes. Once creamy, mix in the vanilla extract until just combined, scraping down the sides of the bowl as needed.14 tablespoons unsalted butter, ¾ cup powdered sugar, ½ teaspoon salt, 1 teaspoon vanilla extract
-
Gradually add the gluten-free all-purpose flour to the butter mixture, mixing on low speed until all the ingredients are thoroughly combined. At first, the dough will appear dry and crumbly. Continue mixing; as the butter and flour fully incorporate, it will transform into a stiff, cohesive dough. (If your dough does not come together after a couple of minutes of mixing, please refer to the “Troubleshooting Tips” in the recipe notes below for guidance.)1 ¾ cup gluten free all purpose flour
Slice and Bake Shortbread Method
-
Tear off a strip of parchment paper about 12 inches long. Place the prepared dough onto the center of the parchment paper. Shape the dough into an even log, aiming for a diameter of about 1.5 to 2 inches. Lift the edge of the parchment paper closest to you and use it to help roll and smooth the dough, ensuring a uniform cylindrical shape. (Refer to the instructional picture in the main blog post for visual guidance.)
-
Continue rolling the dough until the parchment paper is completely wrapped around the log, creating a tight seal. Chill the wrapped dough log in the refrigerator for a minimum of 20 minutes to firm up the butter. While the dough is chilling, preheat your oven to 325℉ (160ºC).
-
Unwrap the chilled dough log. If it has flattened slightly on one side, gently roll it again on a clean surface to restore its round shape. Using a sharp knife, slice the dough into uniform ½-inch thick rounds. Place these shortbread rounds onto ungreased or parchment-lined baking sheets, ensuring they are spaced about 1 inch apart. If you are not baking the entire batch at once, store the remaining unbaked cookies or dough in the refrigerator until you are ready to bake them.
-
Bake the cookies for 20-22 minutes. For even baking, rotate the baking pans halfway through the cooking time. The cookies should appear lightly golden at the edges but remain pale in the center. Once baked, allow them to cool on the baking sheets for 10 minutes before carefully transferring them to a wire rack to cool completely.
Cut Out Shortbread Cookies Method
-
Once the shortbread dough has been prepared, wrap it securely in plastic wrap and chill it in the refrigerator for a minimum of 20 minutes. This chilling period is crucial for firming the dough, making it easier to roll and cut without sticking.
-
Lightly dust your work surface with gluten-free flour if needed, then roll the chilled dough evenly to a thickness of ½-inch. Press your desired cookie or biscuit cutters into the dough to create your shapes. Alternatively, for a more traditional shortbread “finger” look, slice the dough into neat 3 x 1-inch rectangles using a sharp knife or pastry wheel. Carefully transfer the cut-out shapes to ungreased or parchment-lined baking sheets. Gather any leftover dough scraps, gently press them together, re-wrap and chill briefly if they become too soft, then re-roll to ½-inch thickness and cut out more shapes until all the dough is utilized. If you are not baking all the cookies at once, store the unbaked shapes in the refrigerator until ready to bake.
-
Bake the cut-out cookies for 20-22 minutes in the preheated 325℉ (160ºC) oven. Remember to rotate the pans halfway through the baking time to ensure even cooking and light browning. The cookies should have pale centers with very lightly golden edges. Once baked, let them cool on the baking sheets for 10 minutes before gently transferring them to a wire rack to cool completely, as they will be delicate when warm.
Notes
Troubleshooting Tips for Perfect Gluten-Free Shortbread
Even with a foolproof recipe, gluten-free baking can sometimes present unique challenges. Here are solutions to common issues you might encounter:
- Dough doesn’t come together during mixing: This is a common concern. First, try mixing it for a minute or two longer; it takes a bit of time for the butter’s fat to fully incorporate with the dry ingredients. If you’re using a different gluten-free flour blend than the recommended Cup4Cup, it might absorb moisture at a slightly different rate. If the dough still seems too dry, add a few drops of cold water at a time (no more than ½ teaspoon at a time) and continue mixing until the dough just barely comes together. Be very careful not to add too much water, as an overly hydrated dough will spread excessively during baking, resulting in thin, crispy, rather than tender, shortbread.
- Dough falls apart when slicing or rolling out: The dough needs to be chilled to hold its shape, but if it becomes excessively cold, the butter will be too firm, causing the dough to crumble slightly. If you find it too frustrating or difficult to work with, leave the dough out at room temperature for 10-15 minutes to allow it to soften just slightly, then try again. You want it firm but pliable.
- Dough is too soft / sticky to handle: As you work with the dough, the warmth from your hands and the room temperature will inevitably soften the butter, making the dough sticky. A marble pastry board is excellent for this as it naturally keeps dough chilled. If your dough becomes too soft, your first step should be to briefly chill it in the refrigerator for 10-15 minutes to re-solidify the butter. You can also lightly rub a very small amount of gluten-free flour on your rolling pin or sprinkle a tiny amount on your work surface, but use sparingly to avoid drying out the dough.
- Cookies spread during baking: This usually happens if the butter in the dough is too warm when it enters the oven. Ensure your shaped cookies are thoroughly chilled before placing them on the hot baking sheets. If you’re not baking all the dough at once, always store the unbaked cookies or the remaining dough in the refrigerator until you are ready to bake them. Cold dough helps maintain the cookie’s shape and prevents excessive spreading.
Storing / Make-Ahead / Freezing Instructions
These gluten-free shortbread cookies are best enjoyed fresh, ideally on the day they are baked, as gluten-free baked goods tend to lose moisture and become dry more quickly than their gluten-containing counterparts. However, with proper storage and make-ahead planning, you can still enjoy them for an extended period.
Store baked and completely cooled cookies in an airtight container at room temperature for up to 2 days. For optimal freshness beyond this, consider freezing.
Make-Ahead Dough: The unbaked shortbread dough can be prepared up to 1 day ahead of time. Wrap the dough securely in plastic wrap (or shape it into a log and wrap) and store it in the refrigerator. When you’re ready to use it, remove it from the fridge and let it sit out at room temperature for 20-30 minutes to soften slightly before rolling or slicing. This will make it much easier to work with.
Freezing Unbaked Dough: For longer storage, you may freeze the unbaked dough. Wrap the dough tightly in plastic wrap, then an additional layer of aluminum foil, and freeze for up to 2-3 months. When ready to bake, thaw the dough overnight in the refrigerator. Then, let it sit out at room temperature for 20-30 minutes to soften slightly before shaping and baking as directed.
Freezing Shaped (Unbaked) Cookies: This is an excellent option for having ready-to-bake cookies, perfect for holiday parties or impromptu treats. Shape the cookies as desired (sliced rounds or cut-outs), then arrange them in a single layer on a parchment-lined baking sheet. Freeze until solid (about 1-2 hours). Once frozen solid, gently transfer the cookies to a freezer-safe ziplock bag or airtight container, layering them with parchment paper to prevent sticking. Freeze for up to 6 weeks. When ready to serve, bake from frozen, adding just 1-2 minutes to the suggested baking time. This allows you to enjoy fresh-baked shortbread anytime!