
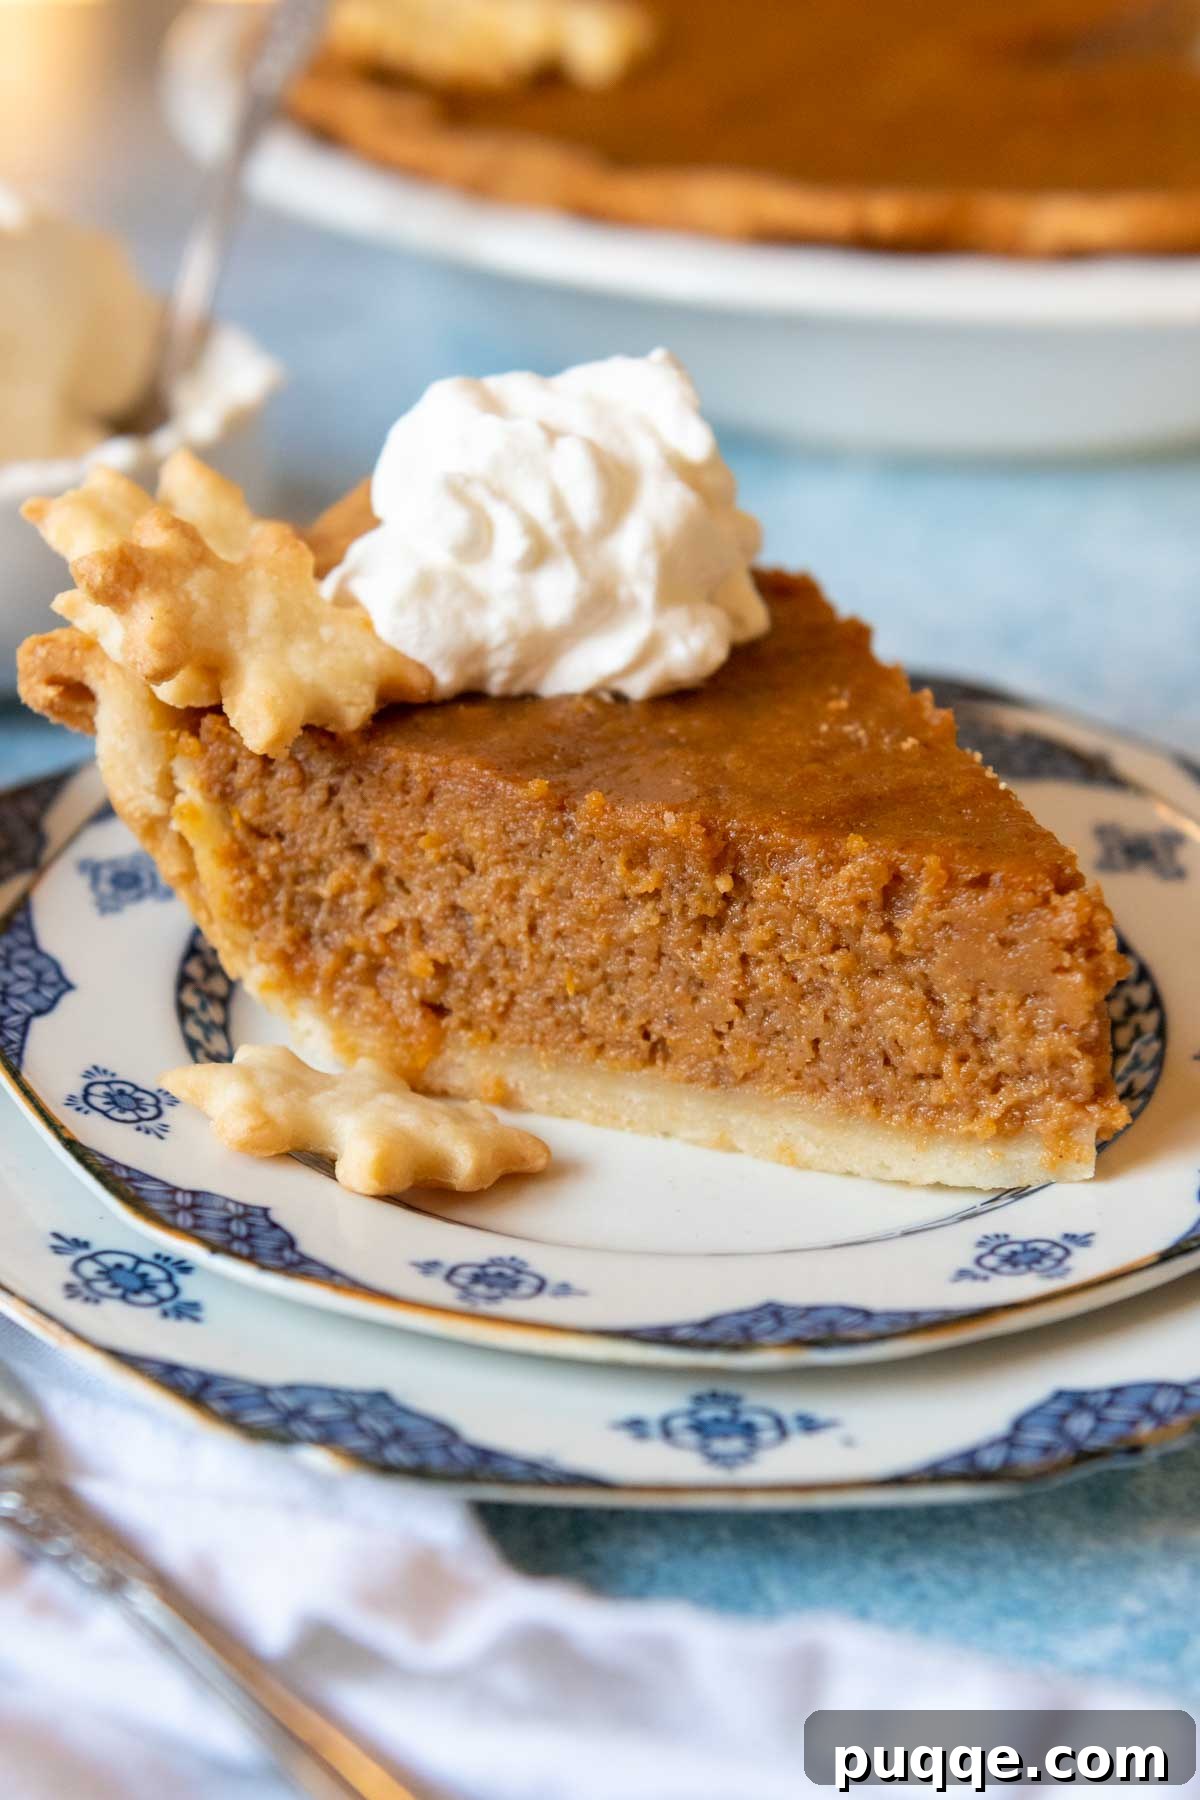
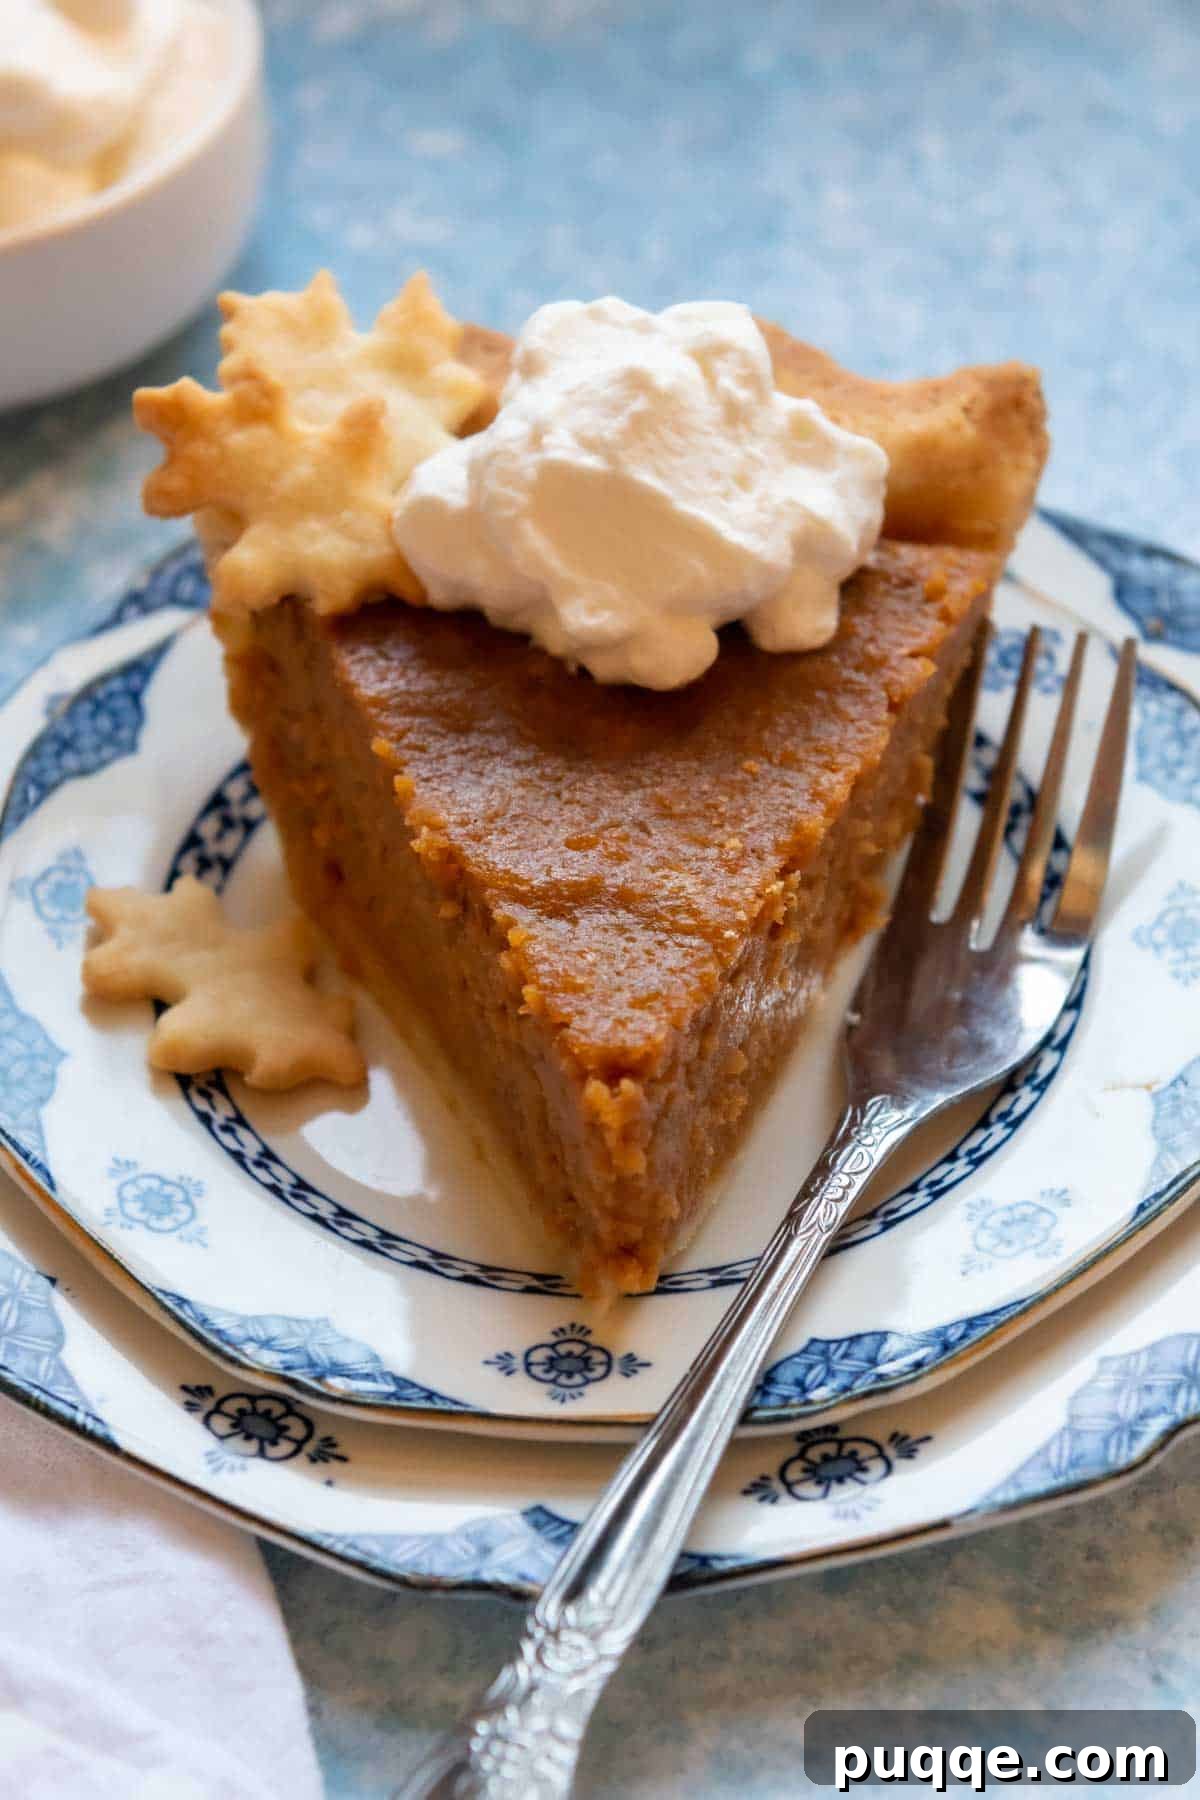
Unlock the secrets to baking the **best gluten-free sweet potato pie**, a true **southern-style** delicacy brimming with rich flavor and a velvety-smooth texture. This recipe offers a blend of easy-to-follow professional tips, ensuring an ultra-creamy, perfectly sweetened filling—thanks to the harmonious combination of brown sugar and evaporated milk. This delectable filling finds its ideal complement in a buttery, impeccably flaky gluten-free pie crust. Plus, we’ve included simple modifications for those seeking a dairy-free version, making this beloved dessert accessible to even more families.
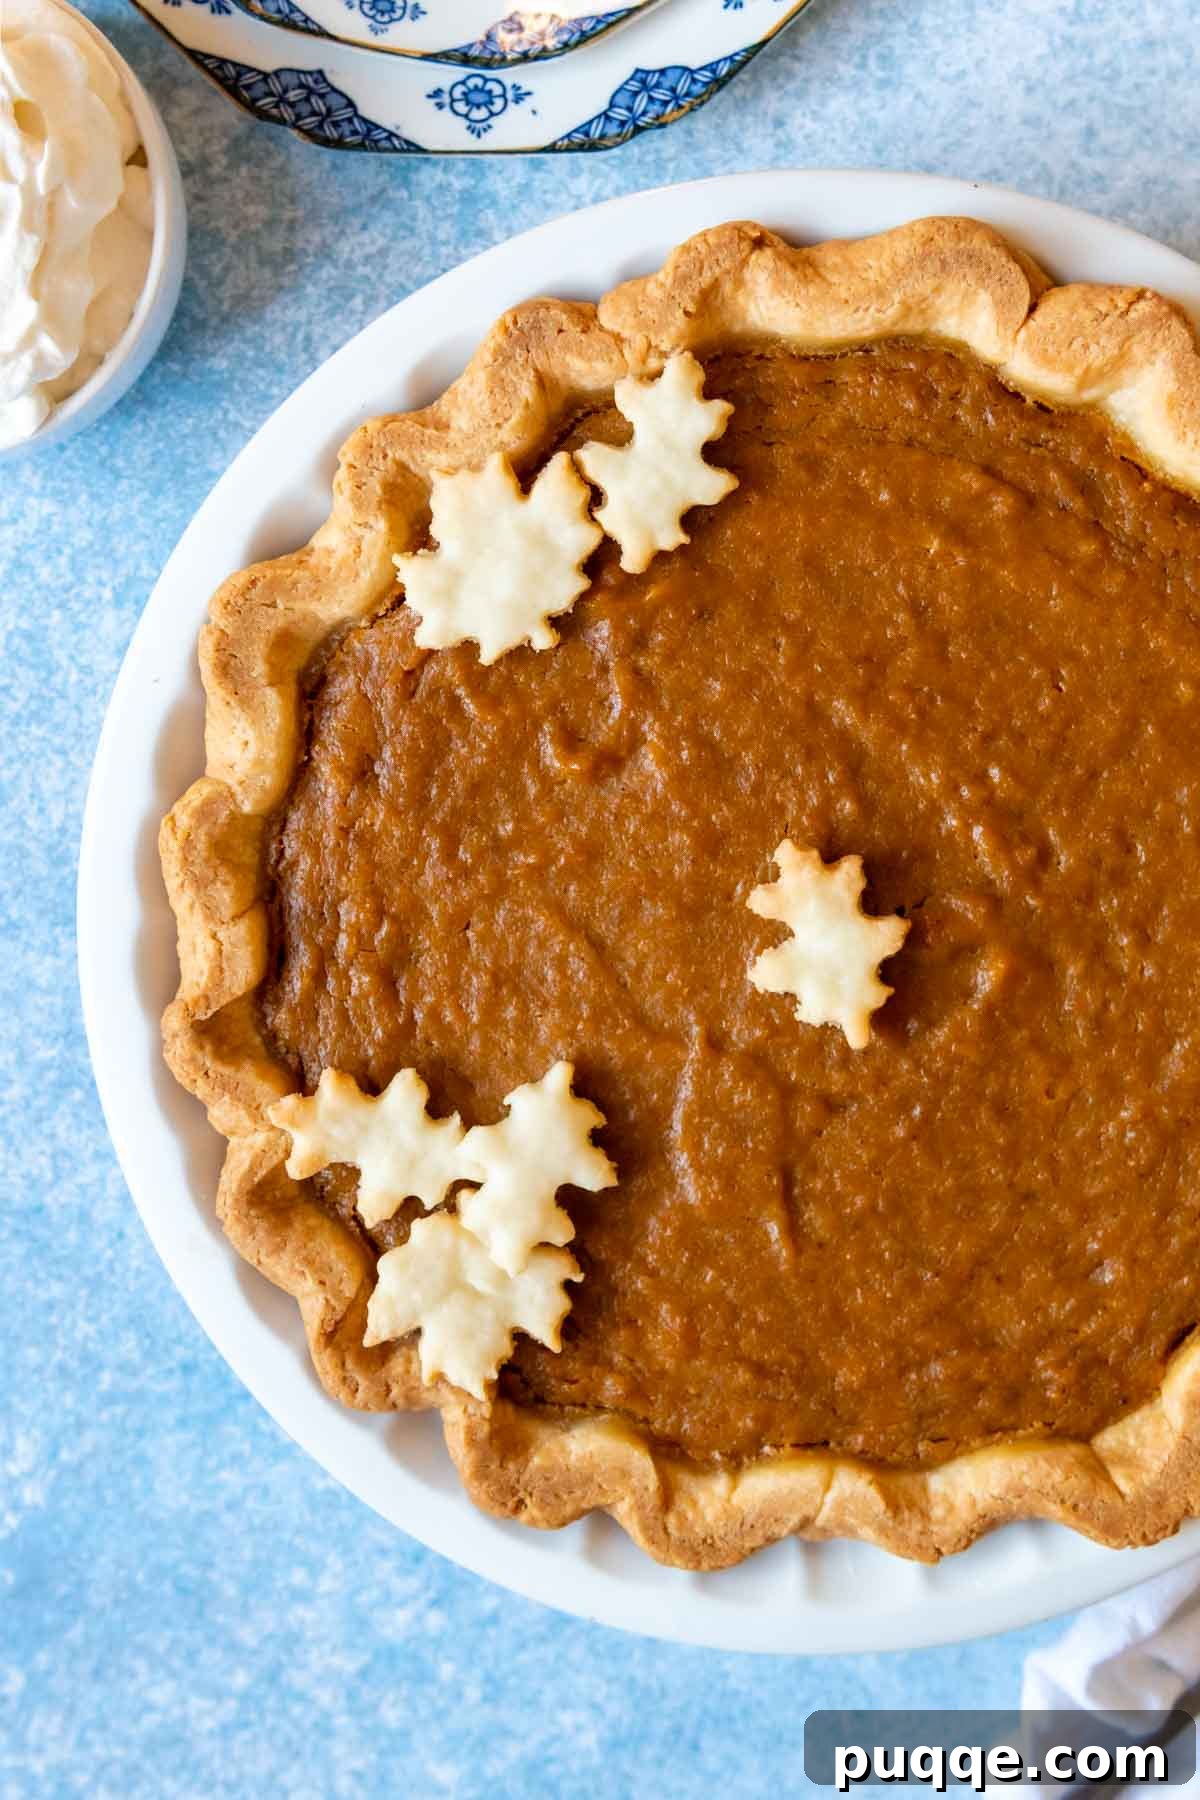
Mastering the Art of Gluten-Free Sweet Potato Pie
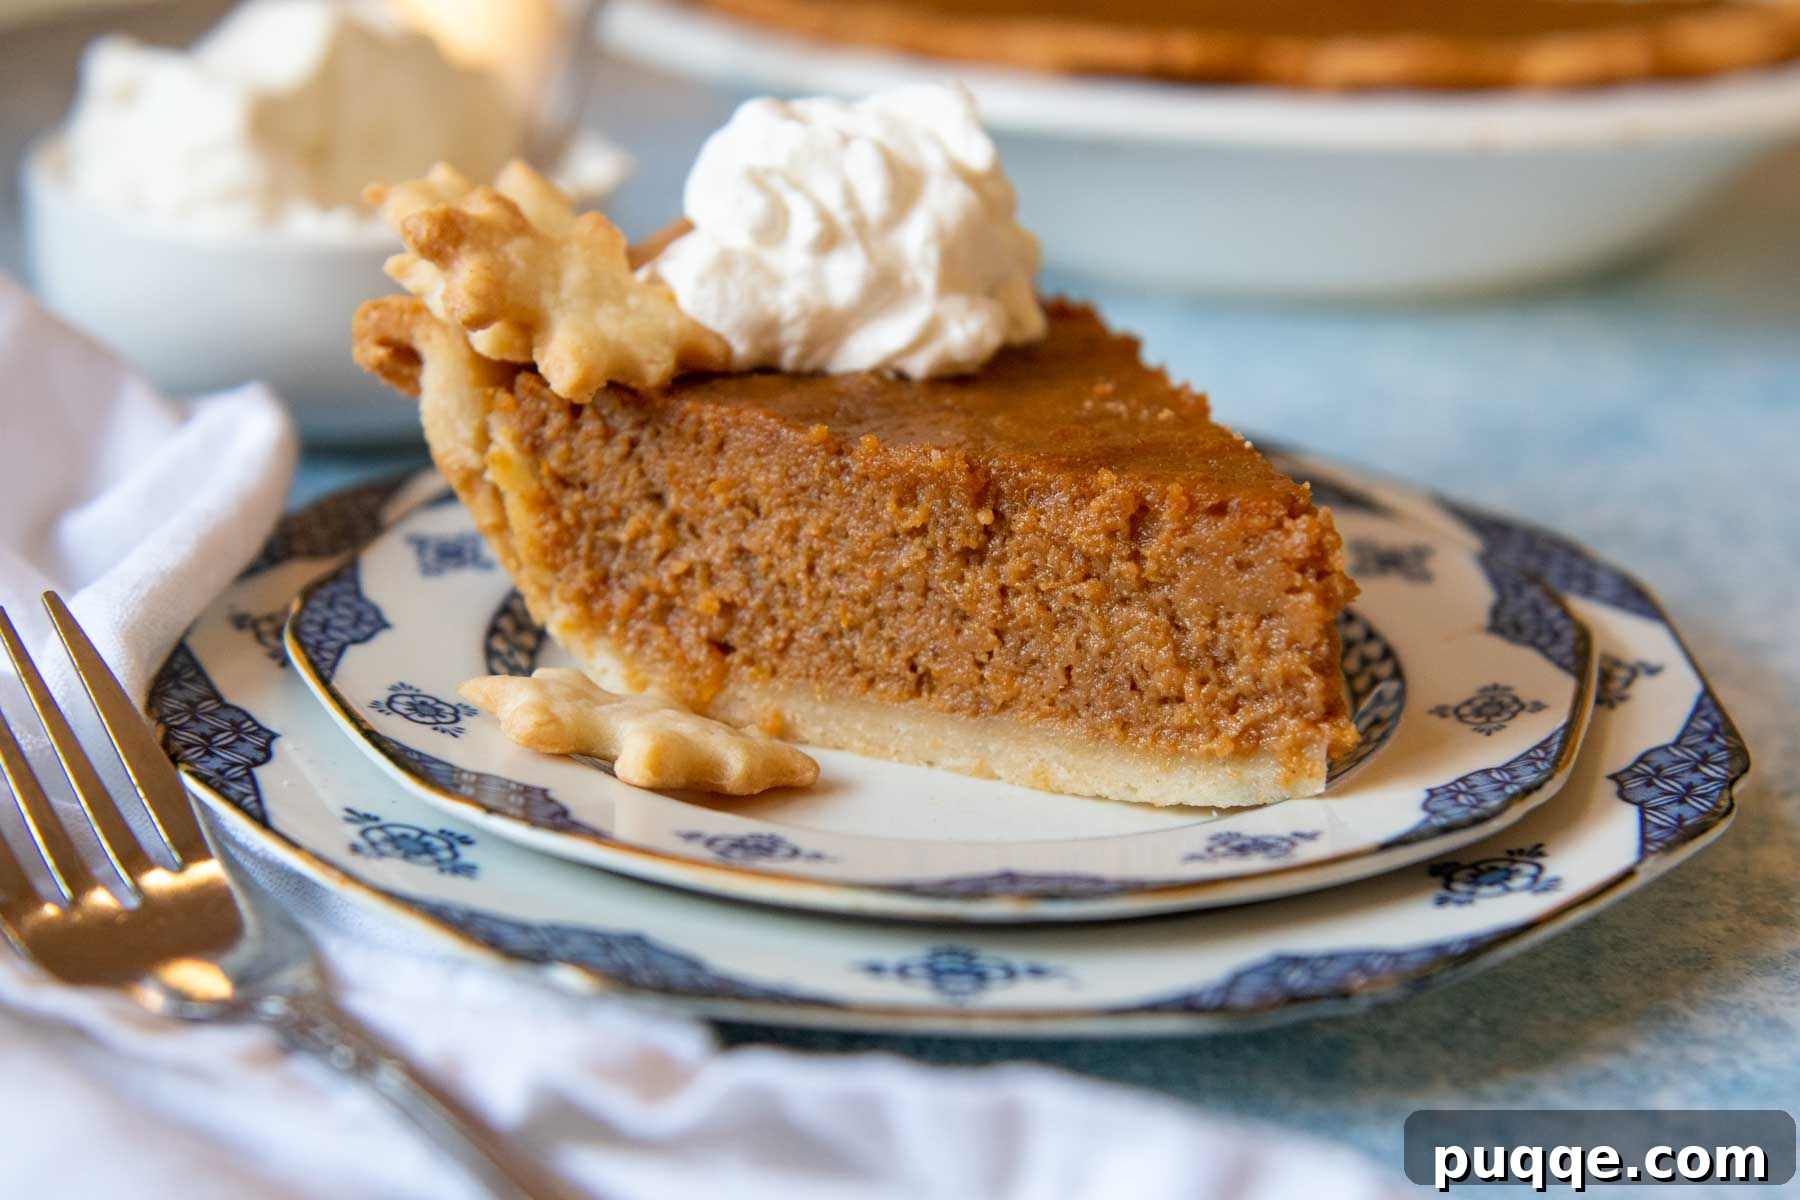
A Thanksgiving celebration in a Southern home simply isn’t complete without the quintessential sweet potato pie. For those navigating gluten sensitivities, this recipe offers a delicious and heartwarming solution, presenting a warmly spiced custard filling encased in a tender, flaky gluten-free pastry crust that rivals any traditional pie. This pie serves as a fantastic alternative or a delightful addition to the classic pumpkin pie, bringing its unique charm and flavor to your holiday table.
Crafting homemade pies with gluten-free crusts often comes with its challenges, but with the right approach, you can create a buttery, flaky pastry that will impress even the most discerning skeptics. Our fail-proof gluten-free pie dough recipe provides the perfect foundation for the creamy sweet potato filling. We’ll guide you through crucial techniques, including easy tips to guarantee a beautifully crispy bottom crust, banishing the dreaded soggy pie base forever.
The secret to an exceptionally silky-smooth filling lies in roasting the sweet potatoes. This method not only concentrates their natural sweetness and deepens their flavor profile but also reduces excess moisture, which is vital for achieving that desirable creamy consistency. Furthermore, opting for evaporated milk instead of heavy cream adds a richer, almost caramel-like depth to the pie and acts as a natural thickener, ensuring your filling sets perfectly every single time, without fail.
If your quest is for a gluten-free sweet potato dessert that truly stands out from all other pie recipes, you’ve arrived at the perfect destination. This recipe promises not only an unforgettable flavor experience but also an easy, streamlined method that will become a cherished cornerstone of your Thanksgiving feast. It holds its own alongside other festive favorites, such as a timeless old-fashioned gluten-free pecan pie, cementing its place in your holiday tradition.
Essential Ingredients for Your Southern Sweet Potato Pie
Achieving a truly remarkable gluten-free sweet potato pie starts with understanding the role of each ingredient. Below, we delve into the key components that bring this Southern classic to life. For a dairy-free adaptation, refer to our suggested substitutions. Please note, this recipe has not been tested for a vegan adaptation without eggs.
- Sweet Potatoes: The star of our pie! We highly recommend roasting sweet potatoes (often referred to as yams in the South) for the most intense and concentrated flavor. While some recipes call for boiling, roasting caramelizes the sugars and removes excess water, resulting in a richer, silkier filling. An added bonus? No need to peel them before roasting! If you must use canned sweet potatoes, you’ll need approximately 2 cups of mashed puree.
- Warm Spices: A blend of ground cinnamon, nutmeg, ginger, and cloves is essential for that signature holiday dessert aroma and taste. These spices infuse the sweet potato filling with warmth and complexity, making every bite feel like a cozy embrace.
- Butter: For richness and flavor in both the crust and the filling. If you’re aiming for a dairy-free pie, you can easily substitute with a high-quality plant-based vegan butter or even coconut oil. Ensure your butter for the filling is very soft for easy blending.
- Evaporated Milk: This ingredient is a game-changer. Evaporated milk provides a creamy texture and a slightly caramelized flavor that enriches the sweet potato filling. Crucially, it acts as a natural thickener, helping the pie set beautifully. For dairy-free versions, full-fat coconut milk is the best substitute for its rich texture and complementary flavor, though almond milk can also work.
- Optional Bourbon: For those who appreciate a classic bourbon sweet potato pie, a splash of bourbon adds an incredible layer of sophisticated flavor. To incorporate, omit the vanilla extract and add up to 1/4 cup of bourbon. Remember to reduce the amount of evaporated milk by the same quantity of bourbon added to maintain the correct liquid balance.
- Gluten-Free Pie Crust: A truly exceptional pie demands an equally exceptional crust. The gluten-free pie crust recipe included below has garnered praise from countless gluten-free bakers for its buttery, flaky texture. For a dairy-free pie, you’ll need to use a specifically formulated gluten-free and dairy-free pie crust recipe to ensure compatibility.
- Optional Toppings: Elevate your sweet potato pie with delightful toppings. Classic choices include a dollop of whipped cream or whipped coconut cream for dairy-free. For extra texture and nutty sweetness, consider adding 5-minute stovetop candied pecans, a cloud of meringue, or toasted marshmallows for a touch of nostalgic charm.
Mastering the Flaky Gluten-Free Pie Crust: Pre-baking is Key
What sets this sweet potato pie recipe apart from the rest? The deceptively simple yet profoundly effective step of pre-baking, or blind-baking, the pie crust! This technique is an absolute game-changer, especially for custard and fruit pies.
Custard and fruit pies are notoriously prone to developing a soggy bottom crust due to the high moisture content of their fillings. Pre-baking the crust creates a protective barrier, combating this common problem head-on. By the time your pie emerges from the oven, both its decorative edges and the crucial bottom layer will be perfectly flaky and wonderfully crispy, providing a delightful textural contrast to the smooth filling.
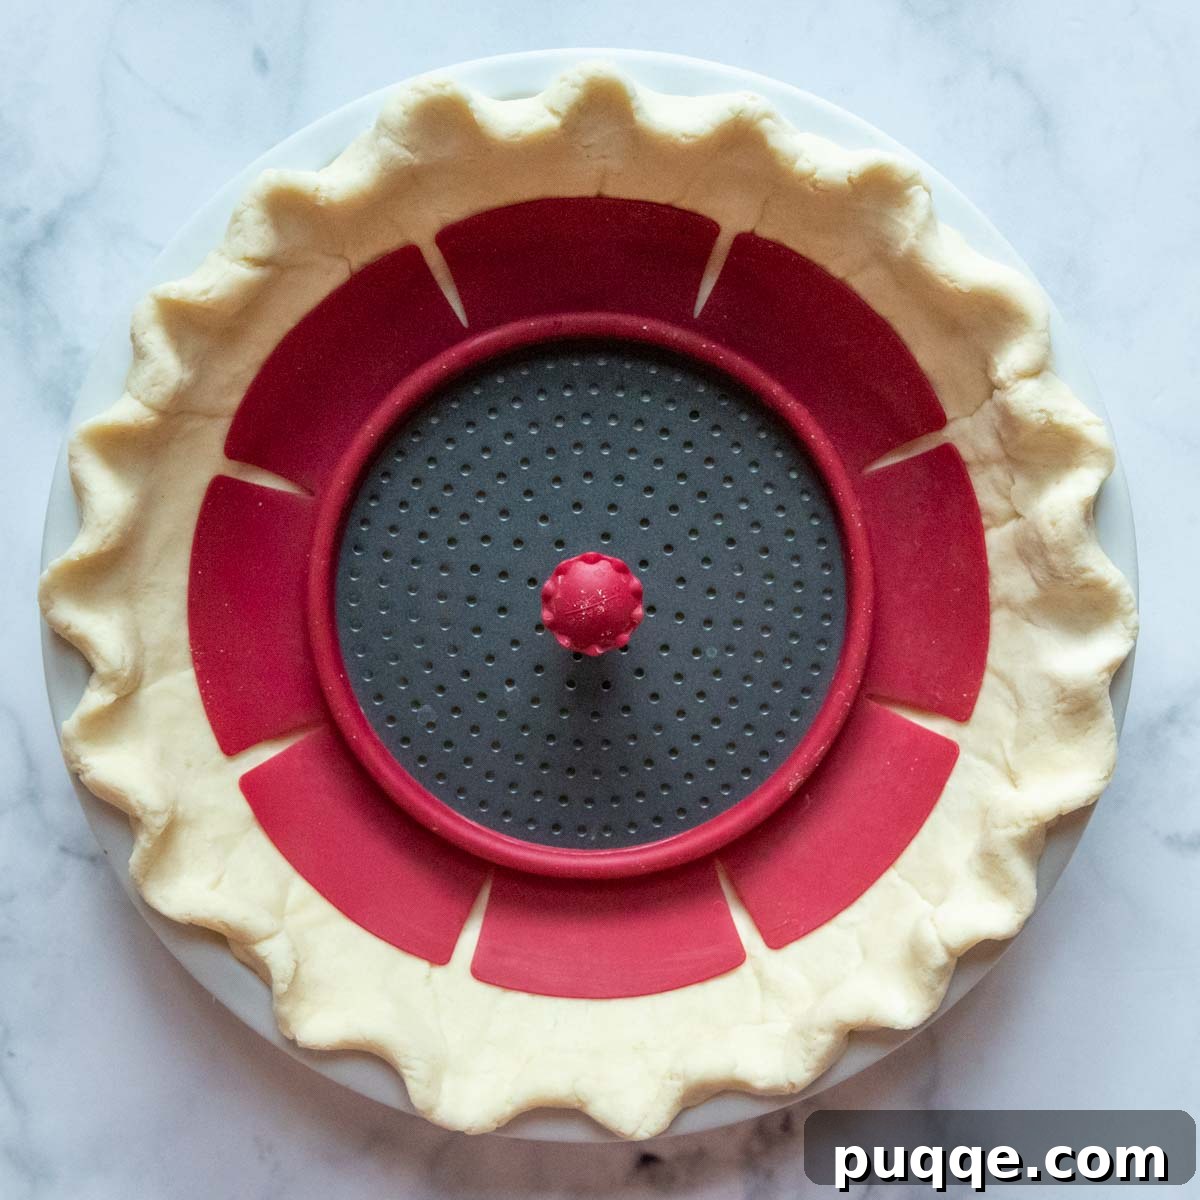
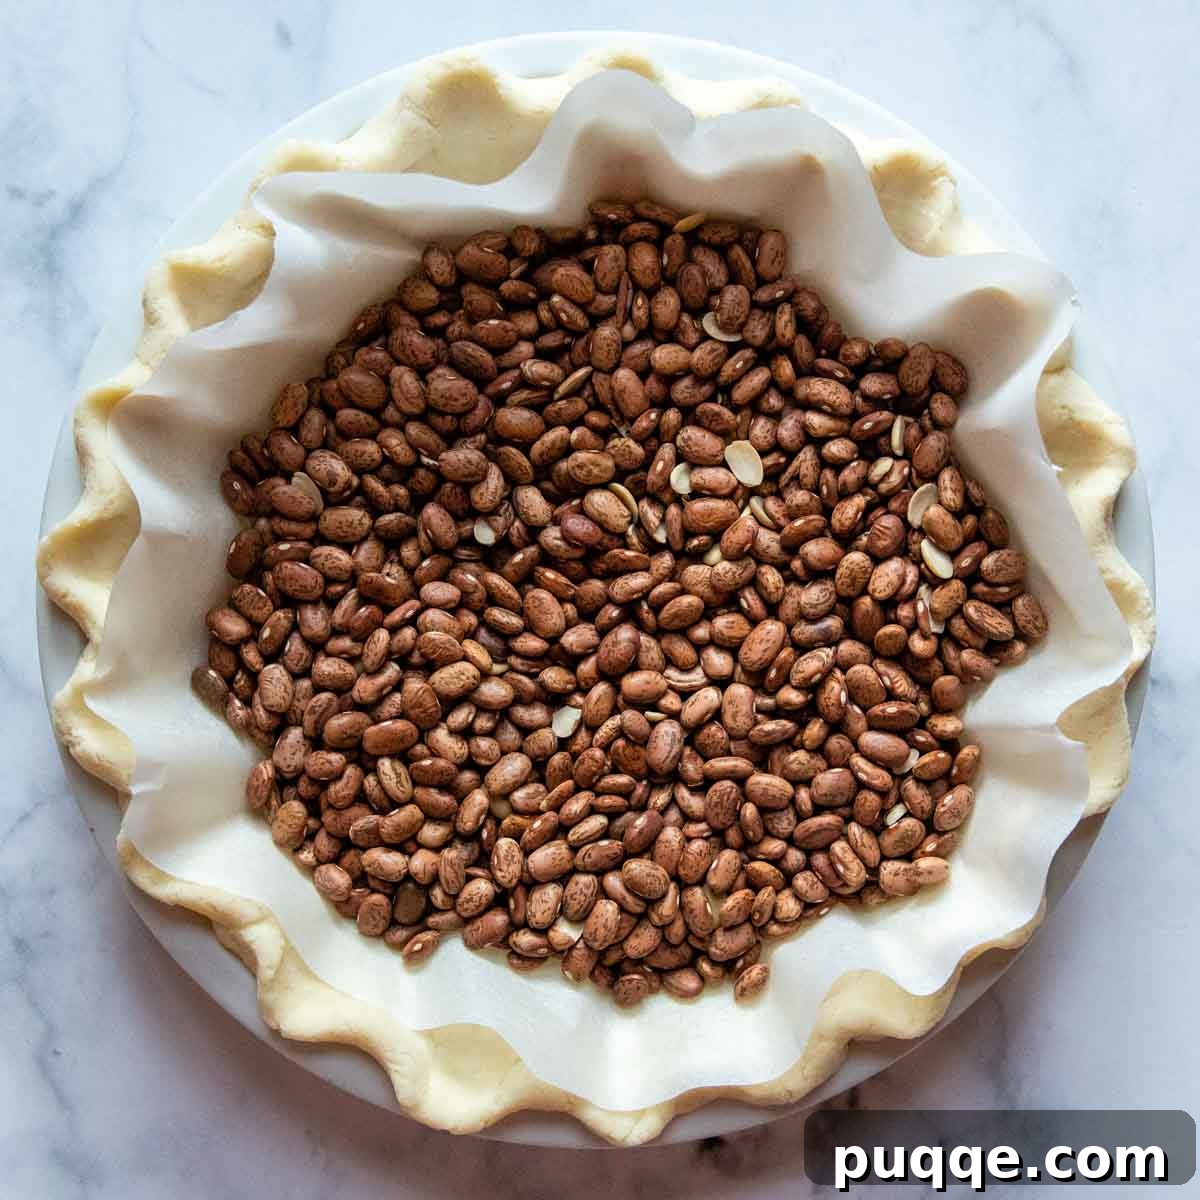
To begin, gently roll out your gluten-free pastry dough to fit your pie pan. Once in the pan, freeze the crust for at least 15 minutes. This crucial step helps prevent shrinkage during baking, maintaining the integrity of your pie shell. Next, line the pie shell with parchment paper and fill it with either dried beans or dedicated pie weights (as pictured). These weights prevent the crust from puffing up and ensure an even bake.
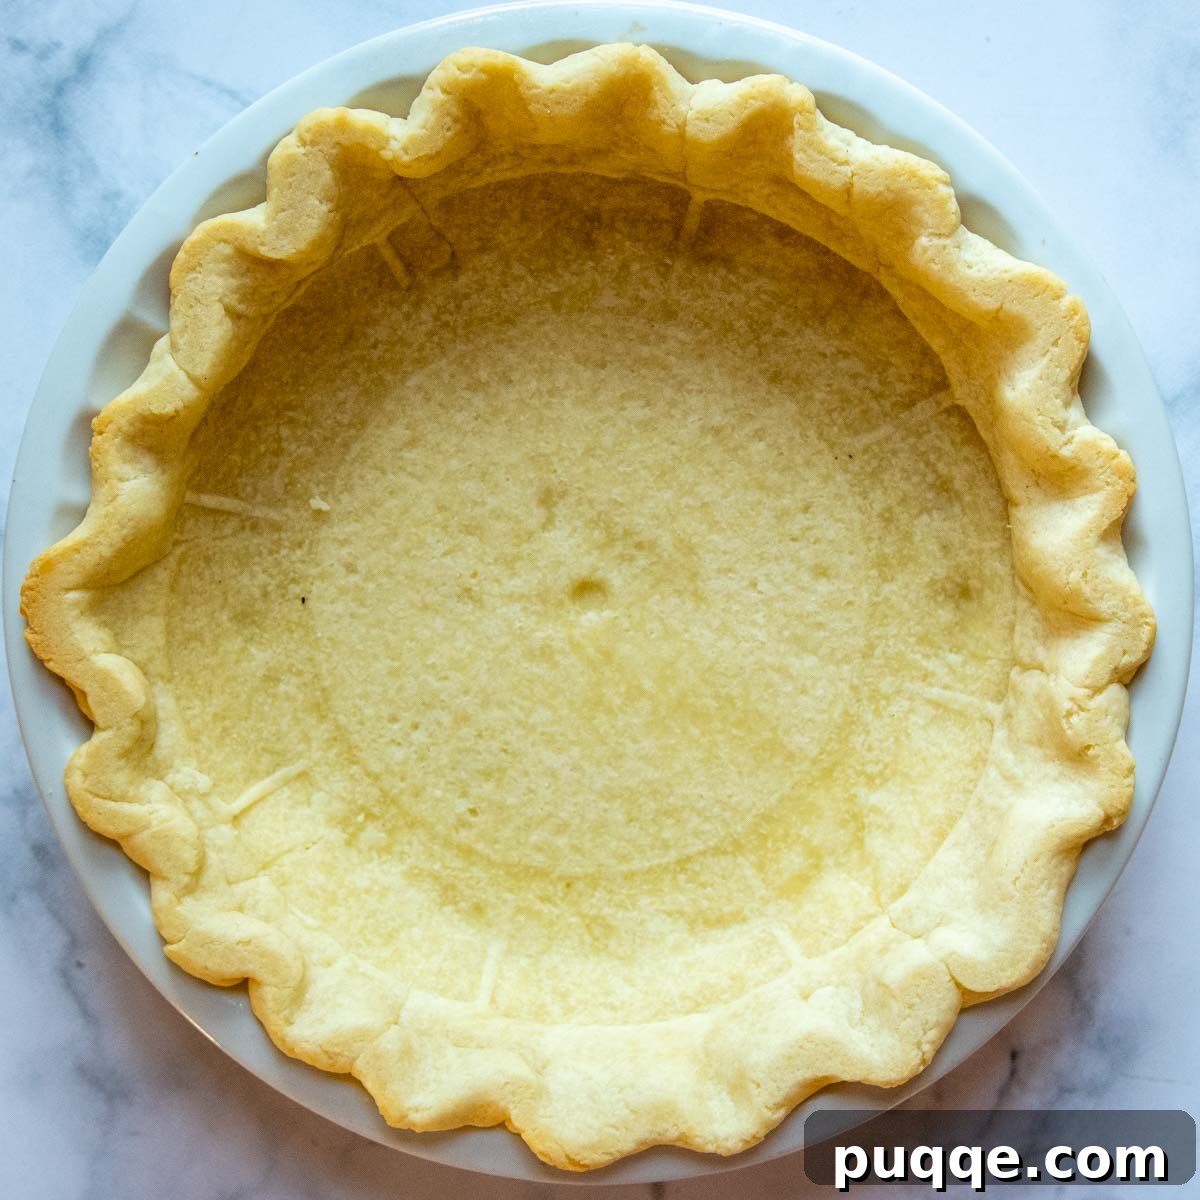
Bake the crust until it is set and firm, but before it starts to take on a golden-brown hue, which typically takes about 25-30 minutes. To prevent the exposed edges of your crust from over-browning too quickly, we highly recommend using a pie crust shield. Alternatively, you can create a makeshift shield using aluminum foil, carefully covering the edges for the duration of the bake.
Pro Tip for an Extra Flaky Bottom Crust: For an exceptionally crisp bottom crust, use a metal pie pan and place it directly on a baking sheet during the pre-bake. The combined conductivity of the two metal surfaces distributes heat more efficiently, guaranteeing a perfectly golden and flaky base.
Baking Your Perfect Gluten-Free Sweet Potato Pie: A Step-by-Step Guide
Let’s embark on this delicious journey together! Below, you’ll find detailed step-by-step instructions and helpful photos to guide you through crafting the ultimate gluten-free sweet potato pie. For precise ingredient amounts, please refer to the complete recipe card at the end of this article.
Step 1: Roasting Sweet Potatoes for Optimal Flavor
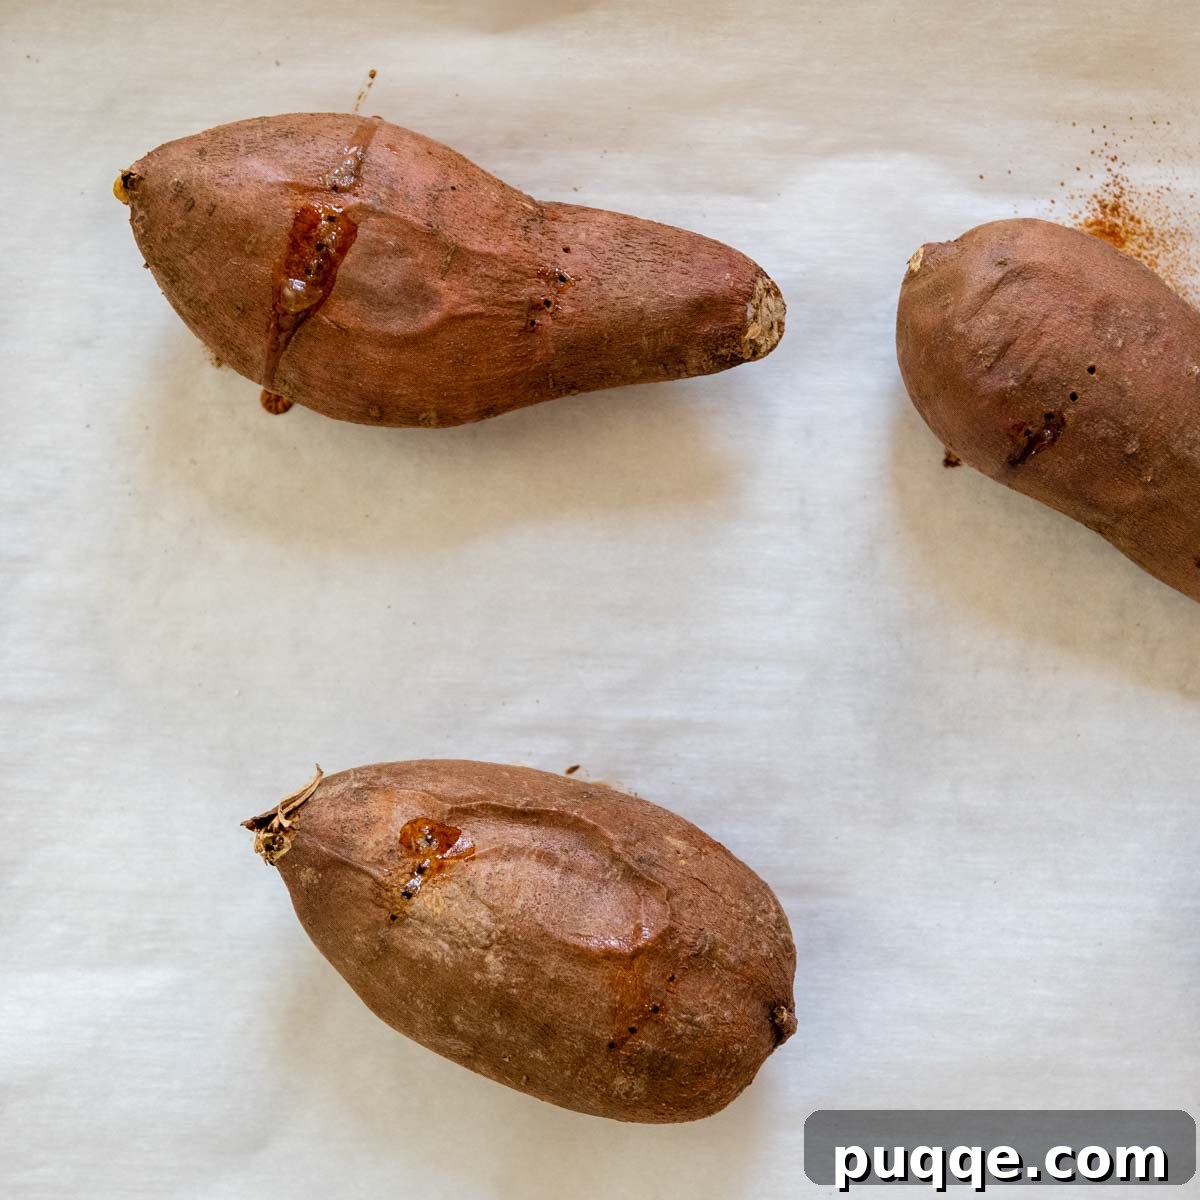
Begin by thoroughly washing your sweet potatoes. Pierce each potato 5-6 times with a fork to allow steam to escape during baking. Place them on a baking sheet lined with foil or parchment paper. Roast in a preheated oven until they are incredibly soft and tender, typically around 50 minutes to an hour. Roasting intensifies their sweetness and creates a drier, more concentrated puree. For convenience, you can roast the sweet potatoes up to two days in advance; simply cool them completely and store in an airtight container in the refrigerator.
While the sweet potatoes are roasting, prepare your gluten-free pie crust. Roll out the dough and carefully place it into your pie pan, then freeze for a minimum of 15 minutes. The crust can be par-baked alongside the sweet potatoes to save time and oven space.
Step 2: Crafting the Creamy Sweet Potato Filling
Once the roasted sweet potatoes have cooled sufficiently to handle, carefully scoop the tender flesh from their skins and transfer it to a large mixing bowl. Using an electric mixer, beat the sweet potato flesh until it transforms into a completely smooth, lump-free puree. This ensures a wonderfully velvety texture in your final pie.
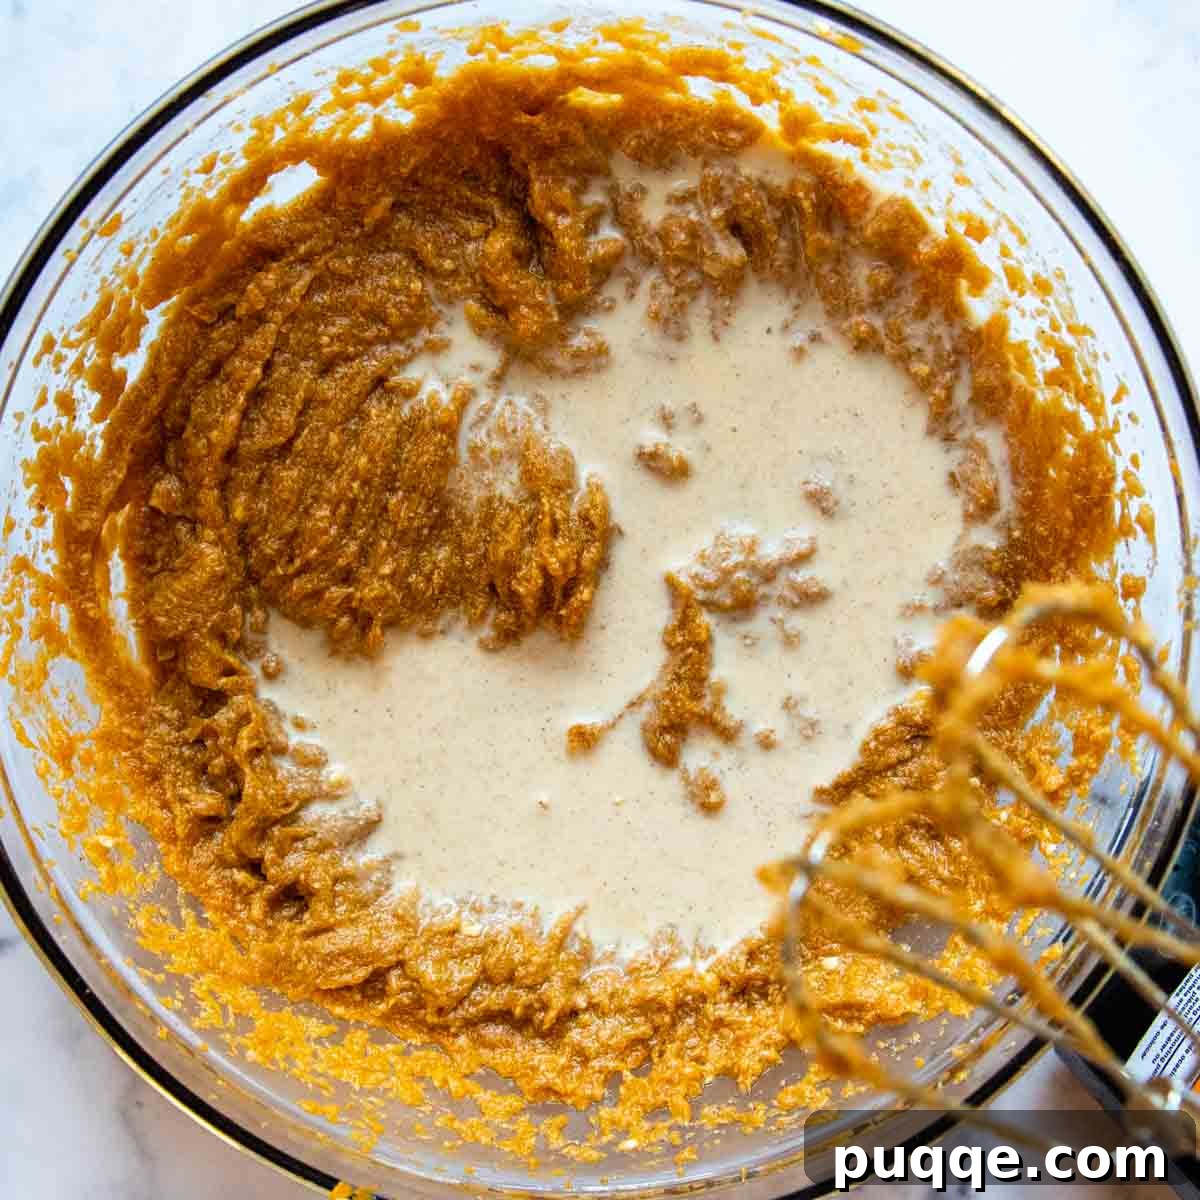
Next, add the light brown sugar, softened butter, eggs, egg yolks, vanilla extract, a generous blend of warm spices (cinnamon, ginger, nutmeg, cloves), and salt to the sweet potato puree. Beat these ingredients together until everything is thoroughly combined and smooth. Finally, mix in the evaporated milk. As discussed, evaporated milk is crucial here; it not only enriches the flavor but also acts as a natural thickener, guaranteeing your filling sets beautifully.
Step 3: Fill, Bake, and Enjoy
With your pre-baked crust ready and lightly browned, it’s time to assemble your pie. Carefully pour the creamy sweet potato mixture into the prepared crust. Before placing it in the oven, remember to cover the edges of the crust with a pie shield or aluminum foil to prevent them from becoming too dark or burnt during the longer bake time required for the filling. Bake the pie in a 350ºF oven until the edges of the filling are firmly set and a toothpick inserted into the center comes out mostly clean, with no liquid batter, which typically takes about 60-75 minutes.
After baking, allow the pie to cool completely on a wire rack for at least 3-5 hours before slicing and serving. This crucial cooling period allows the custard to fully set and the flavors to meld beautifully. For optimal flavor and texture, many find that making the pie one day ahead of serving yields the best results. Store it at room temperature, uncovered or loosely tented with foil, until ready to enjoy.
How Do I Know When The Pie Is Perfectly Baked?
Achieving the perfect set for your homemade sweet potato pie is crucial. Here are a few reliable indicators to help you determine when your glorious pie is done baking. First, observe the edges of the pie: they should be firmly set, showing a slight puff, and may even begin to crack gently. When you gently jiggle the pie, the center should have only a very slight, almost imperceptible wobble, not a sloshing movement. Another tried-and-true method is to insert a knife or a toothpick into the middle of the custard. It should come out mostly clean, without any liquid batter clinging to it. While a tiny bit of moisture is acceptable (it will continue to set as it cools), any raw liquid indicates it needs more time.
For the most accurate assessment, especially when dealing with custards, using an instant-read thermometer is highly recommended. Insert the thermometer into the center of the pie, taking care not to touch the bottom crust. The custard should register an internal temperature of 175ºF (80ºC). This temperature ensures the eggs have fully cooked and the pie will set beautifully upon cooling.
Did you make this recipe? I love hearing from you! Leave a star rating and comment below the recipe card. Your feedback helps others discover delicious recipes and truly makes a difference in our community. I always look forward to hearing from you! -Melissa

Southern Gluten-Free Sweet Potato Pie (Flakiest Crust)
Prep Time: 30 mins
Cook Time: 2 hrs
Total Time: 3 hrs 30 mins
Pin Recipe
Rate This Recipe
Ingredients
Gluten-Free Pie Crust
- 8 tablespoon unsalted butter, cut into small cubes and frozen for 10 minutes
- 2 ½ tablespoons ice water
- 1 ½ tablespoons sour cream
- 1 ½ teaspoon apple cider vinegar
- ¾ PLUS ⅔ cup (6 ½ ounces weight total) gluten free flour (highly recommend using Cup4Cup gluten-free flour)
- 1 ½ teaspoon sugar
- ½ teaspoon salt
Sweet Potato Pie Filling
- 1 ½ pounds sweet potatoes
- ¾ cup light brown sugar
- 6 tablespoons butter, very soft
- 1 large egg
- 2 egg yolks
- 1 teaspoon vanilla extract
- 1 teaspoon ground cinnamon
- ½ teaspoon ground ginger
- ¼ teaspoon ground nutmeg
- ⅛ teaspoon ground cloves
- ¼ teaspoon salt
- ¾ cup evaporated milk
- Optional: Whipped cream, for serving
Equipment
- Pie Weights
- Pie Shield
- Food Processor (optional, for crust)
Instructions
Gluten-Free Pie Crust
- Place the cubed butter in the freezer for 10 minutes. In a small bowl, mix together the cold water, sour cream, and apple cider vinegar. Place this liquid mixture in the refrigerator until ready to use.
- FOOD PROCESSOR: Pulse the flour, sugar, and salt together until well mixed. BY HAND: Whisk dry ingredients in a medium-sized bowl.
- FOOD PROCESSOR: Add the frozen butter cubes to the flour mixture and process until the butter is well incorporated, evenly dispersed, and no large chunks remain. BY HAND: Use a pastry blender, a fork, or your fingertips to cut and knead the butter into the dough until it’s evenly distributed throughout.
- FOOD PROCESSOR: Add the chilled liquids to the food processor and pulse until the flour becomes moistened and small dough clumps begin to form. If the dough doesn’t quite come together, add a tiny bit more cold water, pulsing a few more times. BY HAND: Add half of the chilled liquids and knead with your fingers or a fork. Pour in the remaining liquids and continue to knead until the dough starts to form a cohesive ball and the liquids are thoroughly mixed with the flour. TIP: To check for sufficient liquid, take a small piece of dough and flatten it. If it doesn’t stick together, is crumbly, or breaks apart easily, add a small dash of ice water, pulse/knead a few times, and recheck. If the dough feels too wet or sticky, add a dash of gluten-free flour, pulse/knead, and recheck.
- Turn the dough out onto a sheet of plastic wrap and flatten it into a thick, 1-inch disk. Wrap it tightly and refrigerate for at least 1 hour, or freeze for 30 minutes. Before rolling, let it sit on the counter for about 5 minutes to make it easier to work with.
- Lay a large piece of parchment paper on your workspace. Place the unwrapped dough disk in the middle, and cover it with another sheet of parchment paper of the same size. Use a rolling pin to press and spread the dough outwards from the center, forming a circle slightly larger than your pie dish.
- Remove the top parchment paper, then carefully invert the dough onto your pie dish. Gently peel off the second sheet of parchment paper. TIP: If the dough has warmed significantly while rolling, it might be tricky to remove the paper. If this happens, leave the paper on, and place the entire pie dish with the dough into the refrigerator for 5-10 minutes. Once chilled again, the paper will be much easier to remove. If the dough is too cold and cracks, let it sit on the counter for a minute before handling.
- If necessary, trim the edges of the dough to create an even ½-inch overhang all around the pie dish. Tuck this excess edge underneath, all the way around, then use your fingers and thumb to create a decorative crimped edge.
- Preheat your oven to 375ºF (190ºC). Freeze the prepared pie crust for at least 15 minutes while you begin roasting the sweet potatoes.
- Once the crust is solid, line the pie shell with parchment paper and fill it with dried beans or use pie weights. Cover the decorative edges of the crust with a pie shield or protect them with strips of aluminum foil.
- Bake the crust until it is set and firm, but before it starts to turn golden brown, which will take approximately 25-30 minutes. This pre-baking step can be done simultaneously with the roasted sweet potatoes to maximize efficiency.
Sweet Potato Filling
- Line a baking sheet with foil or parchment paper. Wash and prick sweet potatoes 5-6 times with a fork. Place them on the sheet and bake at 375ºF (190ºC) until very soft, about 50-60 minutes.
- Reduce oven temperature to 350ºF (175ºC). Once the sweet potatoes have cooled enough to handle, scoop the flesh from their skins into a large mixing bowl. Use an electric mixer to beat them into a completely smooth puree.
- Add the softened butter, brown sugar, large egg, egg yolks, vanilla extract, ground cinnamon, ground ginger, ground nutmeg, ground cloves, and salt to the sweet potato puree. Beat again until the mixture is smooth. Finally, mix in the evaporated milk until thoroughly combined.
- Pour the sweet potato mixture into your pre-baked crust. Cover the edges of the crust with a pie shield or aluminum foil. Bake at 350ºF (175ºC) until the edges of the filling are firmly set and a toothpick inserted into the center comes out mostly clean without liquid, approximately 60-75 minutes.
- Cool the pie completely on a wire rack for about 3-5 hours before slicing and serving. For the best flavor and texture, prepare the pie one day ahead and store it at room temperature, uncovered or loosely tented with foil.
Notes
Dairy-Free Modification
For a dairy-free recipe, it’s essential to use a specialized gluten-free and dairy-free pie crust. Replace the evaporated milk in the filling with full-fat coconut milk (for best flavor and richness) and substitute the butter with a high-quality vegan butter. When making these dairy-free changes, reduce the added salt in the filling to 1/8 teaspoon.
Storing and Make-Ahead Notes
I highly recommend baking this sweet potato pie one day before serving. This allows the complex flavors of the spices to meld and deepen, resulting in a more harmonious and enhanced taste profile. Store the pie at room temperature, either uncovered or loosely tented with foil.
The gluten-free pie crust can be prepared up to two days in advance and stored in the refrigerator, or it can be frozen for up to two weeks. The sweet potato filling mixture can also be prepared up to one day ahead and refrigerated in an airtight container.
Store the baked pie at room temperature, covered with foil, for up to two days. For longer storage, refrigerate the pie, covered with foil, for up to three days. For optimal enjoyment, allow the pie to come to room temperature before serving.
Calories: 466kcal, Carbohydrates: 58g, Protein: 7g, Fat: 24g, Saturated Fat: 14g, Polyunsaturated Fat: 1g, Monounsaturated Fat: 7g, Trans Fat: 1g, Cholesterol: 129mg, Sodium: 466mg, Potassium: 415mg, Fiber: 5g, Sugar: 28g, Vitamin A: 12838IU, Vitamin C: 3mg, Calcium: 142mg, Iron: 2mg