
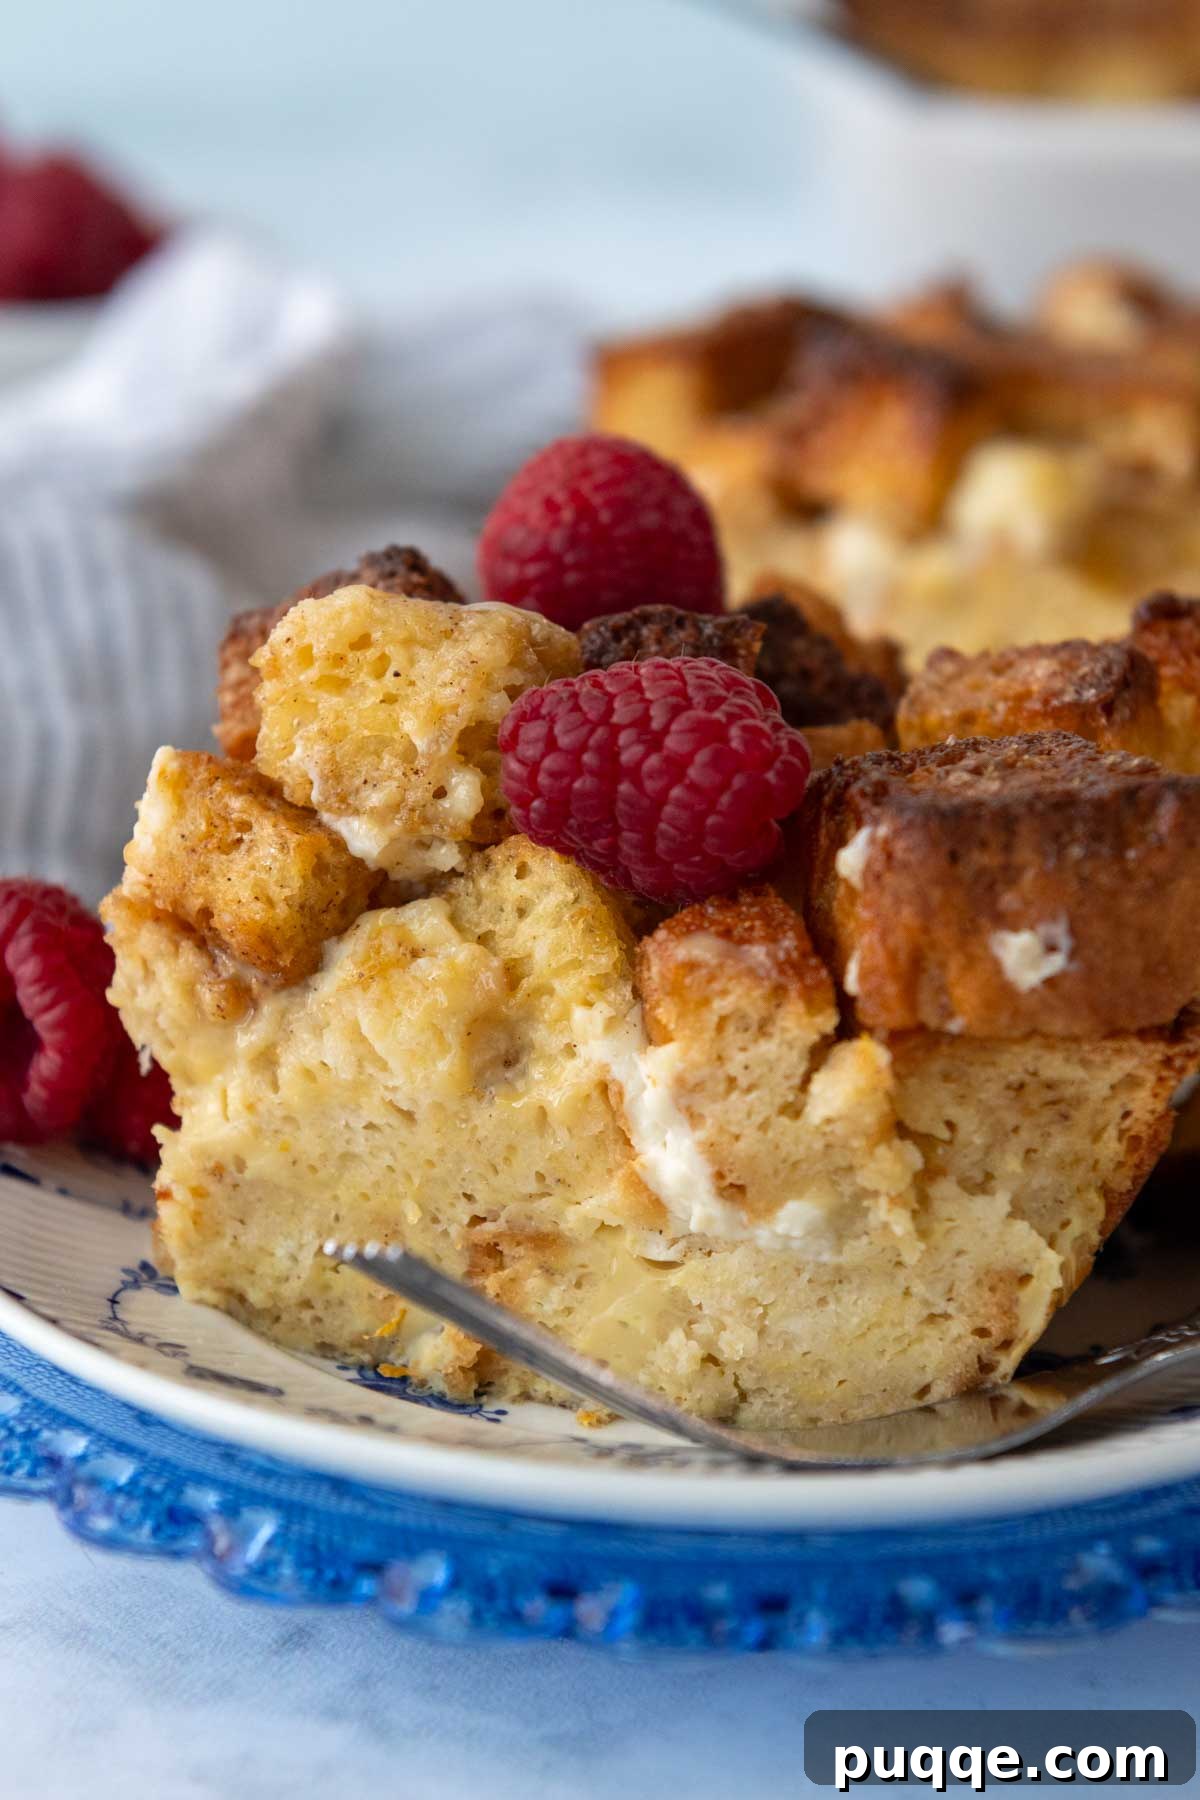
Craving a delightful breakfast or brunch that’s both indulgent and incredibly easy to prepare? Look no further than this incredibly moist and flavorful Gluten-Free French Toast Casserole! This sweet breakfast bake is a guaranteed crowd-pleaser, perfect for holiday mornings, special brunches, or simply making a weekday feel a little more extraordinary. Forget the struggle of flipping individual slices; this make-ahead dish streamlines your morning, allowing you to enjoy a delicious, warm meal with minimal fuss. Prepare it the night before, pop it in the oven, and wake up to the irresistible aroma of sweet, cinnamony goodness. Plus, with optional cream cheese filling and a variety of gluten-free bread choices, it’s easily customizable to your taste and dietary needs.
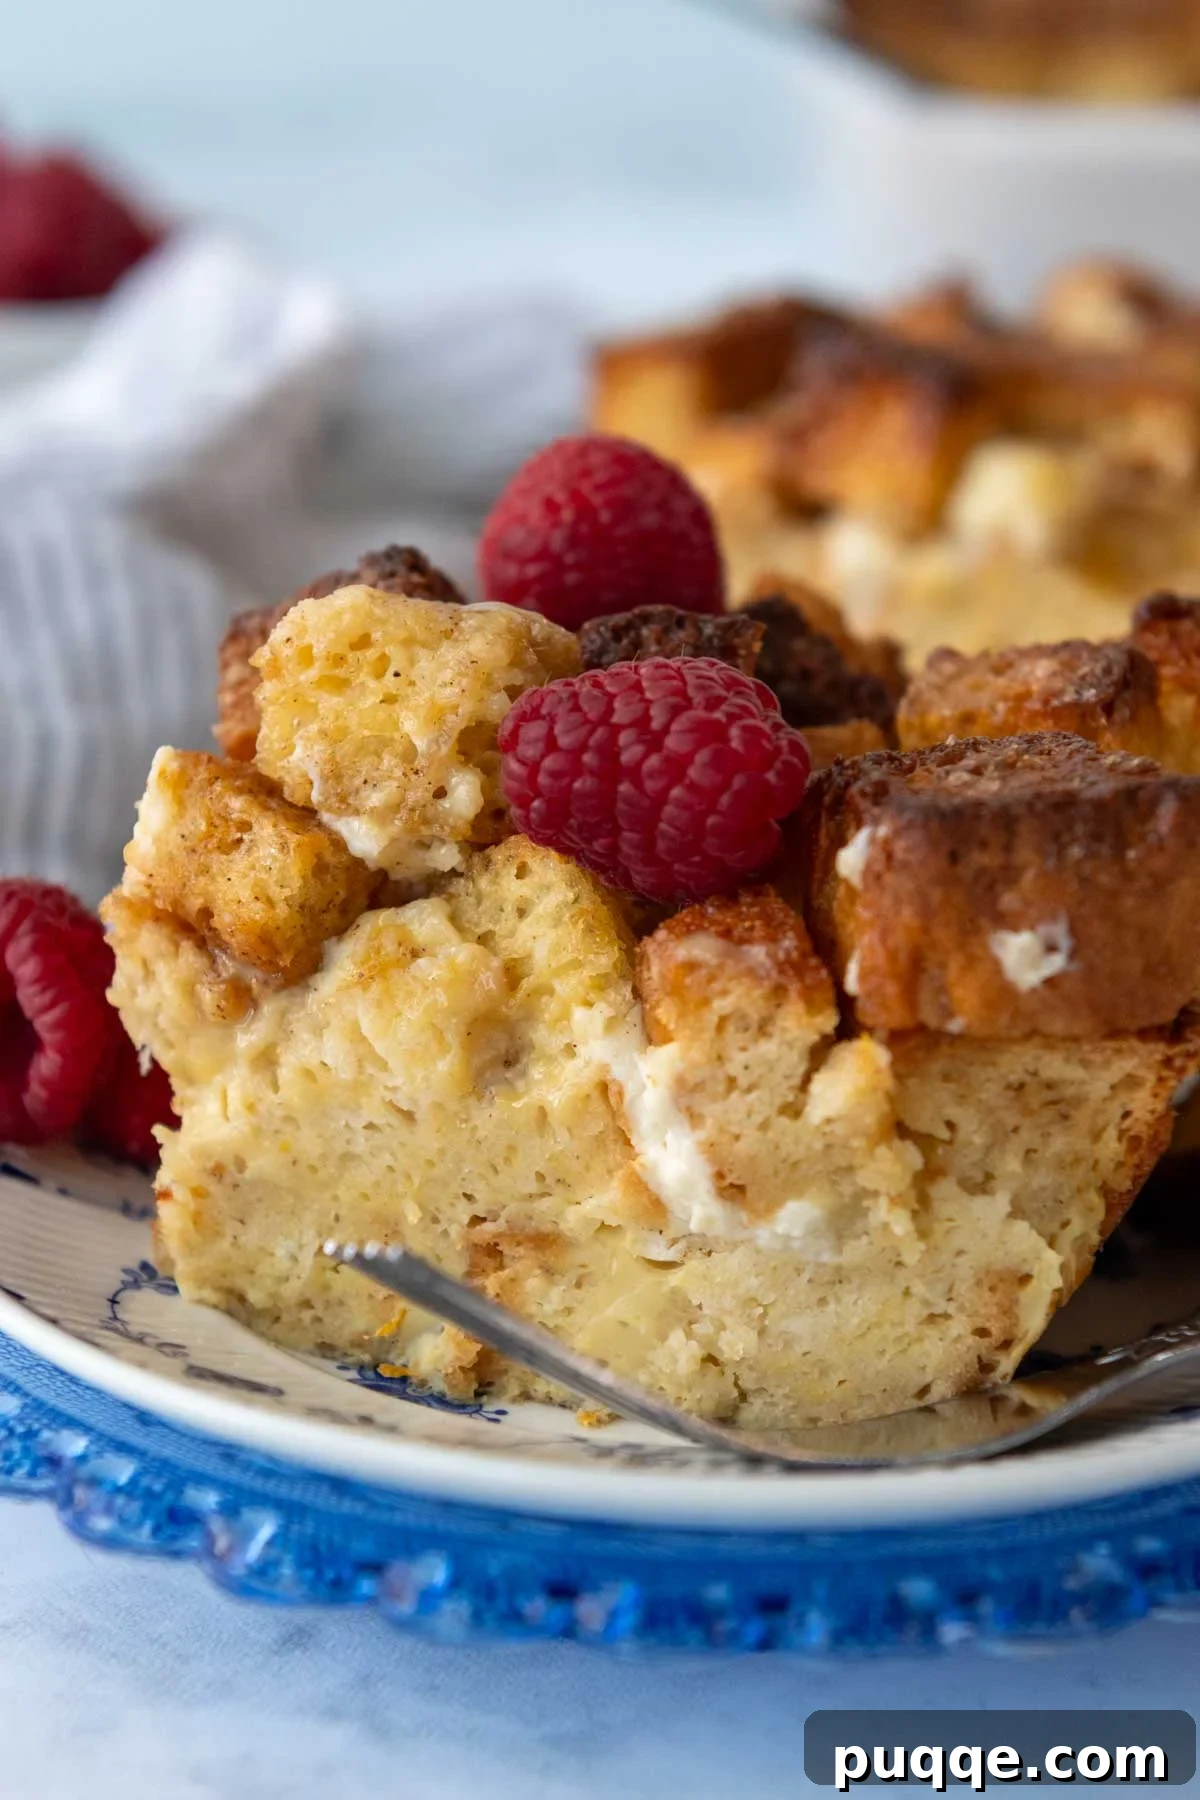
The Ultimate Make-Ahead Gluten-Free French Toast Casserole for Any Occasion
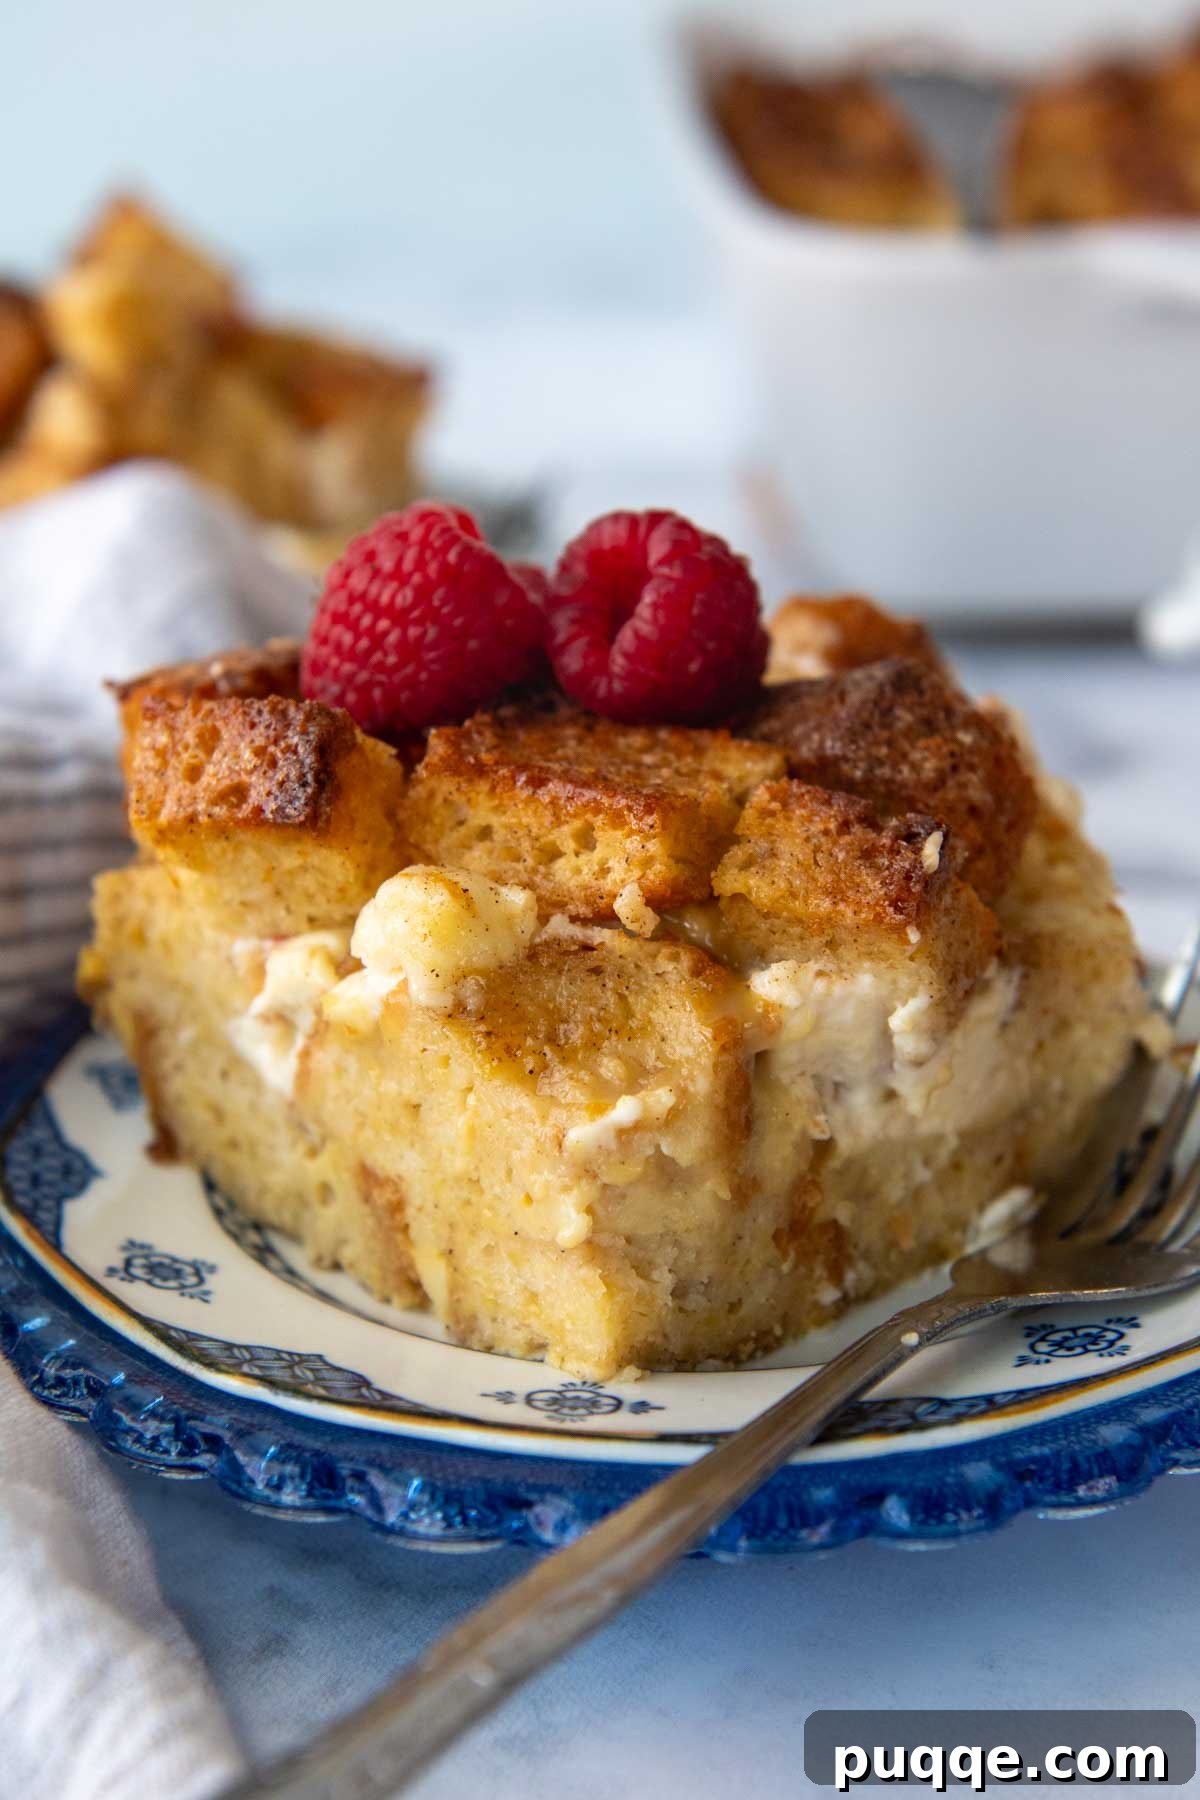
If you’ve been searching for delicious and easy gluten-free breakfast ideas, particularly for special events like Christmas morning, a festive holiday brunch, or even just a convenient freezer-friendly sweet breakfast option, your quest ends here! This recipe for gluten-free French toast casserole has been meticulously developed and tested to achieve the perfect balance of sweetness, a luxuriously moist interior, a rich bread custard, and a beautifully golden, crisp crust. The ultimate testament to its deliciousness? Non-gluten-free guests often can’t even tell it’s gluten-free!
The secret to this casserole’s success lies in a carefully calibrated approach to gluten-free baking. Through extensive experimentation, I discovered a crucial balance in the liquid-to-bread ratio. Unlike traditional wheat breads, gluten-free varieties don’t absorb moisture as readily. Too much liquid can result in a soggy, watery casserole, while too little leads to a dry, crumbly mess. My solution involves using fewer whole eggs but incorporating an extra egg yolk, which acts as a superior binder, helping to hold the gluten-free bread cubes together beautifully. Additionally, baking the casserole uncovered at a slightly lower temperature allows excess moisture to gradually evaporate over a longer period. This slow baking process is key to fusing the bread cubes into a cohesive, moist interior while simultaneously developing that irresistible sweet, crunchy top layer.
Flavor, of course, is paramount. Many French toast casseroles can be excessively sweet, overwhelming the palate, especially for breakfast. I intentionally reduced the amount of brown sugar, opting instead to enhance the complexity with bright orange zest, an additional dash of vanilla extract, and warm ground cinnamon. This creates a satisfying depth of flavor that is perfectly sweet without being cloying. The optional cream cheese filling adds a wonderful creamy tang, reminiscent of stuffed French toast, which my family and guests absolutely adore. However, it can easily be omitted to save on prep time or to modify the recipe for a dairy-free diet. For those looking to further elevate this delightful dish, consider adding fresh berries, chopped nuts, or even chocolate chips. More delicious ideas await below!
I served this casserole for the very first time as part of our family Christmas brunch. I used homemade gluten-free sweet bread for my bread cubes. Everyone loved it – – even the picky eaters! This recipe is very easy to prepare, especially because it can be made the day before. I will definitely be making this casserole again. And again. And again… 🙂
—Sue
Essential Ingredients for Your Gluten-Free French Toast Bake
This breakfast bake requires only basic ingredients, making it accessible for any home cook. Similar to my popular savory sausage hash brown breakfast casserole, this recipe offers numerous opportunities for customization. Explore the additions and variations section below for even more creative ideas.
- Gluten-Free Bread: The foundation of our casserole! I highly recommend using either my soft gluten-free sandwich bread recipe or my gluten-free French bread, as their taste and texture remarkably mimic traditional wheat breads. You’ll need approximately 1 ½ pounds of bread, which translates to about 12-13 cups of 1-inch bread cubes. Don’t worry if your bread is a little stale or past its prime; the custard will revive it beautifully! See the gluten-free bread options section for more detailed choices.
- Eggs: The binding agent for our rich custard. This recipe calls for 6 large eggs plus one extra yolk. The additional yolk contributes to the casserole’s moistness and helps create a more cohesive texture, preventing the bread from falling apart. If your eggs are not standard large size, you may need to adjust the quantity slightly. I have not tested this recipe with egg-free alternatives.
- Milk: For the most luxurious and rich flavor, whole milk is recommended. Its higher fat content creates a creamier custard. If you’re opting for a dairy-free version, a higher-fat non-dairy milk like full-fat canned coconut milk is ideal for maintaining richness. Unsweetened almond milk or other non-dairy milks can also be substituted, though they might yield a slightly less rich result.
- Orange Zest: This ingredient adds a subtle, bright hint of citrus that beautifully complements the sweetness and spice. While optional, it truly elevates the flavor profile. If you don’t have an orange on hand, the casserole will still be delicious without it.
- Cream Cheese: Used for the optional cream cheese filling, it introduces delightful creamy pockets and a tangy flavor, transforming the casserole into a “stuffed” French toast experience. If you prefer a simpler bake or a dairy-free option, this filling can be easily omitted without any other adjustments to the recipe.
- Brown Sugar: This provides the primary sweetness for the casserole. I’ve found that ½ cup offers an ideal balance – sweet enough to be a treat, but not overly so, often eliminating the need for extra maple syrup at serving. However, feel free to adjust the amount to suit your personal sweetness preference.
- Vanilla Extract & Ground Cinnamon: These essential flavorings are crucial for that classic French toast taste. The increased amount of vanilla and the warm spice of cinnamon contribute significantly to the overall deliciousness and aroma.
- Salt: A pinch of salt is vital for balancing and enhancing all the sweet flavors in the casserole.
Let’s Craft This Perfect Casserole Together!
Follow these step-by-step instructions with accompanying tips to ensure your gluten-free French toast casserole turns out perfectly every time. For precise ingredient amounts and detailed notes, please refer to the recipe card below.
Prepare the Optional Cream Cheese Filling
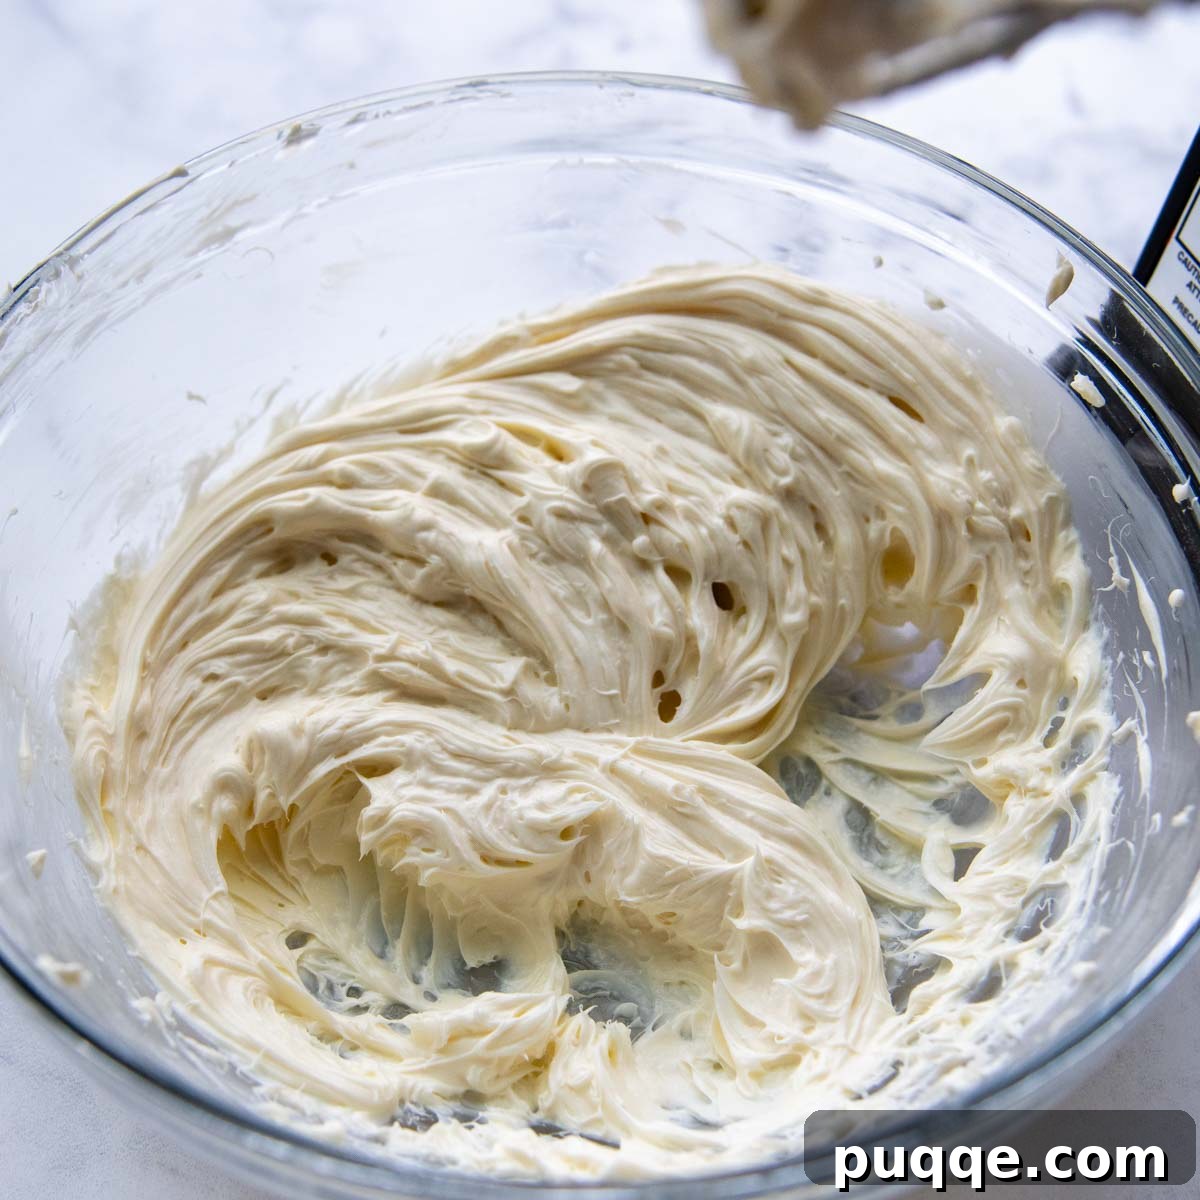
The cream cheese filling adds a wonderful creamy texture and a subtle tang, creating a “stuffed” French toast effect. If you’re short on time or prefer a simpler casserole, it can certainly be omitted without compromising the overall deliciousness. To prepare, ensure your cream cheese is softened to room temperature for easy blending. In a medium mixing bowl, combine the softened cream cheese with powdered sugar and vanilla extract. Beat these ingredients together until the mixture is smooth, light, and creamy, with no lumps remaining. Once prepared, set the filling aside while you assemble the rest of the casserole.
Cube the Bread and Combine with Custard
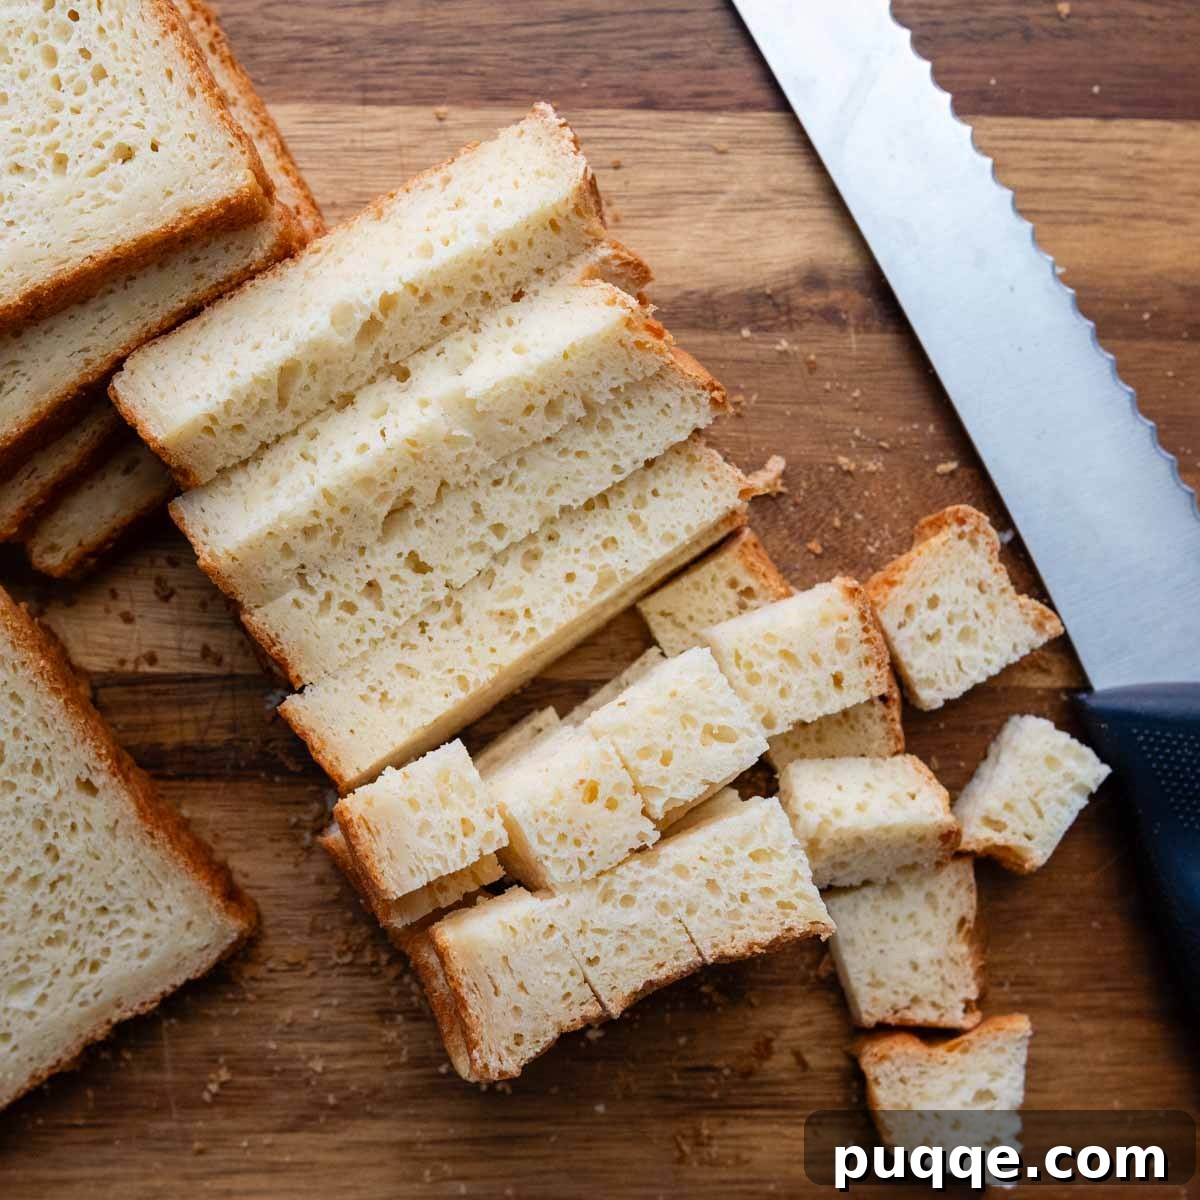
You’ll need approximately 12-13 cups of gluten-free bread cubes for this recipe, which typically comes from a 1 ½ pound loaf. If you wish to make a smaller casserole, the recipe can be easily halved. Begin by cutting your gluten-free bread into uniform 1-inch cubes. This is an excellent opportunity to use up slightly dried-out or day-old gluten-free bread, as it will absorb the custard beautifully without becoming mushy. In a large mixing bowl, whisk together the eggs, the extra egg yolk, milk, brown sugar, vanilla extract, optional orange zest, cinnamon, and salt until well combined and smooth. Add the bread cubes directly into this wet mixture and stir gently but thoroughly. This method ensures that every single bread cube is fully coated in the rich egg custard, preventing any dry spots and guaranteeing a perfectly moist interior.
Assemble the Casserole Layers
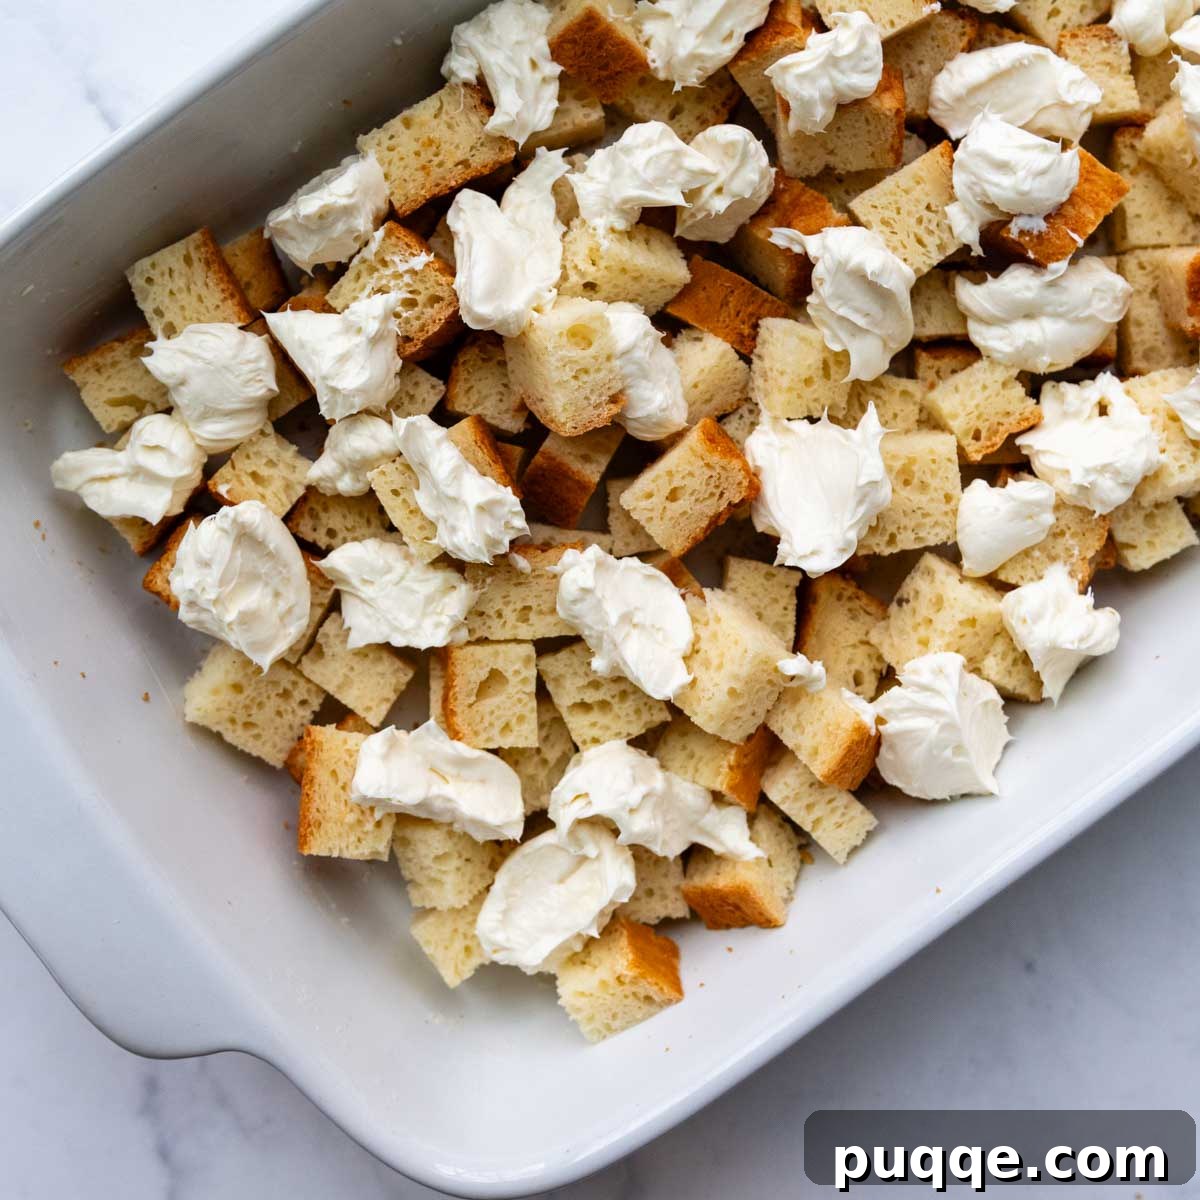
First, generously grease a 9×13-inch baking dish to prevent sticking. If you’ve decided to include the luscious cream cheese filling, spread half of the custard-soaked bread cubes evenly across the bottom of the prepared baking dish. Next, dollop spoonfuls of the entire cream cheese mixture over the bread layer. Don’t worry about spreading it perfectly; it will melt and distribute during baking. Finish by evenly spreading the remaining bread cubes over the cream cheese layer. It’s perfectly fine if some of the cream cheese peeks through the top – it will create delightful pockets of creaminess.
Add the Golden Sweet Finish and Bake
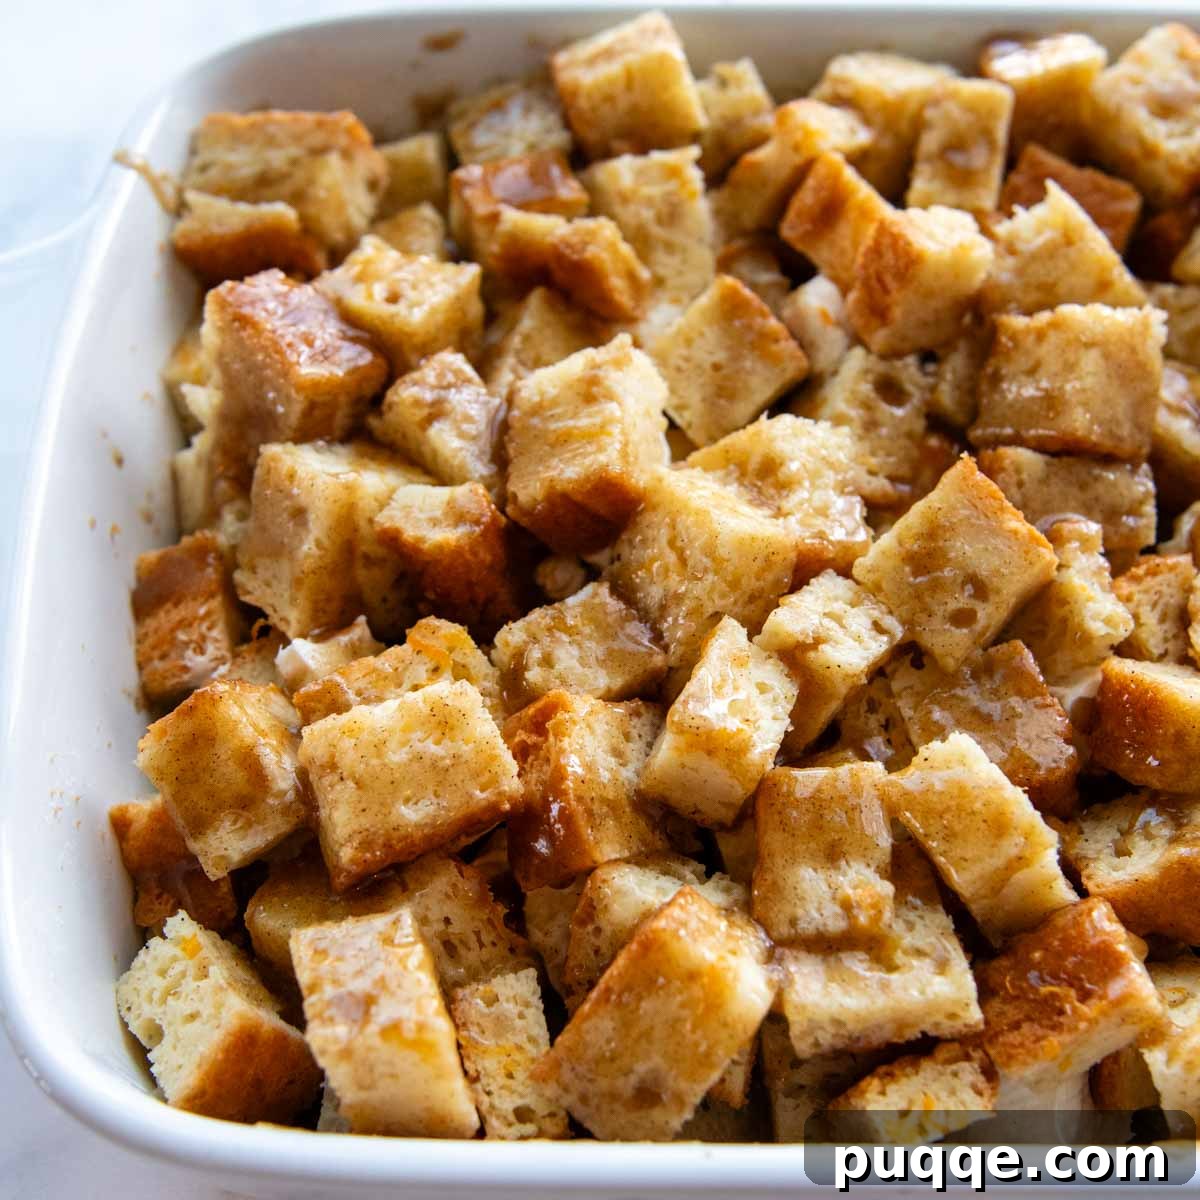
To achieve that irresistible golden, sweet, and slightly crisp topping, prepare the topping mixture. In a small bowl, combine the melted butter, packed light brown sugar, and ground cinnamon. Stir these together until well mixed. For the best, most even coverage, use a pastry brush to gently spread this sweet mixture over the entire surface of the bread cubes. Alternatively, you can drizzle or spoon it over, making sure the top cubes are adequately coated. This topping is key to the delicious crust development.
Once topped, cover the baking dish securely with plastic wrap. This casserole is designed for make-ahead convenience! Refrigerate it for a minimum of 2 hours, ideally overnight, or for up to 24 hours before baking. It can also be frozen unbaked (see notes for freezing directions).
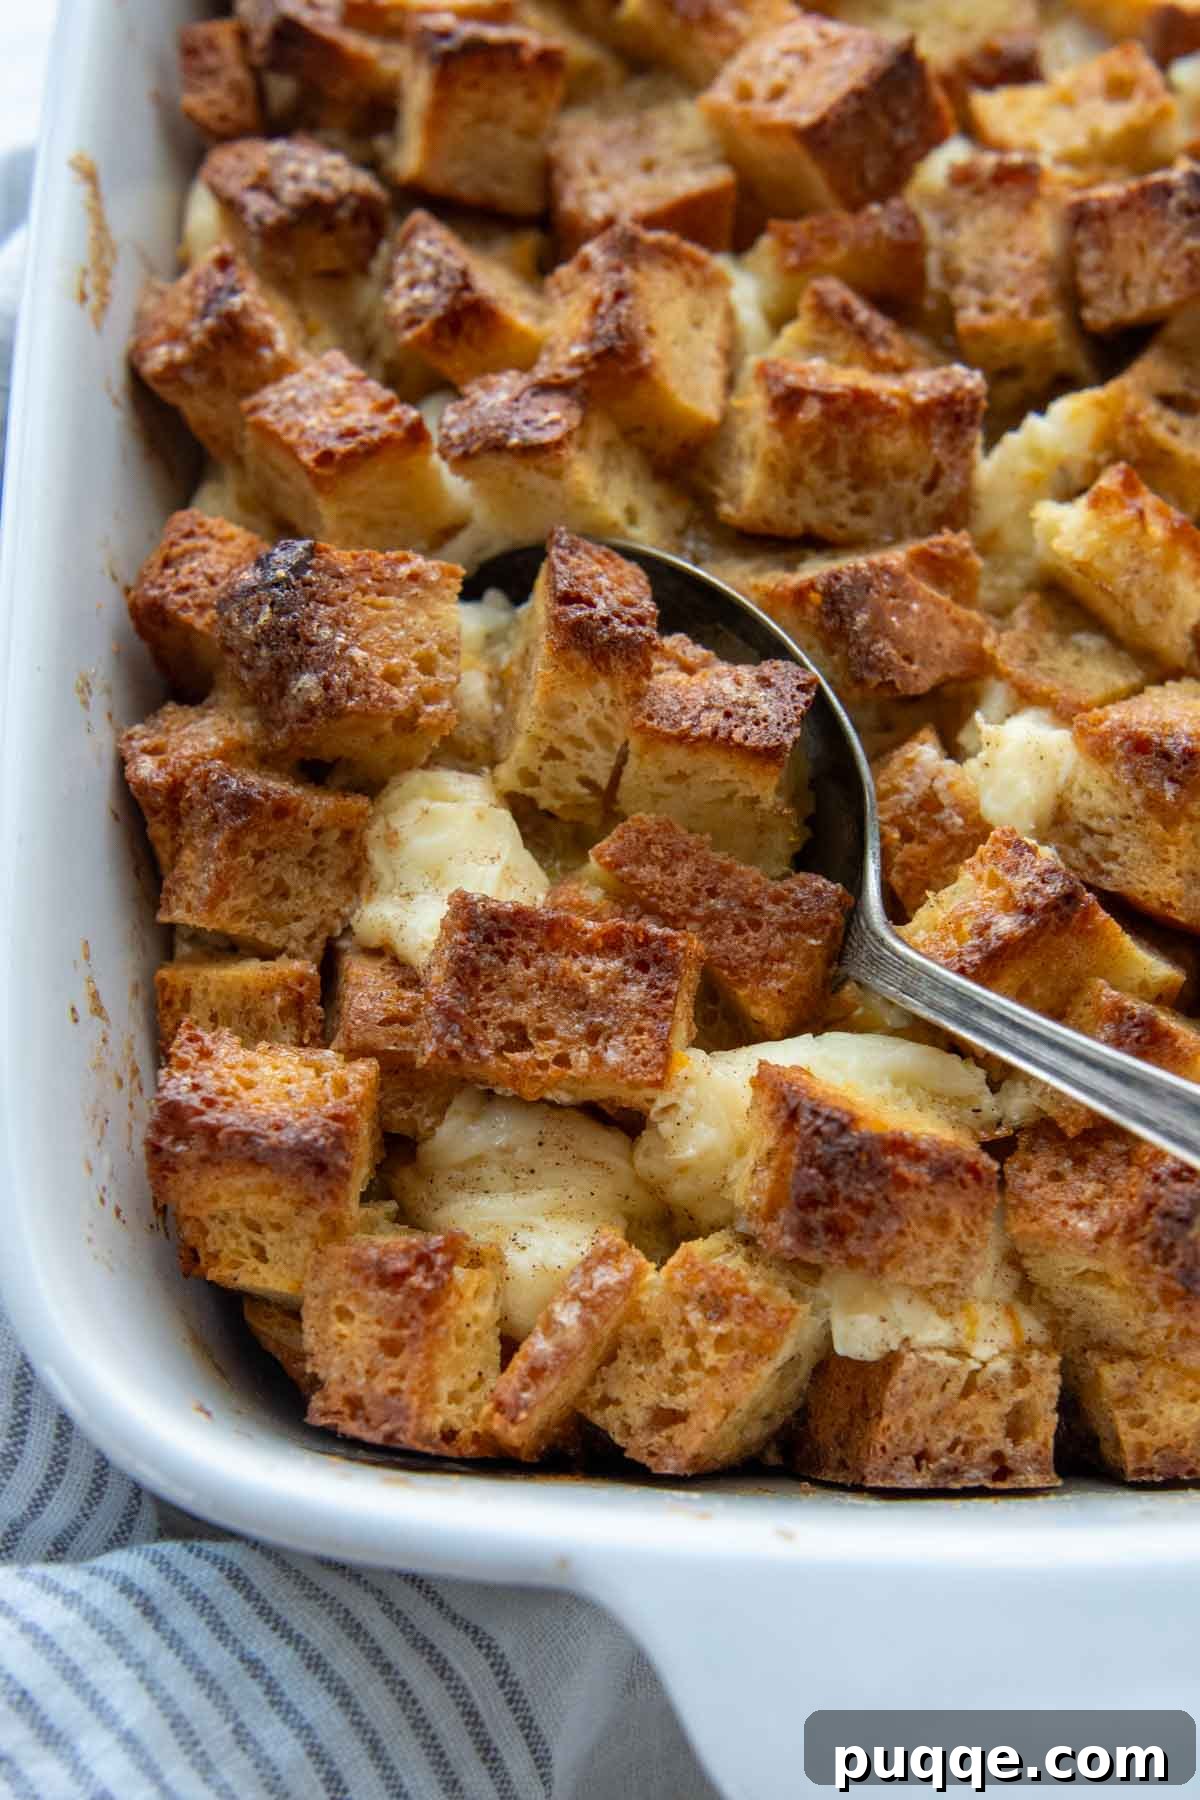
When you’re ready to bake, preheat your oven to 350°F (175°C). Remove the plastic wrap from the dish and place it on the middle rack of the preheated oven. Bake for approximately 45-55 minutes. The casserole is done when a knife inserted into the center comes out very hot, and you no longer see excessive liquid pooling. A slight amount of moisture might still be present, but it will continue to absorb as the casserole rests. If you notice the top browning too quickly, you can loosely tent a piece of foil over it for the last 10-15 minutes of baking. Allow the casserole to cool slightly for about 10 minutes before serving. This brief resting period helps the custard set and allows the flavors to meld beautifully. Enjoy your perfectly baked gluten-free French toast casserole!
Add Some Bonus Yum! Customizable Flavor Creations
While this overnight French toast casserole is absolutely heavenly on its own, its versatile nature makes it an excellent canvas for adding a variety of additional flavors and textures. For most mix-ins, simply add half of the custard-soaked bread to the casserole dish, sprinkle your desired additions evenly over it, and then top with the remaining bread before adding the sweet crust. This ensures even distribution throughout the bake.
Serve this delightful brunch recipe as a stand-alone sweet treat, or create a full spread by pairing it with savory breakfast meats like bacon or sausage, and eggs. For an extra touch of indulgence, offer a selection of toppings for your guests, such as fluffy whipped cream, a drizzle of warm maple syrup, fresh seasonal berries, chopped nuts, or even a quick homemade blueberry syrup.
- Chocolate Chips: Stir in dark, milk, or white chocolate chips for a rich, melty treat.
- Dried Fruits: Add raisins, dried cranberries, or chopped dried cherries for bursts of chewy sweetness and a hint of tartness.
- Fruit Preserves: Layer your favorite jam or fruit preserves in the middle, either with or without the cream cheese filling, for an extra fruity dimension.
- Nuts: Incorporate chopped pecans, walnuts, or almonds for a delightful crunch and nutty flavor.
- Fresh Berries: Fresh berries like raspberries, blueberries, or sliced strawberries can be folded into the bread mixture. While frozen berries can be used, be aware they may release more liquid; fresh is generally best for maintaining casserole texture. (Note: I have successfully added fresh raspberries, froze the casserole, and baked it after thawing with good results!)
- Coconut: Toasted or untoasted shredded coconut can add a tropical flair and interesting texture.
- Savory Twist: For a completely different experience, omit the brown sugar and cinnamon from the custard and topping. Instead, add a delicious combination of chopped ham, cooked crumbled bacon, sausage, shredded cheese, or sautéed vegetables like bell peppers and onions for a hearty, savory breakfast bake.
Selecting the Perfect Gluten-Free Bread for Optimal Results
The success of your gluten-free French toast casserole heavily relies on the quality and quantity of bread you use. You’ll need approximately 1 ½ pounds of bread, which typically yields 12-13 cups once cubed. My homemade gluten-free sandwich bread recipe is an ideal choice, offering a soft texture that absorbs the custard beautifully. It can be prepared a couple of days in advance and stored at room temperature.
Bonus Tip: Don’t fret if your gluten-free bread is slightly dried out, a day or two old, or even past its prime. In fact, slightly stale bread is often preferred for French toast casseroles because it holds its shape better and absorbs the egg and milk custard more effectively without becoming mushy. As the bread cubes soak in the rich custard, they will be wonderfully revived and softened, resulting in a perfectly tender interior once baked.
If you opt for store-bought gluten-free bread, you will likely need two standard loaves to reach the required 1 ½ pounds or 12-13 cups of cubed bread. Always measure your bread cubes to ensure you have the correct amount. You can also experiment with other types of gluten-free bread for different flavor profiles. For instance, using gluten-free challah or brioche will lend an even sweeter and richer taste to the overall casserole, making it an even more decadent treat.
Save This Recipe to Your Pinterest Board!
Let’s be friends on Pinterest! I’m always sharing great recipes!
Did you make this recipe? I love hearing from you! Leave a star rating and comment below the recipe card. It helps others when searching for recipes and I appreciate feedback from our community. You will always hear back from me! -Melissa
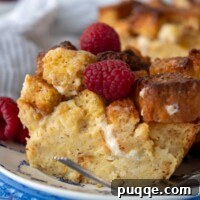
Moist Gluten-Free French Toast Casserole (Make-Ahead)

Melissa Erdelac
12
15 mins
55 mins
3 hrs 10 mins
Pin
Rate
Remove Ads
Ingredients
Cream Cheese Filling (Optional)
- 8 ounces cream cheese, softened to room temperature
- 3 tablespoons powdered sugar
- ½ teaspoon vanilla extract
Casserole
- 6 large eggs + 1 egg yolk
- 2 cups whole milk (see recipe notes for dairy-free)
- ½ cup packed light brown sugar
- 2 teaspoons vanilla extract
- Zest of 1 orange, optional
- ¾ teaspoon ground cinnamon
- ⅛ teaspoon salt
- 12-13 cups cubed gluten-free bread (1 ½ pound loaf, soft gluten-free bread recipe recommended)
Topping
- 4 tablespoons melted unsalted butter (see recipe notes for dairy-free)
- 3 tablespoons packed light brown sugar
- ½ teaspoon ground cinnamon
Equipment
- 9X13 Baking Dish
- Large Mixing Bowl
- Bread Knife
Instructions
- Liberally grease a 9X13-inch baking dish and set aside.
- In a medium mixing bowl, beat together the cream cheese, powdered sugar, and vanilla until smooth and creamy. Set aside. (For cream cheese filling: 8 ounces cream cheese, 3 tablespoons powdered sugar, ½ teaspoon vanilla extract)
- In a large mixing bowl, whisk together the eggs, egg yolk, milk, brown sugar, vanilla, optional orange zest, cinnamon, and salt. Add the bread cubes and stir gently to combine, ensuring all the bread is coated in the egg mixture. (For casserole: 6 large eggs + 1 egg yolk, 2 cups whole milk, ½ cup packed light brown sugar, 2 teaspoons vanilla extract, zest of 1 orange (optional), ¾ teaspoon ground cinnamon, ⅛ teaspoon salt, 12-13 cups cubed gluten-free bread)
- If using the cream cheese filling, pour half the bread into the prepared baking dish and spread evenly. Dollop all the cream cheese mixture on top of the bread. Top with the remaining bread (it doesn’t matter if the cream cheese is showing through the top).
- In a small bowl, combine the topping ingredients – melted butter, brown sugar, and cinnamon. For best results, use a pastry brush to spread over the top. Otherwise, drizzle or spoon over the bread, making sure the top cubes are covered. (For topping: 4 tablespoons melted unsalted butter, 3 tablespoons packed light brown sugar, ½ teaspoon ground cinnamon)
- Cover the baking dish securely with plastic wrap and refrigerate for 2 hours, and up to 24 hours ahead of baking. See recipe notes for freezing directions.
- When ready to bake, preheat the oven to 350℉ (175°C). Uncover and bake on the middle rack for 45-55 minutes. If the top is becoming too brown before the casserole is cooked through, loosely tent foil over the top for the last 10-15 minutes. It’s done when a knife inserted in the middle is very hot and you don’t see excessive liquid. If there is still a little liquid, but it is hot, it will absorb as it sits. Cool slightly, about 10 minutes, before serving.
Notes
Dairy-Free Modification
Swap out the milk for a non-dairy alternative, such as almond or coconut milk. For a richer taste, use full-fat coconut milk, but be aware it may impart some coconut flavor. Replace the melted butter with plant-based butter or melted coconut oil. Either omit the cream cheese filling or replace it with a dairy-free cream cheese alternative.
Make-Ahead and Freezing
Prepare the casserole up to 24 hours ahead of time. Wrap the baking dish securely with plastic wrap or foil and store in the refrigerator. Uncover before baking.
French toast casserole may also be frozen, unbaked. Wrap securely to protect from freezer burn or ice crystals forming and freeze up to 1 month. When thawing, place in the fridge at least 24 hours before baking. Thawing overnight alone will likely not be enough time.
If the casserole is still partially frozen, allow it to sit out at room temperature for a while before baking. You will probably need to add an additional 10-15 minutes to the baking time. If the top is browning too quickly before it’s baked through, loosely tent foil over the top.
Storing and Reheating
Store leftovers in an airtight container, refrigerated for up to 3 days. Individual servings can also be wrapped securely and frozen for up to 3 months. Thaw in the refrigerator, or at room temperature, and then reheat.
The easiest way to reheat individual servings is in the microwave for 30 seconds – 1 minute. To reheat a larger amount, cover the dish securely with foil and heat in a 350ºF (175°C) oven for 15-20 minutes, or until hot throughout.
Nutrition
Calories: 306 kcal,
Carbohydrates: 40g,
Protein: 10g,
Fat: 12g,
Saturated Fat: 6g,
Polyunsaturated Fat: 2g,
Monounsaturated Fat: 3g,
Trans Fat: 0.2g,
Cholesterol: 107mg,
Sodium: 387mg,
Potassium: 210mg,
Fiber: 1g,
Sugar: 19g,
Vitamin A: 407IU,
Vitamin C: 0.01mg,
Calcium: 199mg,
Iron: 2mg
Did you make this recipe?
Please leave a star rating and review below. It helps others when searching for recipes and I LOVE feedback!