
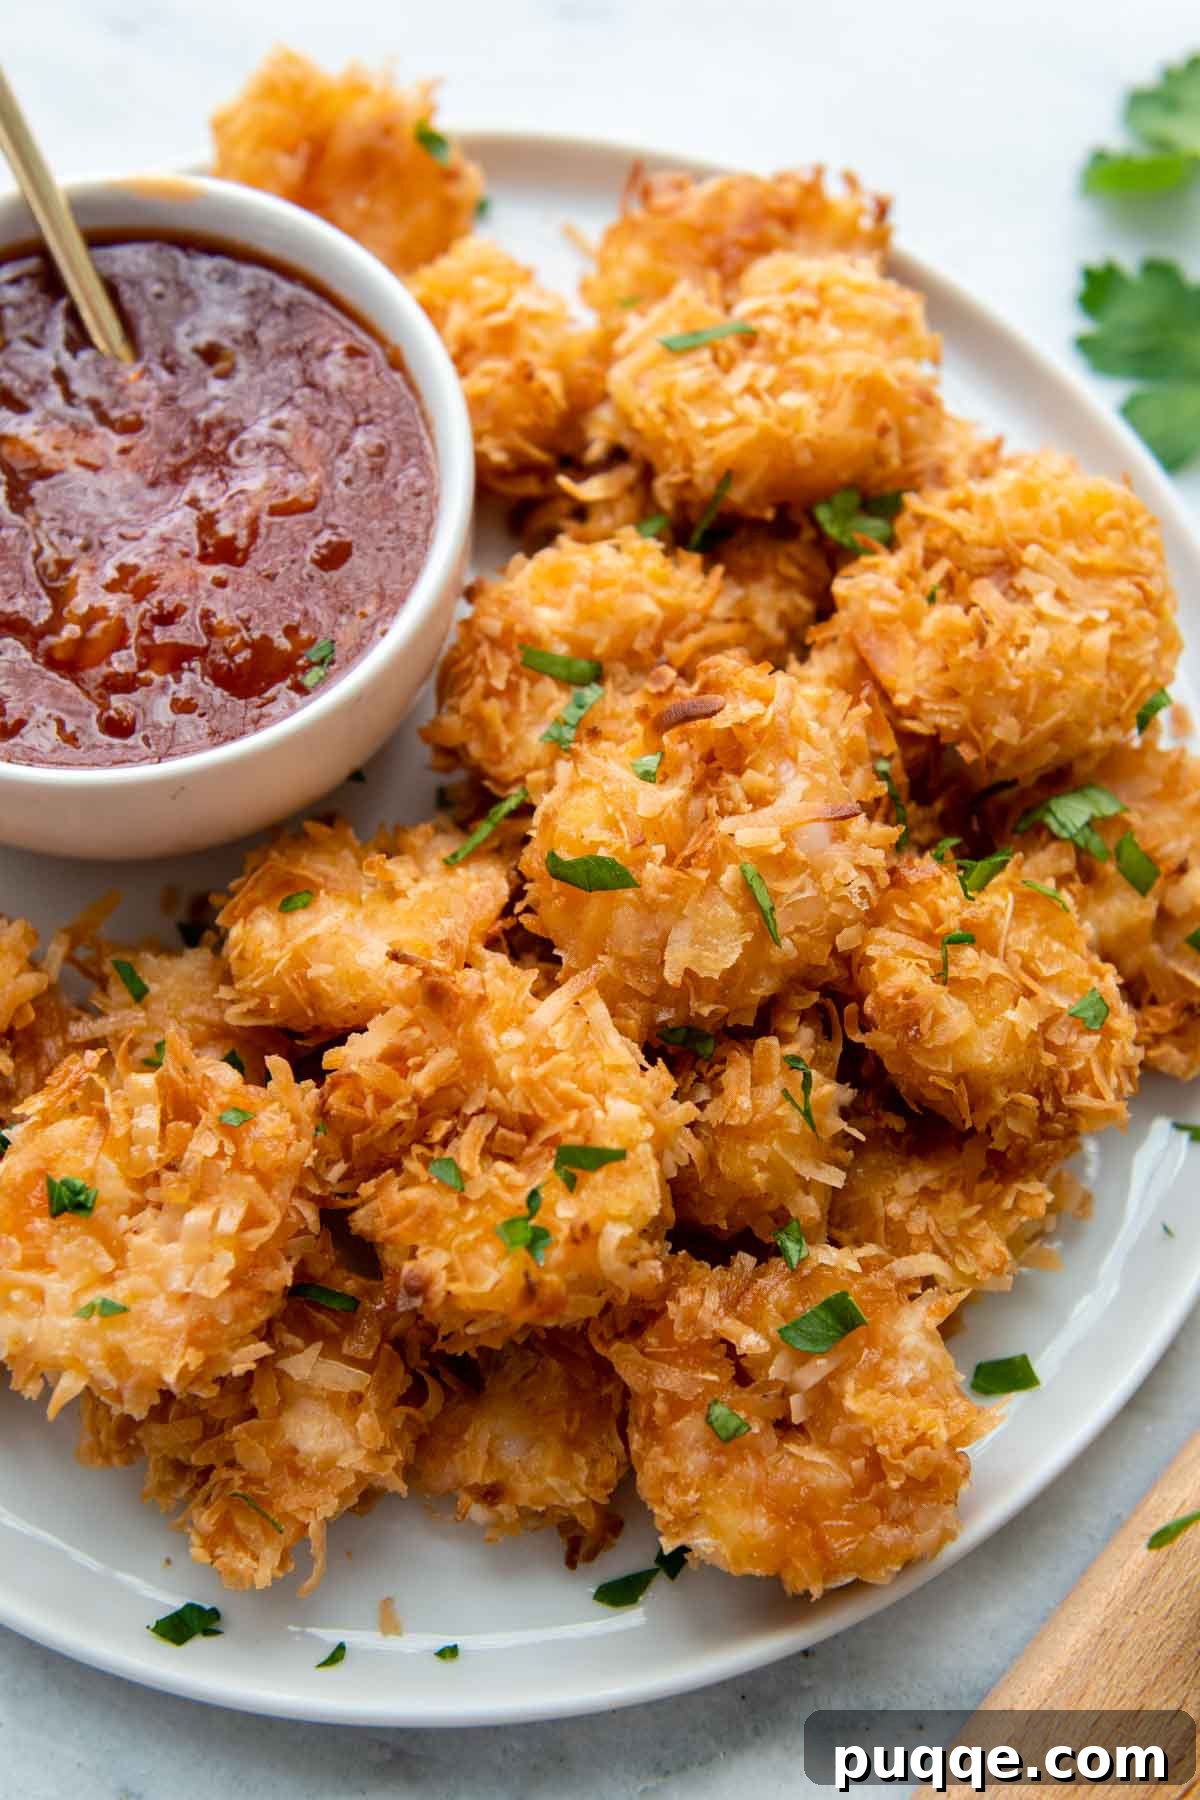
Ultimate Crispy Gluten-Free Coconut Shrimp: Baked, Air Fried, or Pan-Fried Perfection
Craving restaurant-quality coconut shrimp but following a gluten-free diet? Look no further! This incredibly easy recipe brings the magic of crispy, golden-brown coconut shrimp right to your home kitchen. Whether you prefer the hands-off simplicity of oven baking, the quick crunch of an air fryer, or the traditional sizzle of a skillet, we’ve got you covered. And no matter your cooking method, you won’t be able to resist dunking these succulent shrimp into the accompanying sweet and spicy dipping sauce.
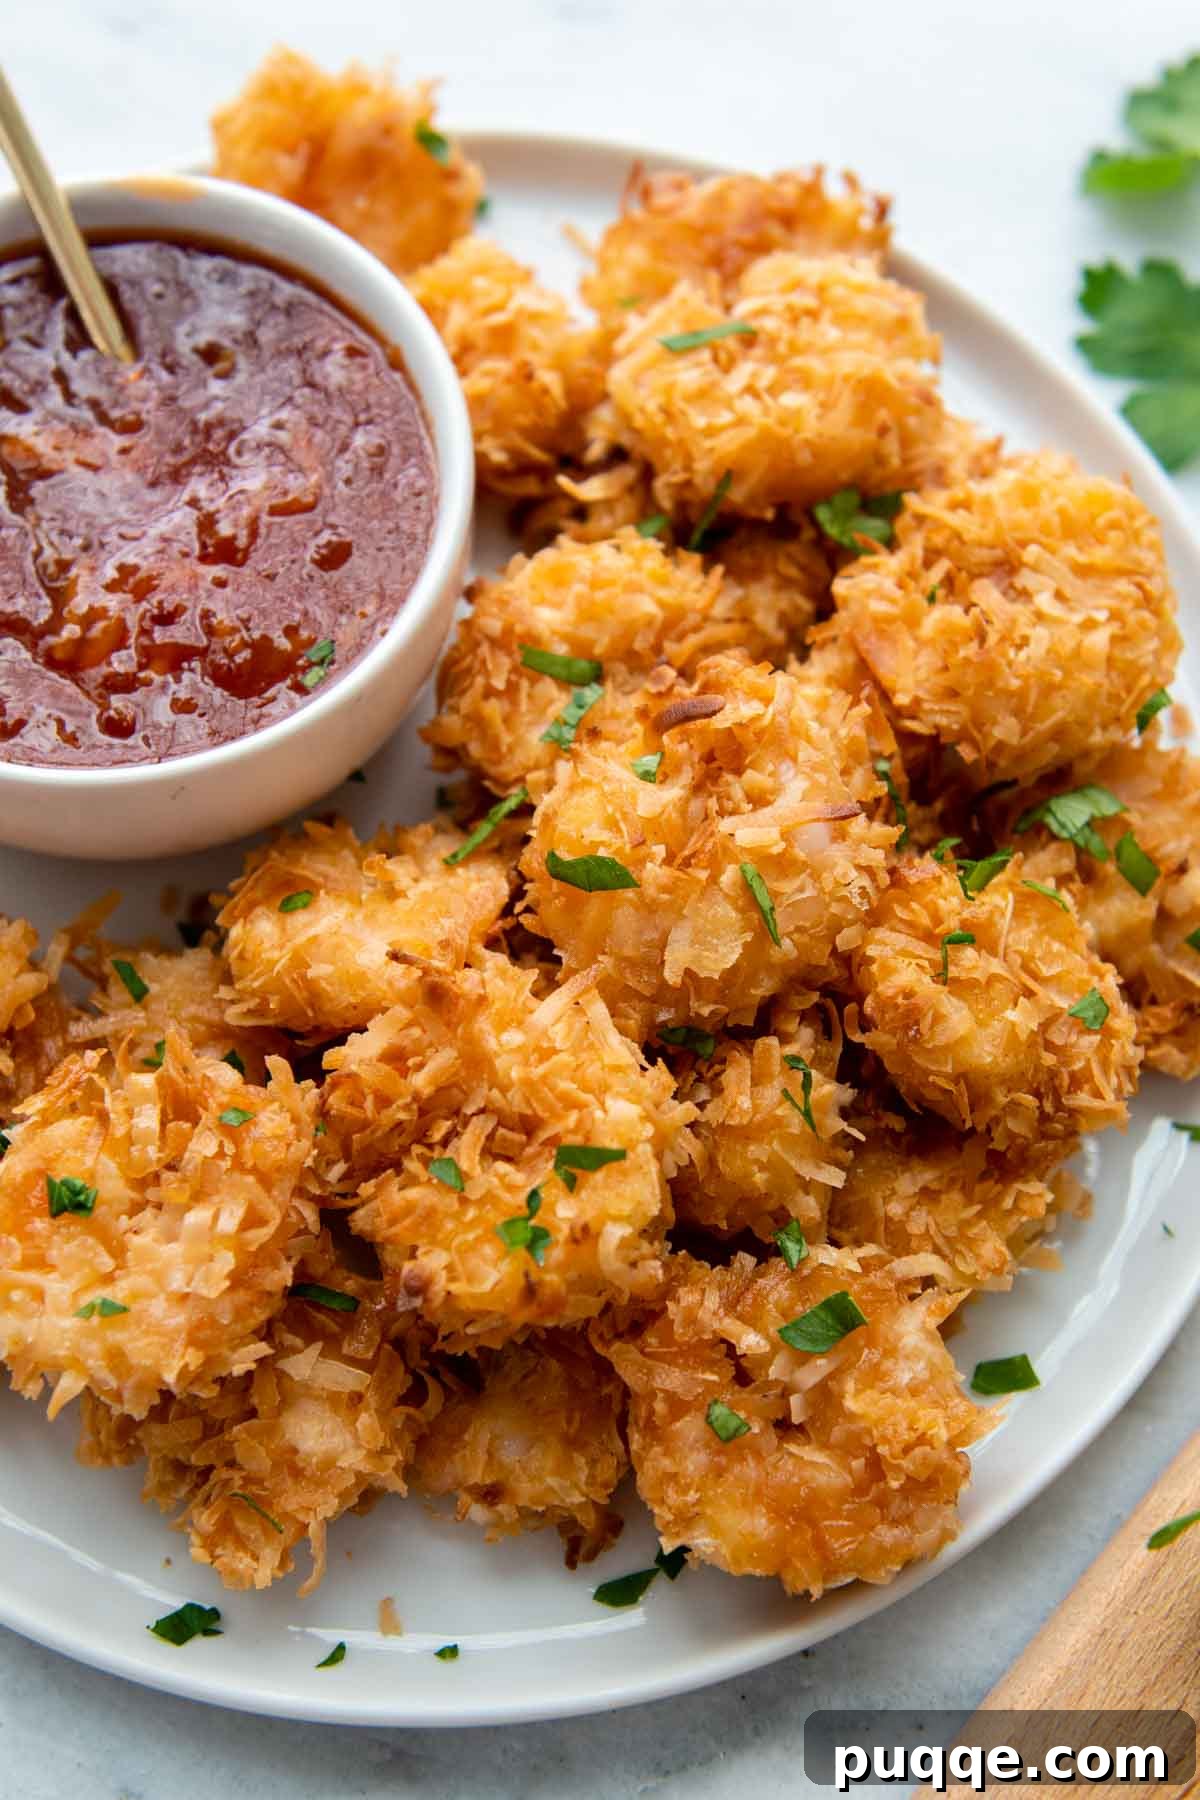
Why This Gluten-Free Coconut Shrimp Recipe Stands Out
For those navigating a gluten-free lifestyle, finding truly delicious and easy recipes can sometimes be a challenge. That’s precisely why this gluten-free coconut shrimp recipe has become a perennial favorite in our kitchen. It proves that you don’t need to compromise on flavor or texture when avoiding gluten. This recipe delivers an exceptionally crispy “fried” shrimp coating without the hassle and mess of deep-frying, primarily relying on your oven for a hands-off approach that yields incredible results.
We’ve engineered this recipe to be not just gluten-free, but also remarkably simple and incredibly flavorful. The secret lies in a few smart techniques that ensure every bite is packed with sweet coconut goodness and a satisfying crunch. Forget about intricate gluten-free flour blends; our breading uses common pantry staples that are naturally gluten-free, making your dinner prep straightforward and stress-free. It’s a game-changer for weeknight meals or special gatherings, offering a gourmet experience with minimal effort.
The Secret to Unbeatable Crispy Coconut Shrimp
Achieving that coveted crispy, golden-brown exterior on your coconut shrimp is easier than you think, especially with our baking method. Two key steps make all the difference, transforming ordinary shrimp into an extraordinary culinary delight:
The Magic of Toasted Coconut
The first ingenious step is pre-toasting the shredded coconut. This isn’t just a suggestion; it’s a vital technique for maximizing flavor and texture. By gently toasting the coconut in the oven before breading, you unlock a deeper, richer coconut flavor that is both sweet and slightly nutty. More importantly, this process ensures the coconut flakes are already crisp, preventing them from becoming soggy during the final bake. As your kitchen fills with the delightful aroma of toasted coconut, you’ll know you’re on your way to something truly special.
Gluten-Free Breading: Simple & Flavorful
Next comes our incredibly effective gluten-free breading. Instead of complicated flour mixtures, we use simple cornstarch seasoned with paprika, salt, and pepper. This combination works wonders for several reasons: cornstarch provides a light, crisp base that adheres beautifully to the shrimp, creating an ideal surface for the egg wash and coconut. Paprika not only adds a touch of warmth and subtle flavor but also contributes to the beautiful golden hue of the finished shrimp. This straightforward breading ensures a light, crunchy shell that perfectly complements the sweet coconut, without any of the heaviness or grittiness sometimes associated with gluten-free flours. It’s a testament to how fantastic gluten-free cooking can be when done right.
Cooking Methods: Choose Your Adventure
While the oven-baked method is our favorite for its ease and consistent crispiness, this versatile gluten-free coconut shrimp recipe can also be adapted to other popular cooking techniques, ensuring perfect results no matter your kitchen setup or preference.
Oven Baked: The Hands-Off Approach
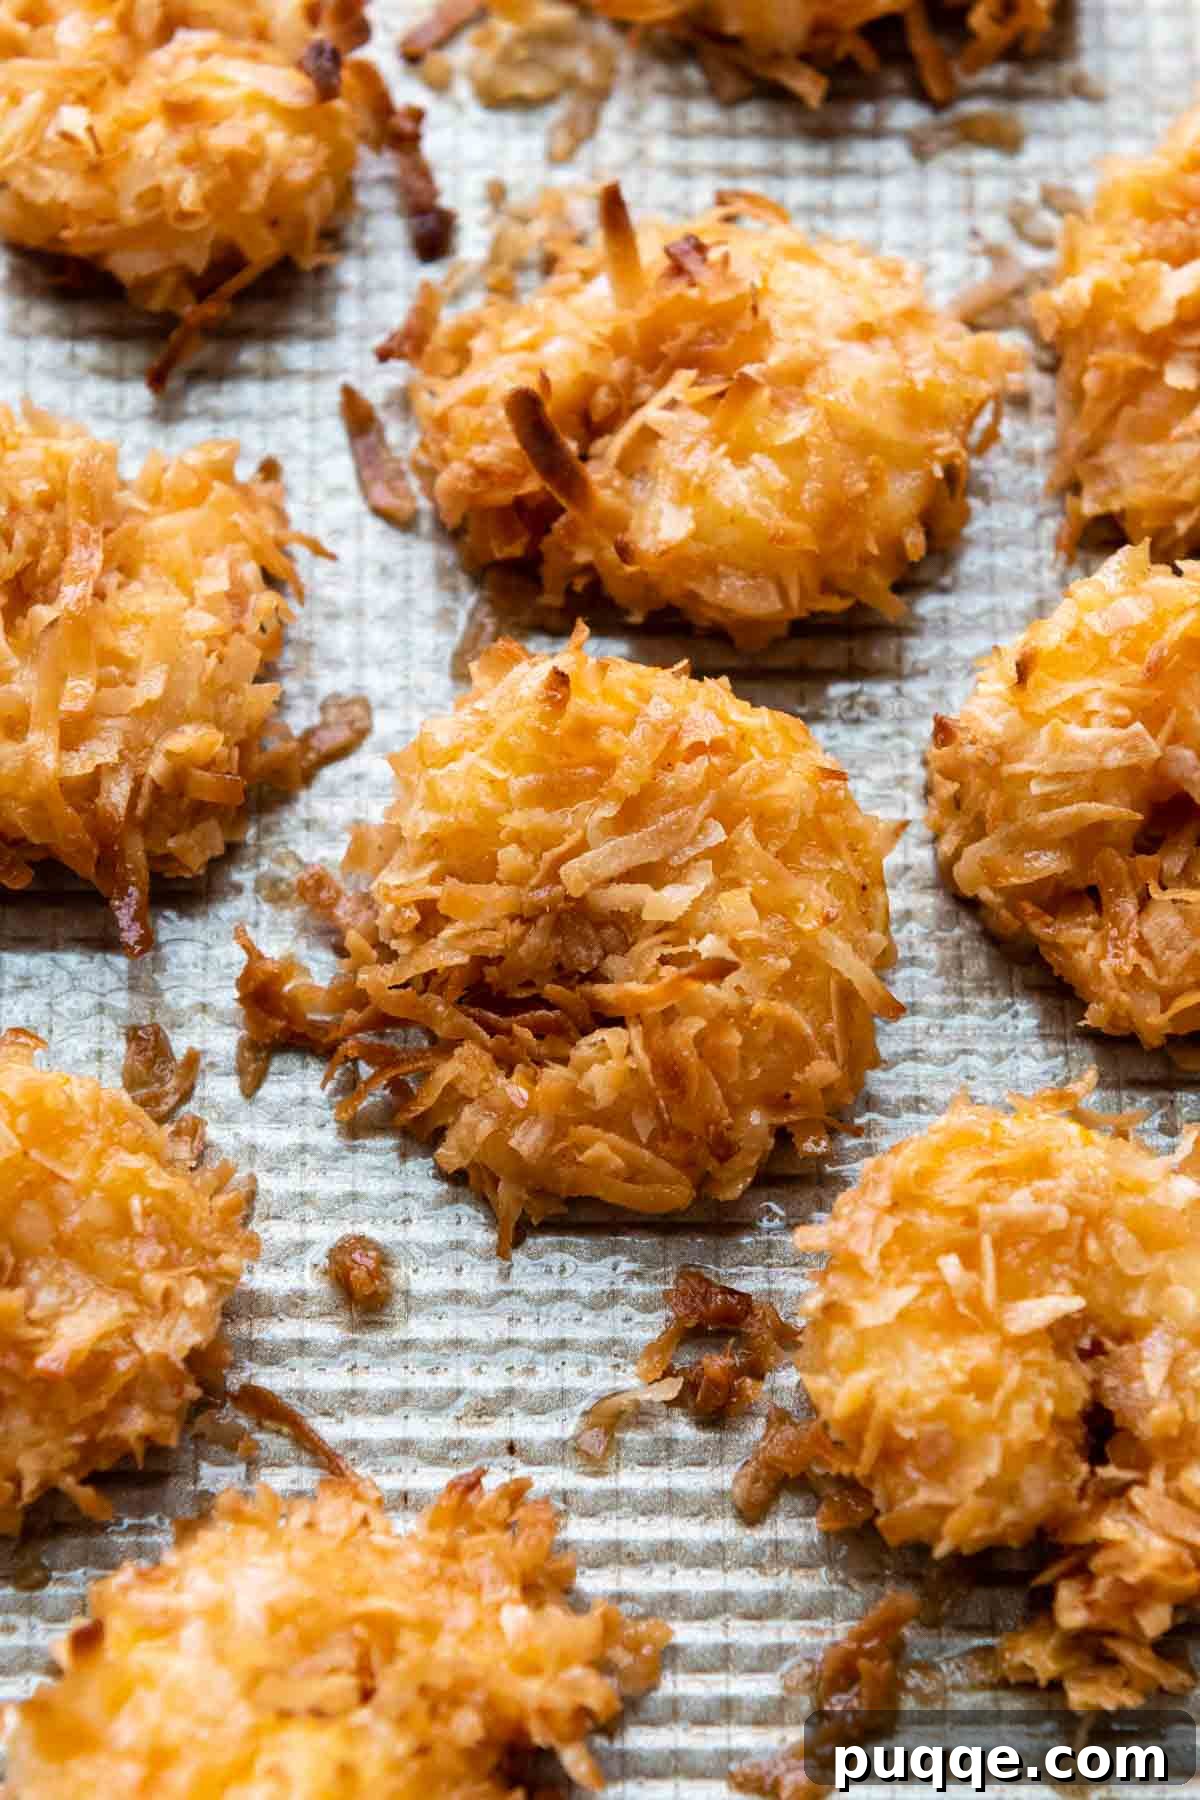
Baking is truly the star of this recipe. It allows you to achieve a remarkably crispy, golden breading with minimal fuss. After breading, the shrimp simply lay on a greased baking sheet and cook in a hot oven for a short 10-12 minutes. There’s no need to flip them, freeing you up to prepare the dipping sauce or a side dish. This method uses less oil than traditional frying, making it a lighter option without sacrificing any of the crunch or flavor you expect from fantastic coconut shrimp. The consistent heat of the oven crisps the pre-toasted coconut beautifully, creating a satisfying texture every time.
Air Fryer Excellence: Speed and Extra Crisp
For those who love their air fryer, this method delivers extra-crispy results even faster. The circulating hot air works wonders on the coconut coating, yielding an incredibly crunchy exterior with very little oil. Simply arrange the breaded shrimp in a single layer in your air fryer basket, and in about 10-12 minutes (with a quick flip halfway), you’ll have perfectly cooked, gloriously crispy coconut shrimp. It’s an excellent choice for a quick appetizer or a last-minute dinner, offering convenience and superb texture.
Classic Skillet Fry: Traditional Golden Crisp
If you enjoy the traditional approach or simply prefer the flavor profile of pan-fried seafood, this recipe includes instructions for a classic skillet fry. While it requires a bit more active cooking time and a generous amount of oil, it results in shrimp with a beautiful golden-brown crust and juicy interior. This method is perfect for those who appreciate the rich flavor that comes from direct contact with hot oil, providing a classic restaurant-style finish to your homemade gluten-free coconut shrimp.
Essential Ingredients for Success
Crafting the perfect crispy gluten-free coconut shrimp starts with selecting the right ingredients. Each component plays a vital role in achieving the delightful balance of flavors and textures that makes this dish so irresistible.
Quality Shrimp: Freshness and Preparation
You’ll need about 1½ pounds of large shrimp for this recipe. Opt for fresh or frozen (thawed) shrimp that are already peeled and deveined to save on prep time. Leaving the tails on makes for a convenient handle for dipping, but you can remove them if preferred. If using medium shrimp, adjust the cooking time slightly, and be prepared for a bit more breading work. Crucially, before you begin the breading process, lightly blot the shrimp dry with paper towels. Removing excess moisture is a small step that makes a huge difference in ensuring the breading adheres properly and becomes truly crispy.
Sweetened Flaked Coconut: The Heart of the Flavor
Sweetened shredded coconut flakes are our top recommendation for this recipe. The subtle sweetness creates a wonderful contrast with the spicy dipping sauce, enhancing the authentic, tropical coconut flavor. While unsweetened flakes can be used for a less sweet profile, the sweetened variety truly elevates the dish, making it reminiscent of your favorite restaurant version. The versatility of sweetened coconut also makes it perfect for other treats, like our easy and fluffy gluten-free coconut macaroons.
Cornstarch and Seasonings: The Crispy Foundation
Cornstarch is the hero of our gluten-free breading. It creates a light, crisp coating that clings beautifully to the shrimp, ensuring the coconut layer sticks effectively. Unlike some gluten-free flours that can be heavy or gummy, cornstarch delivers a delicate crunch. Mixed with the cornstarch are essential seasonings: paprika, salt, and black pepper. Paprika is key for both flavor and imparting a beautiful golden hue to the shrimp. For an extra layer of flavor, consider adding a dash of garlic powder or onion powder to your cornstarch mixture.
Eggs: The Binding Agent
Two large, beaten eggs act as the crucial binder in our breading station. After the shrimp are dredged in the seasoned cornstarch, they are dipped into the whisked eggs. The egg wash helps the toasted coconut adhere firmly to the shrimp, forming a complete, delicious crust that holds up wonderfully during cooking.
Crafting Your Coconut Shrimp: A Step-by-Step Guide
Let’s make this delicious gluten-free coconut shrimp together! Follow these detailed steps to ensure perfectly crispy and flavorful results every time.
Preparation is Key
Begin by preheating your oven to 325ºF (160ºC). Spread 3 cups of sweetened flaked coconut in a single layer on a baking sheet. Toast it in the oven for about 15 minutes, stirring every 5 minutes, until it turns a beautiful golden brown. This pre-toasting step is crucial for enhancing flavor and crispiness. Once toasted, remove it from the oven, let it cool slightly, and then transfer it to a shallow bowl, ready for breading.
While the coconut is toasting, prepare your breading station. In a small bowl, whisk 2 large eggs until well combined. In a large ziplock bag, add ½ cup cornstarch, ½ teaspoon paprika, ½ teaspoon salt, and ¼ teaspoon black pepper. Shake the bag vigorously to thoroughly combine the seasonings. Ensure your 1½ pounds of large shrimp (peeled and deveined) are lightly blotted dry with paper towels; this helps the breading stick.
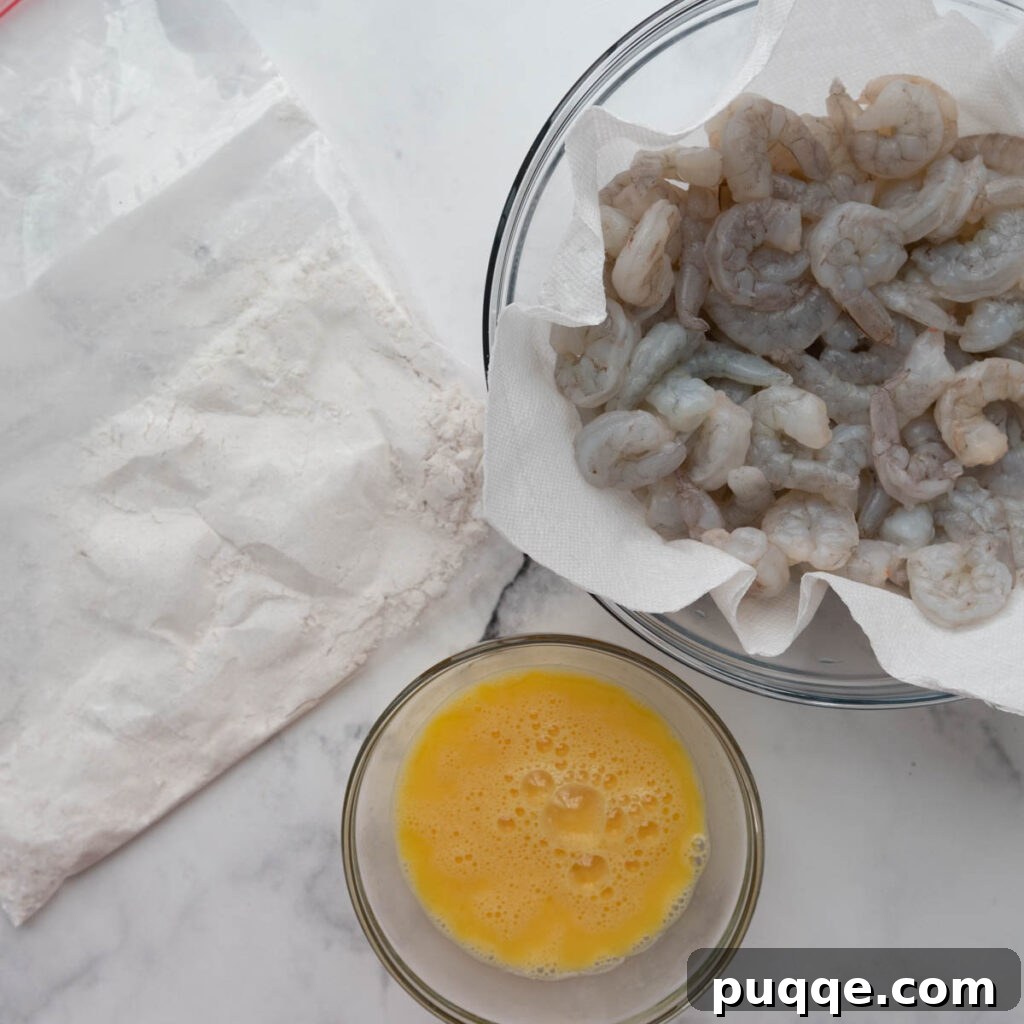
Breading Perfection
Once your coconut is toasted and cooled, and your breading station is set, it’s time to coat the shrimp. Increase your oven temperature to 425ºF (220ºC). Prepare a fresh baking sheet by generously spraying it with nonstick cooking spray or drizzling it evenly with your preferred oil, such as olive oil, avocado oil, or coconut oil. This prevents sticking and contributes to the golden crust.
Add your dry-blotted shrimp to the ziplock bag with the cornstarch mixture. Seal the bag and shake it well until all the shrimp are lightly and evenly coated. Working in batches of 3-4 shrimp at a time, remove the shrimp from the cornstarch bag. Dip each shrimp into the beaten egg mixture, shaking off any excess. Immediately roll the egg-coated shrimp in the toasted coconut, ensuring it’s completely covered. Gently press the coconut onto the shrimp to help it adhere. Transfer the breaded shrimp to your prepared baking sheet, arranging them in a single layer with a little space between each one.
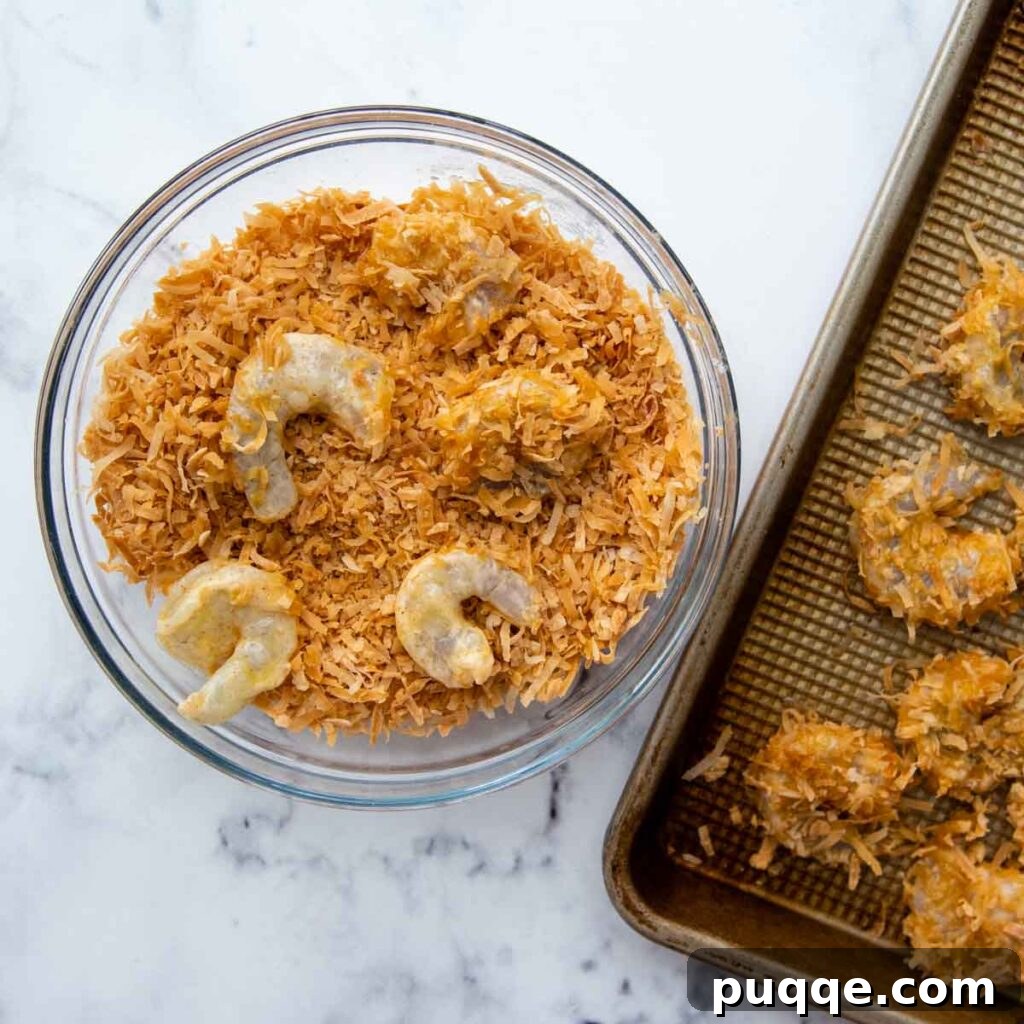
Baking for Golden Crispiness
After all the shrimp have been breaded and arranged on the baking sheet, give the tops a final spray with nonstick cooking spray or a light drizzle of oil. This helps achieve that beautiful golden-brown color and extra crispness. Place the baking sheet in the preheated 425ºF (220ºC) oven and bake for 10-12 minutes, or until the shrimp are cooked through and the coconut coating is golden and crispy. There’s no need to flip them!
While your shrimp are baking, this is the perfect time to whip up your gluten-free coconut shrimp dipping sauce. Once the shrimp are done, remove them from the oven and serve immediately with the prepared sauce. Enjoy the delightful crunch and savory-sweet flavors!
The Ultimate Sweet & Spicy Dipping Sauce
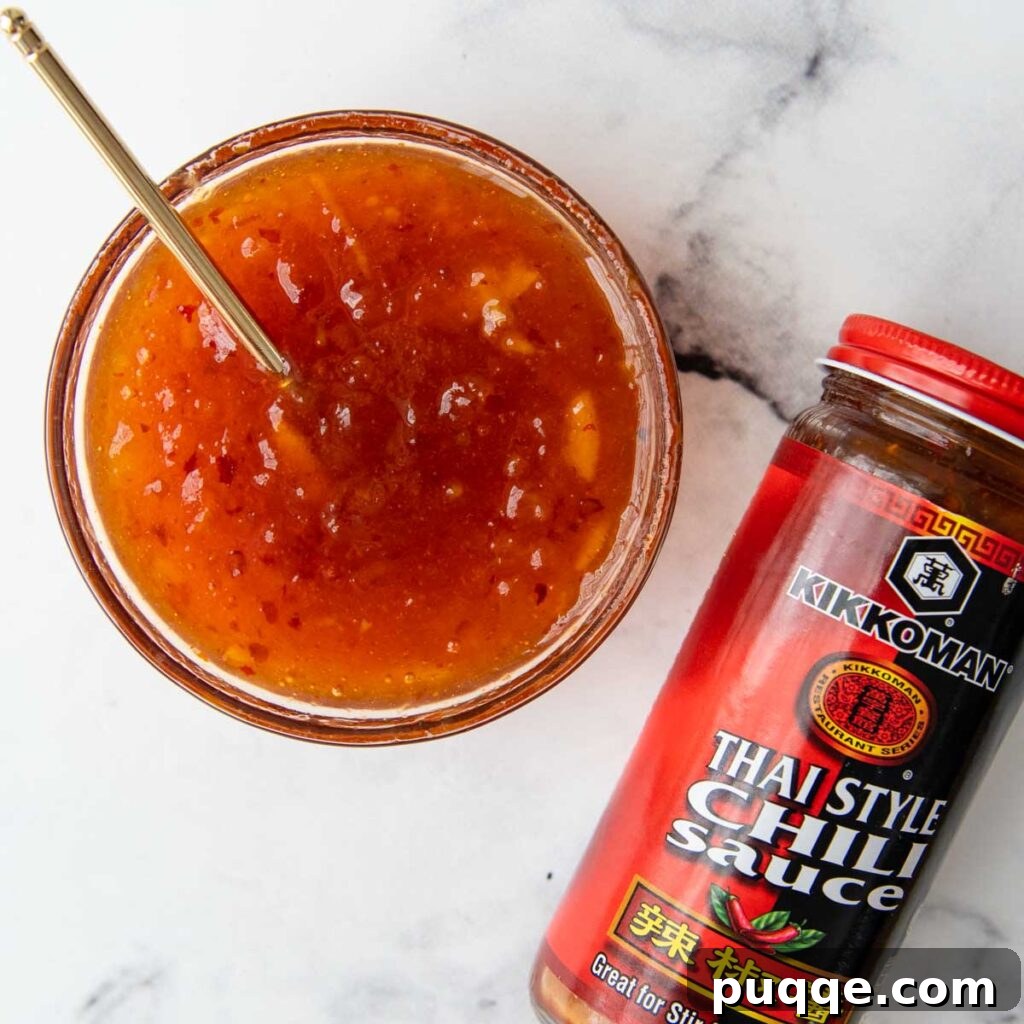
No coconut shrimp experience is complete without the perfect dipping sauce, and ours is a star! This gluten-free sauce recipe requires just two ingredients for an irresistible sweet and spicy combination that perfectly complements the rich flavors of the shrimp.
The Perfect Flavor Balance
The sweet element of our dipping sauce comes from fruit preserves. You can choose between orange marmalade, peach jam, or apricot jam – all work beautifully and provide a lovely fruity sweetness that balances the heat. The spicy kick is delivered by sweet Thai chili sauce, which typically contains red chili flakes. The blend of these two creates a dynamic flavor profile: initially sweet and tangy, followed by a gentle warmth that makes each bite exciting.
Gluten-Free Assurance
When selecting your sweet Thai chili sauce, it’s crucial to read the ingredient label carefully to ensure it is certified gluten-free. Brands like Kikkoman Thai-Style Chili Sauce and Thai Kitchen Sweet Red Chili Sauce are both widely available and clearly labeled as gluten-free, making them safe choices for this recipe. Always double-check labels, as formulations can change.
Making it Creamy (Red Lobster Style)
For those who prefer a creamier sauce, similar to the popular restaurant versions (like Red Lobster’s), you can easily customize our recipe. Simply stir in a couple of tablespoons of mayonnaise to the finished sweet and spicy sauce. This adds a luscious texture and a touch of tanginess, rounding out the flavors even further.
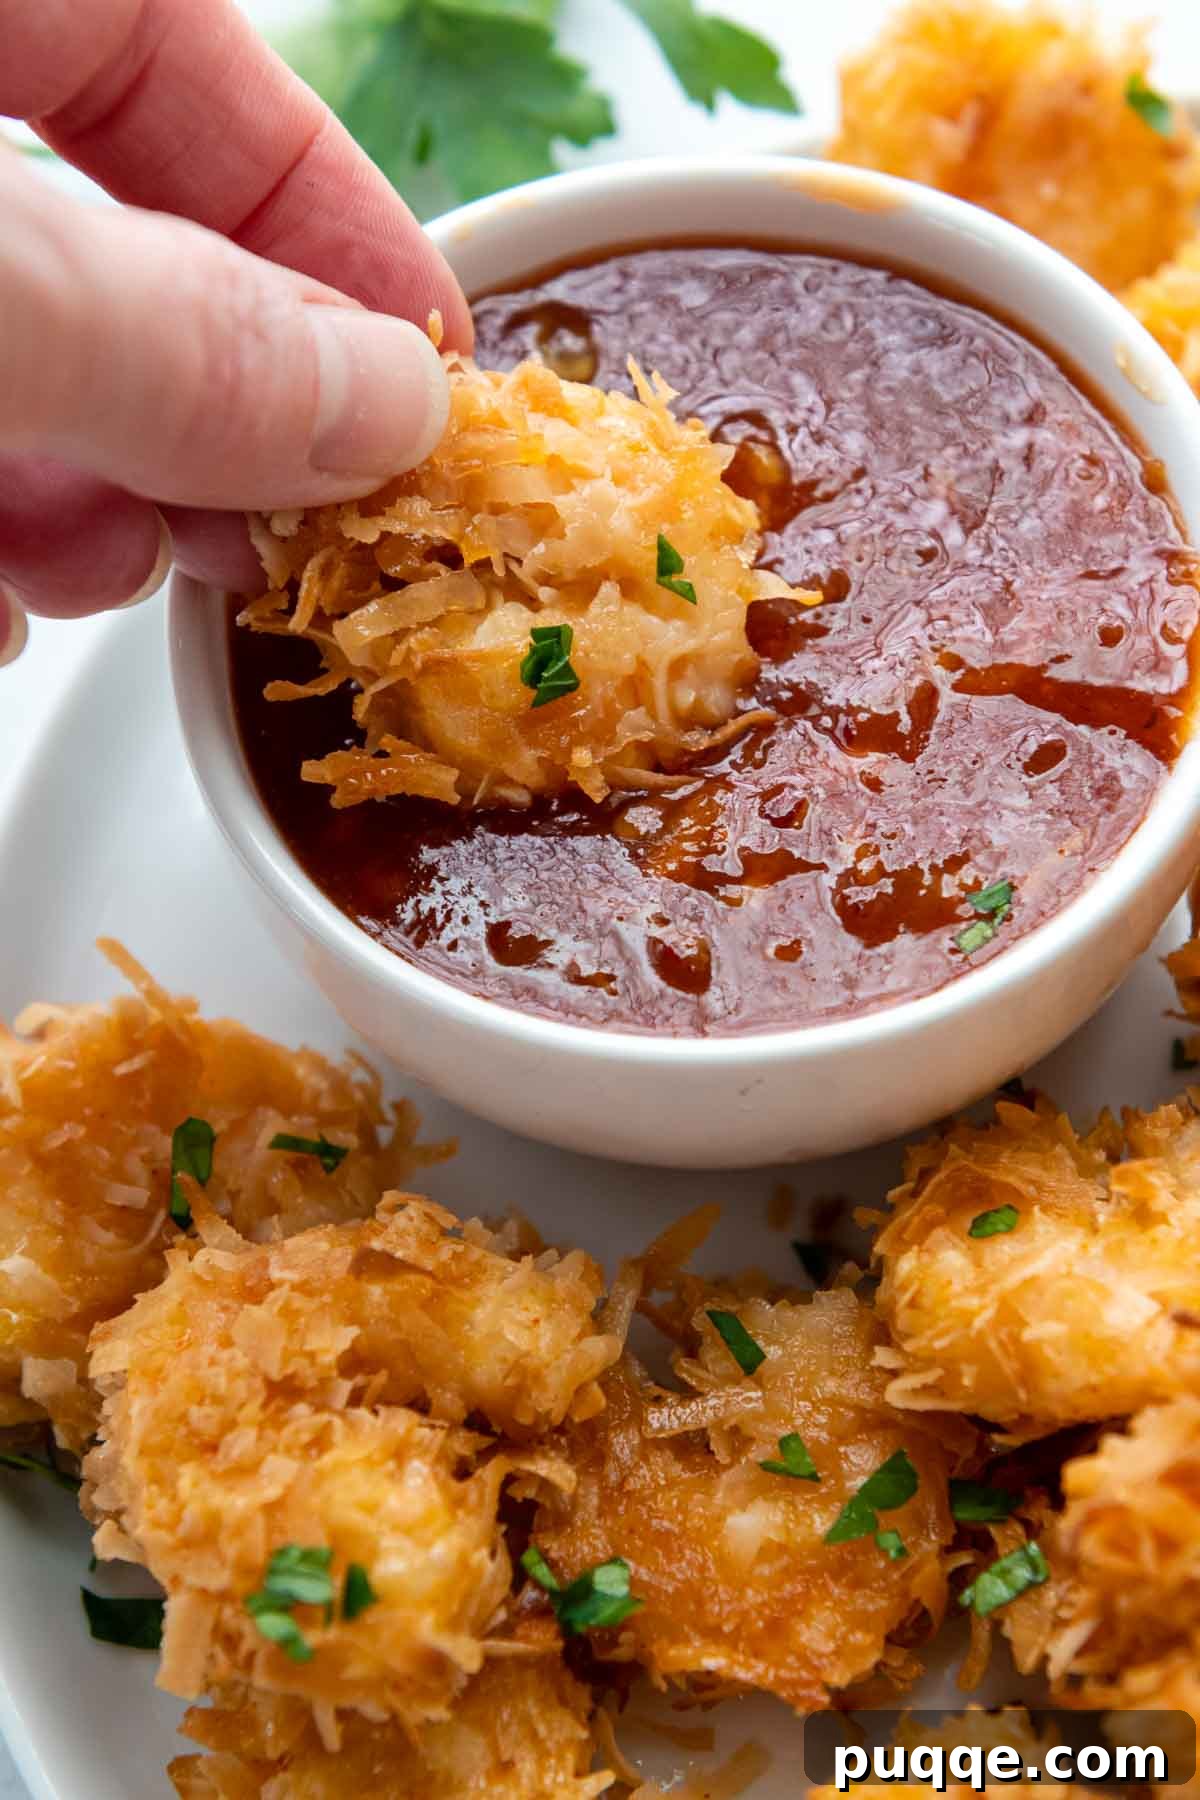
Storing and Freezing Your Delicious Coconut Shrimp
This gluten-free coconut shrimp recipe is fantastic fresh, but it’s also excellent for meal prep or enjoying later. Knowing how to properly store and freeze your shrimp ensures you can savor its deliciousness whenever a craving strikes.
Keeping Leftovers Fresh
If you have any cooked coconut shrimp leftovers, allow them to cool completely to room temperature before storing. Transfer them to an airtight container and refrigerate for up to 3 days. Proper cooling and sealing are essential to maintain freshness and prevent sogginess.
Freezing for Future Feasts
This recipe is also freezer-friendly, whether you want to freeze cooked leftovers or prepare unbaked shrimp for a future meal. If freezing already baked shrimp, ensure they are completely cooled before placing them in a single layer in a ziplock freezer bag or airtight container. They can be frozen for up to 2 months and reheated directly from frozen.
For meal prep or make-ahead dinners, you can freeze the shrimp unbaked. After breading, arrange the raw, coated shrimp in a single layer on a baking sheet. Freeze until solid, typically a couple of hours. Once firm, transfer them to a ziplock freezer bag, ensuring they remain in a single layer to prevent sticking. They can be frozen for up to 2 months. When ready to cook, bake them directly from frozen, adding an extra 1-2 minutes to the recommended baking time.
How To Reheat For Best Results
To preserve the crispy texture of your gluten-free coconut shrimp, proper reheating is crucial. Avoid the microwave at all costs, as it will inevitably lead to a soggy breading and potentially overcooked, rubbery shrimp. The best methods for reheating are the oven or an air fryer.
Oven Reheating Method
For oven reheating, preheat your oven to 325ºF (160ºC). Lightly spray a baking sheet with nonstick cooking spray. Arrange the leftover coconut shrimp in a single layer on the prepared baking sheet, ensuring they don’t overlap. Heat for about 8 minutes, or until they are heated through and the coating has regained its crispness. This gentle heat warms them thoroughly without drying them out.
Air Fryer Reheating Method
The air fryer is an excellent choice for a quick and super-crispy reheat. Preheat your air fryer to 375ºF (190ºC). Place the shrimp in a single layer in the air fryer basket, making sure they don’t touch. Air fry for just 2-3 minutes, or until the shrimp are hot and the coconut coating is wonderfully crisp again. The air fryer quickly circulates hot air, making it ideal for revitalizing fried or breaded foods.
Delicious Serving Ideas
This easy gluten-free coconut shrimp recipe is incredibly versatile, working beautifully as an elegant appetizer or a satisfying main course. Here are some ideas to help you create a complete and delicious meal:
Classic Sides
For a wholesome dinner, we often serve coconut shrimp with a simple side of rice (white, brown, or jasmine) and a fresh vegetable. Excellent vegetable pairings include steamed or roasted broccoli, quick roasted zucchini, vibrant green beans, or sweet glazed carrots. These sides offer a refreshing contrast to the richness of the shrimp and provide a well-rounded meal.
Making It a Full Meal
If you’re aiming to replicate a favorite restaurant experience, consider adding some Asian-inspired sides. Gluten-free spring rolls or a simple homemade gluten-free fried rice would make fantastic complements. Of course, there’s nothing wrong with pairing your crispy coconut shrimp with classic french fries! You can choose your favorite store-bought gluten-free brand or whip up a batch of these crispy oven-baked fries for a healthier, homemade alternative. For another delicious gluten-free chicken option, you might also enjoy our gluten-free chicken parmesan recipe.
Frequently Asked Questions About Gluten-Free Coconut Shrimp
We’ve gathered some common questions about making this delightful gluten-free coconut shrimp recipe to help you achieve the best results and enjoy your meal to the fullest.
Is this recipe truly gluten-free?
Absolutely! This recipe is carefully crafted to be naturally gluten-free. The breading uses cornstarch instead of wheat flour, and we emphasize checking labels for the sweet Thai chili sauce to ensure it is certified gluten-free. All other ingredients are typically gluten-free, but always good practice to double-check packaging if you have severe sensitivities.
Can I use unsweetened coconut?
Yes, you can certainly use unsweetened coconut flakes if you prefer a less sweet flavor profile. The pre-toasting step is still recommended to enhance their natural flavor and ensure crispiness. Keep in mind that the overall taste will be less sweet, which might appeal to some palates.
What size shrimp should I use?
We recommend using large shrimp (about 21-25 count per pound) as they provide a good bite and are easier to bread. Medium shrimp (31-40 count) can also be used, but you’ll have more individual shrimp to bread, which increases prep time slightly. Adjust cooking times as needed for smaller shrimp to prevent overcooking.
Can I make this recipe keto or low-carb?
Yes, with a simple substitution! For a keto or low-carb version, you can replace the cornstarch in the breading with coconut flour. This will maintain the binding and contribute to a crispy texture while significantly reducing the carbohydrate count. The dipping sauce would also need modification to reduce sugar content, perhaps using a sugar-free jam and a keto-friendly chili sauce.
What’s the best way to ensure maximum crispiness?
Several factors contribute to ultimate crispiness:
- **Blot shrimp dry:** Excess moisture is the enemy of crispiness.
- **Pre-toast coconut:** This develops flavor and ensures a crisp base.
- **Even coating:** Ensure shrimp are fully covered in cornstarch, egg, and coconut.
- **Don’t overcrowd:** Cook in a single layer, whether baking, air frying, or pan-frying, to allow even heat circulation.
- **Oil spray:** A final spray of oil before baking or air frying helps achieve that golden crunch.
Save this recipe to your Pinterest board!
Let’s be friends on Pinterest! I’m always sharing great recipes!
Did you make this recipe? We love hearing from you! Leave a star rating and comment below. Your feedback helps others discover and enjoy our recipes!

Crispy Gluten-Free Coconut Shrimp (Baked or Air Fryer)
Yield: 5 servings
Prep Time: 25 mins
Cook Time: 12 mins
Total Time: 37 mins
Author: Melissa Erdelac
Enjoy a favorite restaurant-style meal at home with this easy gluten-free coconut shrimp recipe! While the oven-baked method guarantees a crispy, golden gluten-free breading, you may also choose from the air fryer or classic skillet options. Either way, you won’t want to stop dunking in the sweet and spicy dipping sauce!
Ingredients
- 3 cups sweetened flaked coconut (or unsweetened, if preferred)
- 2 large eggs, beaten
- ½ cup cornstarch (see recipe notes for alternatives)
- ½ teaspoon paprika
- ½ teaspoon salt
- ¼ teaspoon pepper
- 1½ pounds large shrimp (peeled and deveined), lightly blotted dry with paper towels
Gluten Free Dipping Sauce
- ⅓ cup orange marmalade, peach, or apricot jam
- 3 tablespoons sweet Thai chili sauce (Kikkoman or Thai Kitchen brands are GF)
Equipment
- Baking Sheets
- Non-Aerosol Oil Sprayer (optional, but recommended for crispiness)
Instructions
- Preheat the oven to 325ºF (160ºC). Spread the coconut in a single layer on a baking sheet. Toast for 15 minutes, stirring every 5 minutes, until golden brown. Cool slightly then transfer from the pan to a bowl.
- While the coconut is toasting, prepare the shrimp. In a small bowl, whisk the eggs. In a large ziplock bag, add the cornstarch, paprika, salt, and pepper; shake to combine.
- Increase the oven to 425ºF (220ºC). Prepare a fresh baking sheet by generously spraying with nonstick cooking spray or drizzling evenly with any preferred oil, such as olive oil, avocado oil, or coconut oil.
- Add the shrimp, lightly blotted dry, to the cornstarch mixture and shake to combine until coated.
- Remove the shrimp from the bag and dip, 3-4 at a time, in the egg mixture. Shake off excess and then roll in the toasted coconut. Transfer the coated shrimp to the prepared baking sheet.
- Repeat with remaining shrimp. Once all are breaded, spray the tops with more nonstick cooking spray or drizzle with more oil. Bake for 10-12 minutes while you prepare the gluten-free coconut shrimp sauce. Serve immediately with sauce.
Dipping Sauce Instructions
- Combine the coconut shrimp sauce ingredients in a small microwave-safe bowl. Heat for 15-30 seconds for the jam to soften, then stir to combine until smooth. Refrigerate any leftovers.
Notes
Air Fryer Method
- Prepare the shrimp as directed with the coating.
- Preheat the air fryer to 375ºF (190ºC). Coat the air fryer basket with cooking spray.
- Place the shrimp in the basket in a single layer, not touching. Cook for 10-12 minutes, flipping halfway through. Serve immediately.
Fried Method
- Prepare the shrimp as directed with the coating, but do not toast the coconut first. The oil will make the coconut golden.
- Coat the bottom of a large skillet with a generous layer of oil, about ½ inch deep. Heat the pan over medium heat until the oil is hot and shimmering. Cook the shrimp in batches, about 7-8 at a time, to avoid crowding the pan. Fry for 2-3 minutes per side, or until both sides are golden brown and shrimp are cooked through.
- Use a slotted spoon to transfer to a paper-towel lined plate as you cook the remaining shrimp. Serve immediately.
Cornstarch Alternatives
Gluten-free all-purpose flour, rice flour, or a combination, would also work as alternatives to cornstarch. For a keto / low-carb option, this can be replaced with coconut flour.
Nutrition Facts calculated without dipping sauce. Sauce adds approximately 73 calories and 19g carbohydrates per serving.
Nutrition Facts (per serving, without sauce)
Calories: 404kcal | Carbohydrates: 40g | Protein: 22g | Fat: 17g | Saturated Fat: 14g | Polyunsaturated Fat: 1g | Monounsaturated Fat: 1g | Trans Fat: 0.02g | Cholesterol: 237mg | Sodium: 1174mg | Potassium: 368mg | Fiber: 5g | Sugar: 19g | Vitamin A: 439IU | Vitamin C: 0.002mg | Calcium: 90mg | Iron: 1mg
Did you make this recipe? Please leave a star rating and review below. It helps others when searching for recipes and I LOVE feedback!