
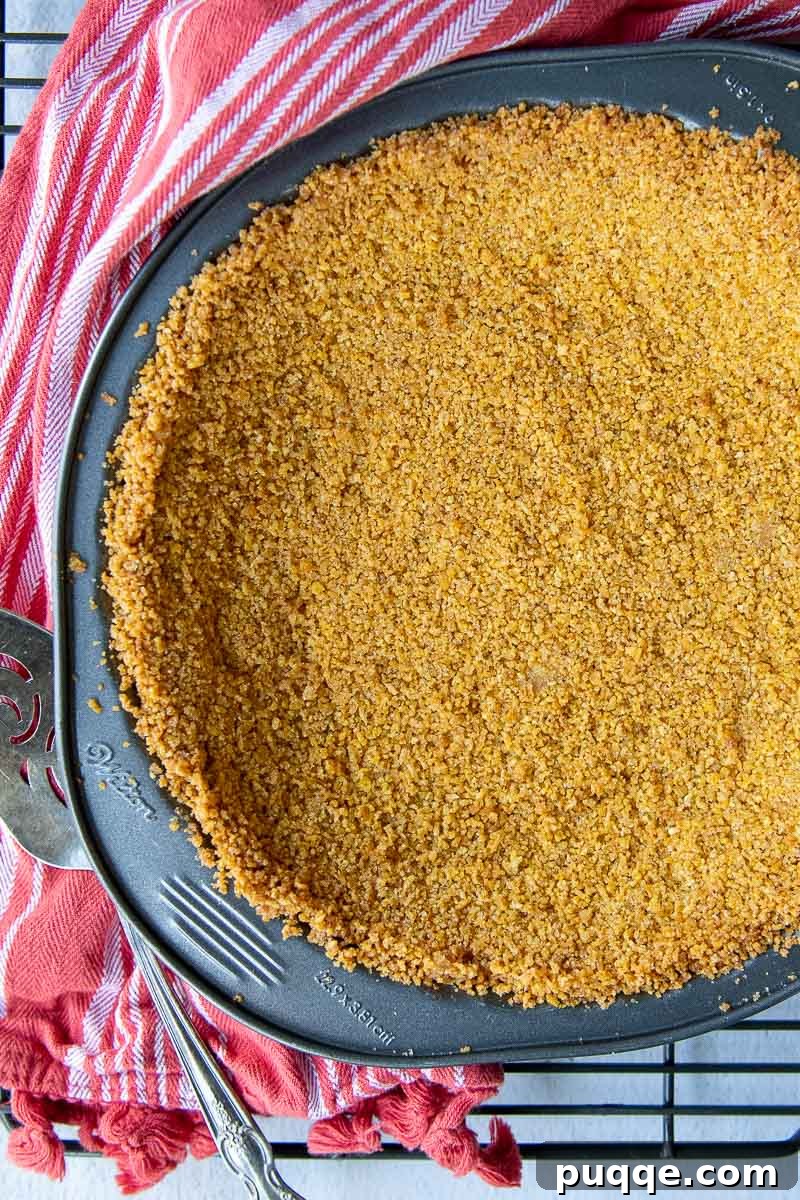
Unlock the secret to a sensationally simple, incredibly quick, and effortlessly press-in pie crust that boasts an irresistible buttery crunch. This innovative Chex Pie Crust recipe offers a delightful, crispy, and completely gluten-free alternative to traditional pastry or graham cracker crusts, revolutionizing your dessert-making experience. Prepare to impress with minimal effort and maximum flavor!
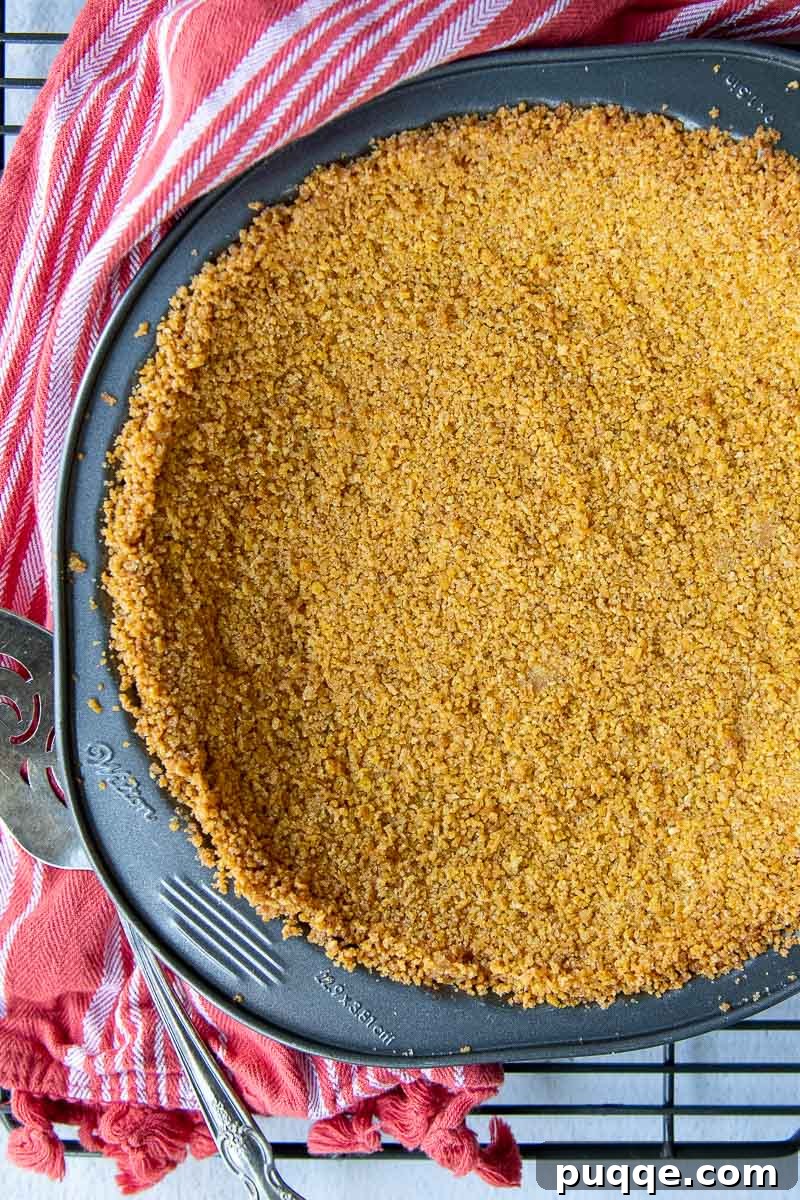
Why Chex Cereal Makes the Perfect Gluten-Free Pie Crust
For those navigating dietary restrictions or simply seeking a unique and delicious crust, Chex cereal emerges as an unexpected hero. This recipe provides a fantastic gluten-free alternative to graham cracker crusts and flaky pastries, offering a distinctly buttery and crispy texture that complements a wide array of fillings. Unlike traditional pie crusts that can be time-consuming to prepare and tricky to roll out, this Chex crust is a breeze to make. It requires no chilling, no elaborate kneading, and minimal fuss, making it ideal for busy bakers or anyone new to gluten-free baking.
The neutral flavor of plain rice or corn Chex cereal makes it incredibly versatile, allowing it to adapt beautifully to both sweet and slightly savory pie profiles. When combined with melted butter and a touch of brown sugar, the cereal transforms into a cohesive, flavorful base that presses easily into any pie dish. Its unique composition ensures a crust that holds its shape well, bakes to a beautiful golden brown, and delivers a satisfying crunch in every bite. Say goodbye to crumbly gluten-free crusts and hello to a reliable, delicious option!
Essential Ingredients Needed
Crafting this simple yet exceptional pie crust requires just three core ingredients, providing a straightforward and accessible path to gluten-free deliciousness, much like a good oatmeal pie crust recipe. The key is to select the right Chex cereal to ensure gluten-free compliance and optimal flavor balance. While many Chex varieties exist, focusing on the basics ensures the best results for your crust. Always double-check labels for gluten-free certification if you have strict dietary needs.
- Chex Cereal: Opt for plain rice or corn Chex. These varieties are naturally gluten-free and provide the perfect mild base. You can experiment with other gluten-free flavored Chex like chocolate, honey nut, vanilla, or cinnamon, but remember to adjust the sugar content accordingly to prevent an overly sweet crust.
- Melted Butter: Unsalted butter is preferred to control the overall saltiness of the crust. The butter binds the crushed cereal together and contributes significantly to the rich, buttery flavor and tender-crisp texture. For a dairy-free option, readily substitute with an equal amount of melted coconut oil or ghee.
- Brown Sugar: A touch of brown sugar adds a subtle sweetness and a hint of caramelization, enhancing the overall flavor profile and helping the crust achieve that desirable golden-brown finish during baking. If using flavored Chex cereal, consider omitting or reducing the brown sugar to avoid excessive sweetness.
Step-by-Step: How To Make Chex Pie Crust Recipe
Creating this delicious Chex pie crust is remarkably straightforward, requiring minimal equipment and just a few minutes of active preparation time. Follow these simple steps for a perfect crust every time, whether you’re using a food processor or preparing it by hand.
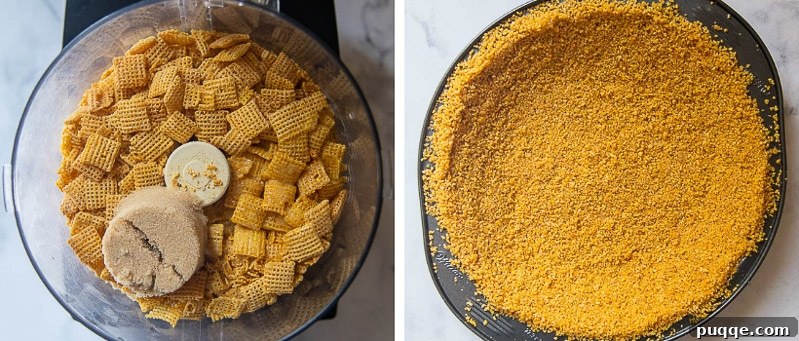
- Prepare Your Oven and Ingredients: Preheat your oven to 375°F (190°C). Gather your Chex cereal, melted butter, and brown sugar.
- Combine Ingredients: In a food processor, combine the Chex cereal, melted butter, and brown sugar. If you don’t own a food processor or blender, don’t worry – see the “Frequently Asked Questions” section below for our simple by-hand method.
- Process to Fine Crumbs: Pulse and blend the ingredients until the cereal is very finely crushed and the mixture resembles coarse, moist sand. It’s crucial for the cereal to be finely ground to ensure the crust holds together well.
- Press into Pie Plate: Transfer the mixture into a standard 9-inch pie plate. Using your fingers, the back of a spoon, or the flat bottom of a glass, firmly and evenly press the crumbs along the bottom and up the sides of the pie plate. Ensure it’s compact to prevent crumbling after baking.
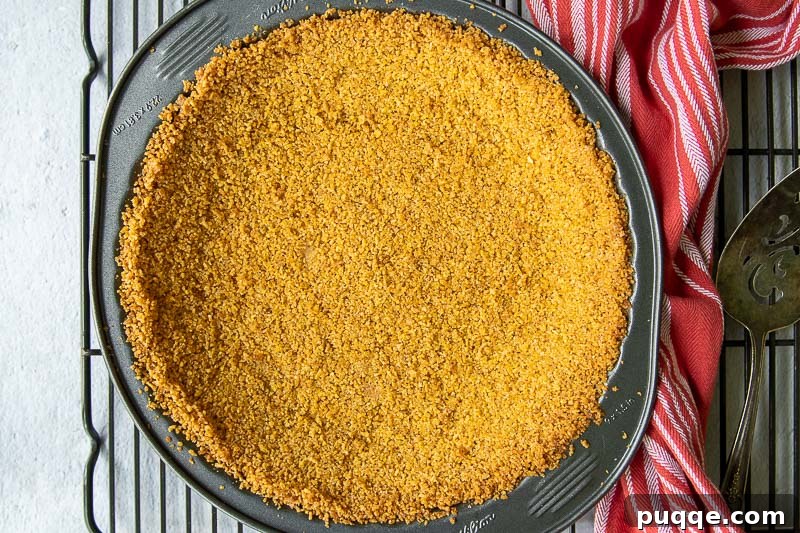
- Bake to Golden Perfection: Bake the crust in the preheated oven for 11-12 minutes, or until it’s beautifully golden brown and fragrant. The baking process helps to set the crust, making it crispier and less prone to becoming soggy once filled.
- Cool Completely: Allow the baked Chex pie crust to cool completely on a wire rack before adding any filling. Cooling is essential for the crust to fully firm up, ensuring clean slices and a stable base for your dessert.
Incredible Ways to Use Your Chex Pie Crust
The versatility of this gluten-free Chex pie crust knows no bounds, making it a fantastic foundation for a myriad of desserts. Its buttery flavor and crisp texture provide a delightful contrast to creamy, fruity, or chocolatey fillings. Here are some inspired ideas for your next culinary creation:
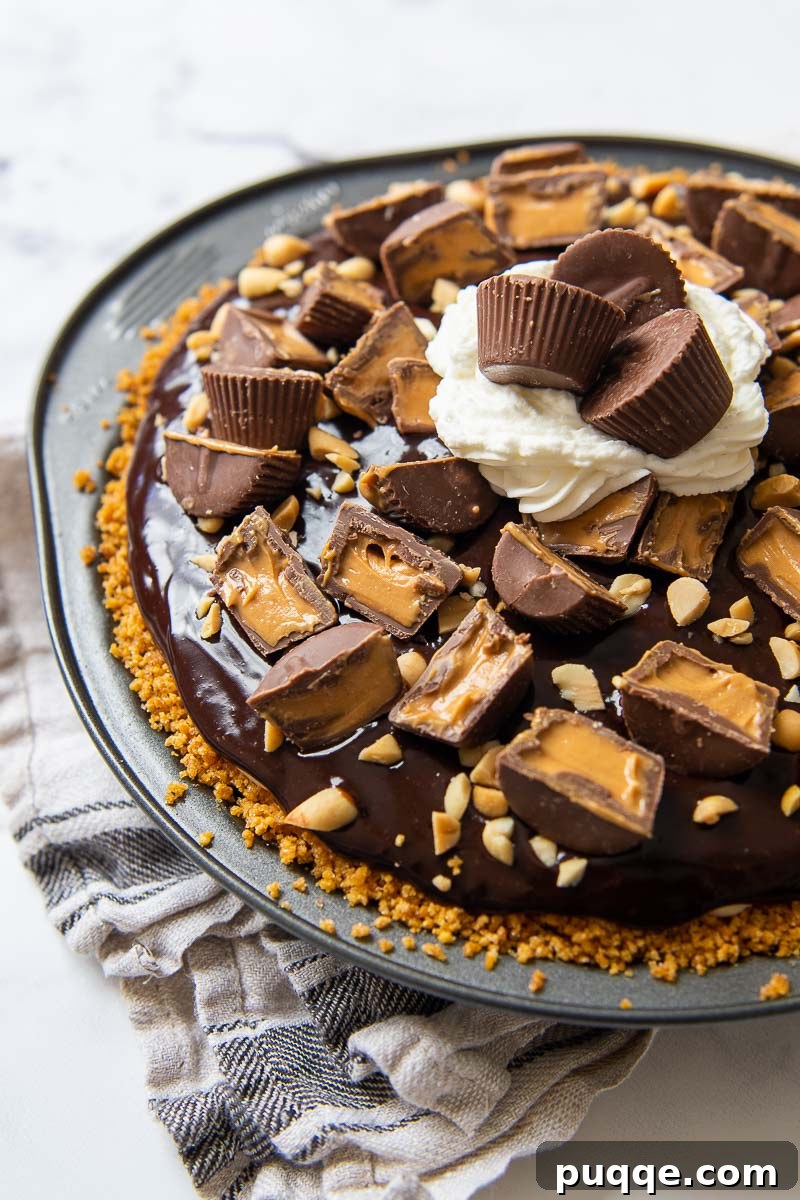
- Classic Chocolate Peanut Butter Pie: This crust is an absolute dream with a rich, creamy chocolate peanut butter filling, as perfectly showcased in this Chocolate Peanut Butter Cup Pie (pictured below). The crunch of the Chex provides a wonderful textural element.
- Zesty Key Lime Pie: For a refreshing dessert, pair this buttery crust with a tangy Gluten Free Key Lime Pie filling. The sweetness of the crust perfectly balances the tartness of the lime.
- Fruity Delights: While not ideal for raw, baked fruit fillings that release a lot of moisture, this crust shines with stove-top fruit fillings or those that are pre-cooked. Think of delectable options like a luscious cherry or a spiced apple filling, such as the one used in Snickers Apple Pie. Bake the crust fully, then fill with your prepared fruit mixture.
- Effortless No-Bake Desserts: This crust is a stellar companion for any no-bake pie. Simply bake the crust until fully set, cool it completely, and then generously fill with favorites like a light and airy Frozen Lemon Pie, a vibrant Blueberry Cream Cheese Pie, or a decadent Pumpkin Lush. The baked crust provides the necessary structure and a satisfying crunch.
- Creamy Cheesecakes: For cheesecakes, press the Chex crust firmly onto the bottom of a springform pan or pie dish. You can either fully bake the crust beforehand for extra crispness or partially bake it, depending on the specific requirements of your cheesecake filling recipe. It’s magnificent with a creamy No Bake Strawberry Cheesecake or a classic Gluten-Free Cheesecake!
- Discover More: Explore even more possibilities with the best gluten-free pie recipes that pair wonderfully with this versatile crust.
Expert Tips for a Flawless Chex Pie Crust
Achieving the perfect Chex pie crust is simple, but a few expert tips can elevate your results from good to absolutely outstanding. Pay attention to these details for a crust that is consistently crispy, well-formed, and a delight to eat.
- Crushing Consistency is Key: Ensure the Chex cereal is very finely crushed. Larger pieces won’t bind as effectively, leading to a crumbly crust. A food processor or powerful blender is ideal for this, but the “by hand” method (using a zip-top bag and rolling pin) also works if you’re thorough. The goal is a uniform, sandy texture.
- Firm Pressing: Don’t be shy when pressing the mixture into the pie plate. The firmer you press, the more compact and sturdy your crust will be. Use the bottom of a flat glass or measuring cup to achieve a very tight, even layer on the bottom and sides. This prevents the crust from falling apart when sliced.
- Preventing Over-Browning: Chex cereal can brown quickly due to its delicate nature. If you notice the edges are browning too fast, use a pie shield or small strips of aluminum foil to cover the rim of the crust for the last few minutes of baking.
- Cooling is Crucial: Patience is a virtue, especially with pie crusts. Always allow the Chex crust to cool completely before adding any filling. Rushing this step can result in a soggy or broken crust, especially with liquid or creamy fillings.
- Flavor Customization: While the basic recipe is fantastic, feel free to add flavor enhancers. A teaspoon of vanilla extract, a pinch of cinnamon, a tablespoon of cocoa powder (for chocolate pies), or even some finely chopped nuts can elevate the crust’s flavor profile to match your pie filling.
- Storage: An unbaked Chex crust mixture can be stored in an airtight container in the refrigerator for up to 3 days. A fully baked and cooled crust can be stored at room temperature, loosely covered, for up to 2 days before filling, or frozen for up to a month.
Frequently Asked Questions (FAQ):
Yes, many varieties of Chex cereal are gluten-free, but it’s important to be selective. Corn Chex and Rice Chex are generally recognized as gluten-free and are the safest bets for this recipe. Other flavors, such as Chocolate, Honey Nut, Vanilla, or Cinnamon Chex, can also be gluten-free, but you must always look for a clear “GF” (gluten-free) label on the packaging to ensure they are safe for those with celiac disease or gluten sensitivity. Cross-contamination can be a concern with certain manufacturing processes, so the label is your best guide. If using a flavored Chex cereal, remember to adjust the sugar content in the recipe to prevent the pie crust from becoming overly sweet. Alternatively, this recipe works beautifully with any brand of gluten-free cereal, provided it can be finely crushed.
The beauty of the Chex gluten-free pie crust lies in its neutral base, making it an excellent canvas for various flavors. To enhance and complement your chosen pie filling, consider adding ground spices such as cinnamon, nutmeg, or a pumpkin pie spice blend. For chocolate-based pies, a tablespoon of unsweetened cocoa powder can turn your crust into a delightful chocolatey foundation. Finely chopped nuts like pecans, almonds, or walnuts can also be incorporated for added texture and richness, though this will slightly alter the flavor profile. Start with small amounts (e.g., ½ teaspoon of spice or 1 tablespoon of cocoa) and adjust to your preference.
This is a nuanced question with a “yes and no” answer. If your pie filling is entirely cold-set (like a no-bake cheesecake or a refrigerated mousse) and the finished pie will be kept refrigerated, you *could* technically forgo baking the crust first. In this scenario, simply press the mixture into the pie plate and refrigerate it until thoroughly chilled and firm before adding your filling. However, for superior structure, sliceability, and an undeniably crisp texture, baking the crust first is highly recommended. The baking process toasts the cereal and butter, creating a much more stable and satisfying crust that holds up better to slicing and serving, especially for larger gatherings or when presentation matters.
No, a food processor is not strictly necessary, although it offers the quickest and most efficient way to achieve a finely ground cereal mixture. If you don’t have a food processor, a powerful blender (such as a Vitamix or BlendTec) can also work effectively. For the by-hand method, place the Chex cereal in a large, sturdy zip-top bag. Remove as much air as possible, then use a rolling pin or a meat mallet to crush the cereal very finely. The key is to achieve a consistency that is almost like coarse flour or breadcrumbs to ensure the crust holds together well. Once crushed, transfer the cereal to a bowl, add the melted butter and brown sugar, and mix thoroughly with a wooden spoon or spatula until well combined. From there, proceed with pressing the mixture into the pie plate and baking as outlined in the recipe.
Absolutely! Making this Chex pie crust dairy-free is very simple. Instead of using melted butter, you can substitute an equal amount of melted ghee (which is clarified butter and often tolerated by those with dairy sensitivities, though not strictly dairy-free) or, for a completely dairy-free option, use melted coconut oil. Ensure your coconut oil is fully melted for even distribution throughout the cereal mixture. The crust will still achieve a wonderfully crisp texture and delightful flavor profile, adapting perfectly to your dietary needs.
Click here to see thestep-by-step web story instructions for this recipe!
Explore More Gluten-Free Pie Crust Recipes
While the Chex Pie Crust offers a unique and easy gluten-free solution, the world of gluten-free baking provides many other delicious options. Diversify your baking repertoire with these excellent alternative crust recipes, each offering distinct textures and flavors to perfectly complement your favorite pie fillings.
- Nut Pie Crust: A rich and flavorful crust made from finely ground pecans, almonds, or walnuts. This versatile crust is particularly well-suited for creamy fillings like pumpkin pie, various no-bake desserts, and cheesecakes, adding a sophisticated nutty dimension to your treats.
- Flaky Gluten-Free Pie Crust: If you crave the classic, tender, and flaky texture of a traditional pastry crust, this recipe is a game-changer. It’s designed to be handled just like regular pie dough, making it surprisingly easy to roll out and shape, delivering that satisfying buttery flakiness you desire.
- Almond Flour Pie Crust: Perfect for both sweet and savory gluten-free and grain-free pies, this crust comes together in minutes. Simply mix a handful of ingredients and press it into your pie dish for a dairy-free, low-carb base that’s both healthy and delicious.
SAVE THIS CHEX PIE CRUST RECIPE TO YOUR PINTEREST BOARD!
Let’s be friends on Pinterest! I’m always sharing great recipes!
5 Minute Chex Pie Crust Recipe (Gluten-Free)
Average Rating: 4.35 stars (26 ratings)

Melissa Erdelac
Use Chex cereal to whip up an easy, quick, press-in pie crust that tastes amazing! Chex Pie Crust recipe makes a buttery, crispy, gluten-free alternative to pastry or graham cracker crusts.
Pin Recipe
Rate This Recipe
Ingredients
- 5 cups whole rice or corn Chex cereal (about 2 cups crushed very fine)
- 3 tablespoons brown sugar
- 8 tablespoons butter, melted (or dairy-free alternative)
Equipment
- Food Processor (or powerful blender)
- 9-inch Pie Plate
- Pie Shield (optional, for preventing over-browning)
Instructions
- Preheat your oven to 375ºF (190°C). In a food processor, blend together the Chex cereal, brown sugar, and melted butter until the mixture is very finely ground and cohesive. (Refer to the FAQ section for the “by hand” method if you don’t have a food processor).
- Carefully dump the ground mixture into a 9-inch pie pan. Spread it out into an even layer, then use your fingers or the flat bottom of a glass to firmly press the crumbs onto the bottom and up the sides of the pan. Ensure it is tightly packed.
- Bake the crust for 11-12 minutes, or until it turns a beautiful golden brown. Allow the crust to cool completely for at least 15 minutes before adding any filling.
- Did you make this recipe? We’d love your feedback! Don’t forget to leave a star rating and/or a review on the recipe card!
Recipe Notes
For detailed answers to common questions about this recipe, including how to make it dairy-free or without a food processor, please refer to the “Frequently Asked Questions” section of this article. This section provides comprehensive tips on using different Chex cereals and whether this crust can be no-bake.
Nutrition Information (per serving)
Calories: 145kcal, Carbohydrates: 15g, Protein: 1g, Fat: 9g, Saturated Fat: 6g, Cholesterol: 24mg, Sodium: 202mg, Potassium: 27mg, Fiber: 1g, Sugar: 5g, Vitamin A: 530IU, Vitamin C: 3mg, Calcium: 56mg, Iron: 5mg
This post contains affiliate links. My opinions are always my own. If you purchase a product through an affiliate link, I make a small commission – at no cost to you. Read full disclosure policy here.