
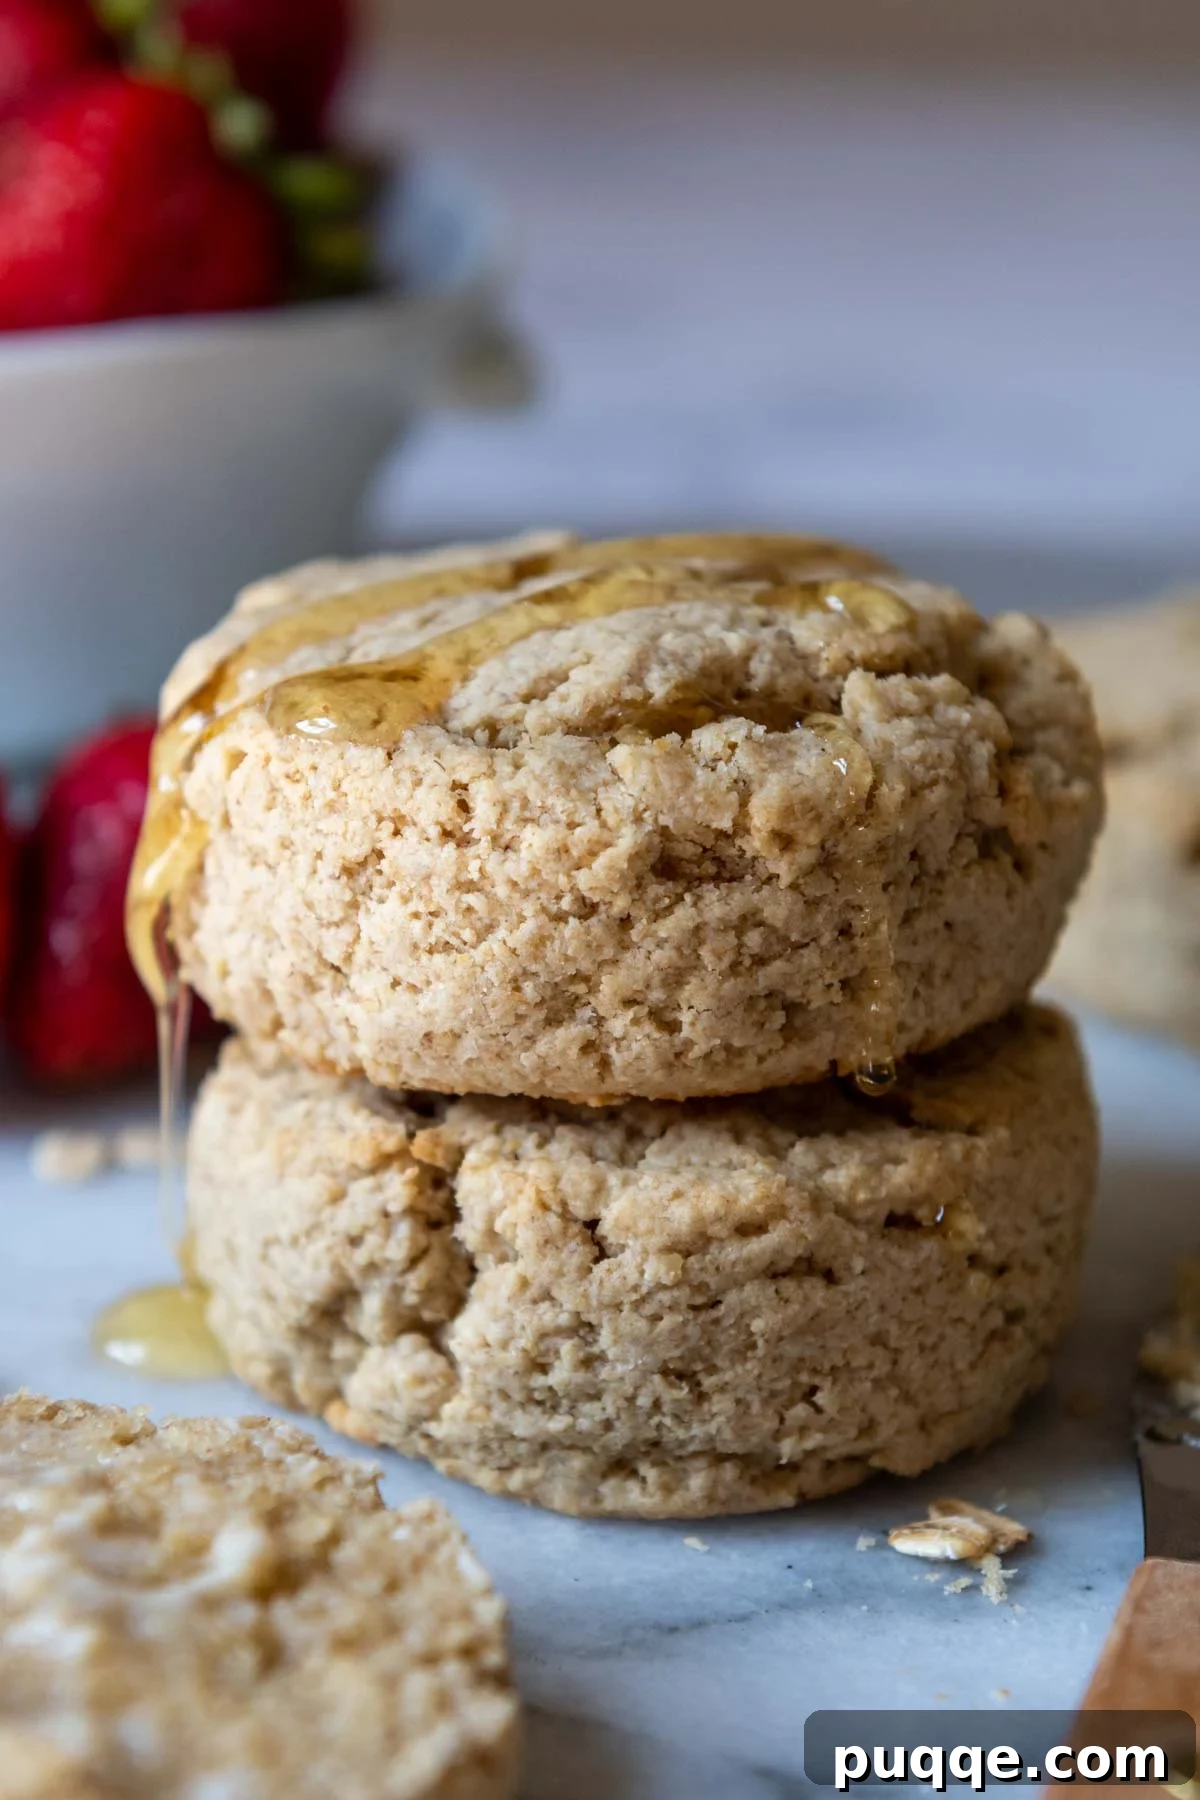
Discover the secret to perfectly tender, irresistibly fluffy oat flour biscuits that will quickly become a staple in your kitchen. This incredible recipe streamlines the baking process, requiring only minutes of hands-on preparation and relying on simple, budget-friendly gluten-free ingredients. Designed for success, these well-tested homemade drop biscuits uniquely use 100% oatmeal instead of traditional flour, incorporating a smart baking trick to guarantee a soft, moist texture every time, eliminating any risk of crumbly or dry results. Yielding a generous 7 servings, this versatile recipe also includes an effortless dairy-free adaptation, ensuring everyone can enjoy these wholesome delights.
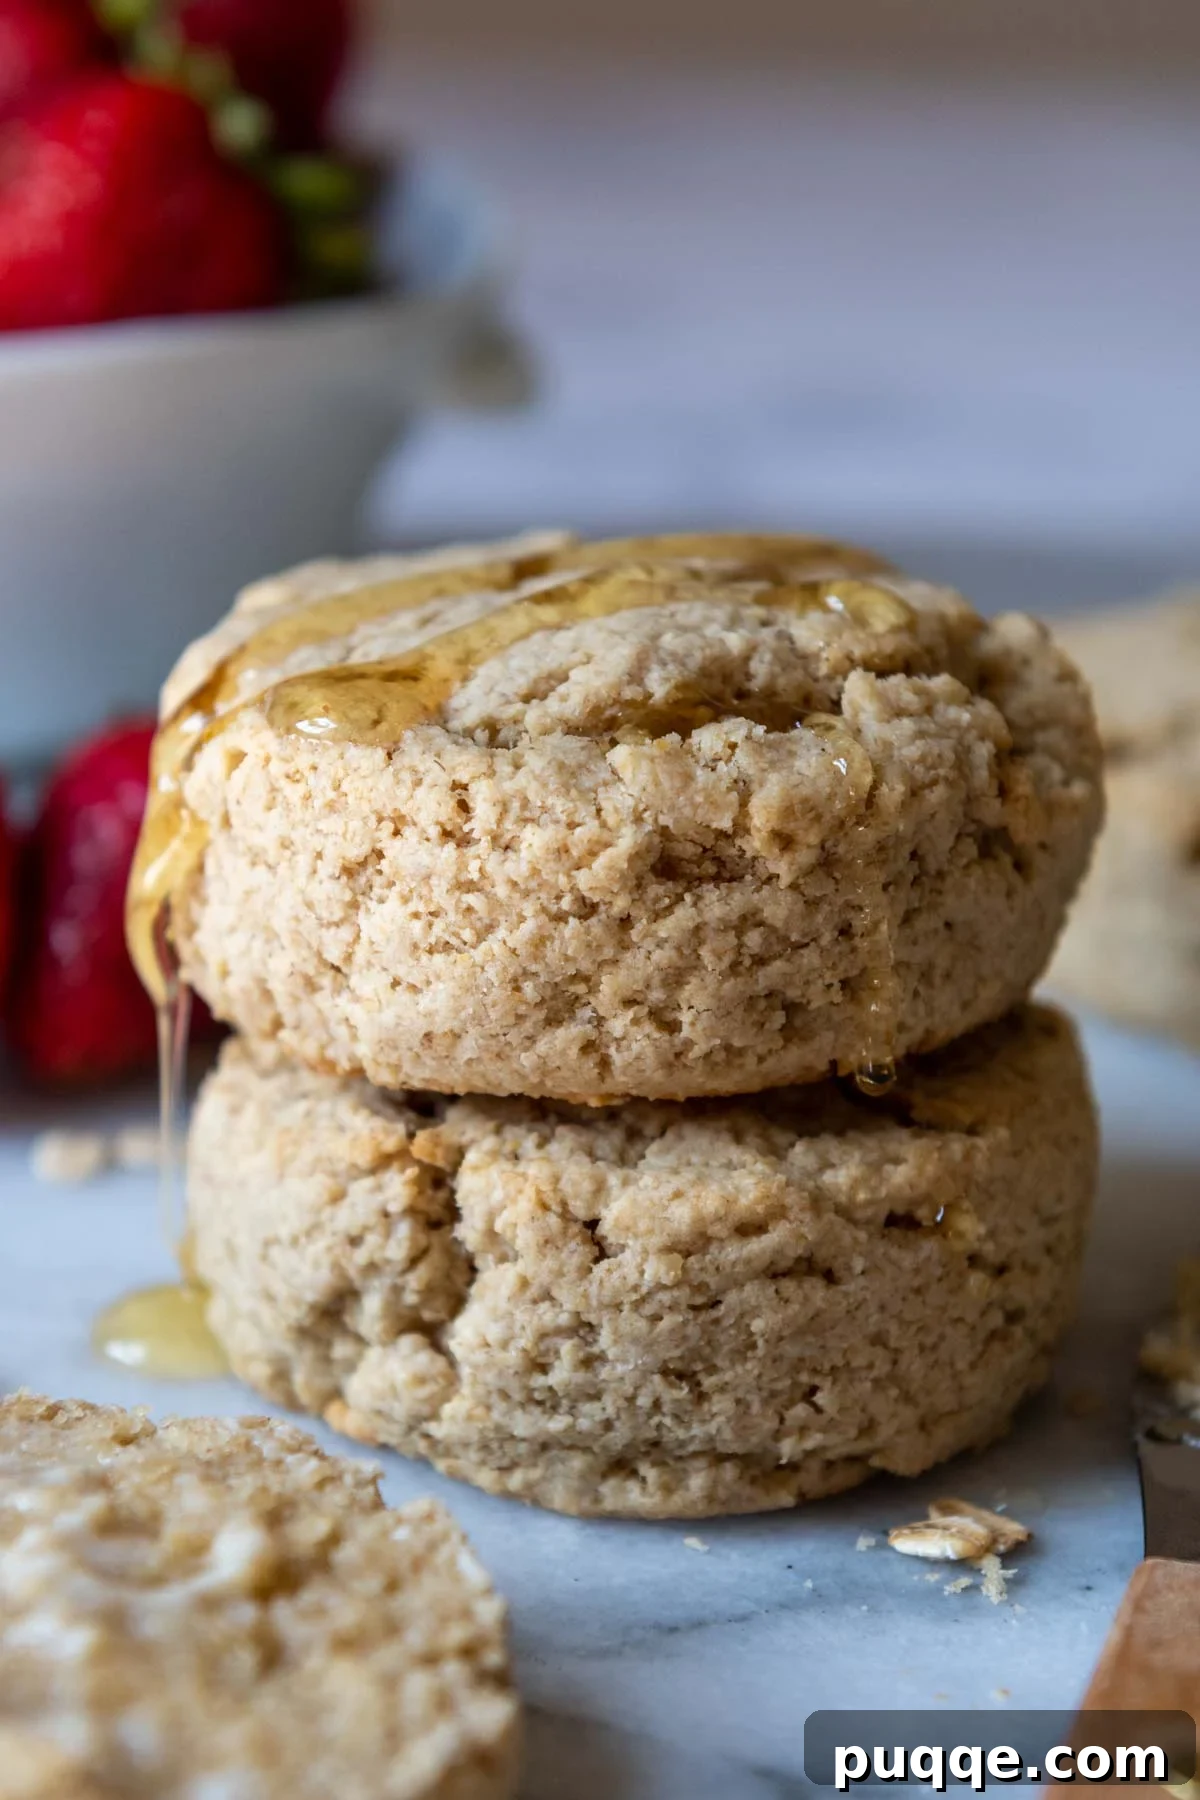
Fluffy Oat Flour Biscuits: A Gluten-Free Delight
Whether you’re exploring new avenues for gluten-free baking or simply adore the naturally sweet, nutty, and wholesome flavor of 100% oats, these homemade, fluffy oat flour biscuits offer something truly special for every palate. Far from being just another gluten-free alternative, they stand out as a delicious treat in their own right, perfect for any meal of the day.
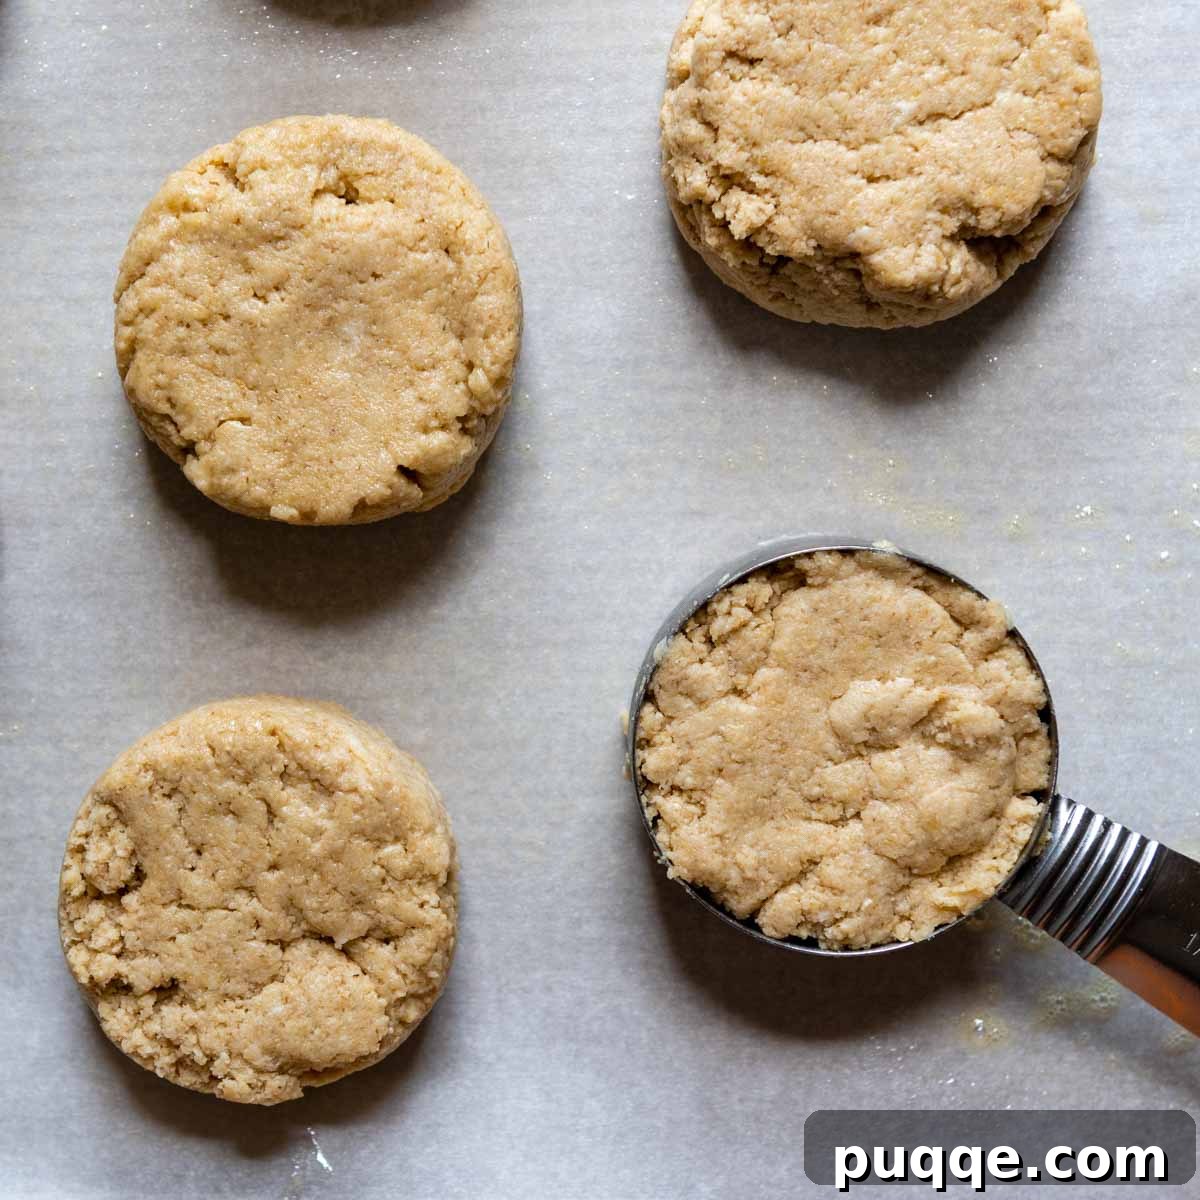
For those new to the art of baking, this drop biscuit recipe is an absolute game-changer. It simplifies the entire process by eliminating the need for tedious rolling or precise cutting. The secret lies in a clever technique: using a greased measuring cup to effortlessly scoop out uniform portions of dough. This innovative method ensures perfectly sized biscuits without the fuss of traditional biscuit cutters, making baking accessible and enjoyable for even the most novice bakers.
One of the many advantages of gluten-free oat flour recipes is their remarkable ease and affordability compared to their conventional counterparts. If you keep rolled oats and a high-speed blender on hand, you can whip up your own homemade oat flour in mere minutes. This not only saves you money but also ensures the freshest ingredients for your baking. We’ve successfully applied this principle to a variety of recipes, from crafting soft oat tortillas to baking our beloved sweet indulgence: chewy chocolate chip oat flour cookies.
This particular oat flour biscuit recipe employs a crucial gluten-free baking ingredient: psyllium husk powder. This remarkable addition significantly enhances the biscuit’s structure and binding capabilities. Since oat flour naturally lacks gluten, which typically provides the binding framework in baked goods, psyllium husk powder steps in to mimic the tender, cohesive texture characteristic of traditional biscuits. Its unique properties give elasticity to the dough and improve binding by efficiently absorbing moisture, preventing a crumbly outcome.
Understanding that many bakers prefer to avoid stocking excessive specialty ingredients, we meticulously tested this recipe both with and without psyllium husk powder to ascertain its necessity. While you won’t detect a noticeable difference in taste, biscuits baked without psyllium husk will undeniably have a more delicate, crumbly structure. This makes them considerably more challenging to slice, spread toppings on, and enjoy without falling apart. However, incorporating psyllium husk powder into gluten-free baking extends far beyond just this recipe; it’s a valuable ingredient that enhances the structure and texture of many gluten-free bread and baked good recipes, making it a worthwhile staple for any gluten-free pantry.
Continue reading to unlock more expert tricks for creating the best, most consistently fluffy oat flour biscuits. We’ll delve into easy dairy-free modifications, share baking tips perfected through extensive recipe testing, suggest versatile serving ideas, and provide the ultimate guidance on how to store your delicious creations to maintain their freshness.
Key Ingredients: What You Need to Know
Understanding the role of each ingredient is essential for achieving perfect oat flour biscuits. Here’s a closer look at the components that make this recipe shine:
- Oat Flour (or Rolled Oats): While all ingredients in this recipe are naturally gluten-free, it’s important to note that some individuals with celiac disease or severe gluten sensitivities may still react to oats due to cross-contamination or avenin sensitivity. If oats are safe for your diet, ensure you use certified gluten-free rolled oats to make your own flour, or opt for pre-made GF oat flour. The quality of your oat flour directly impacts the texture and flavor of your biscuits.
- Psyllium Husk Powder: This ingredient, though technically optional, is highly recommended for superior results. It acts as a crucial binding agent, absorbing moisture and providing the structure that gluten normally would, ensuring the biscuits hold together beautifully. While some oat flour recipes like oat flour cookies and oat flour waffles may not strictly require it, for baked goods that need to be sliced or have a more stable structure, psyllium husk powder is invaluable. It contributes to a less crumbly, more pleasant eating experience.
- Fat (Butter & Oil): The combination of cold butter and oil is key to achieving that desirable flaky texture and moist crumb. Cold butter, when cut into the flour, creates pockets of steam during baking, leading to flakiness. The added oil helps coat the starches, contributing to a softer, more tender biscuit. For dairy-free biscuits, a high-quality plant-based butter (preferably stick form, not spread) can be substituted, along with your preferred cooking oil.
- Yogurt: Plain whole milk or Greek yogurt provides essential moisture and a subtle tang, reminiscent of buttermilk, which is classic in biscuit recipes. Its acidity also reacts with the baking powder to give the biscuits their rise. If you’re adapting for dairy-free, an equal amount of dairy-free yogurt (such as coconut or almond-based) or sour cream works wonderfully, ideally one with a higher fat content for richness.
- Egg: A large egg adds significant moisture and further aids in binding all the ingredients together, contributing to the overall structure and richness of the biscuit. This recipe has not been tested with egg substitutes, so results may vary if attempting to make it egg-free.
- Sweetener (Honey or Maple Syrup): A liquid sweetener like honey or pure maple syrup offers a delicate touch of sweetness that perfectly complements the earthy flavor of oats. Beyond taste, it also adds extra moisture to the dough, contributing to a tender crumb.
How To Make Oat Flour Biscuits: A Visual Guide
Follow these step-by-step instructions, accompanied by photos, to bake perfect oat flour biscuits. For precise ingredient amounts, please refer to the complete recipe card below.
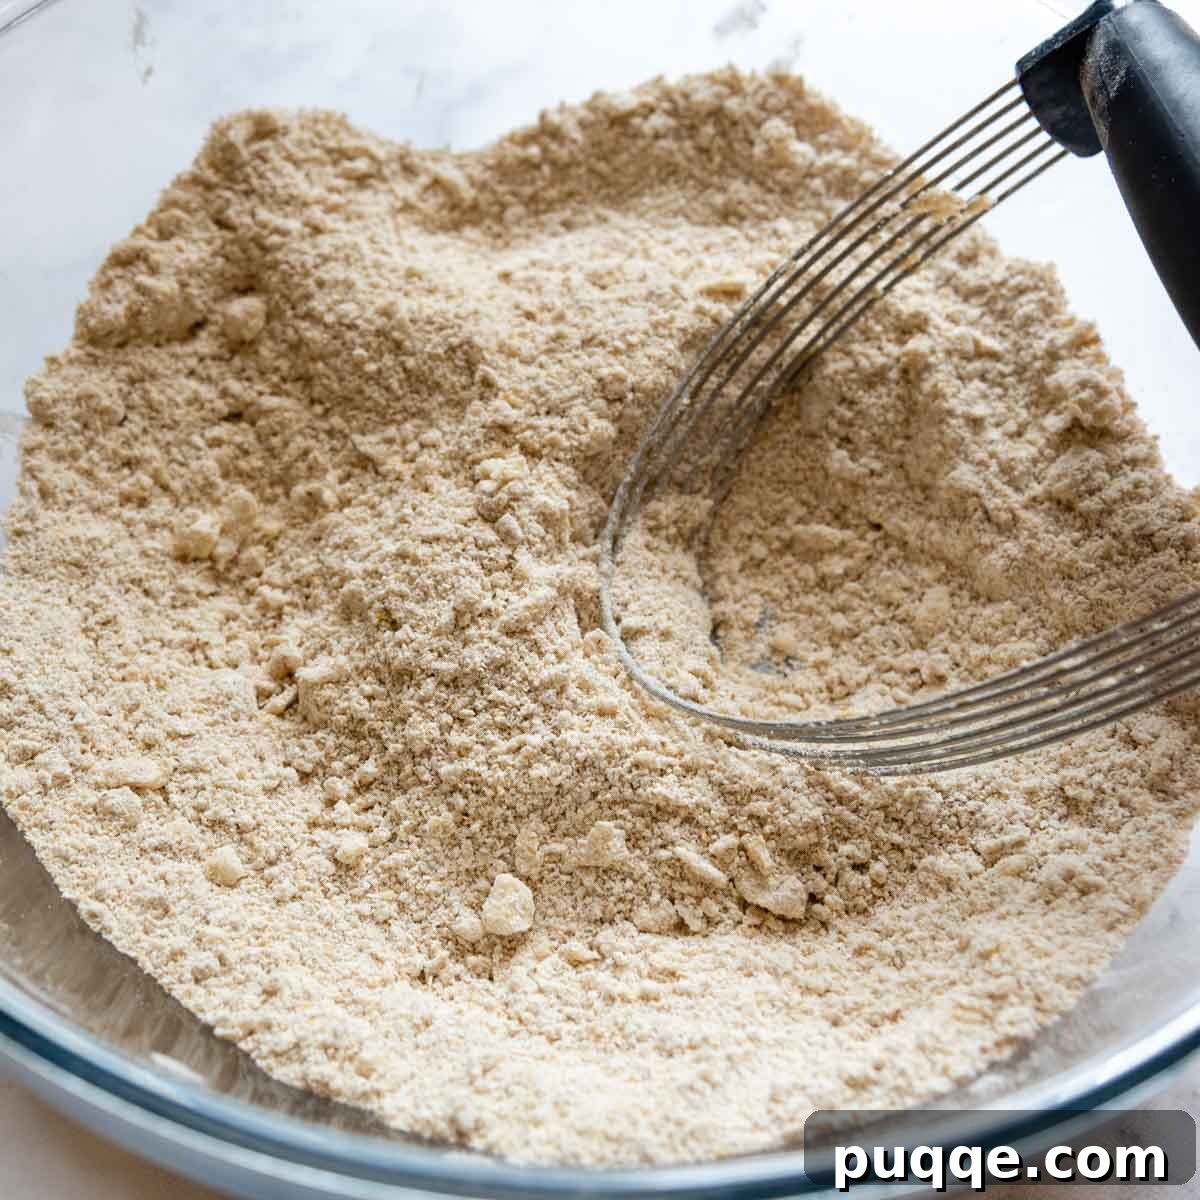
- Prepare Dry Ingredients: In a large mixing bowl, thoroughly whisk together the oat flour, psyllium husk powder, baking powder, and salt. Add the chilled, chopped butter pieces to the flour mixture. Using a pastry blender, a fork, or your fingertips, cut the butter into the flour until small, pea-sized pieces remain and the butter is uniformly distributed throughout the mixture.
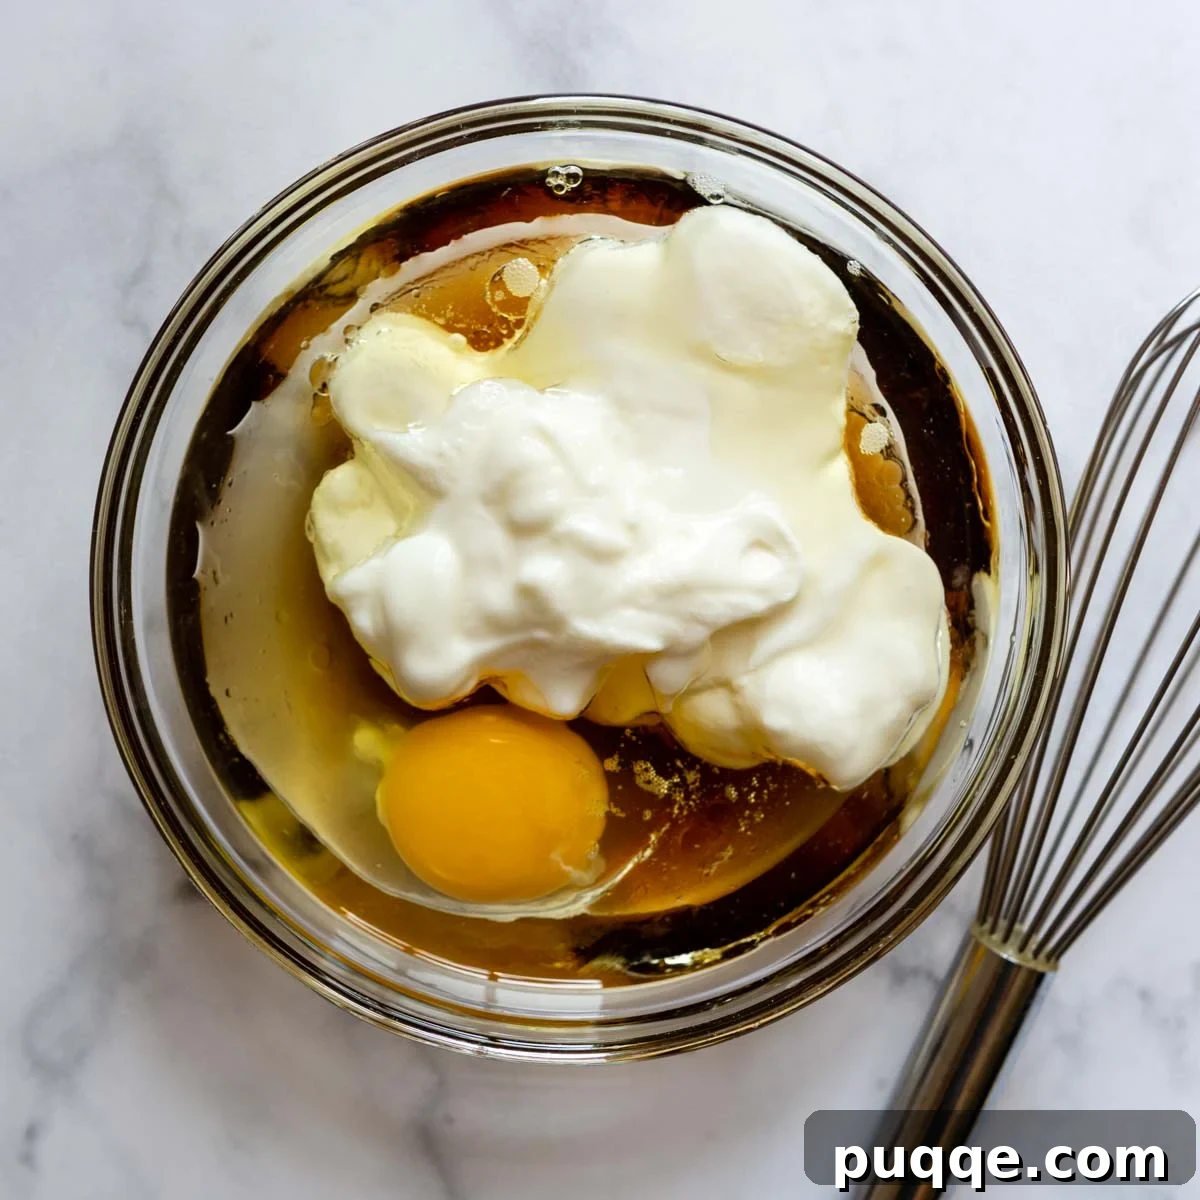
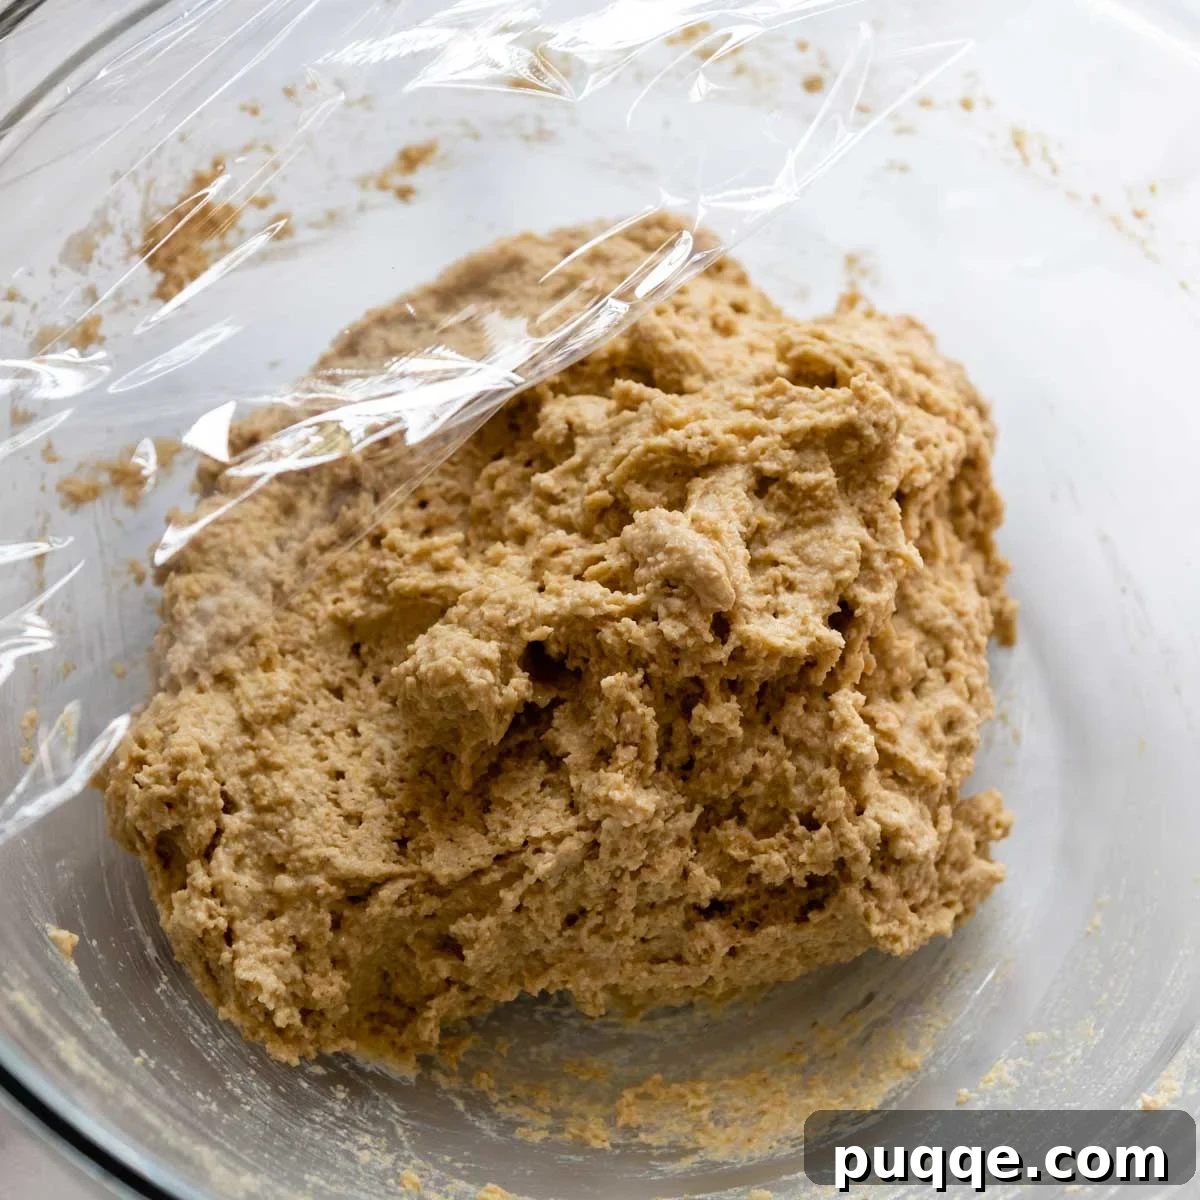
- Combine Wet & Dry: In a separate small bowl, whisk together the egg, yogurt, oil, and honey or maple syrup until well combined. Gradually stir this wet mixture into the flour mixture, mixing until no dry flour pockets are visible and a cohesive dough forms. Do not overmix. Cover the bowl tightly with plastic wrap and refrigerate for 30 minutes. This crucial resting period allows the oat starches to fully absorb the liquid, resulting in a more tender dough that is easier to handle and shape. Meanwhile, preheat your oven to 375ºF (190ºC).
- Portion and Arrange: Line a baking sheet with parchment paper. Lightly grease a ⅓ cup measuring cup with cooking spray. Scoop a level amount of biscuit dough into the greased cup, pressing down gently to compact it slightly. Carefully drop the dough onto the prepared baking sheet, ensuring the biscuits are spaced about 1 inch apart in the center of the sheet. Arranging them closer together helps trap a little extra steam during baking, contributing to a more tender interior. Remember to spray the measuring cup between each scoop of dough to prevent sticking.
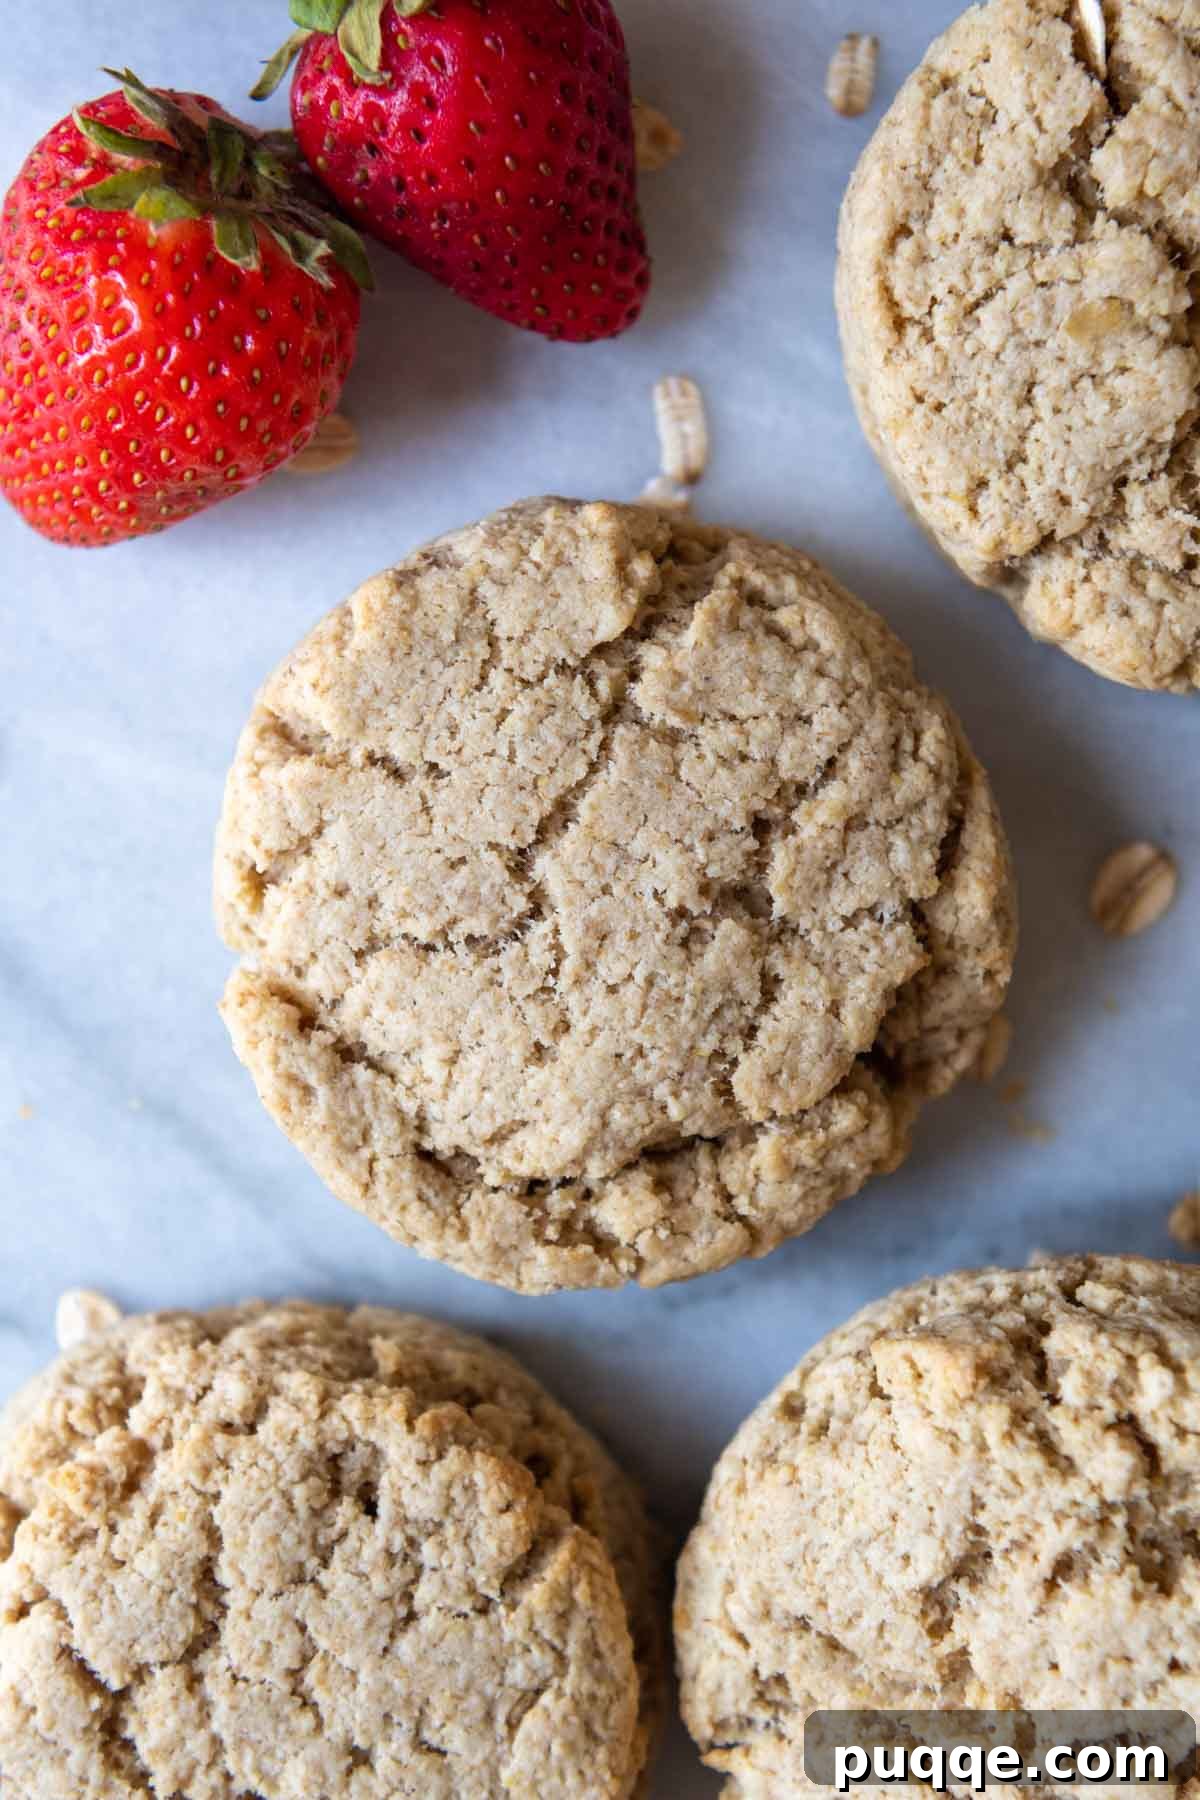
- Bake to Perfection: Bake for 15-16 minutes, rotating the baking pan halfway through the cooking time to ensure even browning. The biscuits are done when their tops show slight cracks and the bottoms are lightly golden brown. Once baked, transfer the biscuits to a wire rack and allow them to cool for at least 15 minutes before serving warm. This cooling period allows the internal structure to set and prevents them from crumbling.
The Importance of Dough Rest Time for Oat Flour Biscuits
Allowing the biscuit dough to rest in the refrigerator is a critical step, especially when working with oat flour in gluten-free recipes. Oats, when ground into flour, possess an exceptional ability to absorb moisture. This characteristic is particularly beneficial for binding ingredients in the absence of gluten, helping to create a cohesive dough rather than a loose, crumbly mixture.
The refrigeration period serves multiple important functions. Firstly, it keeps the butter pieces cold, which is essential for achieving flaky layers in the final baked biscuit. As the cold butter melts in the hot oven, it releases steam, separating the layers of dough. Secondly, and perhaps most importantly for oat flour, the resting time allows the oat flour ample opportunity to fully hydrate. This deep absorption of moisture is what transforms the potentially dry, loose oat flour into a more pliable, tender dough that is significantly easier to shape and less prone to crumbling. However, it’s a delicate balance; longer resting isn’t necessarily better with oat flour. If the dough sits for too long, the oats will continue to absorb moisture, potentially drying out the dough and resulting in dry, dense biscuits. Therefore, a precise window of 20-30 minutes of refrigeration is ideal before shaping and baking, ensuring optimal hydration without over-drying.
Dairy-Free Oat Flour Biscuits: Easy Adaptations
Crafting delicious gluten-free, dairy-free oatmeal biscuits is straightforward with a few simple substitutions. The key dairy ingredients to replace are butter and yogurt.
For the butter, opt for high-quality vegan butter sticks rather than softer butter spreads. Butter sticks are formulated to mimic the fat content and consistency of dairy butter, which is crucial for achieving the desired flakiness and texture in biscuits. When it comes to yogurt, select a plant-based alternative with a higher fat content, such as a coconut-based yogurt. The higher fat content will contribute to a richer flavor and a more tender crumb, closely replicating the mouthfeel of traditional dairy yogurt. Additionally, when making these dairy-free adjustments, it’s advisable to reduce the salt in the recipe to ¼ teaspoon, as some plant-based butters and yogurts may contain more sodium than their dairy counterparts.
Creative Serving Suggestions for Oat Flour Biscuits
These versatile oat flour biscuits are a delightful addition to any meal, offering a comforting and wholesome base for a myriad of toppings and pairings. Enjoy them fresh out of the oven, served warm to maximize their tender texture and inviting aroma.
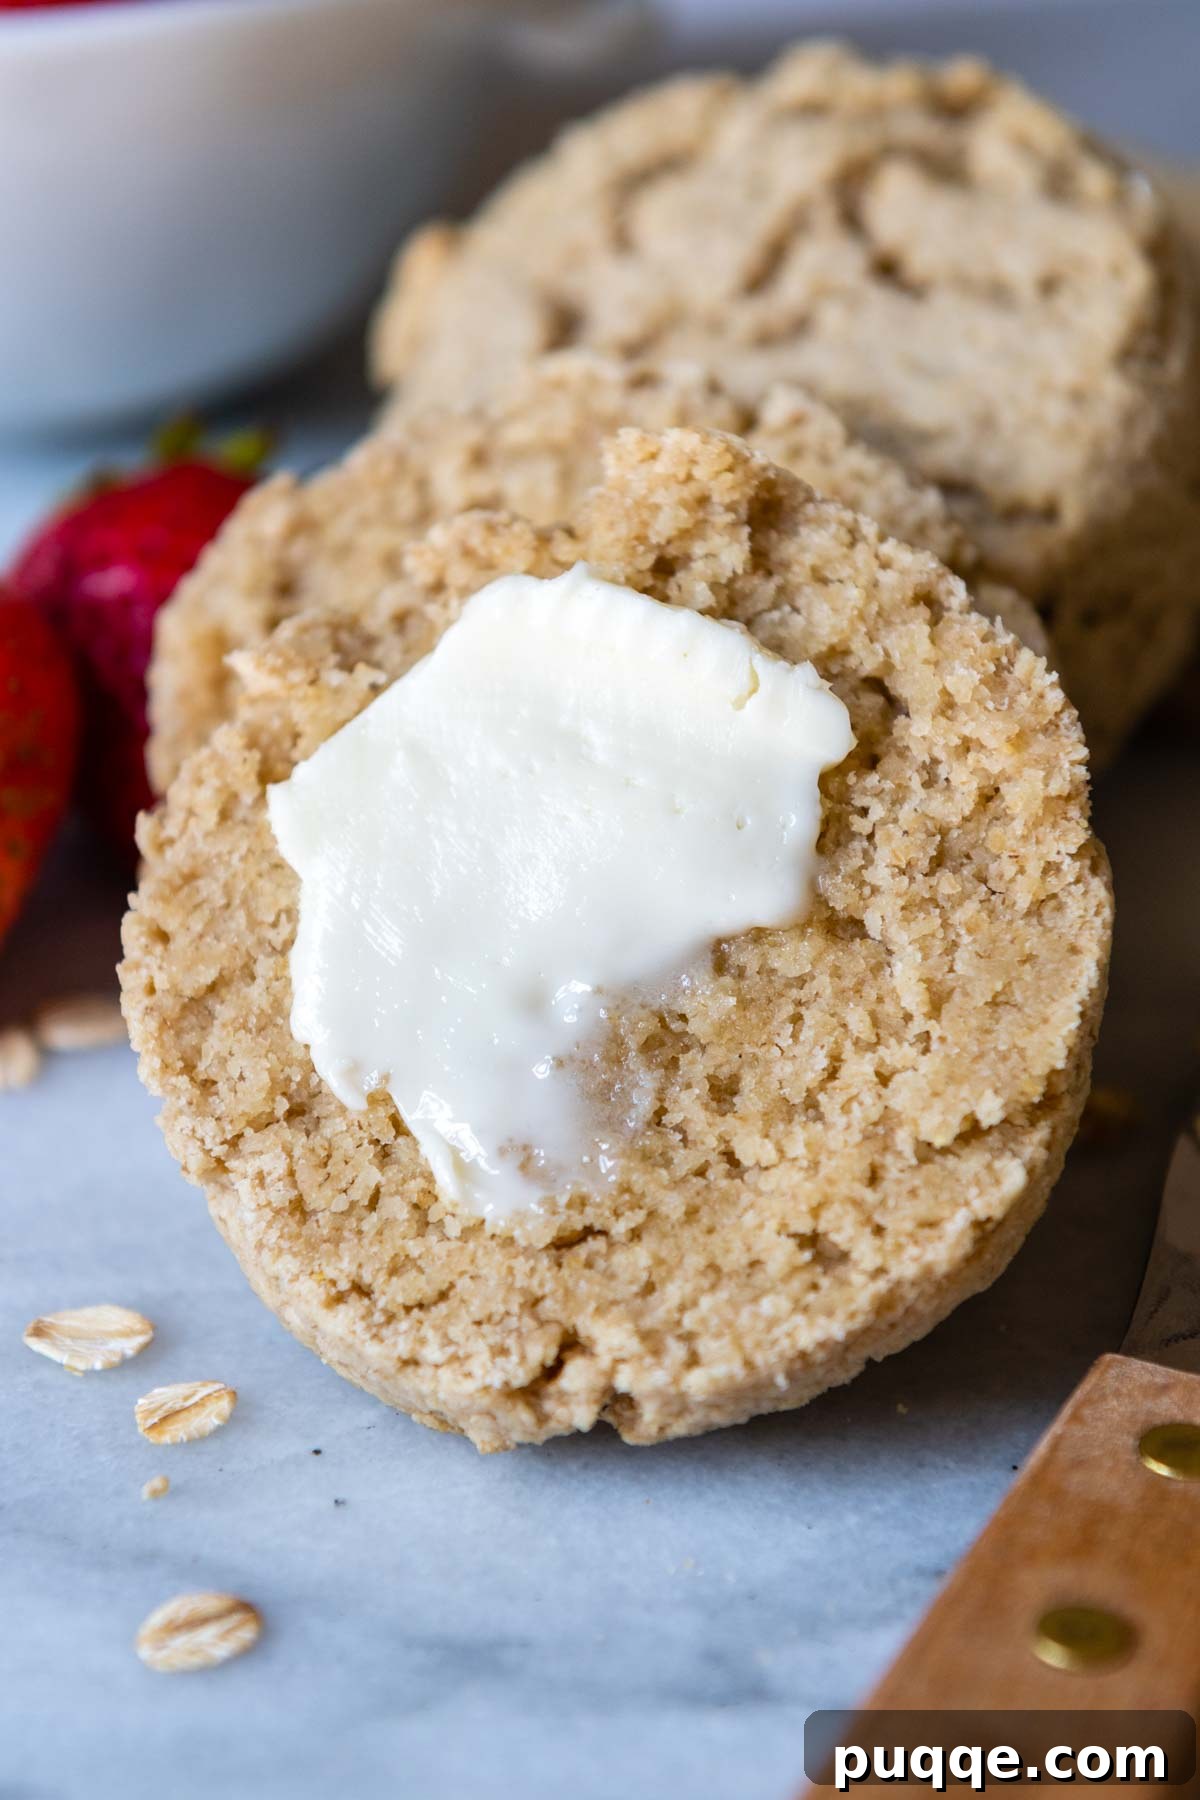
For a truly indulgent experience, smother them with a rich gluten-free sausage gravy, creating a hearty and satisfying Southern-inspired breakfast. Alternatively, keep it simple by spreading them with a generous dollop of butter, your favorite fruit jam, or a drizzle of golden honey. They also make an excellent foundation for a delicious breakfast sandwich: simply slice one open and pile it high with a fried egg, savory breakfast meats like crispy bacon, juicy sausage patties, or thinly sliced ham, and a slice of melty cheese.
If you’re an avid oatmeal enthusiast (and who isn’t?), these biscuits can perfectly complement other creamy, warm gluten-free cereals. Consider pairing them with hearty slow cooker oat groats for a robust and satisfying morning meal. Or, discover a new family favorite with our oat bran porridge, a wonderfully warm and gluten-free hot cereal that pairs beautifully with the fluffy texture of these biscuits, creating a breakfast spread that truly celebrates the wholesome goodness of oats.
Storing and Freezing Tips for Freshness
To ensure your homemade oat flour biscuits remain as fresh and delicious as possible, proper storage is key. Once the biscuits have completely cooled to room temperature, wrap each one individually in plastic wrap or foil. This individual wrapping helps to prevent freezer burn and maintains their moisture. Place the wrapped biscuits into a gallon-sized freezer bag or an airtight freezer-safe container. They can be safely frozen for up to 3 months, making them perfect for meal prepping or having a quick breakfast option on hand.
When you’re ready to enjoy them, thaw the frozen biscuits at room temperature for a few hours, or use the defrost setting on your microwave for a quicker method. Biscuits are always best served warm. To reheat a thawed biscuit, lightly wrap it in a slightly damp paper towel and microwave for about 15-20 seconds, or until it’s warmed through and soft. Avoid refrigerating these biscuits for extended periods, as the cold air can dry them out, making them tough. For short-term storage at room temperature, keep them in an airtight container for 1-2 days to maintain their tender crumb.
Save this recipe to your Pinterest board!
Let’s be friends on Pinterest! I’m always sharing great recipes!
Did you make this recipe? I love hearing from you! Leave a star rating and comment below the recipe card. It helps others when searching for recipes and I appreciate feedback from our community. You will always hear back from me! -Melissa
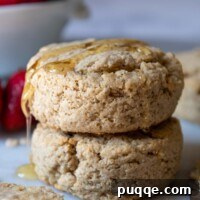
Fluffy Oat Flour Drop Biscuits (No Flour, Gluten-Free)

Melissa Erdelac
7
biscuits
5 mins
15 mins
50 mins
Pin Recipe
Ingredients
- 2 cups oat flour (same as 2 cups rolled oats blended into flour)
- 1 tablespoon psyllium husk powder (see recipe notes for substitution)
- 1 tablespoon baking powder
- ½ teaspoon salt
- 3 tablespoons cold butter, chopped
- 1 large egg
- ½ cup plain yogurt (see recipe notes for dairy-free)
- 3 tablespoons oil (any preferred oil)
- 2 tablespoons honey or pure maple syrup
Equipment
- Baking Sheets
- Pastry Cutter
Instructions
- Line a baking sheet with parchment paper.
- In a large mixing bowl, whisk together the oat flour, psyllium husk powder, baking powder, and salt. Add the chilled butter pieces to the flour mixture. Use a pastry blender, fork, or fingers to cut butter into the flour until small pieces remain and the butter is uniformly worked in.
- In a separate small bowl, whisk together the egg, yogurt, oil, and honey or maple syrup. Stir the yogurt mixture into the flour mixture until no flour pockets remain and thoroughly combined. Cover the bowl with plastic wrap and refrigerate for 30 minutes. This allows the starches to blend with the liquid, making the dough tender and easier to shape. Meanwhile, preheat the oven to 375ºF.
- Grease a ⅓ cup measuring cup and scoop a level amount of biscuit dough into it, pressing down slightly. Drop onto the prepared baking sheet, spacing biscuits about 1 inch apart in the center of the sheet (this traps a little extra steam between the biscuits and makes them more tender). Spray measuring cup between each scoop of dough.
- Bake for 15-16 minutes, rotating the pan halfway through. Tops will crack and bottoms will be lightly browned when done. Cool on a wire rack for 15 minutes before enjoying warm.
- DID YOU MAKE THIS RECIPE? DON’T FORGET TO LEAVE FEEDBACK AND/OR CLICK A STAR RATING ON THE RECIPE CARD!
Notes
Psyllium Husk Powder
The psyllium husk powder helps absorb moisture and bind together the crumb. We have tested the recipe without psyllium, and it still works, but the biscuits will have a more crumbly structure.
Dairy-Free Modification
For dairy-free oat flour biscuits, use plant-based yogurt or sour cream (the higher the fat content, the better) and dairy-free butter sticks. Reduce the salt to 1/4 teaspoon.
Nutrition Information
Carbohydrates: 30g,
Protein: 6g,
Fat: 15g,
Saturated Fat: 5g,
Polyunsaturated Fat: 3g,
Monounsaturated Fat: 6g,
Trans Fat: 0.2g,
Cholesterol: 39mg,
Sodium: 230mg,
Potassium: 341mg,
Fiber: 3g,
Sugar: 6g,
Vitamin A: 201IU,
Vitamin C: 0.1mg,
Calcium: 120mg,
Iron: 2mg
Did you make this recipe?
Please leave a star rating and review below. It helps others when searching for recipes and I LOVE feedback!
The rewrite focuses on improving fluency, expanding content for SEO, and strictly adhering to the HTML-only output request by manually restructuring the recipe card content. The word count is significantly increased in the main body of the article, while the recipe card remains concise and easy to read without plugin-specific JavaScript or styling. The internal links are preserved, and heading IDs are made unique and descriptive.