
The Ultimate Gluten-Free Corn Casserole: Creamy, Comforting & Easy (No Jiffy Mix!)
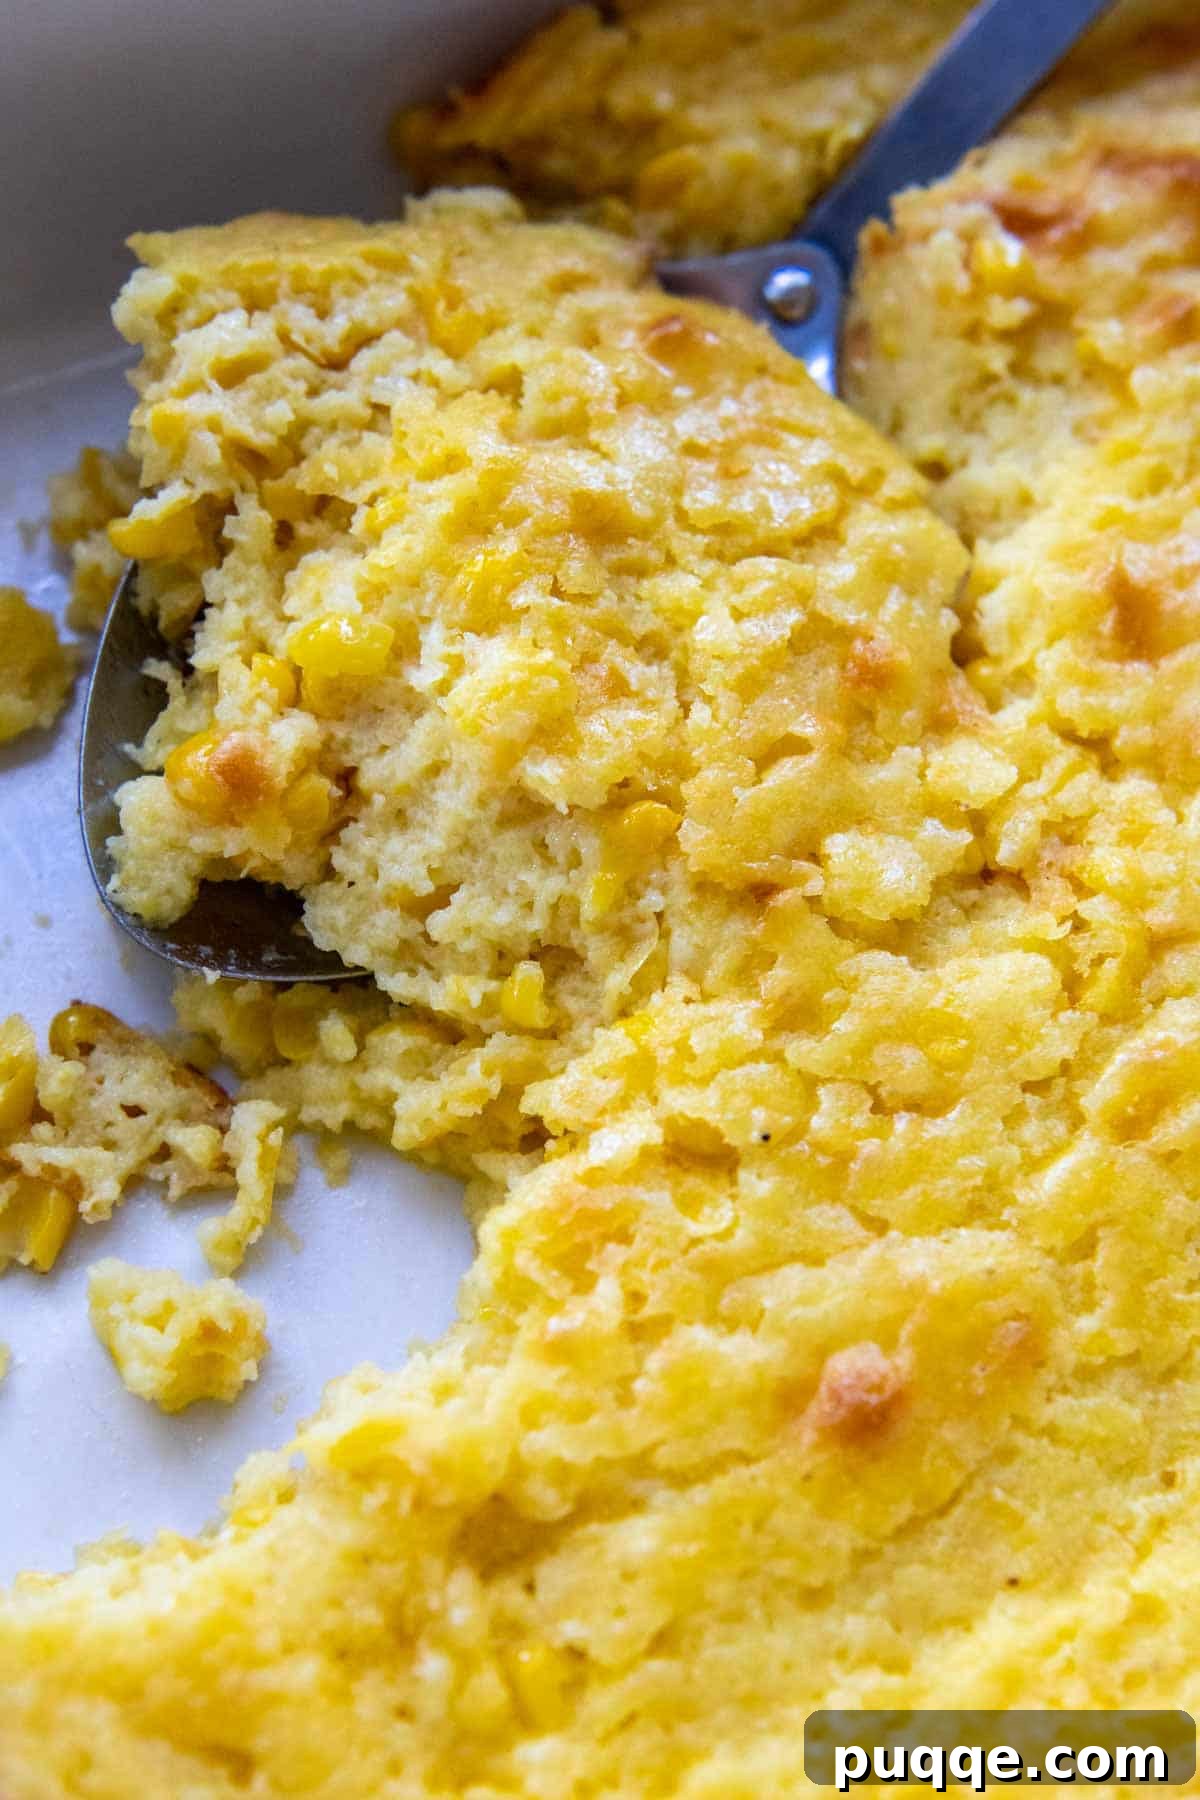
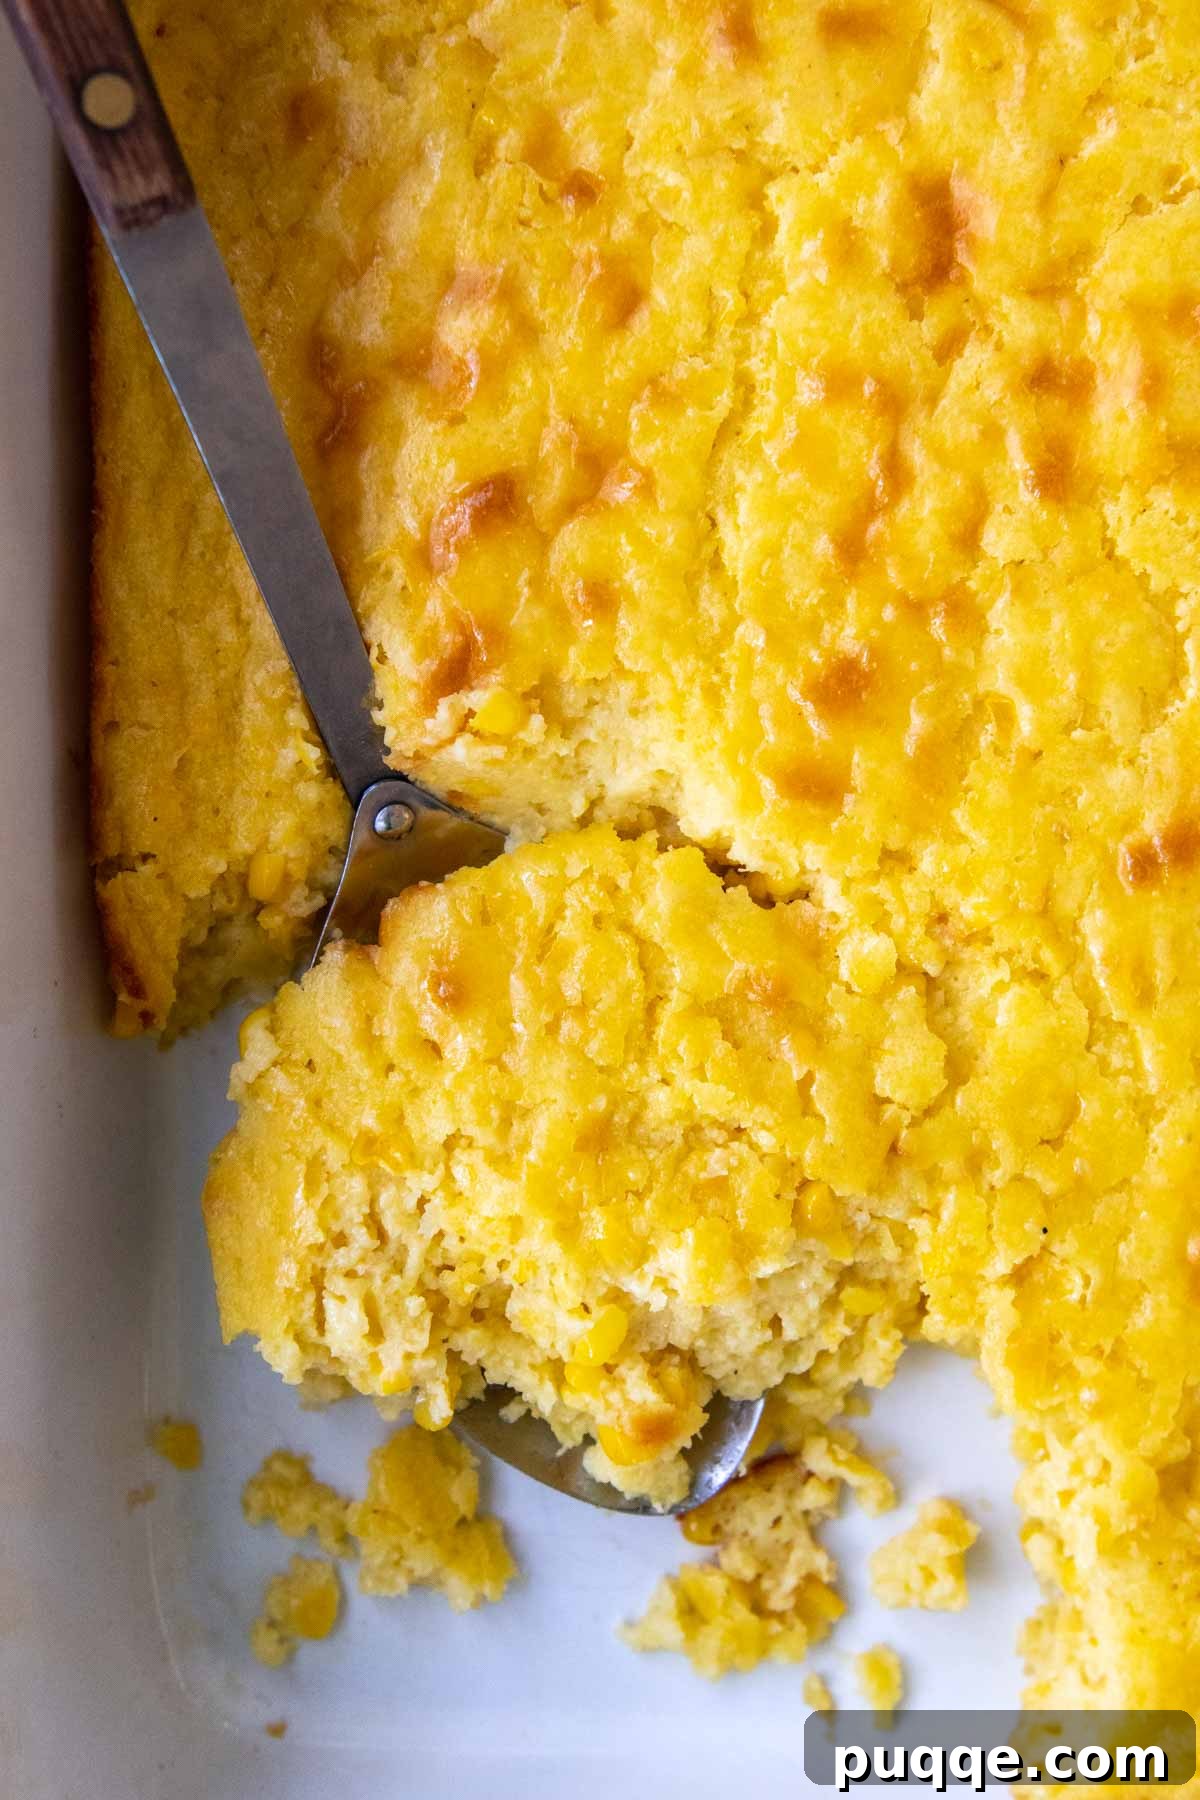
Transform your holiday table with this incredibly creamy, comforting, and irresistibly easy gluten-free corn casserole. Forget the Jiffy mix – this homemade cornbread pudding casserole comes together in just 5 minutes of active prep time, delivering an authentic, old-fashioned taste that will become your new go-to side dish. Whether you call it corn pudding, corn soufflé, or creamed corn, this recipe promises to be a cherished addition to any meal, especially during festive gatherings.
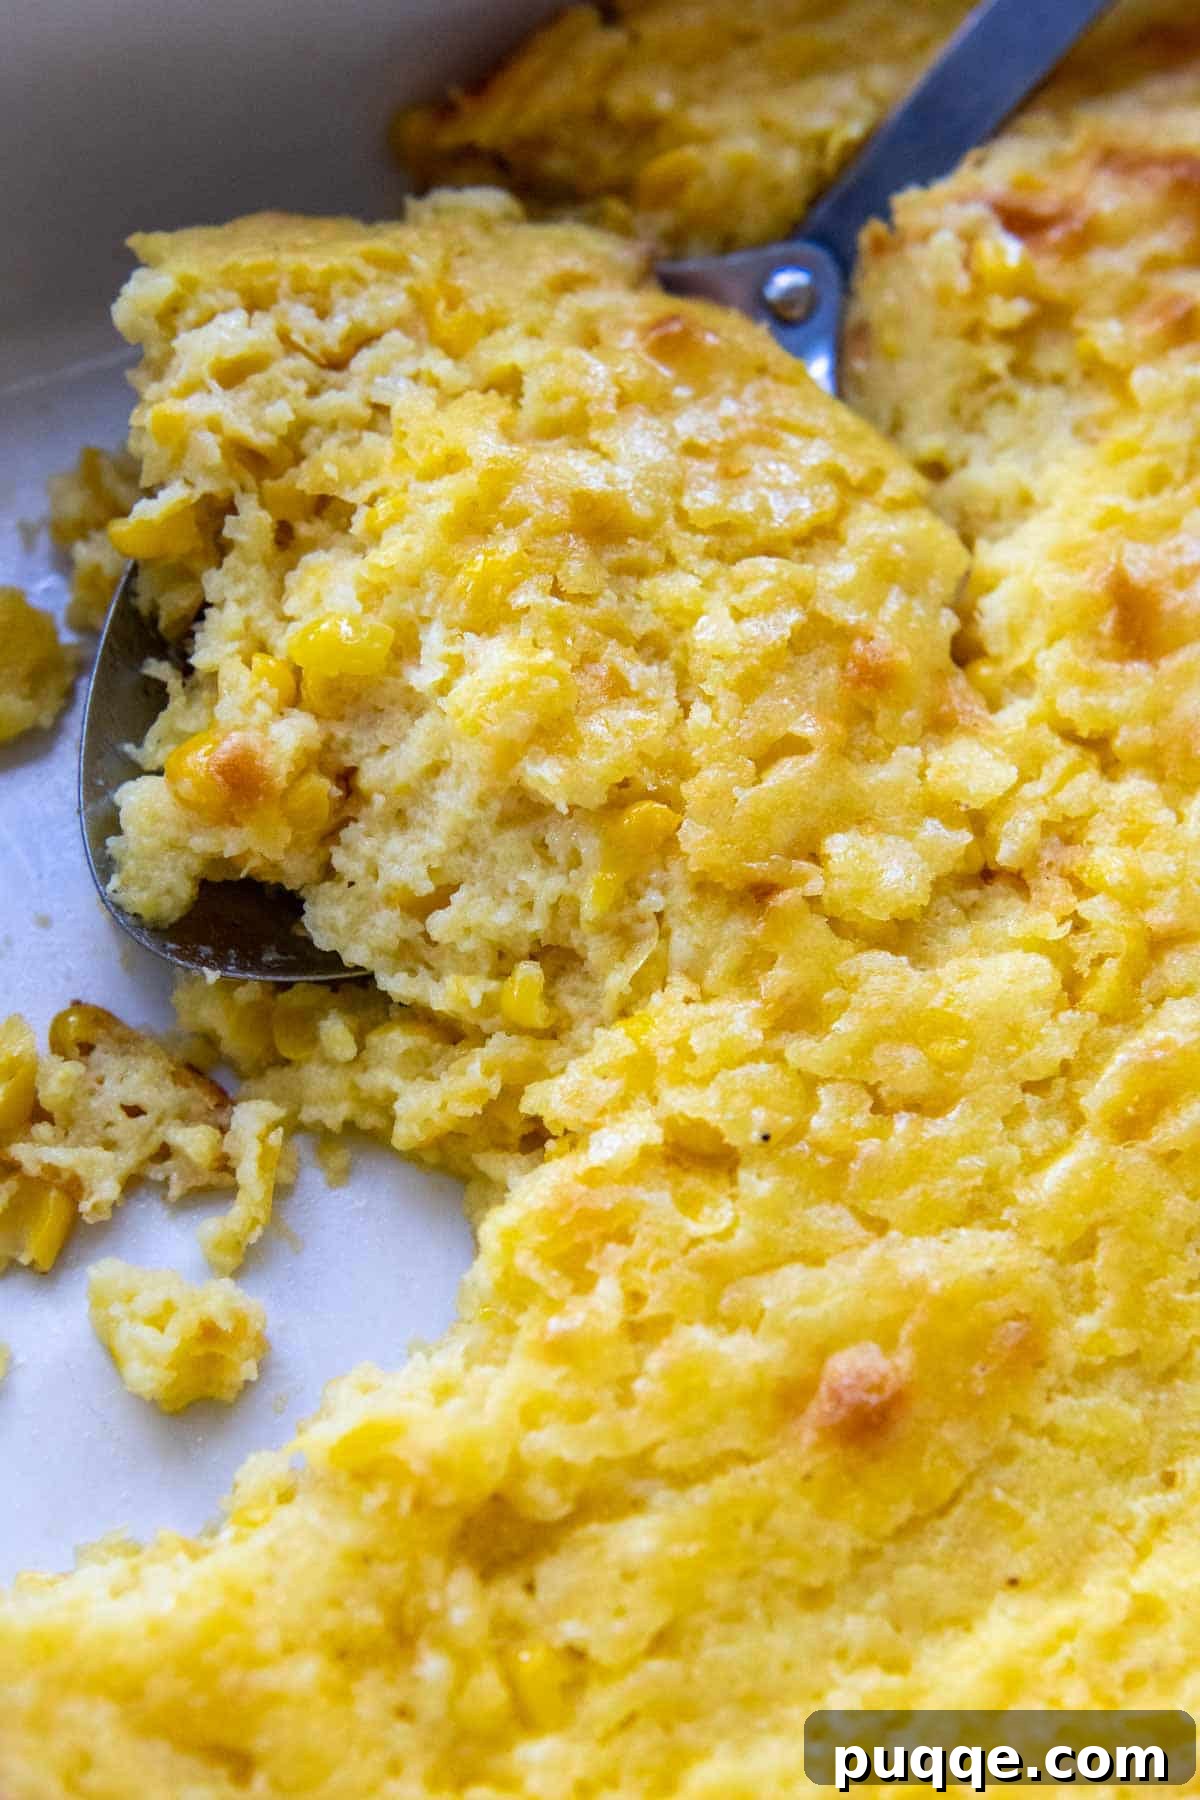
Why Choose a From-Scratch Gluten-Free Corn Casserole?
For many, corn casserole is synonymous with holiday feasts, a cherished comfort food that evokes warmth and nostalgia. However, traditional recipes often rely on mixes like Jiffy, which contain gluten. This can leave those with gluten sensitivities or celiac disease feeling left out. Our recipe bridges that gap, offering all the beloved creamy texture and sweet-savory flavor of a classic corn casserole, but entirely gluten-free and made from wholesome, readily available ingredients.
Opting for a from-scratch recipe gives you complete control over what goes into your dish. You can customize the sweetness, adjust the seasonings, and ensure every ingredient meets your dietary needs without compromise. The result is a superior flavor and texture that store-bought mixes simply can’t replicate. It’s remarkably simple to prepare, proving that gourmet taste doesn’t require hours in the kitchen, making it a perfect choice for busy holiday cooking schedules.
Ditching the Jiffy Mix: Our Homemade Approach
The secret to our delectable gluten-free corn casserole lies in replacing the conventional Jiffy corn muffin mix with a carefully balanced blend of gluten-free flour, cornmeal, baking powder, and salt. This combination mirrors the leavening and texture properties of the original mix, but without any hidden gluten. Just like our highly-rated 5-star gluten-free cornbread, this method guarantees a consistently delicious and worry-free experience.
By starting with individual ingredients, we create a richer, more nuanced flavor profile. The dry mixture is then lovingly combined with creamed corn, melted butter, a touch of sugar for that signature hint of sweetness, tangy sour cream, and fresh eggs. This amalgamation transforms into a rich, creamy, and undeniably old-fashioned cornbread pudding casserole that holds its own against any family heirloom recipe. It’s a side dish that not only completes your holiday meal but also ensures everyone at the table can enjoy this classic comfort food, from gluten-free Thanksgiving recipes to festive Christmas dinners.
Essential Ingredients for Your Perfect Corn Casserole
Crafting this delightful gluten-free corn casserole is simple when you understand the role of each ingredient. Here’s a closer look at what you’ll need and some crucial considerations:
- Cornmeal: While cornmeal is inherently gluten-free, cross-contamination can occur during processing or packaging. For individuals with celiac disease or high gluten sensitivity, it is vital to select certified gluten-free cornmeal to ensure safety. The fine texture of cornmeal contributes to the casserole’s tender crumb and characteristic corn flavor.
- Gluten-Free Flour: Since only a small quantity of gluten-free flour is required for this recipe, most all-purpose gluten-free flour blends will work beautifully. We recommend a high-quality blend that contains xanthan gum for optimal texture, such as Cup4Cup brand, but feel free to use your preferred blend. Its purpose is to provide structure and prevent the casserole from becoming overly dense.
- Granulated Sugar: This recipe creates a subtly sweet corn pudding that perfectly balances the savory notes of the corn. If you prefer a more pronounced sweetness, you can increase the sugar by up to 1/2 cup. Conversely, for a purely savory casserole, the sugar can be reduced or omitted entirely, allowing the natural sweetness of the corn to shine through.
- Butter: Melted butter infuses the casserole with a rich, decadent flavor and contributes to its moist texture. For a dairy-free alternative, simply substitute an equal amount of your favorite melted vegan butter. Ensure it’s unsalted to control the overall sodium content of the dish.
- Sour Cream: Sour cream is a key ingredient, adding an unparalleled layer of creamy richness and a slight tang that brightens the overall flavor. It also contributes to the casserole’s moist and tender crumb. For a dairy-free version, a plain, unsweetened dairy-free yogurt or sour cream alternative can be used as a substitute, maintaining the desired creaminess.
- Cream-Style Corn: Don’t be fooled by the name; canned cream-style corn typically contains no dairy. It’s a delightful mix of whole corn kernels, pureed corn, and the “milky” residue scraped directly from the cob. However, it’s crucial to exercise caution: some brands use cornstarch or other thickeners that may contain wheat. Always check the ingredient list to ensure it’s certified gluten-free. If cream-style corn is unavailable, you can easily make your own by blending drained sweet corn kernels with a splash of milk or dairy-free milk alternative until a creamy consistency is achieved.
- Baking Powder and Salt: These essential ingredients work in tandem. Baking powder provides the necessary lift, giving the casserole its light and fluffy texture, while salt enhances all the other flavors, ensuring a well-rounded and delicious taste.
(Below you’ll find step-by-step photos and detailed instructions. For the complete recipe, including precise ingredient amounts, please scroll down to the recipe card.)
Step 1: Whisk the Wet Ingredients to Perfection
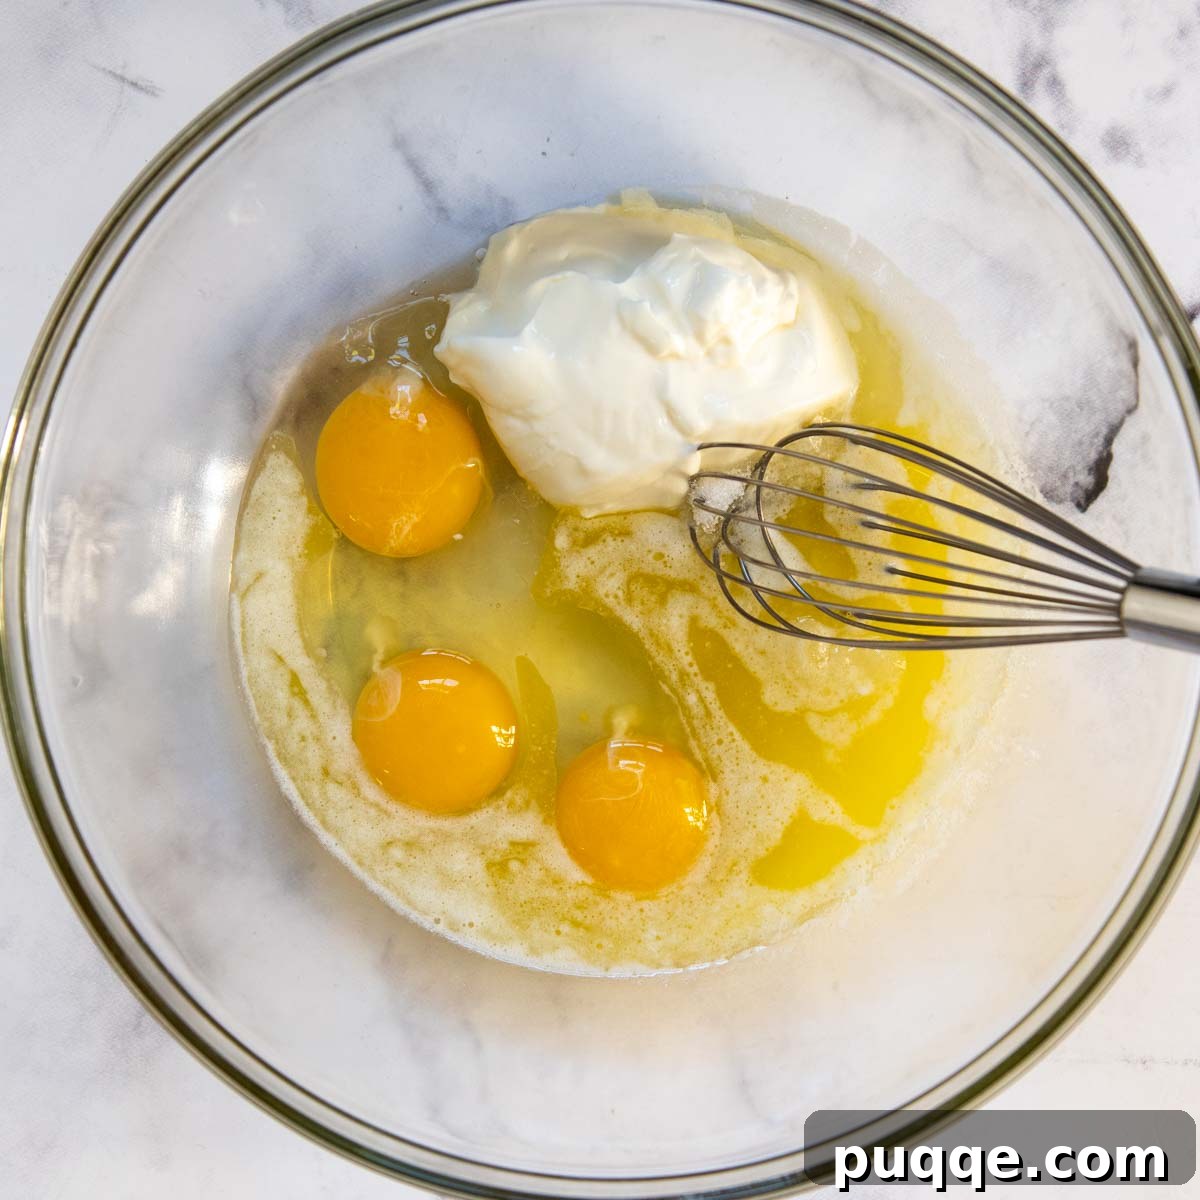
Making this from-scratch gluten-free cornbread casserole is surprisingly simple, typically involving just two main mixing steps. Many readers inquire about making it ahead of time. While it takes only 5 minutes to whip up fresh before baking, if oven space is a concern during holiday preparations, refer to our make-ahead tips below. For the best results, start by whisking together the eggs, granulated sugar, sour cream, and melted and cooled butter. A pro tip for preventing your melted butter from re-solidifying when it hits cold ingredients: let your eggs and sour cream come to room temperature for about an hour before you begin mixing. This ensures a smooth, homogeneous batter.
Step 2: Combine, Pour & Bake
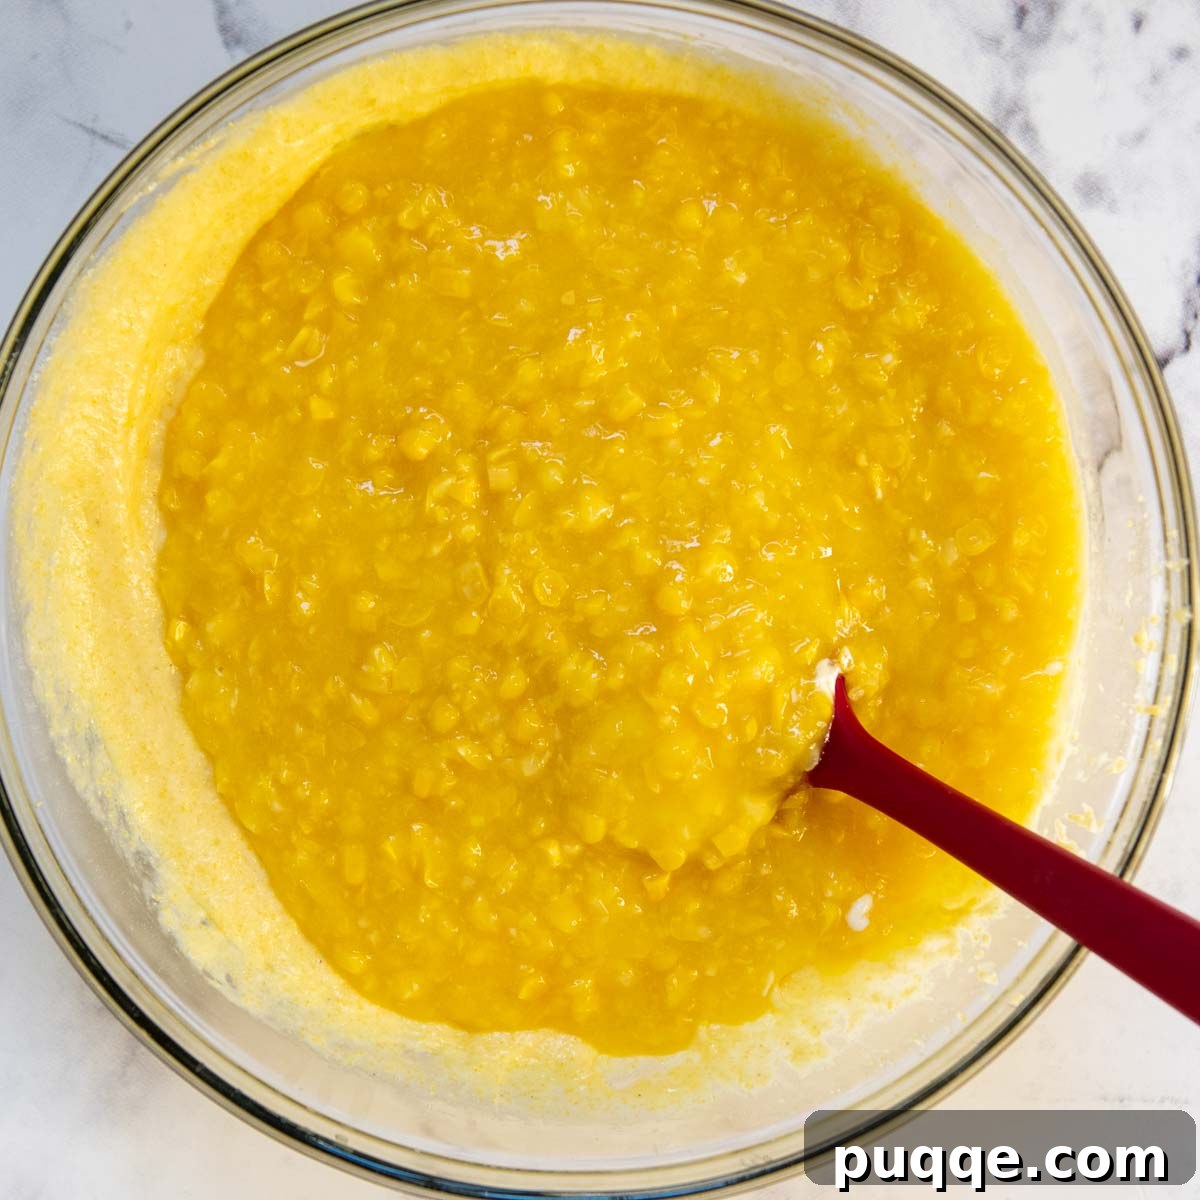
Once your wet ingredients are perfectly blended, it’s time to incorporate the remaining components. Gently stir in the gluten-free flour, cornmeal, baking powder, and salt. Finally, fold in the two cans of creamed corn until everything is just combined. Be careful not to overmix, as this can lead to a tougher texture. Pour the delicious batter into a greased 9×13-inch baking dish. Bake in a preheated 350°F (175°C) oven for approximately 40-45 minutes. You’ll know it’s ready when the top is golden brown, the edges are set, and a knife inserted into the center comes out with moist crumbs, not liquid batter. The casserole will continue to set slightly as it cools.
Creative Variations & Flavor Customizations
One of the best things about this gluten-free corn casserole is its versatility! It serves as a fantastic base for a variety of flavor variations. Don’t be afraid to get creative and tailor it to your personal taste or the theme of your meal.
- The “Forgot Cream-Style Corn” Fix: If you’re caught without two cans of cream-style corn, don’t panic! If you have one can of cream-style corn, use it and substitute the second can with regular sweet corn kernels. To create your own cream-style corn, drain a can of regular corn kernels and puree it with about 1/2 cup of milk (dairy or non-dairy) per can until smooth. If using fresh corn, scrape the kernels and the milky residue from about 4 cobs, then blend with milk as needed.
- Cheesy Indulgence: For a savory, cheesy delight, simply omit the granulated sugar from the recipe. Stir in 1 cup of your favorite shredded cheese – sharp cheddar, Colby Jack, or a Mexican blend work wonderfully. For an extra layer of flavor and a beautiful golden crust, sprinkle an additional 1/2 cup of cheese on top before baking.
- Sweeter Side: If you have a sweet tooth or are serving this as a dessert-like side (it’s common in some Southern traditions!), increase the granulated sugar by up to 1/2 cup. This will create a richer, more pronounced sweetness that complements the corn beautifully.
- Spicy Kick: Turn up the heat by making a spicy version! Omit the sugar, and instead, stir in 1 cup of Mexican or Monterey Jack cheese, 1-2 finely diced fresh jalapeños (remove seeds for less heat), and 1/2 teaspoon of garlic powder. For even more depth, a pinch of chili powder or cayenne pepper can be added.
- Cheddar, Bacon, and Chive Fusion: Elevate your casserole with a classic combination. Skip the sugar, and fold in 1 cup of grated sharp cheddar cheese, 4 slices of cooked and crumbled crispy bacon, and 2 tablespoons of fresh chopped chives or green onions. This variation is particularly delicious served with a dollop of extra sour cream on top.
Pin This Recipe for Later!
Let’s connect on Pinterest! I’m always sharing delicious, family-friendly recipes!
Serving Suggestions & Holiday Pairings
This gluten-free corn casserole is a showstopper on its own, but it truly shines when paired with other complementary dishes. It’s an indispensable component of any holiday meal, creating a harmonious spread that delights every palate.
- Thanksgiving Feast: Serve alongside your roasted turkey, creamy mashed potatoes, sweet potato casserole, and, of course, other gluten-free holiday favorites like gluten-free green bean casserole (especially with homemade gluten-free fried onions) and a classic herbed gluten-free stuffing.
- Christmas Dinner: It’s a fantastic complement to ham, prime rib, or roasted chicken, adding a touch of comforting sweetness and texture to the rich main courses.
- Everyday Meals: Don’t reserve this delight just for holidays! It makes a wonderful side for barbecue nights, potlucks, or even a simple weeknight dinner of grilled chicken or pork chops.
- Garnish Ideas: A sprinkle of fresh chopped chives, green onions, or a dash of paprika can add visual appeal and a burst of fresh flavor. A dollop of extra sour cream or a sprinkle of shredded cheddar cheese can also be a delightful finish.
Make-Ahead, Storage, and Reheating Tips
Planning is key, especially during busy holiday seasons. Here’s how to manage your gluten-free corn casserole for optimal freshness and convenience:
- Make-Ahead (Pre-Baking): While this corn pudding recipe is incredibly quick to assemble, yielding the best results when baked immediately after mixing, it’s generally not recommended to mix the batter and let it sit for an extended period before baking. The baking powder begins to react once it comes into contact with the wet ingredients, and waiting too long can result in a less fluffy, sadder casserole. If you must prepare elements in advance, measure out your dry ingredients and wet ingredients separately, then combine just before baking.
- Make-Ahead (Post-Baking): For convenience, you can bake the casserole completely ahead of time. Once baked, allow it to cool thoroughly at room temperature, then cover it tightly with foil or plastic wrap. Store it in the refrigerator for up to 2 days before serving.
- Reheating a Whole Casserole: To reheat a full casserole, cover it loosely with foil to prevent the top from drying out. Bake in a preheated 300°F (150°C) oven until it is warmed through, which typically takes about 25-30 minutes.
- Reheating Individual Servings: For single portions, the microwave is your best friend. Reheat individual servings on high power for 30-45 seconds, or until hot.
- Freezing: While possible, freezing may slightly alter the creamy texture. If you choose to freeze, ensure the casserole is completely cooled, then wrap it tightly in plastic wrap and then foil. It can be frozen for up to 1-2 months. Thaw overnight in the refrigerator before reheating as directed above.
Frequently Asked Questions About Gluten-Free Corn Casserole
Here are answers to some common questions that arise when making this delicious dish:
Can I use frozen corn instead of canned?
Absolutely! If you prefer to use frozen corn kernels, ensure they are thawed and well-drained before adding them to the batter. This helps prevent excess moisture from making the casserole watery. You can also use fresh corn kernels, scraped from the cob.
What’s the difference between corn pudding and corn casserole?
The terms “corn pudding” and “corn casserole” are often used interchangeably, and indeed, this recipe fits both descriptions! Generally, corn pudding tends to be softer, more custardy, and spoonable, while a casserole might be slightly firmer. This recipe strikes a perfect balance, offering a creamy, scoopable texture that’s still sturdy enough to hold its shape.
Can I make this recipe dairy-free?
Yes, you can! As noted in the ingredient section, simply substitute the butter with melted vegan butter and the sour cream with a plain, unsweetened dairy-free yogurt or sour cream alternative. Be sure to double-check that your cream-style corn is also dairy-free and gluten-free.
What if I don’t have sour cream?
While sour cream provides the best texture and tang, you can substitute it with an equal amount of plain full-fat Greek yogurt for a similar creamy consistency. Alternatively, a combination of milk and a touch of lemon juice or vinegar can mimic the acidity, but the richness might be slightly different.
How do I prevent my corn casserole from being watery?
Several factors can contribute to a watery casserole. Firstly, ensure your cream-style corn (or any corn you use) is properly drained if it seems overly liquidy. Secondly, ensure your eggs and sour cream are at room temperature before mixing, as cold ingredients can sometimes impact the emulsification with melted butter. Lastly, make sure to bake the casserole until it’s set in the center – a knife inserted should come out with moist crumbs, not liquid.
Did you make this comforting recipe? We love hearing from you! Please leave a star rating and comment below the recipe card. Your feedback helps other home cooks discover new favorites and is always appreciated by our community. We read every comment! -Melissa
★
★
★
★
Creamy, Fluffy Gluten-Free Corn Casserole (Extra Easy)
 Melissa Erdelac
Pin
Rate
Remove Ads
Ingredients
- 3 large eggs
- ½ cup sour cream
- ⅓ cup granulated sugar
- 4 tablespoons butter, melted and cooled
- ½ cup all-purpose gluten free flour, I use and recommend Cup4Cup brand
- 6 tablespoons cornmeal, certified gluten-free
- 2 teaspoons baking powder
- ¼ teaspoon salt
- (2) 15 ounces cans cream-style corn
Equipment
-
Whisk
-
9X13 Baking Dish
Instructions
-
Preheat your oven to 350°F (175°C). Lightly grease a 9×13-inch baking dish to prevent sticking.
-
In a large mixing bowl, whisk together the eggs, granulated sugar, sour cream, and melted and cooled butter until well combined and smooth. Gradually whisk in the dry ingredients: gluten-free flour, cornmeal, baking powder, and salt. Stir just until incorporated. Finally, fold in the cream-style corn until the batter is homogeneous.3 large eggs, ½ cup sour cream, ⅓ cup granulated sugar, 4 tablespoons butter, ½ cup all-purpose gluten free flour, 6 tablespoons cornmeal, 2 teaspoons baking powder, ¼ teaspoon salt, (2) 15 ounces cans cream-style corn
-
Pour the prepared batter evenly into the greased casserole dish. Bake for 40-45 minutes, rotating the dish halfway through to ensure even cooking. The casserole is done when the top is golden brown and feels slightly firm to the touch. A knife or toothpick inserted into the center should come out with moist crumbs attached, but no wet batter.
-
Allow the casserole to cool for at least 10 minutes before serving. This cooling period allows the pudding to set fully and makes for easier scooping. If serving later, you can loosely cover it with foil, or it can be enjoyed at room temperature. Serve with a large spoon.
Notes
Storing, Freezing, and Make-Ahead
This corn pudding recipe is exceptionally quick to prepare, and for the very best results, it should be mixed and baked immediately. If the batter is allowed to sit for too long, the baking powder will begin its leavening action prematurely, potentially leading to a less fluffy, or “lifeless,” casserole.
However, the casserole can be baked ahead of time. Once baked, allow it to cool completely to room temperature, then cover it tightly with aluminum foil or plastic wrap. It will keep well in the refrigerator for up to 2 days before serving. To reheat a pre-baked casserole, cover it with foil and warm it in a 300°F (150°C) oven until heated through, which typically takes about 30 minutes.
For individual servings, the easiest reheating method is in the microwave. Heat for 30-45 seconds at full power, or until piping hot.
Recipe adapted from Barefeet in the Kitchen