
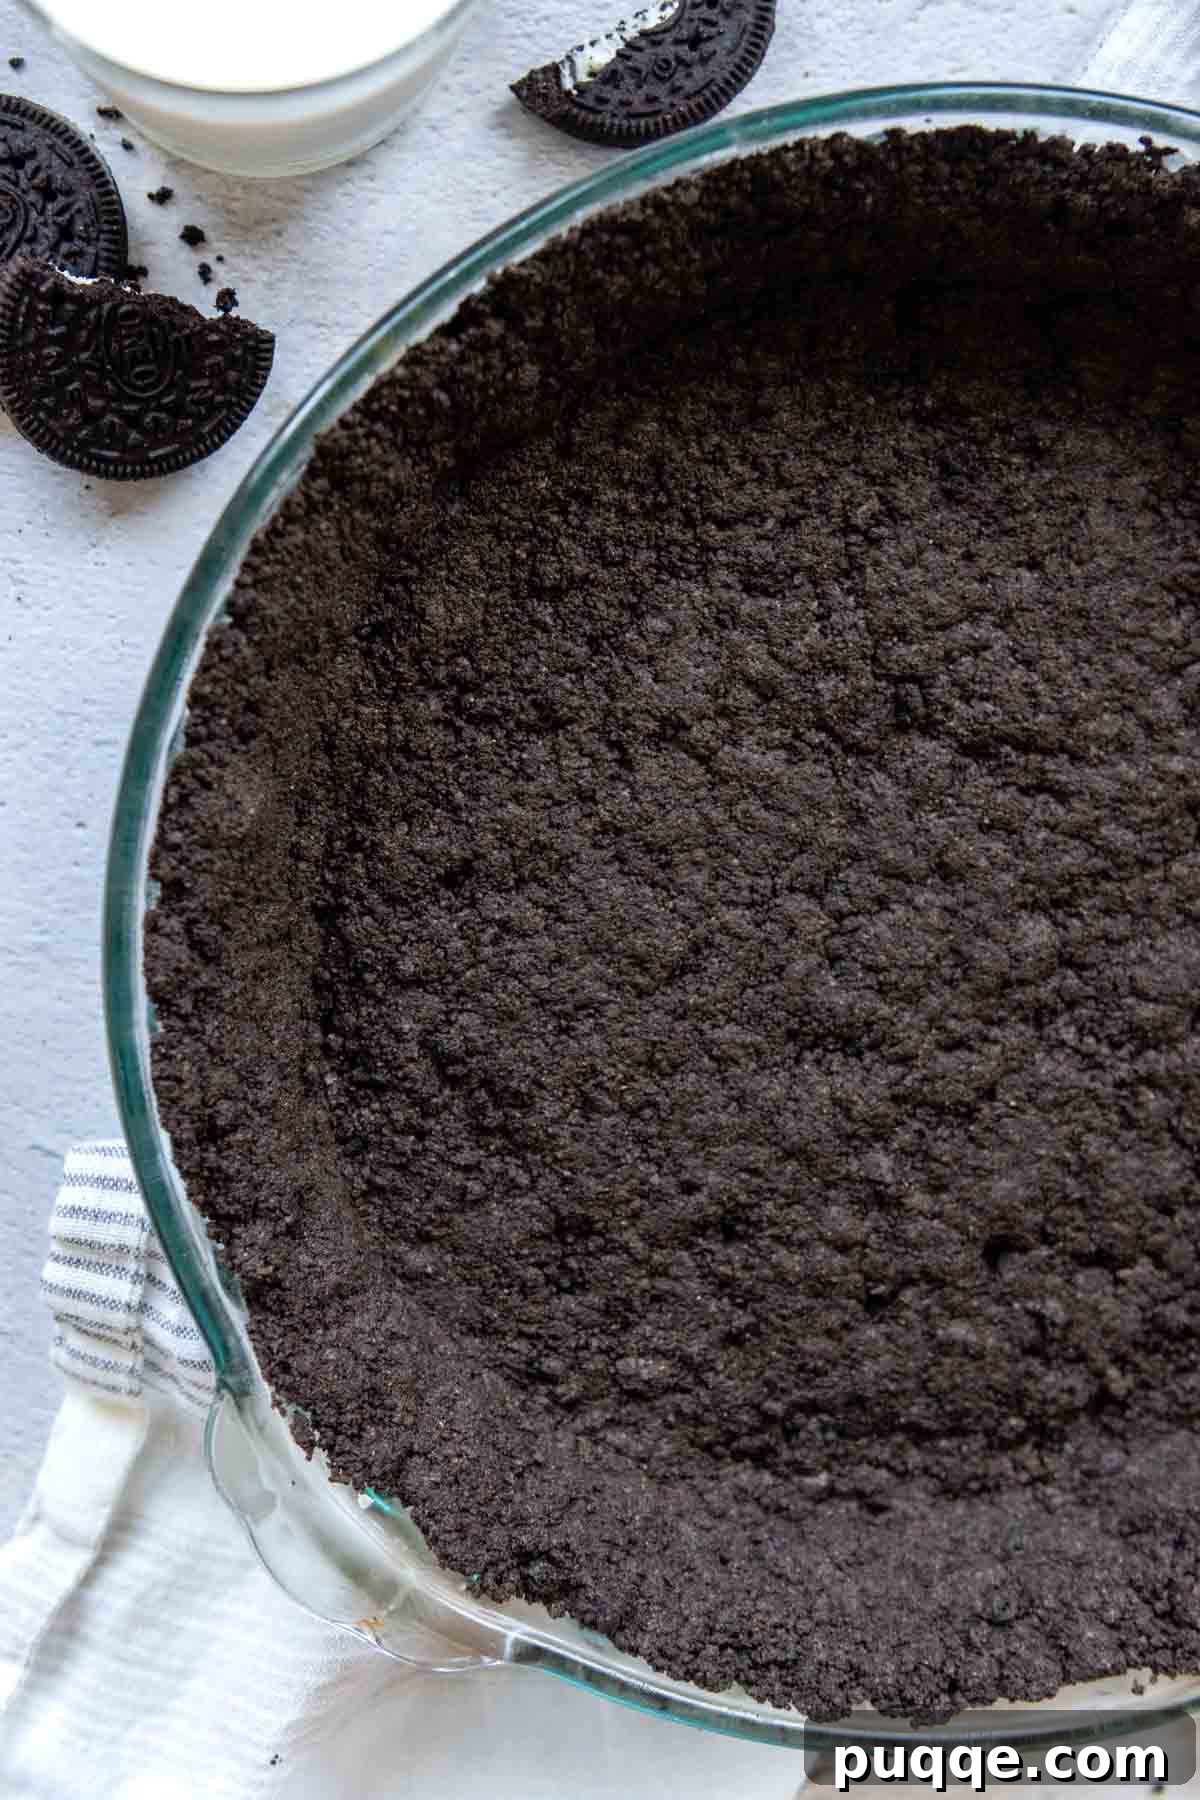
Craving that iconic chocolate cookie crust but living gluten-free? You’re in the right place! Discover the ultimate recipe for a **gluten-free Oreo pie crust** that not only holds together flawlessly but also slices with beautiful precision every single time. Forget crumbly, falling-apart crusts; this recipe is a game-changer for anyone seeking a sturdy, delicious foundation for their favorite desserts. The secret lies in a carefully perfected 2-ingredient ratio, specifically designed to adapt the beloved gluten-free Oreos for superior binding and structure compared to traditional recipes. Whether you’re planning a decadent **chocolate cheesecake crust** or an irresistible **no-bake pie filling**, this guide ensures your dessert starts with perfection. Get ready to elevate your gluten-free baking with a crust that’s both simple to make and truly impressive!
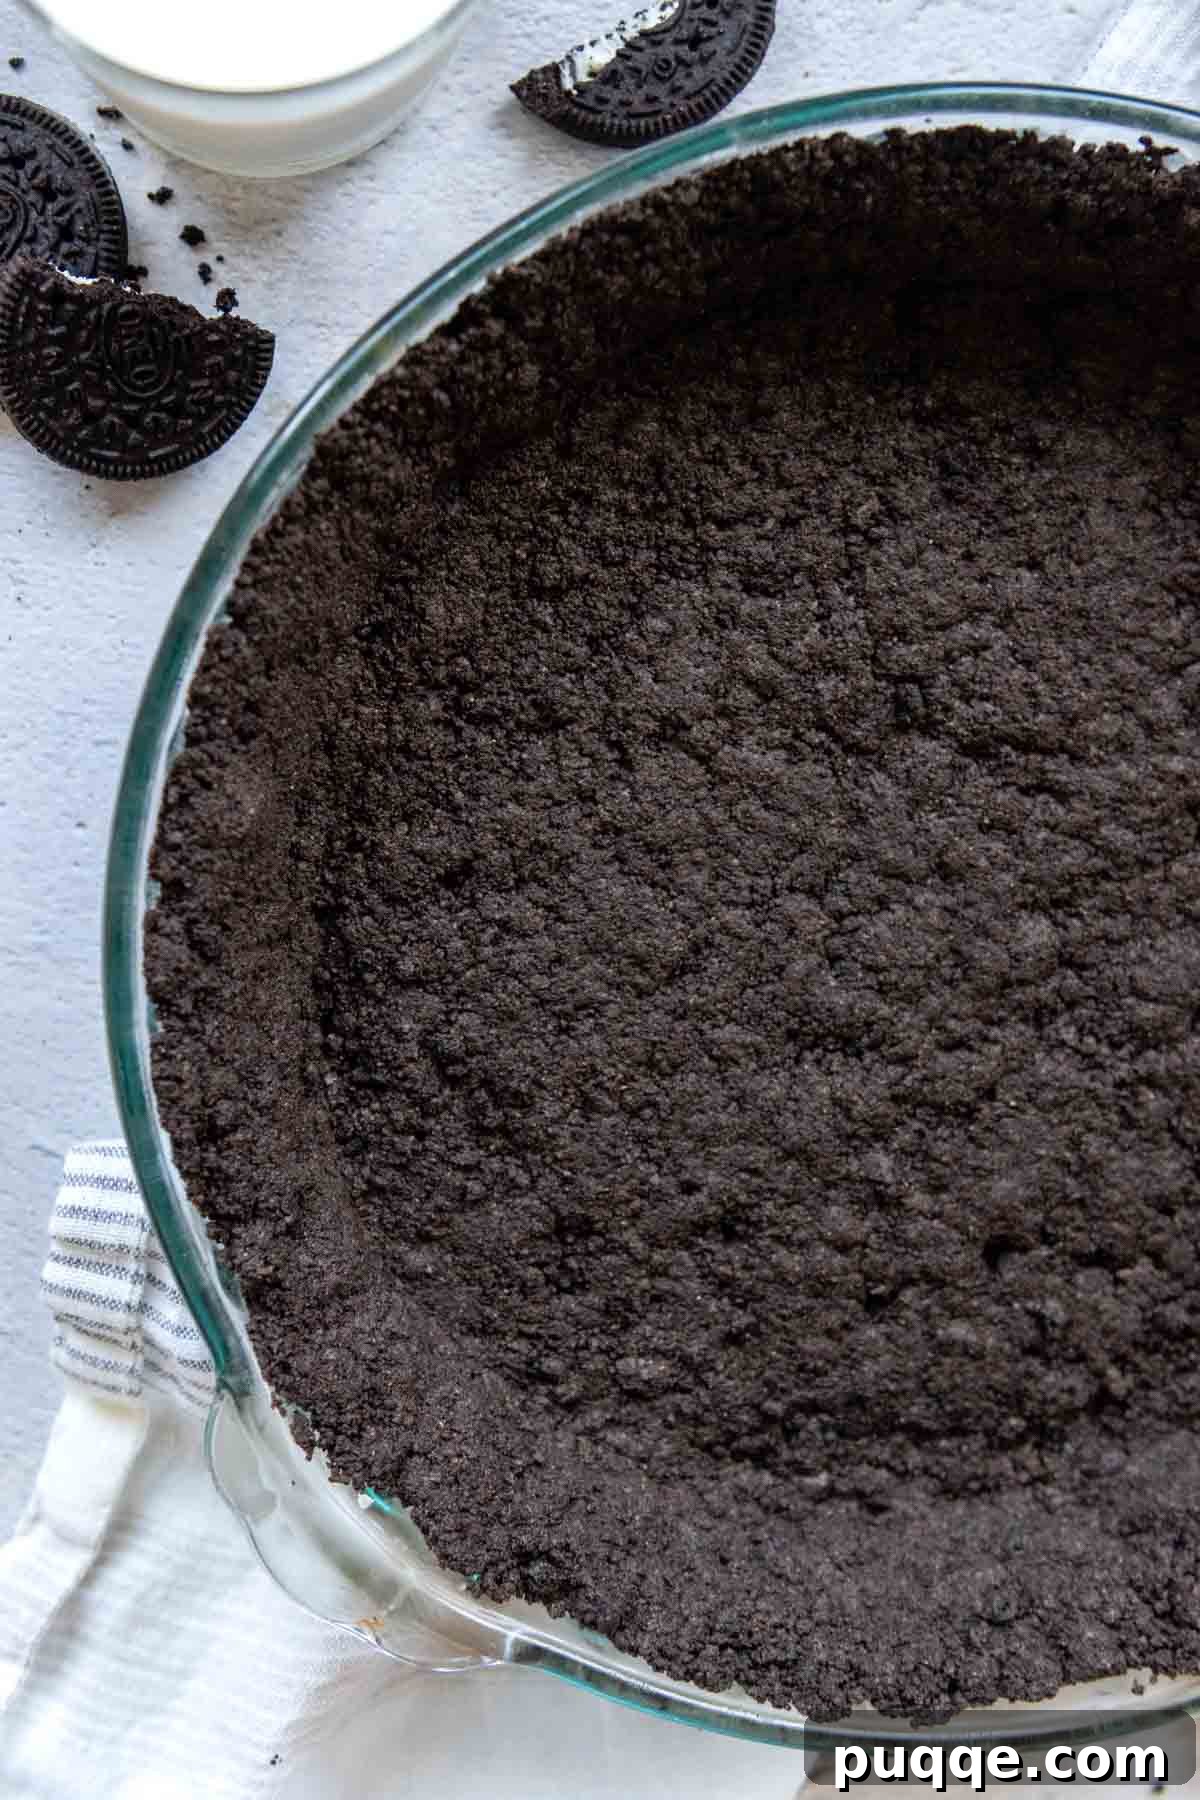
The Perfect Gluten-Free Chocolate Crust (For Cheesecakes & Pies)
The introduction of certified **gluten-free Oreos** has truly revolutionized the world of desserts for those with dietary restrictions. It’s opened up a universe of possibilities, allowing us to recreate classic treats without compromising on flavor or texture. After perfecting a sensational gluten-free Oreo cheesecake that quickly went viral, I found myself inspired to explore even more delicious creations. This journey led to incredible recipes like homemade gluten-free ice cream cake, and now, it’s time to master the ultimate **gluten-free pie crust**.
Developing a reliable pie crust using gluten-free Oreos wasn’t without its challenges. My initial approach was to simply swap out regular Oreos for their gluten-free counterparts in traditional crust recipes. However, I quickly discovered that this direct substitution often led to frustratingly crumbly results. Gluten-free cookies, by their nature, sometimes require different binders and fat ratios to achieve the desired structural integrity.
Similar to the adjustments I made for my popular gluten-free graham cracker crust recipe, where a sprinkle of GF flour was the key, the **gluten-free Oreo crust** required its own unique tweak. The good news? No extra ingredients are needed here! The solution boiled down to refining the precise ratio of cookie crumbs to melted butter. This subtle but crucial adjustment ensures the crust binds together beautifully, preventing it from falling apart when sliced. Additionally, for a truly robust and sliceable **gluten-free chocolate crust**—ideal for both cheesecakes and pies—a brief bake time of 10 minutes before filling makes all the difference. This step sets the crust, creating a wonderfully firm foundation.
While a truly no-bake version is technically achievable by skipping the oven, it’s important to manage expectations. You could simply refrigerate the crust for at least 30 minutes before filling. However, be aware that the slices might not bind as well and could be more crumbly. For best results and a crust that holds its shape, I highly recommend the quick bake. But, of course, the choice is always yours!
Ingredient Tidbits for Your Gluten-Free Oreo Crust
Crafting this perfect **gluten-free Oreo crust** only requires two core ingredients: gluten-free Oreos and melted butter. Simple, right? Yet, there’s always room to explore options and ensure your crust perfectly matches your dietary needs and flavor preferences.
Choosing Your Gluten-Free Oreos
While the classic chocolate sandwich cookie is a staple, the world of gluten-free Oreos has expanded significantly, offering exciting possibilities beyond the traditional chocolate crust. Nabisco now offers several delicious gluten-free varieties, including:
- Double Stuffed: For an extra rich, creamier chocolate flavor.
- Golden: Ideal if you prefer a vanilla-flavored crust instead of chocolate, offering a different base for fruit or cream fillings.
- Mint: A fantastic choice for seasonal pies or desserts featuring mint, chocolate, or even lime.
Beyond Nabisco, many other brands produce excellent gluten-free chocolate sandwich cookies that can be used interchangeably. Keep an eye out for options from Great Value (Walmart), Kinnikinnick, Glutino, and Simple Mills. Each brand might offer a slightly different texture or sweetness level, so feel free to experiment to find your personal favorite. Just ensure they are certified gluten-free to avoid cross-contamination.
Butter: The Binding Agent
Melted butter is the crucial ingredient that binds our cookie crumbs together, transforming them into a cohesive crust. The fat content in butter helps to lubricate the crumbs and, once chilled, solidifies to provide structure. For this recipe, unsalted butter is generally preferred, allowing you to control the overall saltiness of your dessert. If you use salted butter, you might want to slightly reduce any added salt in your filling.
Dairy-Free & Vegan Options
For those adhering to a dairy-free diet, creating a vegan-friendly version of this crust is incredibly simple! Since original Oreos (and their gluten-free counterparts) are naturally vegan and dairy-free, you only need to swap one ingredient. Replace the traditional butter with a high-quality vegan, plant-based butter stick. Look for brands specifically designed for baking, as they tend to have the right fat content and solidify well when chilled.
I have not personally tested this recipe with melted coconut oil, which is another common dairy-free fat substitute. While coconut oil can work in some crusts, its flavor can be more pronounced, and its binding properties might differ. If you decide to give coconut oil a try, please share your results in the comments below – your feedback helps our community!
Let’s Make This Together: A Detailed Guide to Your Perfect Crust!
Creating this **gluten-free Oreo crust** is surprisingly straightforward, and with these detailed steps, you’ll achieve perfection every time. Below, you’ll find comprehensive instructions and invaluable tips to guide you through each stage. For precise ingredient measurements, please refer to the full recipe card further down the page.
Step 1: Achieve the Easiest 1-Minute Prep (Crushing the Oreos)
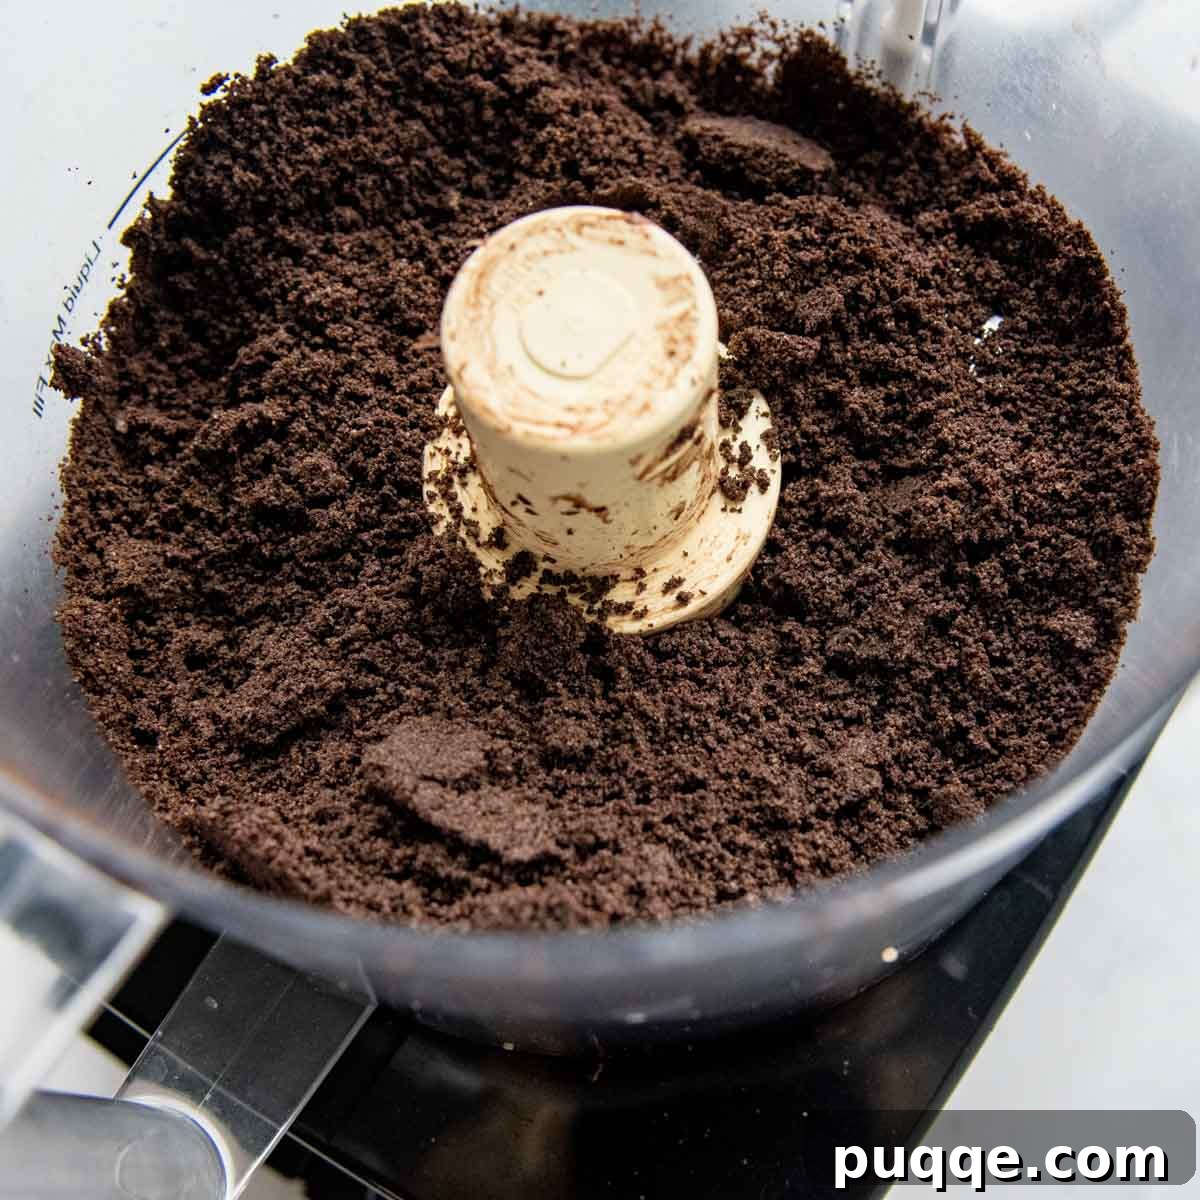
The first and most crucial step for a cohesive crust is ensuring your gluten-free Oreos are crushed into **extremely fine crumbs**. This isn’t just about breaking them up; it’s about pulverizing them into a fine, almost flour-like consistency. Why is this so important? Finer crumbs absorb the butter more evenly, creating a tighter bind that prevents your crust from crumbling when sliced. It’s truly a game-changer for achieving nice, clean slices.
Method 1: The Food Processor (Highly Recommended!)
If you have a food processor, this step is incredibly quick and effortless. Simply add your gluten-free Oreos to the bowl and pulse until no large chunks remain and you have a consistent, fine crumb. This method ensures uniformity and maximum binding potential.
Method 2: Manual Crushing (No Food Processor? No Problem!)
Don’t worry if you don’t own a food processor! You can still achieve stellar crumbs with a little elbow grease. Place the cookies in a sturdy ziplock bag, ensuring all air is removed and the bag is sealed tightly. Then, use a rolling pin, a meat mallet, or even the bottom of a heavy pan to crush them. Really “go after it” and aim for the finest possible consistency – the more pulverized, the better your crust will hold together.
Once your cookies are finely crushed, it’s time to incorporate the melted butter. If using a food processor, you can pour the melted butter directly into the bowl and pulse a few more times until the mixture resembles wet sand. If crushing by hand, transfer the crumbs to a medium-sized bowl, pour in the melted butter, and mix thoroughly with a fork or spatula until all crumbs are moistened.
Step 2: It’s All About the Press (Forming the Crust)
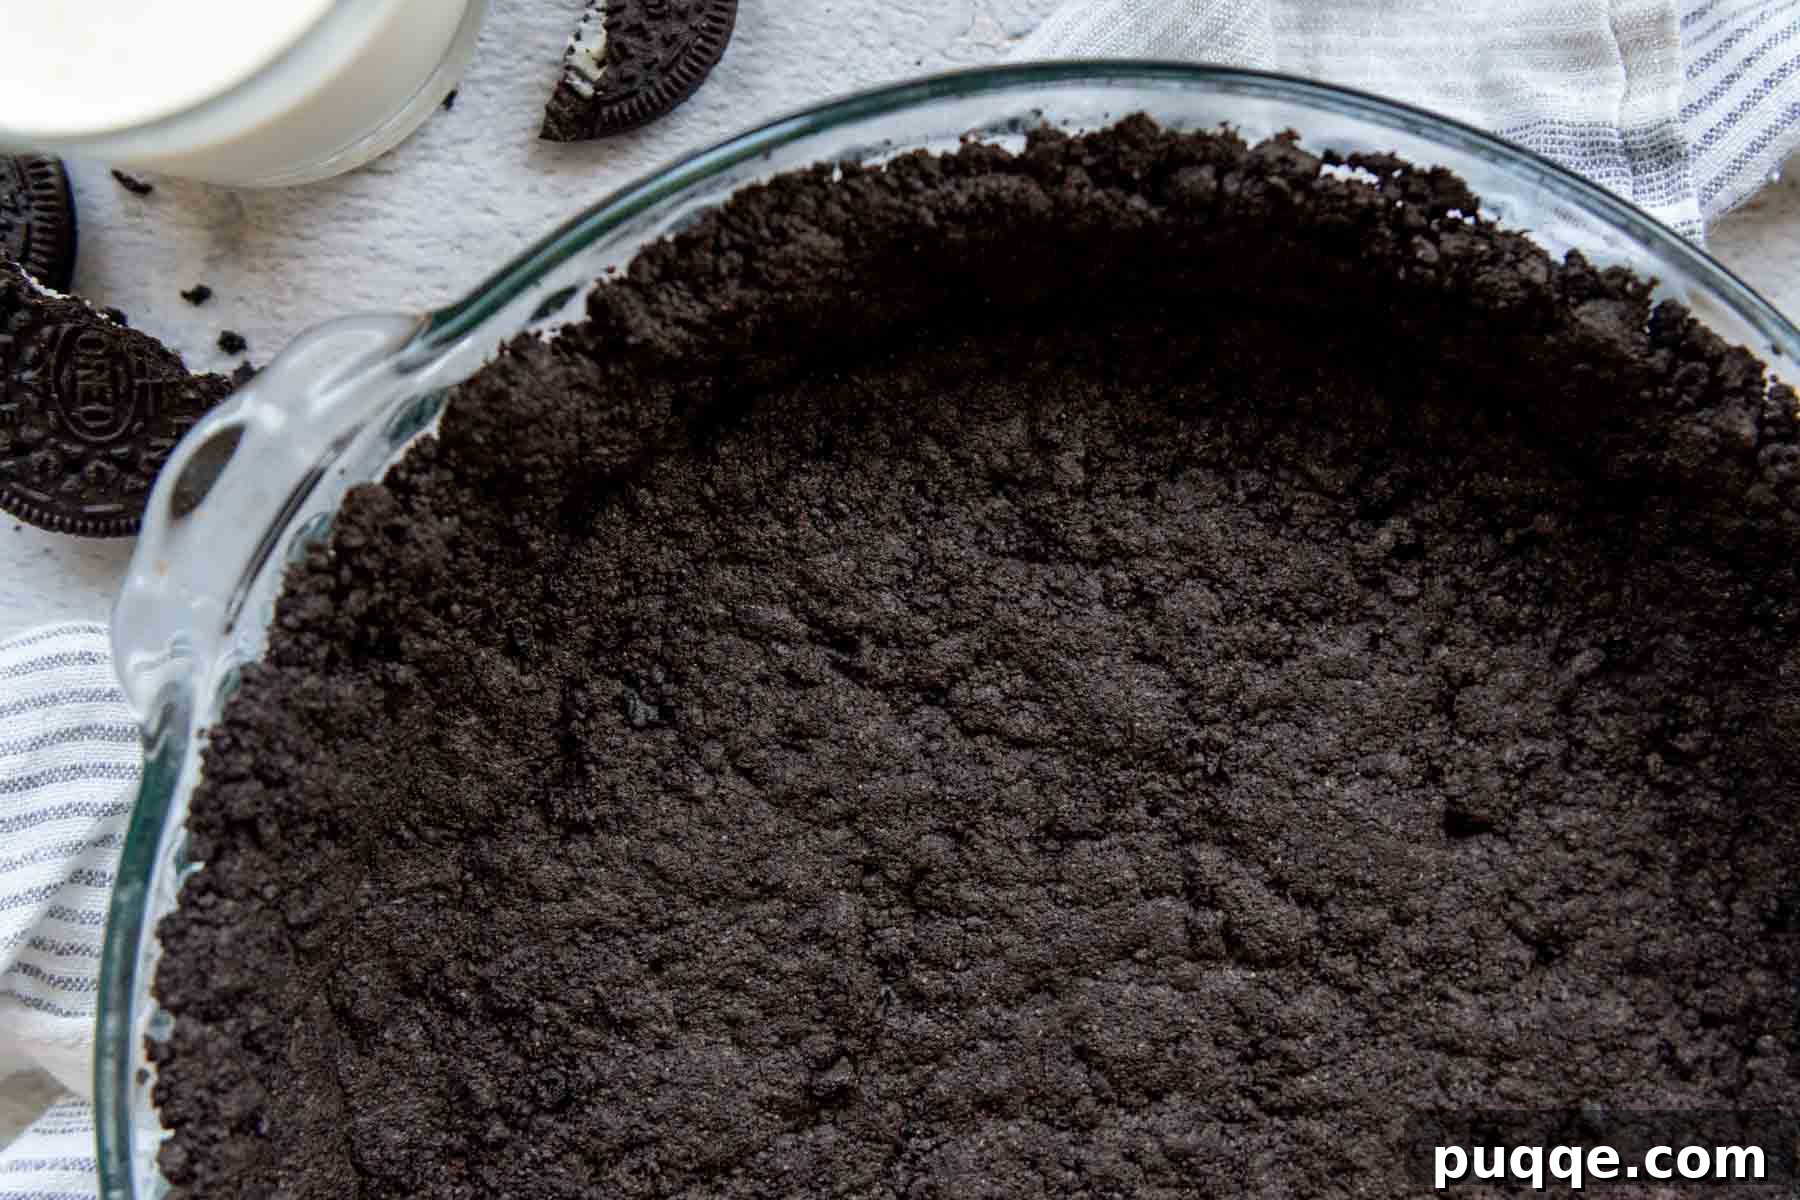
After your crumbs are perfectly moistened with butter, the next critical step for a cohesive and sliceable crust is the pressing technique. This requires firm, even pressure to ensure the crumbs are tightly packed into your chosen pie plate or springform pan.
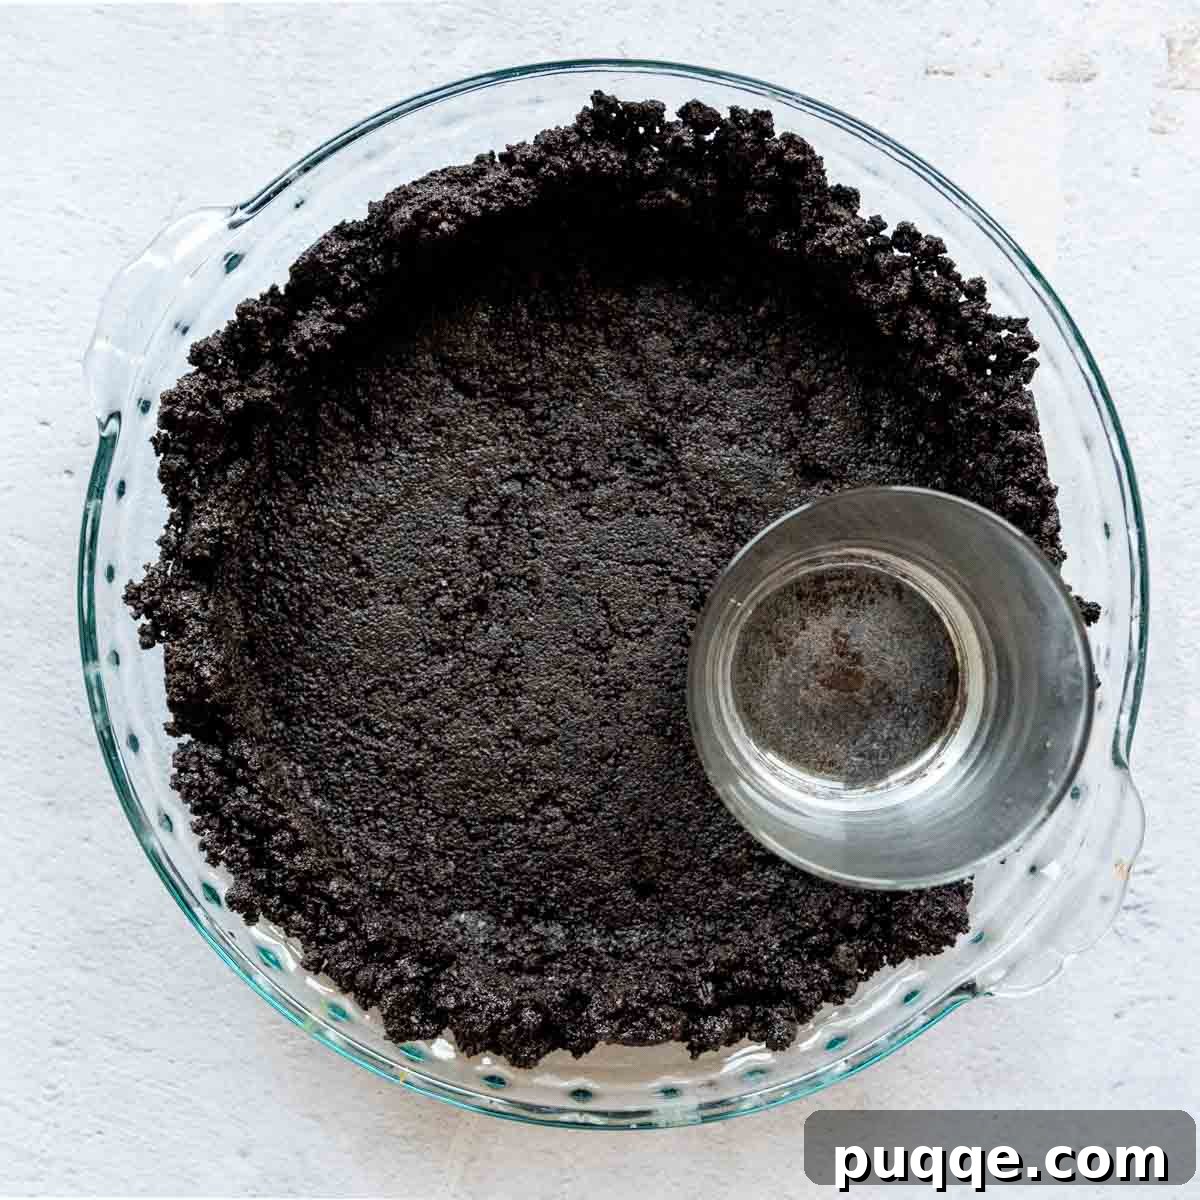
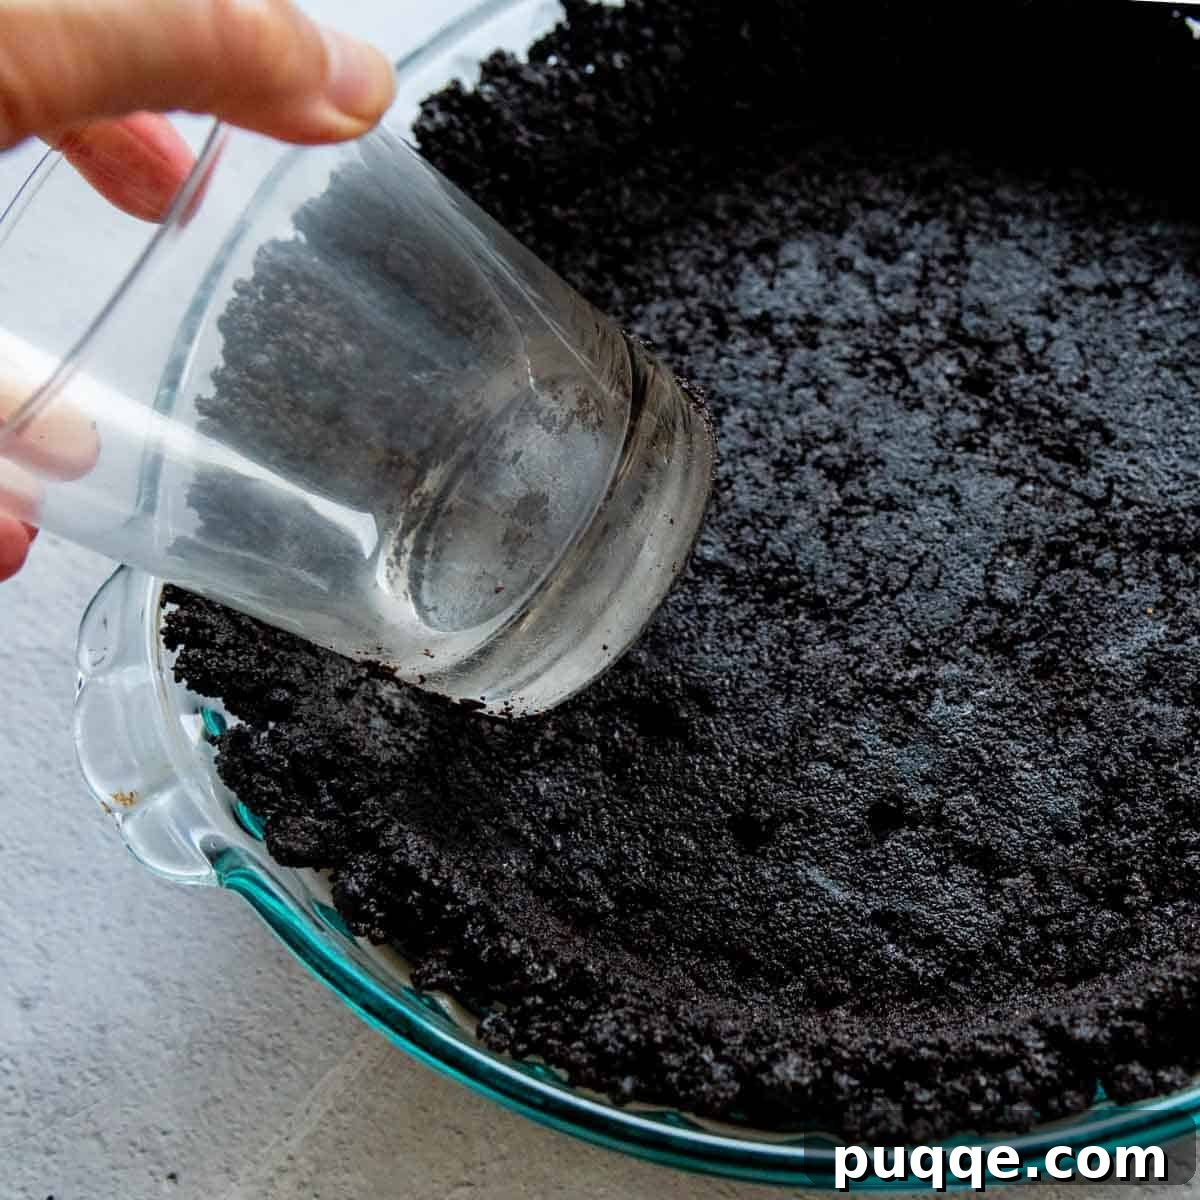
First, carefully dump the entire crumb mixture into your 9-inch pie plate or springform pan. Begin by using the flat bottom of a measuring cup or a drinking glass to press the crumbs down firmly and evenly across the bottom of the pan. Work systematically, ensuring there are no loose spots. As you press, the excess crumbs will naturally spread out towards the sides of the pan.
Once the bottom is compressed, use the side of the same glass to press the crumbs up and around the edges of the pan. Aim for an even height around the perimeter. If you’re using a springform pan, the crust typically goes up about a third of the way, creating a nice wall for your cheesecake filling. Alternatively, you can choose to keep all the crumbs just on the bottom for a simpler base.
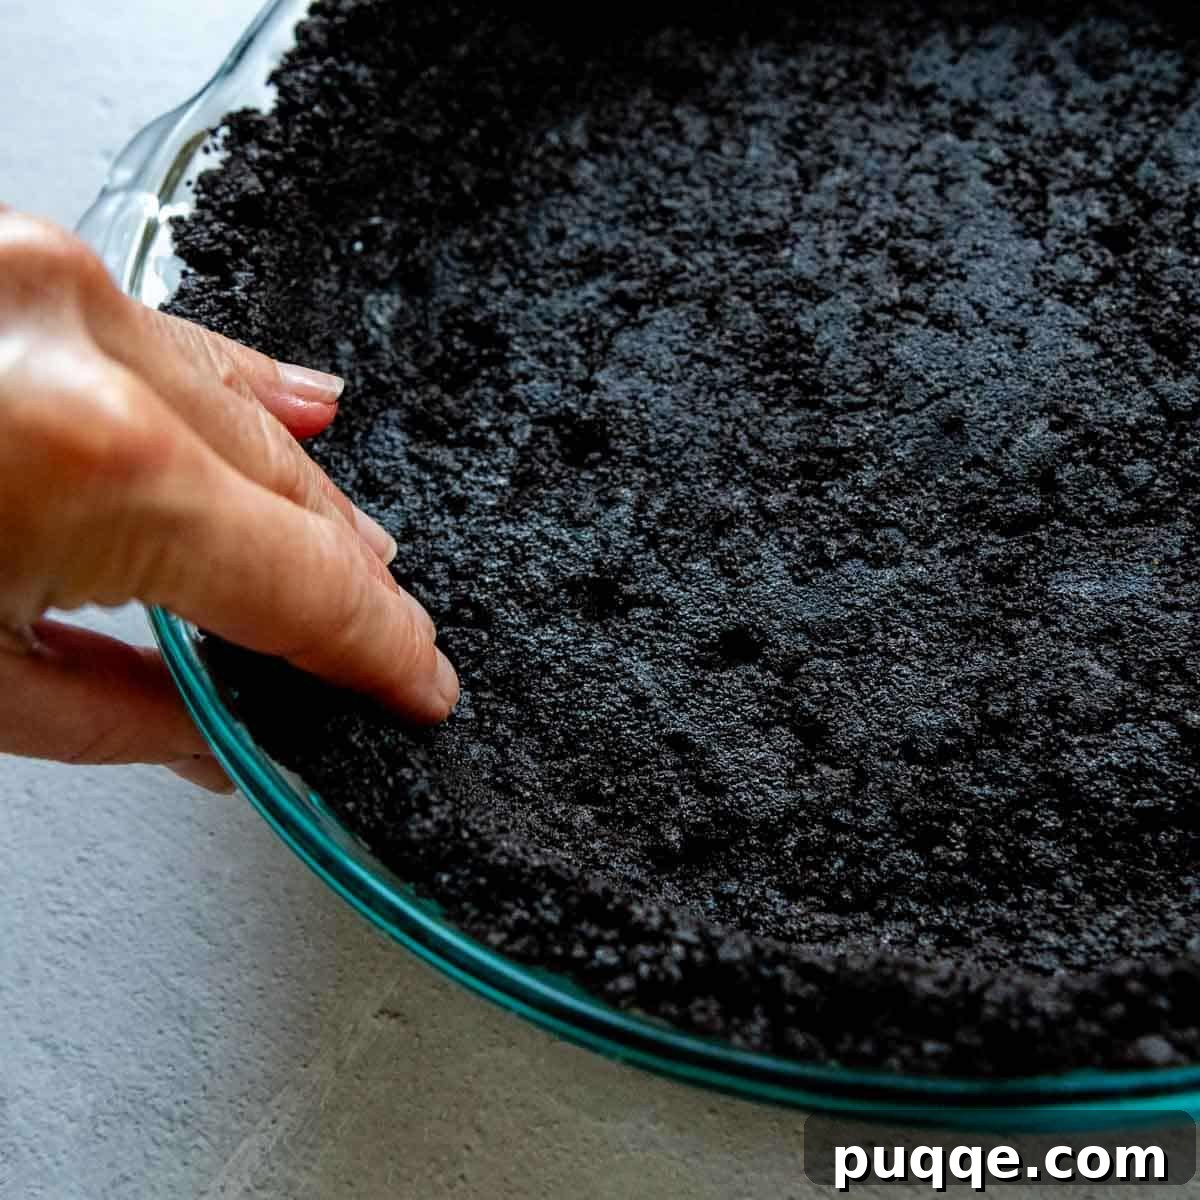
To finalize the crust and achieve a professional, clean finish, I recommend using your fingers to go around the edges one last time. This allows you to sculpt a nice, uniform ridge and ensure every part of the crust is compressed evenly. For those who appreciate precision, this is where attention to detail truly pays off – my mild OCD always kicks in here to ensure a perfect edge!
Step 3: Bake and Cool Before Filling
This step is the little secret to a truly stable and sliceable crust. Preheat your oven to 350ºF (175ºC). Once the oven is ready, carefully place your pressed crust into the oven and bake for precisely 10 minutes. This quick bake helps to “set” the butter, creating a firmer, more resilient crust that stands up beautifully to wet fillings and clean slicing. It’s almost a no-bake crust, just with a brief but beneficial oven visit!
After 10 minutes, remove the crust from the oven and allow it to cool completely on a wire rack before adding your chosen filling. This cooling period is crucial; adding a cold or room-temperature filling to a warm crust can lead to condensation and a soggy bottom. Patience here will be rewarded with a crisp, perfect base for your dessert. You might lose a few minutes waiting, but you win a perfectly structured pie!
Which Baking Pans Can Be Used for This Oreo Crust?
The versatility of this **gluten-free Oreo crust** recipe extends to various pan sizes and types, making it perfect for a wide range of desserts. Understanding how to adapt the crust to different pans will ensure a perfect result every time.
Traditional Pie Plates
This recipe is ideally suited for a standard 9-inch pie plate or a deep-dish pie pan. For a standard 9-inch plate, the amount of crumbs provided will create a generous base with sides that extend nicely up the dish. If you opt for a deep-dish route, you’ll want to slightly adjust how you press the crumbs. Make the bottom crust a little thinner than usual, allowing you to have enough material to extend further up the sides of the deeper pan, creating a taller, more dramatic edge.
Springform Pans for Cheesecakes
Beyond traditional pies, this rich chocolate crust is a go-to for my gluten-free no-bake cheesecakes. For springform pan sizes, aim for anything between 8-inches to 10-inches.
- For an 8-inch pan: This size will allow you to create a beautiful crust that extends a good portion up the sides, perfect for a taller cheesecake.
- For 9 or 10-inch pans: You have flexibility here. You can either press the crumbs solely along the bottom for a simple, flat base, or you can gently press them a little way up the sides to create a slight rim, depending on your aesthetic preference and the type of cheesecake you’re making.
Mini Cheesecake Cupcakes and Bars
Want to create individual servings or something fun for a party? This crust is fantastic for mini cheesecake cupcakes or dessert bars. We’ll delve into specific tips for these delightful smaller forms right below!
Next-Level Cheesecake & Pie Fillings for Your GF Oreo Crust
A flawless **gluten-free Oreo crust** is just the beginning! Its rich chocolate flavor and sturdy texture make it the perfect canvas for an endless array of delicious fillings. Here are some fantastic ideas to inspire your next dessert creation:
- Mini Cheesecakes: For adorable individual servings, line a 12-cup muffin tin with paper liners. Divide about 2 tablespoons of the prepared crust crumbs into each cup and press down firmly. If your filling requires baking, pour it in and bake as directed. For no-bake fillings, bake the mini crusts in a 350ºF (175ºC) oven for 7 minutes, cool completely, then fill. These are perfect for parties and easy portion control.
- Ice Cream or Freezer Pie Fillings: This crust is a dream base for any ice cream pie or frozen dessert. Its stability ensures it won’t get soggy in the freezer. Think mint chip ice cream pie, cookies and cream frozen pie, or a rich chocolate fudge ice cream cake.
- Decadent Mousse Fillings: Pair this chocolate crust with light and airy mousse. A classic chocolate mousse filling creates an intensely chocolatey experience, while a vibrant raspberry mousse offers a delightful contrast of sweet and tart.
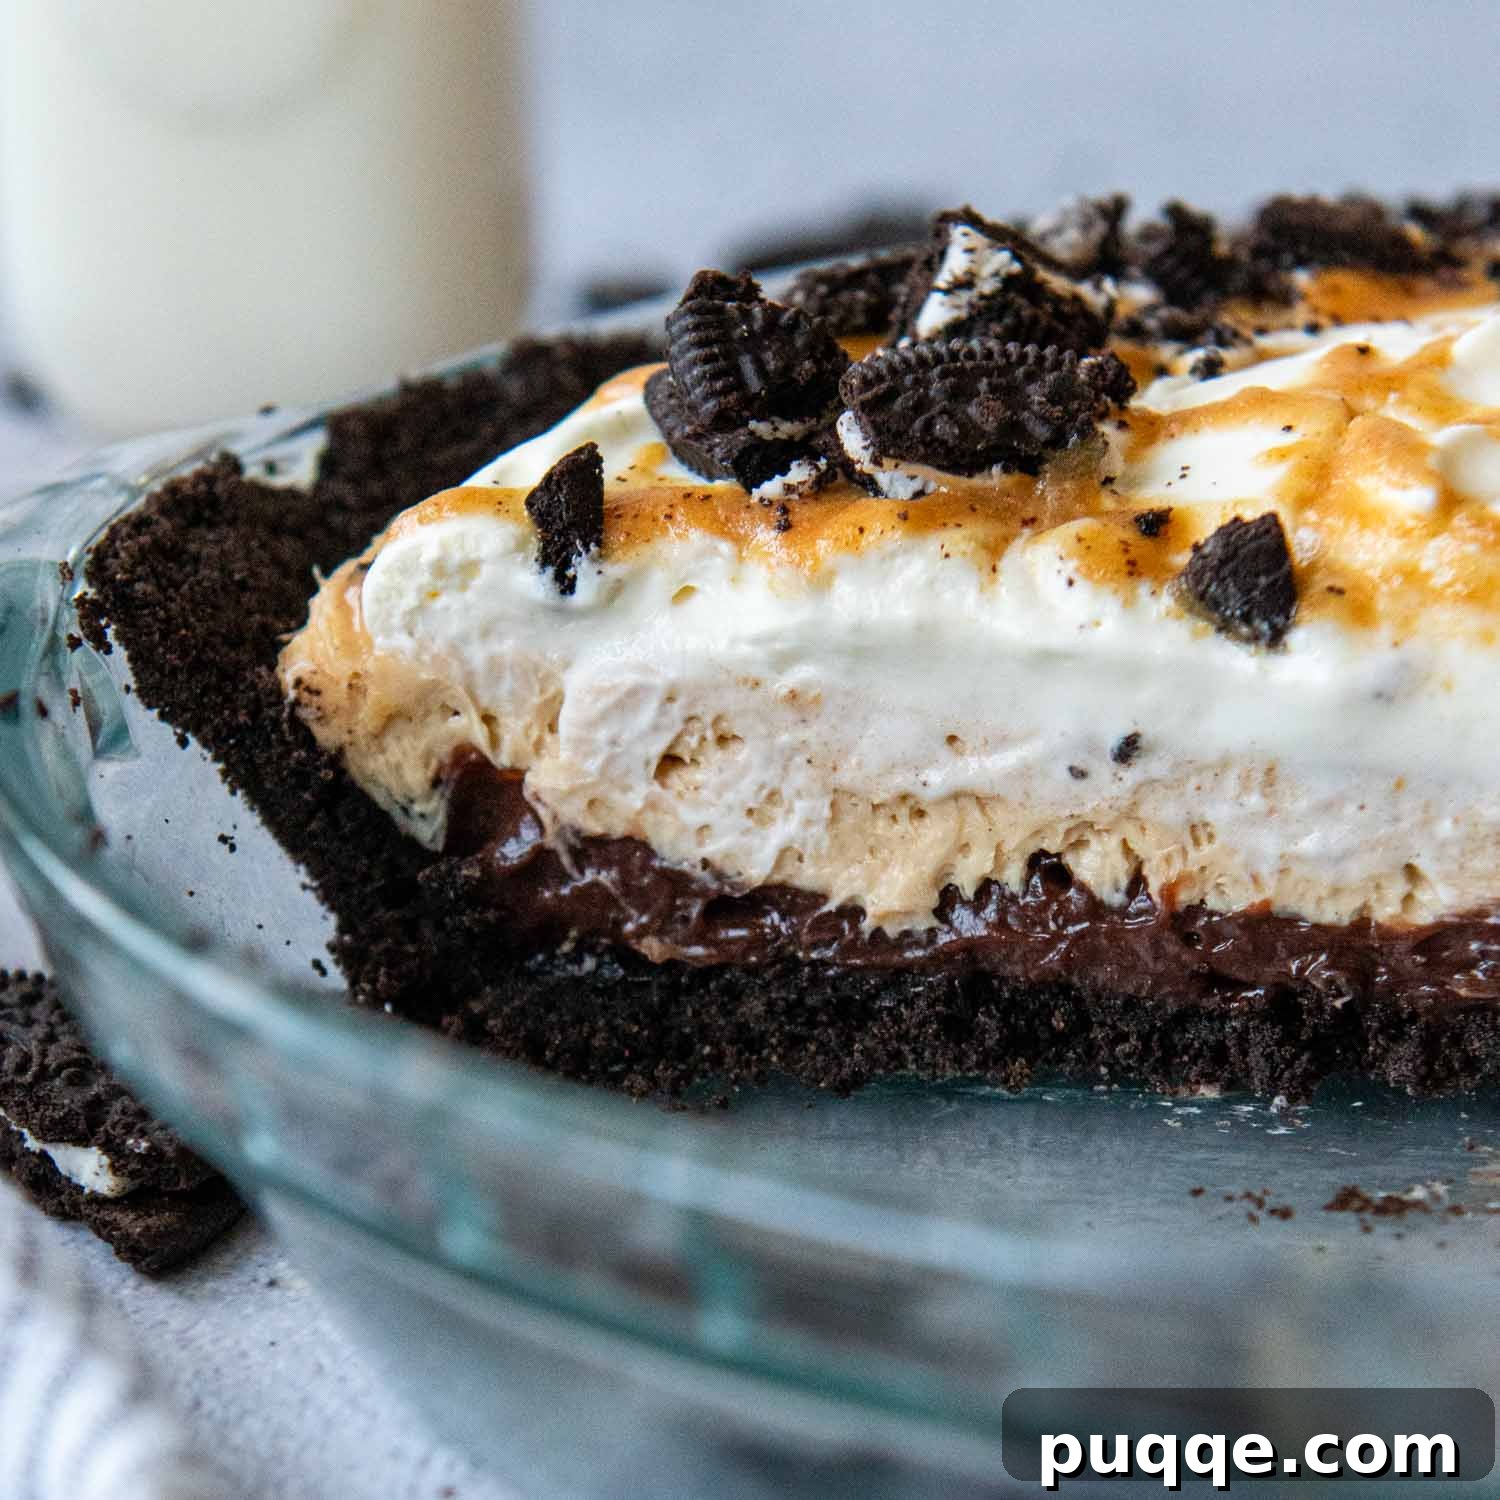
- Creamy Peanut Butter Filling: The combination of chocolate and peanut butter is iconic! Follow this easy peanut butter Oreo pie recipe for a truly indulgent dessert that will have everyone asking for more.
- Cannoli Cheesecake: Imagine the creamy, ricotta-based filling of a cannoli, but in cheesecake form atop this chocolatey crust. It’s an unexpected fusion that’s utterly delicious.
- Seasonal Peppermint & Candy Cane Pies: During the holidays, this crust is ideal for festive fillings like a creamy peppermint pie, candy cane cheesecake, or a white chocolate peppermint mousse.
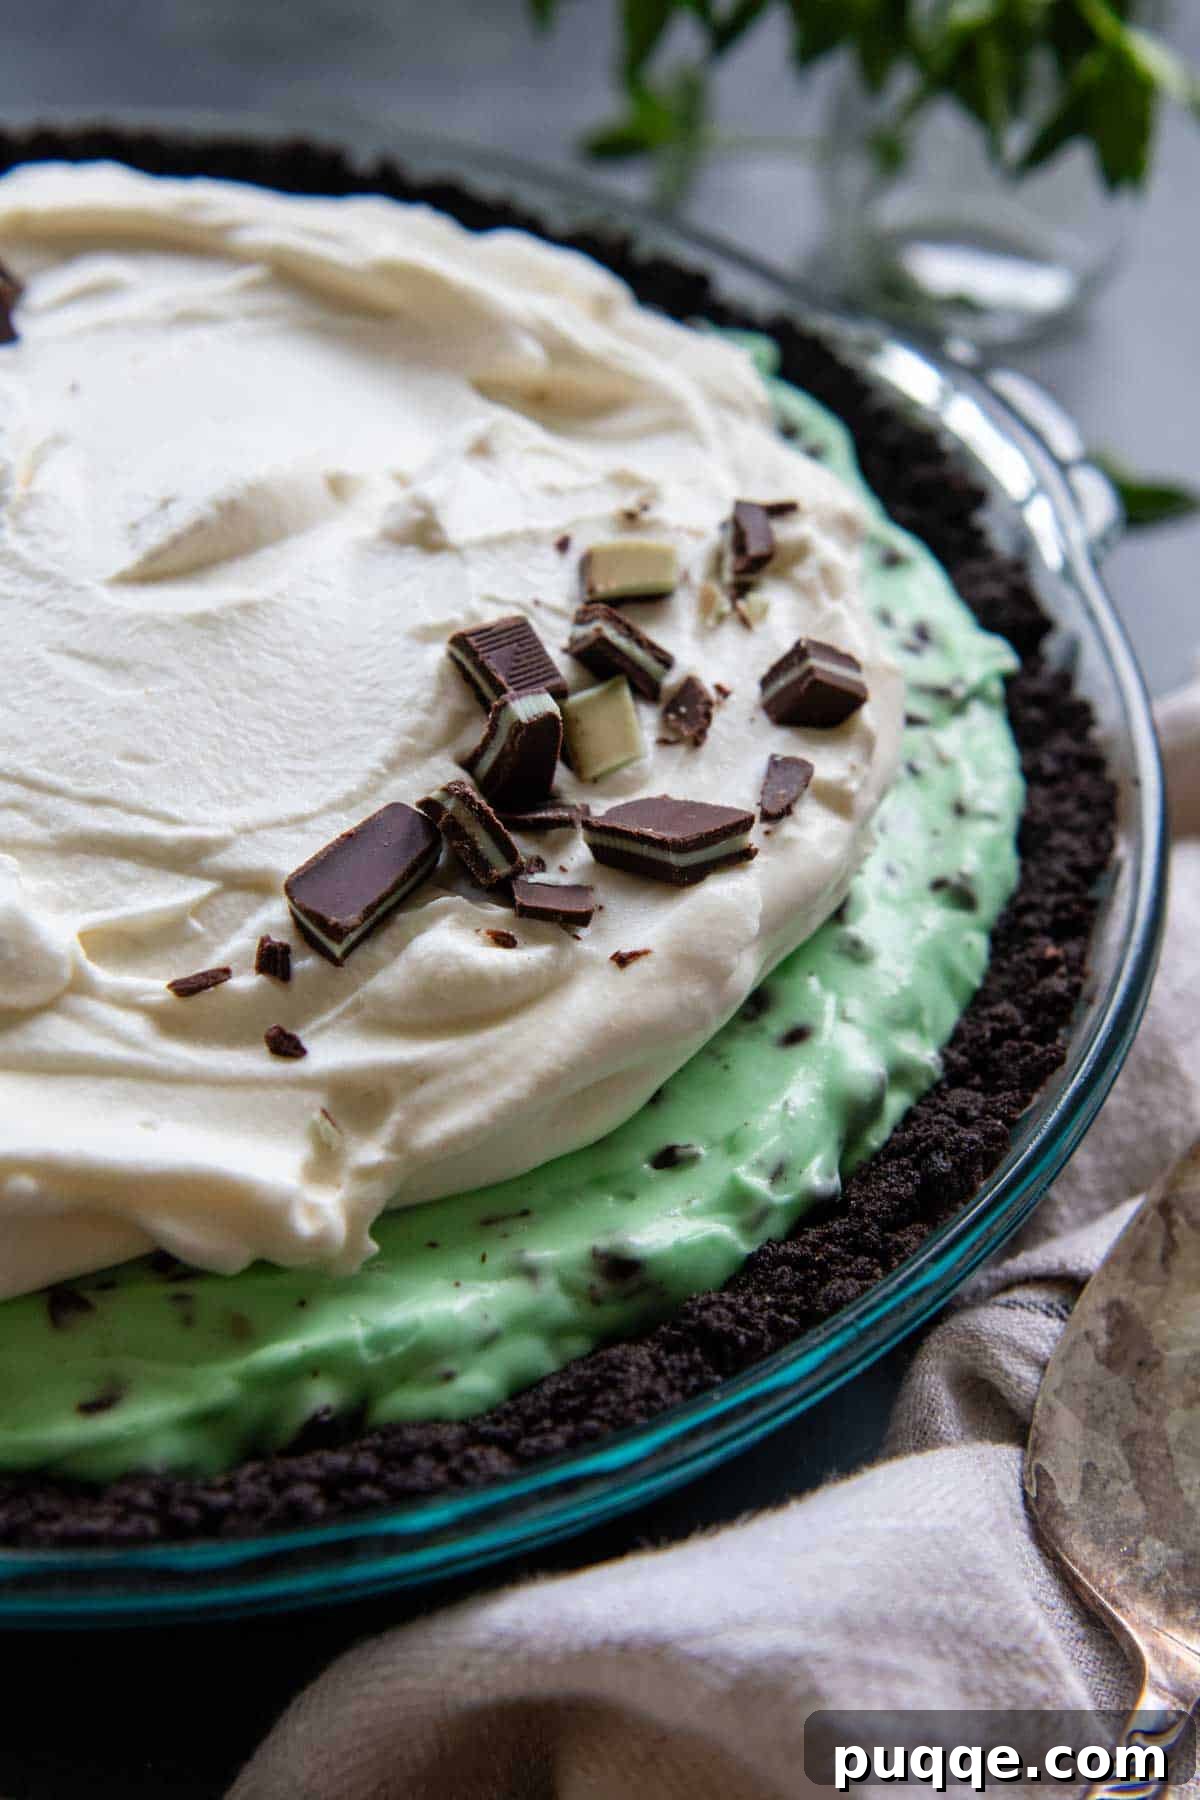
- Chocolate Chip Mint Pie with Andes: Another fan favorite, an epic chocolate chip mint pie with crushed Andes Mints on top creates a refreshing and luxurious dessert that’s hard to resist.
- Fruity and Zesty Fillings: Don’t limit yourself to chocolate! Lemon, lime, or even orange fillings can create a delightful citrus contrast with the rich chocolate crust. Think key lime pie or a lemon meringue pie with an Oreo twist.
- Caramel or Toffee Creations: A gooey caramel or crunchy toffee filling can transform this crust into an entirely new indulgence. Imagine a salted caramel cheesecake or a toffee bar pie.
The possibilities are truly endless! How did you use this versatile crust? Share your creative filling ideas and successes in the comments below – we love hearing from our community!
Love this Recipe? Pin It for Later!
Join our community! Let’s be friends on Pinterest. I’m always sharing delicious gluten-free recipes and baking tips!
Made this incredible crust? We love to hear about your culinary adventures! Please leave a star rating and comment below the recipe card. Your feedback is invaluable to our community, helping others discover and enjoy these recipes. I personally read and appreciate every comment! -Melissa
5 stars (3 ratings)
Easy Gluten-Free Oreo Crust (Slices Perfectly!)
 Melissa Erdelac
Learn how to make a gluten-free Oreo pie crust recipe that actually holds together and slices beautifully! What’s the trick? Using GF Oreos for a chocolate cheesecake crust or no bake pie filling requires a little more butter than traditional recipes to hold it together. Discover the perfect 2-ingredient ratio right here!
Pin Recipe
Rate / Comment
Ingredients
- 26 gluten-free Oreos, reserve rest for topping
- 5 tablespoons butter, melted
Equipment
- 9-inch pie plate
- Pie server
- Gluten-Free Oreos
Instructions
- Preheat the oven to 350°F (175°C). Crush the 26 gluten-free cookies into extremely fine crumbs. For speed and efficiency, use a food processor. Alternatively, place the cookies in a sturdy ziplock bag and use a rolling pin or meat mallet to crush them until they are as fine as possible.
- Once the cookies are finely crushed, add the 5 tablespoons of melted butter. If using a food processor, pulse to combine. If crushing by hand, transfer the crumbs to a bowl and mix thoroughly with the butter until all crumbs are moistened and resemble wet sand.
- Dump the mixture into a 9-inch pie plate or springform pan. Use the bottom of a measuring cup or a drinking glass to firmly and evenly press the crumbs along the bottom of the pan. Then, use the side of the cup or glass to press the crumbs up and around the sides of the pan. Finish by using your fingers to ensure all edges are even and compressed. If using a springform pan, you can press crumbs up about ⅓ of the way up the sides, or just keep them along the bottom for a flat base.
- Bake for 10 minutes in the preheated oven. Remove the crust from the oven and allow it to cool completely on a wire rack before adding your desired filling. If you plan to garnish with additional cookies, add them just before serving to maintain their crispness.
Notes
Make Ahead and Storage Tips
This **gluten-free Oreo crust** can be prepared ahead of time, offering great convenience for busy bakers. After it has fully cooled, you can store the un-filled crust at room temperature for up to 24 hours, loosely covered with foil or plastic wrap. For longer storage, wrap the cooled crust securely in plastic wrap and then foil, and freeze for up to 1 month. When ready to use, simply thaw at room temperature before filling.
Once you’ve added your chosen filling, the completed pie or cheesecake should be refrigerated. It’s best served within 24 hours of filling to ensure optimal freshness and texture. A little bonus tip: if you plan on garnishing your dessert with extra gluten-free Oreos or crumbs, add them right before serving. I’ve noticed that GF Oreos tend to soften quickly when stored in the refrigerator, losing their crunch. The filled crust itself, however, maintains its integrity well. Not entirely sure why this happens, but trust me on this!
Leftovers can typically be kept refrigerated for up to a couple of days without a significant change in the crust’s texture. Beyond that, the moisture from the filling may start to seep into the crust, causing it to become softer. For the best experience, enjoy your delicious creation within a day or two!
Nutrition Information (per serving):
Calories: 244kcal, Carbohydrates: 28g, Protein: 2g, Fat: 15g, Saturated Fat: 7g, Polyunsaturated Fat: 2g, Monounsaturated Fat: 5g, Trans Fat: 0.3g, Cholesterol: 19mg, Sodium: 208mg, Potassium: 93mg, Fiber: 1g, Sugar: 16g, Vitamin A: 219IU, Calcium: 10mg, Iron: 5mg
Did you make this recipe?
Please leave a star rating and review below. It helps others when searching for recipes and I LOVE feedback!