
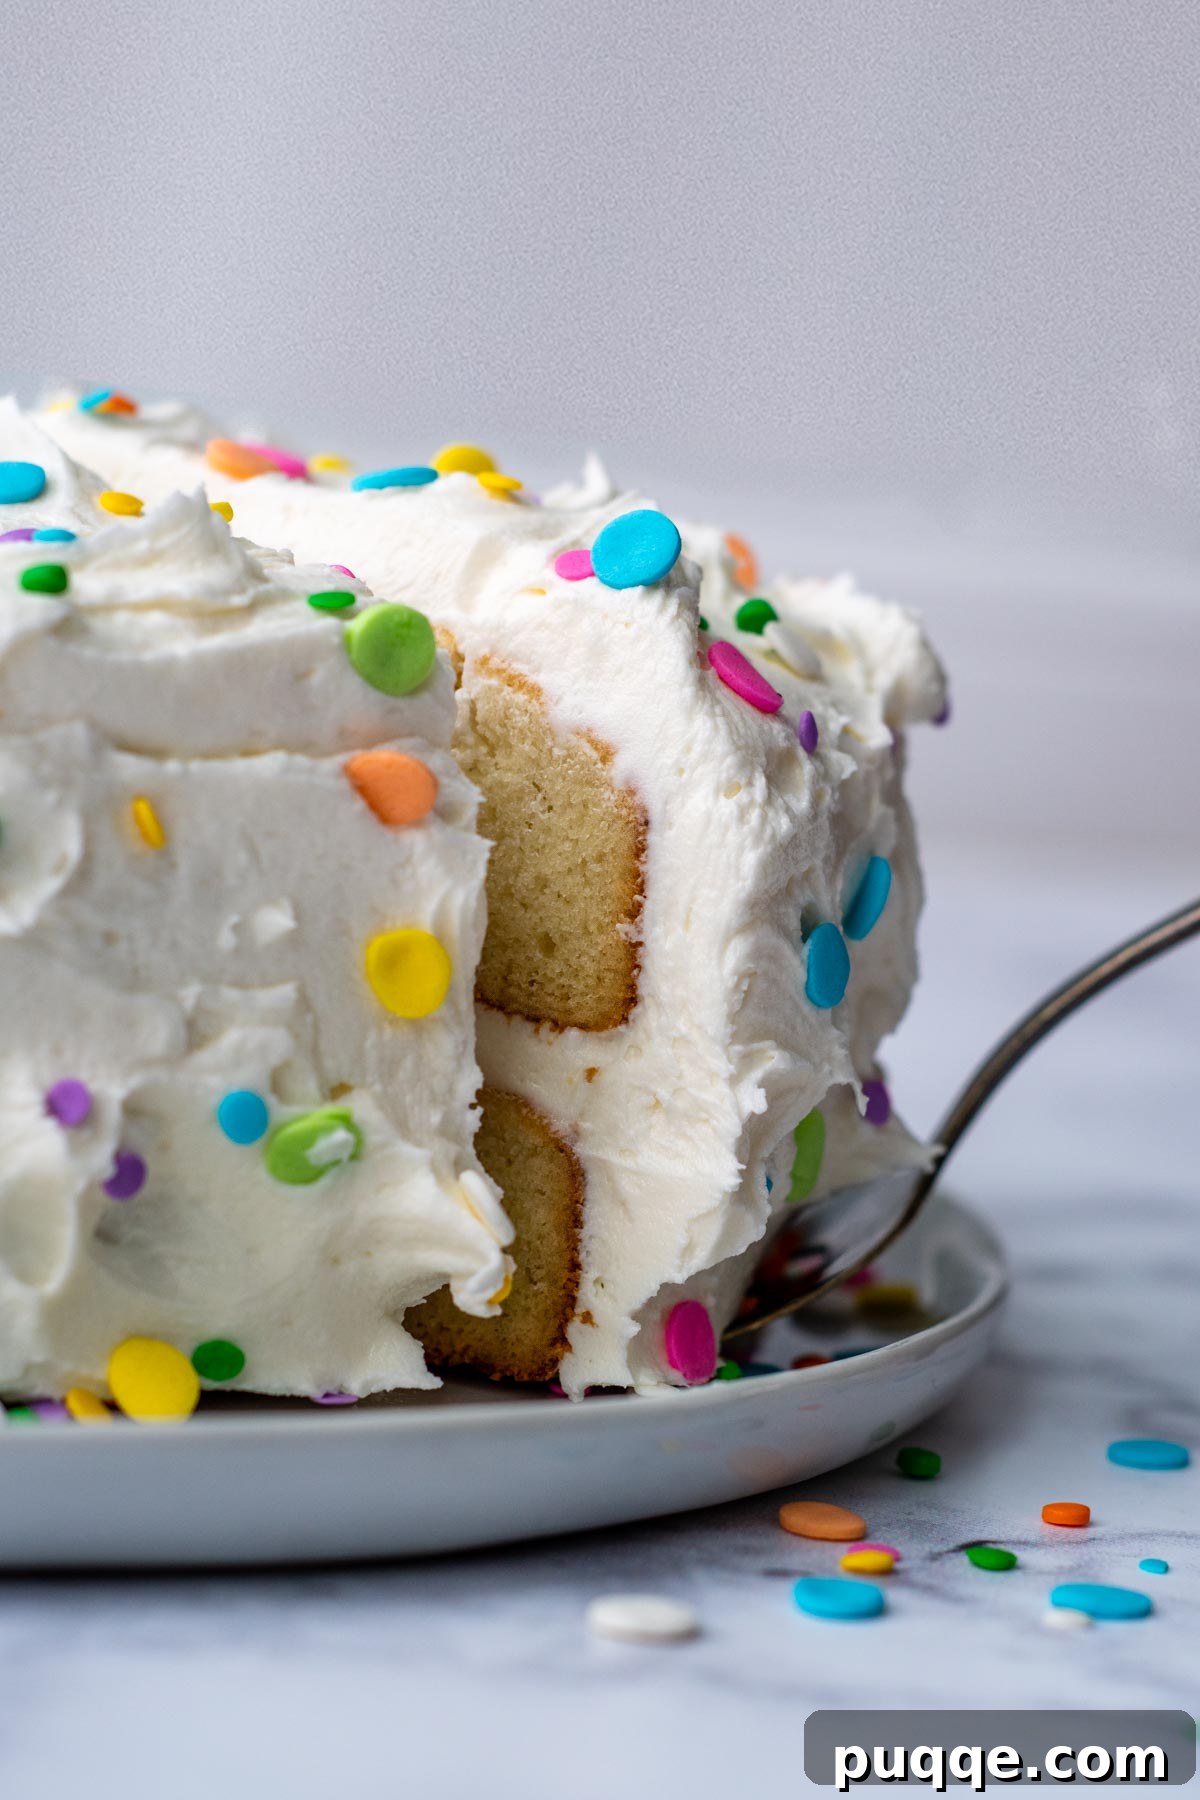
Tired of dry, dense, or crumbly gluten-free cakes? Not all gluten-free cake recipes are created equal! Introducing the ultimate fluffy and moist Gluten-Free White Cake – an easy, from-scratch vanilla cake recipe perfect for birthdays, anniversaries, and all your special celebrations. Join hundreds of satisfied gluten-free bakers who have achieved swoon-worthy success with this foolproof recipe. Your quest for the perfect homemade gluten-free white cake ends here!
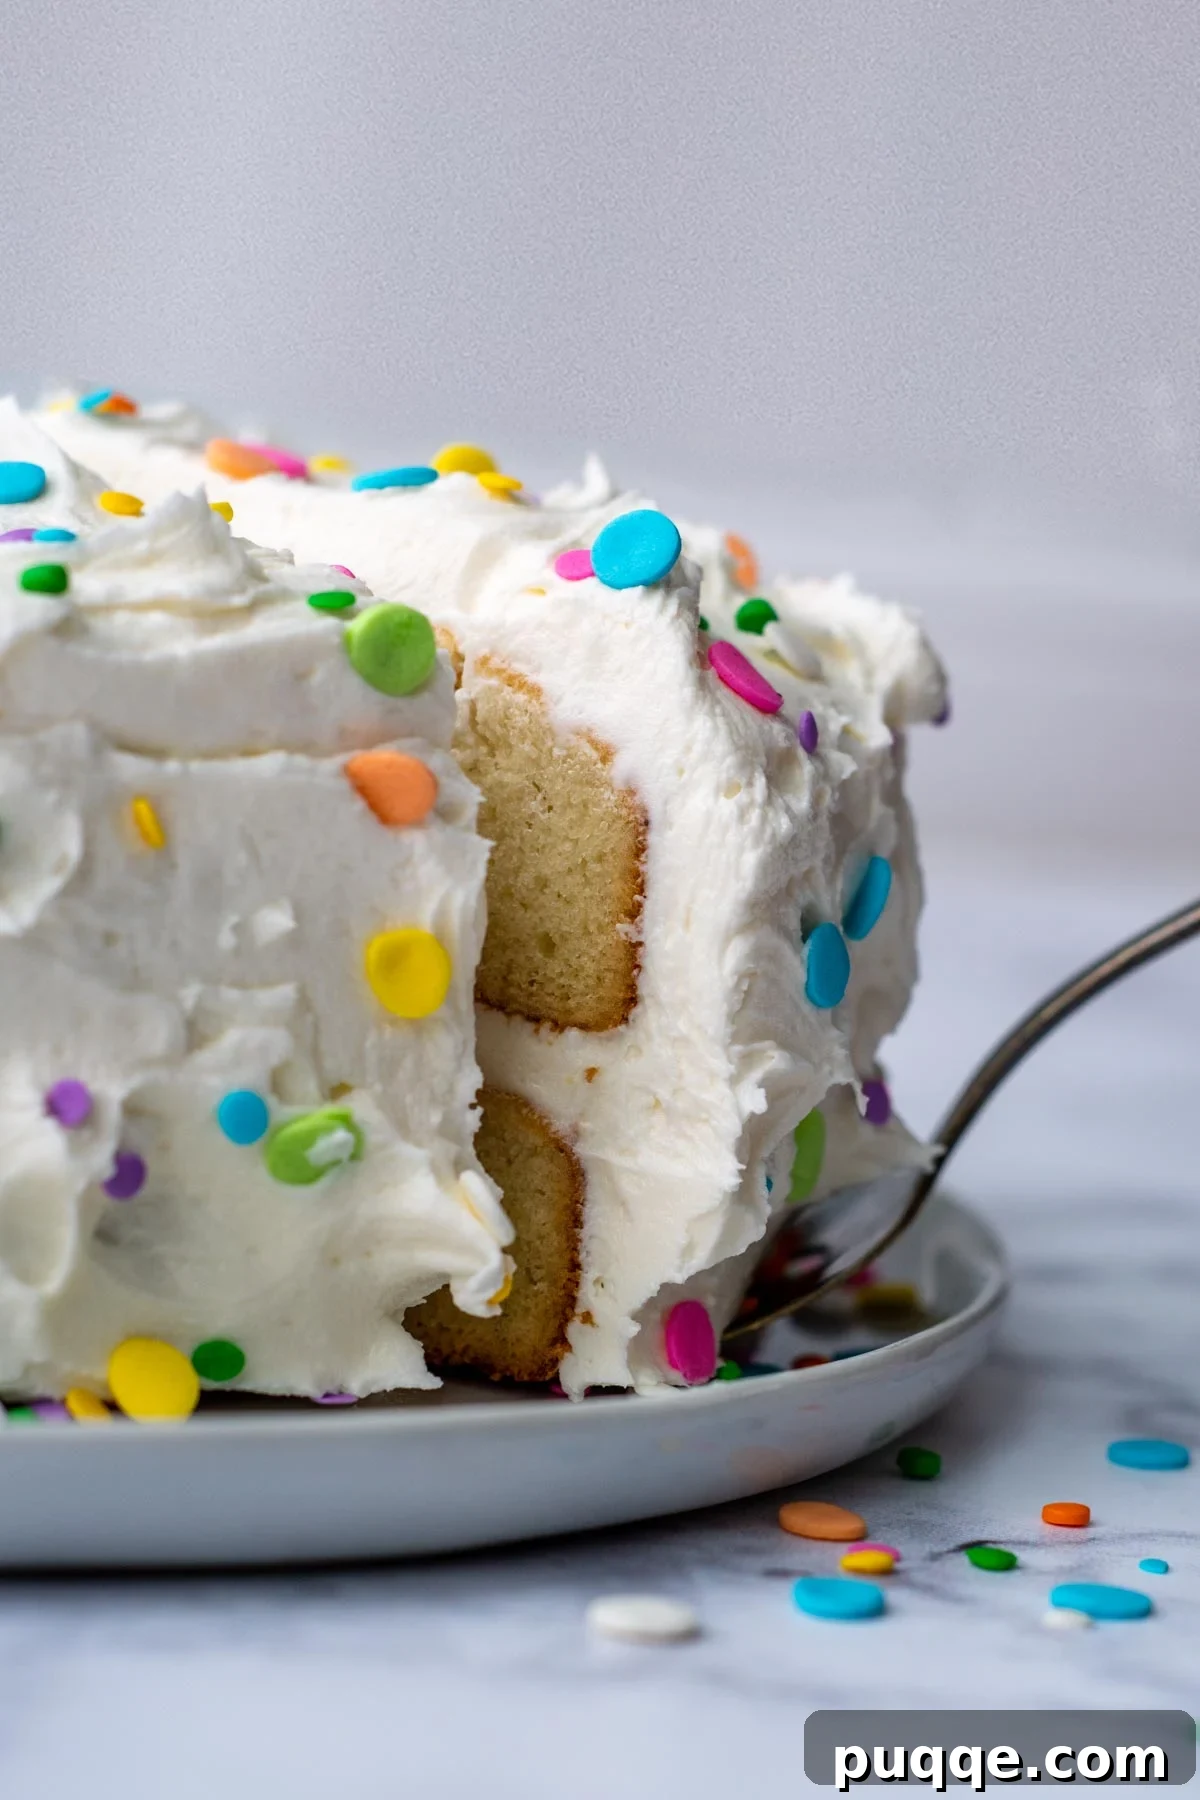
Finally, a Gluten-Free White Cake That Defies Expectations
After years dedicated to perfecting gluten-free baking, I’ve experienced my fair share of triumphs and tribulations. Oh, the failures! If you’ve ventured into the world of gluten-free baking, you know exactly what I mean. Fortunately, my kitchen is now home to a collection of perfected staples: a rich, fudgy gluten-free chocolate cake, pillowy soft gluten-free bread that actually holds together, and crisp GF sugar cookies that roll out with ease.
Yet, one elusive challenge remained: a truly soft, fluffy, and moist gluten-free white cake. Many gluten-free baking recipes simply attempt to adapt traditional wheat-based recipes by merely swapping out all-purpose flour for a GF blend. While this might yield something that resembles a homemade layer cake, it often leaves much to be desired. The results are frequently dry, disappointingly dense, or unpleasantly gritty. But I’m here to tell you, there’s a far better way!
You don’t need to be a baking expert to achieve incredible results with these completely doable gluten-free cake tips. My journey involved rigorous testing and integrating tricks learned while developing my gluten-free cookbook. Key discoveries included selecting a high-quality gluten-free flour blend, ensuring an optimal mixing time, and, most critically, understanding the precise ratio of wet to dry ingredients. This last point is precisely why a simple 1:1 gluten-free flour swap in a “regular” recipe will only get you so far.
My starting point was a robustly tested recipe: America’s Test Kitchen’s lemon layer cake. I initially omitted the lemon to create a vanilla base, then adapted it further to achieve an incredibly light and fluffy texture using gluten-free flour. The original baking time proved too long; two 9-inch round cake layers required only 23-25 minutes. However, a new challenge emerged – the cake tended to sink upon cooling. This led to extensive adjustments in the wet and dry ingredient ratios, along with countless test runs tweaking baking powder and baking soda amounts. Those were indeed some dark times, filled with moments of genuine GF baking frustration!
But let’s celebrate a happy ending! With this tried-and-true white cake recipe, you’ll never again need to rely on a store-bought gluten-free cake mix for a quick and easy layer or sheet cake. This homemade wonder comes together in just five minutes of active prep time, promising that special birthday cake experience without the gluten.
Hands down the best gluten-free cake recipe I’ve tried. Sticking to this one because it’s so good! I’m new to GF baking so the “no fail” scared me – easy to say but not always true. Been there before! But, this is exactly as advertised. I’ll make this one every time. Better than so-called regular cake by a mile!
—Ann
My husband and grown son and daughter have Celiac. I do not and still eat gluten away from home, so have not forgotten how delicious a cake made with wheat flour is compared to other gluten free cake recipes. This was absolutely moist and delicious, and I could not tell it is gluten free. Thank you for the perfect recipe!
—Jeanne
Let’s Bake This Perfect Gluten-Free White Cake Together!
Below, you’ll find step-by-step photos and detailed instructions. For the complete recipe, including exact ingredient amounts and a printable format, please scroll down to the full recipe card.
One crucial aspect of gluten-free baking is how GF flours absorb fats differently than traditional wheat flour. To counter this, instead of creaming softened butter and sugar, this homemade cake utilizes melted butter. This method allows the fat and moisture to more effectively coat the starches in the gluten-free flour, resulting in a wonderfully moist cake rather than a dry or crumbly one.
After observing feedback about deflating cake issues during my initial recipe testing, I retested the recipe multiple times, specifically focusing on reducing the liquid content. This adjustment proved to be the key! Coupled with my “eureka” discovery from developing my truly fluffy GF banana cake recipe – allowing the cake batter to rest for 15 minutes – the no-fail cake magic was finally solidified. These two seemingly small changes make all the difference in achieving a perfectly stable and delicious gluten-free white cake.
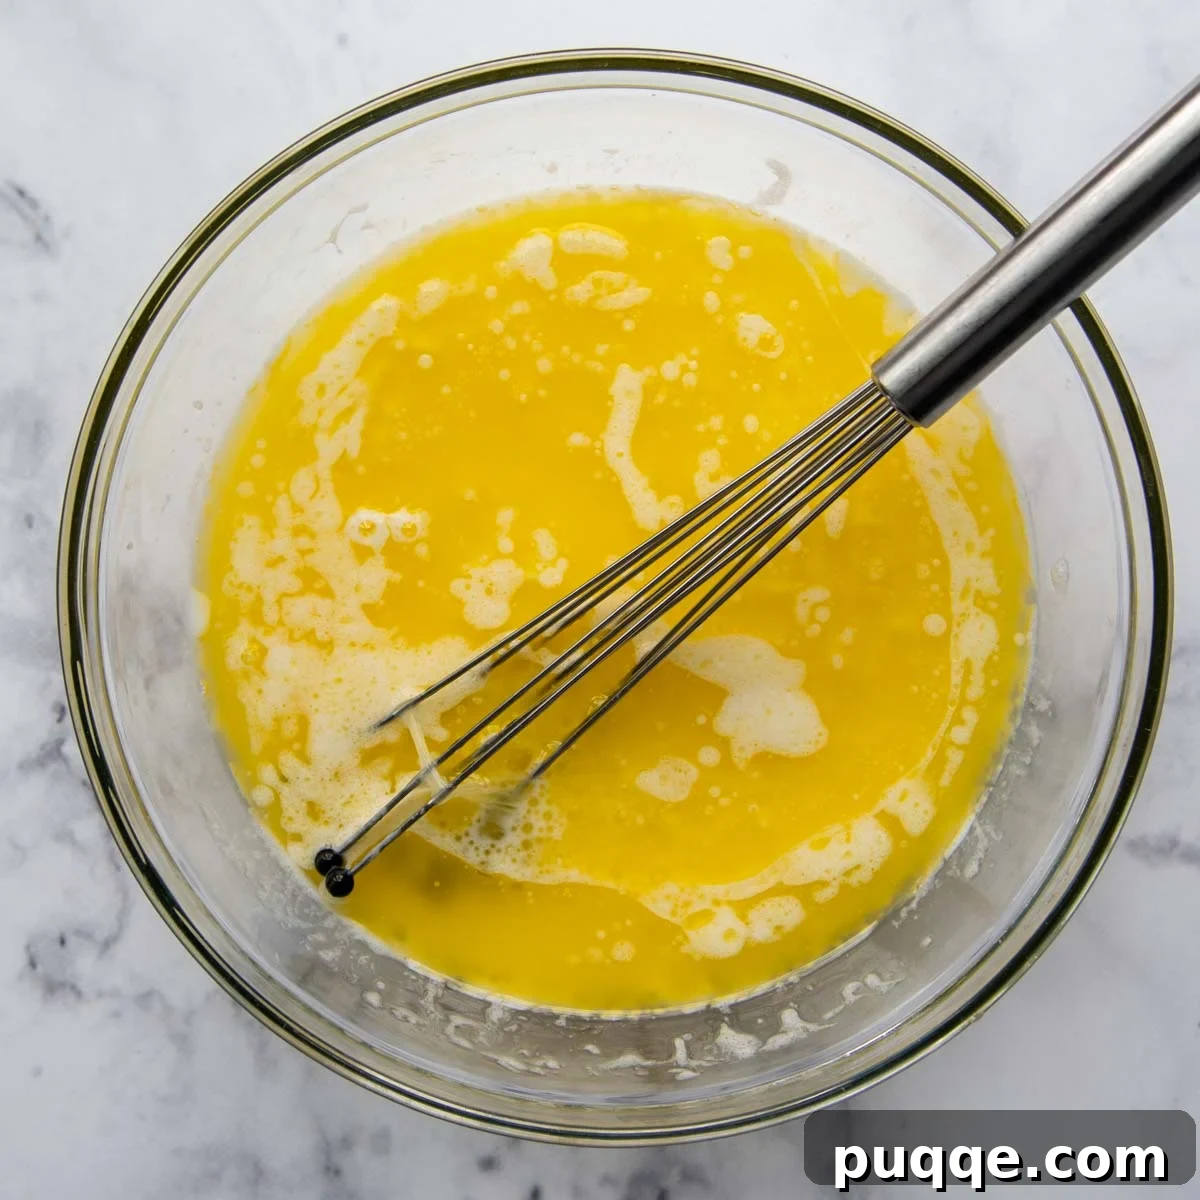
Step 1: Whisk Together Wet Ingredients
For optimal incorporation with the dry ingredients, ensure your egg whites and milk are at room temperature. Allow them to sit out for at least 45 minutes before you begin. Once your melted butter has cooled to room temperature, combine and whisk it thoroughly with the milk, egg whites, and vanilla extract until well blended.
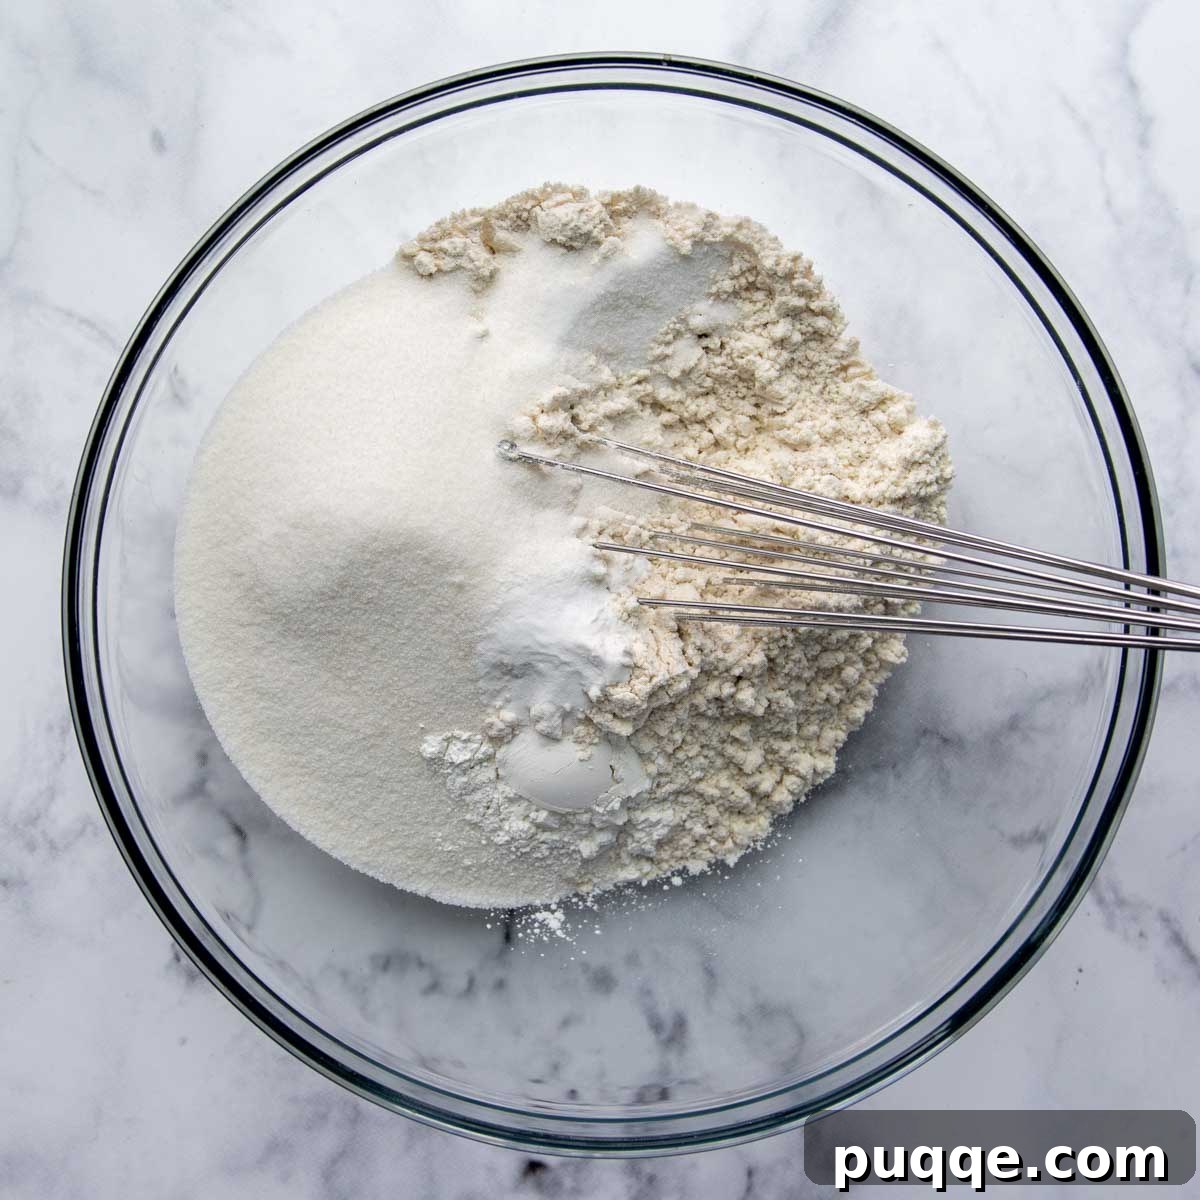
Step 2: Combine Dry Ingredients
In a separate, larger bowl – ideally, the bowl of your stand mixer fitted with a paddle attachment – whisk together the gluten-free all-purpose flour, granulated sugar, baking powder, baking soda, and salt. Make sure these dry ingredients are thoroughly combined before adding any wet components. See? I told you this was easy!
Step 3: Mix, Rest, and Bake for Perfection
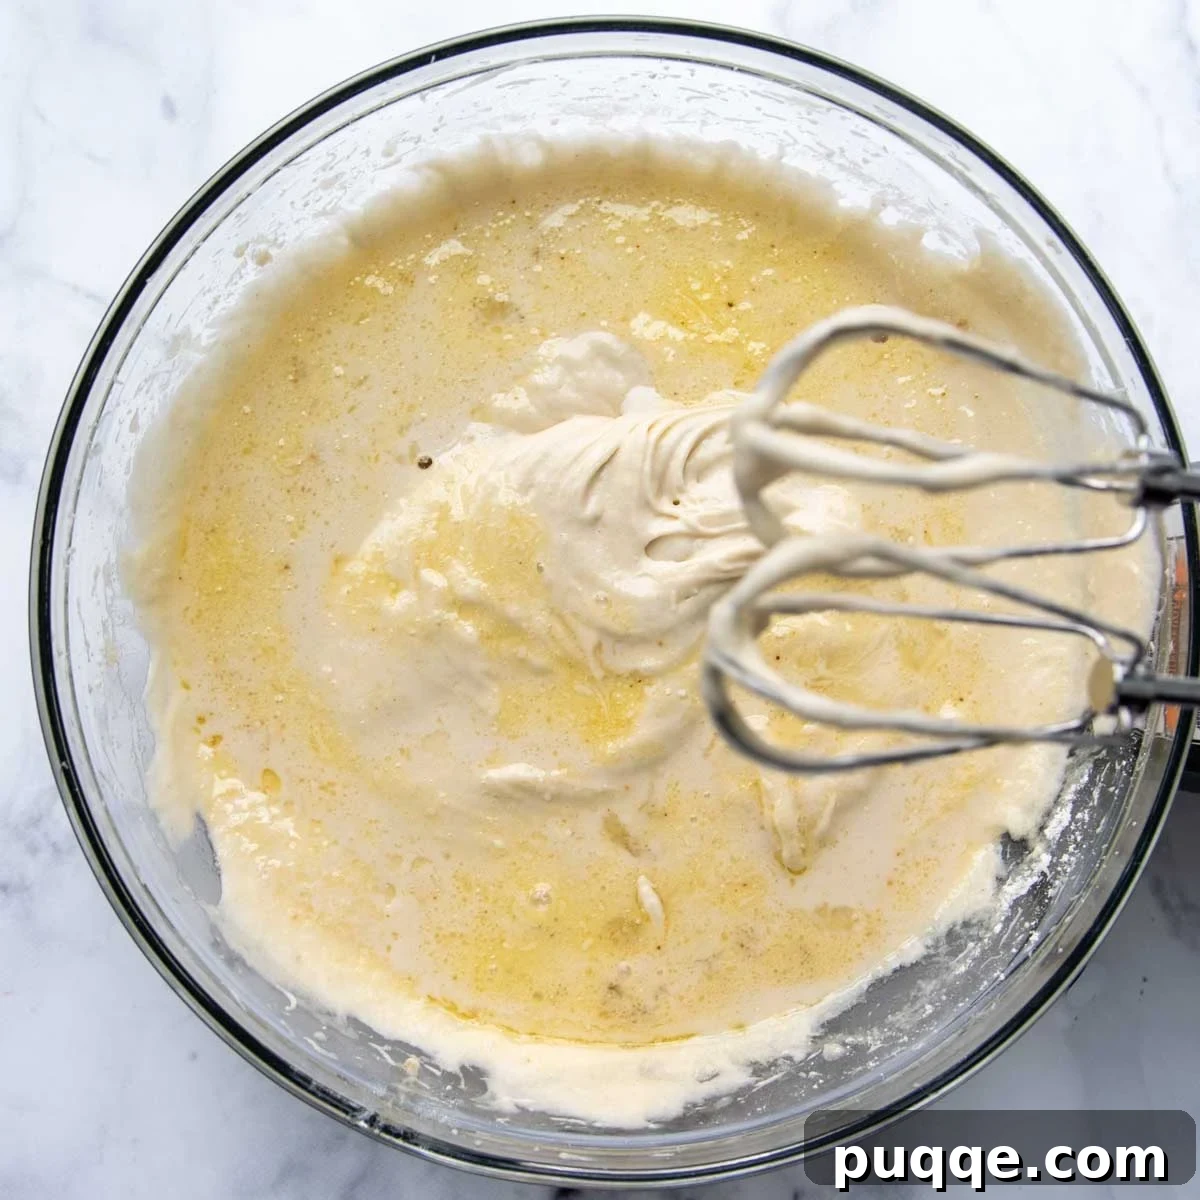
Now, carefully pour almost all of the wet ingredient mixture into the dry ingredients, reserving about 1/2 cup of the liquid. Begin beating on low speed until the ingredients are just moistened, then increase the speed to medium and mix for 2 full minutes. During this time, the batter will transform, becoming visibly pale and fluffy. Add the remaining liquid and beat for an additional minute until everything is fully incorporated and smooth. Spread the batter evenly into your greased baking pans and, here’s a secret for dense-cake-free layers, let it rest for 15 minutes while your oven preheats. This crucial resting period allows the liquids to fully absorb into the gluten-free starches, ensuring a tender, cloud-like texture. Finally, bake for 23-25 minutes, cool, and prepare for frosting!
If you’re preparing this for a festive birthday celebration, consider adding a touch of fun! For guidance on incorporating gluten-free sprinkles and amounts, refer to my homemade gluten-free funfetti cake recipe.
Selecting the Best Gluten-Free Flour for Baking
Gluten-free flour blends have undergone remarkable advancements over the past fifteen years. What once meant meticulously buying, storing, and measuring various individual flours to create a suitable homemade mix is now streamlined by excellent commercial options.
Fortunately, several commercial brands now outperform any homemade blends I’ve ever experimented with. These are the brands I consistently find deliver the most reliable results and superior taste, making your gluten-free baking journey much smoother:
- Cup4Cup Gluten-Free Flour: This is my primary recommendation for achieving truly undetectable gluten-free taste and texture. While it is often the most expensive option, I find the exceptional quality and results – baked goods that taste just as good as traditional ones – make it completely worth the investment.
- King Arthur Measure-for-Measure Gluten-Free Flour: My runner-up gluten-free flour, and an excellent choice if you need a dairy-free gluten-free cake recipe. It’s more affordable than Cup4Cup, though I sometimes detect a very slight gritty undertone in some baked goods. Nevertheless, it performs admirably.
- Bob’s Red Mill 1:1 Baking Flour: Many home bakers gravitate towards Bob’s Red Mill due to its wide availability in grocery stores and its affordability. However, in side-by-side comparisons with other premium brands, I’ve noted a slight aftertaste. If you do choose to use Bob’s Red Mill, I strongly recommend it primarily for cakes, as I haven’t found it to yield the best results for breads, biscuits, or cookies where texture and rise are critical.
For best results, always measure your gluten-free flour by weight using a kitchen scale. This ensures accuracy, as cup measurements can vary significantly depending on how the flour is scooped and packed. The consistency of your flour measurement directly impacts the success of your gluten-free baking.
Troubleshooting: Why Did My Gluten-Free Cake Sink?
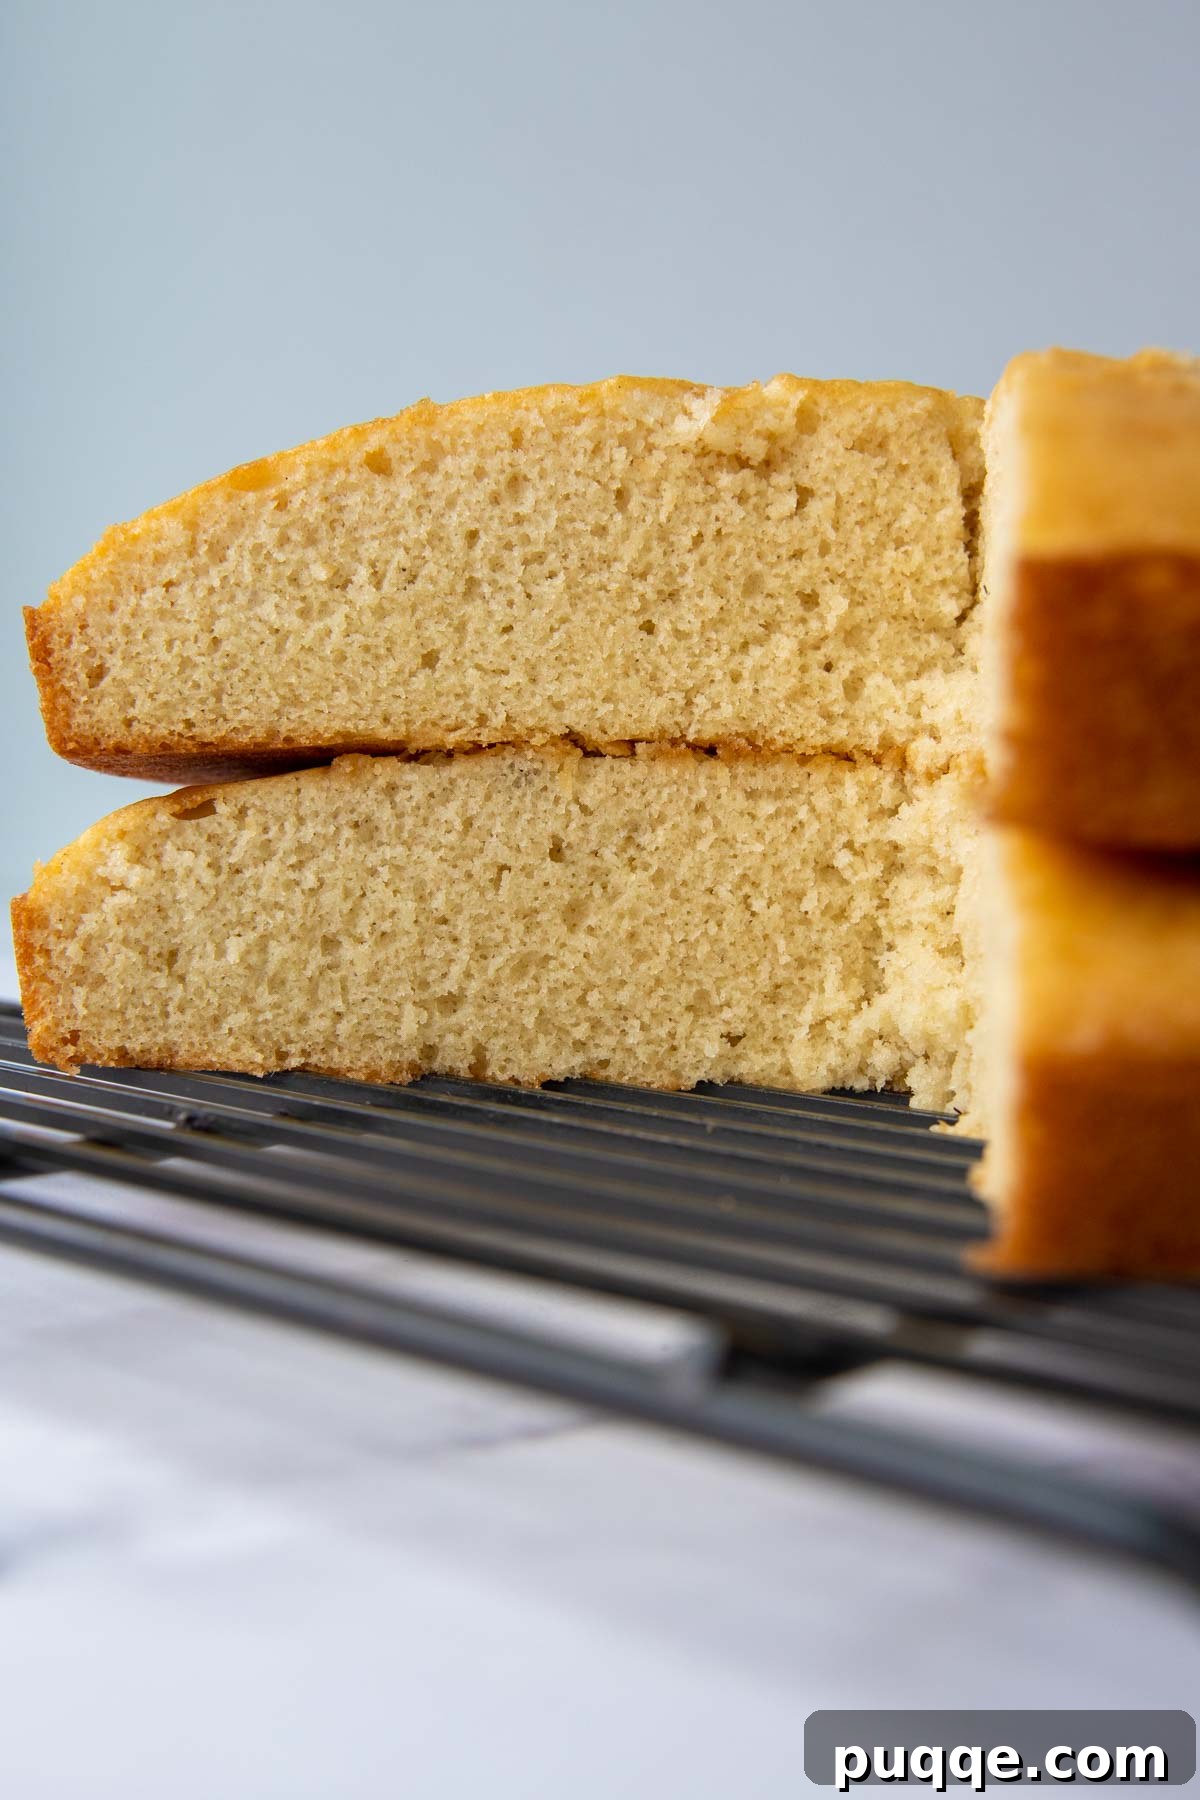
After numerous re-tests and precise adjustments to the liquid content in this recipe, sinking should no longer be a prevalent issue. However, understanding common reasons why gluten-free cakes might sink can help you troubleshoot future baking endeavors. Generally, GF cakes tend to sink if they haven’t baked long enough, or if there’s an imbalance in the wet-to-dry ingredient ratio. Gluten-free flours behave differently; they do not absorb moisture as efficiently or in the same manner as traditional wheat flour.
Unlike traditional cakes, which often need to be pulled from the oven immediately to prevent overbaking, gluten-free cake recipes typically require a few minutes longer in the oven. For the most accurate assessment of doneness, insert a clean toothpick into the center of the cake; it should come out clean. Relying solely on the “spring-back” test for the top of the cake is often not a reliable indicator for gluten-free bakes.
Another common culprit for fallen cakes is inaccurate oven temperature. If your oven isn’t calibrated to a true 350ºF, the leavening agents (baking powder and baking soda) could be activated too rapidly, causing the cake to rise quickly and then collapse. Investing in an inexpensive oven thermometer is a simple yet effective way to verify your oven’s temperature settings and make necessary adjustments, ensuring consistent baking success.
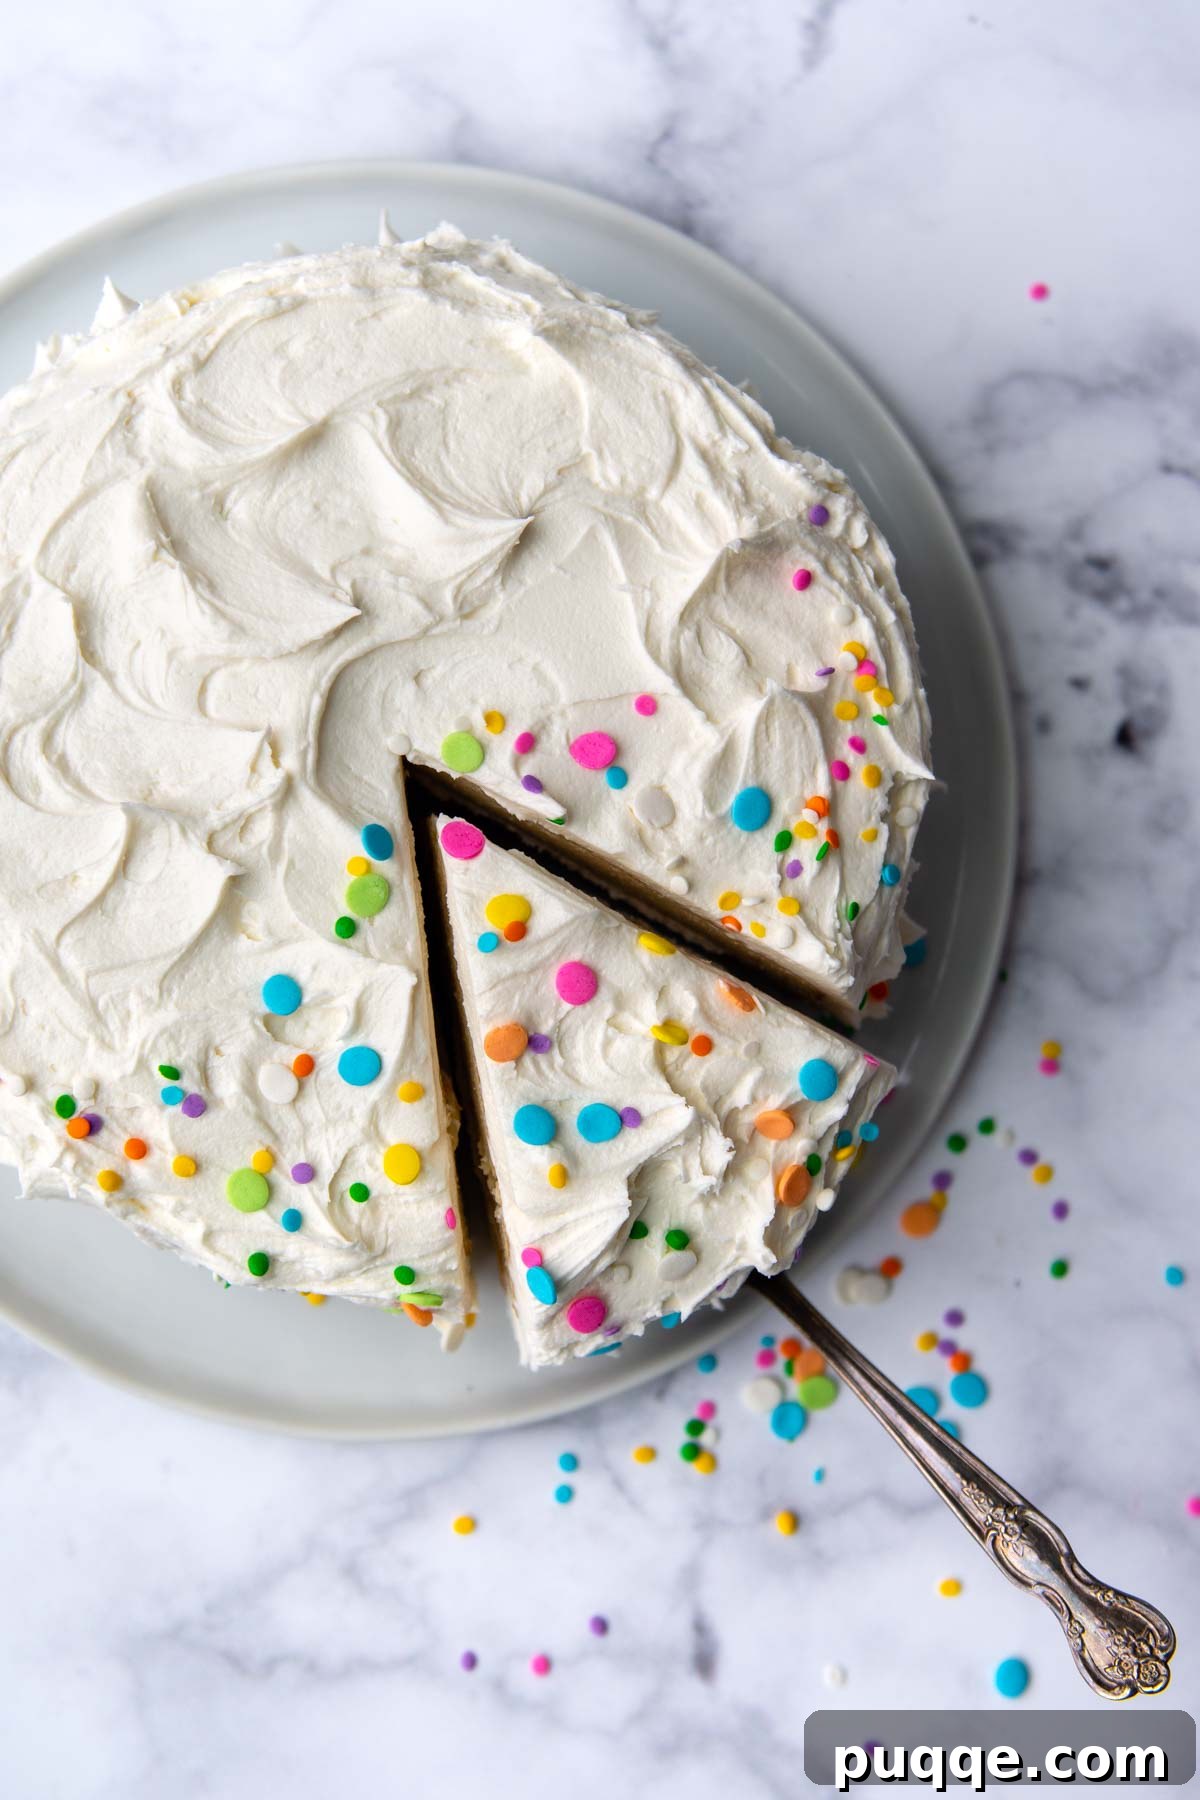
Craving cupcakes instead of a layer cake? This recipe is highly adaptable! Simply follow my dedicated recipe for gluten-free vanilla cupcakes, filling the liners about two-thirds full. Ensure they cool completely before spreading or piping your favorite frosting. For a delightful fresh berry twist, explore this moist and fluffy homemade GF strawberry cake.
Phenomenal Gluten-Free Cake Filling and Frosting Ideas
Whether you’re using this incredible homemade recipe or even a quality gluten-free cake mix, the right filling and frosting can elevate your white cake to new heights. For fillings, consider a velvety vanilla custard, a vibrant fresh fruit compote, or any flavor of light and airy mousse. You can also get creative by filling the cake layers with softened ice cream, then refreezing it before covering with a delicate whipped cream frosting for an impressive dessert.
My family’s most requested filling? Without a doubt, it’s my homemade banana cream filling, and I’m certainly never disappointed! We typically pair it with a classic vanilla frosting for a harmonious flavor profile.
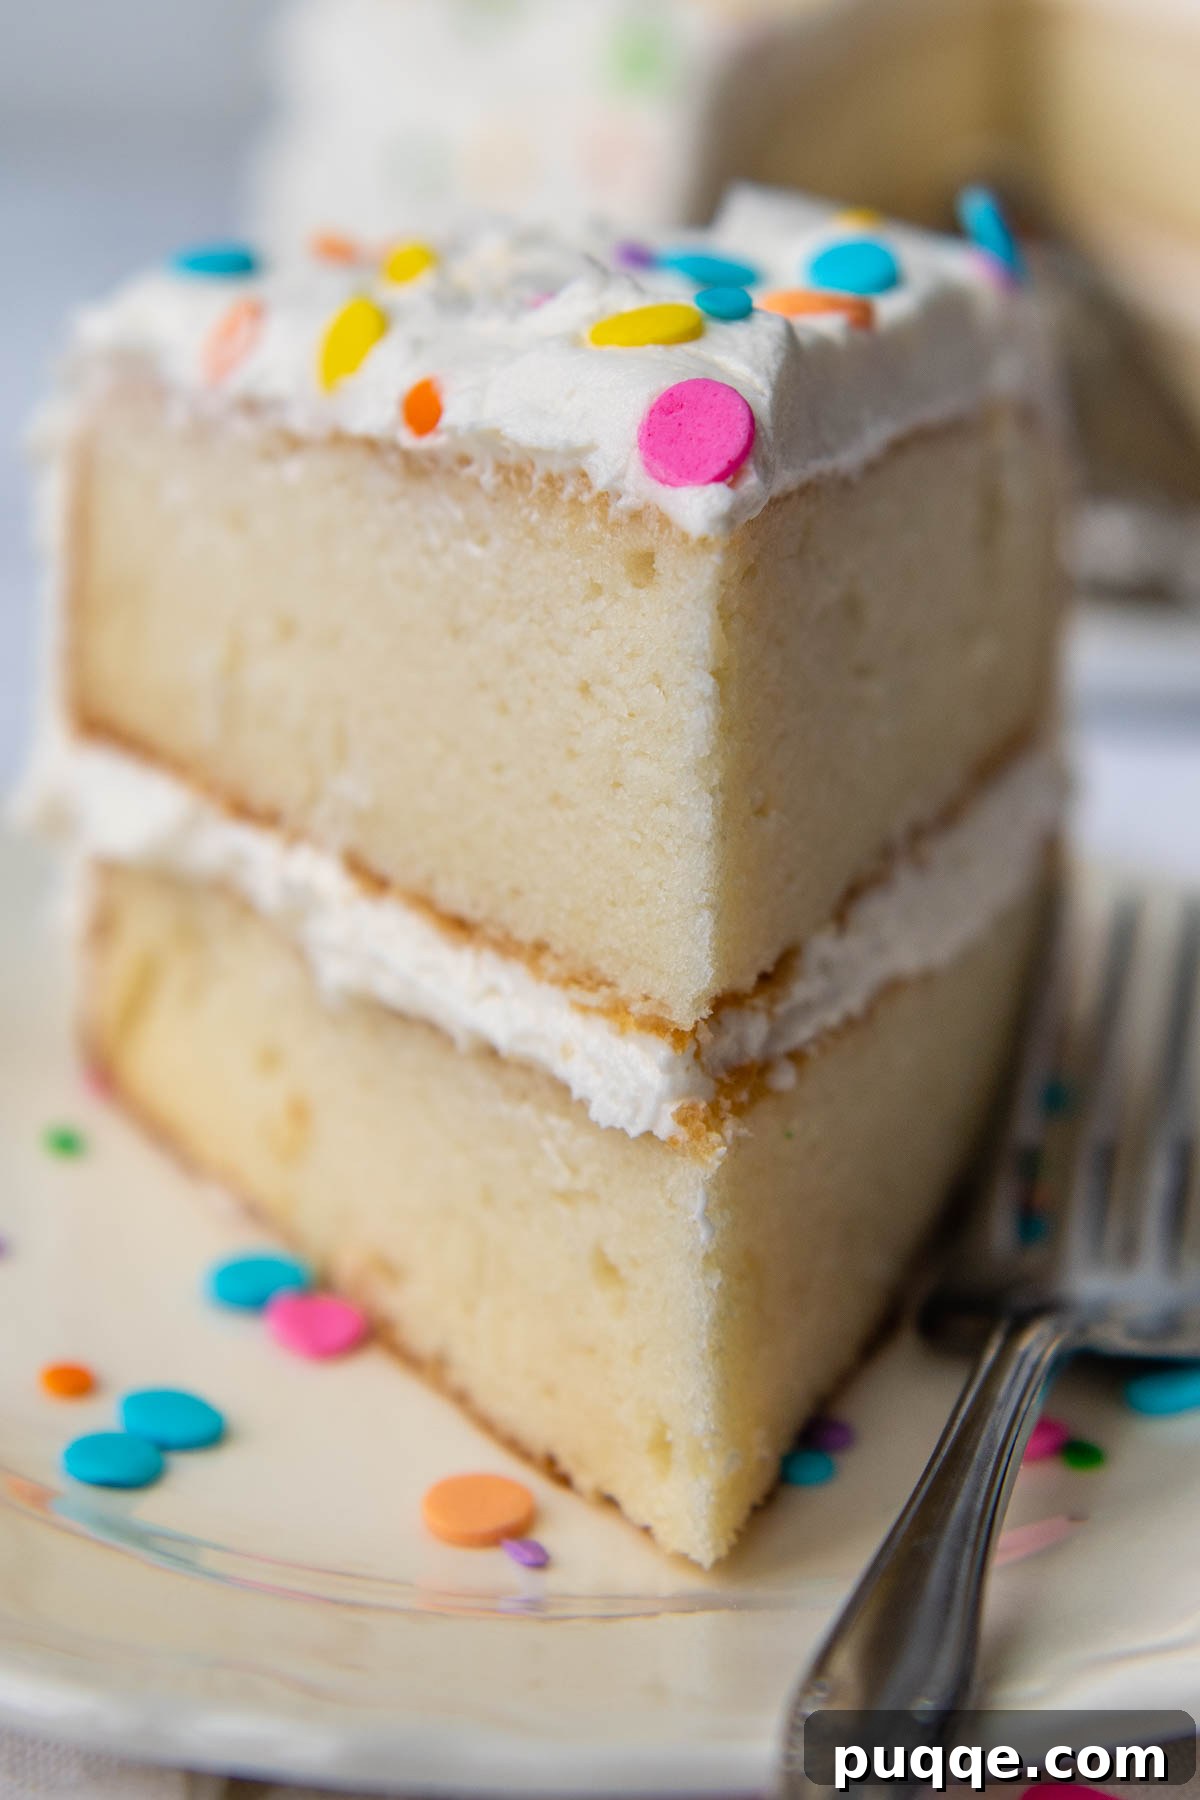
Alternatively, keep it elegantly classic with an old-school birthday cake style. Smother a generous, thick layer of the world’s fluffiest buttercream frosting all over your cake. For the chocolate enthusiasts, an airy chocolate buttercream makes an irresistible choice. We’ve also experimented successfully with lemon, coconut, and even a stable-enough-to-pipe chocolate whipped cream frosting, proving the versatility of this delicious white cake base.
Save This Gluten-Free Cake Recipe to Your Pinterest Board!
Let’s be friends on Pinterest! I’m always sharing great recipes!
Did you make this recipe? I love hearing from you! Leave a star rating and comment below the recipe card. Your feedback helps other bakers in our community, and I always make sure to respond! -Melissa
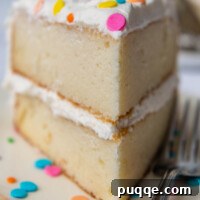
Fluffy, Moist Gluten-Free White Cake (No Fail!)

Melissa Erdelac
12 servings
5 mins
23 mins
28 mins
Pin Recipe
Rate / Comment
Remove Ads
Ingredients
- 8 tablespoons unsalted butter (113 g), melted and cooled
- ⅔ cup whole milk (163 g), room temperature
- 4 large egg whites (148 g), room temperature
- 2 teaspoons vanilla extract
- 2 cups gluten-free all-purpose flour (292 g), I use and highly recommend Cup4Cup
- 1 ¼ cup granulated sugar (250 g)
- 1 TABLESPOON baking powder
- ½ teaspoon baking soda
- ½ teaspoon salt
Equipment
-
Stand Mixer
-
Cup4Cup Gluten-Free Flour
-
9-inch Cake Pans
-
Parchment Paper
-
Oven Thermometer (recommended)
Instructions
-
Preheat your oven to 350ºF (175ºC) and position an oven rack in the middle. Prepare two 8-inch or 9-inch round cake pans by spraying them thoroughly with cooking spray. Line the bottoms of the pans with parchment paper cut to size, then grease the parchment paper as well. Set aside.
-
Begin by melting the butter and setting it aside to cool to room temperature. Once cooled, in a medium bowl, whisk together the cooled melted butter, whole milk, egg whites, and vanilla extract until fully combined. Ensure all these wet ingredients are at room temperature for best results.8 tablespoons (113 g) unsalted butter,
⅔ cup (163 g) whole milk,
4 (148 g) large egg whites,
2 teaspoons vanilla extract -
In a large mixing bowl or the bowl of a stand mixer fitted with a paddle attachment, combine the gluten-free all-purpose flour, granulated sugar, baking powder, baking soda, and salt. Mix on low speed until all dry ingredients are uniformly blended. Add all but approximately ½ cup (you can eyeball this amount) of the liquid mixture to the dry ingredients. Begin beating on low speed to moisten the ingredients, then increase the speed to medium and beat for 2 minutes, until the batter becomes visibly pale and fluffy. Finally, pour in the remaining reserved liquid and beat for 1 minute longer to ensure a smooth, well-aerated batter.2 cups (292 g) gluten-free all-purpose flour,
1 ¼ cup (250 g) granulated sugar,
1 TABLESPOON baking powder,
½ teaspoon baking soda,
½ teaspoon salt -
Divide the prepared batter evenly between your two cake pans. This is a critical step for a fluffy texture: allow the batter to rest in the pans for 15 minutes. This resting period gives the gluten-free flours time to fully absorb the liquids, leading to wonderfully tender cake layers and preventing a dense crumb. While the batter rests, your oven will finish preheating. Bake for 23-25 minutes, rotating the pans halfway through baking for even browning. The cake is done when the tops are lightly golden and a toothpick inserted into the center comes out completely clean.
-
Allow the baked cake layers to cool in their pans on a wire rack for 10 minutes. After 10 minutes, carefully invert the cakes onto the wire rack, remove the parchment paper, and let them cool completely before frosting. This ensures the cakes are firm enough to handle and prevents the frosting from melting. Frost with your favorite, such as a fluffy vanilla buttercream or rich chocolate buttercream.
Notes & Tips
Essential Tips for Gluten-Free Baking Success:
- For a pure white cake, opt for clear vanilla extract instead of the standard amber variety.
- Always melt your butter at the very beginning of the recipe preparation to ensure it has ample time to cool to room temperature. Hot butter can curdle the batter or affect its texture.
- Separating egg whites is easier when the eggs are cold. After separating, allow both the egg whites and the measured milk to sit out and reach room temperature for about 45 minutes before incorporating them into the batter.
- This recipe is optimized for whole milk, which provides the best richness and moisture. 2% milk can be substituted, but skim milk is not recommended as it will alter the cake’s texture. For a dairy-free version, unsweetened almond milk has been tested and performs best.
Dairy-Free Adaptation:
To convert this recipe into a delicious dairy-free gluten-free white cake, simply substitute Earth Balance Vegan Buttery Sticks for the unsalted butter. Replace the whole milk with unsweetened almond milk. Additionally, reduce the amount of salt in the recipe to ¼ teaspoon.
Sheet Cake Variation:
If you prefer to make a single-layer sheet cake instead of a traditional layer cake, bake the batter in a 9×13-inch pan. If you plan to remove the cake from the pan for decorating, line the bottom with parchment paper cut to size, then grease the top of the parchment paper with cooking spray. Bake the sheet cake at the same temperature (350ºF/175ºC) as the layer cake directions. The baking time may require an additional 4-5 minutes, so begin checking for doneness around 24 minutes with a toothpick.
Storing and Freezing Your Gluten-Free Cake:
Gluten-free cakes, by nature, do not stay fresh as long as their gluten-containing counterparts. For optimal freshness, if you don’t plan on freezing the cake, aim to make it no more than 24 hours ahead of your event.
A fantastic strategy for planning ahead is to bake the cake layers in advance and freeze them until you’re ready to assemble with your desired filling and frosting. Alternatively, you can bake, frost, and then freeze the entire cake.
Freezing Cake Layers: Once your cake layers are completely cooled, wrap each layer securely in multiple layers of plastic wrap. Transfer the wrapped layers to a gallon-sized freezer bag and freeze for up to 3 months. When you’re ready to use them, remove the wrapped layers from the freezer bag and thaw them at room temperature for about 1 hour before assembling and frosting.
Freezing a Frosted Cake: Assemble your cake with its filling and frosting as desired. Place the entire frosted cake into the freezer, uncovered, until the frosting is completely solid. Once frozen solid, wrap the cake securely with plastic wrap, then cover the plastic wrap with an additional layer of aluminum foil. This double-layer protection helps prevent freezer burn. Freeze for up to 3 months. To thaw, transfer the wrapped cake to the refrigerator overnight. Carefully remove the plastic wrap and foil while the cake is still cold. Continue thawing the cake at room temperature for an additional 5-6 hours until it reaches your desired serving temperature.
Recipe adapted from America’s Test Kitchen
Calories:
236
kcal
,
Carbohydrates:
37
g
,
Protein:
4
g
,
Fat:
9
g
,
Saturated Fat:
5
g
,
Cholesterol:
22
mg
,
Sodium:
337
mg
,
Potassium:
148
mg
,
Fiber:
2
g
,
Sugar:
23
g
,
Vitamin A:
266
IU
,
Calcium:
83
mg
,
Iron:
1
mg
Did you make this recipe?
Please leave a star rating and review below. It helps others when searching for recipes and I LOVE feedback!