
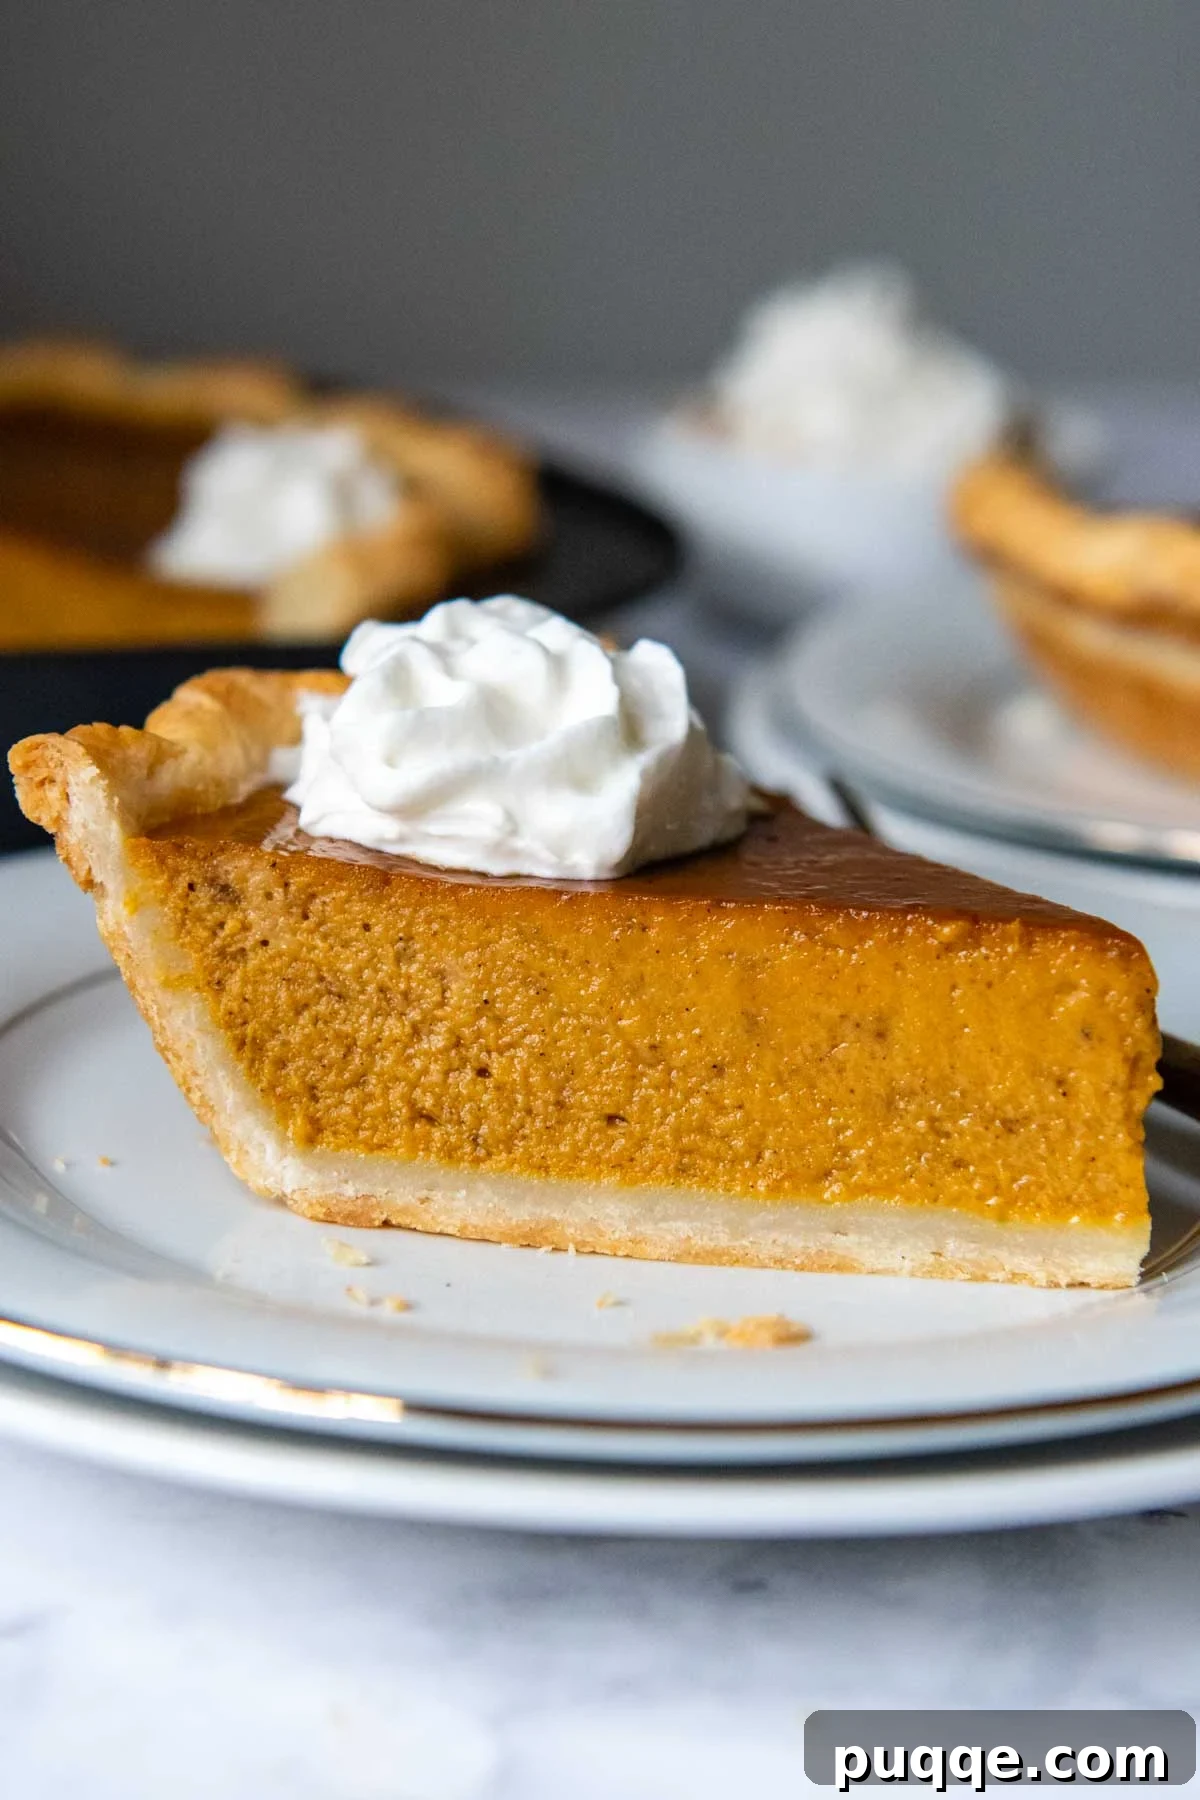
Delight all your holiday guests with this irresistibly easy, from-scratch gluten-free pumpkin pie recipe! This isn’t just any pie; it’s a culinary masterpiece featuring an extraordinarily tender, impossibly flaky gluten-free pastry crust. Complementing this perfect base is a rich, velvety pumpkin pie filling, achieving its luxurious custardy texture thanks to the inspired addition of heavy cream. What’s more, this exceptional gluten-free pumpkin dessert also unveils a simple, ingenious trick to bid farewell to that common baking woe: the dreaded soggy bottom crust!
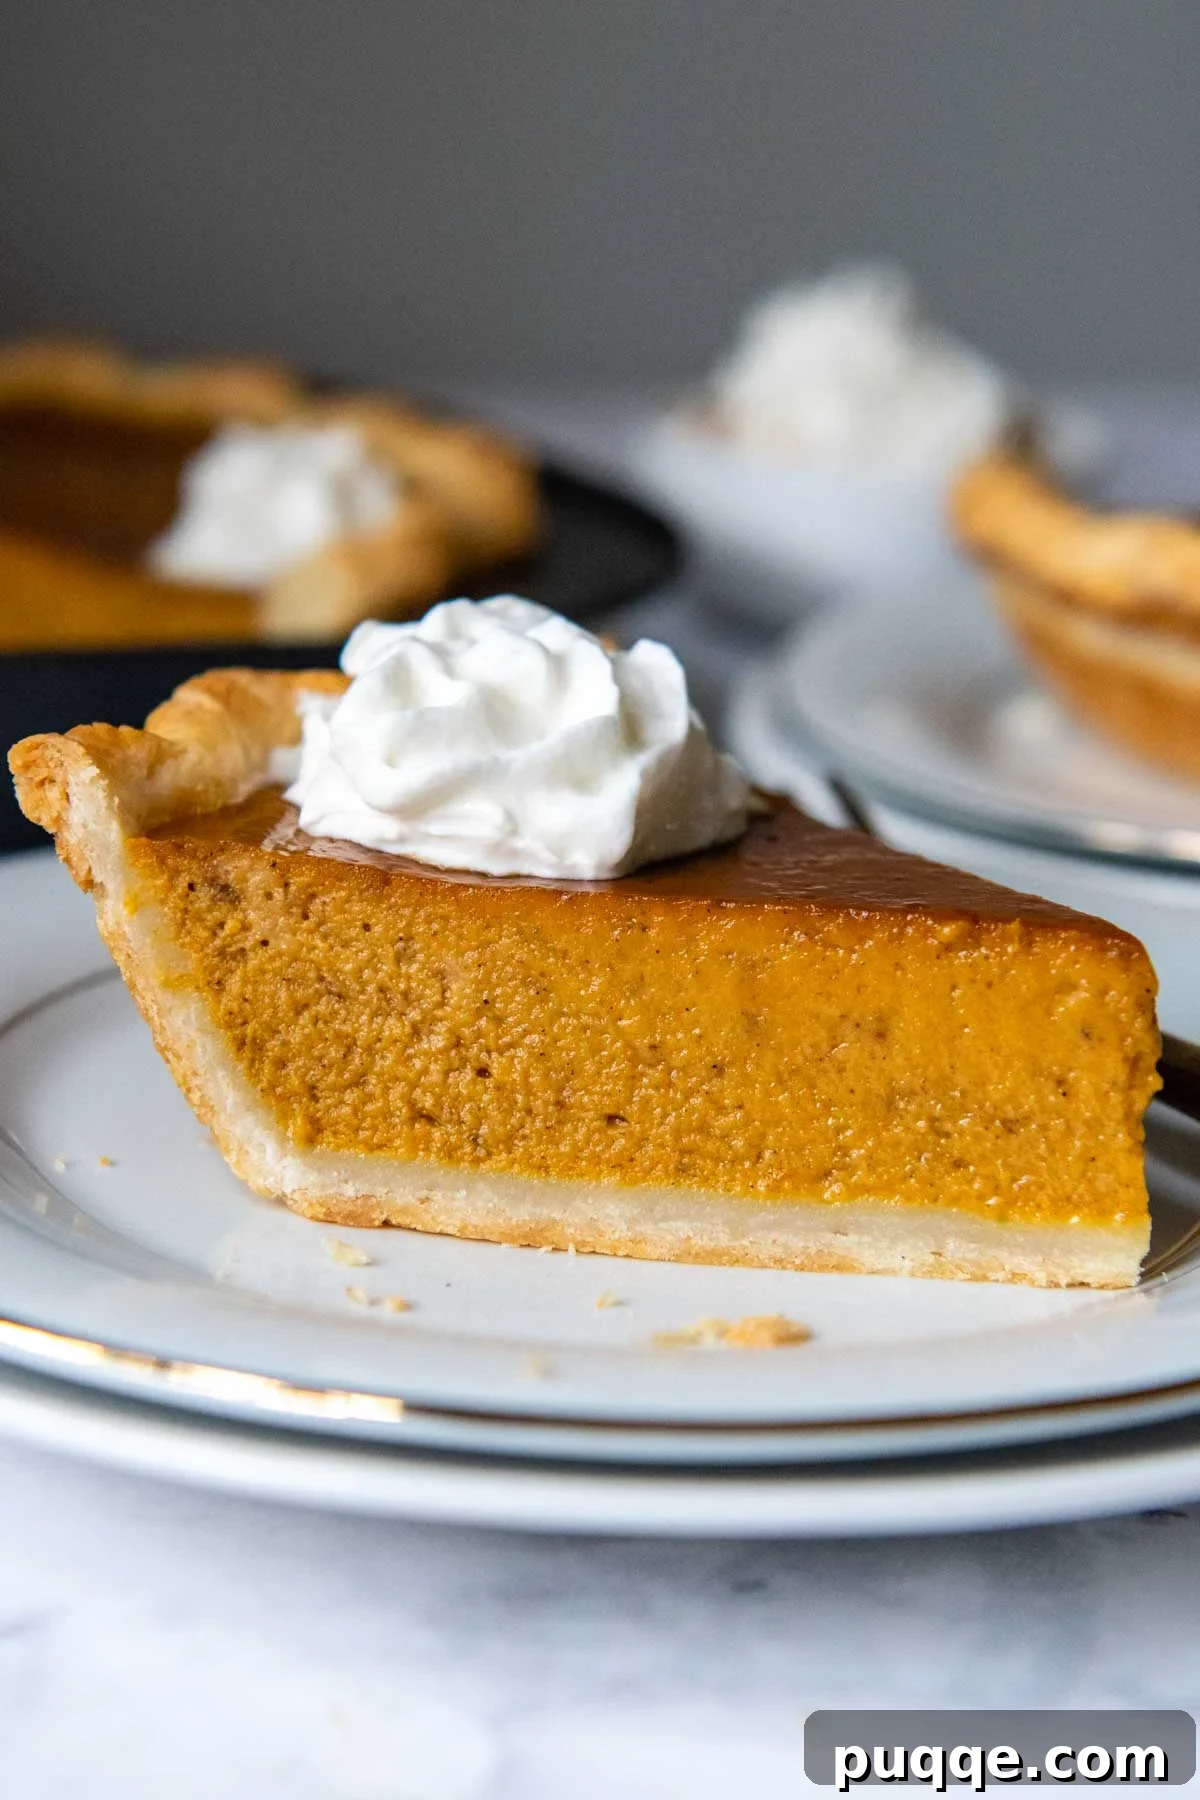
The Ultimate Homemade Gluten-Free Pumpkin Pie Experience
Creating a classic pumpkin pie that caters to everyone, including those with gluten sensitivities, has never been easier or more delicious. This comprehensive, from-scratch gluten-free recipe promises a foolproof path to perfection. Whether you’ve been intimidated by the thought of tackling a gluten-free pumpkin pie crust or simply yearn for the silkiest, most velvety filling imaginable, this step-by-step tutorial is your guarantee for outstanding results every single time. Prepare to impress even the most discerning palates with a pie that rivals any traditional bakery creation.
For the gluten-free pumpkin pie filling, my goal was to capture that quintessential homemade taste – the kind that evokes nostalgic memories of holiday gatherings – but without the extensive time commitment or complexity typically associated with using fresh pumpkin. To achieve this magical balance, I leaned on a brilliant baking trick my mother perfected for her legendary Thanksgiving pies.
The secret lies in harnessing the convenience of canned pumpkin puree, elevated by the luxurious touch of heavy cream. This combination miraculously recreates the depth and richness of a freshly-made filling, all whipped together in a mere 5 minutes. The heavy cream, when harmonized with brown sugar, subtly smooths out the flavors, transforming the mixture into a perfectly sweetened, sumptuously custardy pumpkin delight. I consciously opt for heavy cream, brown sugar, and a robust blend of spices over alternatives like sweetened condensed milk, which can sometimes impart an overly syrupy or artificial taste. Evaporated milk, while an option, typically demands a higher sugar content to achieve a comparable flavor profile. The inherent richness from the fat in heavy cream means less sugar is needed, resulting in a perfectly balanced sweetness that truly allows the pumpkin and spices to shine.
One of the most disheartening challenges in baking, particularly with gluten-free pies, is the infamous soggy bottom crust. It’s a common complaint that can undermine an otherwise perfect pie. However, I’ve discovered an incredibly effective, yet simple, trick to banish this problem for good. My revelation came while perfecting this homemade gluten-free apple pie recipe: baking the pie directly on a preheated metal baking sheet in a metal pie dish consistently yields a gloriously crispy bottom crust. This technique is a game-changer for gluten-free baking, ensuring every slice boasts a firm, flaky foundation.
When this exquisite gluten-free pumpkin pie takes its place alongside other essential Thanksgiving desserts, such as my famous gluten-free pecan bars, your holiday dessert table will be complete. You’ll have all bases covered, ensuring every guest, whether gluten-free or not, will find something truly special to savor and relish.
Essential Ingredient Insights for Your Perfect Pie
Every exceptional pie begins with exceptional ingredients. Understanding the nuances of each component is key to achieving that perfect texture and flavor. Here’s a deeper dive into the essential ingredients for this gluten-free pumpkin pie:
- Gluten-Free Pie Crust: For unparalleled taste and ease, I cannot stress enough the importance of using the dedicated crust recipe linked here. It consistently earns top marks in my easy gluten-free pie recipe collection. To guarantee the absolute best texture – a crust that’s both tender and flaky – I wholeheartedly recommend using the Cup4Cup gluten-free flour blend. Its specific composition mimics traditional wheat flour remarkably well, making it ideal for pastries.
- Canned Pumpkin Puree: This is a crucial distinction: always ensure you’re using pure canned pumpkin puree, *not* pumpkin pie filling. Pumpkin pie filling comes pre-sweetened and spiced, which will throw off the delicate balance of this recipe. Among brands, I highly recommend Libby’s because it is consistently thicker, more concentrated, and contains significantly less moisture than many other brands, contributing to a firmer, less watery filling.
- Heavy Cream: This ingredient is the secret weapon for an incredibly rich and custardy filling. The high fat content of heavy cream imparts a luscious mouthfeel and helps recreate that desirable “from scratch” taste, even when starting with canned pumpkin. For those seeking a dairy-free alternative, full-fat coconut milk (the kind sold in a can, not the beverage) makes an excellent substitute, offering similar richness.
- Brown Sugar: While granulated sugar can be used, I strongly prefer using packed light brown sugar. Its molasses content adds wonderful depth, a subtle caramel undertone, and a moistness that complements the pumpkin beautifully, resulting in a more complex and satisfying flavor profile.
- Eggs: The temperature of your eggs plays a vital role. Using room-temperature eggs ensures they homogeneously combine with the other filling ingredients, creating a smoother, more stable emulsion. Additionally, lightly beating the eggs with a fork *before* adding them to the pumpkin mixture helps prevent over-mixing, which is a common cause of cracks in the pie surface as it cools.
- Spices: Through extensive recipe testing with various pumpkin recipes, I’ve discovered that spices need to be amplified in gluten-free baking to truly shine. So, don’t shy away from the slightly increased amounts specified in this recipe; they are intentional to ensure a perfectly fragrant and flavorful pie. If you prefer, you can swap the individual cinnamon, ginger, nutmeg, and cloves for a single tablespoon of a good quality pumpkin pie spice blend.
Let’s Bake Perfection Together!
(Below, you’ll find step-by-step photos and detailed instructions. For the complete recipe, including precise ingredient amounts, please scroll down to the printable recipe card.)
Mastering the Flaky Crust
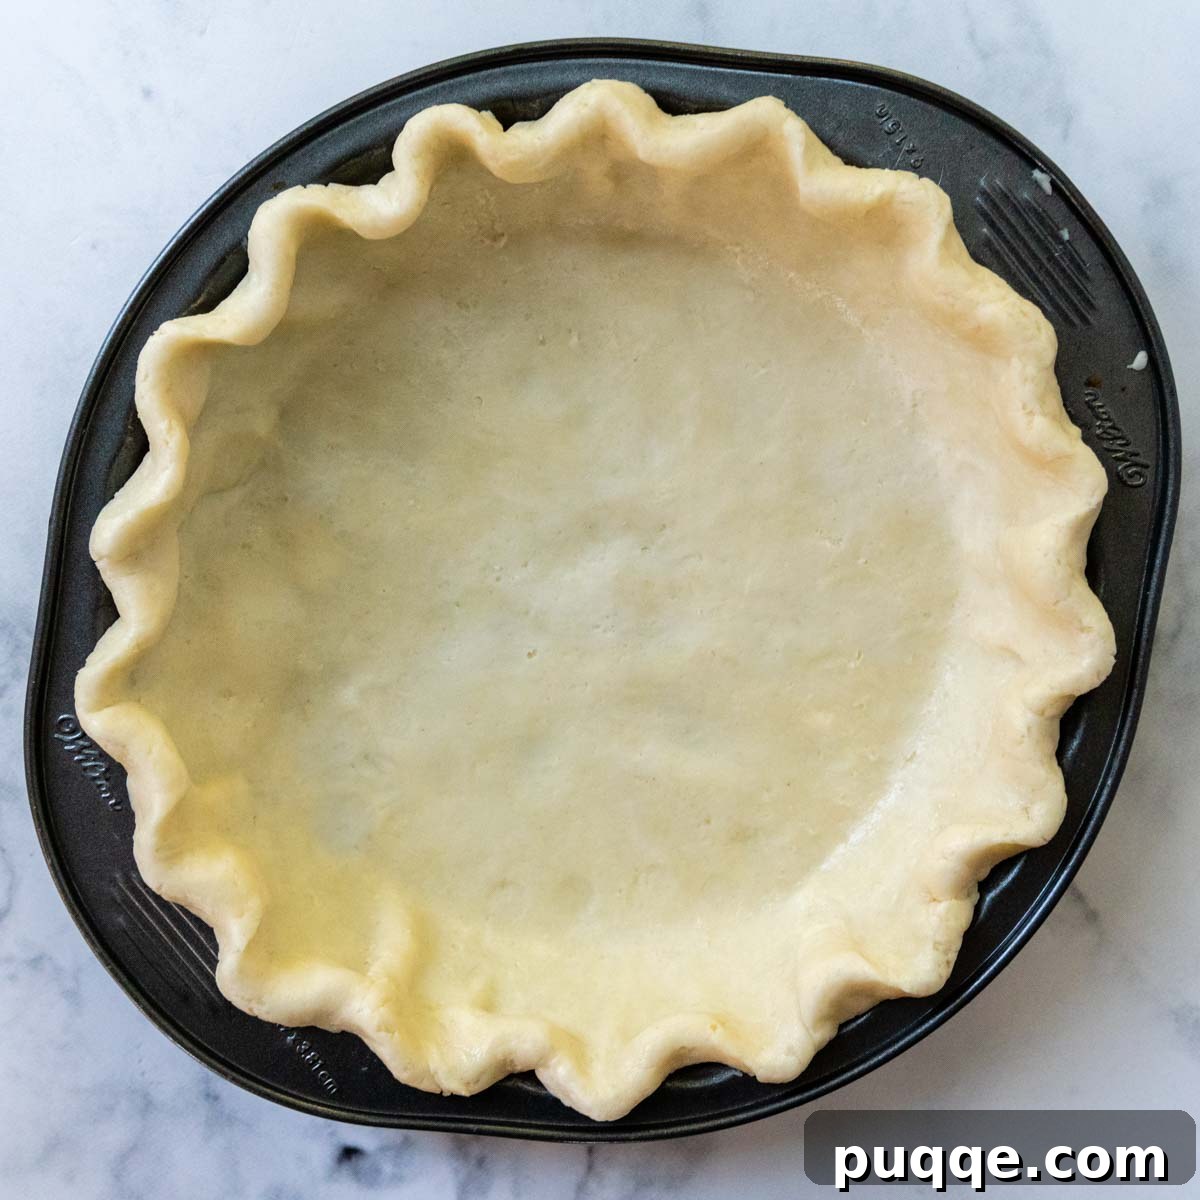
For truly superior results, always opt for a metal pie dish. Once your beautifully prepared pastry crust is carefully fitted into a 9-inch pie plate, place it in the freezer for at least 15 minutes. This crucial step ensures the pastry is thoroughly chilled when it enters the hot oven, which is paramount for achieving those coveted, extraordinarily flaky layers.
While your pie crust is chilling in the freezer, preheat your oven to a robust 400ºF. Simultaneously, place a sturdy baking sheet on the middle rack of your oven. The baking sheet will heat up along with the oven, creating an intensely hot surface for your pie to sit on. More vital details on this game-changing technique are explained below. 👇
Expert Tips for a Flawless Pumpkin Filling
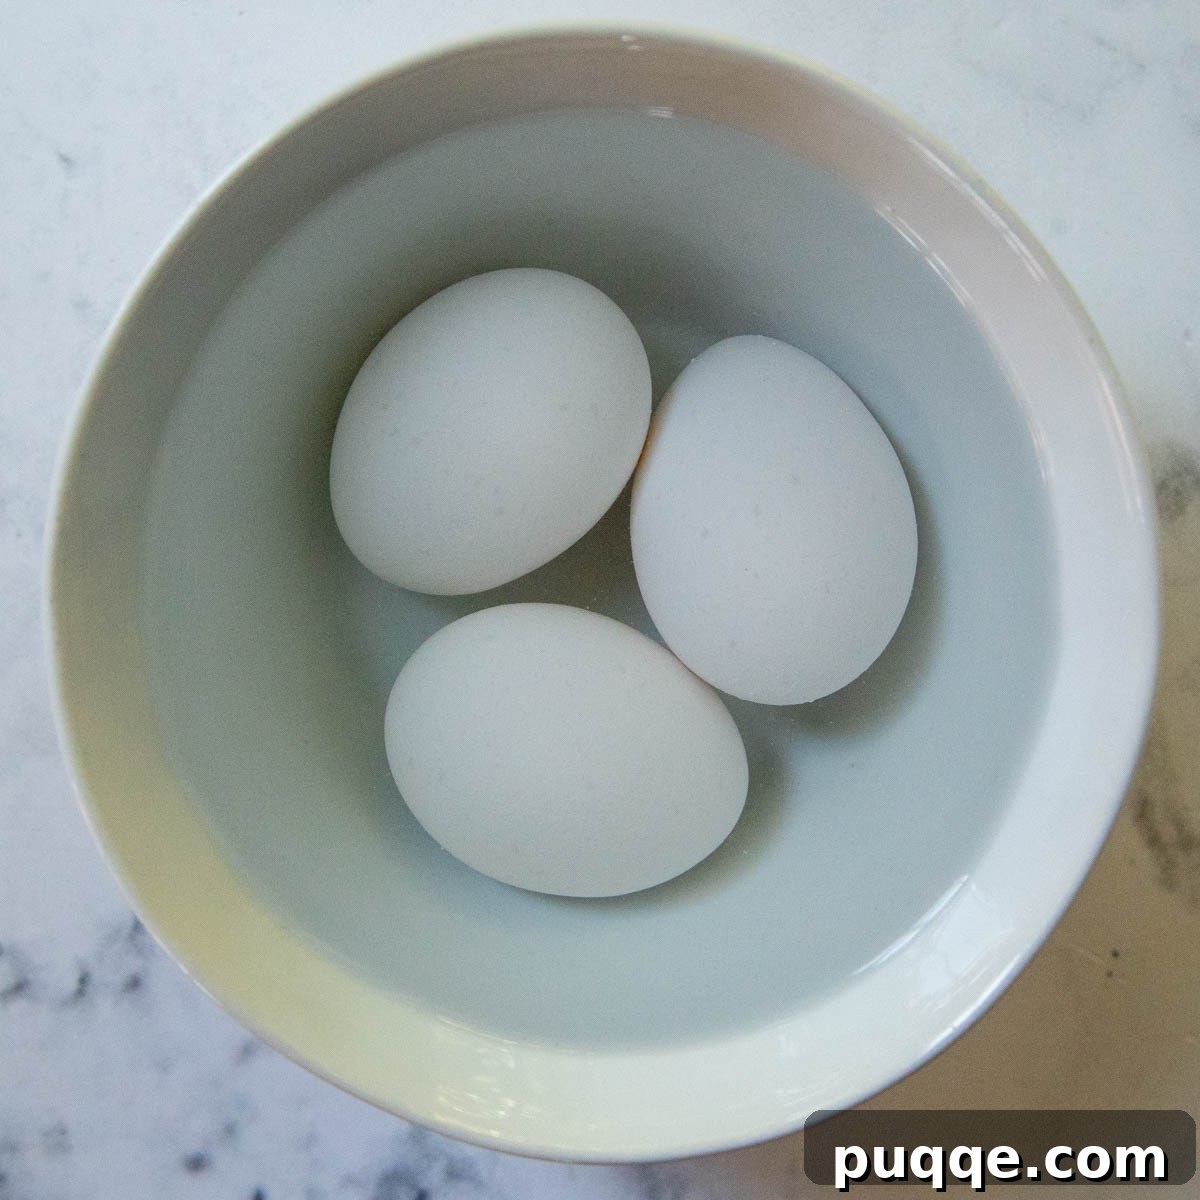
Begin by ensuring your eggs are at room temperature. This is a small but mighty detail! If you’re short on time, a quick trick is to place the whole eggs (still in their shells) in a bowl and cover them with hot tap water. Let them sit for about 5 minutes. Then, crack the eggs into a small bowl and gently whisk them with a fork until just combined. This careful approach prevents over-mixing the filling, which can lead to unsightly cracks appearing on your pie’s surface as it cools, marring its beautiful presentation.
Once you’ve perfectly prepared your eggs, combine the pumpkin puree, brown sugar, and a symphony of warming spices in a large mixing bowl. Stir these together until they are thoroughly integrated. Next, gently fold in the heavy cream and your lightly beaten eggs. The key here is to stir just enough to combine the ingredients, ensuring no streaks remain, but being careful not to incorporate too much air. This gentle mixing technique is vital for that smooth, creamy, and crack-free filling.
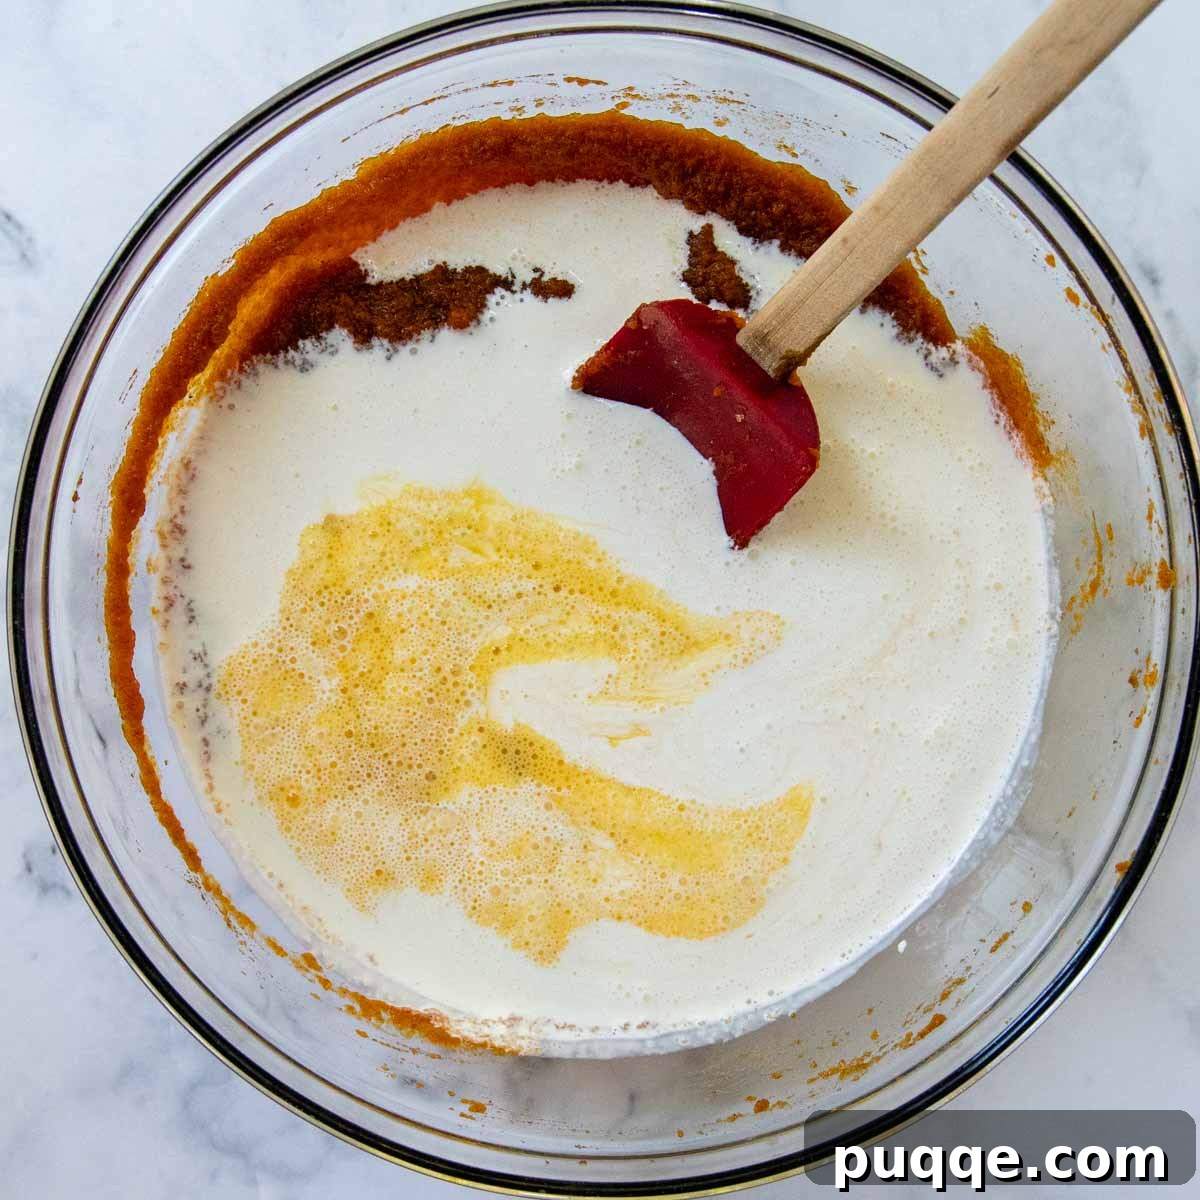
Pro, Bakery-Style Baking Techniques
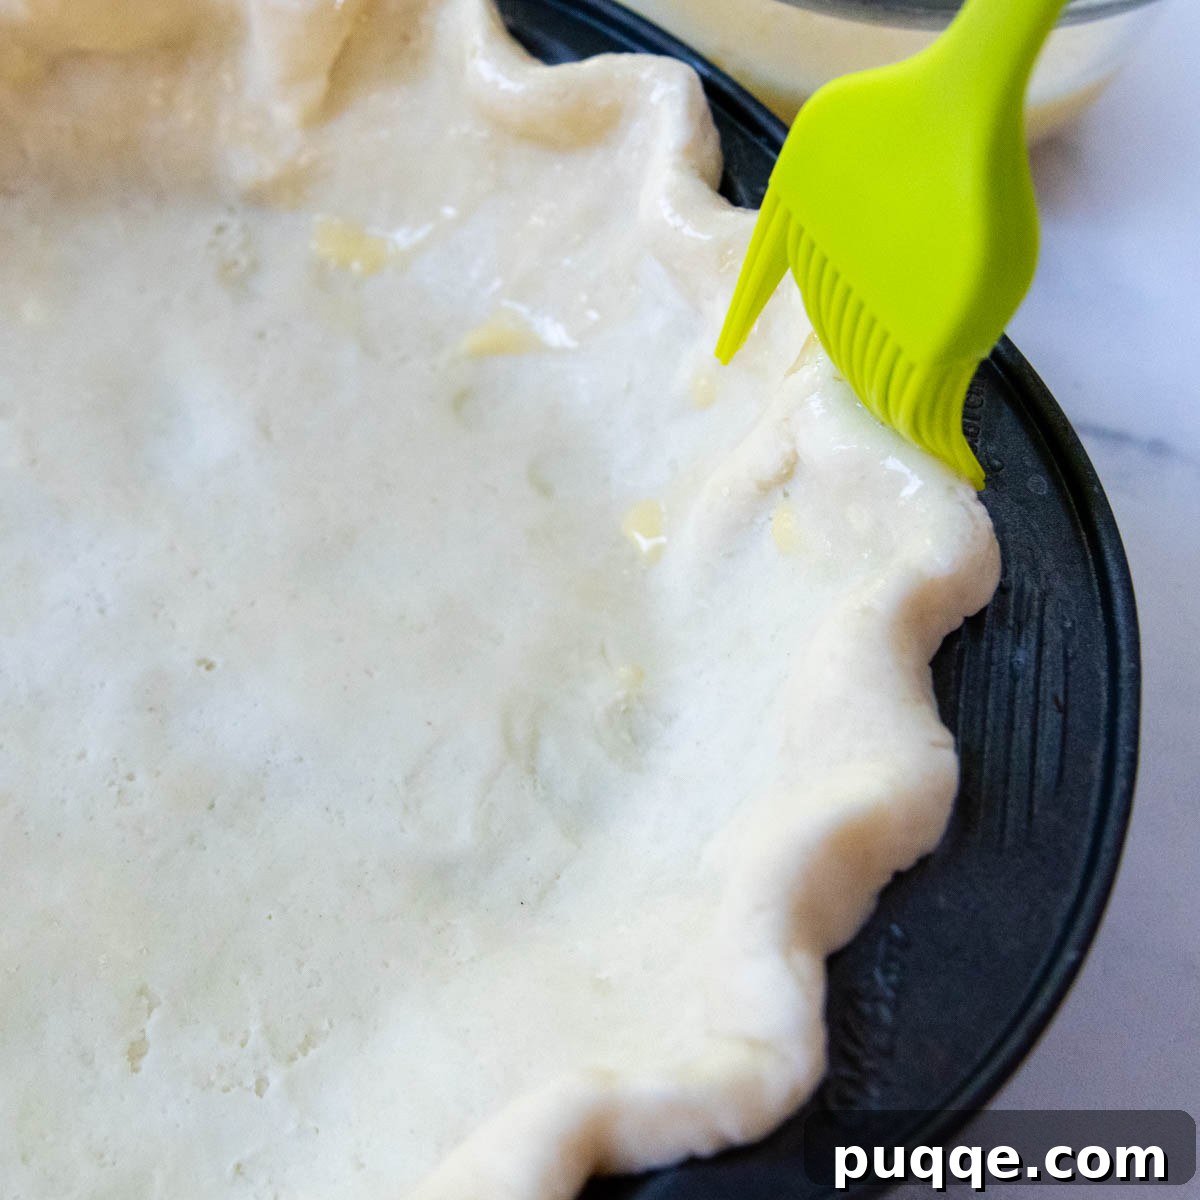
For that enviable, glossy finish on your pie crust, akin to those seen in high-end bakeries, consider brushing the outer crust with an egg wash mixture just before you pour in the filling. This simple step adds a beautiful golden sheen and crispness.
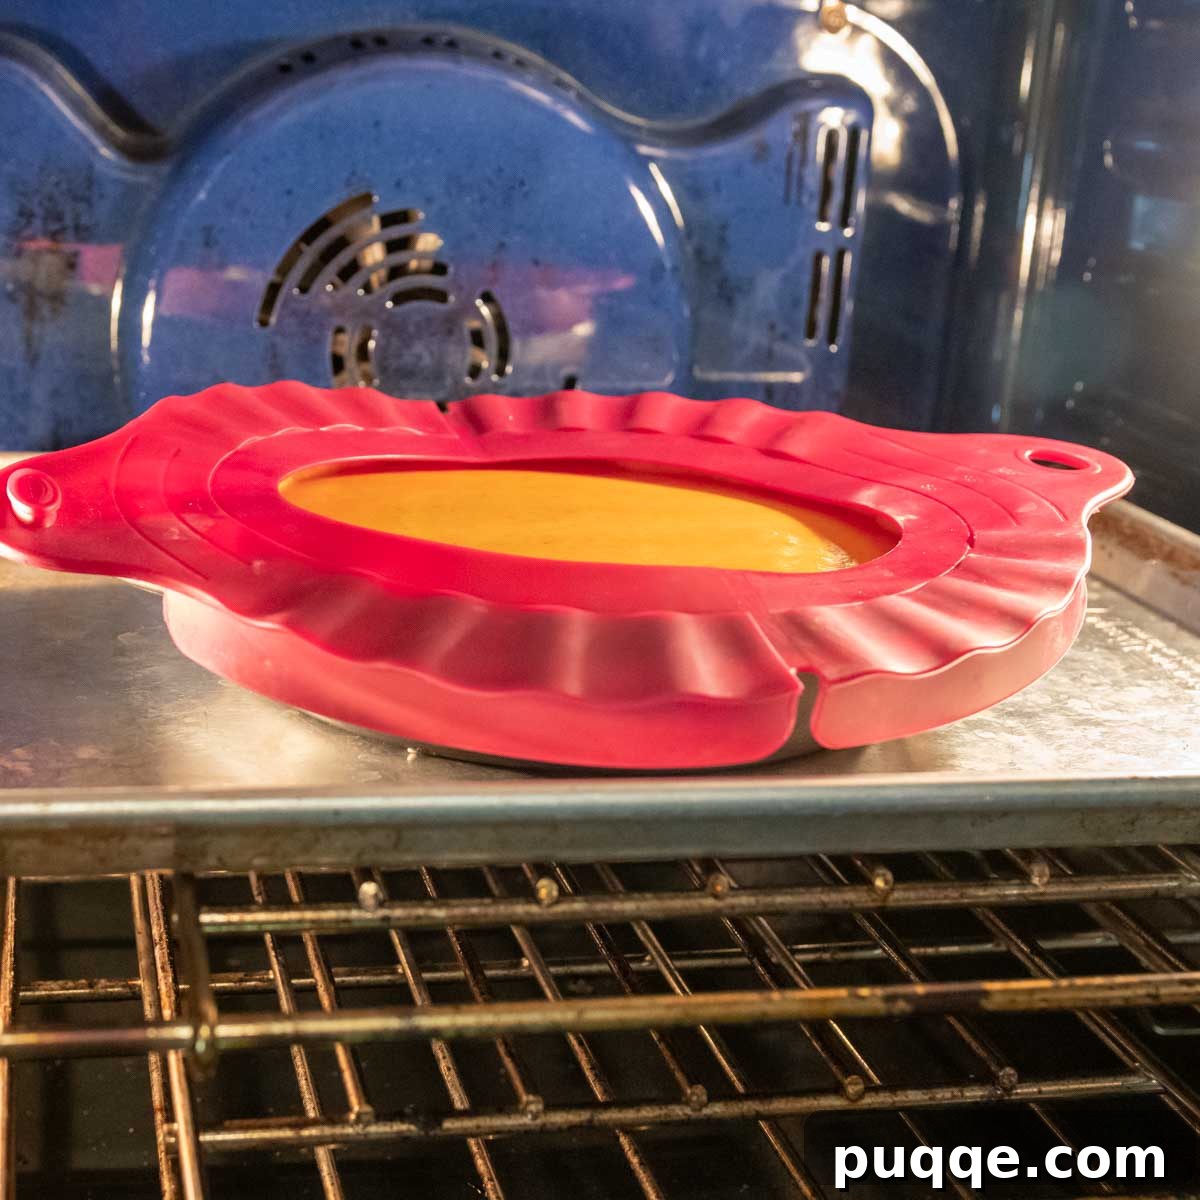
Carefully pour your prepared pumpkin filling into the chilled pie crust. Now, for the crucial baking step: transfer the pie directly onto the hot baking sheet that has been preheating in your oven. Baking on this heated metal surface is the ultimate secret to guaranteeing a golden, crisp bottom crust that is anything but soggy. To protect the exposed edges of your crust from over-browning while the filling bakes to perfection, you’ll also want to shield them with a pie shield or loosely tent the edges with aluminum foil.
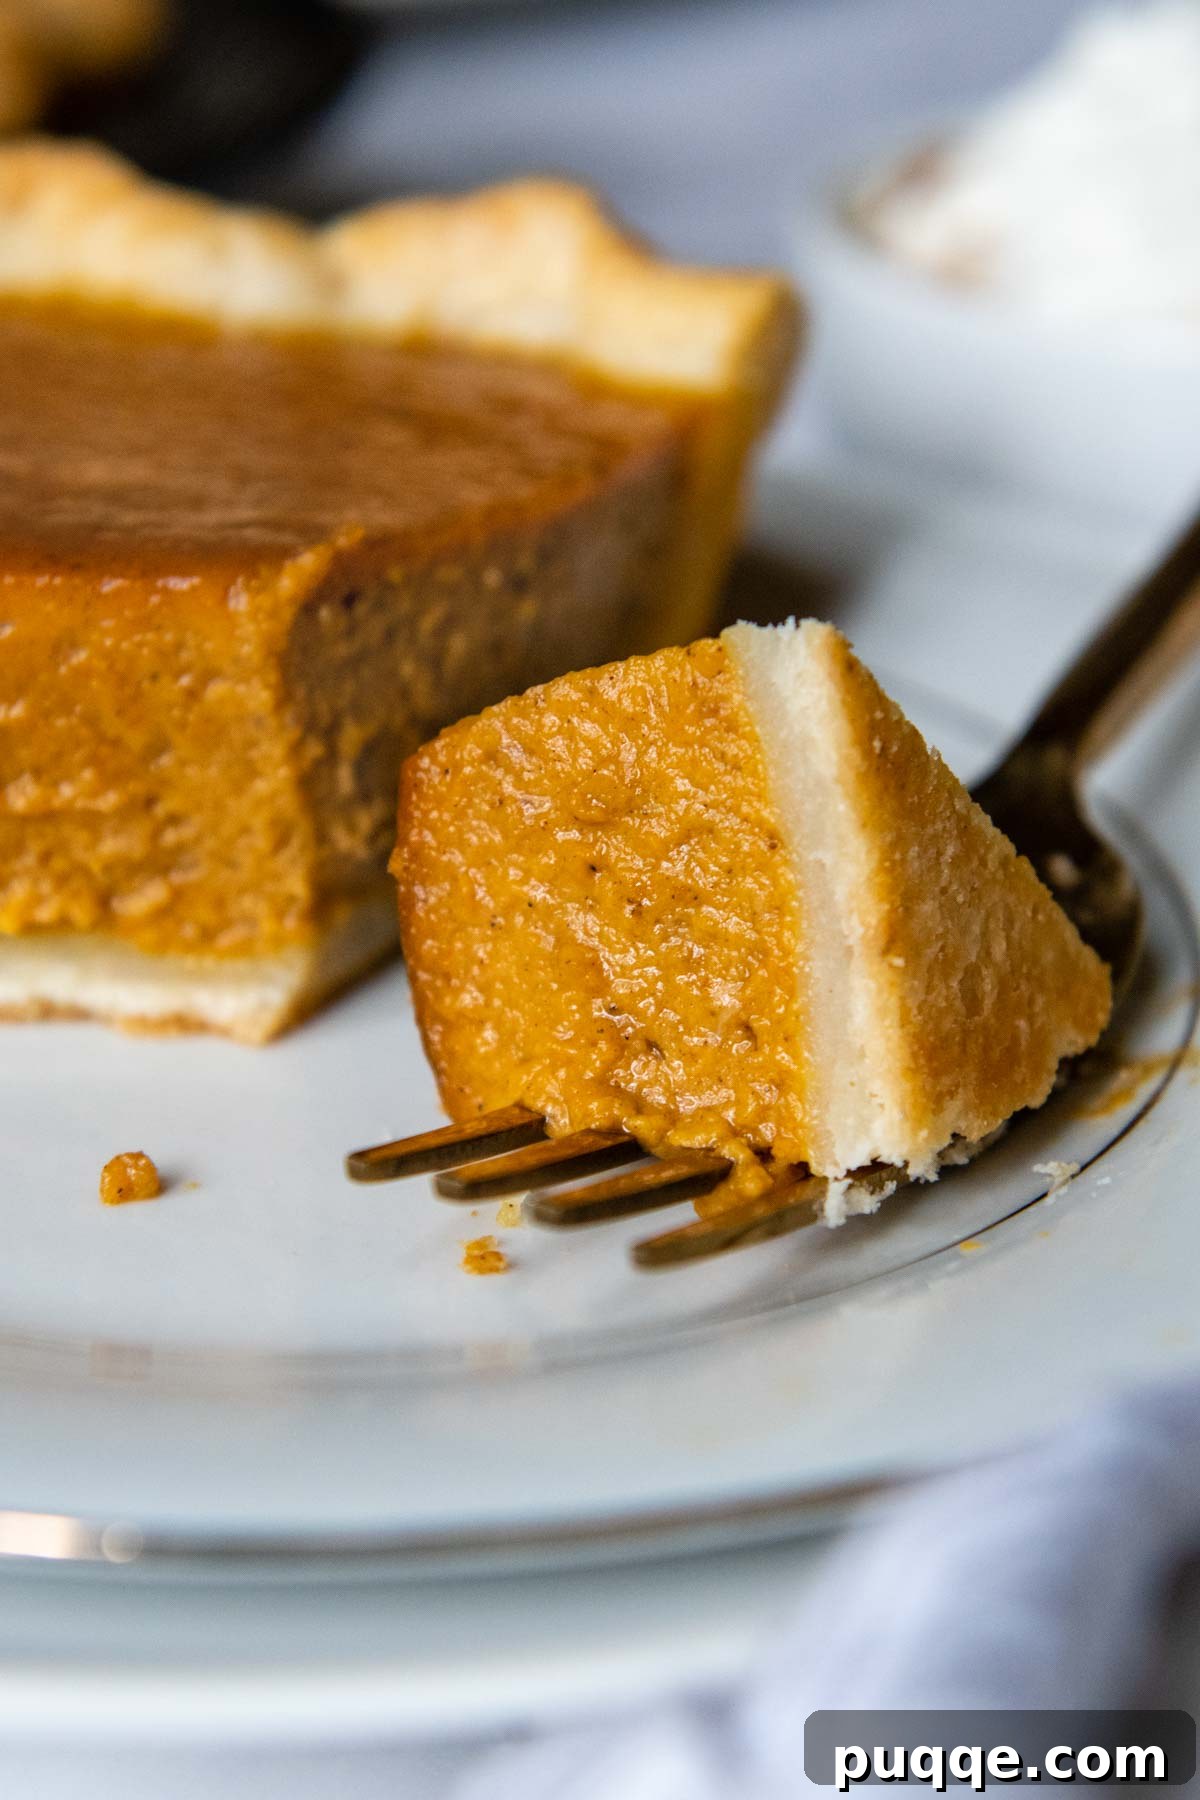
Determining when your pie is perfectly baked can be tricky. Look for these indicators: the edges of the filling should be set, firm to the touch, and may even begin to puff slightly and show tiny cracks. When you gently nudge the pie, the very center should still have a slight, delicate wobble, but it should not appear sloshy or liquidy. This slight movement indicates that it will continue to set as it cools, resulting in a perfectly creamy texture.
Selecting the Best Canned Pumpkin for Your Pie
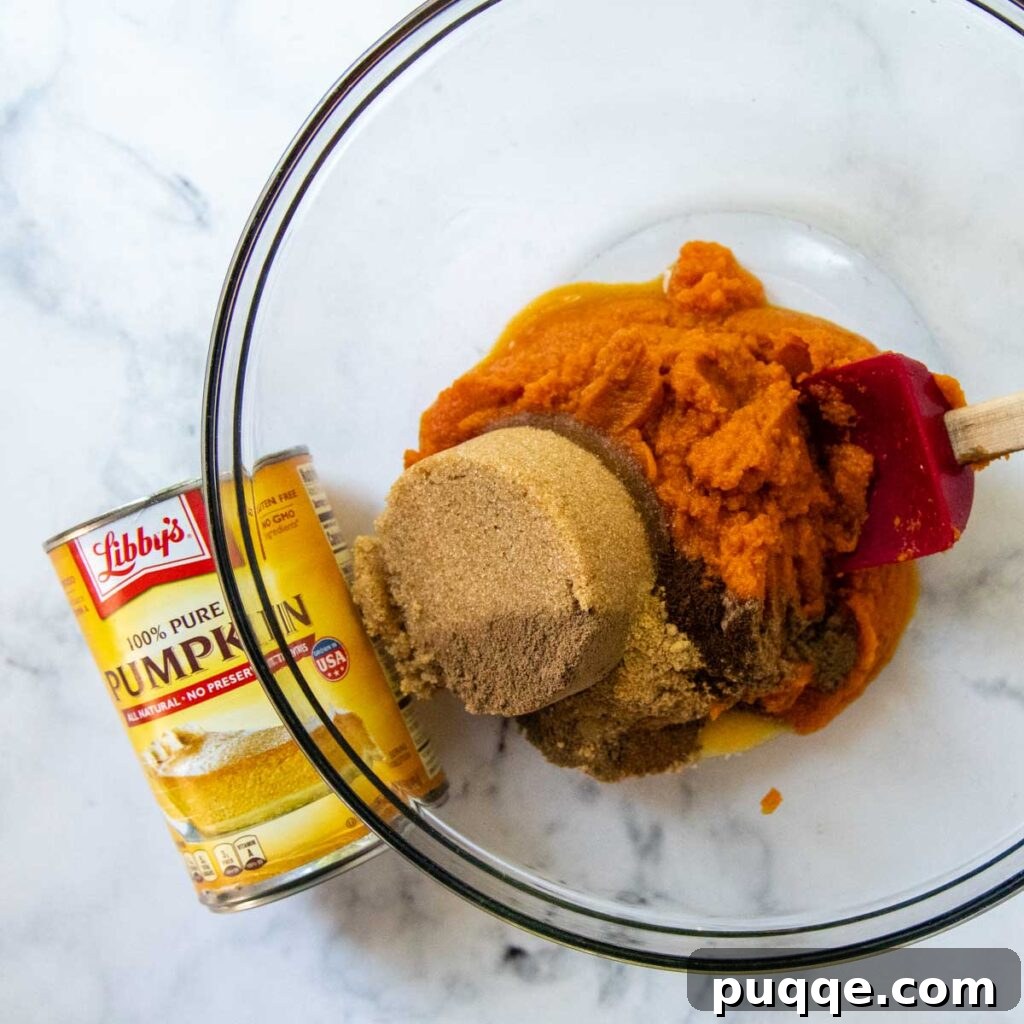
The quality of your canned pumpkin puree significantly impacts the texture and flavor of your gluten-free pumpkin pie filling. For this recipe, it is absolutely essential to use plain pumpkin puree, not canned pumpkin pie filling, which contains added sweeteners and spices that would disrupt the carefully balanced flavors of our recipe. My top recommendation is Libby’s brand. I consistently find it to be thicker, more concentrated, and to contain less excess moisture compared to other brands on the market. This higher solids content contributes to a firmer, more custardy filling that sets beautifully.
While any brand of canned pumpkin puree is generally safe for gluten-free pumpkin desserts, it’s worth noting that different brands can vary significantly in consistency. Some purees might be thinner or contain more water, which could subtly affect the final texture of your pie filling. If you happen to be using a pumpkin puree that seems noticeably thinner than Libby’s, you might consider slightly reducing the amount of heavy cream in the recipe to compensate and maintain the desired creamy, firm consistency.
Baking Secrets: How to Achieve a Flaky Bottom Crust (Never Soggy!)
The journey to a truly magnificent gluten-free pumpkin pie is often fraught with the challenge of a soggy bottom crust. Gluten-free pastry dough, by its nature, has a different absorption rate for fat compared to traditional doughs, which can unfortunately lead to denser crusts or soft, undesirable bottom layers. However, fear not! This common problem is surprisingly easy to overcome by employing a few straightforward yet highly effective techniques. Say goodbye to soggy bottoms forever with these pro tips:
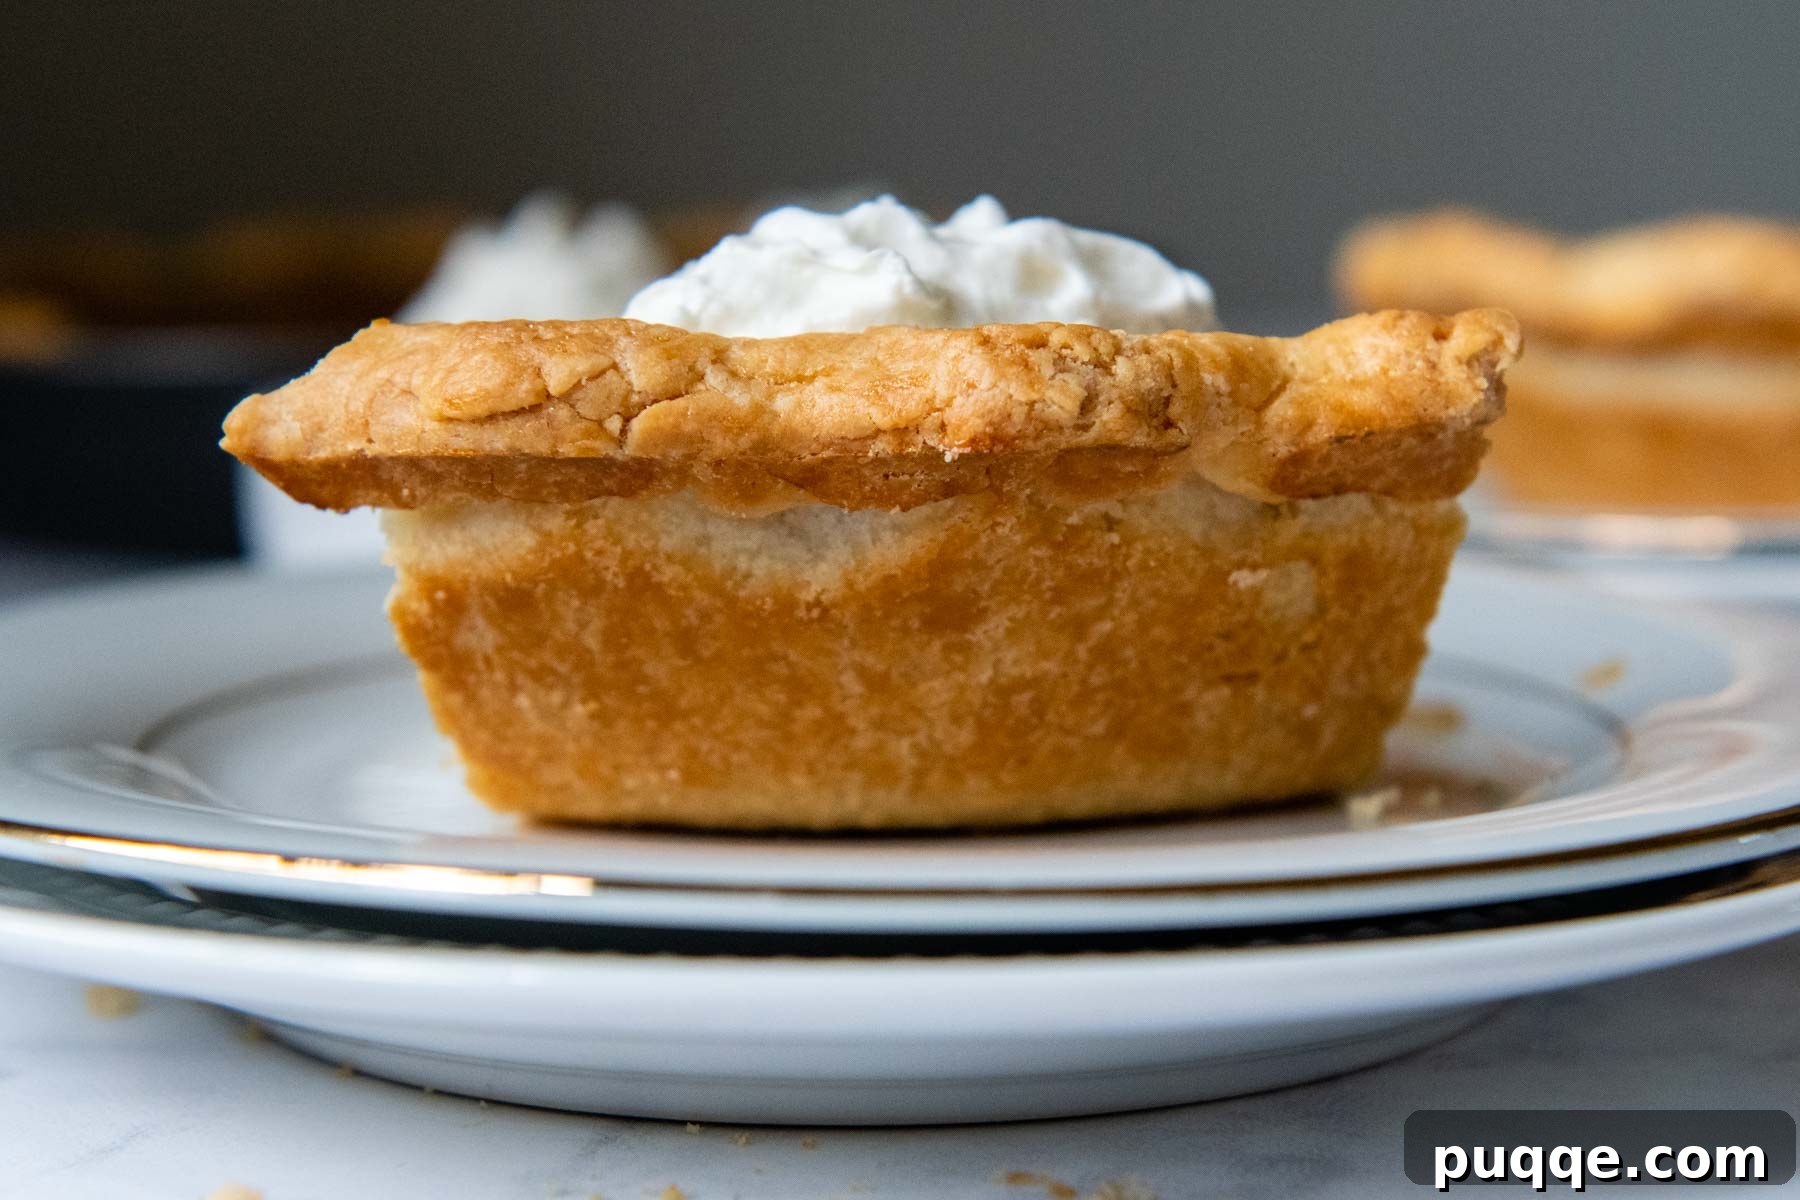
- Thorough Chilling is Key: Ensure your pie crust is exceptionally well chilled before it ever enters the oven. Freezing it for at least 15 minutes prior to filling does wonders. This step is critical for bringing the fat (butter) within the pastry back down to a very cold temperature before baking. When cold butter hits a hot oven, it creates steam, which is what produces those beautiful, flaky layers.
- Preheat with a Baking Sheet: While your oven is preheating to the specified temperature, place a sturdy metal baking sheet on the middle rack. This baking sheet will heat up intensely along with the oven. When you place your pie directly onto this hot surface, the extra radiant heat from the pan reflects into the bottom crust, kickstarting the baking process and ensuring it crisps up quickly and thoroughly.
- Choose the Right Pie Dish: For optimal results, use a deep dish metal pie pan. Metal is an excellent conductor of heat, transferring it much more efficiently to the crust than glass or ceramic dishes. When combined with the preheated baking sheet, this combination virtually guarantees a perfectly golden, crisp bottom.
- Start with High Heat: Begin baking your pie at a higher oven temperature for the initial portion of the baking time. This initial blast of heat, coupled with the cold butter in the crust, the hot metal baking sheet, and the conductive pie dish, rapidly crisps the crust. After this initial phase, lower the oven temperature to allow the filling to cook through gently without over-browning the crust.
- Employ a Pie Shield: To safeguard the delicate outer edges of your crust from burning, invest in a silicone pie shield or fashion one loosely from aluminum foil. While we want ample heat to crisp the bottom and sides of the crust, the exposed edges can easily become overly browned and tough, detracting from the pie’s overall appeal.
- Consider Par-baking (Alternative Method): As an alternative to pairing a metal pie dish with a hot baking sheet, you can also opt to par-bake (or blind bake) your crust before adding the filling. This technique is effectively used in recipes such as this southern gluten-free sweet potato pie. Par-baking creates a protective barrier, preventing the filling’s moisture from penetrating the raw dough.
Save This Recipe to Your Pinterest Board!
Let’s be friends on Pinterest! I’m always sharing great recipes and holiday inspiration!
Did you make this recipe? I absolutely love hearing from you and seeing your creations! Leave a star rating and comment below the recipe card. Your feedback is invaluable, helping others discover and enjoy these recipes, and I always make sure to respond! -Melissa

Perfect Gluten-Free Pumpkin Pie (No Soggy Crust)
 Melissa Erdelac
Pin
Rate
Remove Ads
Ingredients
Gluten-Free Pie Crust
- 8 tablespoon unsalted butter, cut into small cubes and frozen for 10 minutes
- 2 ½ tablespoons ice water
- 1 ½ tablespoons sour cream
- 1 ½ teaspoon apple cider vinegar
- ¾ PLUS ⅔ cup (6 ½ ounces weight total) gluten free flour, I highly recommend using Cup4Cup gluten-free flour
- 1 ½ teaspoon sugar
- ½ teaspoon salt
Pumpkin Pie Filling
- 3 large eggs, room temperature
- 15 ounces canned pumpkin puree, not canned pumpkin pie filing
- ¾ cup packed light brown sugar
- 1 ½ teaspoon vanilla extract
- 1 ½ teaspoon ground cinnamon
- ½ teaspoon ground ginger
- ¼ teaspoon ground nutmeg
- ⅛ teaspoon ground cloves
- ¼ teaspoon salt
- 1 cup heavy cream, see recipe notes for dairy-free
- Optional egg wash: 1 egg beaten with 1 tbsp. water, for shiny crust
- whipped cream,, for serving
Equipment
-
Food Processor
-
Pastry Rolling Bag
-
Pie Shield
-
Deep Dish Metal Pie Pan
Instructions
Gluten-Free Pie Crust
-
Place the cubed butter in the freezer for 10 minutes to ensure it is thoroughly chilled. In a separate small bowl, mix together the cold water, sour cream, and apple cider vinegar. Place this bowl of liquids in the refrigerator to keep them cold until you are ready to incorporate them.8 tablespoon unsalted butter, 2 ½ tablespoons ice water, 1 ½ tablespoons sour cream, 1 ½ teaspoon apple cider vinegar
-
FOOD PROCESSOR METHOD: Combine the gluten-free flour, sugar, and salt in your food processor. Pulse a few times until these dry ingredients are thoroughly mixed and evenly distributed.
BY HAND METHOD: In a medium-sized mixing bowl, whisk together the dry ingredients (flour, sugar, and salt) until they are well combined.
¾ PLUS ⅔ cup (6 ½ ounces weight total) gluten free flour, 1 ½ teaspoon sugar, ½ teaspoon salt -
FOOD PROCESSOR METHOD: Add the chilled, cubed butter to the flour mixture in the food processor. Pulse repeatedly until the butter is well incorporated into the flour, resembling coarse meal with no large chunks remaining. The mixture should be evenly dispersed.
BY HAND METHOD: Using a pastry blender, a fork, or even your fingertips, carefully cut and knead the cold butter into the dry ingredients. Continue until the butter is thoroughly incorporated throughout the dough mixture.
-
FOOD PROCESSOR METHOD: Pour the chilled liquid mixture (water, sour cream, vinegar) into the food processor. Pulse just until the flour mixture becomes moistened and small clumps of dough begin to form. If the dough doesn’t quite come together, add a tiny bit more cold water, pulsing briefly after each addition.
BY HAND METHOD: Add about half of the chilled liquids to your flour and butter mixture. Use your fingers or a fork to gently knead and combine. Then, pour in the remaining liquids. Continue to knead until the dough starts to come together into a cohesive mass and the liquids are thoroughly mixed with the flour.
PRO TIP: To check if you’ve achieved the correct consistency, take a small amount of dough, clump it together, and gently flatten it. If it doesn’t stick, is overly crumbly, or easily breaks apart, add another small dash of ice water and pulse/knead a few more times before rechecking. Conversely, if the dough feels too wet or sticky, add a small dash of gluten-free flour, pulse/knead, and recheck.
-
Transfer the dough onto a sheet of plastic wrap. Gently flatten it into a thick, approximately 1-inch disk. Wrap the disk tightly in the plastic wrap and refrigerate it for a minimum of 1 hour, or freeze it for 30 minutes. Before you proceed to roll it out, allow the dough to sit on the counter for about 5 minutes; this slight warming makes it much easier to work with.
-
Prepare your workspace by either using a silicone pastry rolling bag or by laying a large piece of parchment paper on your counter. Place the unwrapped dough disk in the center, and then place another piece of parchment paper of the same size on top. Using a rolling pin, begin pressing and spreading the dough outwards from the middle. Roll the dough into a uniform circle that is slightly larger than your chosen pie dish, ensuring an overhang for crimping.
-
Carefully remove the top sheet of parchment paper. Then, invert the dough and the remaining paper into your pie dish. Gently peel off the second piece of paper.
HELPFUL HINT: If the dough has warmed considerably during the rolling process, removing the paper might be a bit tricky. Should this occur, leave the paper in place and put the entire pie dish (with the dough and paper) into the fridge for 5-10 minutes. Once the crust is re-chilled, the paper will peel off much more easily. Conversely, if your dough is too cold and cracks while handling, let it rest on the counter for a minute to soften slightly before proceeding.
-
If necessary, trim the edges of the dough to create an even ½-inch overhang all around the perimeter of the pie dish. Carefully tuck this overhang under itself, all the way around, creating a neat, thickened edge. Then, use your thumb and forefinger to create a decorative crimped edge. This not only looks beautiful but also helps prevent shrinkage. Finally, freeze the prepared crust for at least 15 minutes before you fill it. This step is crucial for preventing a soggy bottom.
Pumpkin Pie Filling & Baking
-
While your pie crust is chilling in the freezer, preheat your oven to 400ºF. Importantly, place a sturdy baking sheet onto the middle rack of the oven as it preheats. This metal baking sheet will become intensely hot along with the oven, providing a direct source of conductive heat to the bottom of your pie, which is the key to achieving a delightfully crisp and non-soggy bottom crust.
-
To prepare the filling, first ensure that your eggs are at room temperature. For a rapid warm-up, place the whole eggs (in their shells) in a bowl and cover them with hot tap water; let them sit for about 5 minutes. Afterward, crack the eggs into a small bowl and whisk them very lightly with a fork, just enough to break the yolks. This gentle approach helps prevent over-mixing of the final filling, which can lead to unsightly cracks appearing on the pie’s surface as it cools.3 large eggs
-
In a large mixing bowl, thoroughly stir together the canned pumpkin puree, packed light brown sugar, vanilla extract, all the specified ground spices (cinnamon, ginger, nutmeg, cloves), and salt. Once these ingredients are well combined and smooth, gently fold in the lightly beaten eggs and the heavy cream. Stir carefully and just enough to fully incorporate everything, ensuring there are no visible streaks of egg or cream. Over-mixing at this stage can incorporate too much air, which can cause cracking during baking.15 ounces canned pumpkin puree, ¾ cup packed light brown sugar, 1 ½ teaspoon vanilla extract, 1 ½ teaspoon ground cinnamon, ½ teaspoon ground ginger, ¼ teaspoon ground nutmeg, ⅛ teaspoon ground cloves, ¼ teaspoon salt, 1 cup heavy cream
-
Remove your well-chilled crust from the freezer. For a beautifully shiny crust edge (this step is entirely optional but highly recommended for a professional look), gently brush the outer edges of the crust with the prepared egg wash mixture. Extend the wash about 1 inch down from the top edge. Don’t worry if a little egg wash drips onto the inside of the crust; it won’t affect the final result.Optional egg wash: 1 egg beaten with 1 tbsp. water
-
Carefully pour the pumpkin filling mixture into the prepared crust. Now, deftly transfer the pie directly onto the hot baking sheet already in the oven. Bake at 400ºF for 15 minutes. After this initial high-heat bake, leave the pie in the oven, but immediately lower the oven temperature to 350ºF. At this point, it’s crucial to protect the exposed crust edges from over-browning by carefully placing a pie shield around them or loosely tenting the edges with aluminum foil.
-
Continue baking the pie for another 50 minutes, or until the filling’s edges are set, firm, and begin to show a slight puff and delicate cracks. When you gently jiggle the pie, the very center should still have a slight, controlled wobble but should not appear sloshy or liquidy. If you don’t mind a small puncture, you can insert a thin knife or toothpick into the center; it should come out clean, without any liquid residue. This indicates that the pie is perfectly cooked through.
-
Once baked, remove the pie from the oven and allow it to cool completely on a wire rack before slicing and serving. This cooling process typically takes about 3-5 hours, during which the filling will fully set. For the best possible results and flavor development, consider making the pie one day ahead of serving. Store it at room temperature, either uncovered or very loosely tented with foil, to prevent moisture from accumulating on the crust.
Notes
Dairy-Free Modification
For a completely dairy-free version of this recipe, you will need to follow a specialized gluten-free dairy-free pie crust recipe. In the filling, substitute the heavy cream with an equal amount of full-fat coconut milk (ensure it’s the canned variety, not the refrigerated beverage).
Storing and Make-Ahead Notes
To enjoy the pie at its peak flavor and texture, it can be made one day in advance of serving. If you plan to cover it, gently tent foil over the top, creating some airspace. Avoid using plastic wrap, as it traps moisture, which can lead to a softer crust.
If you prefer your pies refrigerated, allow it to cool completely at room temperature first (at least 3-5 hours). Then, loosely tent foil over the top and place it in the refrigerator for up to 2 days. Be aware, however, that refrigerating a pie can adversely affect the crust, causing it to become softer and less flaky than when stored at room temperature.
For longer storage, freezing the baked pie is an excellent option. Once the pie has cooled completely (allow at least 5 hours), place it unwrapped in the freezer until solid. Once frozen solid, wrap it securely first with plastic wrap, then with aluminum foil, creating an airtight seal to prevent freezer burn.
When you are ready to serve the frozen pie, unwrap it completely before thawing. Thaw the pie at room temperature for approximately 3 hours. It’s crucial to remove all wrappings *before* thawing; otherwise, any condensed moisture will be trapped against the crust, inevitably making it soggy.