
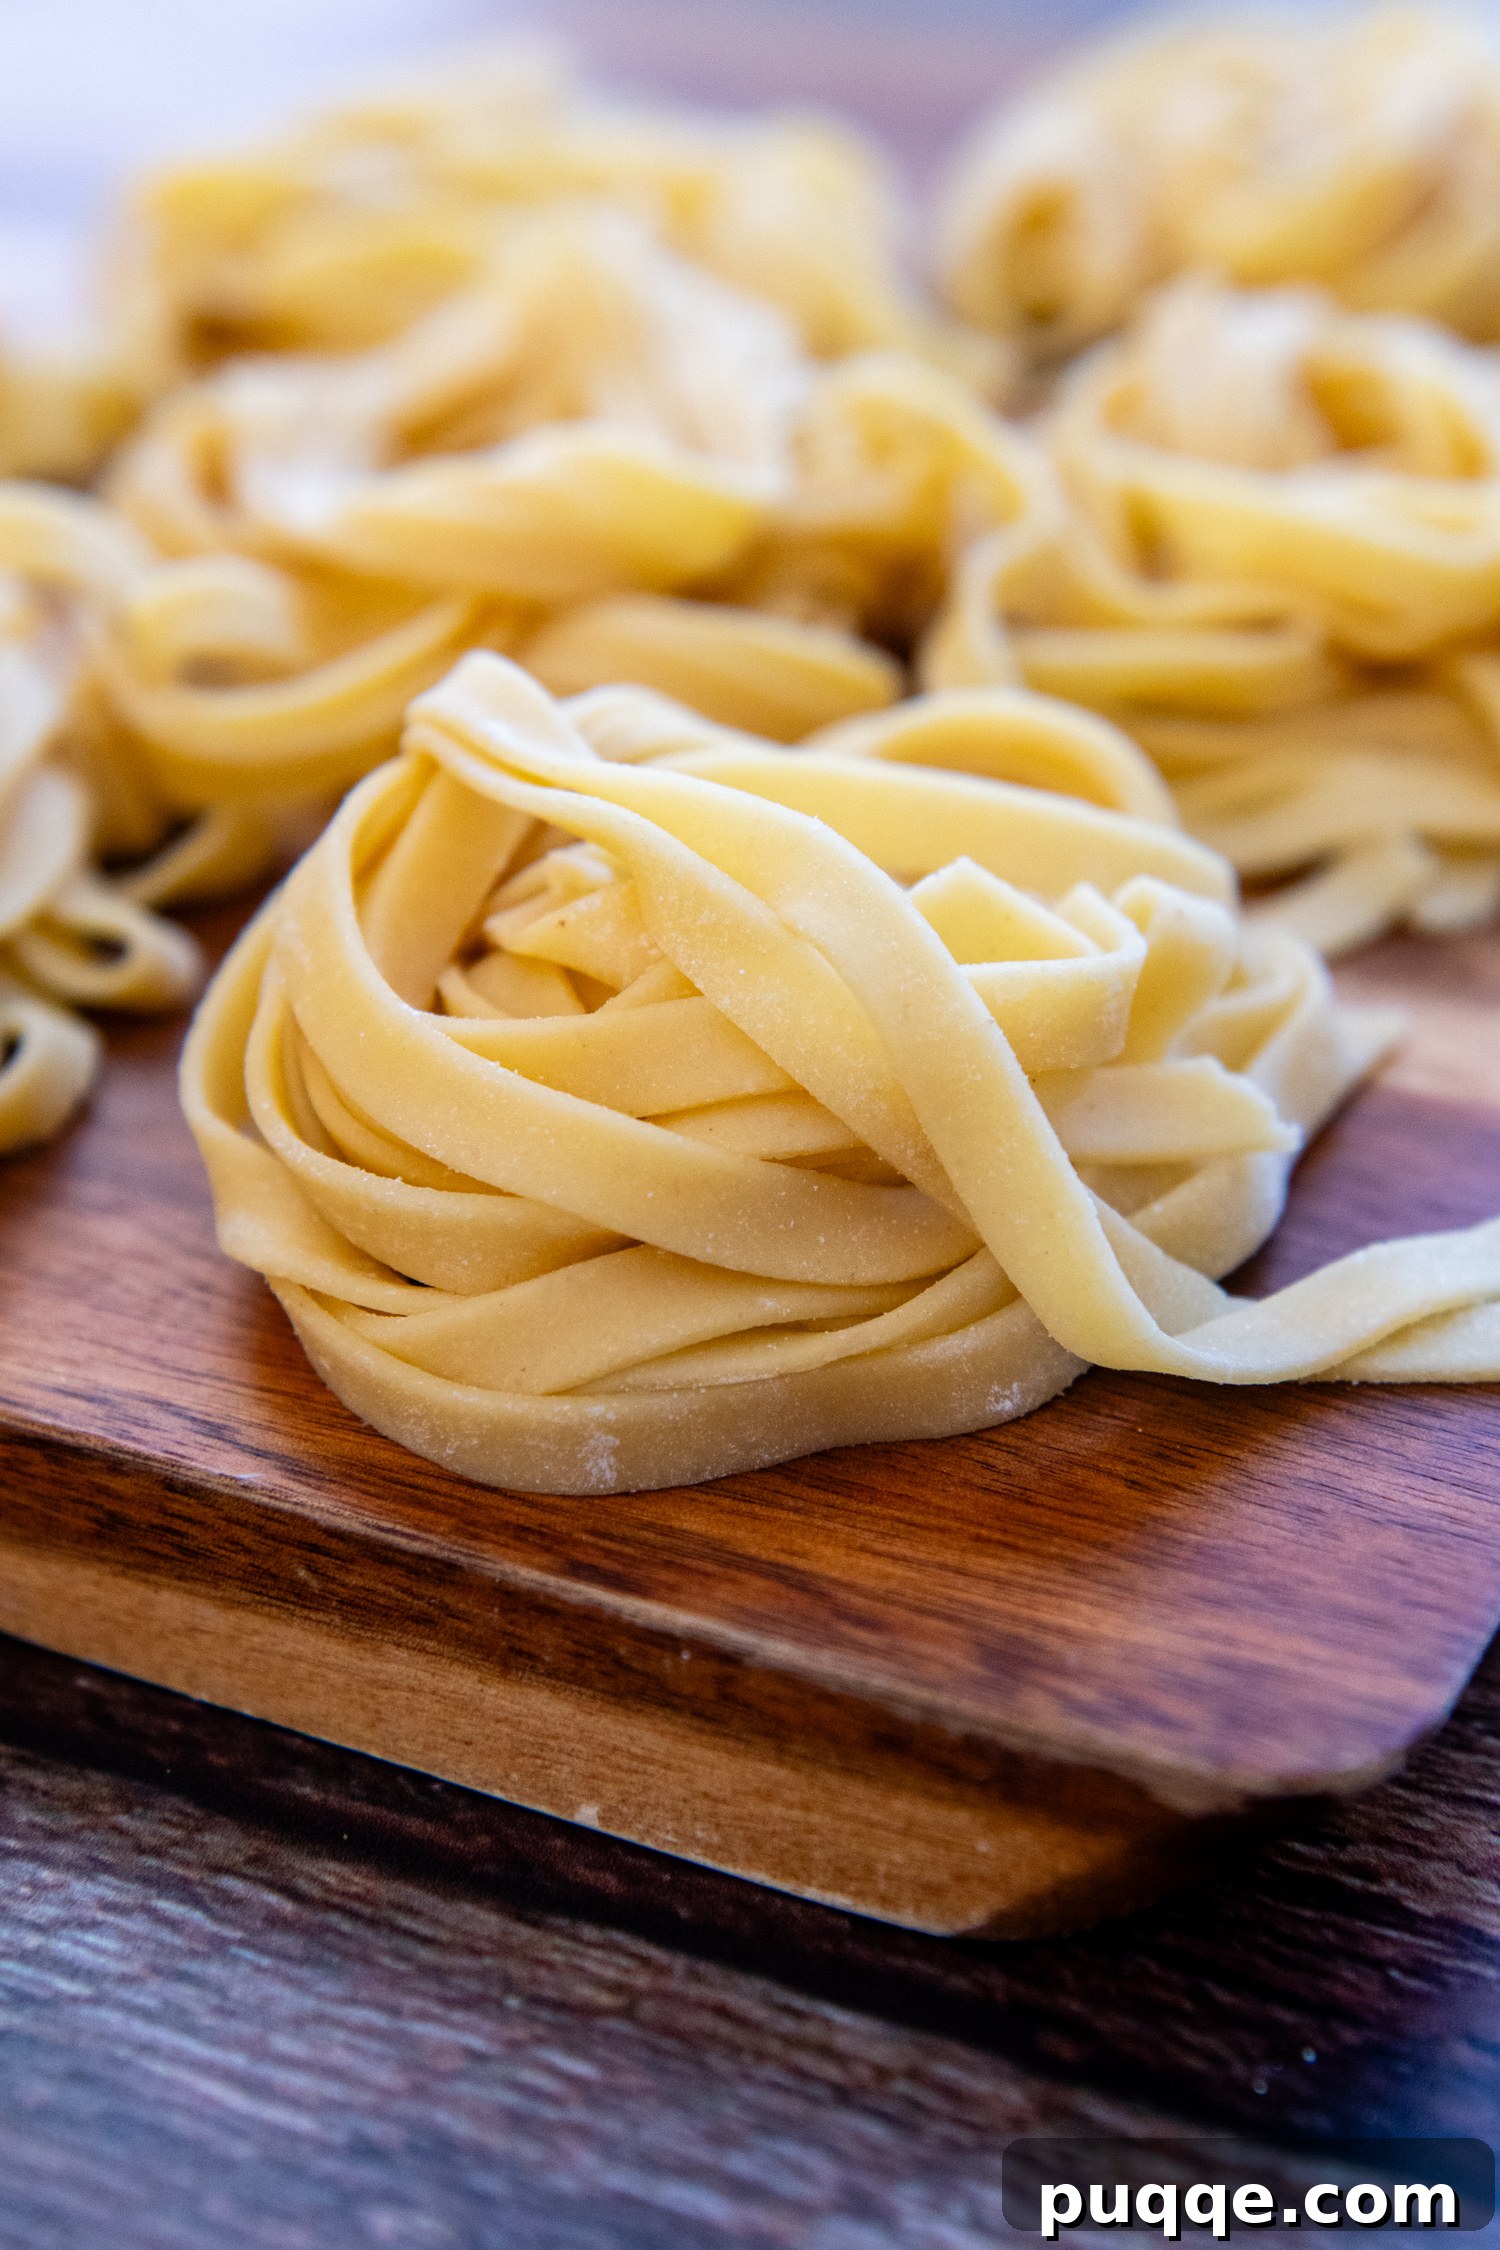
If you’ve ever dreamt of enjoying authentic, homemade pasta but thought it was impossible with a gluten-free diet, think again! This revolutionary recipe will change your perception entirely. We’re talking about soft, incredibly supple, and tender noodles that are virtually indistinguishable from the traditional pasta my Italian family has perfected over generations. With just four simple ingredients and an easy-to-follow, step-by-step method, you can finally savor the joy of from-scratch gluten-free pasta. I’m here to show you exactly how to achieve these culinary masterpieces.
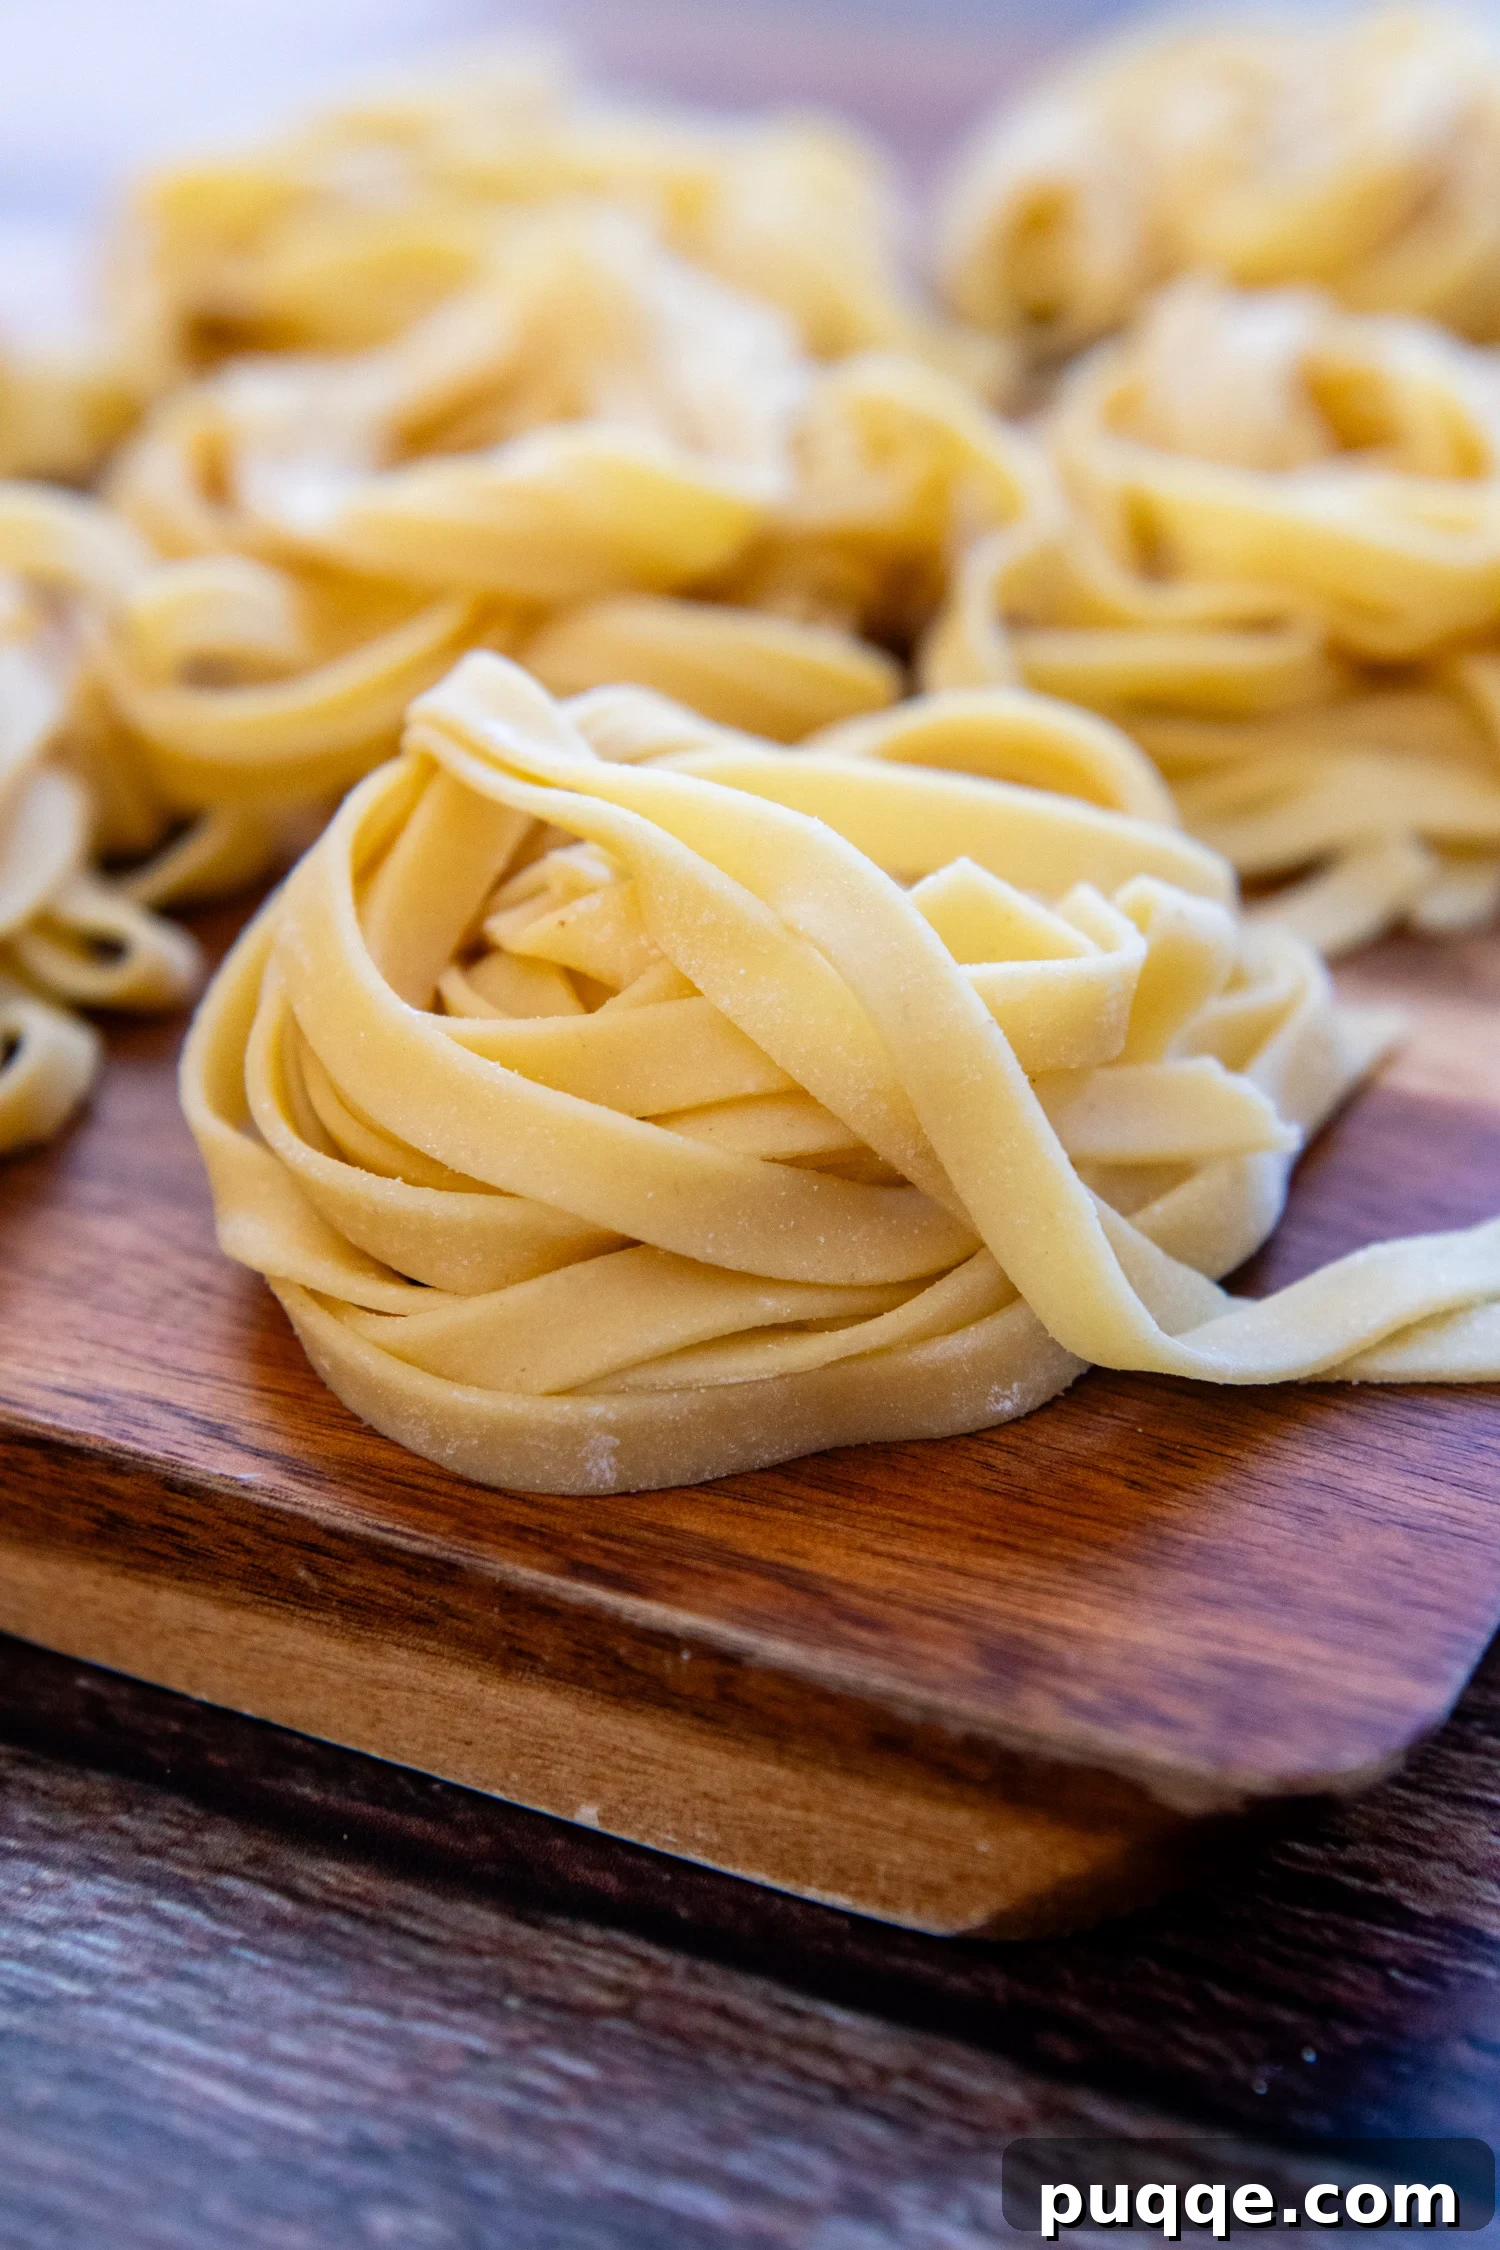
The Secret to Seriously Good Homemade Gluten-Free Pasta
Crafting fresh pasta with gluten-free all-purpose flour doesn’t have to be a daunting task. In fact, my method is merely a slight, yet crucial, adaptation of the classic egg noodle recipe that has been passed down through my family, from my grandmother to my mother, and now to me, for decades. The challenge, of course, lies in replicating the elasticity and chew of gluten-rich dough.
My Gramma’s traditional recipe was beautifully straightforward: for every egg, add approximately 3/4 cup of flour. For our large Italian family, this often meant making vast quantities, so we relied on a food processor. However, mixing by hand works just as effectively for smaller batches. When I first attempted to convert this cherished recipe to a gluten-free version by simply swapping out regular flour for GF flour, the results were far from ideal. The dough was stiff, crumbly, and incredibly difficult to handle, leading to dense, unyielding noodles that bore little resemblance to the delicate, fresh pasta I adored growing up.
It became clear that simply substituting flours wouldn’t suffice. A successful gluten-free pasta recipe demanded subtle yet significant adjustments to introduce more moisture and pliability, making the dough workable enough to glide through a pasta machine. This realization led me to a breakthrough ingredient: almond flour. By strategically replacing a portion of the gluten-free all-purpose flour with almond flour, I discovered a path to achieving that elusive texture.
Incorporating almond flour into the pasta dough mixture adds essential fat, which not only softens the bite of the cooked noodle but also imparts a richer, more nuanced flavor. Additionally, a splash of olive oil works wonders by coating the starches in the gluten-free and almond flour blend, effectively eliminating any hint of grittiness and contributing to a silky-smooth mouthfeel. The combination ensures a dough that is easy to bring together, made with simple, wholesome ingredients, and effortlessly rolls out into perfect, thin sheets. The moment I achieved this, I was absolutely ecstatic – back in the world of enjoying truly delicious, homemade fresh pasta!
Imagine your favorite gluten-free fettuccine Alfredo, elevated to an entirely new level of ridiculous deliciousness with these fresh noodles. Or picture crafting a homemade gluten-free lasagna using these tender, from-scratch pasta sheets – pure culinary bliss! And for a weeknight treat, serving GF chicken parm alongside a side of fresh, homemade spaghetti? The possibilities are endless, and I honestly can’t stop dreaming about them. But above all, nothing brings me greater joy than finally being able to share this incredible, foolproof recipe with all of you. Let’s get cooking!
Nailing The Perfect Gluten-Free Pasta Dough Texture
When you’re mixing the eggs, gluten-free all-purpose flour, and almond flour, it’s important to remember that achieving the ideal dough consistency isn’t always an exact science. Factors like the size of your eggs and the specific brand of gluten-free flour you use (we’ll dive into flour recommendations below) can significantly impact how the dough comes together. This is where you’ll need to channel your inner “Spidey senses,” guided by these practical tips:
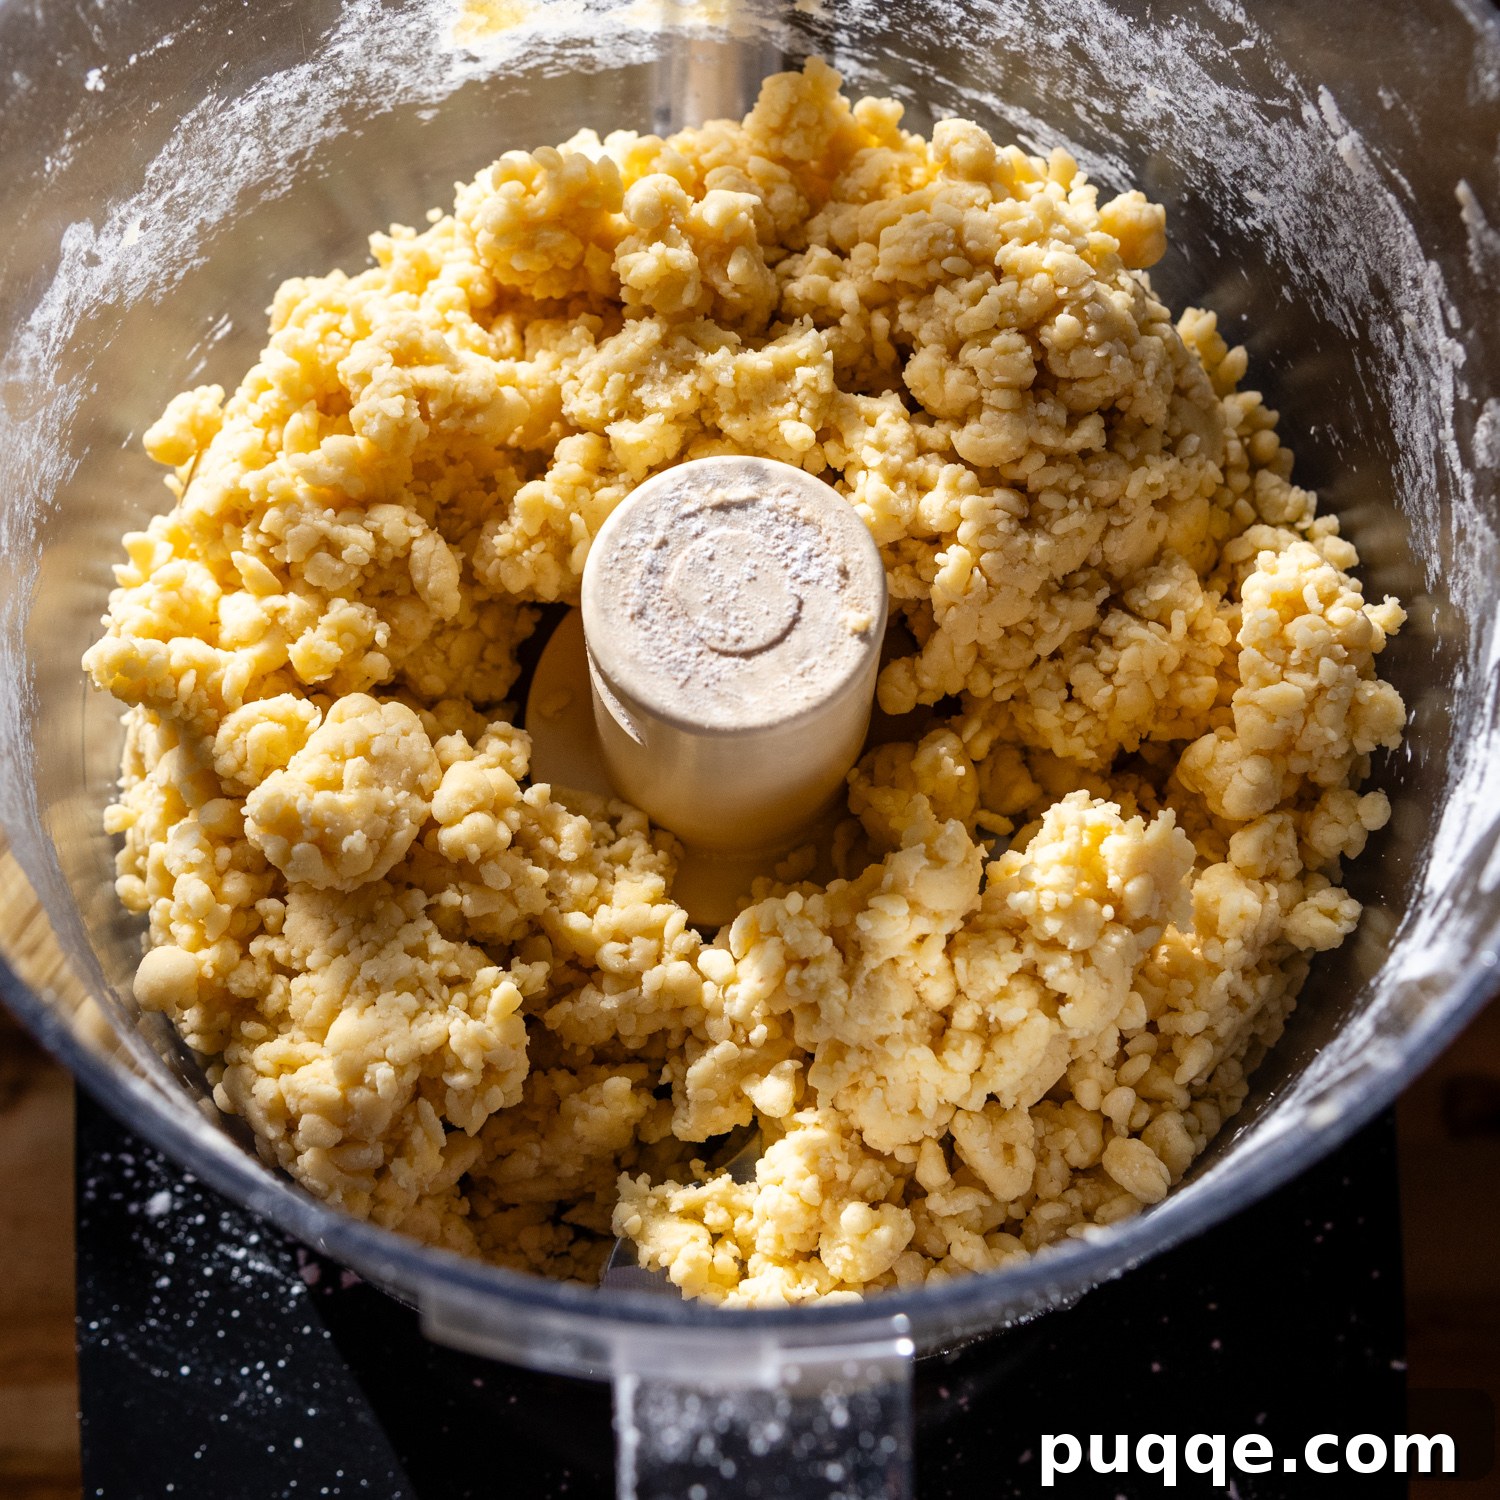
- Initial Mix Consistency: Whether you’re using a food processor or mixing by hand, after the initial blend, the mixture should be clumpy. Think small, distinct pieces of dough, not one large, uniform ball. This indicates the ingredients are combining correctly without becoming overmixed.
- The Squeeze Test: After mixing, take a handful of the dough and firmly squeeze and press it together. It should easily clump into a cohesive mass. Critically, it should feel just the slightest bit sticky – enough to hold together but not so much that it adheres aggressively to your hands.
- Too Dry? Add Moisture: If you begin rolling the dough and it consistently breaks apart or crumbles, it’s a clear sign it needs more moisture. You can try mixing it again with a small dash of water (start with a teaspoon) in your food processor or bowl. Alternatively, simply wet your hands and knead the water directly into the dough balls before feeding them through the pasta machine.
- Too Sticky? Add Flour: Conversely, if the dough feels excessively sticky and is difficult to handle or passes through the machine with too much resistance, lightly dust both sides of the dough with a bit of gluten-free flour. If this initial dusting doesn’t resolve the issue, you may need to incorporate a little more flour directly into the dough, kneading it in until the desired pliability is achieved.
These adjustments ensure your dough is perfectly conditioned for rolling, leading to wonderfully tender and consistent pasta.
Let’s Make This Together!
The detailed steps below include helpful photos and modified instructions to guide you. For the complete recipe, including precise ingredient amounts, please scroll down to the dedicated recipe card at the end of this article.
Step 1: Two-Minute Easy Fresh Pasta Dough
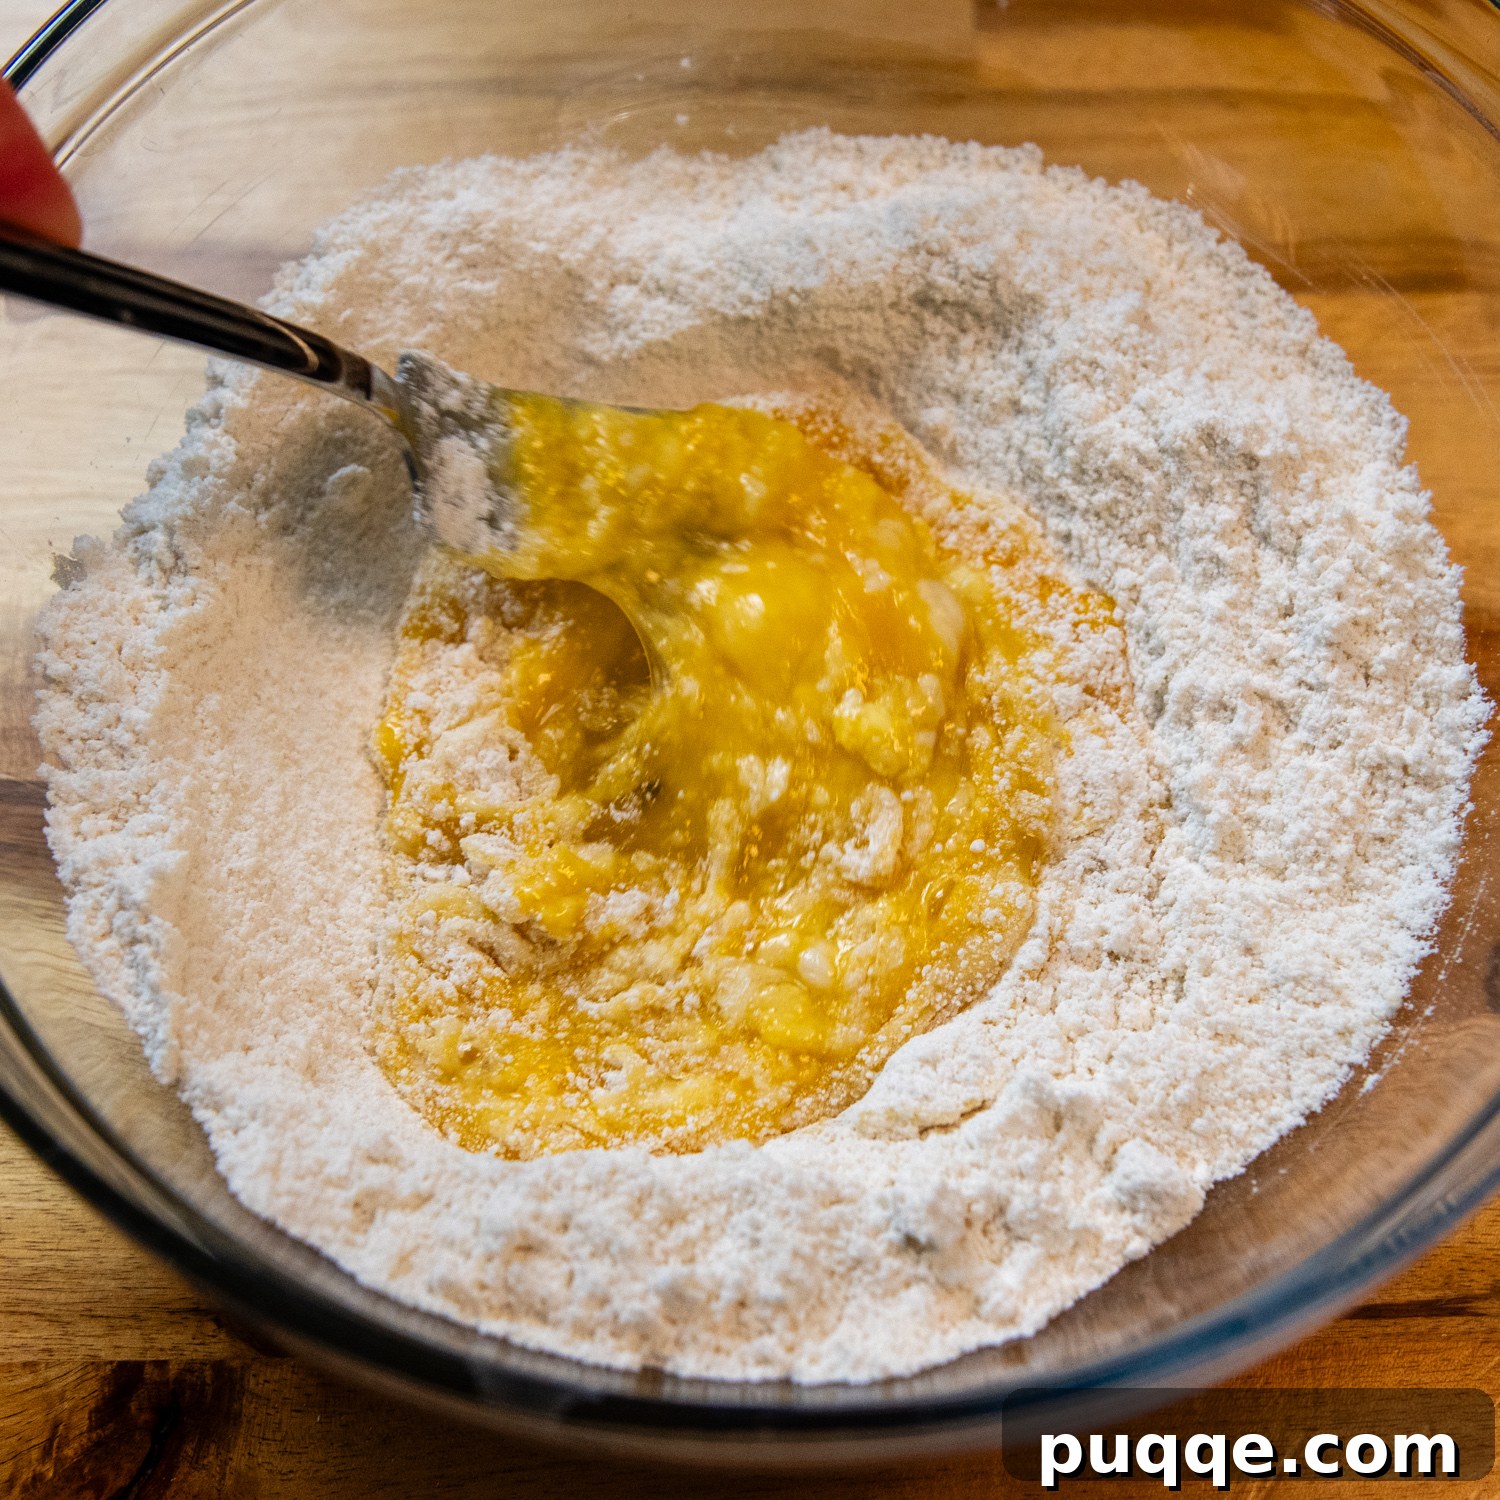
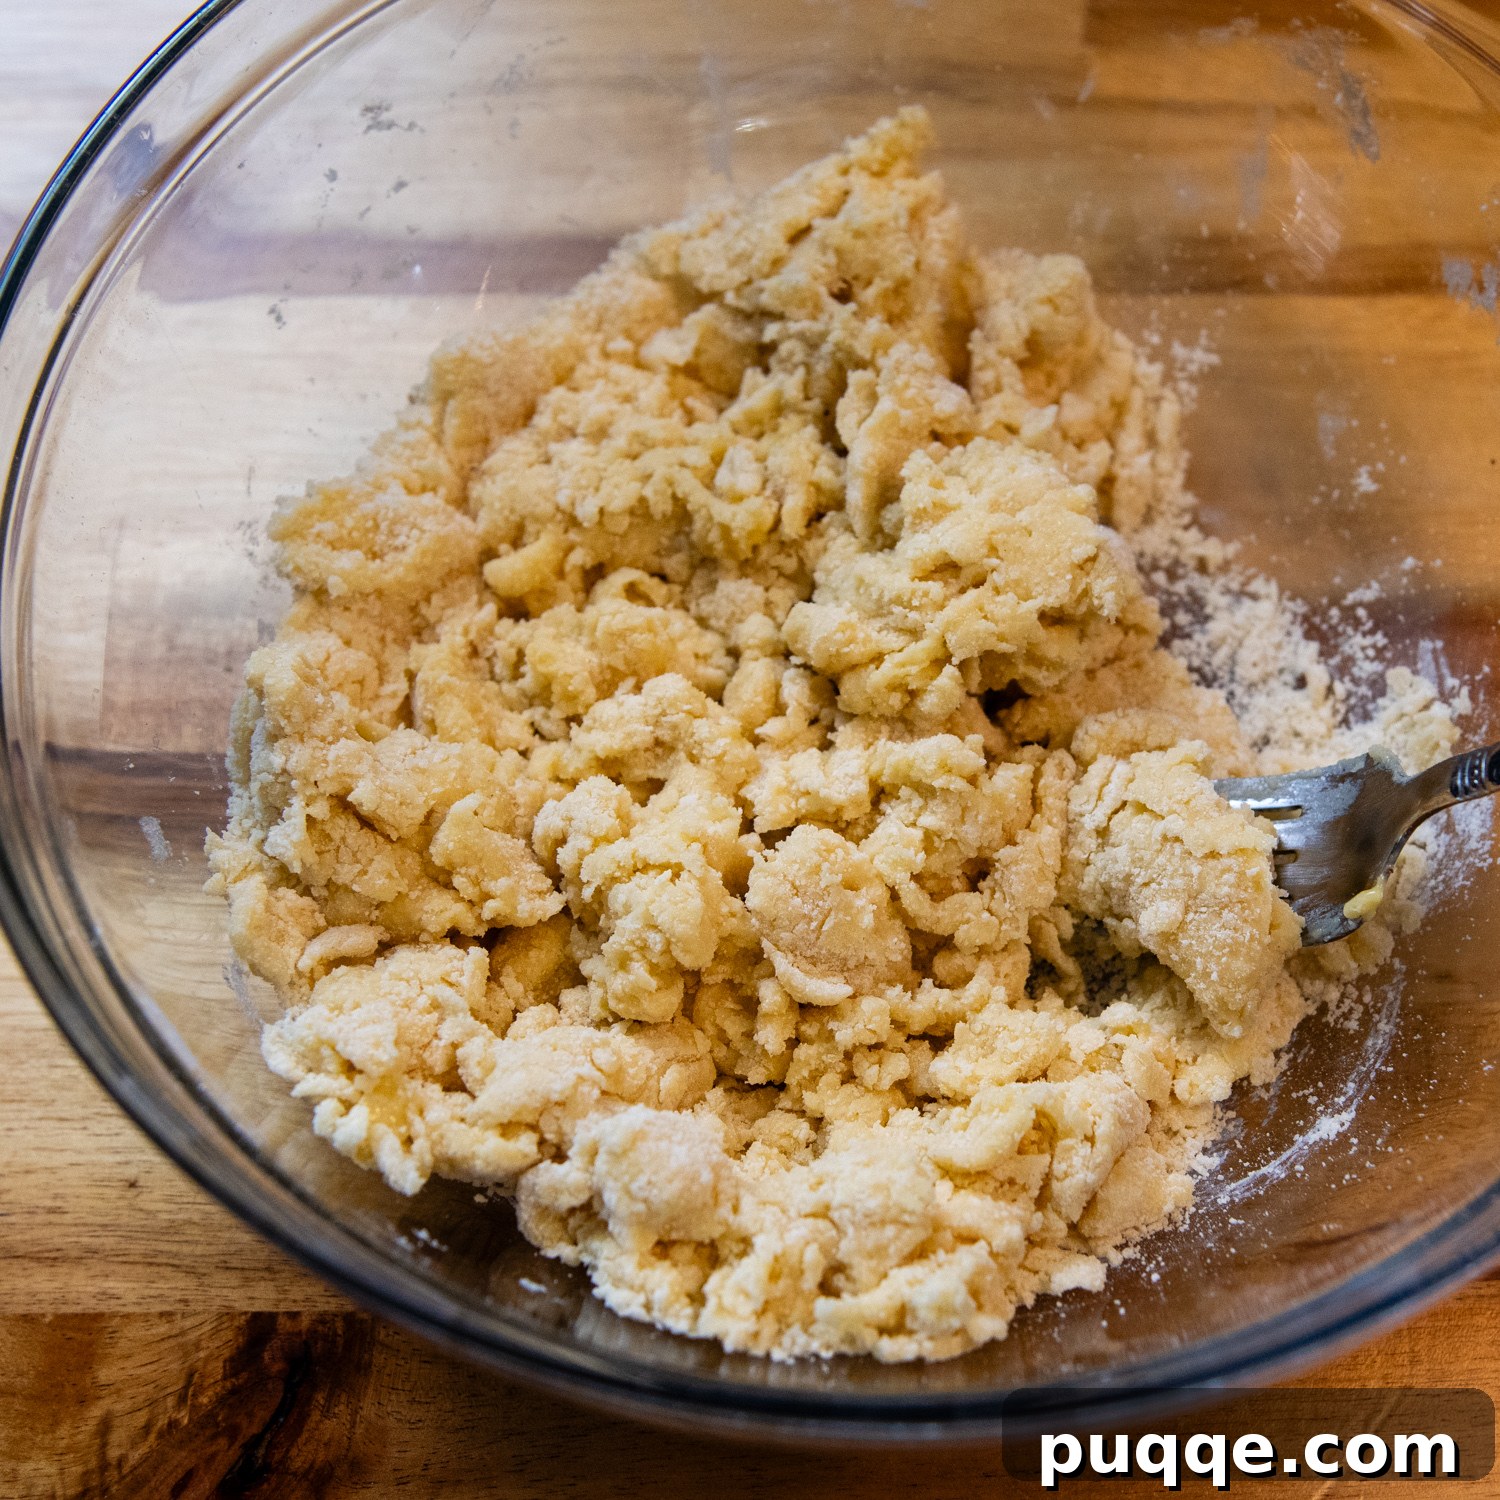
You have the option of preparing your dough using either a food processor or by hand. Both methods are straightforward and require minimal time and effort. Regardless of the technique you choose, always begin by combining the dry ingredients first. Once thoroughly mixed, incorporate the eggs and olive oil. Continue mixing until the dough starts to clump together into soft, manageable balls. For a visual reference and troubleshooting tips on achieving the perfect dough consistency, please refer to the texture clues section above.
Step 2: Divide for Better Handling
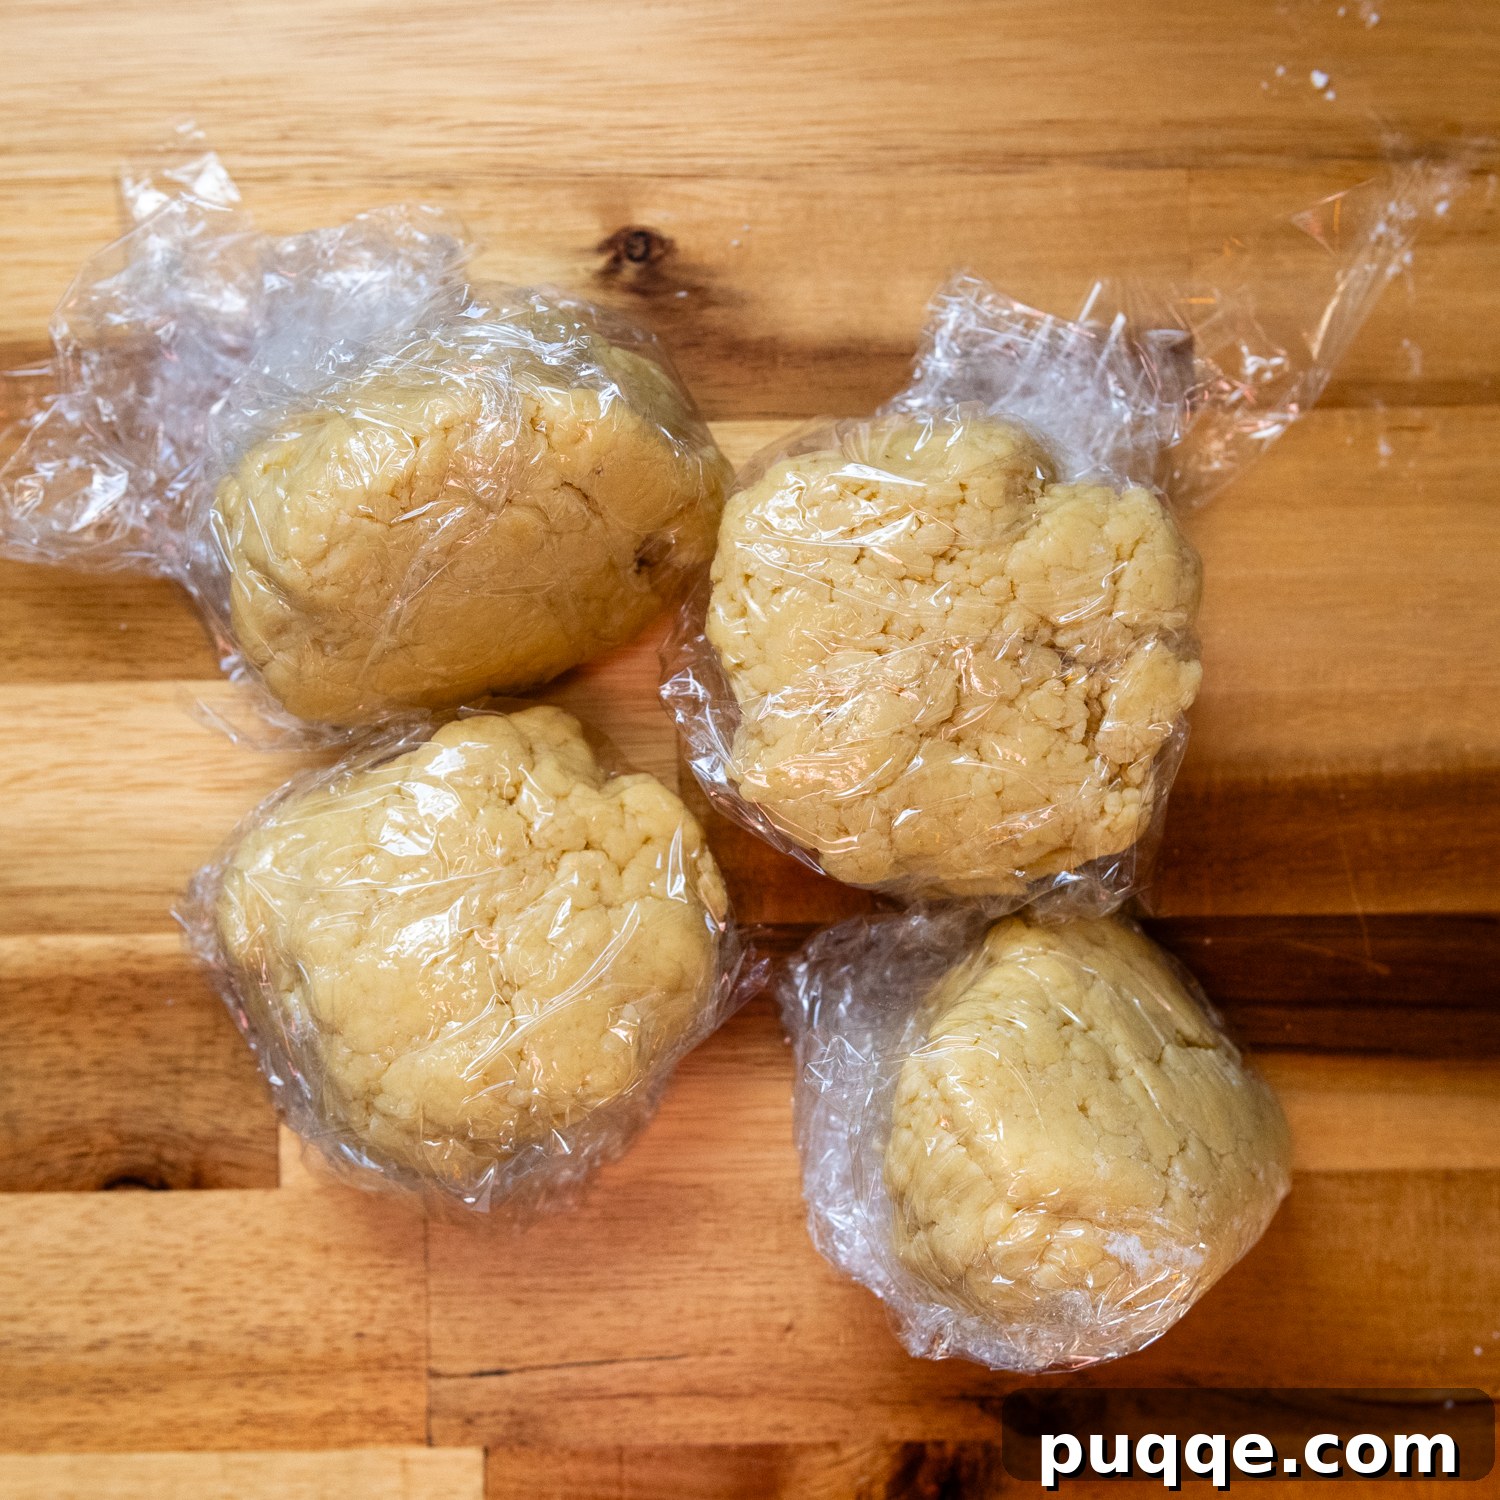
When working with gluten-free dough, I’ve consistently found that it’s far more manageable and yields better results to work with smaller sections. Therefore, divide your freshly prepared pasta dough into four equal sections. Immediately wrap each section tightly in plastic wrap to prevent them from drying out, as GF dough can lose moisture quickly.
While many traditional pasta recipes suggest resting the dough, I haven’t observed a significant difference in texture or workability with this gluten-free recipe. So, feel free to set up your pasta machine and begin rolling immediately. However, if you prefer to wait, simply keep the dough tightly wrapped at room temperature for up to a couple of hours.
Step 3: Begin Rolling – Time for the Fun!
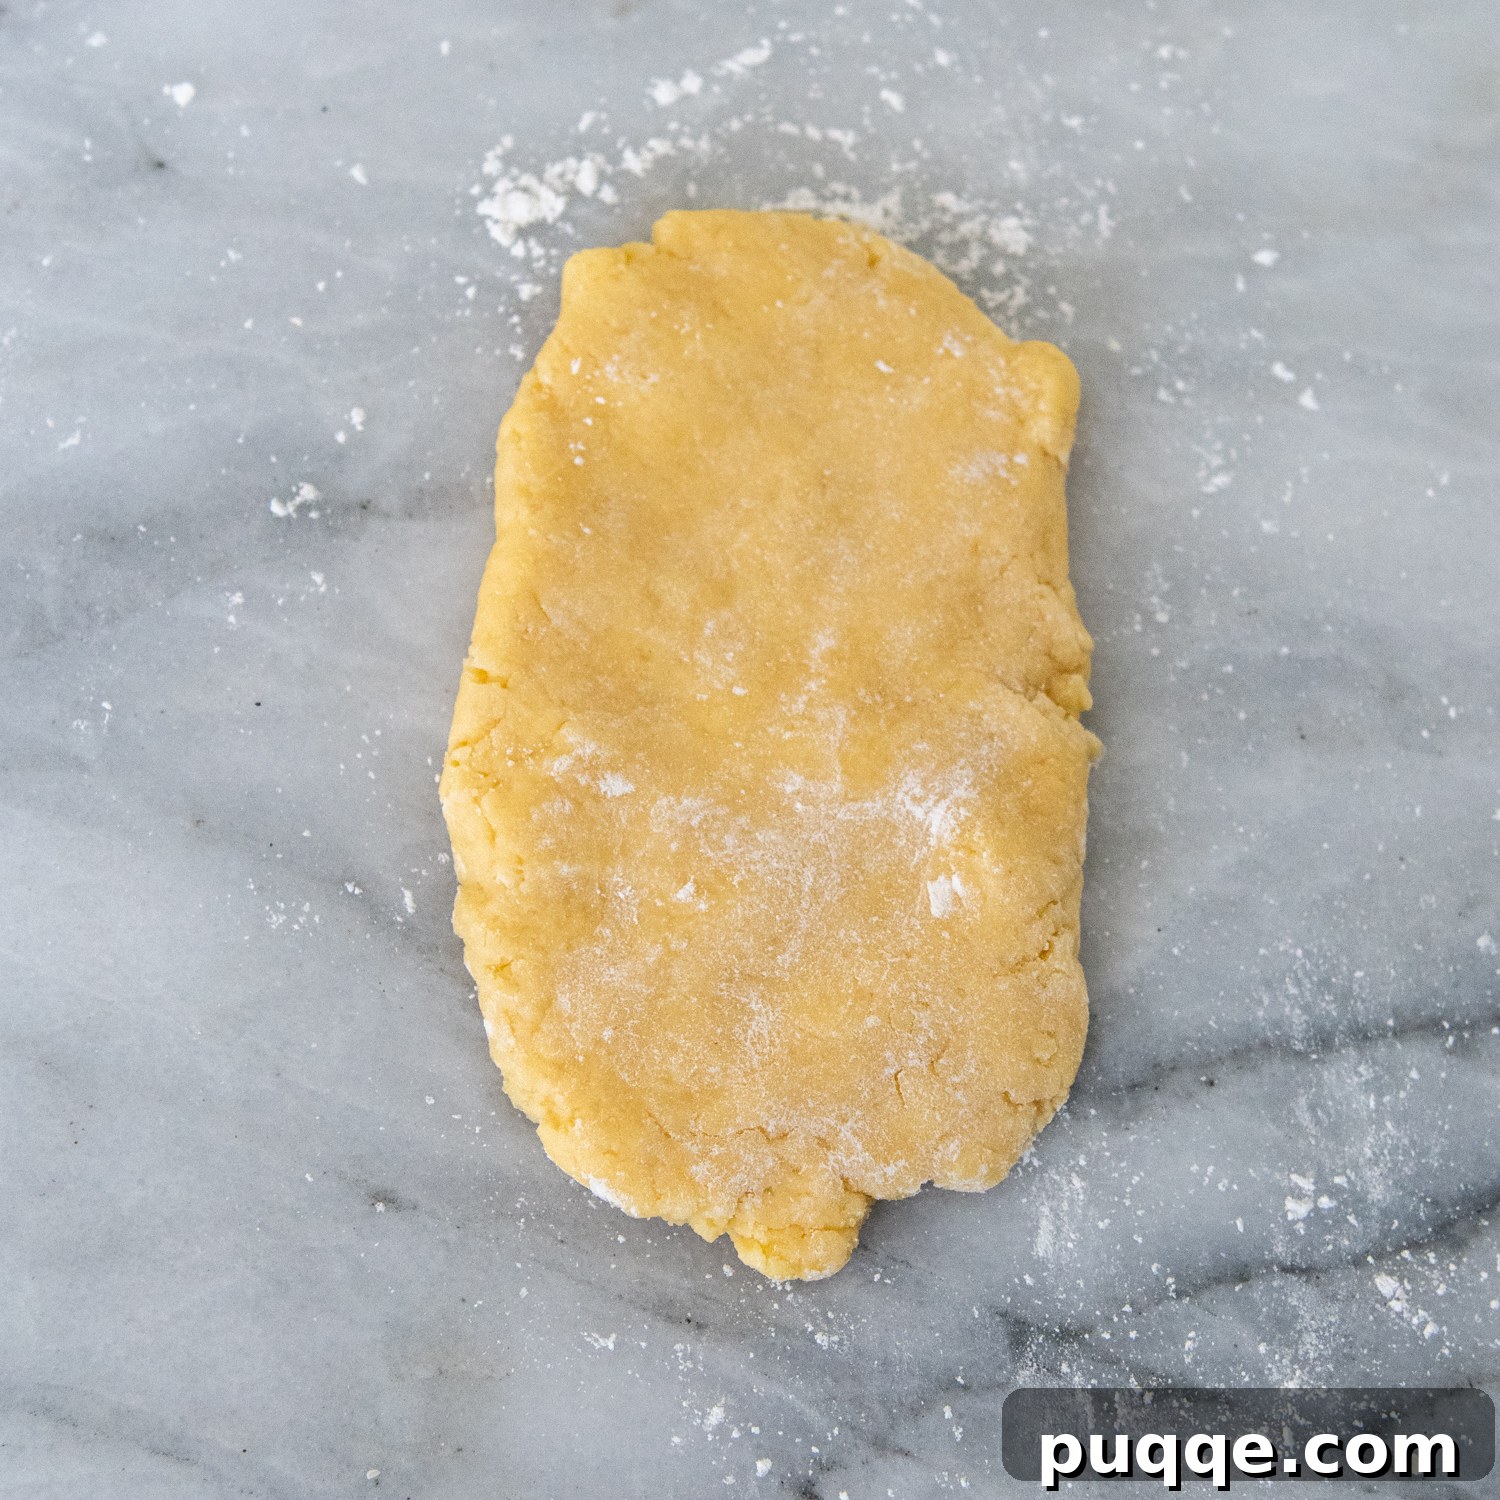
Take one of your wrapped dough balls and pull off approximately one-third of that section. Return the remaining dough to its plastic wrap. On a lightly floured surface, gently pat the dough into a smushed, flat oval shape. Dust a little more gluten-free flour on top of it. This initial flattening helps guide it into the machine.
Now, run this flattened piece through your pasta machine on its widest setting (usually setting 1). The dough sheet will emerge slightly sticky and likely have ragged edges – this is completely normal for the first pass with GF dough. If you find the dough difficult to work with at this stage, refer back to the texture clues and adjustment tips above for guidance.
Step 4: Smooth and Refine the Sheet
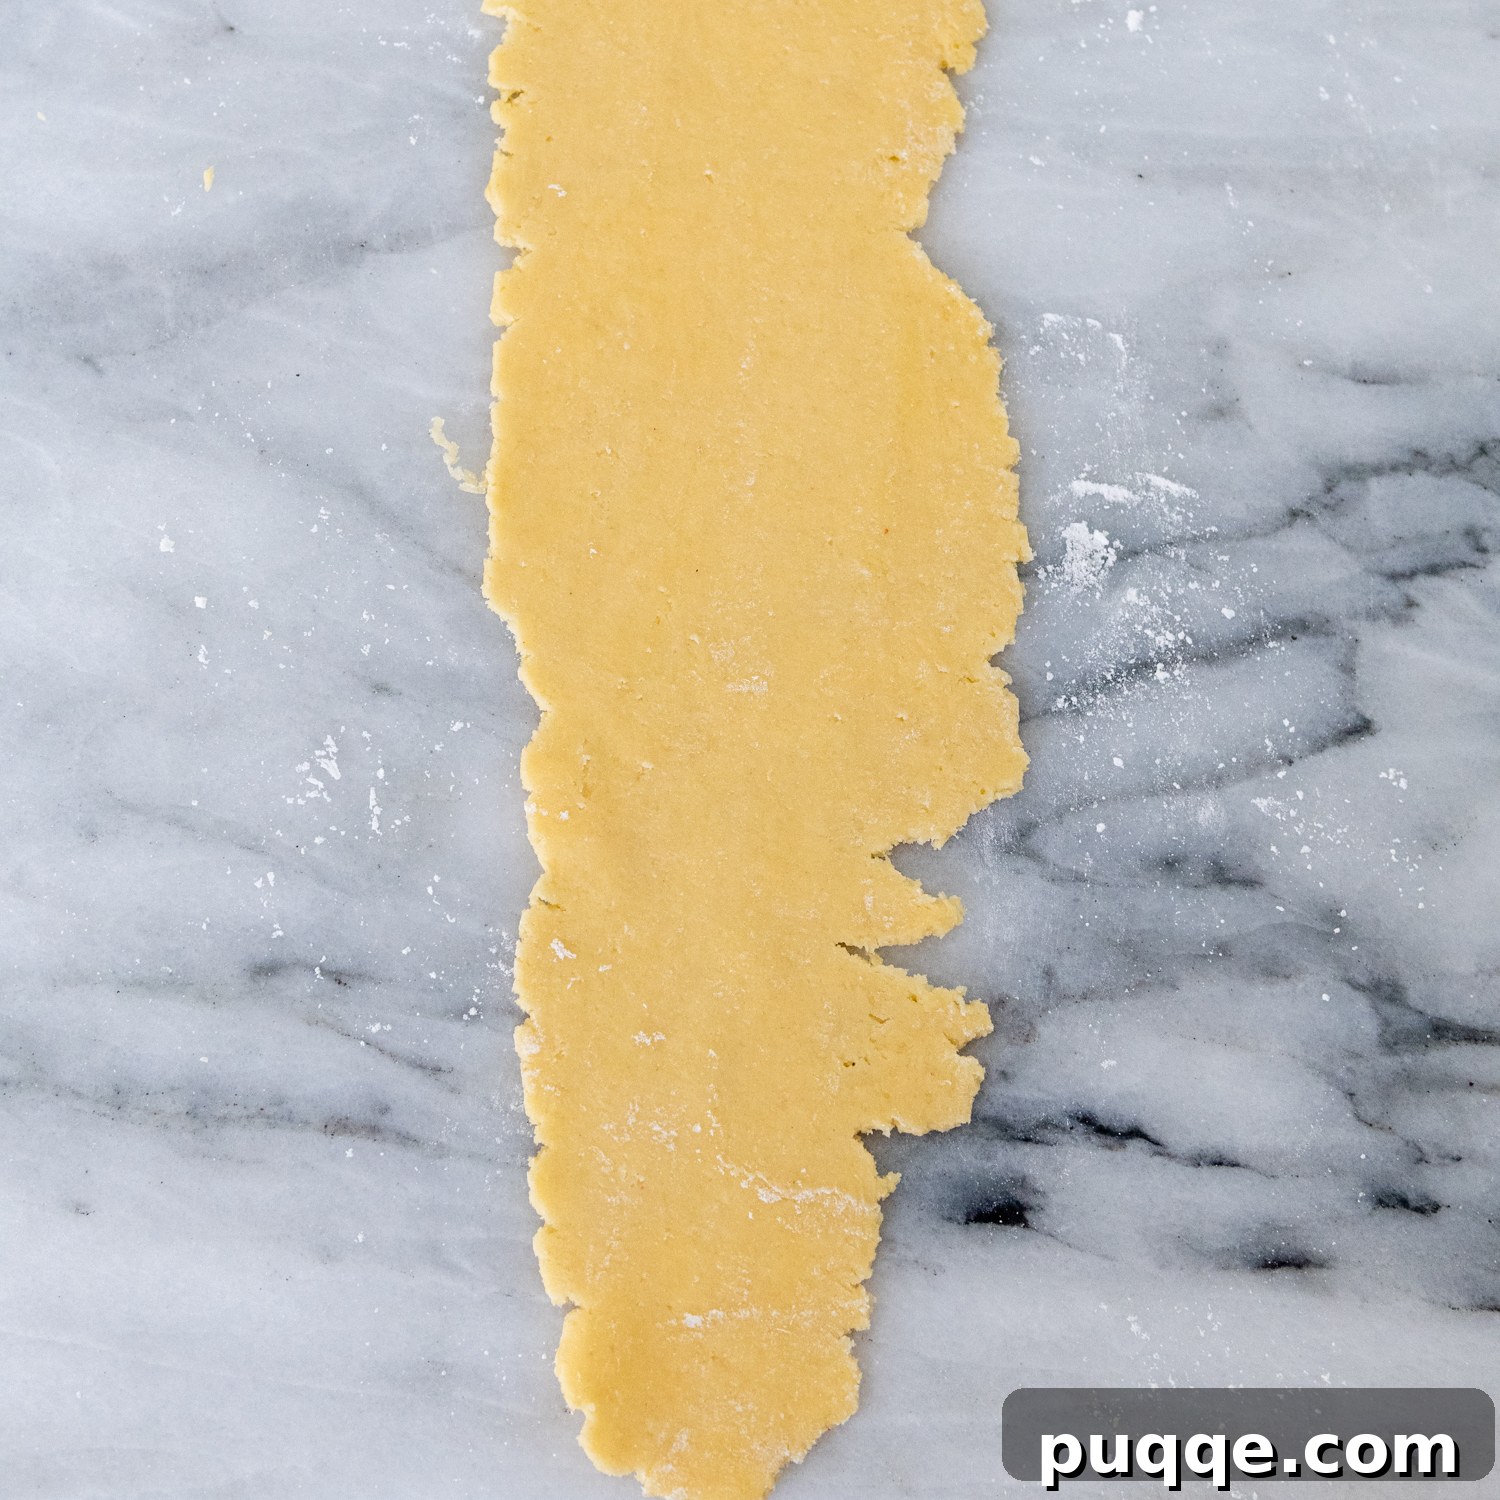
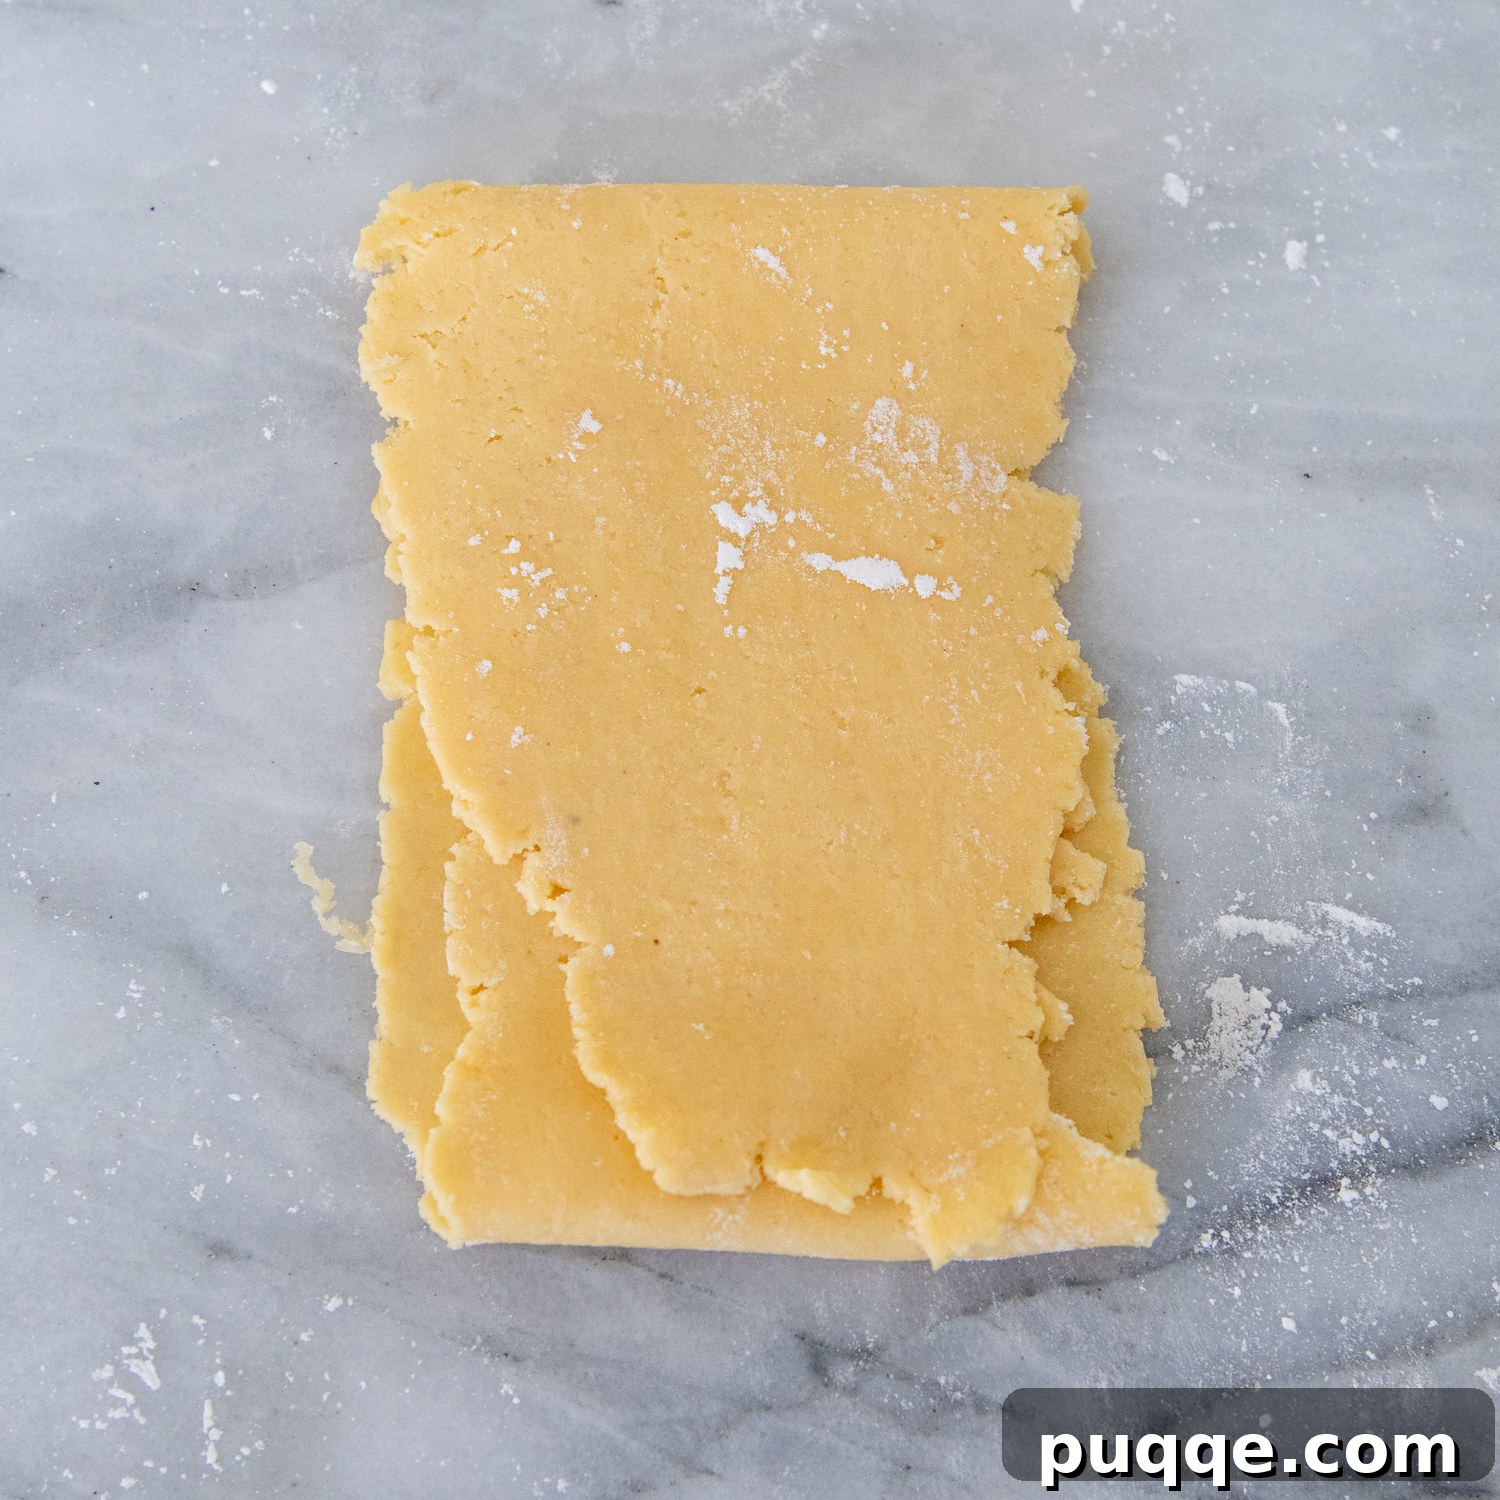
This crucial step is designed to smooth out any imperfections and strengthen the dough sheet before you thin it further for cutting. Take the dough sheet that just came out of the machine. Fold the top edge down to the middle and the bottom edge up to the middle, essentially folding it into thirds, much like you would fold a letter. This creates a neat, more compact rectangle.
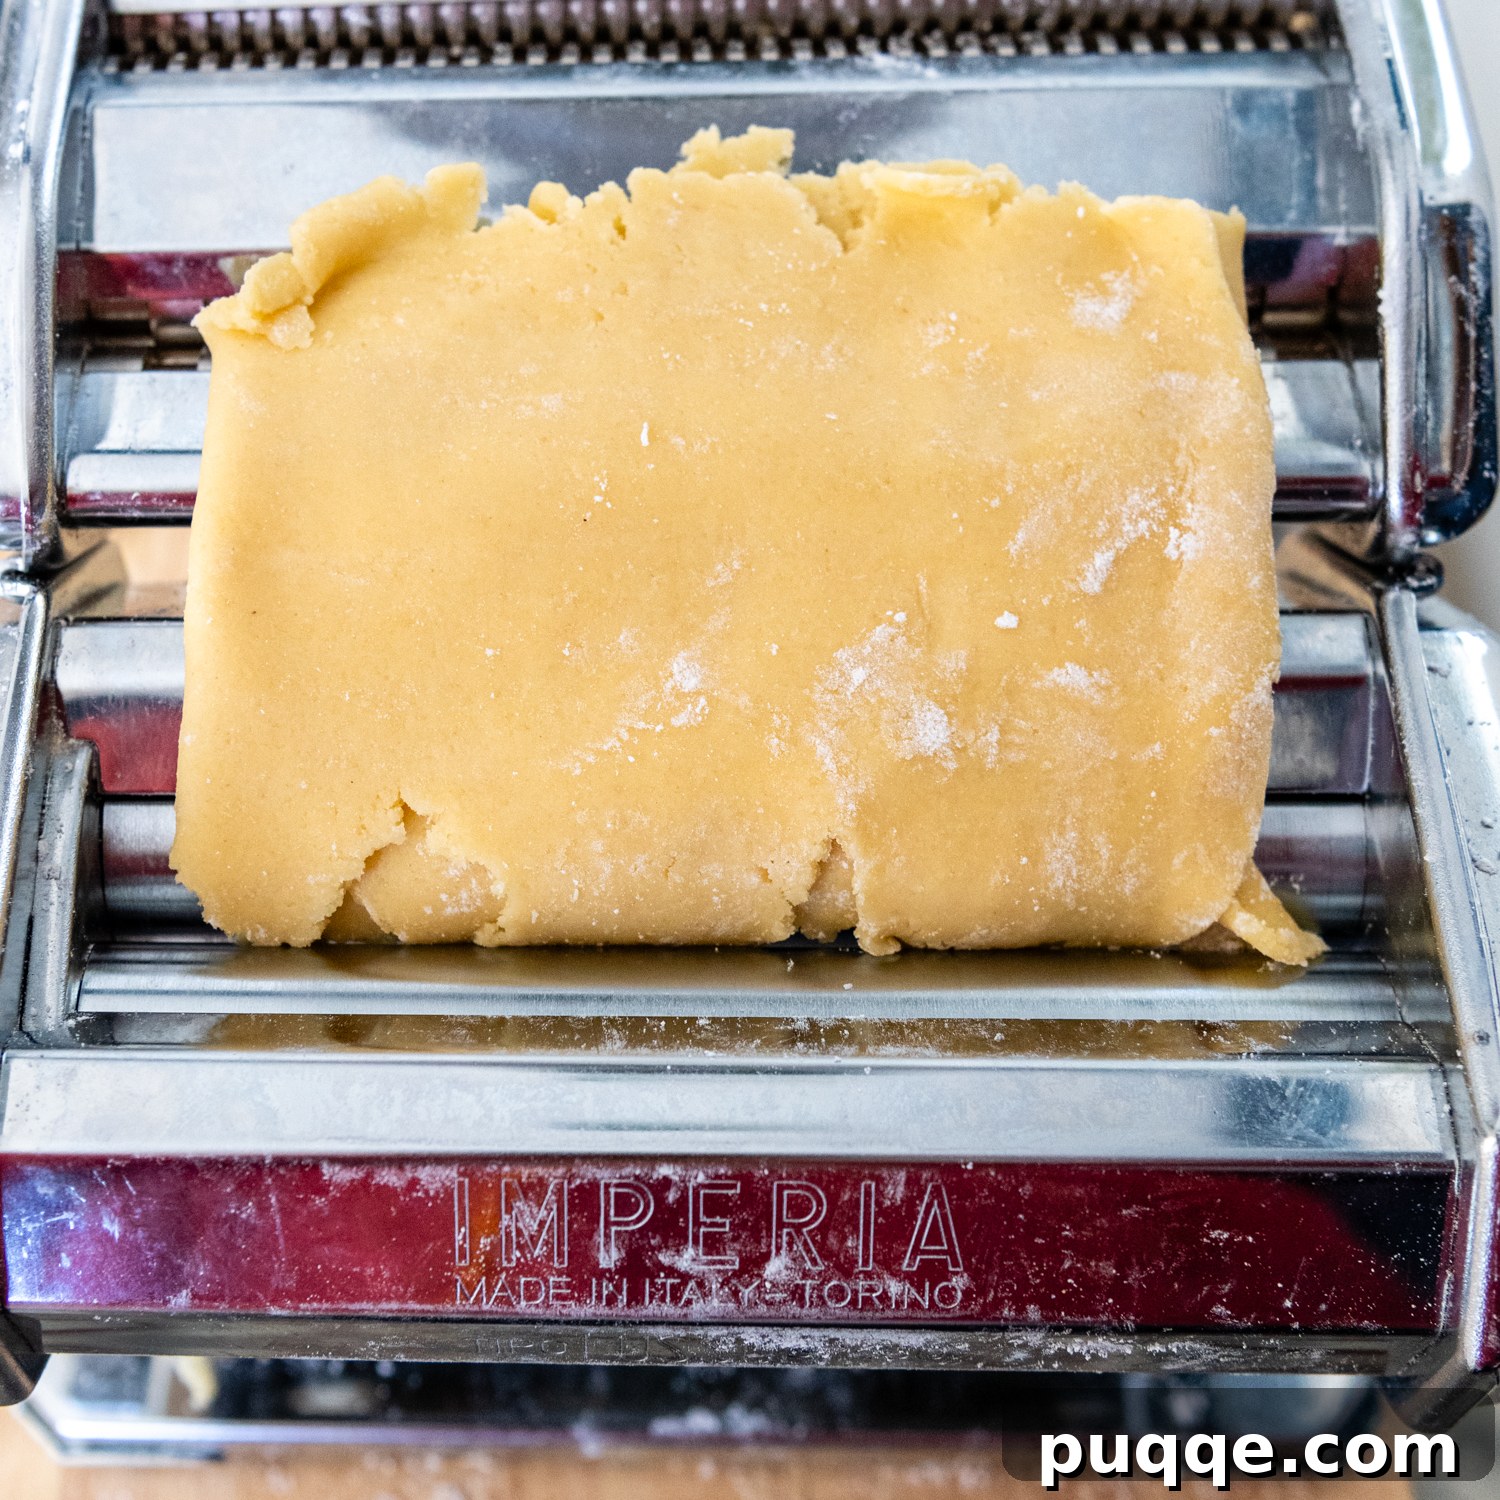
Next, turn the folded dough 90 degrees. This ensures that the dough is fed into the machine from a different angle, helping to create an even texture. Run this newly folded and turned dough through the widest setting of your pasta machine once again. This process helps to align the dough particles, resulting in a smoother, more resilient sheet.
Step 5: Fold and Repeat for Consistency
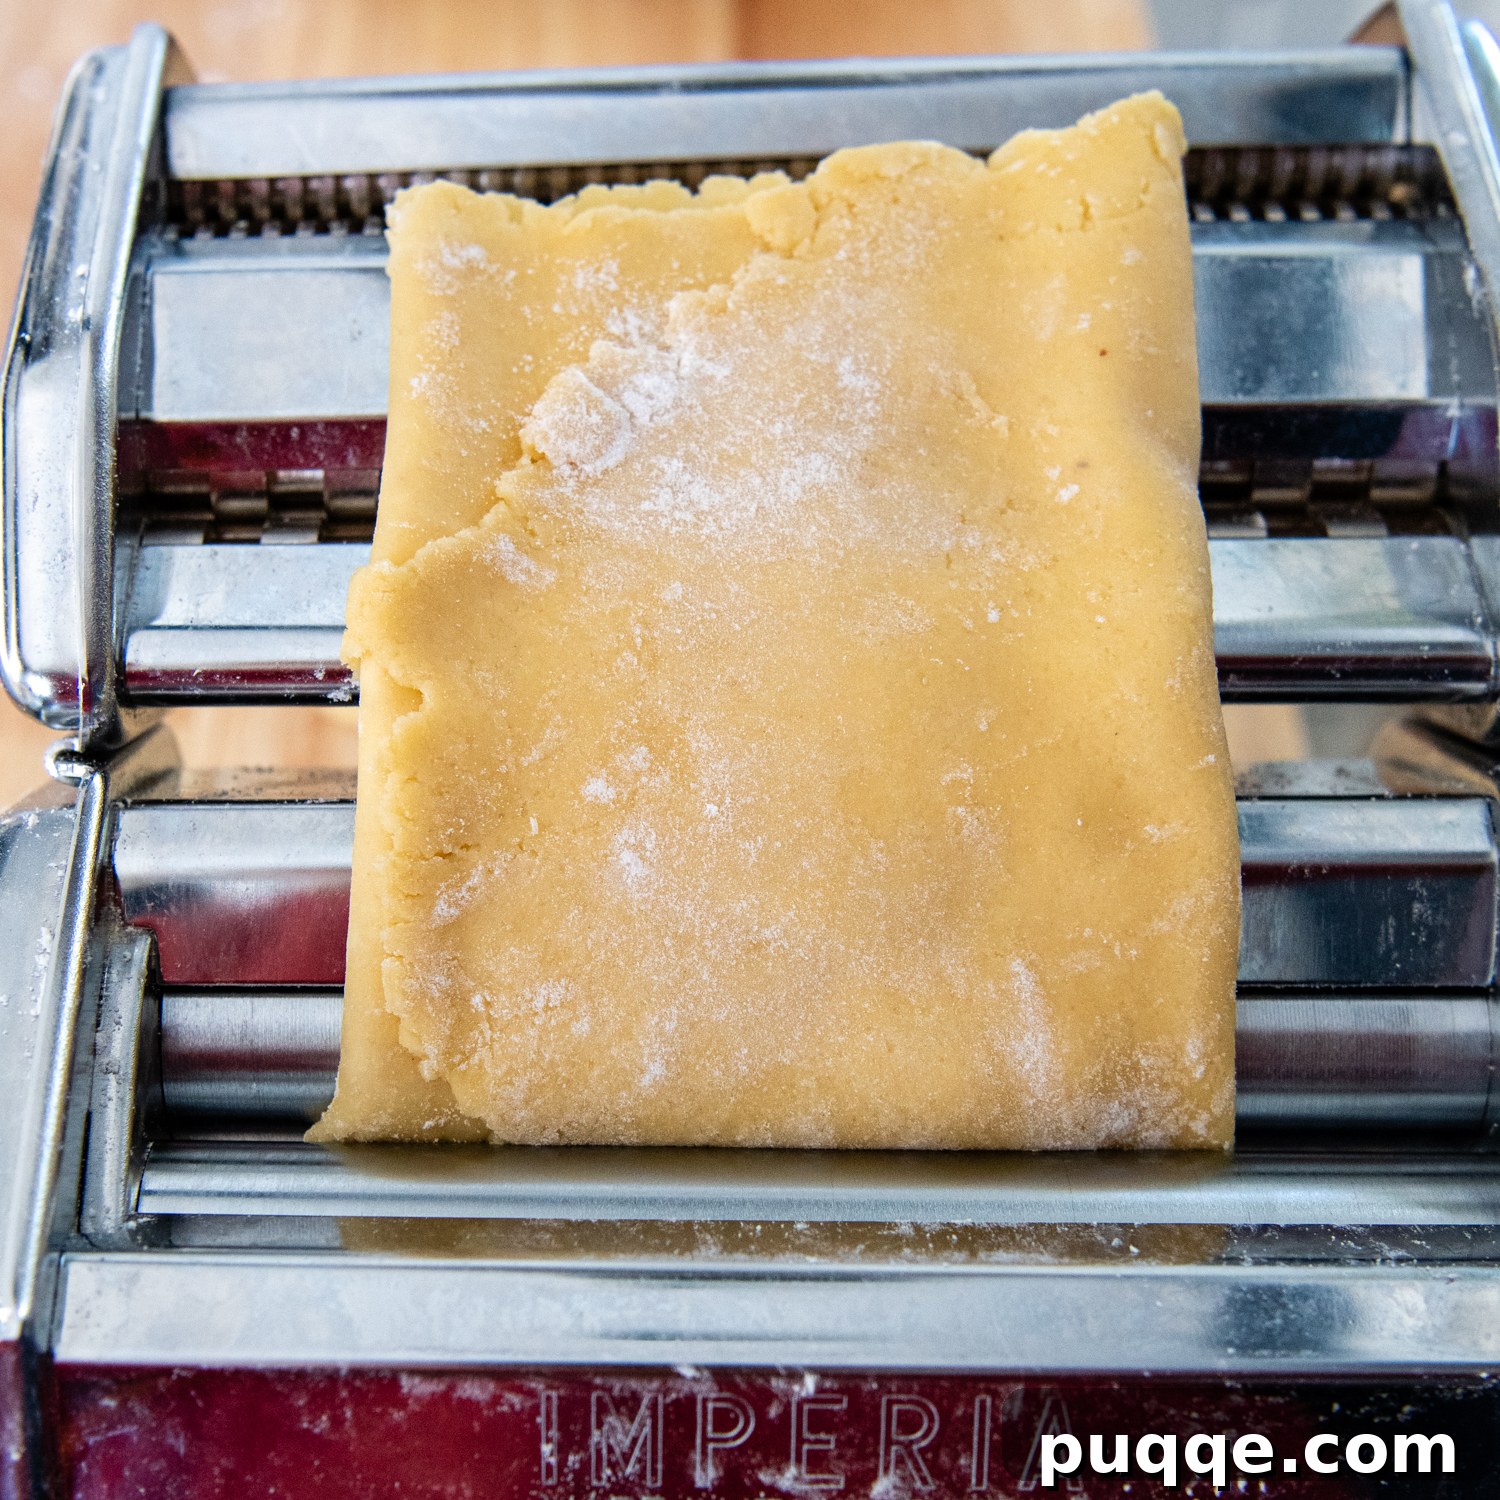
To further enhance the smoothness and integrity of your gluten-free pasta dough, repeat the folding process one more time. Take the dough sheet that just emerged from the second pass. Fold it into thirds once more, just like you did in the previous step. Then, turn it 90 degrees again so that the narrow side is ready to be fed into the widest setting of the pasta machine.
Passing the dough through the widest setting after folding it twice helps to create a very uniform and robust sheet, minimizing tears and inconsistencies. This repeated folding and rolling action is key to developing a strong yet pliable gluten-free dough, ensuring it holds up beautifully when cooked.
Step 6: Thin, Smooth, and Cut Your Pasta
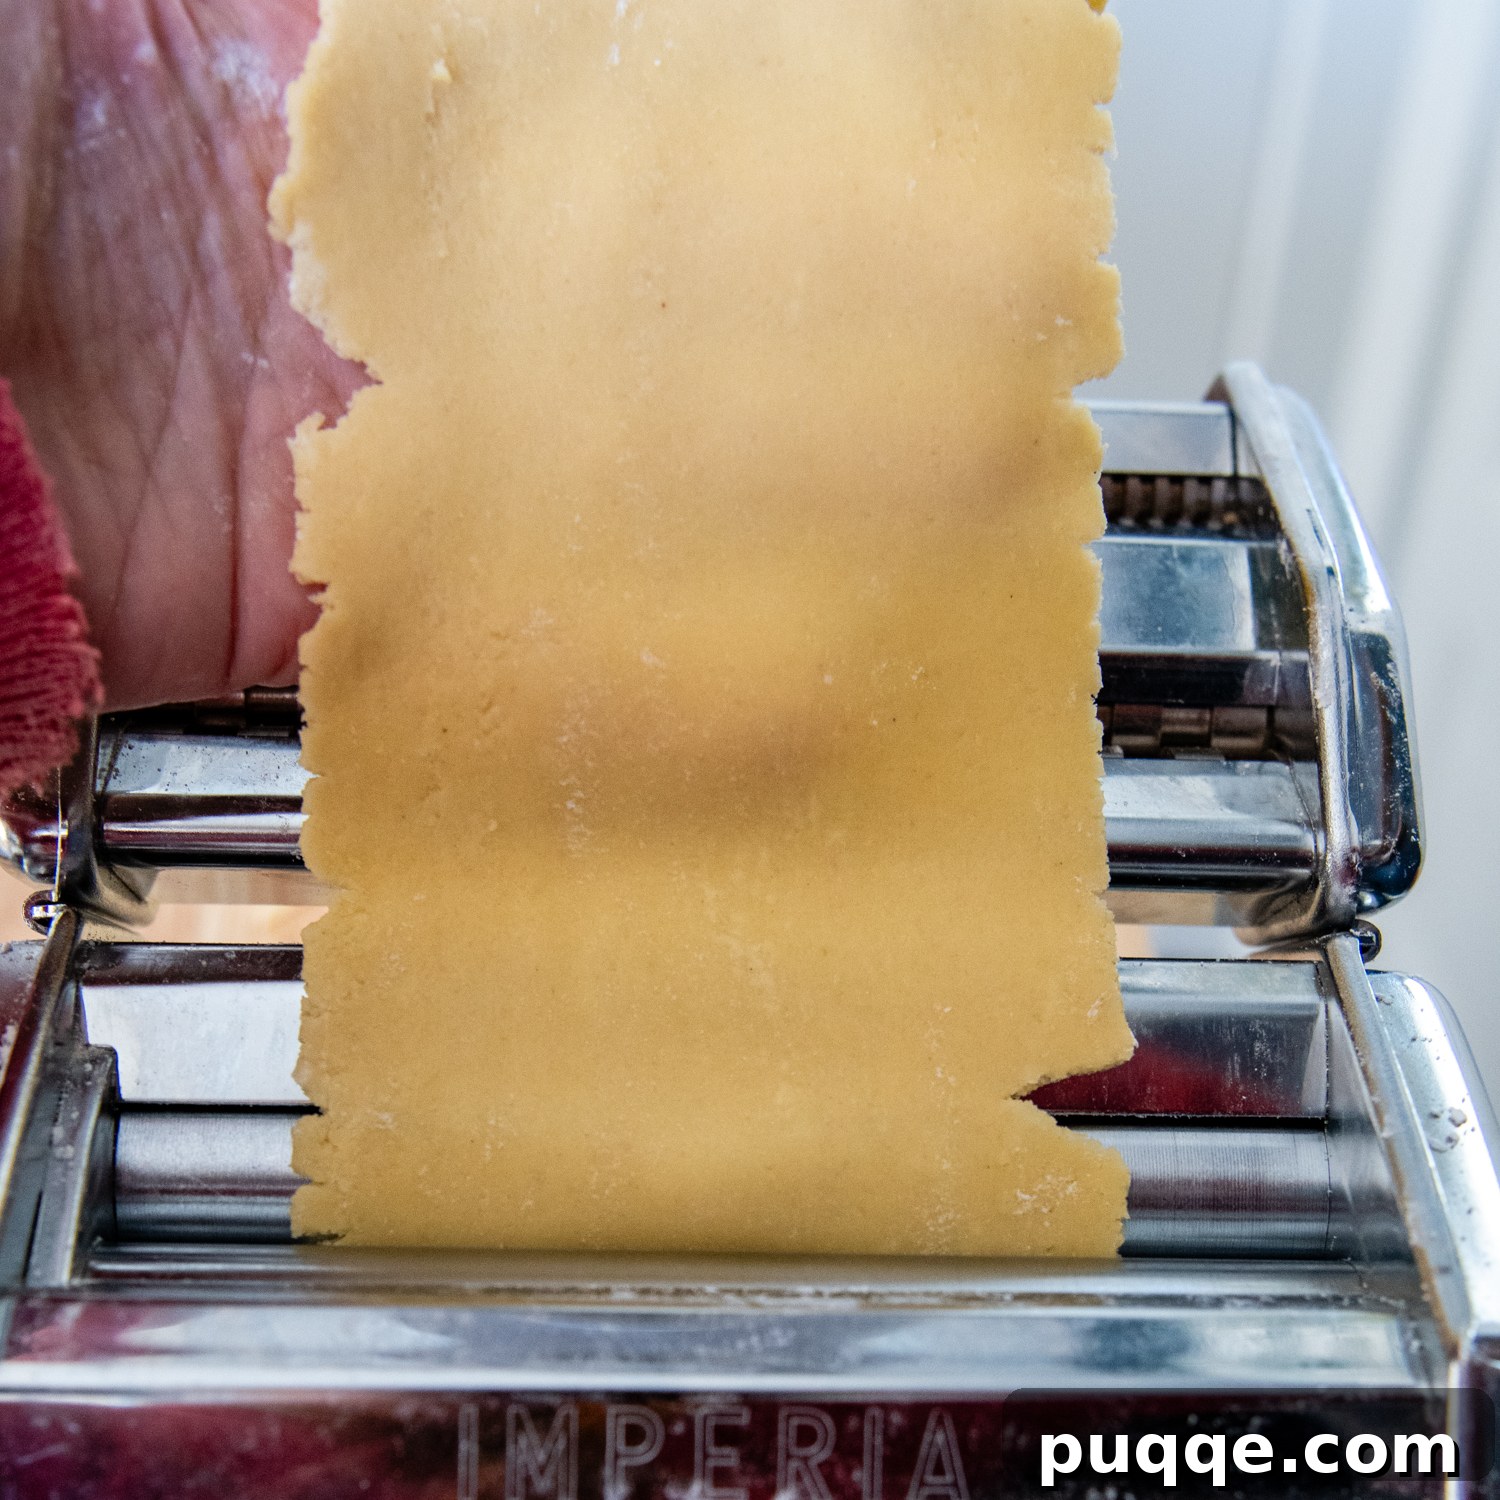
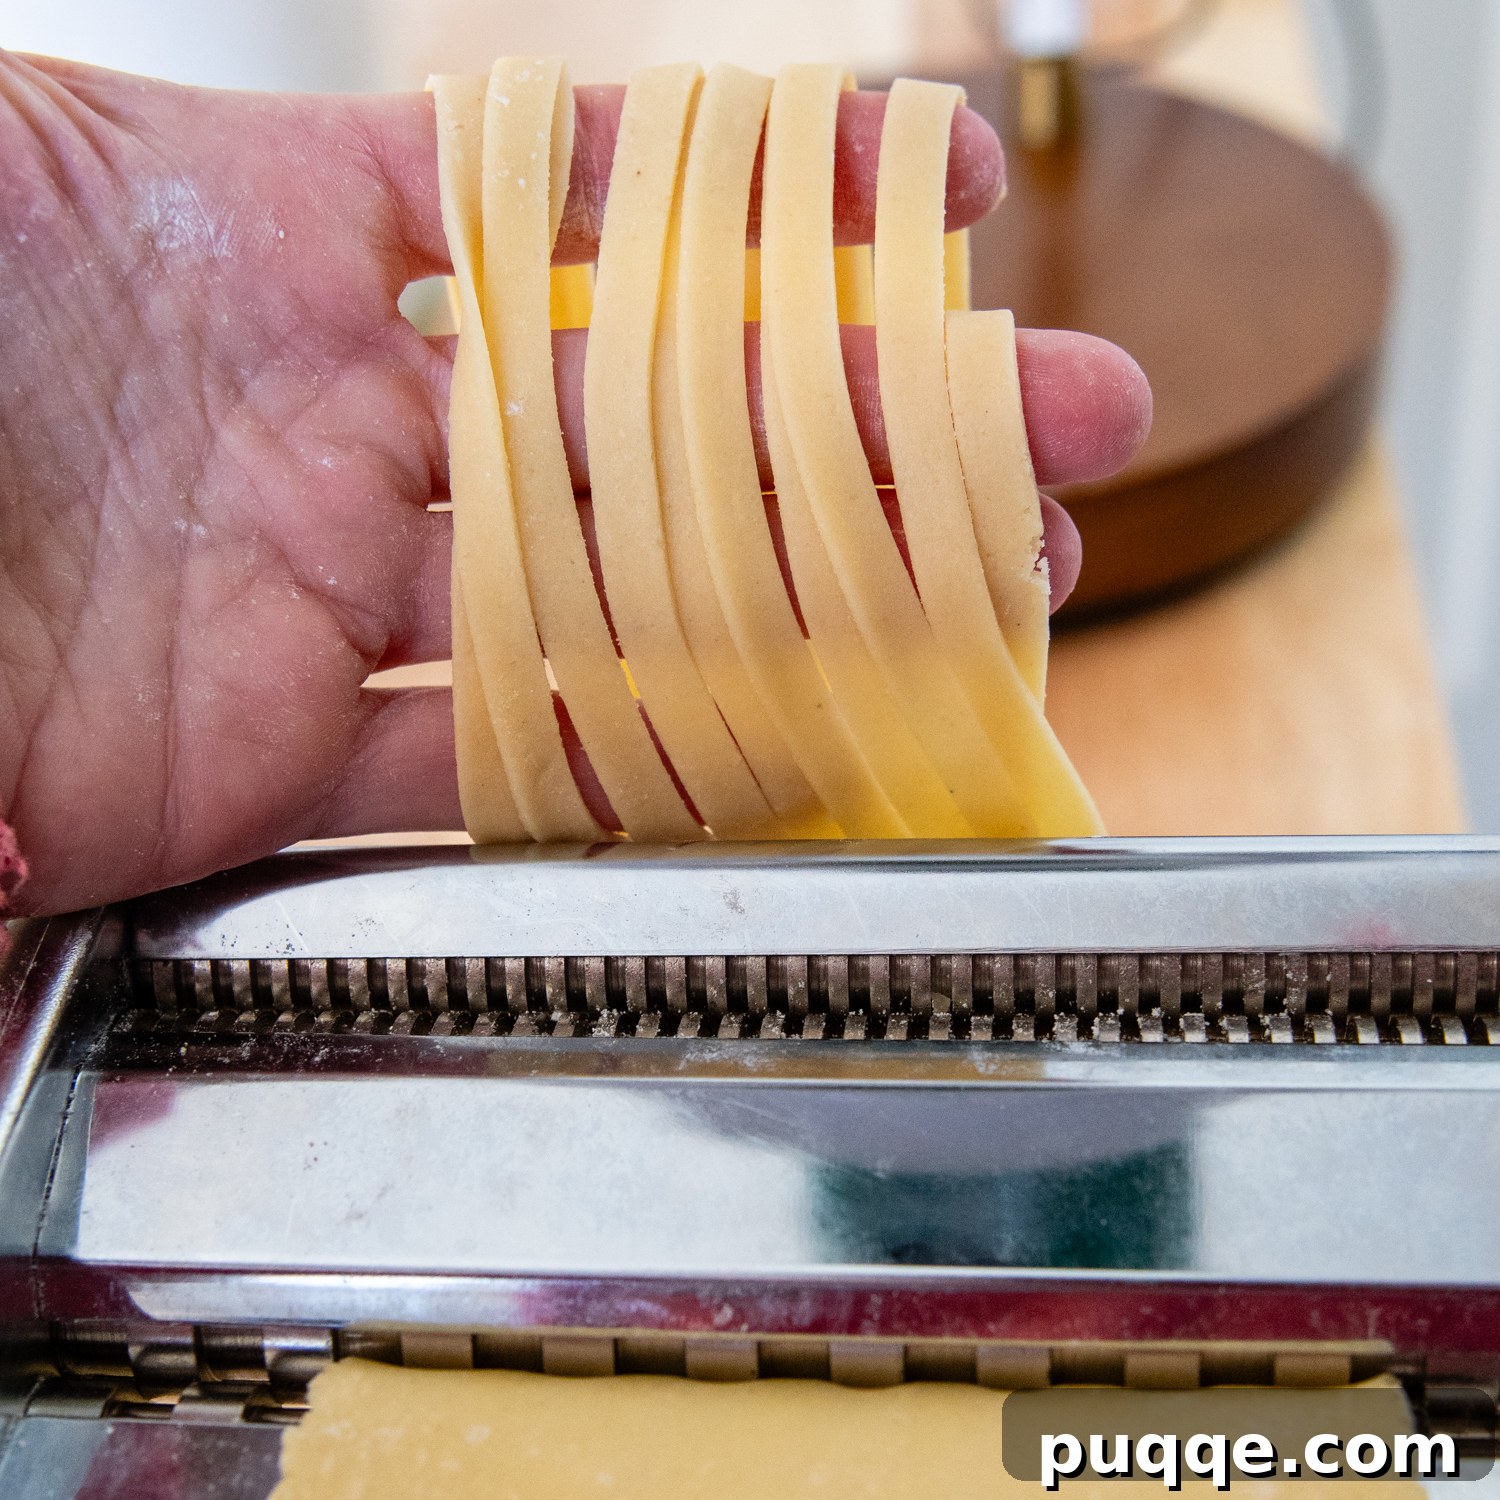
After the final fold and pass on the widest setting, you should now have a beautifully smooth dough sheet with relatively straight edges. Now it’s time to progressively thin your pasta. For most pasta machines, I recommend running the sheet through setting 2 one to two times, and then through setting 3 once. This typically yields the ideal thickness for most pasta shapes, providing a delicate yet firm texture.
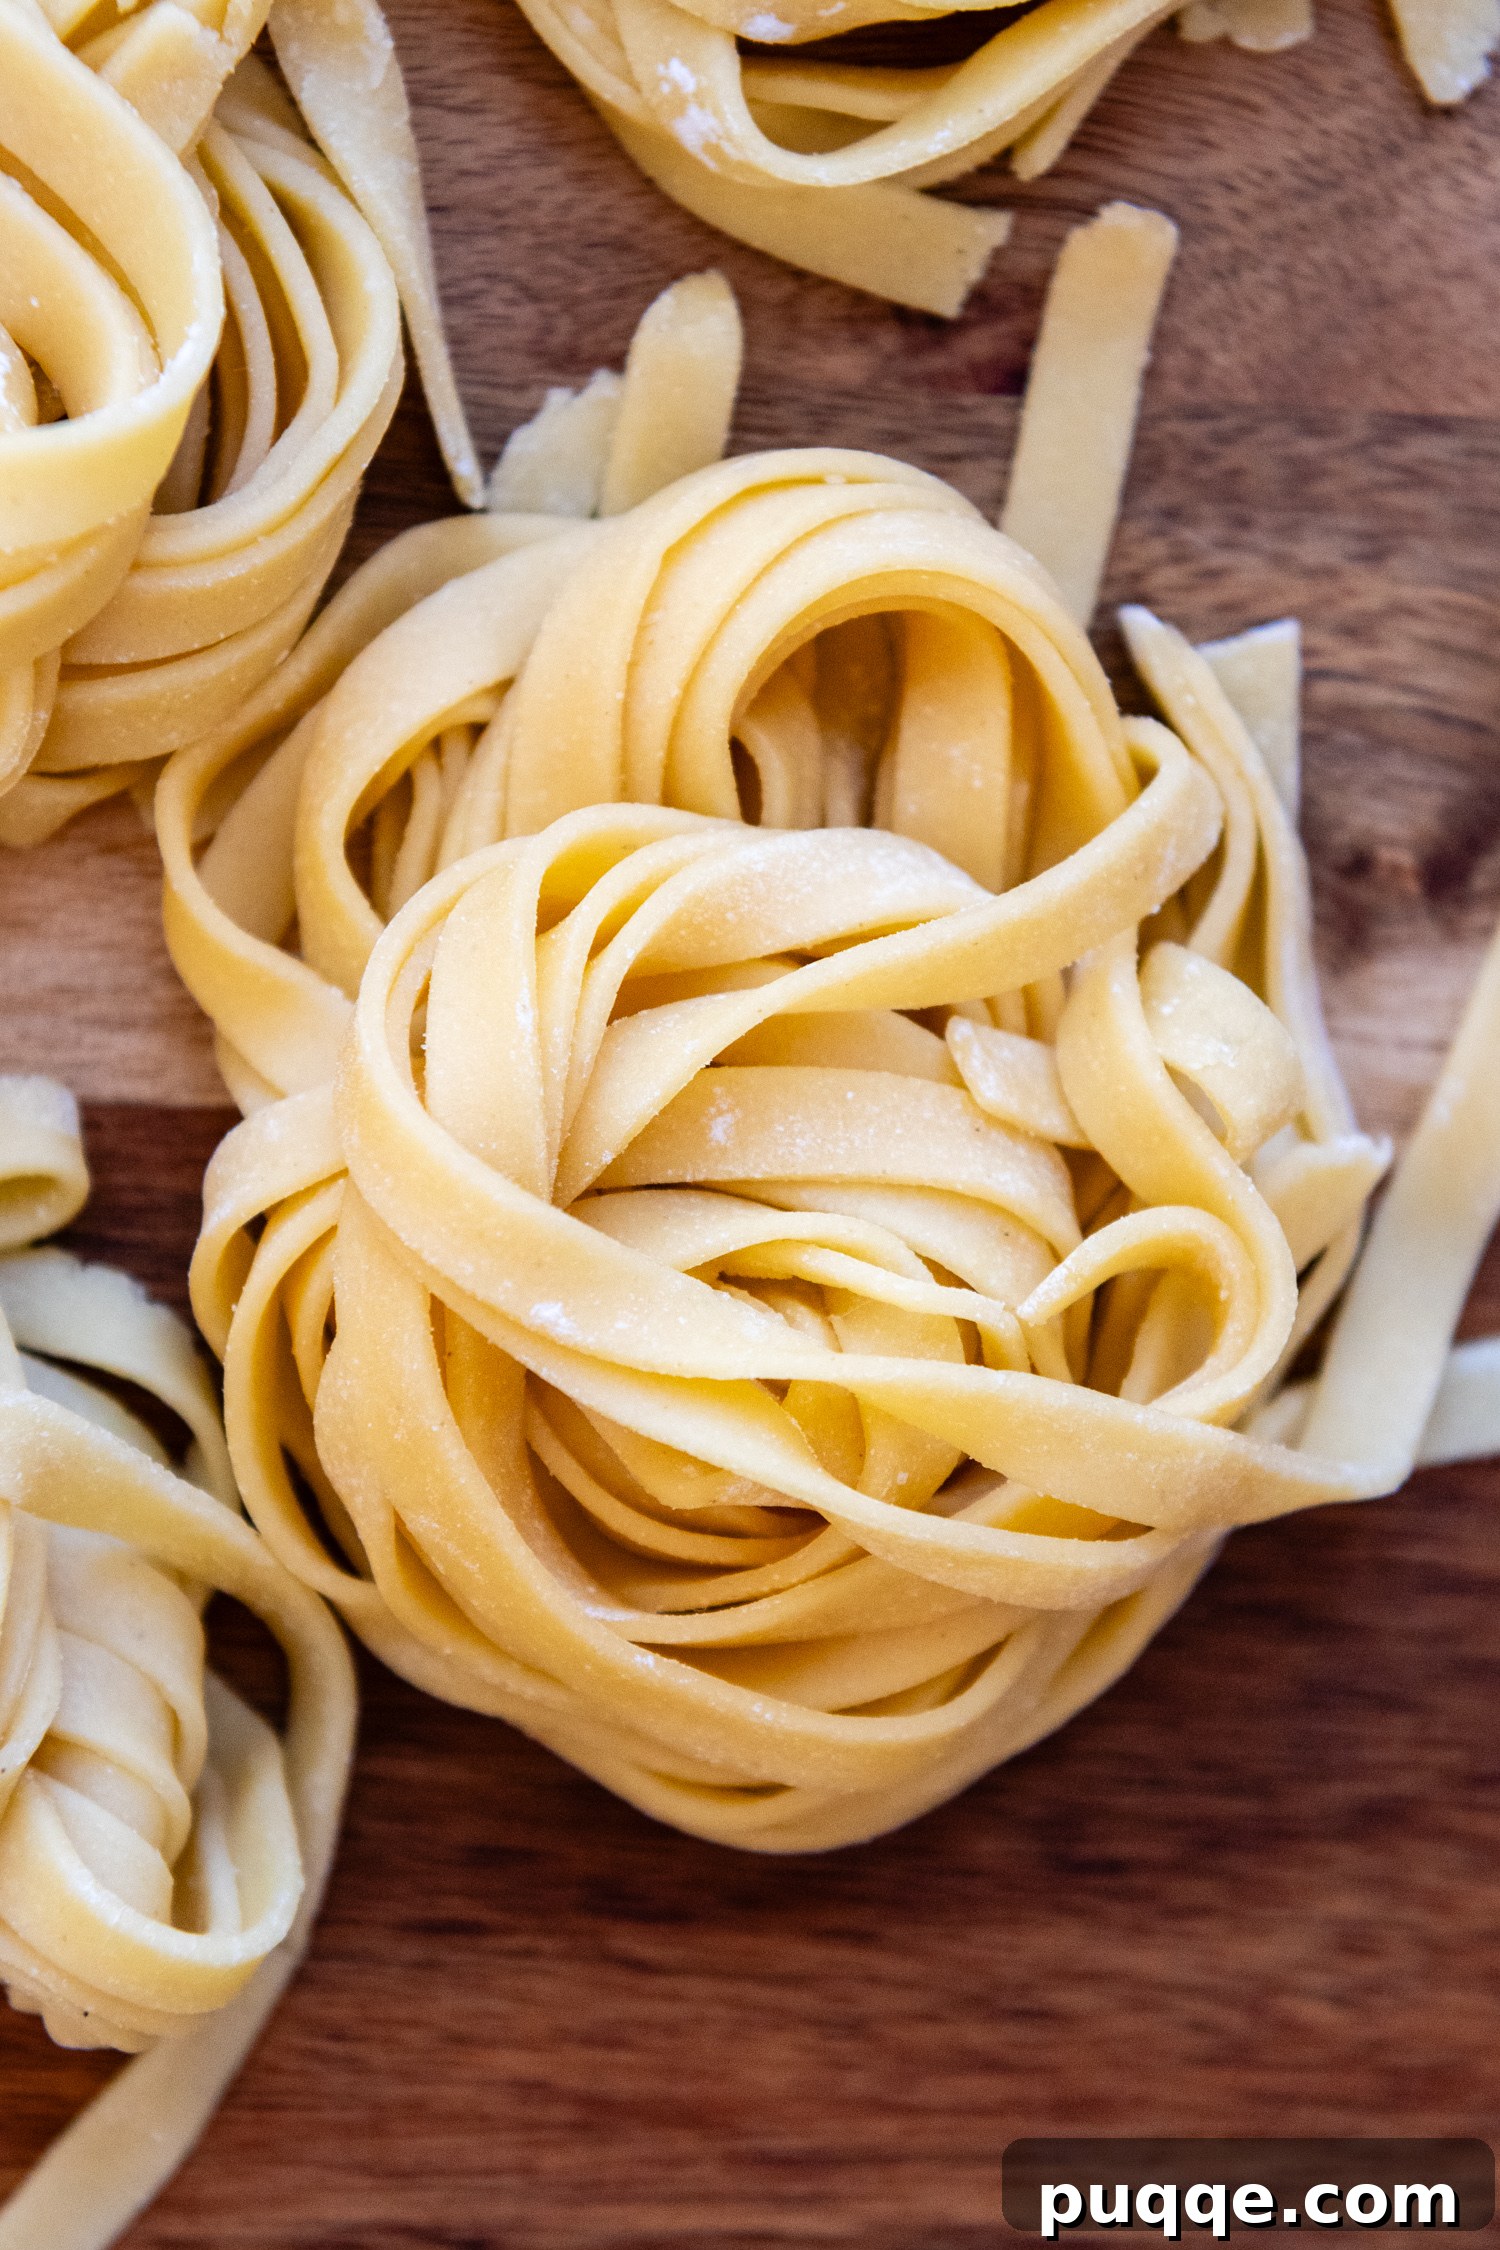
Should your sheet become sticky at any point during this thinning process, simply move it to your lightly floured work surface and gently pat both sides with a small amount of gluten-free flour. Once you’ve reached your desired thickness, it’s time to attach the pasta cutter and cut your sheet into your preferred shape – whether it’s wide fettuccine noodles or delicate spaghetti strands. As each section of pasta is cut, carefully shape it into a loose nest and transfer it to a baking sheet lined with parchment paper. Alternatively, you can separate the strands and lay them flat. Be sure to cover the baking sheet with plastic wrap to prevent the pasta from drying out while you continue to roll and cut the remaining dough sections.
Choosing the Best Gluten-Free Flour for Pasta
This is arguably one of the most critical aspects of achieving truly outstanding gluten-free pasta. The choice of gluten-free flour blend made an enormous difference in my testing, proving to be the hinge upon which the success of this recipe swings. My absolute top recommendation, without hesitation, is Cup4Cup gluten-free flour. With Cup4Cup, the dough was not only incredibly easy to work with – maintaining a wonderful pliability and elasticity – but it also developed a fantastic texture after cooking. Crucially, the noodles held together remarkably well, even after freezing and subsequent reheating, which is often a major challenge for gluten-free pasta.
I also put the recipe through several trials using Caputo gluten-free flour. While Caputo flour is known for its exceptionally fine grind, I found that this characteristic necessitated adding quite a bit more flour – roughly 6-8 tablespoons – to achieve a workable dough consistency. The cooked texture with Caputo flour was, admittedly, amazing; the pasta had a lovely delicate bite. However, I encountered a significant drawback: after freezing and then cooking, the noodles tended to break apart. This was a rather disheartening outcome, given the initial promise.
Lastly, I experimented with King Arthur Measure-for-Measure gluten-free flour. Unfortunately, this particular test proved to be something of a disaster. The dough was consistently brittle, breaking apart with frustrating ease and lacking the necessary pliability to be rolled effectively through the pasta machine. While there’s always a possibility it could work with significant modifications, I strongly suspect that the entire recipe ratio would need a complete overhaul to accommodate this blend, making it a far less straightforward option. For consistent, reliable results, Cup4Cup remains my unwavering top pick.
If you venture to use a different gluten-free flour blend for your homemade noodles, please don’t hesitate to share your experiences in the comments below, along with any adjustments you made. Your feedback is incredibly valuable to our community, and I truly appreciate you sharing your insights! ❤️
Sure-Fire Cooking Method – No Mushy Noodles!
Cooking gluten-free pasta perfectly requires a slightly different approach than traditional wheat pasta, particularly when it comes to salting the water. Here’s a tip that might surprise you, but trust me, it’s a game-changer: do not salt the pasta water. Yes, I know, don’t tell Gramma! I’ve found that gluten-free pasta, especially fresh homemade varieties, tends to absorb too much salted water, resulting in an overly salty dish. Instead, we incorporate a dash of salt directly into the dough, which provides its foundational flavor. The rich, savory profile of your perfectly seasoned sauce will then complement the noodles beautifully, creating a balanced and delicious meal.
Fresh egg noodles, whether cooked immediately or from frozen, require a remarkably short cooking time. Bring a large pot of unsalted water to a rolling boil. Add your fresh gluten-free pasta, gently stirring to prevent sticking. Once the water returns to a vigorous boil, start your timer. You’ll only need to cook the pasta for about 2 minutes to achieve an al dente texture. If you’re cooking frozen pasta, extend the cooking time by approximately 30 seconds, for a total of 2.5 to 3 minutes. This quick cooking method ensures your noodles remain firm, tender, and never mushy.
Why add almond flour to gluten-free pasta? It’s the secret to mimicking that desirable traditional fresh pasta texture. The natural oils present in almond flour add richness and soften the bite, preventing the dense, thick, or overly chewy consistency often associated with gluten-free alternatives. The result? Tutto buonissimo! (All delicious!)
Making Lasagna Sheets With This Dough
Oh my gosh, prepare for heaven on earth with homemade gluten-free lasagna! To craft the best GF lasagna recipe, you’ll need half a batch of this versatile pasta dough. Roll the dough into sheets, thinning them out to setting 3 on your pasta machine. This thickness is perfect for robust lasagna layers that hold up beautifully during baking.
Once rolled, carefully transfer the sheets to baking sheets lined with parchment paper, stacking layers between additional sheets of parchment to prevent sticking. If you’re not planning to use them immediately, cover the entire stack securely with plastic wrap and refrigerate for up to 24 hours. For longer storage, freeze them. When you’re ready to assemble your lasagna, you can use the fresh pasta dough directly from the fridge, or thaw frozen sheets slightly until pliable. Use kitchen shears to easily cut the dough to fit the dimensions of your baking pan.
Can I Dry This Pasta? What’s the Best Way To Store It?
While drying pasta is a common practice for traditional wheat pasta, I’ve experimented with it for this gluten-free recipe, and I honestly don’t recommend it. I found that dried and then boiled gluten-free pasta developed a significantly chewier, denser texture, losing the soft, tender quality that makes this fresh pasta so special. It simply wasn’t nearly as good as enjoying it fresh.
However, this recipe is still incredibly make-ahead friendly, allowing for convenient storage options! You have two excellent choices for preparing ahead:
- Refrigeration: For short-term storage, arrange your freshly cut pasta (or lasagna sheets) on parchment-lined baking sheets. Cover them tightly with plastic wrap and transfer to the refrigerator. They will keep perfectly for up to 1 day before cooking.
- Freezing for Longer Storage: For extended preservation, freezing is your best bet. When freezing, I strongly advise against shaping the cut pasta into nests. I found that noodles frozen in nests were much harder to separate without breaking once they were ready to be cooked. Instead, lay the individual pasta strands (or sheets) flat in a single layer on a parchment-lined baking sheet. Transfer this sheet to the freezer until the pasta is completely solid. Once frozen solid, gently transfer the firm noodles to a ziplock freezer bag or an airtight container, ensuring they lay as flat as possible to prevent breakage. This method allows you to store your homemade gluten-free pasta for up to 2 months, ready for whenever a pasta craving strikes!
Save This Recipe to Your Pinterest Board!
Let’s be friends on Pinterest! I’m always sharing great recipes!
Did you make this recipe? I love hearing from you! Leave a star rating and comment below the recipe card. It helps others when searching for recipes and I appreciate feedback from our community. You will always hear back from me! -Melissa
SERIOUSLY Good & Easy Homemade Gluten-Free Pasta Recipe

Melissa Erdelac
6 servings
30 mins
10 mins
40 mins
If you thought making homemade gluten-free pasta wasn’t possible, think again. These soft, supple, and tender noodles taste identical to the authentic ones my Italian family has been making for generations. Only 4 simple ingredients stand in your way of finally enjoying from-scratch pasta made with this easy step-by-step method. I’ll show you how.
Pin Recipe
Rate This Recipe
Ingredients
- 2 cups gluten-free all-purpose flour (292 g), (Cup4Cup gluten-free flour highly recommended – see post for notes on other brands)
- ½ cup + 2 tablespoons (58 g) almond flour
- ¾ teaspoon salt
- 4 large eggs
- 1 tablespoon olive oil
Equipment
- Food Processor (optional, can mix by hand)
- Pasta Machine
Instructions
-
Food Processor Method: Place the dry ingredients (gluten-free flour, almond flour, salt) into a food processor and pulse briefly to combine. Add the large eggs and olive oil. Process until a dough forms and holds together in small clumps. The dough should form a cohesive ball when pressed together and feel very slightly sticky to the touch.
By Hand Method: In a large mixing bowl, whisk together the dry ingredients. Create a well in the middle of the flour mixture and whisk the eggs and olive oil together in the center of the well. Gradually use a fork to incorporate the dry ingredients into the wet mixture. If necessary, switch to using your hands to gently knead until all dry ingredients are uniformly incorporated. The dough should form a ball when pressed together and be very slightly sticky.
Note on Dough Consistency: Regardless of the method, the dough’s consistency can vary based on egg size and specific gluten-free flour blend. If the dough appears too wet and sticky, add a little more gluten-free flour, one tablespoon at a time. If it’s too dry and doesn’t clump together into a soft dough, add a touch of water (start with ½ teaspoon) until the desired texture is achieved.
- Divide the prepared dough into 4 equal sections and wrap each section tightly with plastic wrap to prevent drying.
- Set up your pasta rolling machine. Prepare a clean work surface, lightly dusted with gluten-free flour, for shaping the dough. Have two baking sheets lined with parchment paper ready for the finished pasta.
- Take off about one-third of one wrapped dough ball, keeping the rest wrapped. Lightly sprinkle your work surface with gluten-free flour. Flatten this small section into a smushed, flat oval. Pat each side with a little more flour. Run this flattened piece through the widest setting (usually setting 1) on your pasta machine. The sheet will likely come out slightly sticky and with ragged edges initially.
- To smooth and strengthen the dough, fold the top and bottom edges of the sheet into thirds, meeting in the middle like a letter. If needed, pat a little flour on each side to prevent sticking. Turn the folded dough 90 degrees so the longer edge is now perpendicular to the machine rollers. Run it through the widest setting again. Fold it into thirds one final time, then turn it 90 degrees so it’s back to the narrow side being run through the widest setting.
- You should now have a smooth, even sheet. Begin thinning it out: For most machines, pass the dough through setting 2 one to two times, then through setting 3 once. This typically creates the ideal thickness for cutting. If the sheet becomes sticky at any point, lightly dust both sides with gluten-free flour on your work surface. Finally, feed the thinned sheet through the pasta cutter to create wide fettuccine noodles or spaghetti.
- Once a sheet has been cut into pasta, either shape the section into a loose nest and transfer it to a parchment-lined baking sheet, or separate the strands and lay them out individually. NOTE: If you plan on freezing the pasta, it’s best not to shape it into nests, as they are harder to separate when frozen. Cover the baking sheet with plastic wrap to keep the pasta fresh while you continue rolling and cutting the rest of the dough.
- To Cook Fresh Pasta: Transfer the securely covered baking sheets to the refrigerator for up to 24 hours. When ready to cook, bring a large pot of unsalted water to a rolling boil. Add the pasta and gently stir. Once the water returns to a vigorous boil, cook for approximately 2-3 minutes until al dente.
- To Freeze Pasta for Longer Storage: Transfer the covered baking sheets with freshly cut pasta to the freezer. Once the pasta is completely frozen solid, gently move the individual strands (or sheets) to a ziplock freezer bag or an airtight container. Lay them flat in the freezer to prevent clumping and breaking. Pasta can be frozen for up to 2 months. When ready to enjoy, bring unsalted water to a boil. Add the frozen pasta and once the water returns to boiling, cook for 2-3 minutes.
- This recipe yields approximately 4 generous dinner-sized portions or 6-8 smaller side portions.
Notes
Tips on Achieving Perfect Dough
The size of the eggs and the specific brand of gluten-free flour can significantly impact the dough’s consistency, so be prepared to make slight adjustments using these helpful tips:
- When initially mixed in a food processor, the dough should appear clumpy, not as one large, uniform ball. These are smaller clumps that will come together when pressed.
- After mixing, whether by hand or machine, squeeze and press a portion of the dough. It should easily form a cohesive ball and feel just the slightest bit sticky.
- If the dough starts to break apart while rolling, it indicates a lack of moisture. Mix in a small dash of water, or simply wet your hands and knead the moisture into the dough balls before feeding them through the machine.
- Conversely, if the dough is too sticky to pass smoothly through the pasta machine, lightly dust each side with gluten-free flour. If this doesn’t resolve the stickiness, you may need to incorporate a small amount of additional flour into the dough.
Nutrition Information (Approximate Per Serving)
- Calories: 249 kcal
- Carbohydrates: 31g
- Protein: 10g
- Fat: 11g
- Saturated Fat: 2g
- Polyunsaturated Fat: 1g
- Monounsaturated Fat: 3g
- Trans Fat: 0.01g
- Cholesterol: 109mg
- Sodium: 332mg
- Potassium: 41mg
- Fiber: 5g
- Sugar: 2g
- Vitamin A: 158 IU
- Calcium: 63mg
- Iron: 2mg
Did you make this recipe? Please leave a star rating and review below. It helps others when searching for recipes and I LOVE feedback!