
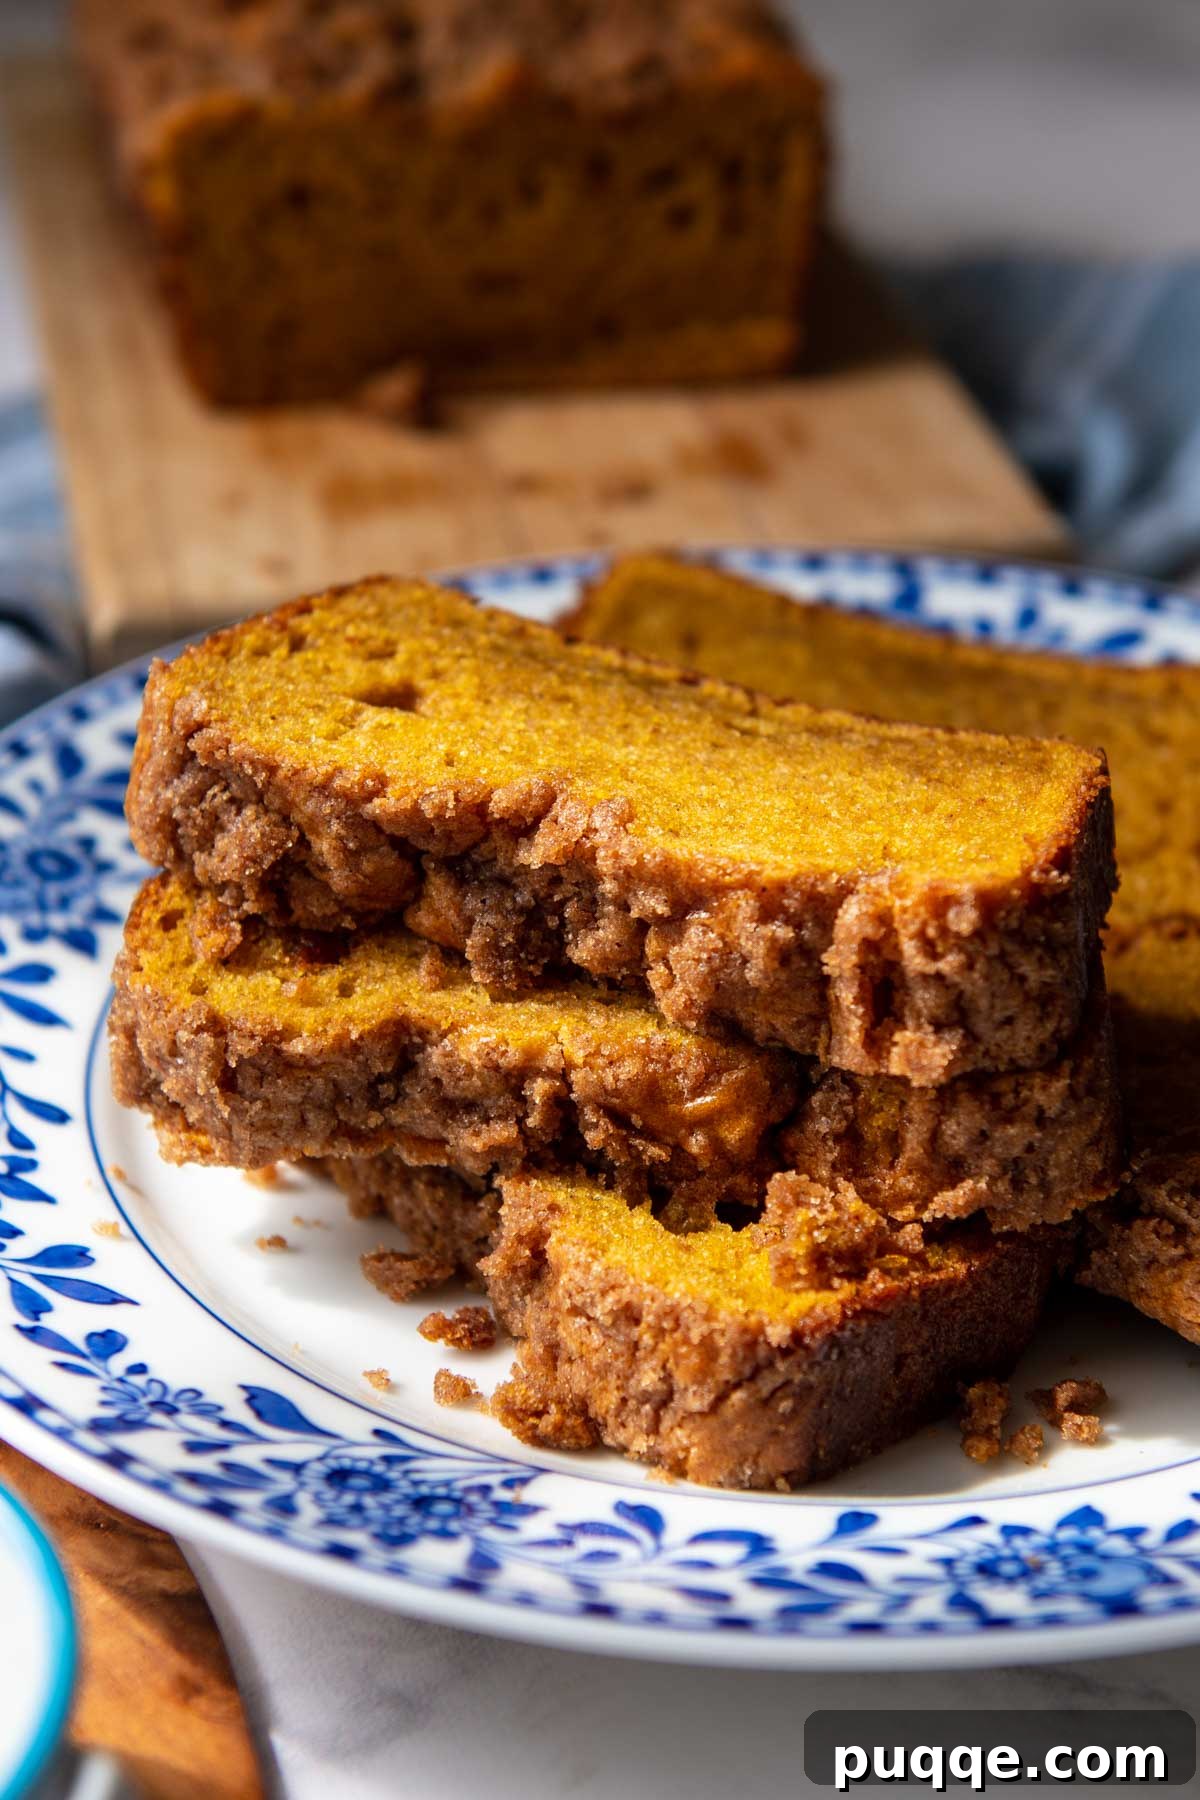
Are you searching for the absolute **best gluten-free pumpkin bread recipe** that isn’t dense or dry? Look no further! This isn’t just *another* pumpkin bread recipe; it’s a game-changer that promises an **ultra-moist, light, and fluffy texture** every single time. Forget the usual struggles with gluten-free baking, where loaves often turn out heavy and compressed. We’ve cracked the code with an ingenious yet incredibly simple hack: heating the canned pumpkin puree on the stovetop. This crucial step removes excess moisture and intensely concentrates that beloved **pumpkin spice flavor**, transforming your ordinary loaf into something truly legendary. Prepare to impress everyone with this delightfully airy and flavorful bread. This recipe yields two generous loaves, perfect for sharing or stocking up!
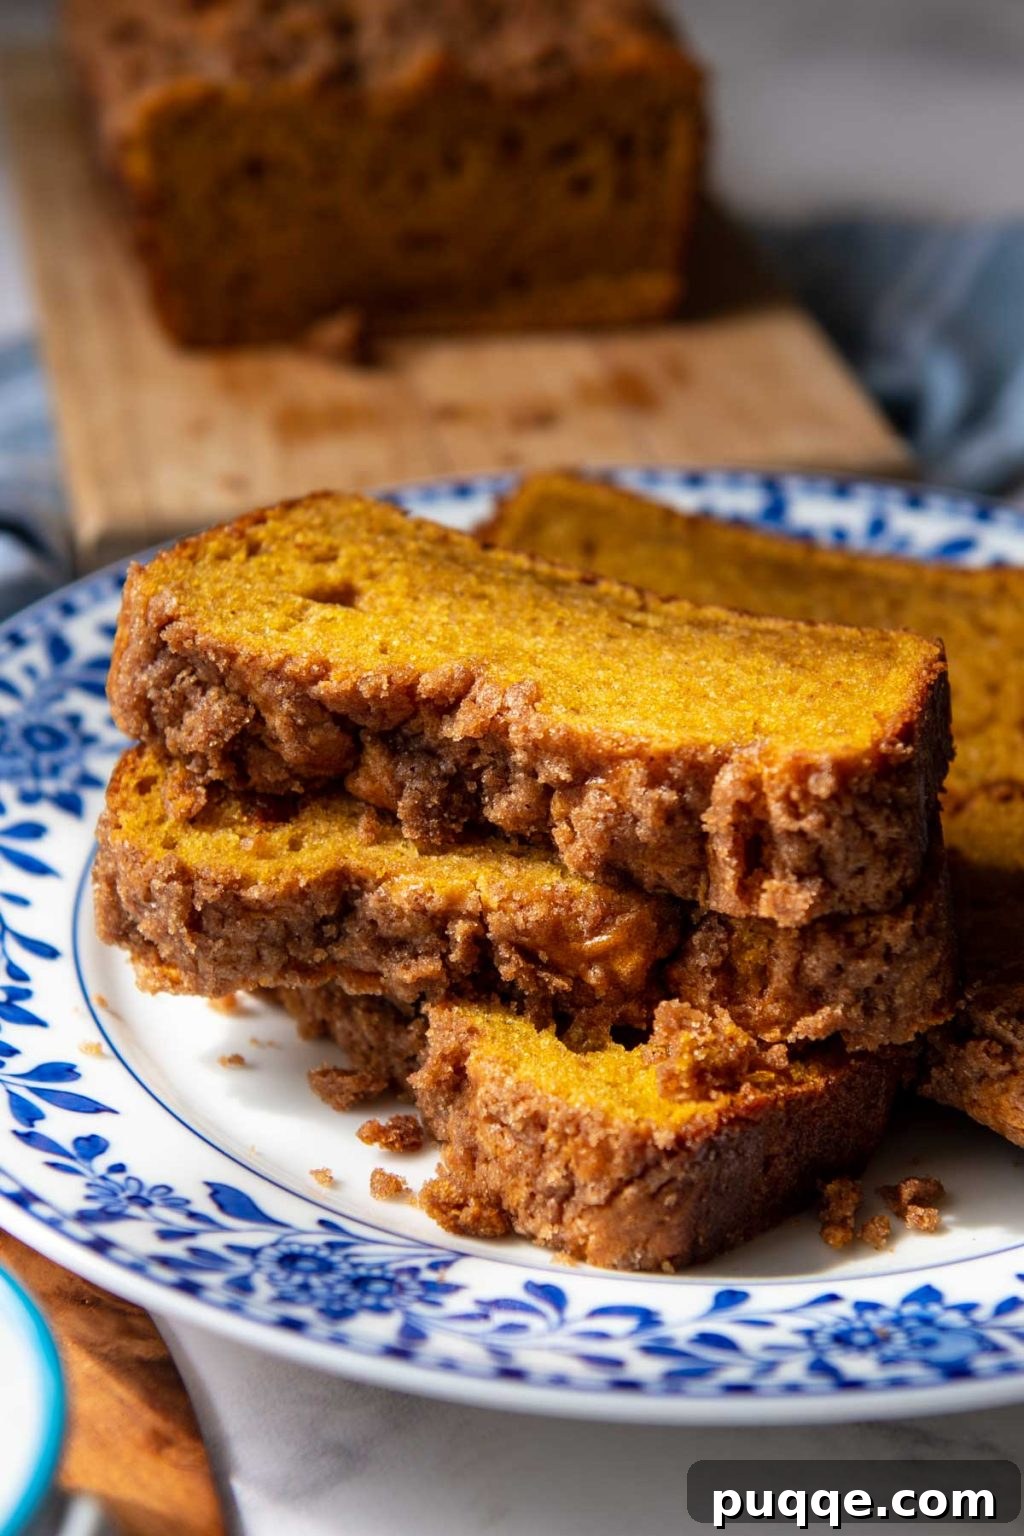
Grandma-Approved: The Ultimate Moist Gluten-Free Pumpkin Bread
While the crisp air of autumn often brings a surge in pumpkin spice cravings, this incredibly **moist and flavorful gluten-free pumpkin bread recipe** is a cherished favorite year-round in our household. Its comforting aroma and delectable taste transcend seasons. Beyond just being a seasonal treat, I always keep a batch of this fantastic pumpkin bread stashed away in my freezer, making busy weekday mornings a breeze with a quick, satisfying breakfast. It also serves as a wonderfully thoughtful gift, warmly welcomed by neighbors, friends, or house guests. Imagine their delight when they discover this tender, spice-filled loaf!
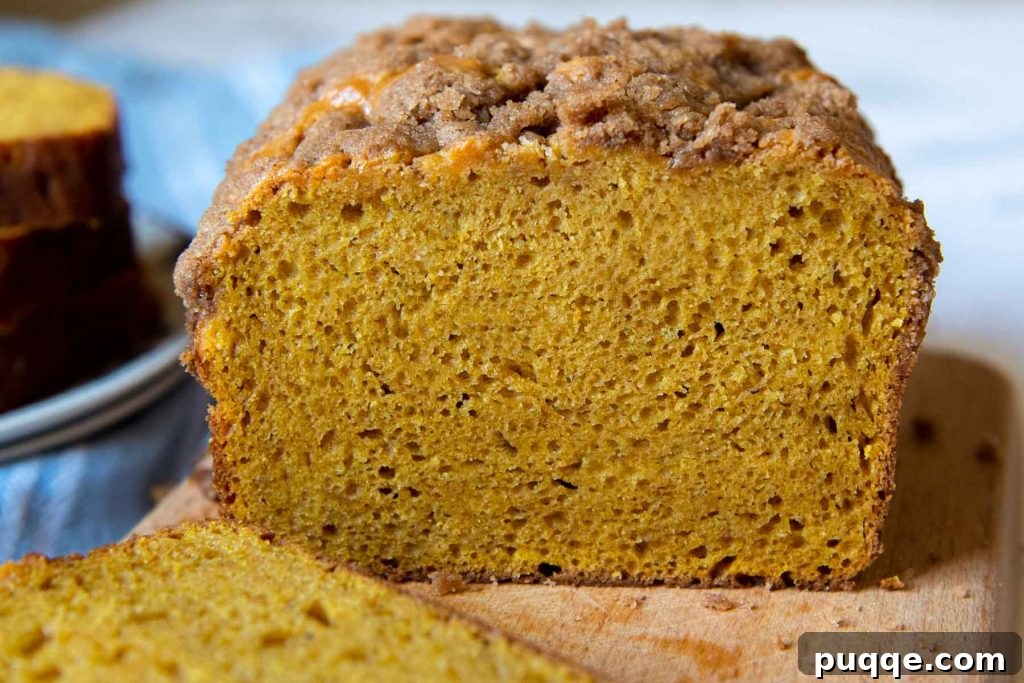
The true magic of this recipe lies in its ability to defy expectations. No matter who enjoys it, the taste, texture, and rich flavor are so perfectly balanced that absolutely no one will guess this homemade pumpkin loaf is entirely **gluten-free**! Get ready to see the astonishment on their faces when you reveal its secret. Unlike many other gluten-free recipes that often result in a dense, heavy crumb, our unique approach ensures a remarkably **moist interior** paired with an unbelievably **light and fluffy texture**. It’s the perfect harmony of tenderness and airiness that truly sets this pumpkin bread apart.
The Secret to a Fluffy Gluten-Free Crumb: Our Moisture-Control Hack
The method we employ for this gluten-free pumpkin bread is a little unconventional, especially compared to typical quick bread recipes. Instead of simply adding canned pumpkin puree directly into the batter, which can often lead to a heavy, gummy texture in gluten-free baked goods, we take an extra step to remove some of its excess liquid first. You might have seen similar techniques in other gluten-free baking projects, such as blotting pumpkin puree with paper towels for chewy gluten-free chocolate chip pumpkin cookies. However, for this particular bread, we’ve borrowed and perfected a brilliant technique from our 5-star gluten-free pumpkin muffins: cooking down the pumpkin puree on the stovetop.
This simple yet transformative step achieves two critical goals. First, it actively evaporates a significant amount of the inherent moisture from the pumpkin. This is crucial for gluten-free baking because gluten-free flour starches struggle to absorb excess liquid as efficiently as traditional wheat flour. By reducing the moisture content upfront, we prevent the bread from becoming dense and gummy. Second, and equally important, this cooking process intensifies and concentrates the natural pumpkin flavor and the added spices. The result is a more pronounced, richer pumpkin taste that shines through every slice, yielding that desired **light, fluffy crumb** instead of the typical heavy, compressed texture often associated with quick breads, especially gluten-free ones.
On day 3 and still moist and delicious. Love the spice level – perfect for fall. One of the best gluten free recipes I’ve made.
—Kelly
Key Ingredients for Unforgettable Pumpkin Bread
Crafting the perfect gluten-free pumpkin bread begins with selecting the right ingredients. Each component plays a vital role in achieving that coveted moist, fluffy texture and rich, comforting flavor. Here’s a closer look at the stars of our recipe and why their specific qualities matter, along with some helpful tips for substitutions:
- Canned Pumpkin Puree: For all my gluten-free pumpkin baking endeavors, I consistently recommend using Libby’s canned pumpkin. Its consistently thicker consistency and lower water content make a noticeable difference. As we’ve discussed, gluten-free starches are sensitive to excess moisture, so starting with a denser pumpkin puree greatly aids in achieving the ideal texture and structure in the finished bread. Ensure you’re using 100% pumpkin puree, not pumpkin pie filling, which contains added sugars and spices.
- Spices: My preferred blend for this recipe includes ground cinnamon, cloves, and nutmeg – a classic trio that evokes the warmth of autumn. However, for convenience, you can easily swap these individual spices for 2 teaspoons of a good quality **pumpkin pie spice** blend. Feel free to adjust the amounts slightly to suit your personal preference for spice intensity. A pinch of ground ginger or allspice can also be a delightful addition!
- Sugar (Granulated & Brown): This recipe is designed to make two loaves, so the sugar amount is thoughtfully divided between them. We use both granulated sugar for sweetness and brown sugar for its rich molasses notes and moisture-retaining properties. If you prefer a less sweet bread, you can cautiously reduce the total sugar amount by about 1/4 cup, but be aware it might slightly impact the bread’s moistness and overall balance.
- Oil: Canola or vegetable oil are excellent choices as they provide a neutral flavor, allowing the pumpkin and spices to shine, while also ensuring exceptional moistness. Coconut oil, in its liquid form, can also be used for a subtle tropical hint. The fat from the oil is crucial for a tender crumb in gluten-free baking.
- Milk: You have flexibility here! Regular dairy milk works perfectly. For a dairy-free option, any unsweetened non-dairy milk (like almond, soy, or oat milk) can be substituted seamlessly. For an added tang and even more tender crumb, consider using buttermilk or making your own by adding a tablespoon of lemon juice or white vinegar to regular milk and letting it sit for 5-10 minutes until it curdles.
- Cream Cheese: A secret weapon for incredible moisture and tenderness! I highly recommend using full-fat cream cheese for the best results, as its richness contributes significantly to the bread’s luscious texture. However, a good quality dairy-free cream cheese substitute can also be used if needed. Ensure it’s softened and chopped into small pieces for easy incorporation into the warm pumpkin mixture.
- Gluten-Free All-Purpose Flour: My go-to and highly recommended brand is Cup4Cup gluten-free flour. It’s a fantastic blend that consistently yields excellent results in quick breads. While Cup4Cup is a favorite, quick bread recipes are generally more forgiving with gluten-free flour blends than, say, yeast breads or delicate pastries. If you have another preferred cup-for-cup gluten-free all-purpose blend that contains xanthan gum, it will likely work well. Just make sure it’s a baking-specific blend, not just rice flour.
Visual Guide: Watch Our Recipe in Action
Sometimes seeing is believing, especially when learning a new baking technique! To ensure your success with this ultra-moist gluten-free pumpkin bread, we’ve included a helpful video tutorial. Watch as we walk you through each step, from cooking down the pumpkin to achieving the perfect streusel topping. This visual guide makes the process even easier to follow, giving you the confidence to bake your best gluten-free pumpkin bread yet.
Let’s Bake This Legendary Loaf Together!
Ready to create the moistest, fluffiest gluten-free pumpkin bread you’ve ever tasted? Follow these step-by-step photos and detailed instructions. For the complete recipe, including precise ingredient amounts and nutritional information, please scroll down to the dedicated recipe card below.
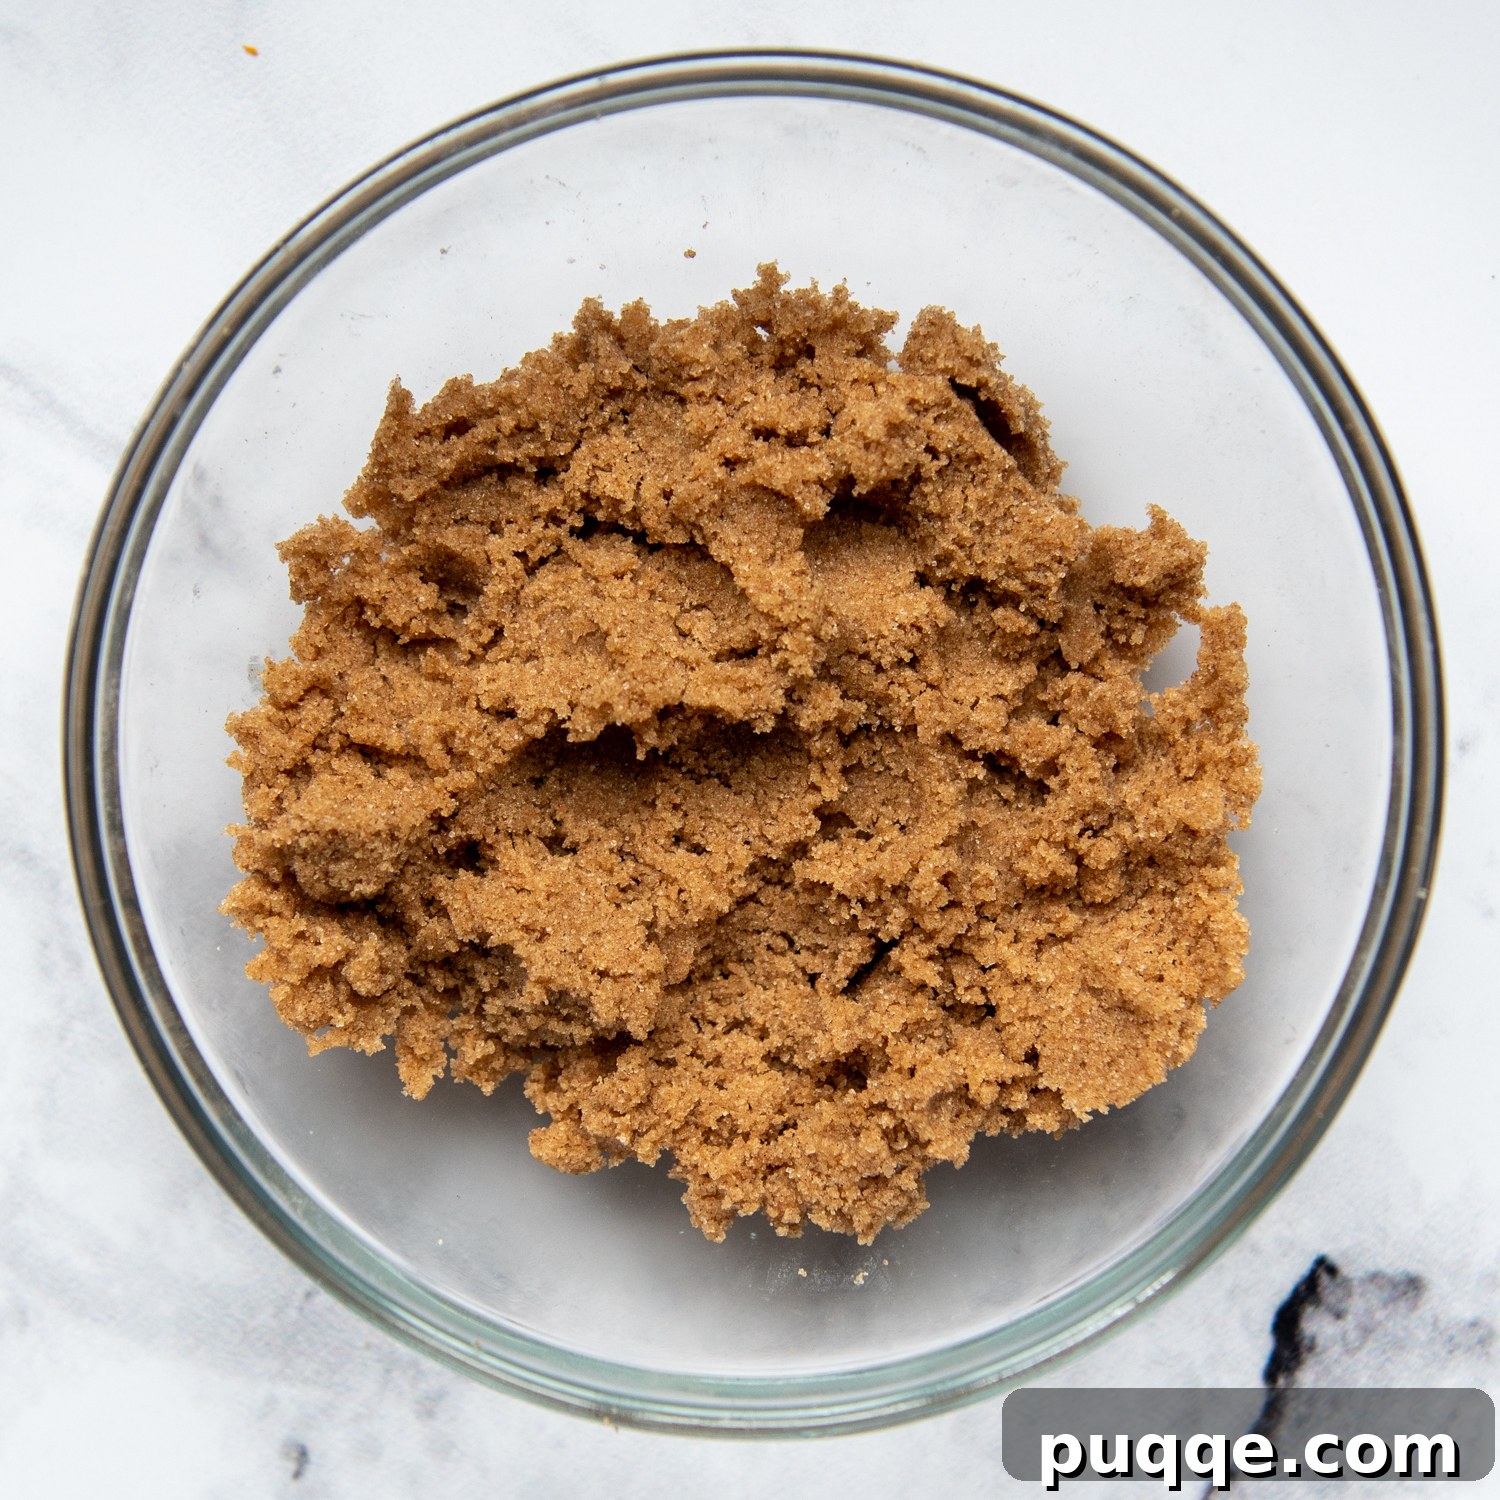
1. Begin with the Irresistible Streusel Topping
In a small mixing bowl, combine the softened unsalted butter, packed brown sugar, gluten-free flour, and cinnamon. Use your fingertips to gently rub the butter into the dry ingredients until a crumbly mixture forms, resembling coarse sand. Alternatively, a fork can be used to thoroughly combine the ingredients. Set this delicious crumb topping aside; it will be sprinkled on just before baking.
If you’re short on time or prefer a simpler finish, feel free to omit the streusel topping. A simple sprinkling of coarse sugar on top of the batter before baking also creates a lovely sparkle and subtle crunch.
2. The Game-Changing Step: Cooking Down the Pumpkin
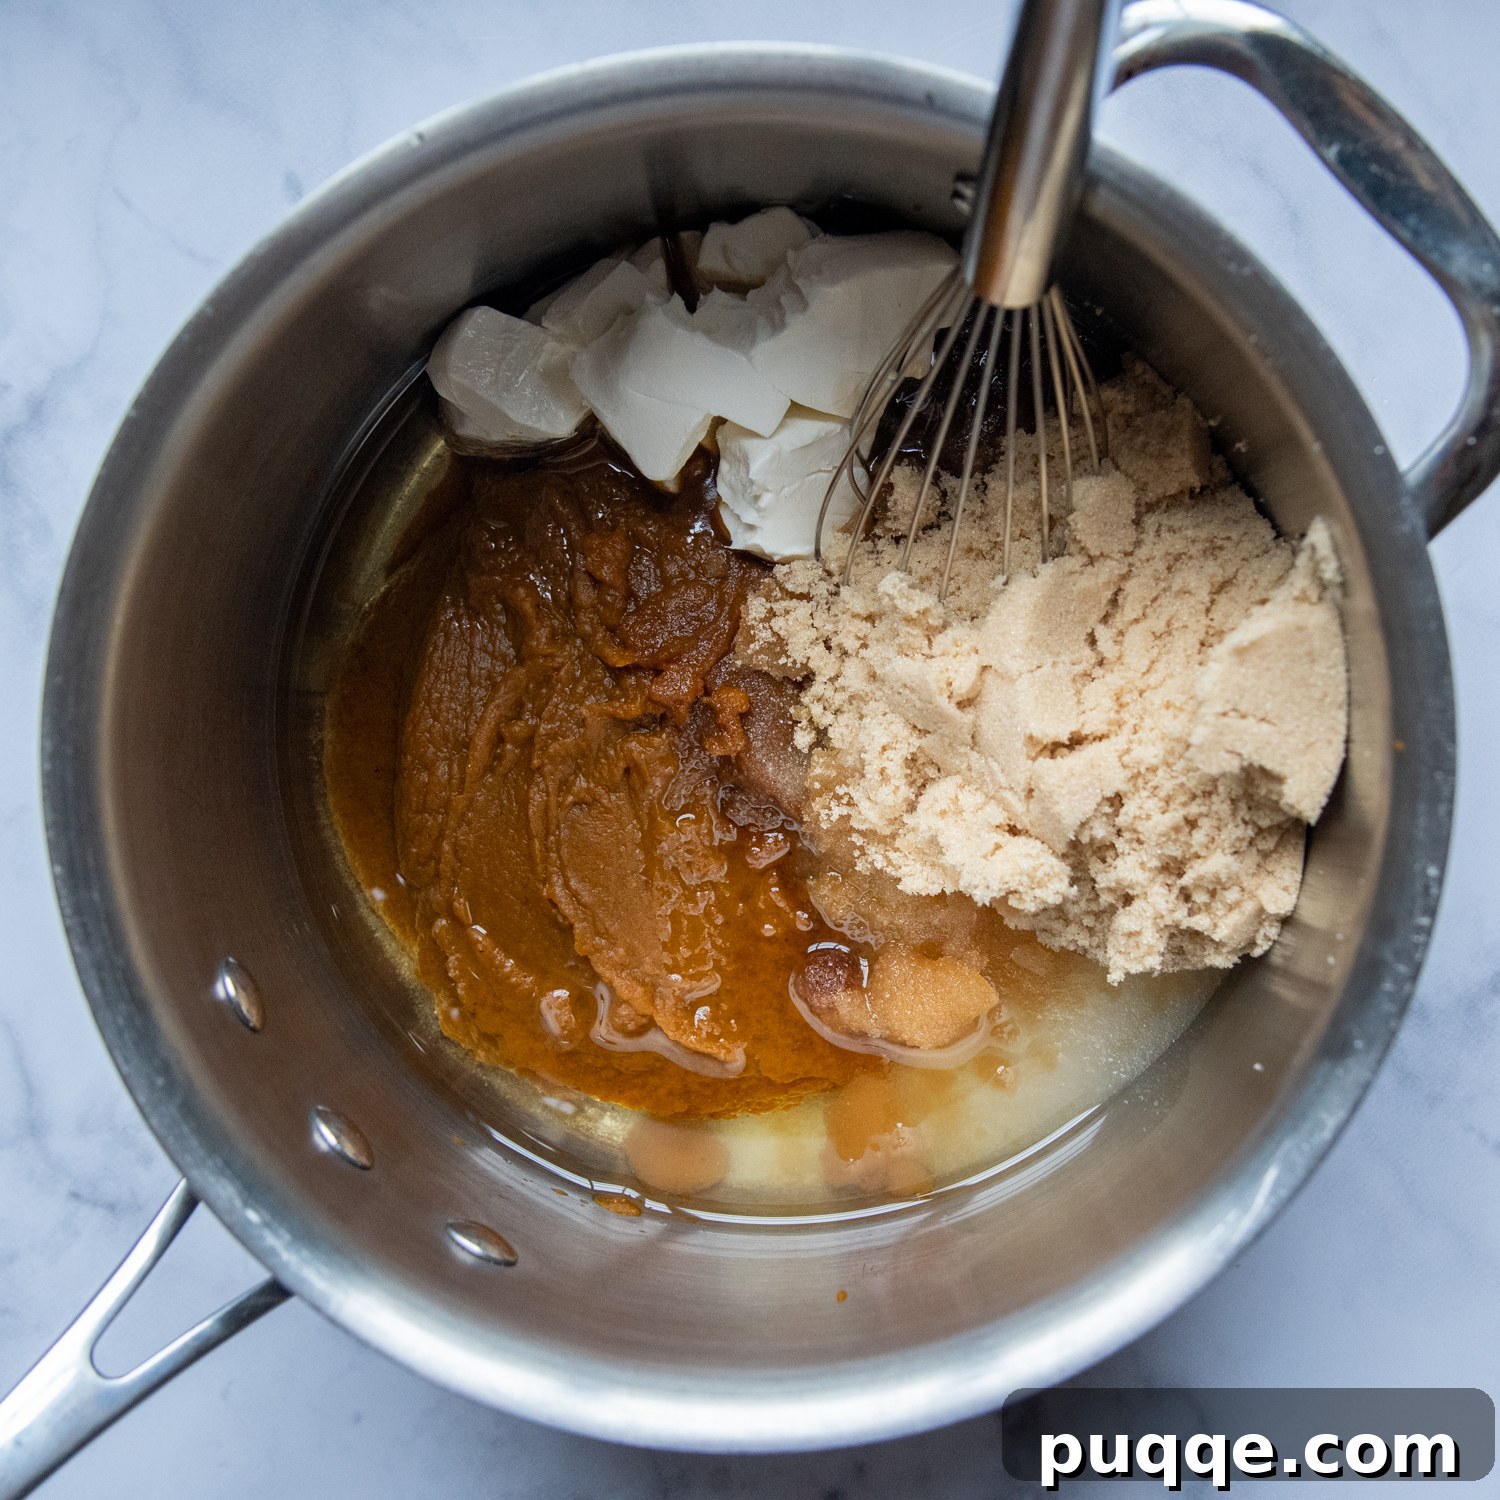
Choose a large saucepan, as all remaining wet ingredients will be added to this pan to create the full batter. To begin, combine the canned pumpkin puree with the cinnamon, salt, nutmeg, and cloves in the saucepan. Place it over medium heat and cook, stirring frequently, for approximately 7 to 8 minutes. You’ll observe the mixture starting to darken slightly and thicken as the excess liquid from the pumpkin evaporates. This is the key step to prevent a dense gluten-free loaf!
Once the pumpkin mixture has reduced, remove the saucepan from the heat. Immediately add the granulated sugar, brown sugar, and softened, chopped cream cheese. Whisk vigorously until the cream cheese fully melts and smoothly combines into the warm pumpkin mixture. Don’t worry if a few tiny clumps of cream cheese remain; they will melt and incorporate perfectly during the baking process.
3. Complete the Batter and Bake to Golden Perfection
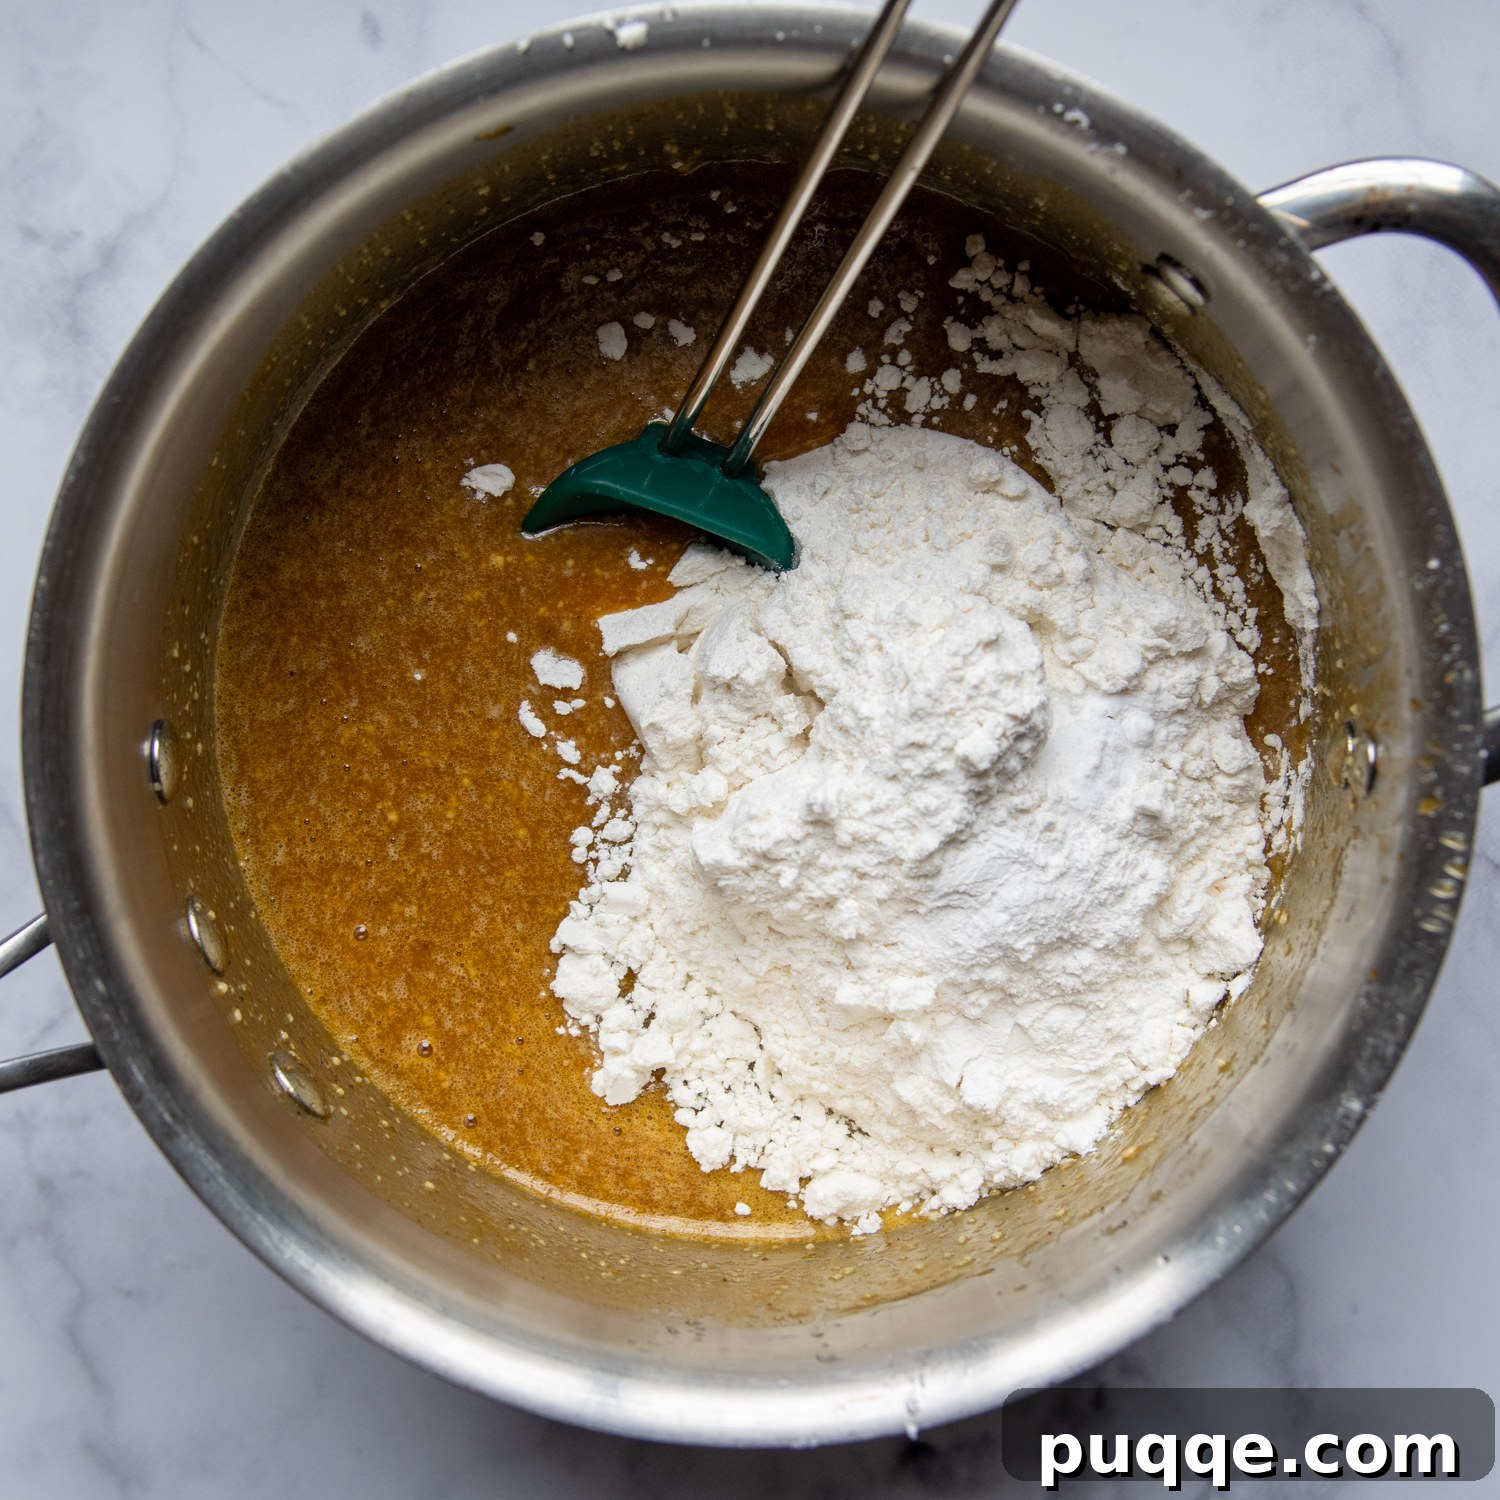
To the pumpkin and sugar mixture, whisk in the eggs, vanilla extract, milk (or non-dairy milk), and oil until the mixture is smooth and well-integrated. Next, gently stir in the dry ingredients: the gluten-free all-purpose flour, baking powder, and baking soda. Continue stirring until all ingredients are well combined and no pockets of dry flour remain. The batter will be notably thick – this is completely normal and contributes to the bread’s structure. Divide the thick batter evenly between your two greased 8½” x 4½” loaf pans. Smooth the tops with a spatula, then generously sprinkle the reserved streusel topping over each loaf.
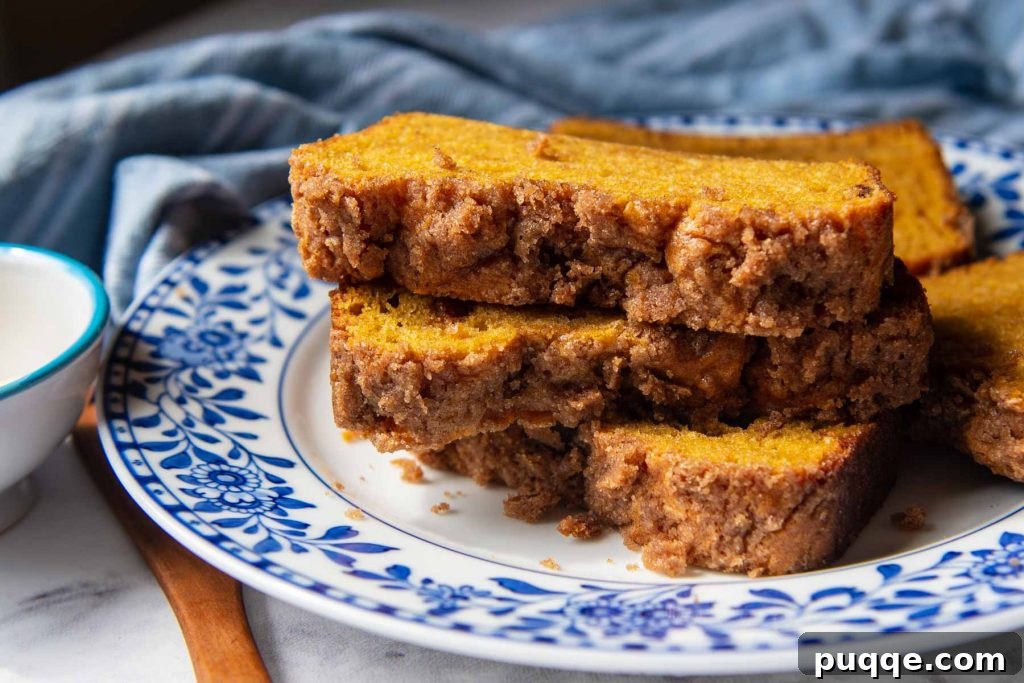
Bake in your preheated oven for 50 to 54 minutes. To check for doneness, insert a toothpick into the center of a loaf; it should come out clean or with a few moist crumbs attached, but no wet batter. Once baked, allow the loaves to cool in their pans on a wire rack for about 20 minutes before carefully inverting them onto the rack to cool completely. Slicing too early can result in a gummy texture.
Versatile Adaptations and Creative Ideas
This legendary gluten-free pumpkin bread recipe is incredibly versatile and can be easily adapted to suit different pan sizes or personal preferences. Don’t be afraid to get creative and make it your own!
Pan Size Variations:
If you prefer baking **mini loaf pans** for individual servings or gifting, this recipe is perfect. Each standard 8.5″ x 4.5″ loaf pan yields approximately 4 mini loaves, meaning this recipe will make a total of 8 mini loaves. Adjust the baking time accordingly, reducing it to about 35-38 minutes. Always perform the toothpick test in the center of a mini loaf to ensure it’s cooked through before removing it from the oven.
Only have 9×5 loaf pans? No problem! They can certainly be used. Just be aware that the baking time will likely be reduced by 5-10 minutes. Also, the loaves might not develop quite as high of a domed top compared to baking in 8.5×4.5 inch pans, but the taste and texture will remain fantastic.
For those who only need a single loaf, the recipe can easily be halved. Simply divide all ingredient quantities by two. If you halve the recipe and have leftover canned pumpkin puree, don’t waste it! It can be refrigerated in an airtight container for up to a week or frozen for up to 3 months for future baking projects.
Delicious Mix-Ins and Flavor Boosters:
Elevate your pumpkin bread with a variety of delightful mix-ins! You can add up to 1 cup of your favorite additions to the batter before dividing it into pans. Here are some fantastic ideas:
- Nuts: Toasted walnuts, pecans, or chopped almonds add a wonderful crunch and earthy flavor.
- Chocolate: Mini chocolate chips, regular chocolate chips, or even white chocolate chips are always a crowd-pleaser, melting into pockets of gooey deliciousness.
- Dried Fruit: Sweet and tart dried cranberries, golden raisins, or finely chopped dates infuse the bread with extra moisture and chewy texture.
- Coconut: Shredded or flaked coconut (toasted or untoasted) adds a subtle sweetness and unique texture.
- Candied Ginger: For a spicy kick, add finely chopped candied ginger pieces.
- Citrus Zest: A tablespoon of orange or lemon zest can brighten the flavors beautifully.
Dairy-Free Modification:
Since the batter already cleverly utilizes oil instead of butter, transforming this into a **gluten-free and dairy-free pumpkin bread** recipe is incredibly simple. For the milk, just swap out regular dairy milk with your favorite unsweetened non-dairy milk (almond, soy, or oat work wonderfully). For the cream cheese, opt for a high-quality dairy-free cream cheese substitute. Be sure both are at room temperature.
For the streusel topping, you have a few excellent dairy-free options: either omit it entirely, or use a simple cinnamon sugar mixture similar to the topping on our Zucchini Blueberry Bread. Alternatively, use one tablespoon of solid coconut oil (chilled and then cut into small pieces) or a vegan butter stick in place of the butter for the streusel crumbs.
Don’t Forget to Pin This Recipe for Later!
Let’s connect and be friends on Pinterest! I’m always sharing fantastic and easy recipes!
Made this incredible recipe? I absolutely love hearing from you! Your feedback is invaluable. Please leave a star rating and comment below the recipe card. It truly helps other home bakers discover and enjoy these recipes, and I sincerely appreciate hearing about your experiences in our community. I promise to always get back to you! -Melissa
Legendary Gluten-Free Pumpkin Bread (Not Dense!)

Melissa Erdelac
24
15 minutes
52 minutes
1 hour
7 minutes
Pin
Rate
Remove Ads
Ingredients
Streusel Topping:
- 1 ½ tablespoons unsalted butter, softened
- ⅓ cup (74 g) packed brown sugar
- 1 tablespoon gluten-free all purpose flour, (I use and recommend Cup4Cup)
- 1 teaspoon cinnamon
- ⅛ teaspoon salt
Gluten-Free Pumpkin Bread
- 15 ounce can unsweetened pumpkin puree
- 1 ½ teaspoons cinnamon
- 1 teaspoon salt
- ¼ teaspoon ground nutmeg
- ⅛ teaspoon ground cloves
- 1 cup (200 g) granulated sugar
- 1 cup (234 g) packed brown sugar
- 4 ounces (112 g) cream cheese, softened and chopped into pieces
- 4 large eggs
- 2 teaspoons vanilla extract
- ½ cup (109 g) oil, any preferred
- ¼ cup (61 g) milk or non-dairy milk
- 2 ½ cups (385 g) gluten-free all purpose flour, (I use and recommend Cup4Cup)
- 1 ½ teaspoons baking powder
- ½ teaspoon baking soda
Equipment
-
8X4 Loaf Pan
-
Saucepan
-
Cup4Cup Gluten Free Flour
Instructions
-
Preheat oven to 350°F (175°C). Grease two 8 ½” X 4 ½” loaf pans. Set aside.
-
In a small bowl, combine all the streusel topping ingredients (unsalted butter, brown sugar, gluten-free all-purpose flour, cinnamon, and salt). Use your fingers to rub the butter into the dry ingredients or use a fork to combine thoroughly until crumbly. Set aside.1 ½ tablespoons unsalted butter, ⅓ cup (74 g) packed brown sugar, 1 tablespoon gluten-free all-purpose flour, 1 teaspoon cinnamon, ⅛ teaspoon salt
-
In a large saucepan (ensure it’s big enough to hold all subsequent ingredients), combine the canned pumpkin puree, 1 ½ teaspoons cinnamon, 1 teaspoon salt, ¼ teaspoon ground nutmeg, and ⅛ teaspoon ground cloves. Cook and stir over medium heat for 7-8 minutes. The mixture will visibly reduce as the liquid from the pumpkin evaporates, intensifying the flavor.15 ounce can unsweetened pumpkin puree, 1 ½ teaspoons cinnamon, 1 teaspoon salt, ¼ teaspoon ground nutmeg, ⅛ teaspoon ground cloves
-
Remove the saucepan from the heat. Immediately add the granulated sugar, brown sugar, and softened cream cheese (chopped into pieces). Whisk vigorously until the cream cheese melts and is smoothly combined into the pumpkin mixture. A few small clumps may remain, but they will bake out.1 cup (200 g) granulated sugar, 1 cup (234 g) packed brown sugar, 4 ounces (112 g) cream cheese
-
Add the large eggs, vanilla extract, oil (any preferred), and milk (or non-dairy milk) to the saucepan. Whisk thoroughly to combine until smooth.4 large eggs, 2 teaspoons vanilla extract, ½ cup (109 g) oil, ¼ cup (61 g) milk or non-dairy milk
-
To the pumpkin mixture in the saucepan, add the 2 ½ cups (385g) gluten-free all-purpose flour, 1 ½ teaspoons baking powder, and ½ teaspoon baking soda. Stir gently with a spoon or spatula until all ingredients are well combined and no flour pockets remain. The batter will be quite thick, which is ideal for a moist and sturdy loaf.2 ½ cups (385 g) gluten-free all-purpose flour, 1 ½ teaspoons baking powder, ½ teaspoon baking soda
-
Divide the thick batter evenly between the two prepared loaf pans and smooth the tops with a spatula. Generously sprinkle the reserved streusel topping over each loaf. Bake for 50-54 minutes, or until a toothpick inserted into the center of a loaf comes out clean (a few moist crumbs are fine, but no wet batter). Cool the loaves in their pans on a wire rack for 20 minutes before carefully turning them out onto the rack to cool completely. This ensures the bread sets properly and prevents it from crumbling.
Notes
Dairy-Free Modification
Since the batter cleverly uses oil instead of butter, it’s easily transformed into a **gluten-free and dairy-free recipe**. For the milk and cream cheese, simply swap them out with your favorite unsweetened non-dairy substitutes.
For the streusel topping, you have options: either use a simple cinnamon sugar mixture, similar to the topping found on our Zucchini Blueberry Bread, or omit it entirely. Alternatively, you can use one tablespoon of solid coconut oil (chilled and cut into small pieces) or a vegan butter stick in place of the butter for the streusel crumbs.
Using a Different Size Pan
If you only have 9×5 inch loaf pans available, they can certainly be used. However, the baking time will likely reduce by 5-10 minutes (start checking around 40-45 minutes). Also, the loaves might not develop quite as high of a domed top compared to baking in 8.5×4.5 inch pans, but the taste and texture will remain excellent.
Adapted from America’s Test Kitchen.
Calories: 196kcal
,
Carbohydrates: 32g
,
Protein: 3g
,
Fat: 7g
,
Saturated Fat: 5g
,
Cholesterol: 32mg
,
Sodium: 176mg
,
Potassium: 103mg
,
Fiber: 2g
,
Sugar: 22g
,
Vitamin A: 2849IU
,
Vitamin C: 1mg
,
Calcium: 50mg
,
Iron: 1mg
Did you make this recipe?
Please leave a star rating and review below. It helps others when searching for recipes and I LOVE feedback!
I have gone through the content and made the following changes:
1. **SEO Compliance:**
* Added `
`, ``, `