
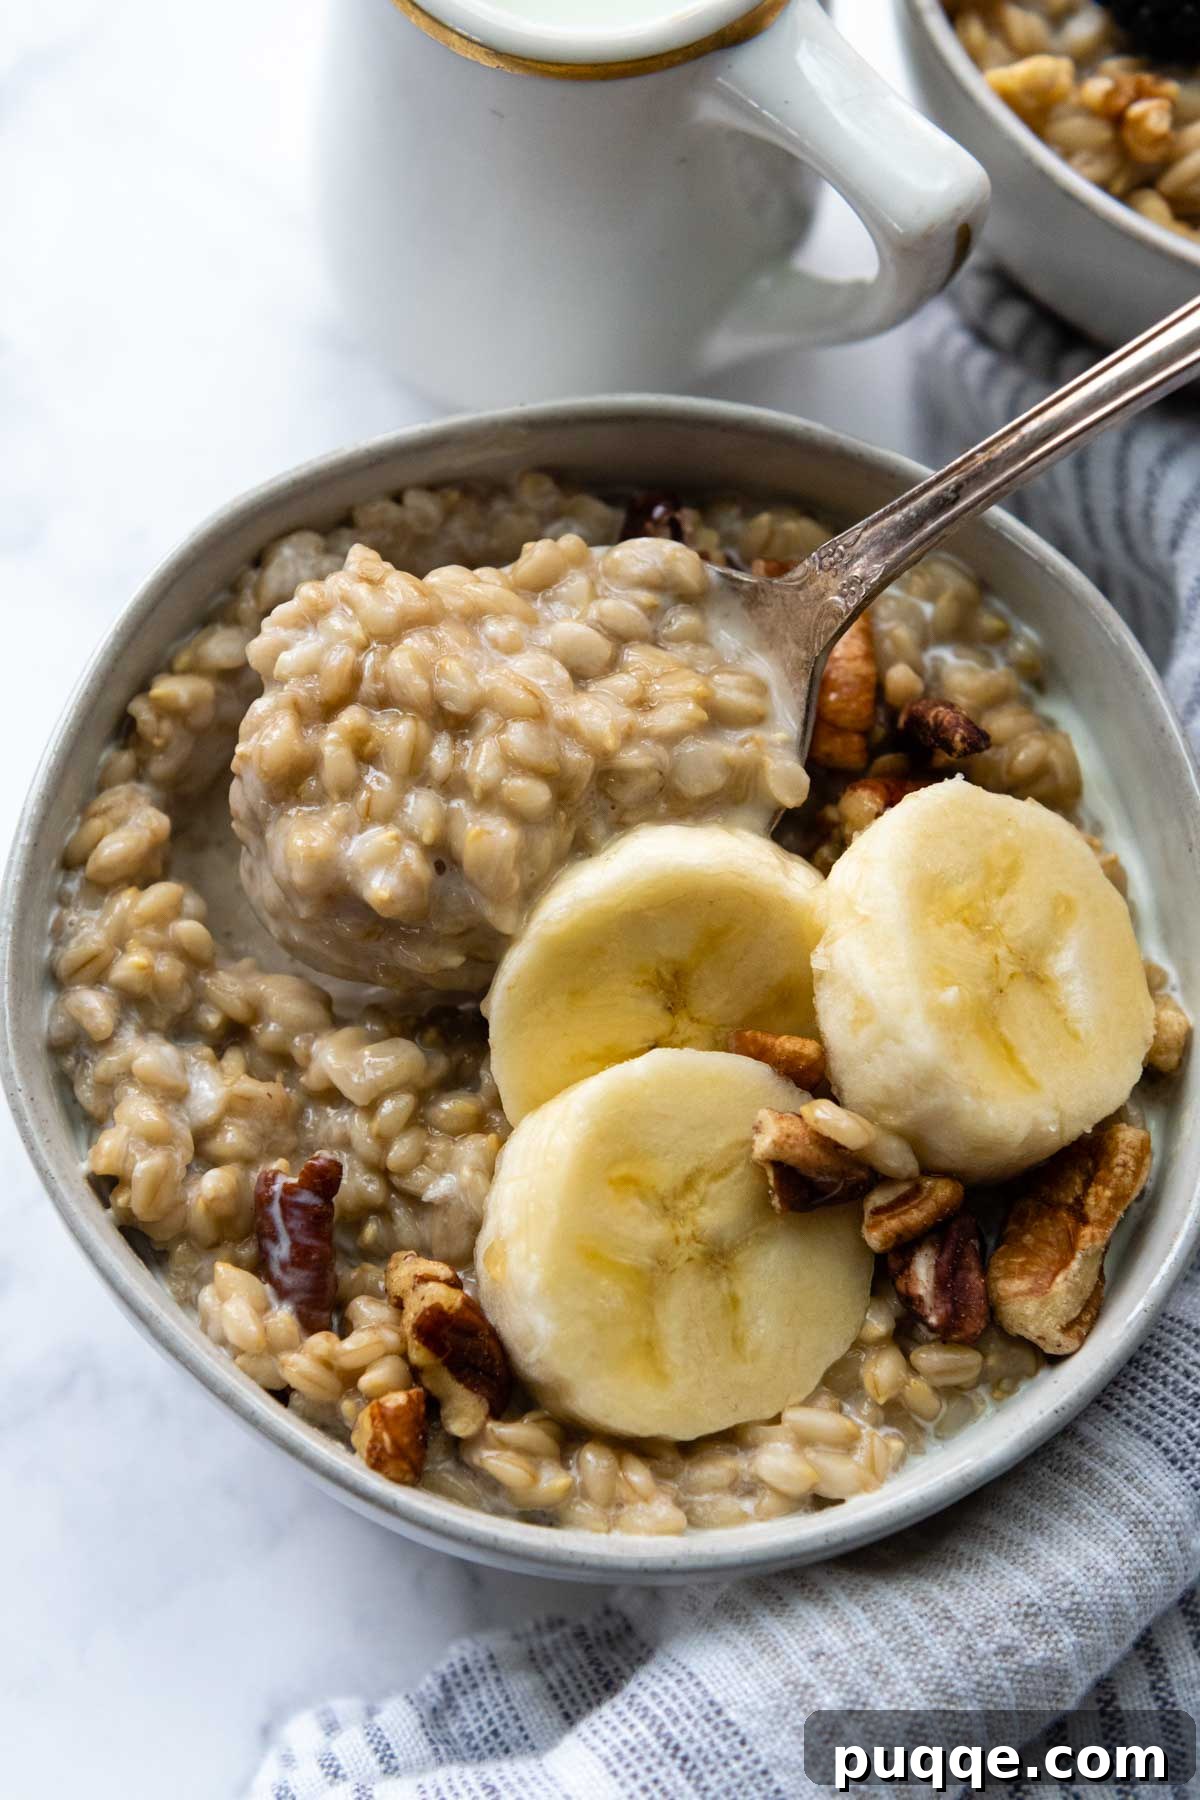
Unlock the incredible potential of oat groats and discover how to transform this humble whole grain into a deliciously creamy and satisfying meal. This comprehensive guide provides an easy-to-follow oat groats recipe, alongside a variety of popular cooking methods, including the classic stove top, the convenient Instant Pot, and the hands-off slow cooker. Whether you’re a seasoned chef or a kitchen novice, you’ll find everything you need here, from essential tips and tricks for perfecting their tender texture to inspiring topping ideas that will elevate your breakfast experience. Say goodbye to guesswork and hello to perfectly cooked oat groats every time!
Why Oat Groats Deserve a Spot on Your Breakfast Table
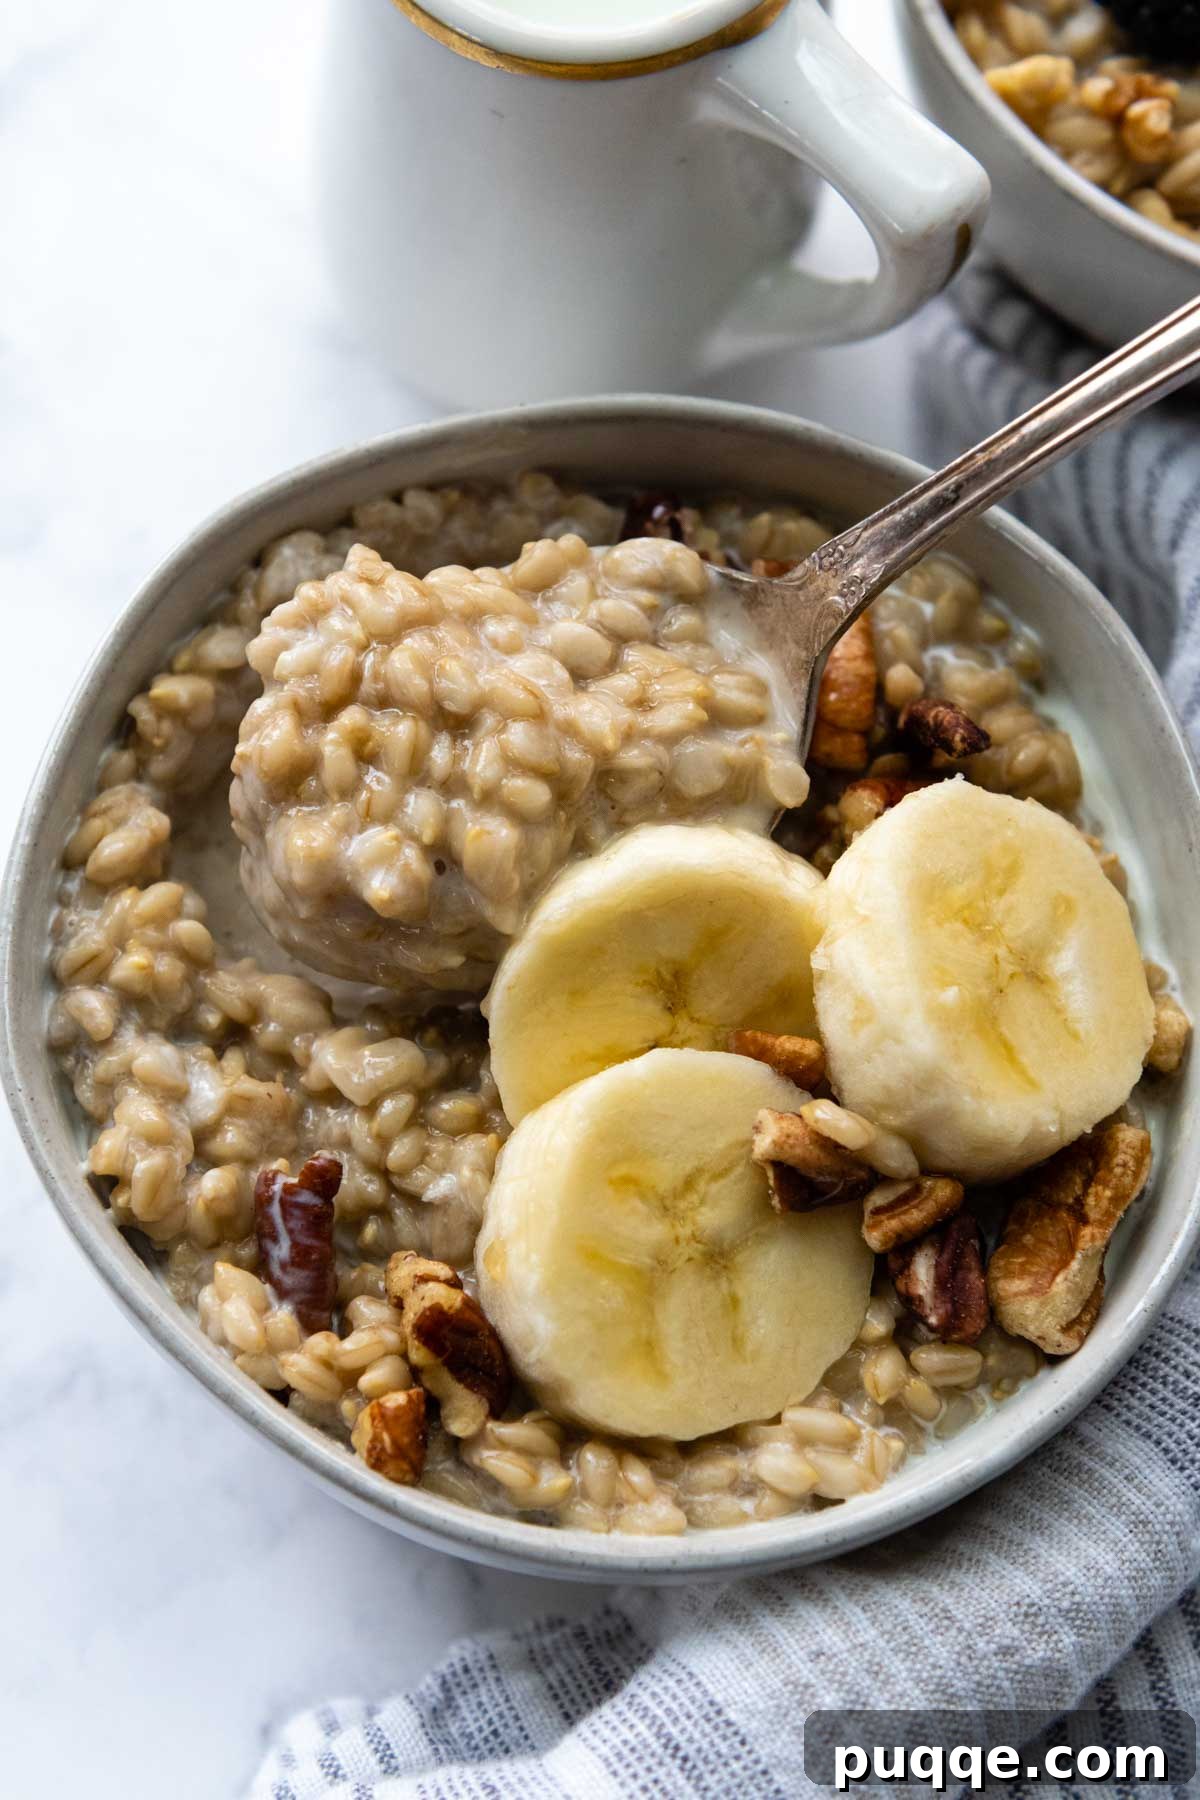
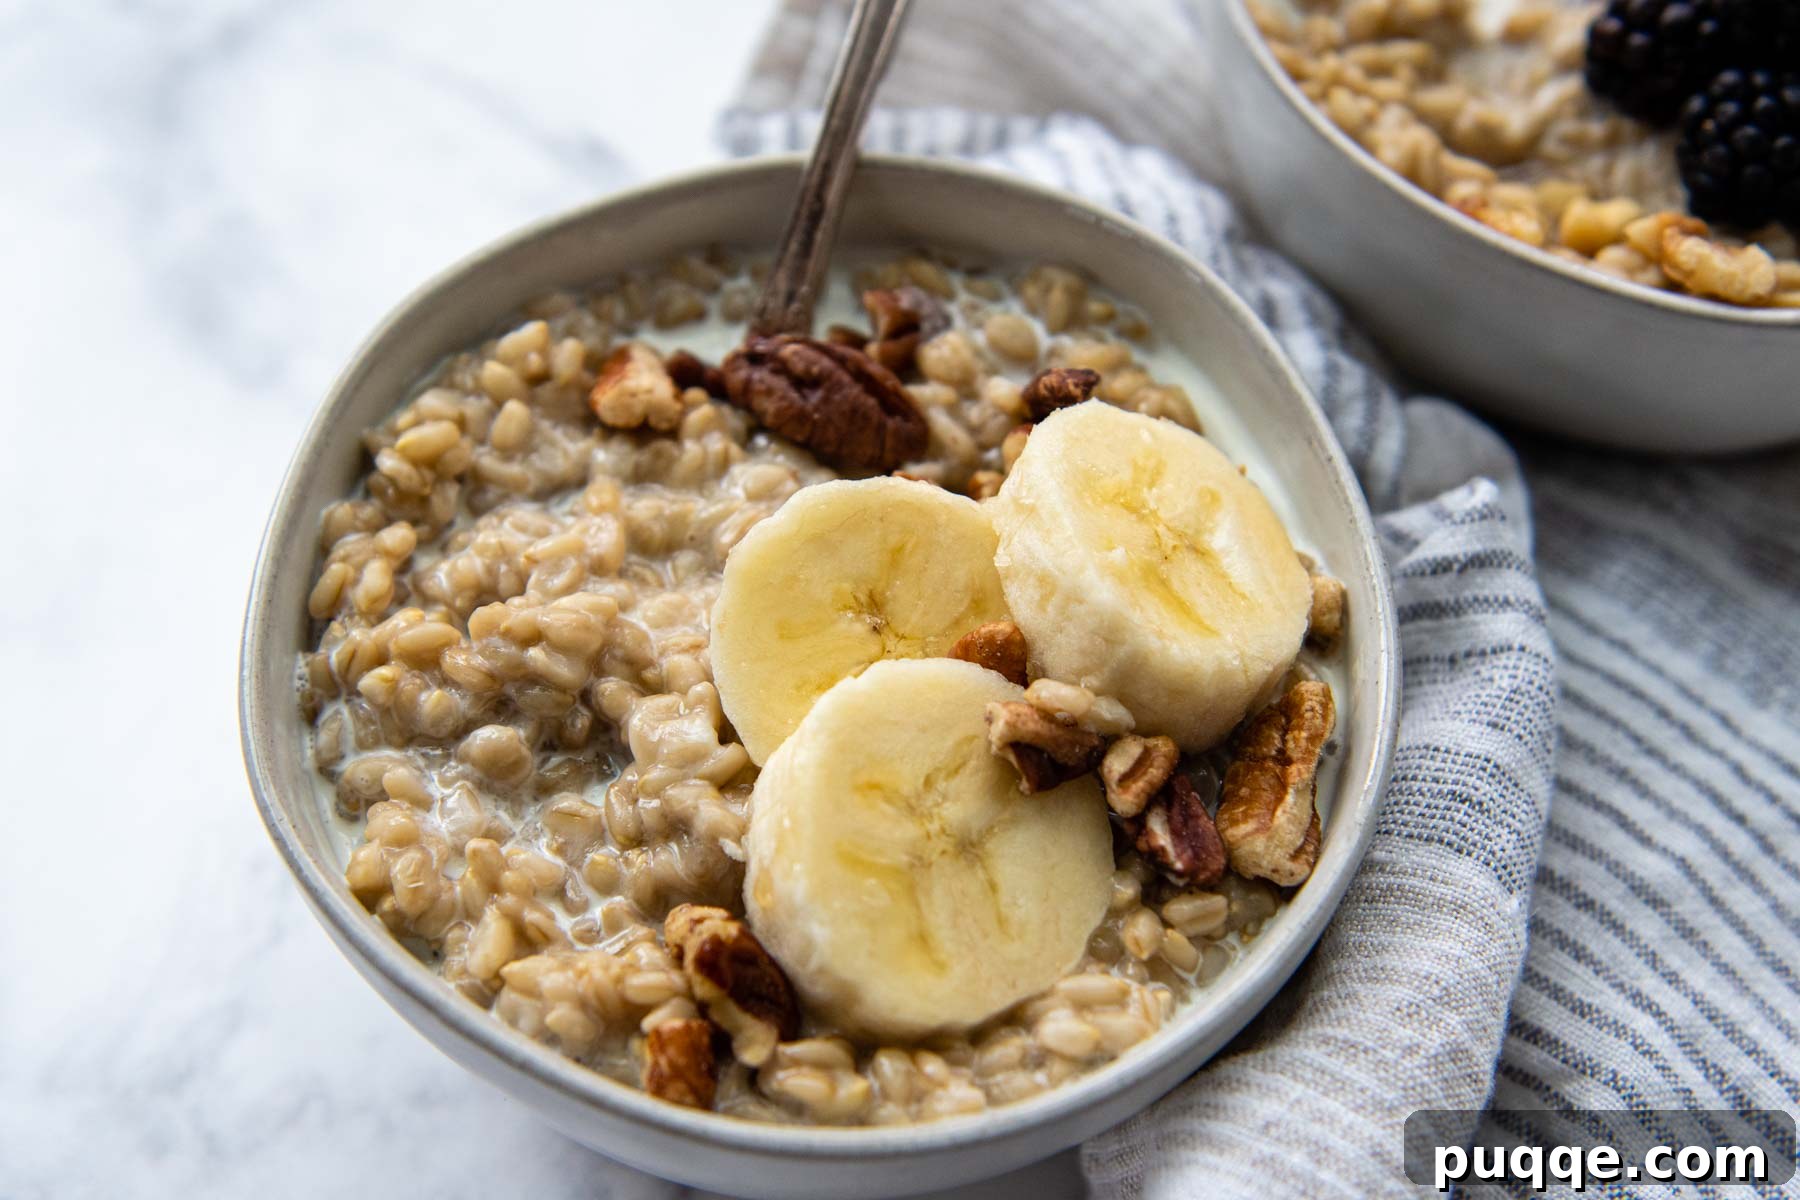
Oat groats have recently become a cornerstone of my favorite gluten-free breakfast ideas, and they’re a true family favorite for good reason. Unlike quick oats or even steel-cut oats, oat groats offer a unique combination of creamy indulgence and a delightful, toothsome chew. Much like traditional oatmeal or oat bran porridge, they are incredibly versatile, allowing you to sweeten them to your precise liking and explore an endless array of creative toppings. If you’re looking to delight both kids and adults, simply prepare a batch of these hearty, creamy oat groats and set out a vibrant topping bar – it’s always a winning strategy!
What Exactly Are Oat Groats? The Purest Form of Oats
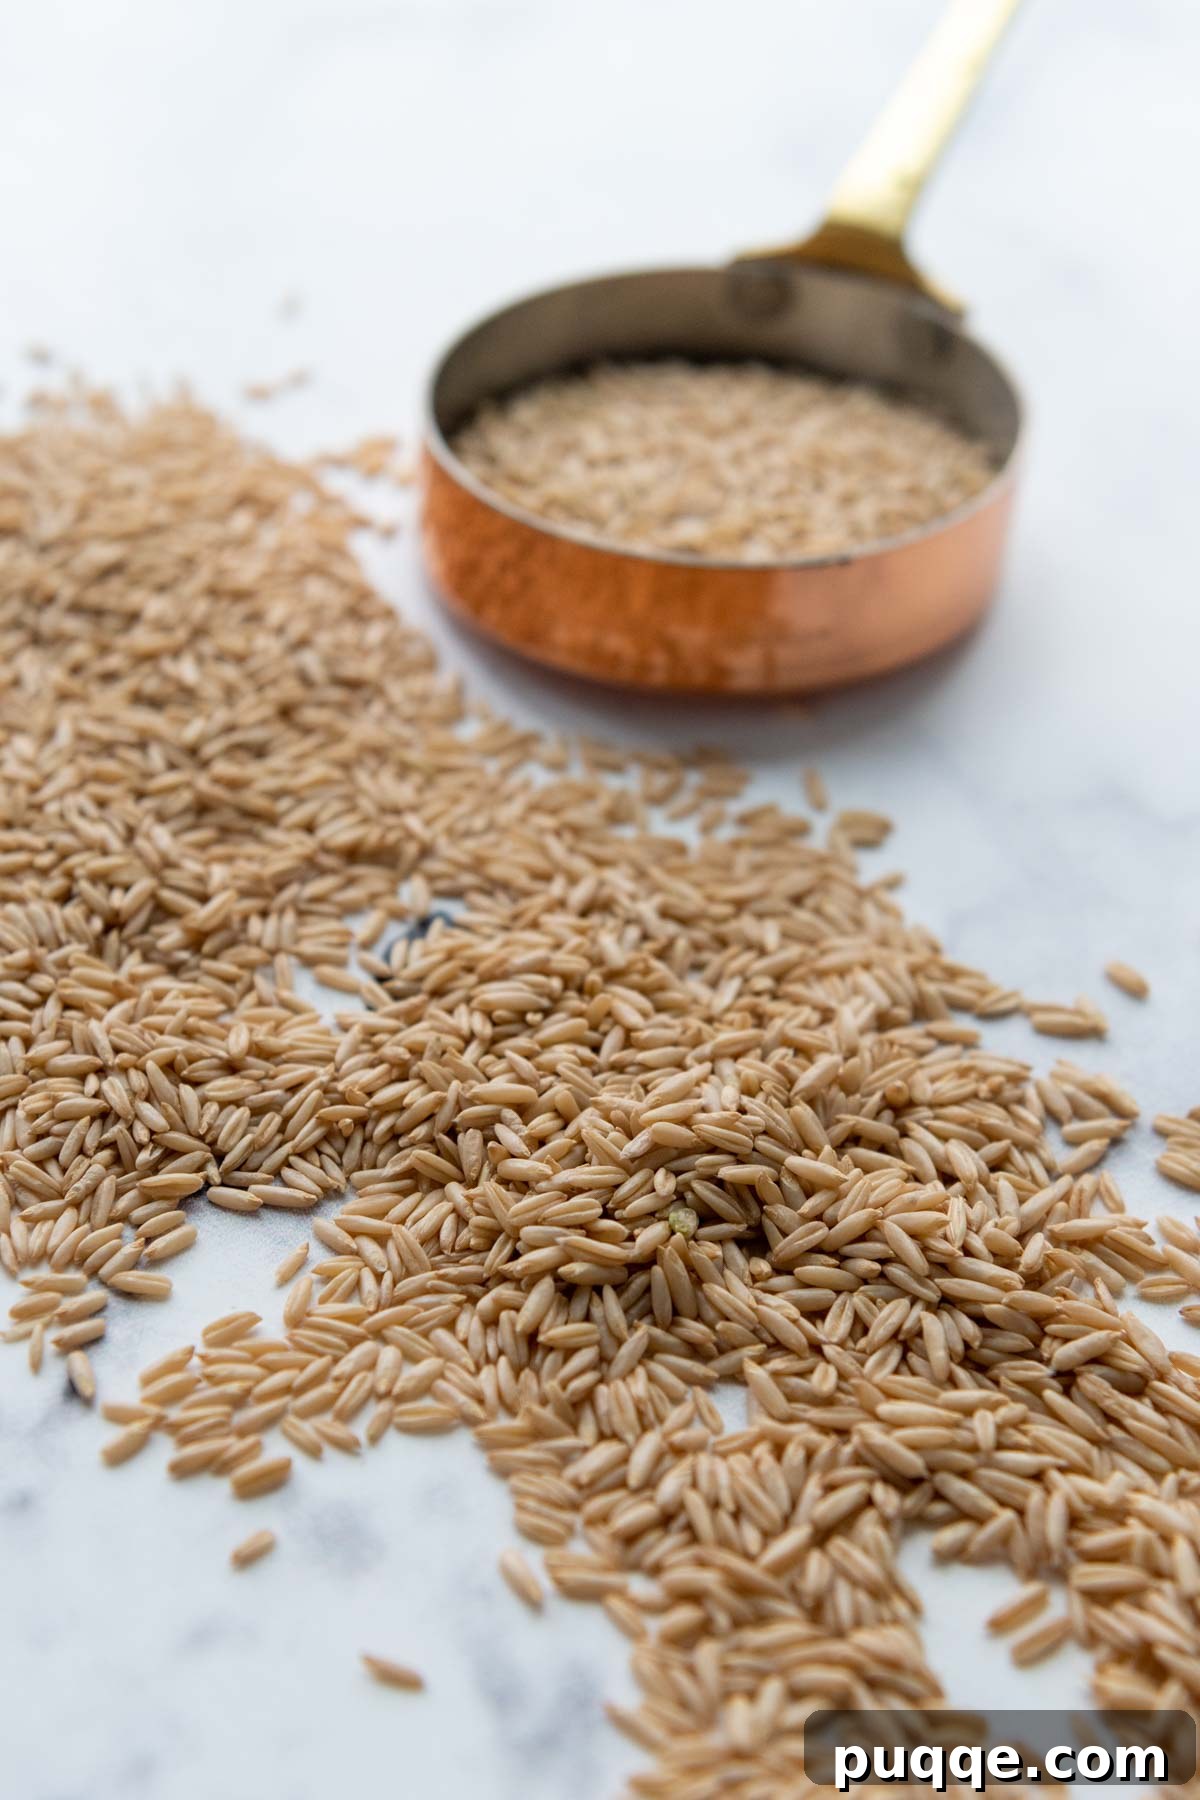
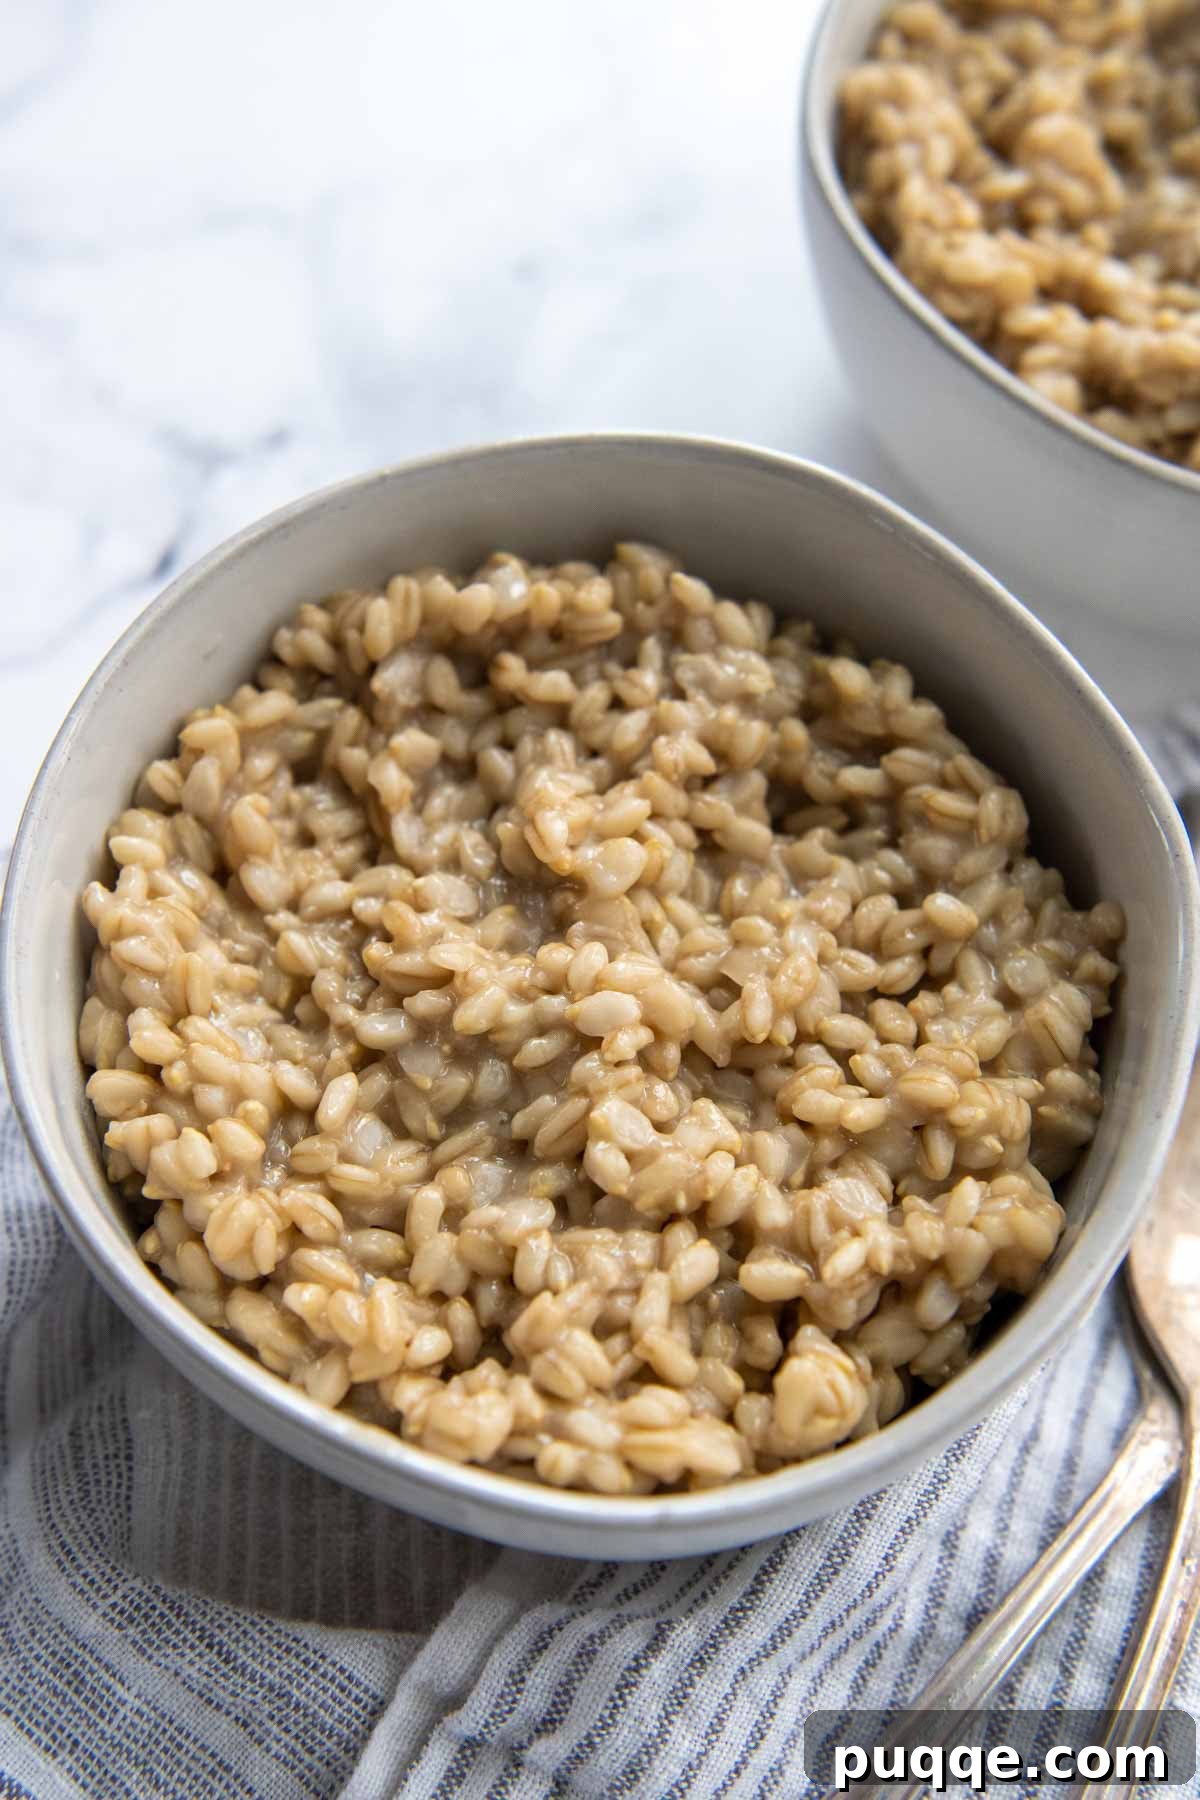
To truly appreciate oat groats, it’s helpful to understand what they are. Oat groats are essentially the purest, least processed form of the oat grain. When oats are harvested, they come in a hard, inedible hull. To create oat groats, this outer husk is simply removed, leaving the entire oat kernel intact. This includes the endosperm (the largest part, providing energy), the germ (the embryo, rich in nutrients), and the bran (the outer layer, packed with fiber). This minimal processing is what sets groats apart from other oat varieties like steel-cut oats (which are chopped groats), rolled oats (which are steamed and flattened groats), or instant oats (which are pre-cooked, dried, and thinly rolled). Because the grain remains largely whole, cooking oat groats requires a bit more time than their more processed counterparts, but the rich, nutty flavor and satisfying texture they offer are undoubtedly worth the wait. The resulting porridge is a beautiful blend of creamy goodness with a pleasant, al dente chew that makes for a truly hearty and wholesome meal.
Nutritional Powerhouse: The Health Benefits of Oat Groats
Beyond their delicious taste and satisfying texture, oat groats are a nutritional powerhouse, making them an excellent choice for a healthy diet. As a whole grain, they are an exceptional source of dietary fiber, particularly soluble fiber like beta-glucan. This type of fiber is known for its ability to help lower cholesterol levels, stabilize blood sugar, and promote digestive health. Oat groats are also rich in plant-based protein, providing sustained energy and helping you feel fuller for longer, which can be beneficial for weight management. Furthermore, they are packed with essential vitamins and minerals, including manganese, phosphorus, magnesium, copper, iron, zinc, and B vitamins. Incorporating oat groats into your regular routine is a simple yet effective way to boost your overall nutrient intake and support long-term health. Their complex carbohydrates provide a slow and steady release of energy, avoiding the blood sugar spikes often associated with refined grains, making them an ideal fuel for starting your day.
Are Oat Groats Gluten-Free? Understanding the Facts
Yes, inherently, oat groats are a naturally gluten-free grain. However, for individuals with celiac disease or a severe gluten sensitivity, there’s an important caveat: the risk of cross-contamination. This can occur during processing and packaging if the oats are handled on shared equipment with wheat, barley, or rye products. To ensure your oat groats are safe for a strict gluten-free diet, it is crucial to purchase certified gluten-free oat groats. These products undergo rigorous testing and are processed in dedicated facilities to prevent any contact with gluten-containing grains.
While certified gluten-free oats may carry a slightly higher price tag, they remain a very affordable and nutritious whole grain option, especially when compared to many other specialized gluten-free products. For those passionate about eating well on a budget, integrating these cost-effective whole grains is a smart strategy. In fact, finding ways to make gluten-free ingredients accessible and affordable is a specialty of mine, a philosophy I’ve highlighted in many recipes within my gluten-free cookbook!
It’s also worth noting that a small percentage of people with celiac disease may still experience a reaction to oats, even certified gluten-free ones. This is due to a protein called avenin, which has a similar structure to gluten. If you are preparing oat groats for someone with celiac disease or a known gluten sensitivity, it’s always safest to confirm their individual tolerance to oats.
Mastering Your Oats: The Best Way To Cook Oat Groats
When I first embarked on my quest to master how to cook oat groats, I meticulously experimented with every imaginable cooking method. My goal was simple: to determine if one approach was significantly quicker, easier, or consistently yielded a superior texture. I was determined to uncover the absolute best way to cook oat groats!
What I discovered, somewhat surprisingly, was that the chosen cooking method didn’t drastically alter the final outcome in terms of taste or consistency, with the exception of the rice cooker (more on that below). Even a pressure cooker, often lauded for its speed, didn’t significantly reduce the overall cooking time compared to the traditional stove top method. Therefore, the “best” way truly boils down to personal preference, your schedule, and the equipment you have readily available.
Regardless of the method you choose, a crucial factor to keep in mind is the water to groats ratio. Through extensive testing, I found that a consistent ratio of 1 cup of oat groats to 3 cups of water consistently produces a wonderfully soft, creamy, and tender texture. While other oat groat recipes might suggest varying ratios, this specific proportion delivers the ideal balance for a satisfying porridge. Remember this golden rule for perfectly cooked groats every time!
Essential Tips for Perfectly Cooked Oat Groats
- Rinse Your Groats: Before cooking, it’s a good practice to quickly rinse your oat groats under cold water. This helps remove any dust or debris and can contribute to a cleaner taste.
- Salt is Key: A small dash of salt, even in a sweet preparation, enhances the natural flavors of the oats and balances the sweetness of any toppings. Don’t skip it!
- Don’t Stir Too Much (Initially): While simmering, avoid constant stirring, especially in the early stages. This can break down the groats too much and lead to a gummy texture. Stir only occasionally towards the end of cooking to prevent sticking and ensure even absorption of liquid.
- Adjusting Consistency: If your cooked groats are too thick, simply stir in a splash more hot water or milk until your desired consistency is reached. If they are too watery, continue simmering uncovered for a few extra minutes until the liquid is absorbed.
Stove Top Instructions: The Traditional Method
The stove top method is a classic for a reason, offering excellent control over the cooking process and yielding consistently delicious results. It requires a bit more active attention than a slow cooker or Instant Pot, but it’s straightforward and rewarding.
- Bring 3 cups of water and a dash of salt to a rolling boil in a medium-sized heavy-bottomed saucepan.
- Add 1 cup of oat groats to the boiling water, stir briefly, then immediately cover the saucepan. Reduce the heat to a very gentle simmer and cook for 40 minutes. Ensure the simmer is low enough to prevent the water from boiling over.
- After 40 minutes, remove the lid. Continue to simmer for an additional 10-15 minutes, stirring occasionally, until the groats are soft and tender, and most of the water has been absorbed, creating a creamy texture.
- For an even creamier consistency and to allow the groats to fully plump, remove the saucepan from the heat, cover it again, and let it stand for 10 minutes before serving.
Cooking in an Instant Pot: Convenience Under Pressure
While many recipes for Instant Pot oat groats claim a very short cook time of 15-20 minutes, my trials consistently showed they required significantly longer to achieve the desired tender, creamy texture. In fact, the overall cooking time in the pressure cooker wasn’t vastly different from the stove top method. However, the Instant Pot offers a distinct advantage: it’s incredibly hands-off, allowing you to set it and forget it.
- Combine 3 cups of water, 1 cup of oat groats, and a dash of salt in the inner pot of your Instant Pot. Stir well to combine.
- Secure the lid on the Instant Pot, ensuring the valve is sealed. Cook under high pressure for 50 minutes.
- Once the cooking cycle is complete, allow the pressure to release naturally for 15 minutes. This natural release is crucial for preventing foamy oats from squirting out the valve and for achieving the best texture.
- After 15 minutes of natural release, carefully quick-release any remaining pressure. If there’s still excess water, use the SAUTE function to gently simmer and stir the groats until the liquid is fully absorbed and they reach your preferred consistency.
Slow Cooker Directions: Overnight Comfort
If you’re seeking the ultimate hands-off cooking method, or dream of waking up to a warm, comforting breakfast already prepared, then crock pot oat groats are your ideal solution! This method is perfect for busy mornings or for preparing a large batch for meal prep. However, an important consideration: if your slow cooker tends to run hot, I would advise opting for the stove top method where you have more precise control over the temperature. Overly hot cooking can result in scorched bottoms or a less-than-ideal texture.
- Combine 3 cups of water, 1 cup of oat groats, and a dash of salt in the bowl of your slow cooker. Stir to ensure everything is well mixed.
- Cover the slow cooker and cook on the LOW setting overnight, typically for at least 10 hours. This extended, gentle cooking time allows the groats to slowly absorb the liquid and become incredibly tender and creamy.
- In the morning, give the groats a good stir. If they appear too thick, add a splash of milk or water to reach your desired consistency.
Rice Cooker: A Different Outcome
During my recipe research, I encountered the suggestion of using a rice cooker, specifically utilizing its “brown rice” setting. This sounded like a wonderfully effortless approach, so I eagerly put it to the test.
However, when the brown rice cooking cycle concluded, I found that the oat groats were not adequately cooked. They remained quite firm. I added more water and extended the cooking time for an additional 15 minutes, which did soften them considerably.
Ultimately, while the groats were soft, their consistency was noticeably different from those prepared using the stove top, Instant Pot, or slow cooker methods. They tended to resemble individual cooked rice grains rather than a creamy porridge. Therefore, if your goal is a classic, creamy breakfast porridge, the rice cooker isn’t the ideal choice.
Conversely, if you intend to enjoy oat groats as a savory pilaf, a wholesome side dish, or to incorporate them into soups and stews where a distinct, separate grain texture is desired, then the rice cooker could be a very suitable method. It offers a convenient way to prepare groats with a firmer, chewier bite, perfect for savory applications.
To Soak or Not to Soak? Dispelling a Common Myth
During my extensive experiments, a persistent question lingered: would soaking oat groats before cooking significantly reduce their cook time or improve their texture? To get a definitive answer, I put this theory to the test using the stove top recipe as my benchmark.
For one batch, I brought the groats to a boil with water, simmered for 3 minutes, then covered the pot and allowed them to soak overnight. The following morning, I completed the cooking process. For the control batch, I cooked the groats straight away, without any prior soaking.
The results were conclusive: soaking oat groats before cooking did not yield any measurable difference in either the overall cooking time or the final texture. Both batches still took approximately 50 minutes to achieve that wonderfully creamy, soft consistency. So, save yourself an unnecessary step and don’t bother soaking your oat groats first! While soaking can be beneficial for some grains to reduce phytic acid or aid digestion, for oat groats, when it comes to cooking performance, it simply isn’t necessary.
It Only Gets Better With Toppings! Elevate Your Oat Groats
Just like another breakfast superstar, the creamiest Instant Pot yogurt, the possibilities for toppings are truly limitless. This is where you can unleash your creativity and customize your bowl to perfectly match your cravings. Adjust the sweetness level to your exact preference using a variety of options such as classic brown sugar, rich maple syrup, natural coconut sugar, or your preferred sugar-free sweetener.
Fresh fruit always makes a vibrant addition – think sliced bananas, berries, peaches, or apples. Or, take it up a notch with a homemade sauce, like this quick and easy homemade blueberry syrup. For an added layer of texture and flavor, sprinkle your groats with crunchy nuts (almonds, walnuts, pecans), chewy dried fruit (raisins, cranberries, apricots), shredded coconut, decadent chocolate chips, or sophisticated cocoa nibs. Our family particularly loves to swirl in a generous scoop of creamy peanut butter or hazelnut spread like Nutella for a boost of protein and richness. A pat of butter can also work wonders, adding a deeper, more luxurious flavor, especially when paired with a splash of heavy cream, almond milk, or your favorite dairy alternative for extra creaminess.
Sweet Topping Inspiration:
- Fresh Fruits: Sliced bananas, berries (strawberries, blueberries, raspberries), sliced apples or pears, peaches, mango, kiwi.
- Dried Fruits: Raisins, cranberries, chopped dates, dried apricots, cherries.
- Sweeteners: Maple syrup, honey, brown sugar, coconut sugar, agave nectar, stevia.
- Spices: Cinnamon, nutmeg, pumpkin pie spice.
- Creamy Additions: A dollop of Greek yogurt, a swirl of almond butter, peanut butter, or tahini.
- Crunchy Elements: Granola, toasted coconut flakes, chopped nuts (almonds, walnuts, pecans).
- Decadent Touches: Chocolate chips, cocoa nibs, a drizzle of caramel or chocolate sauce.
Savory Topping Ideas (Yes, Seriously!):
While often enjoyed sweet, oat groats can also be a fantastic base for savory meals, offering a hearty and nutritious alternative to rice or quinoa.
- Eggs: A fried or poached egg on top.
- Vegetables: Sautéed mushrooms, spinach, roasted cherry tomatoes, caramelized onions.
- Cheese: A sprinkle of Parmesan, feta, or goat cheese.
- Herbs & Spices: Fresh parsley, chives, black pepper, red pepper flakes.
- Protein: Crumbled bacon, sausage, or smoked salmon.
- Healthy Fats: Sliced avocado, a drizzle of olive oil, everything bagel seasoning.
Don’t Forget to Pin This Recipe for Later!
Loving this guide on how to cook oat groats? Make sure to save this incredible recipe to your Pinterest board so you can easily find it whenever you’re ready to whip up a batch of creamy, tender groats!
Let’s be friends on Pinterest! I’m always sharing great recipes and wholesome meal ideas!
Did you make this delicious recipe? I absolutely love hearing from you! Your feedback helps others discover amazing recipes. Please leave a star rating and a comment below the recipe card to share your experience. I always appreciate insights from our wonderful community and you’ll always hear back from me! -Melissa

How To Cook Creamy, Tender Oat Groats: A Comprehensive Guide

Melissa Erdelac
Pin Recipe
Rate This Recipe
Remove Ads
Ingredients
- 3 cups water
- 1 cup oat groats, certified gluten-free
- dash salt
- Optional toppings: maple syrup, brown sugar, fruit, nuts, coconut, peanut butter, (see recipe notes for more ideas)
Instructions
Stove Top Method
-
Bring 3 cups of water and a dash of salt to a rolling boil in a medium-sized heavy-bottomed saucepan.
-
Add 1 cup of oat groats, cover, and reduce heat to a gentle simmer for 40 minutes. Ensure a low simmer to avoid boil-overs.
-
Remove the lid and continue to simmer for 10-15 minutes longer, stirring occasionally, until the groats are soft and the water is mostly absorbed.
-
If desired, remove from heat, cover, and let stand for 10 minutes before serving for an even creamier result.
Instant Pot Method
-
Combine 3 cups of water, 1 cup of oat groats, and a dash of salt in the Instant Pot. Stir well.
-
Secure the lid, ensuring the valve is sealed. Cook under high pressure for 50 minutes.
-
After cooking, allow the pressure to naturally release for 15 minutes. Then, quick-release any remaining pressure.
-
If any water remains unabsorbed, use the SAUTE function to simmer and stir until absorbed and desired consistency is reached.
Slow Cooker Method
-
Combine 3 cups of water, 1 cup of oat groats, and a dash of salt in a slow cooker. Stir thoroughly. Cook on LOW for at least 10 hours or overnight. (Important Tip: If your slow cooker tends to cook at a very high temperature, this method may not be ideal. Consider the stove top for better temperature control to prevent scorching or an uneven texture.)
Notes & Meal Prep Tips
Storing, Freezing, and Reheating Cooked Oat Groats
Since cooking oat groats requires a bit of time, I highly recommend making a larger batch for convenient meal prep. Having a supply of cooked groats ready to go in the refrigerator makes weekday breakfasts incredibly easy and nutritious.
- Refrigeration: Store cooked and thoroughly cooled oat groats in an airtight container in the refrigerator for up to 5-7 days.
- Reheating: To reheat, simply transfer your desired portion to a saucepan or microwave-safe bowl. Add a splash of milk (dairy or non-dairy) or water to loosen the consistency, as the groats will thicken upon cooling. Warm gently on the stove over low heat, stirring occasionally, or microwave in 30-second intervals until heated through and creamy.
- Freezing: For longer storage, cooked oat groats freeze beautifully. Divide them into single-serving portions in freezer-safe containers or bags. They can be frozen for up to 2-3 months. Thaw overnight in the refrigerator, then reheat as described above.
Storing Uncooked Oat Groats
Uncooked oat groats have an impressive shelf life. Store them in their original packaging or transfer them to an airtight container in a cool, dark pantry. They will remain fresh and viable for approximately 18 months to 2 years.
Nutrition Information
Calories: 154kcal, Carbohydrates: 26g, Protein: 6g, Fat: 3g, Saturated Fat: 1g, Sodium: 9mg, Fiber: 4g, Calcium: 25mg, Iron: 2mg
Did you make this recipe?
Please leave a star rating and review below. It helps others when searching for recipes and I LOVE feedback!