
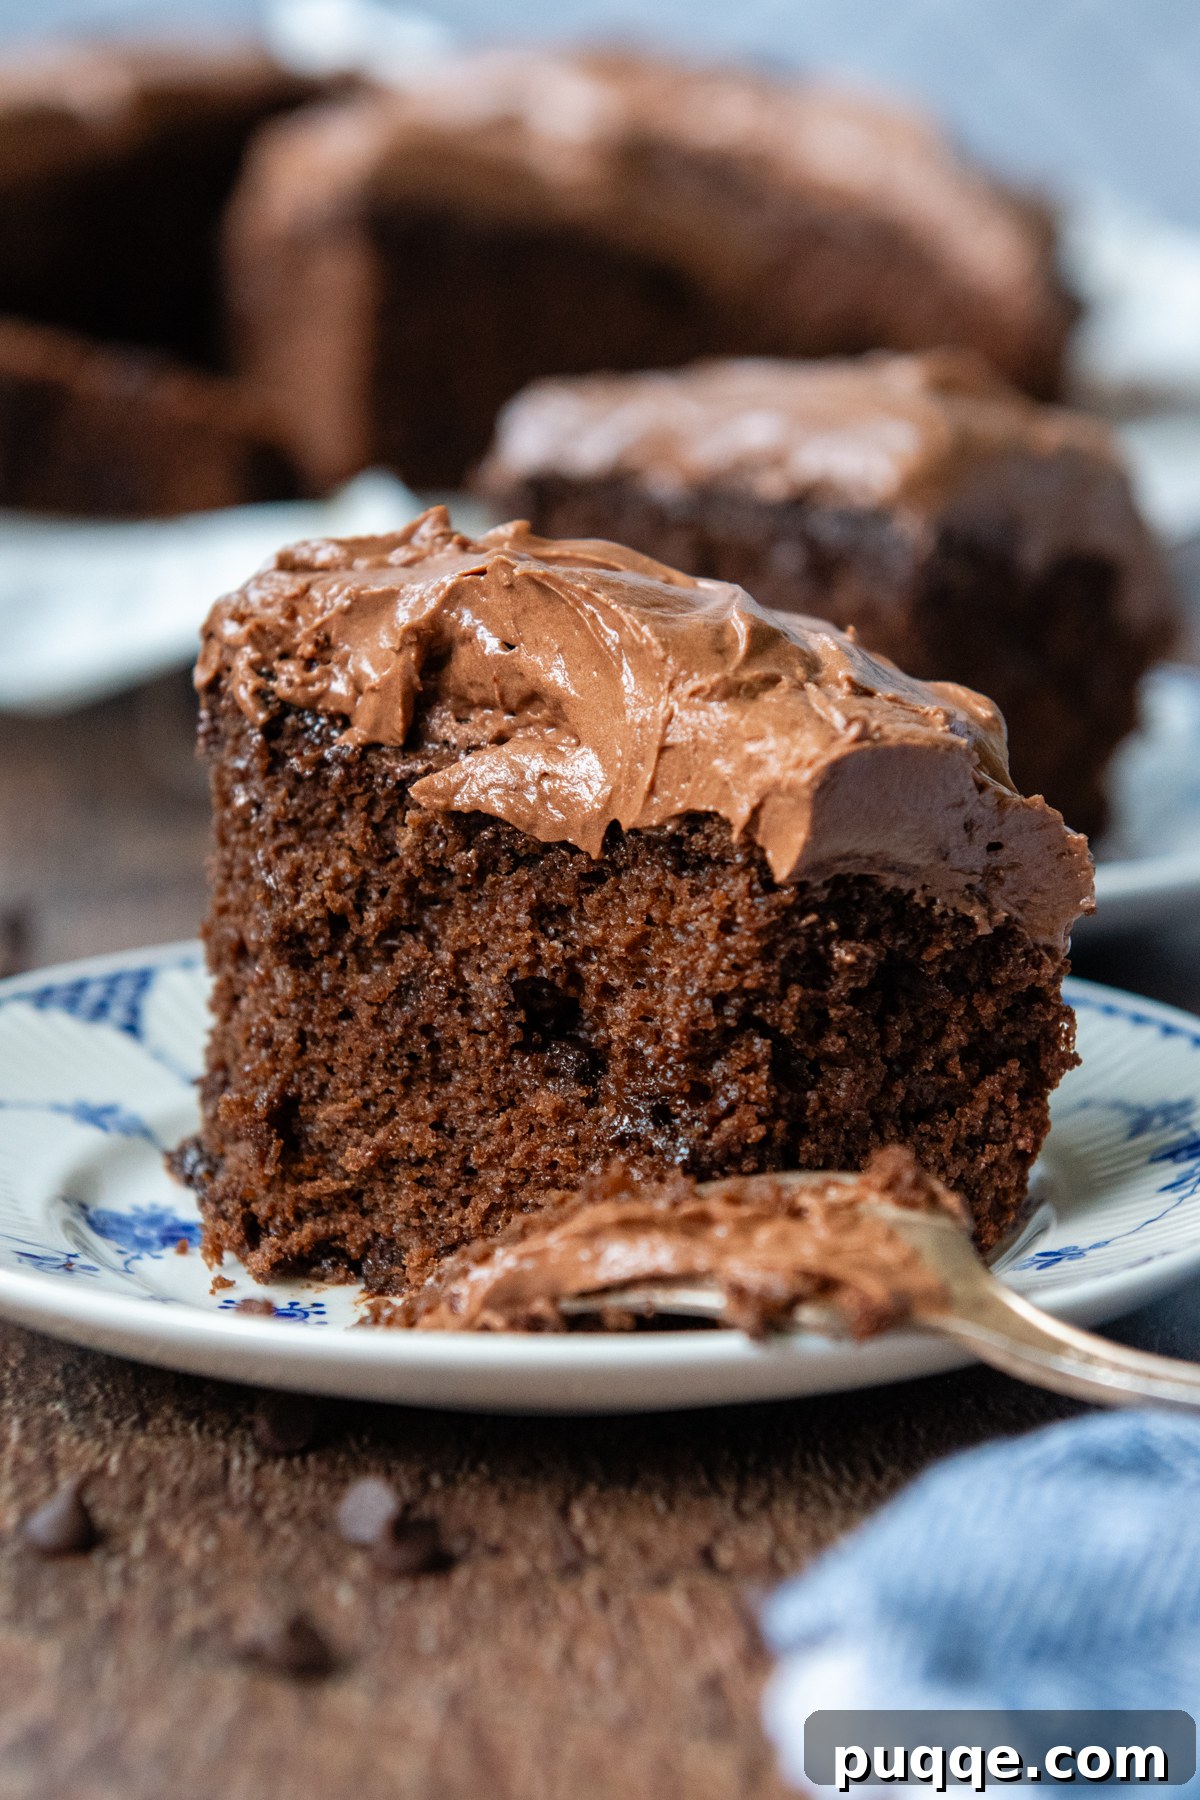
Get ready to discover a truly exceptional chocolate cake recipe that will redefine your expectations for gluten-free baking! Incredibly moist, irresistibly fluffy, and bursting with rich chocolate flavor, this Oat Flour Chocolate Cake is an absolute revelation. What’s the secret? It’s made entirely with oats – no traditional flour in sight – and comes together effortlessly in just about 5 minutes of prep time, thanks to the magic of a blender (or a simple bowl and mixer). Forget dry, crumbly gluten-free cakes; this one boasts a soft, airy crumb that’s remarkably tender, all without needing any complicated baking experience. If you’re looking for an easy, delicious, and naturally gluten-free dessert, your search ends here. This recipe is designed for baking success, whether you’re a seasoned pro or just starting your journey in the kitchen.
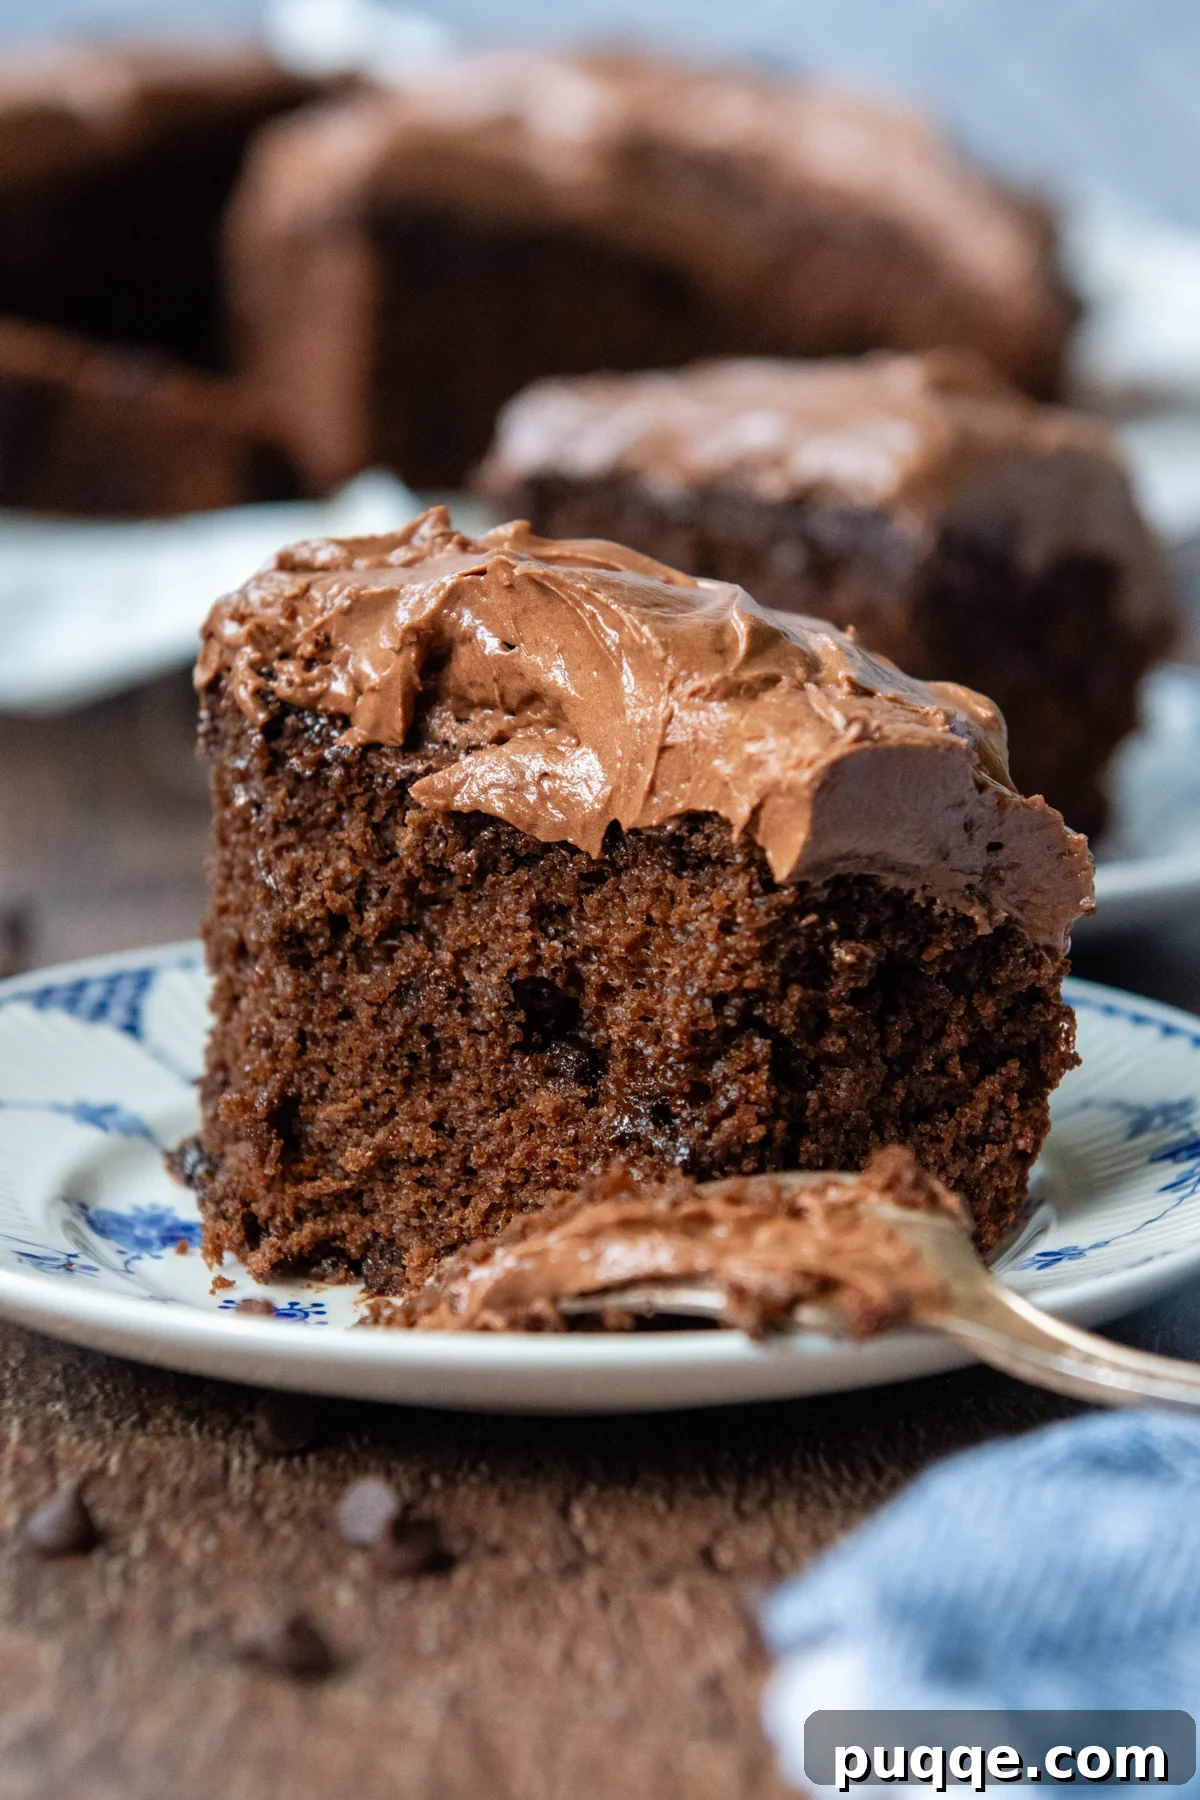
Why You’ll Fall in Love with This Oat Flour Chocolate Cake
There’s a growing appreciation for 100% oat-based, gluten-free recipes, and this chocolate cake is an outstanding example of why. If the idea of a deeply satisfying chocolate cake that’s also gluten-free piques your interest, you’re in for a delightful treat. This recipe is not just another gluten-free alternative; it’s a standalone star that offers so much to love:
- Effortless Preparation: This cake truly couldn’t be simpler to make. With a “dump, blend, and bake” approach, it’s perfect for novice bakers or anyone short on time. Whether you use a high-powered blender to transform oats into flour or start with pre-made oat flour and a bowl, the process is streamlined and stress-free.
- Naturally Gluten-Free: Made exclusively with certified gluten-free oats, this cake is a fantastic option for those with gluten sensitivities or anyone looking to explore alternative flours. It achieves a wonderful texture without any wheat flour, making it a wholesome choice.
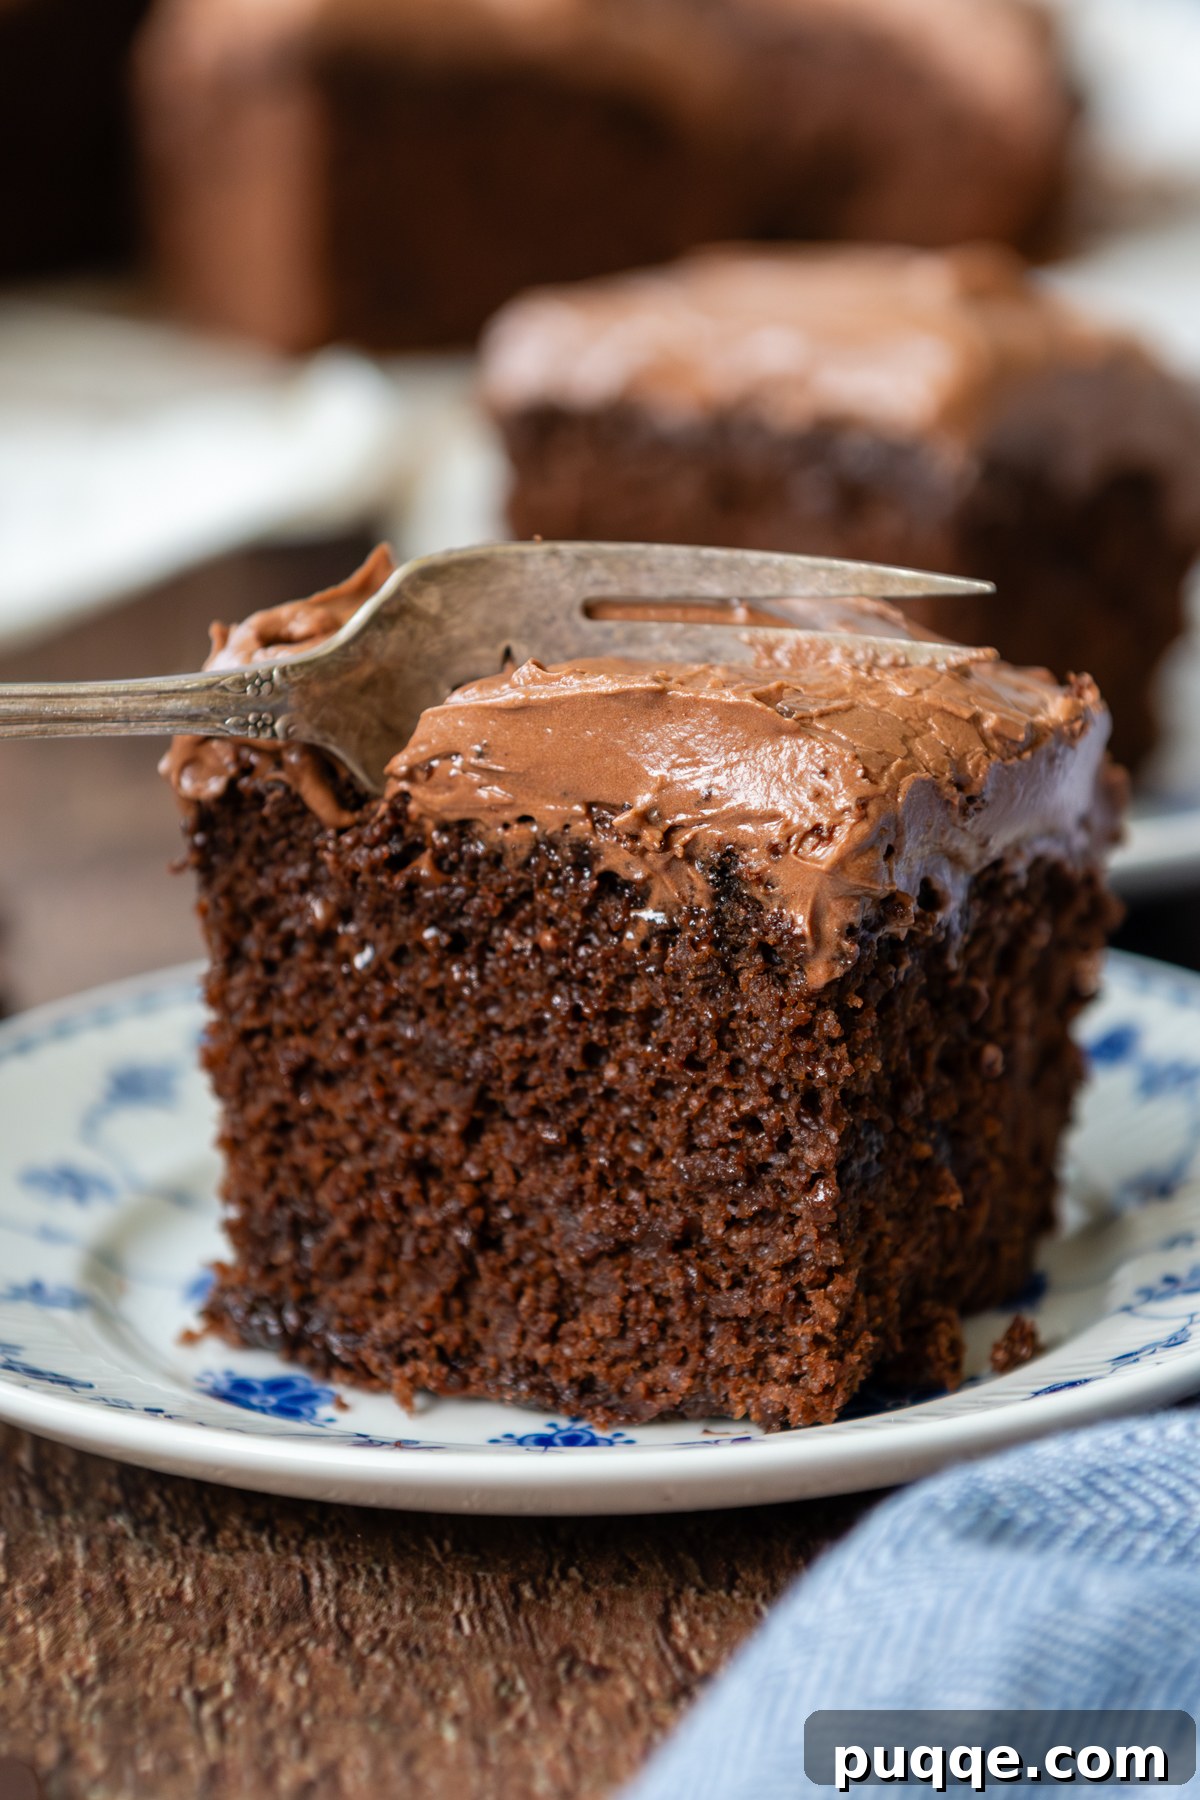
- Unbeatable Moisture and Fluffiness: The unique combination of oats and yogurt ensures an exceptionally moist and tender crumb that stays soft and airy for days. Unlike many gluten-free cakes that can turn out dry or crumbly, this recipe delivers a plush, velvety texture reminiscent of classic homemade snack cakes.
- Simple, Accessible Ingredients: You won’t need any exotic specialty ingredients. The components for this cake are familiar, affordable, and readily available at most grocery stores, making it a practical choice for everyday baking.
- Double the Chocolate Pleasure: With cocoa powder infused throughout the batter and a generous helping of chocolate chips stirred in (plus more sprinkled on top!), this cake offers a rich, satisfying chocolate experience in every bite.
- Perfectly Structured Crumb: The addition of a small amount of cornstarch is a game-changer. Since oat flour lacks gluten, cornstarch helps bind the cake’s structure, allowing for clean slices and a delightfully sturdy yet tender bite.
Ingredient Spotlight: The Magic Behind the Moistness
Each ingredient in this oat flour chocolate cake plays a crucial role in achieving its incredible taste and texture. Understanding their purpose will not only help you bake a perfect cake but also empower you to make informed substitutions if needed.
- Gluten-Free Rolled Oats (or Oat Flour): The foundation of our flourless cake. Rolled oats are ideal for grinding into a fine flour, providing a wholesome, nutty flavor and a tender structure. Ensure they are certified gluten-free to avoid cross-contamination if catering to dietary restrictions. If using pre-made oat flour, you’ll need 2 cups (209 grams).
- Granulated Sugar & Light Brown Sugar: A combination of sugars provides the perfect balance of sweetness and moisture. Granulated sugar offers structure, while brown sugar adds depth of flavor and extra moisture, contributing to the cake’s tenderness.
- Unsweetened Cocoa Powder: The source of our rich chocolate flavor. Use a good quality cocoa powder for the best results. Dutch-processed cocoa will yield a darker, milder chocolate taste, while natural cocoa powder will be lighter and more acidic, reacting with the baking soda to help the cake rise.
- Cornstarch: This is a secret weapon in gluten-free baking! Lacking the gluten structure of wheat flour, oat flour benefits greatly from cornstarch, which acts as a binder. It helps create a soft, airy crumb that holds together beautifully, preventing the cake from being dry or crumbly.
- Baking Powder & Baking Soda: These leavening agents are essential for the cake’s lift and fluffiness. They react with the acidic ingredients (like yogurt and cocoa powder) to create air bubbles, resulting in a light texture.
- Salt: A pinch of salt enhances all the other flavors, particularly the chocolate, balancing the sweetness.
- Large Eggs: Eggs provide structure, moisture, and richness, helping to bind the ingredients and create a cohesive batter.
- Milk (Any Preferred): Whether you prefer dairy milk (like 2% or whole milk) or a non-dairy alternative (such as almond milk or soy milk), any type will work beautifully in this recipe, offering essential liquid to the batter.
- Plain Whole Milk Yogurt: This is a star ingredient for moisture! Yogurt adds an incredible tenderness and a slight tang that complements the chocolate. You can easily substitute it with sour cream or a plain dairy-free yogurt alternative (like coconut or almond yogurt) for similar results.
- Oil (Any Preferred): Vegetable oil is a neutral choice that contributes to the cake’s moistness without imparting strong flavors. Melted coconut oil or any other preferred neutral-flavored oil can also be used.
- Vanilla Extract: A touch of vanilla enhances the chocolate flavor and adds aromatic depth to the cake.
- Mini Chocolate Chips: Stirring these into the batter ensures chocolate in every bite. Mini chips are particularly good because they tend to stay suspended more evenly throughout the cake, rather than sinking to the bottom during baking. Save some extra for sprinkling on top!
You can use either rolled oats or oat flour! If starting with rolled oats, simply blend them into a fine flour first. If using pre-made oat flour, just combine all ingredients in a bowl.
Let’s Make This Together: A Step-by-Step Guide
Follow these detailed steps to create your perfect gluten-free oat flour chocolate cake. The process is straightforward, ensuring delicious results even for beginners.
Step 1: Whiz Up the Oat Flour
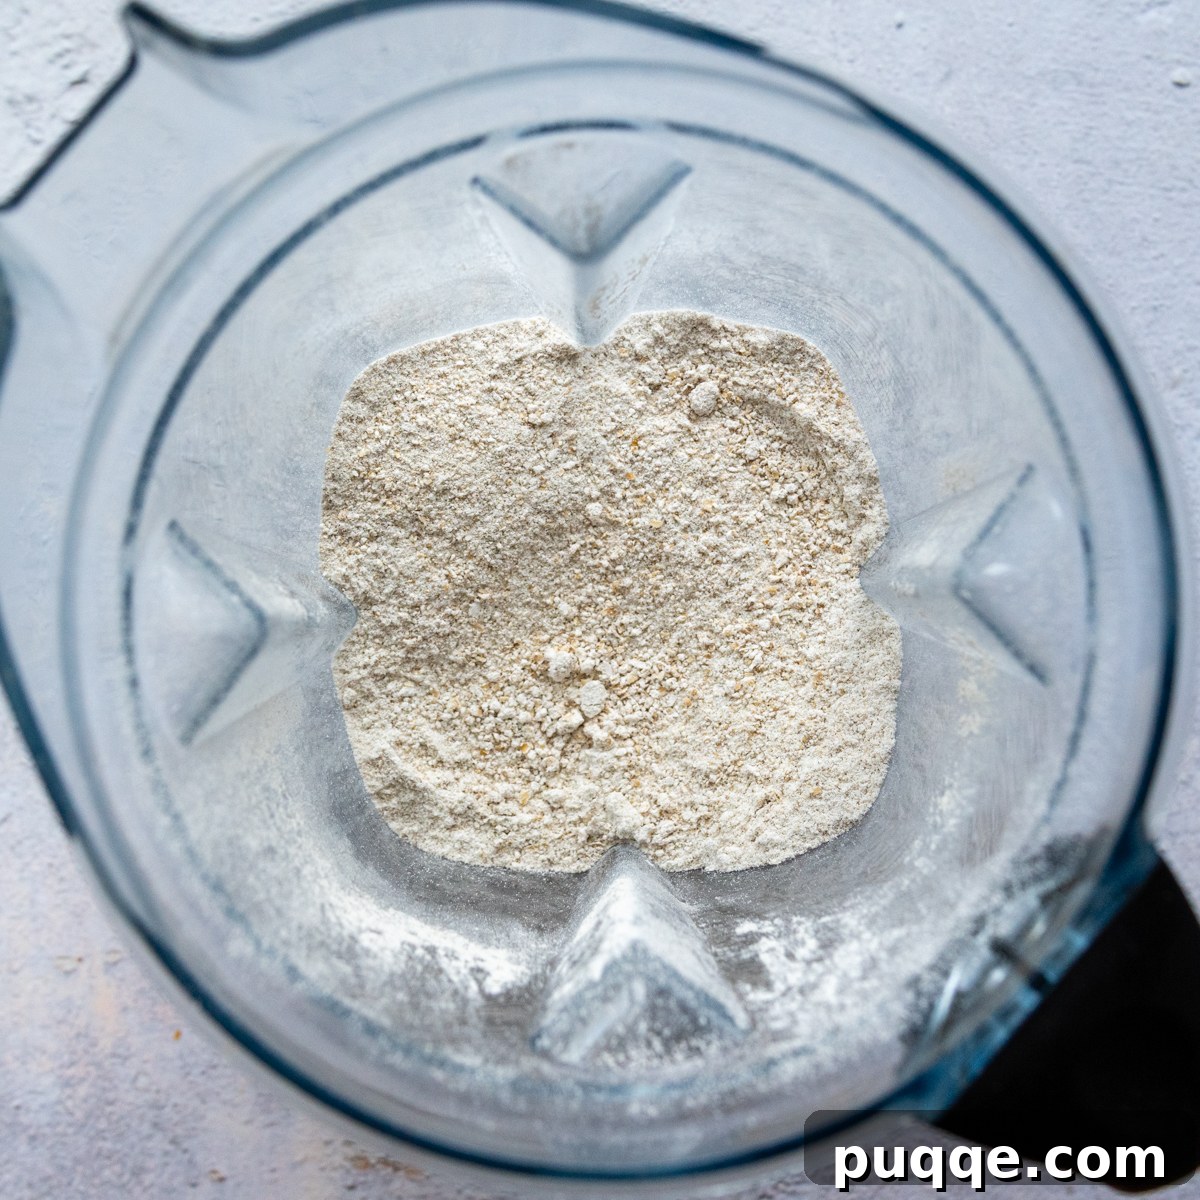
For the finest, most tender cake, I highly recommend using a high-powered blender, such as a Vitamix, to grind your oats. This creates a super fine, powdery flour that contributes to the cake’s light texture. Pour 2 cups of rolled oats into your blender and process for about 30-60 seconds until they resemble a fine flour. If you’re using pre-purchased oat flour, you can skip this step and move directly to combining ingredients in a bowl.
Step 2: Combine Dry and Wet Ingredients
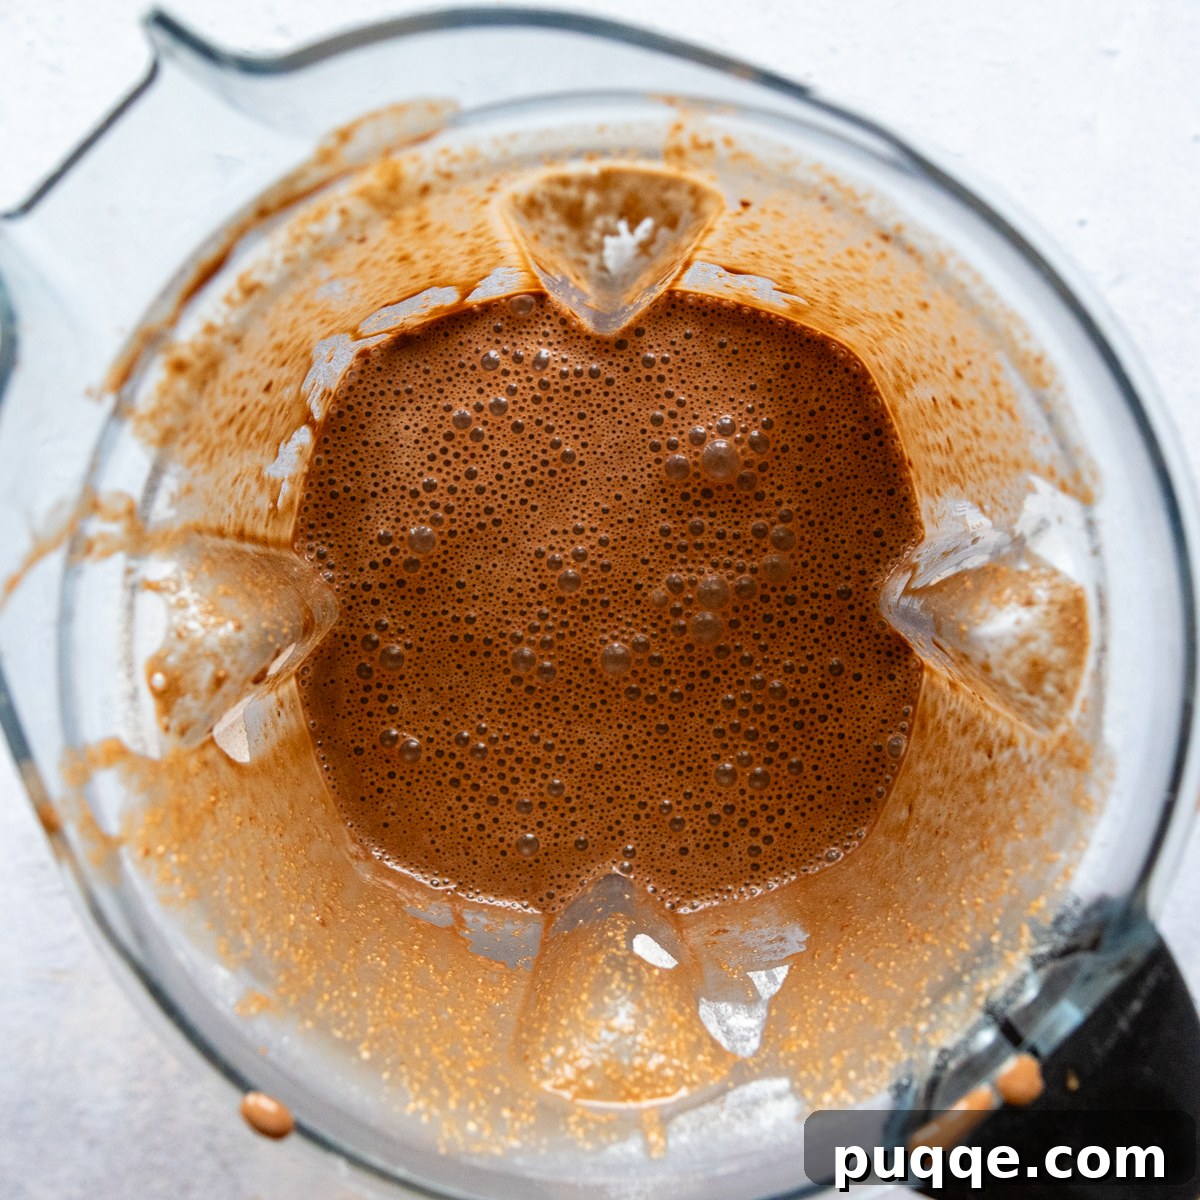
Once your oat flour is ready, it’s time to add the rest of the dry ingredients directly into the blender: granulated sugar, cocoa powder, brown sugar, cornstarch, baking powder, baking soda, and salt. Blend briefly to ensure they are well combined. Next, pour in all the liquid ingredients: eggs, milk, yogurt, oil, and vanilla extract. Blend again until the batter is smooth. Make sure to stop halfway through and scrape down the sides of the blender with a spatula to ensure all the oat flour is thoroughly incorporated. Don’t be alarmed if the mixture appears quite thin at this stage; oats are like sponges and will absorb the liquid as the batter rests.
Step 3: The Crucial Resting Period and Chocolate Infusion
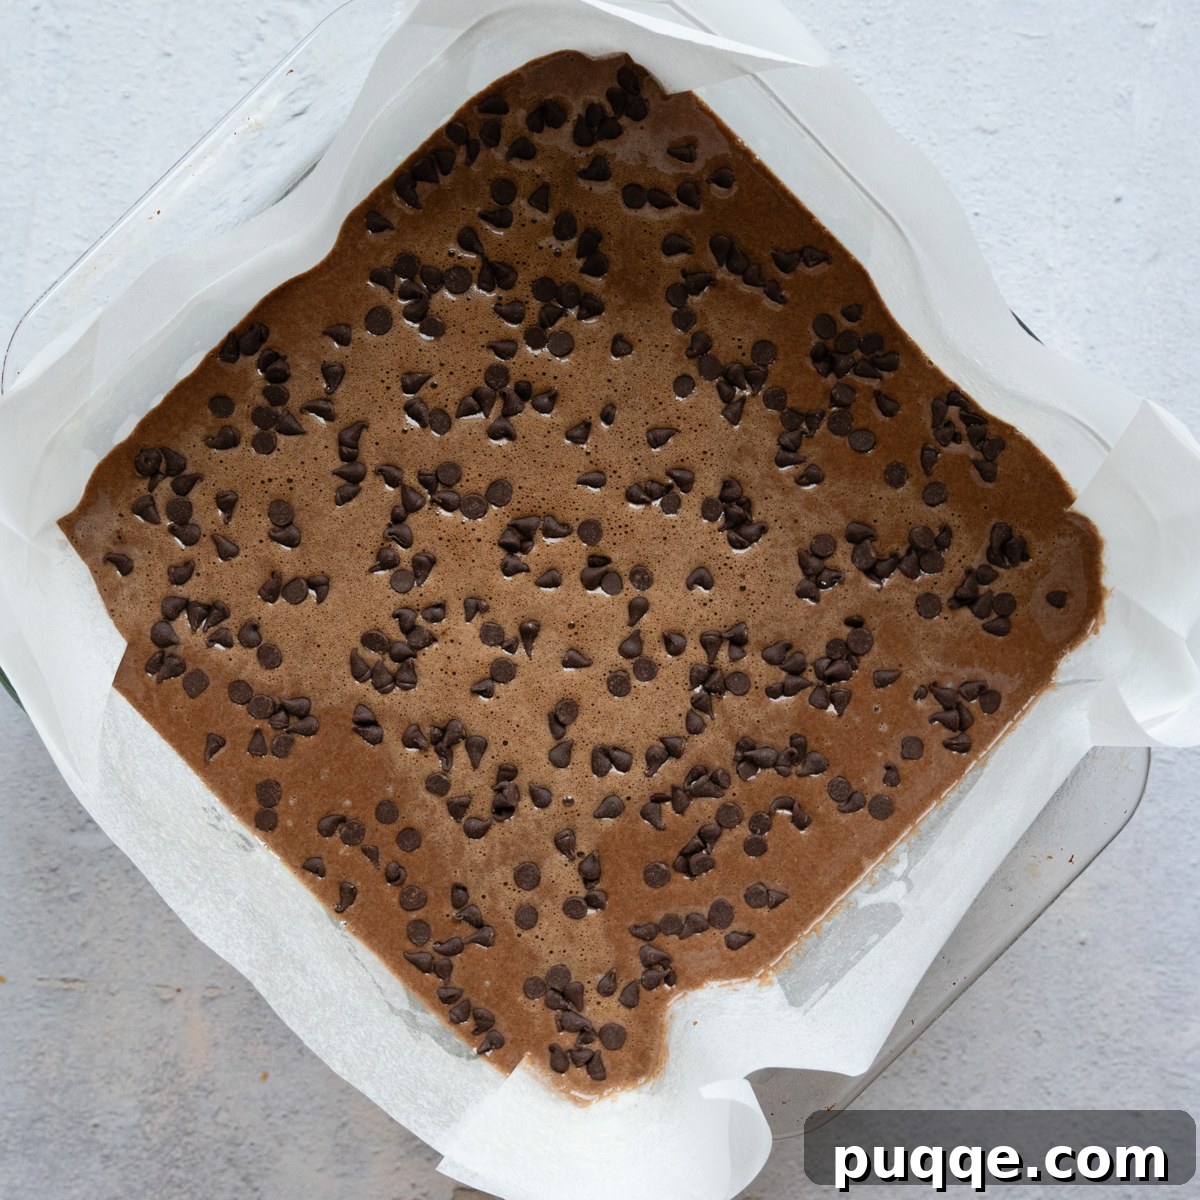
This step is vital for the perfect texture! After blending, let the batter sit undisturbed in the blender or bowl for about 10 minutes. This resting period allows the oat flour to fully absorb the liquids, thickening the batter and contributing to a wonderfully moist and cohesive crumb. It also helps prevent the chocolate chips from sinking to the bottom during baking. After 10 minutes, gently fold in ¼ cup of mini chocolate chips. Then, pour the thickened batter into your greased 8-inch square baking pan and spread it evenly. Sprinkle the remaining ¼ cup of mini chocolate chips over the top for an extra chocolatey finish.
Step 4: Baking to Perfection
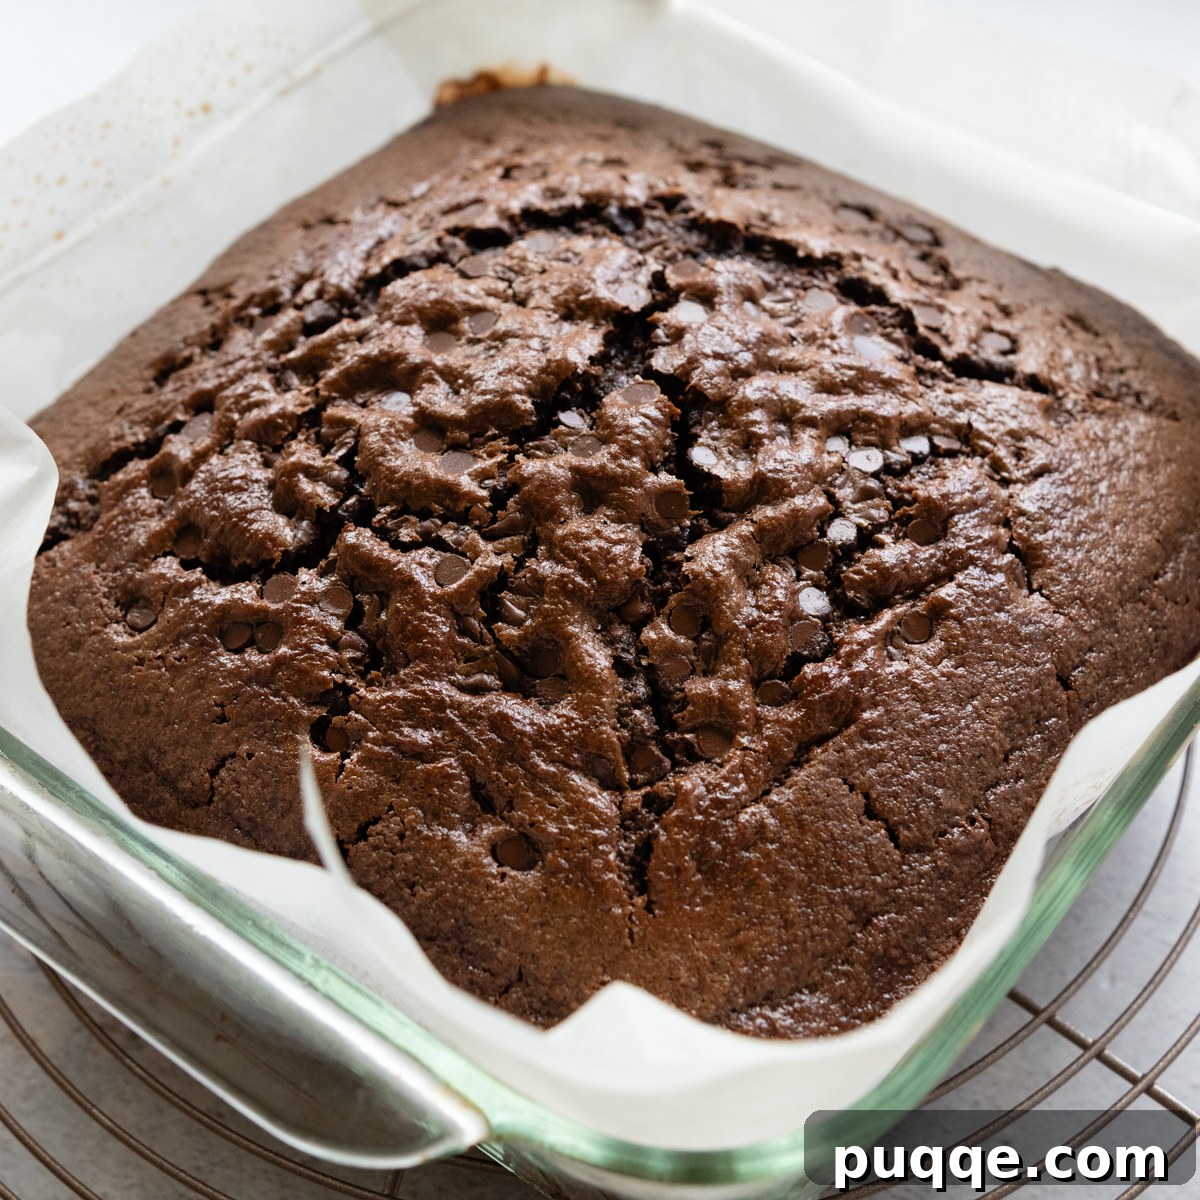
Bake your cake in a preheated 350ºF (175ºC) oven for approximately 40-45 minutes. The key is to bake until the cake is set on top and springs back when lightly touched. It’s crucial to check for doneness with a cake tester or toothpick inserted into the center. The top of an oat flour cake can often look set and firm before the inside is fully cooked, so don’t be deceived! A clean toothpick indicates it’s done. Once baked, allow the cake to cool completely on a wire rack before even thinking about frosting it. Patience is key for the best results.
Step 5: The Yummiest Chocolate Frosting
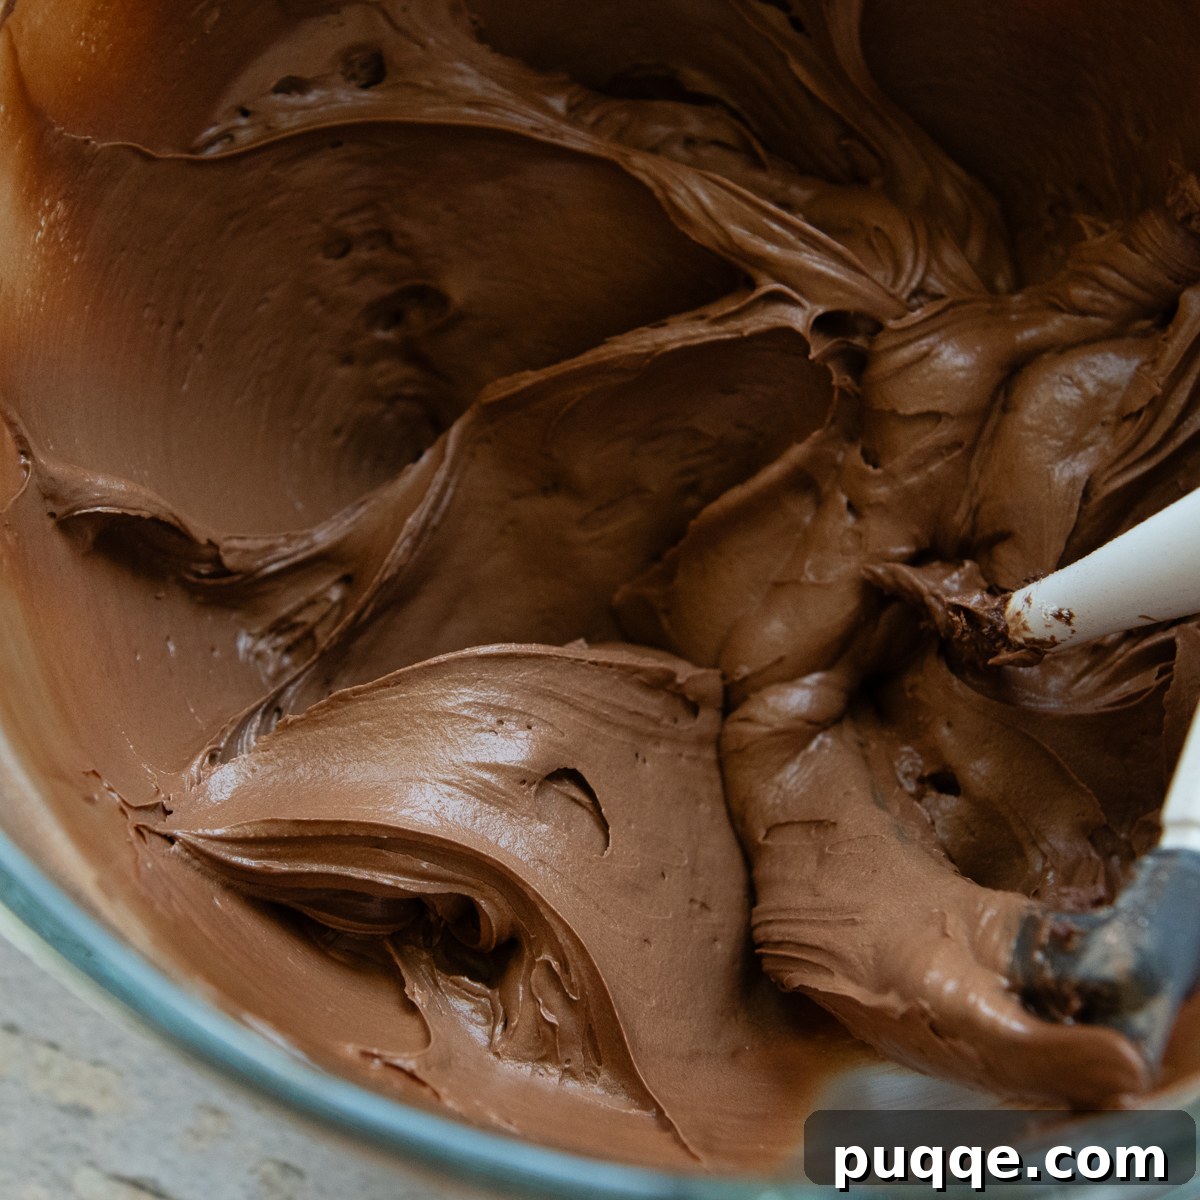
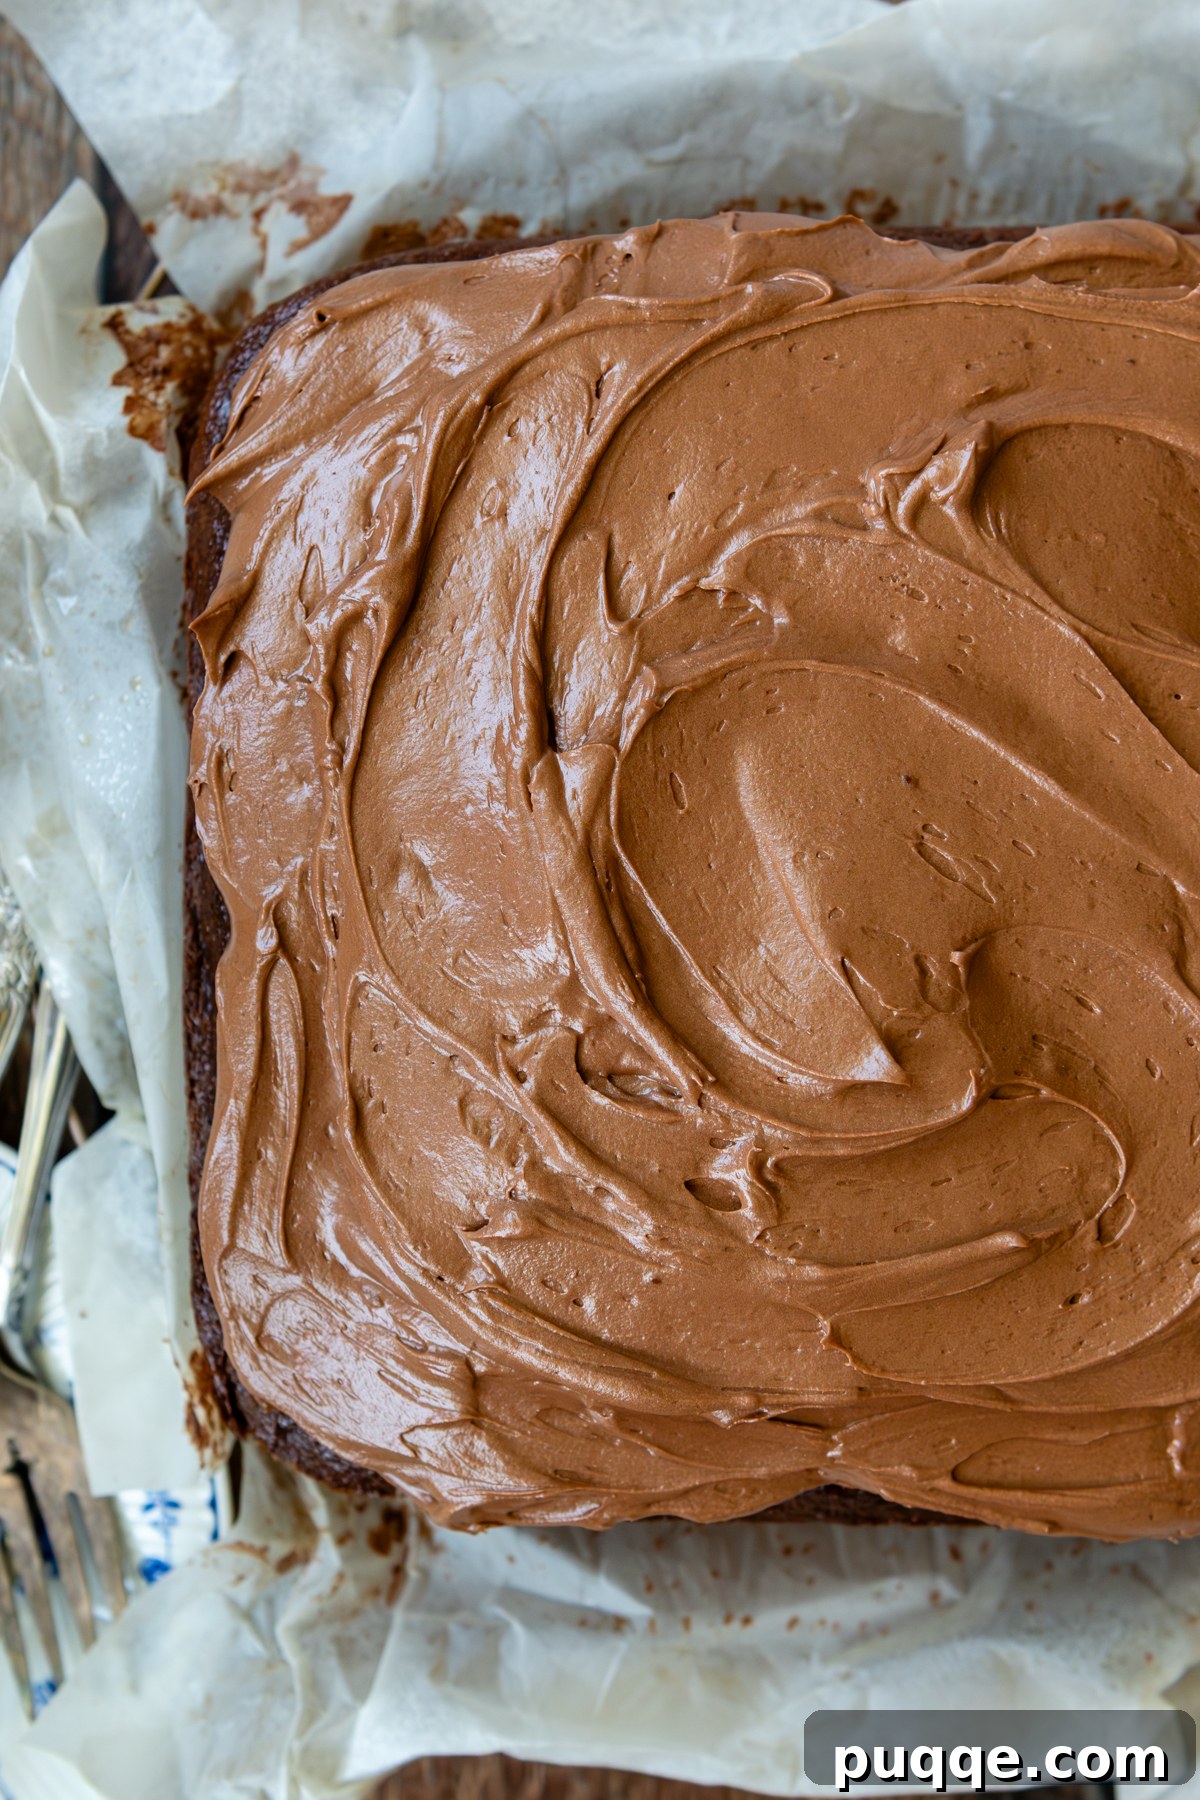
No chocolate cake is complete without a luscious frosting! This recipe features a thick, creamy chocolate frosting made with softened butter, powdered sugar, cocoa powder, and a touch of yogurt for a subtle tangy note that perfectly complements the cake. Beat the softened butter until creamy, then gradually add 2 cups of powdered sugar, cocoa powder, yogurt, and salt, beating until well combined. Gradually incorporate milk, adding 1 tablespoon at a time, until you reach your desired spreadable consistency. Beat on high speed for 1-2 minutes until it’s light and fluffy. Once the cake is completely cooled, spread this delectable frosting generously over the top.
Make This Cake Even Yummier: Creative Variations
While this homemade oat flour chocolate cake is undeniably delicious on its own, there are countless ways to customize it and make it uniquely yours. Feel free to get creative with mix-ins, toppings, and different frosting flavors:
- Fruity Additions: Stir in ½ cup of fresh or frozen (not thawed) chopped cherries, raspberries, or sliced strawberries into the batter before baking for a delightful fruit-chocolate combination.
- Frosting Flavors: While the chocolate frosting is divine, don’t hesitate to experiment! A classic peanut butter glaze would be absolutely epic, or consider a simple vanilla buttercream, a tangy cream cheese frosting, or even a rich espresso frosting for a mocha twist.
- Ultimate Toppings: Elevate your cake with fun toppings after frosting. Sprinkle with extra chocolate chips (dark, milk, or white!), chopped nuts (like pecans, walnuts, or almonds), shredded coconut, or even crumbled candy bars like Snickers or Reese’s Peanut Butter Cups. For a festive touch, colorful sprinkles are always a hit!
- Spiced Cake: Add a pinch of cinnamon or a dash of chili powder to the cocoa powder for a subtle warmth and complex flavor profile.
Baking Pan Sizes & Adjustments
This versatile oat flour chocolate cake recipe can adapt to different baking pans with minimal adjustments:
- 8-inch or 9-inch Square Pan: The recipe is written for an 8-inch square pan, which yields a nice, thick slice. If you use a 9-inch square baking pan, the cake layer will be slightly thinner, and the baking time will likely be reduced by about 5 minutes. Always rely on the toothpick test for perfect doneness.
- Layer Cake: To transform this into a stunning layer cake, simply double the recipe. Divide the batter evenly between two 9-inch round cake pans. The baking time should remain approximately the same as for a single square cake, but again, check with a toothpick. You’ll also want to double the frosting recipe!
- Cupcakes: This batter is also excellent for cupcakes! Line a 12-cup muffin tin with paper liners and fill each about two-thirds full. Bake for approximately 20-25 minutes, or until a toothpick inserted comes out clean. The resting time for the batter is particularly helpful for cupcakes to ensure a tender crumb.
If you try this recipe in another pan size or format, I’d love to hear about it! Drop a comment below and share your experience.
Expert Tips for a Flawless Oat Flour Cake
Achieving baking perfection is easier than you think with these additional tips:
- Use Certified Gluten-Free Oats: If you or your guests have celiac disease or a severe gluten intolerance, always ensure your rolled oats are certified gluten-free to prevent cross-contamination.
- Measure Accurately: Especially for gluten-free baking, precise measurements are key. Using a kitchen scale to measure dry ingredients like oats (or oat flour) and sugars by weight (grams) can lead to more consistent and superior results than volumetric measurements.
- Don’t Overmix: After adding the wet ingredients to the dry, mix just until combined. Overmixing can develop any inherent gumminess in the oats, potentially leading to a denser cake.
- Room Temperature Ingredients: Ensure your eggs and yogurt are at room temperature. This helps them emulsify better with other ingredients, creating a smoother batter and a more uniform cake texture.
- The Importance of Resting: Don’t skip the 10-minute resting period! This step is crucial for the oat flour to properly hydrate, which is essential for the cake’s moistness and structure.
- Cool Completely: Frosting a warm cake is a recipe for disaster (and melted frosting!). Allow your cake to cool completely on a wire rack before applying any frosting.
- Storage: Store the frosted cake at room temperature for up to 2-3 days in an airtight container. For longer storage, you can refrigerate it for up to a week. For ultimate freshness, individual slices can be wrapped and frozen for up to 3 months. Thaw at room temperature.
Frequently Asked Questions (FAQs)
Here are some common questions about making this delightful oat flour chocolate cake:
Q: Can I use quick oats instead of rolled oats?
A: While rolled oats are recommended for the best texture when ground into flour, quick oats can be used in a pinch. However, they may result in a slightly different, potentially denser texture because they are already partially processed.
Q: Is this cake dairy-free?
A: This recipe can easily be made dairy-free! Simply use dairy-free milk (like almond, soy, or oat milk) and a plain dairy-free yogurt alternative (such as coconut or almond yogurt). For the frosting, use a plant-based butter alternative and dairy-free milk.
Q: Can I reduce the amount of sugar in the recipe?
A: You can try reducing the sugar slightly, but keep in mind that sugar not only provides sweetness but also contributes to the cake’s moisture and structure. Reducing it significantly might alter the texture and shelf life of the cake. Start with a small reduction (e.g., 10-20%) if you prefer it less sweet.
Q: How do I store the leftovers?
A: Store any leftover cake in an airtight container at room temperature for up to 2-3 days, or in the refrigerator for up to a week. For longer storage, individual slices can be wrapped tightly in plastic wrap and then foil, and frozen for up to 3 months. Thaw at room temperature before enjoying.
Q: Do I need to use gluten-free certified oats?
A: If you have celiac disease or a gluten sensitivity, using certified gluten-free oats is essential. Regular oats are naturally gluten-free but are often processed in facilities that also handle wheat, barley, and rye, leading to cross-contamination.
A Simple Indulgence Awaits!
This Ultra-Moist and Fluffy Gluten-Free Oat Flour Chocolate Cake is truly a baking triumph. It proves that gluten-free doesn’t mean compromising on flavor or texture. With its simple ingredients, easy preparation, and remarkably delicious results, it’s destined to become a staple in your recipe collection. Whether for a special occasion or an everyday treat, this cake promises pure chocolate bliss. Gather your ingredients, fire up your blender, and get ready to enjoy a dessert that’s both wholesome and incredibly satisfying!
Save this recipe to your Pinterest board!
Let’s be friends on Pinterest! I’m always sharing great recipes!
Did you make this recipe? I love hearing from you! Leave a star rating and comment below the recipe card. It helps others when searching for recipes and I appreciate feedback from our community. You will always hear back from me! -Melissa
Moist, Fluffy Oat Flour Chocolate Cake (Gluten Free)
 Melissa Erdelac
Pin
Rate
Remove Ads
Ingredients
- 2 cups (209 g) gluten-free certified rolled oats, or 2 cups (209 g) oat flour
- ⅔ cup (152 g) granulated sugar
- ⅓ cup (33 g) unsweetened cocoa powder
- ¼ cup (50 g) packed light brown sugar
- 2 tablespoons (18 g) cornstarch
- 1½ teaspoons baking powder
- ½ teaspoon baking soda
- ¼ teaspoon salt
- 2 large eggs
- ¾ cup (178 g) milk, any preferred
- ⅓ cup (129 g) plain whole milk yogurt
- ¼ cup (48 g) oil, any preferred
- 2 teaspoons vanilla extract
- ½ cup (86 g) mini chocolate chips, divided
Chocolate Frosting
- 5 tablespoons (70 g) unsalted butter, softened
- 3 cups (360 g) powdered sugar, divided
- ⅓ cup (33 g) unsweetened cocoa powder
- 2 tablespoons yogurt
- ¼ teaspoon salt
- 3-4 tablespoons milk, any preferred
Equipment
-
Vitamix
-
8X8 Baking Dish
-
Gluten Free Rolled Oats
Instructions
- Preheat the oven to 350ºF (175ºC). Grease an 8×8-inch baking dish with nonstick cooking spray or line with parchment paper with overhanging sides to easily lift the cake out of the pan. Set aside.
- Blender Method – Place 2 cups rolled oats in a powerful high-speed blender, such as a Vitamix. Process into a fine, powdery flour, about 30-60 seconds. Add the remaining dry ingredients – granulated sugar, cocoa powder, brown sugar, cornstarch, baking powder, baking soda, and salt. Blend again to combine. Hand Mixer Method – Add the oat flour and remaining dry ingredients to a large bowl. Mix together on low speed.
- Blender Method – Add the wet ingredients – eggs, milk, yogurt, oil, and vanilla. Process again to combine, scraping down the blender halfway through. The batter will be very thin, like thick chocolate milk. Hand Mixer Method – Whisk together the wet ingredients in a separate medium bowl. Add to the dry ingredients and beat on medium speed to combine. The batter will be very thin.
- Let the batter rest in the blender or bowl for 10 minutes for the oats to soak up moisture and bind the crumb. After 10 minutes, stir in ¼ cup chocolate chips.
- Pour the batter into the prepared pan and spread evenly. Sprinkle the remaining ¼ cup chocolate chips on top. Bake for 40-45 minutes, or until a toothpick comes out clean. The top can feel and look set before the inside is cooked, so be sure to check with a cake tester or toothpick. Cool completely on a wire rack before frosting.
- For the frosting, in a large bowl beat together the softened butter, 2 cups powdered sugar, cocoa powder, yogurt, and salt until the powdered sugar is mixed in well.
- Add 3 tablespoons milk and the additional 1 cup powdered sugar. Beat on high speed for 1-2 minutes, or until well combined and fluffy. If needed, add the additional 1 tablespoon milk so the frosting is spreadable. Spread on the cooled cake.
Calories: 657 kcal, Carbohydrates: 111g, Protein: 11g, Fat: 21g, Saturated Fat: 8g, Polyunsaturated Fat: 3g, Monounsaturated Fat: 8g, Trans Fat: 0.3g, Cholesterol: 59mg, Sodium: 235mg, Potassium: 440mg, Fiber: 8g, Sugar: 69g, Vitamin A: 326IU, Vitamin C: 0.1mg, Calcium: 137mg, Iron: 4mg